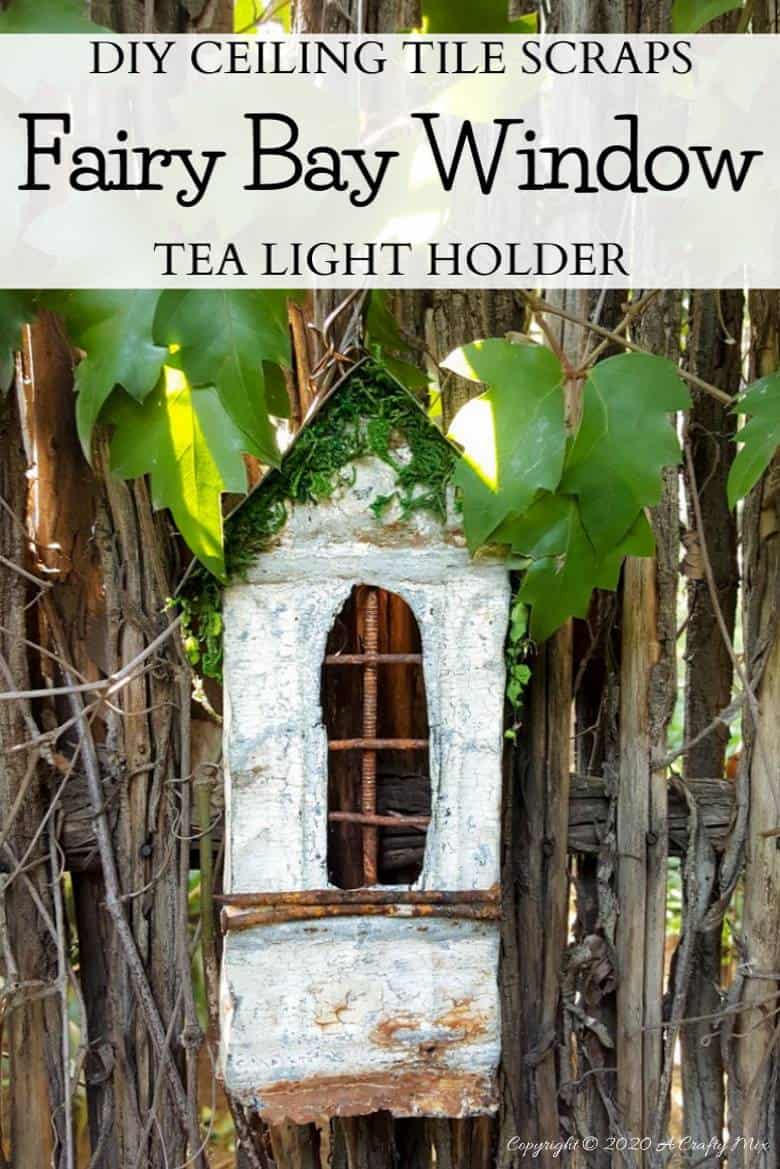
I really enjoy finding new ways to repurpose all our tin ceiling tile off-cuts. Whether it’s using them to create this gorgeous planter or these fairy apartments for a kokedama village, those scrap bits always seem to add just the right amount of rustic goodness to our projects. And this fairy bay window is no exception.
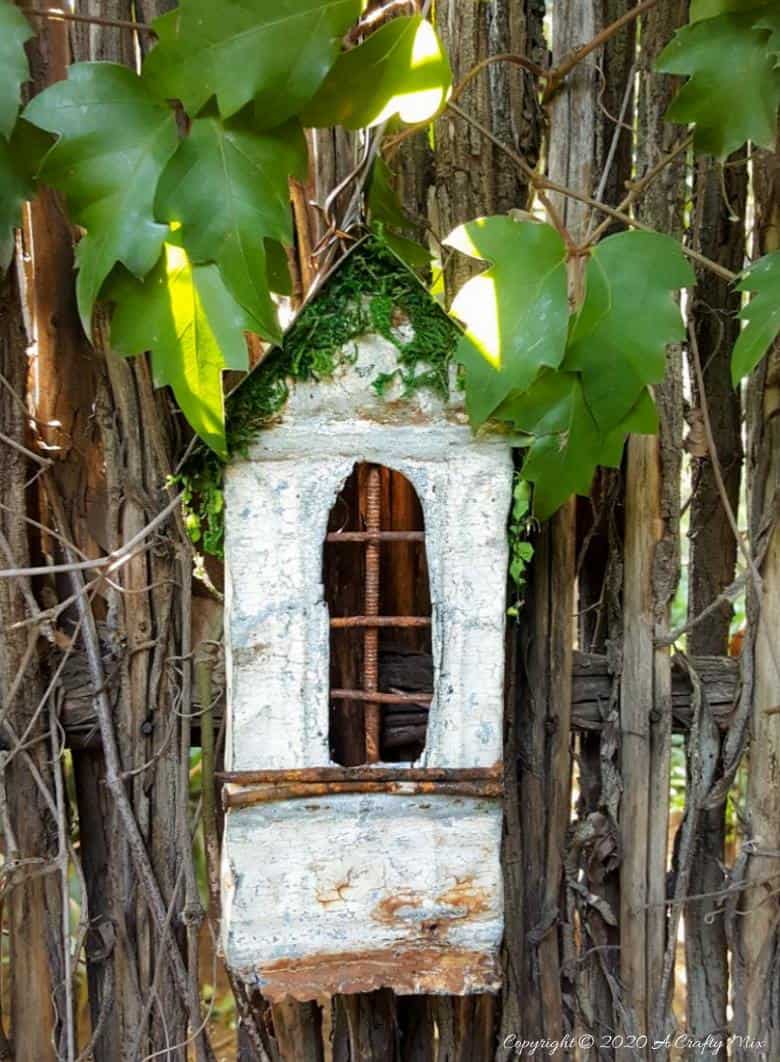
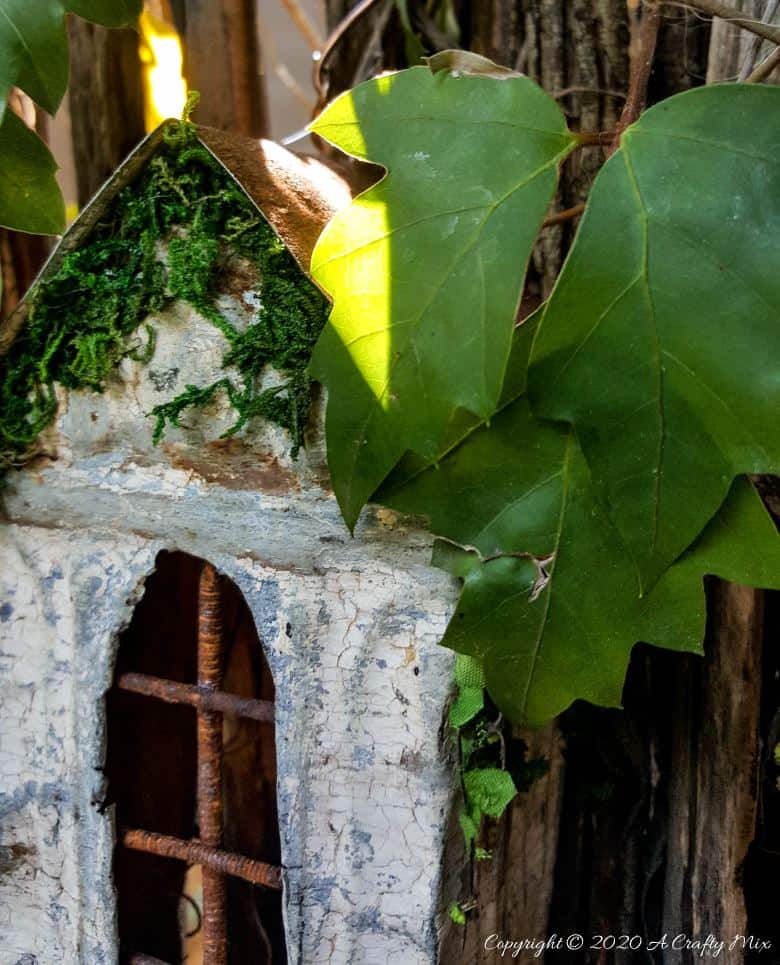
I’m over the moon with how it turned out. Isn’t it so pretty? I don’t know what I love more, the flaky, painted ceiling scrap front with mossy bits or the rusty pitch roof.
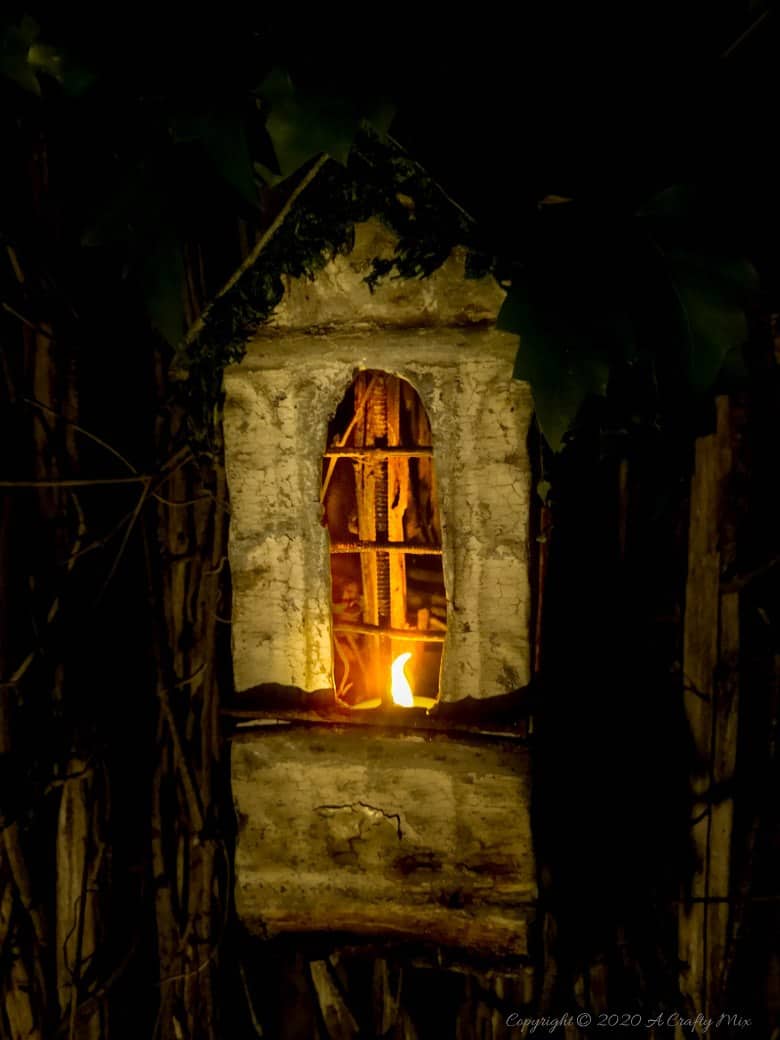
Either way, the it looks amazing at night when the wee folk switch the lights on 😉

Okay, before we get to the tutorial to make a fairy bay window using repurposed bits, be sure to follow us on Facebook, Twitter, Pinterest, or Instagram. And don’t forget to subscribe so you’ll never miss a post!
What you Need
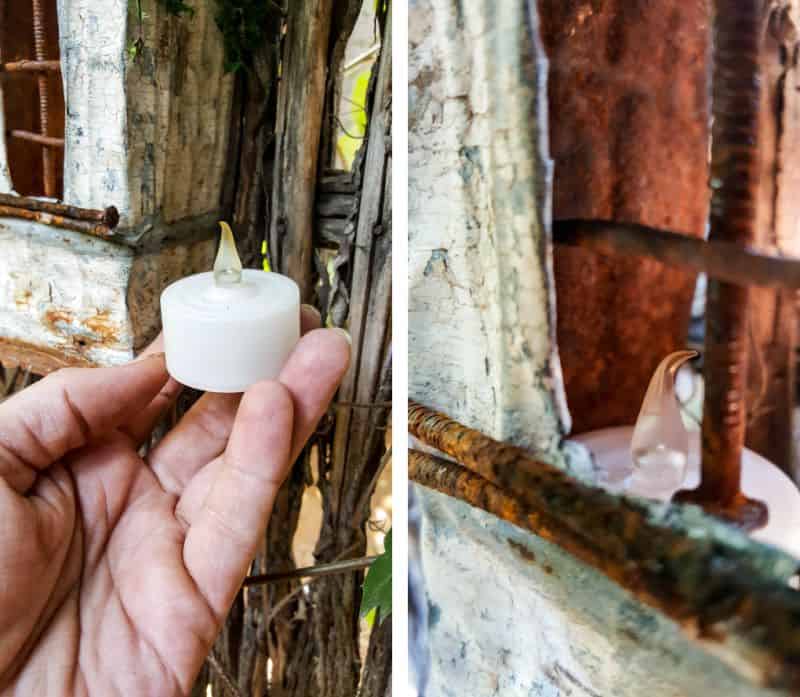
- Battery operated candle
- Rusty nails
- Jigsaw with a metal blade
- Scrap wood
- Glue
- Moss
- Tin ceiling scraps.
If you’re not lucky enough to have a stash of them lying around, you can use a large tin can too.
How to make a fairy bay window with lights
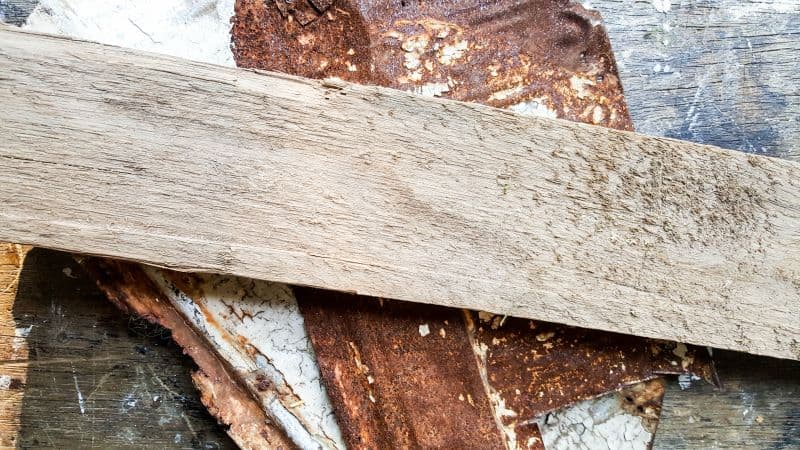
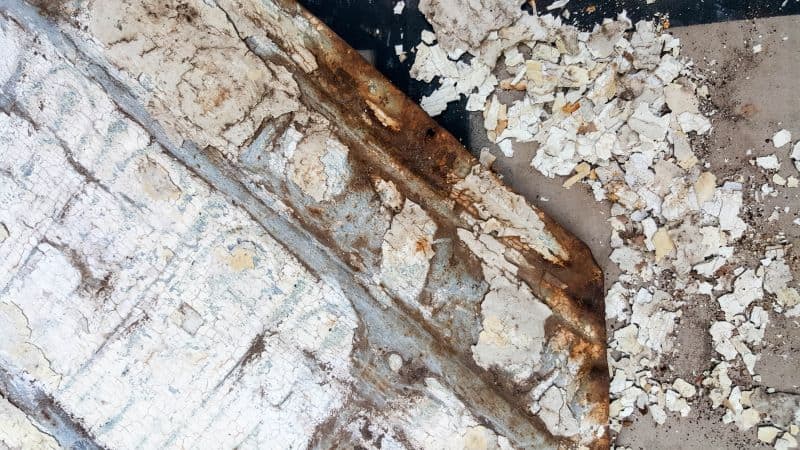
Get rid of any loose flaky paint using one of these methods. I went for the bang and smack approach to get rid of most of the paint on this scrap piece 😀
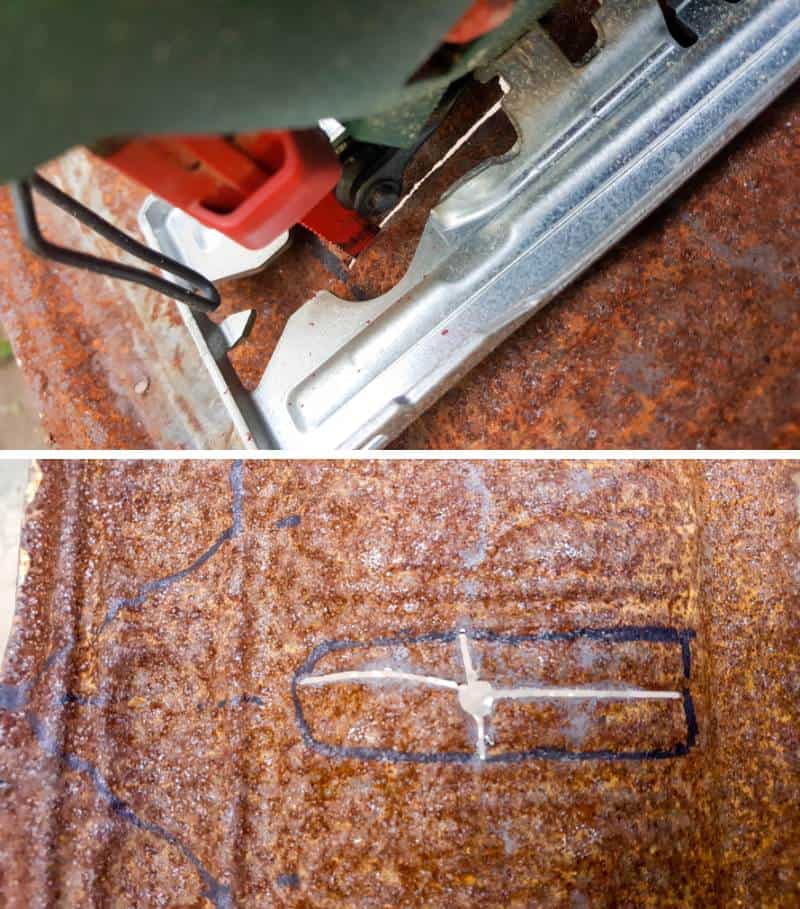
Using the diagram below as a guide draw a window and pitched roof on the ceiling tile with a permanent marker.


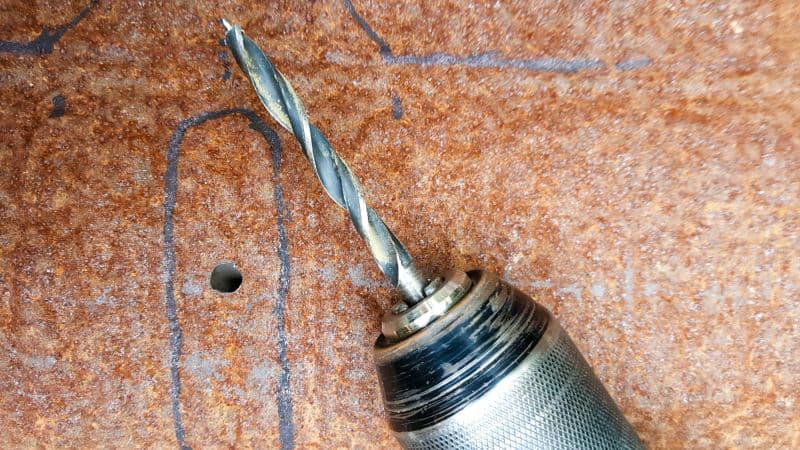
Drill a pilot hole that’s wide enough so the metal jigsaw blade will fit comfortably inside.
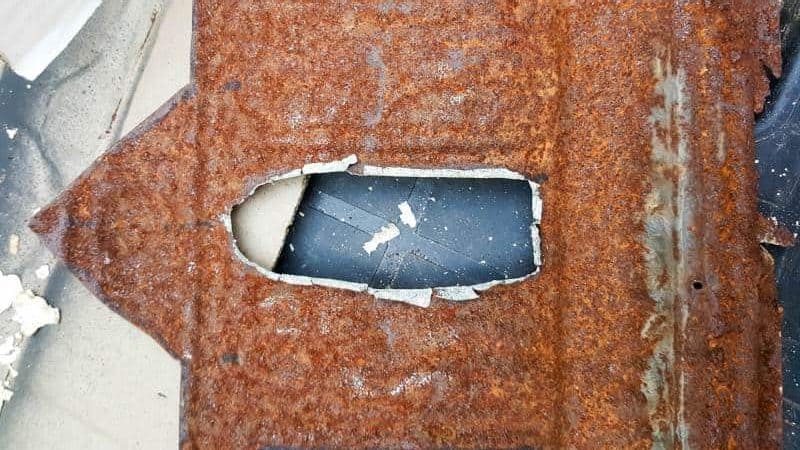
Place the blade inside the pilot hole and then carefully cut the window shape out. If you’ve never used a jigsaw before, here’s a handy guide to get you started. I promise, once you get the hang of it, you’ll be slicing your way through reindeer blobs and magical unicorns in no time at all 😉
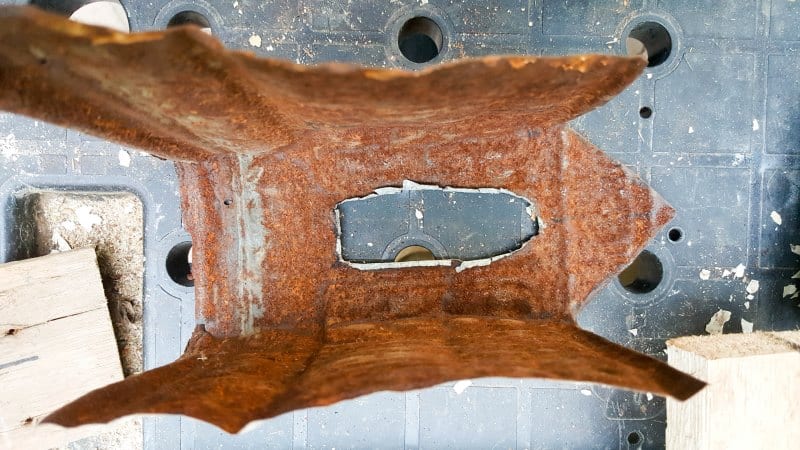
Neaten up the edges of the window with some flat-nosed pliers and the cut the roof pitch and sides of the fairy bay window.
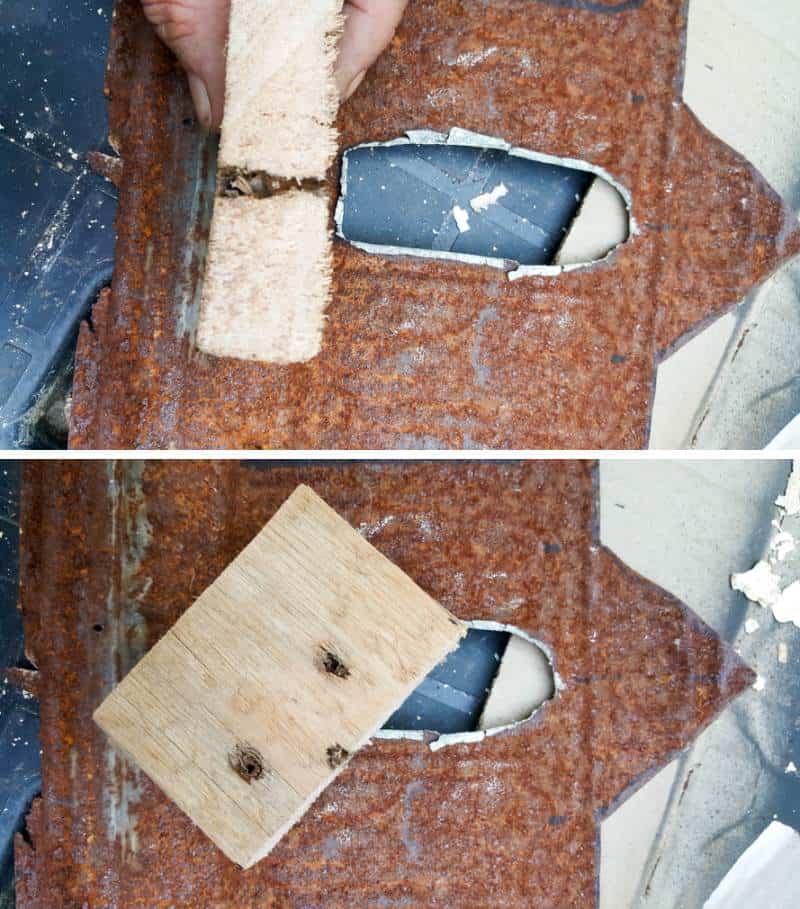
Using the bay window shape as a guide cut a scrap piece of wood to form the base.
Bend the sides of the bay window form up as shown below.
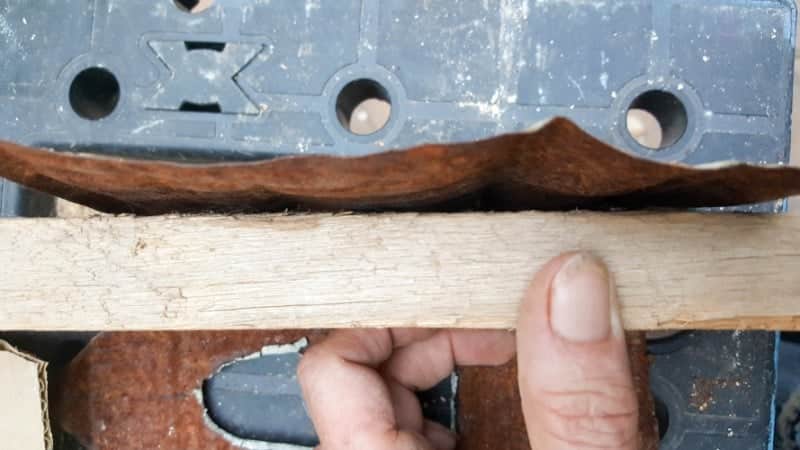
It helps if you use another piece of wood to keep the edges straight. We learned that trick when we made my son’s license plate lamp.

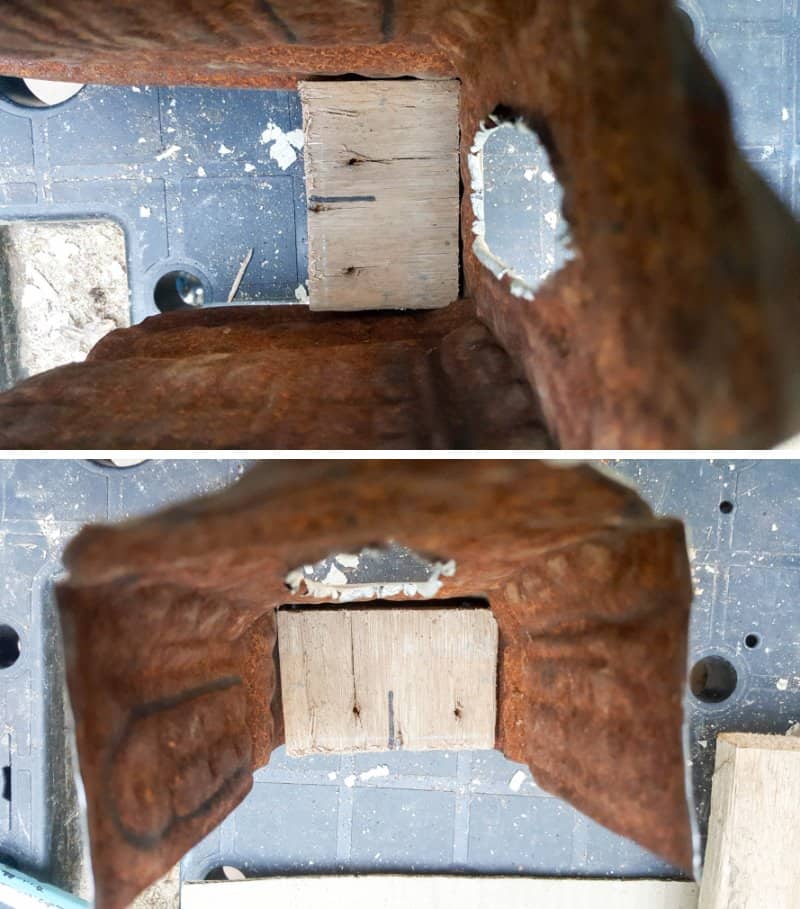
Bend the other side of the bay window form in the same way.
Trim the side edges of the little fairy bay window so the base you cut earlier fits neatly inside.
Your fairy window should look something like this.

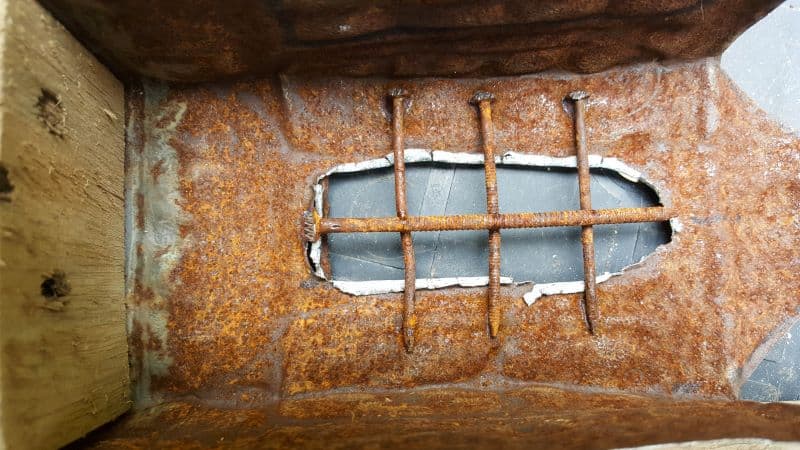
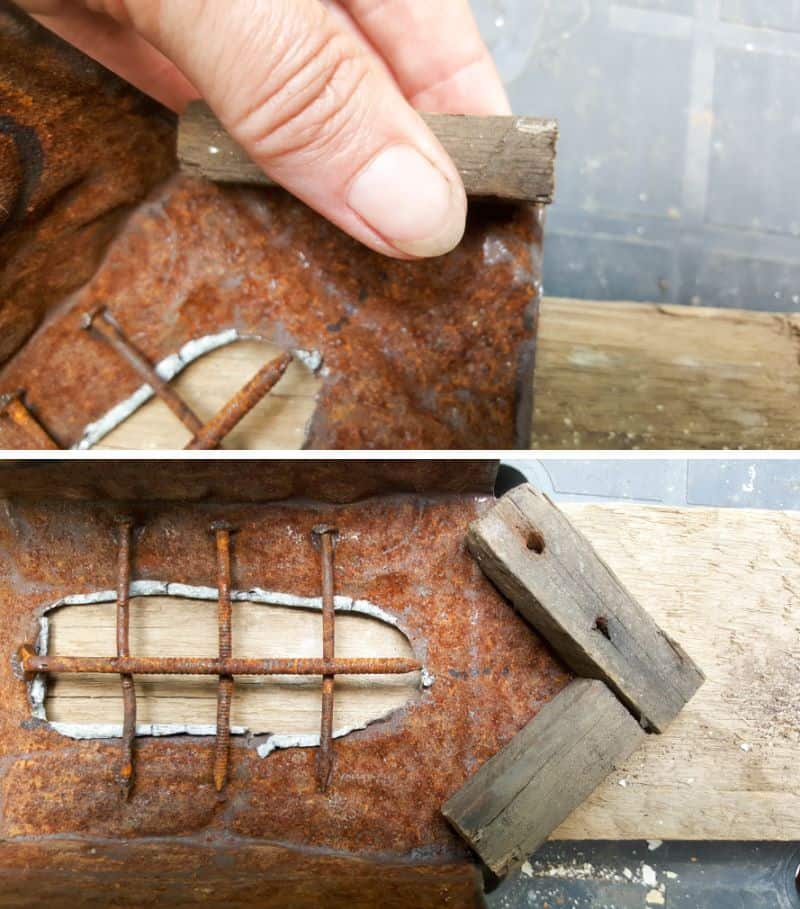
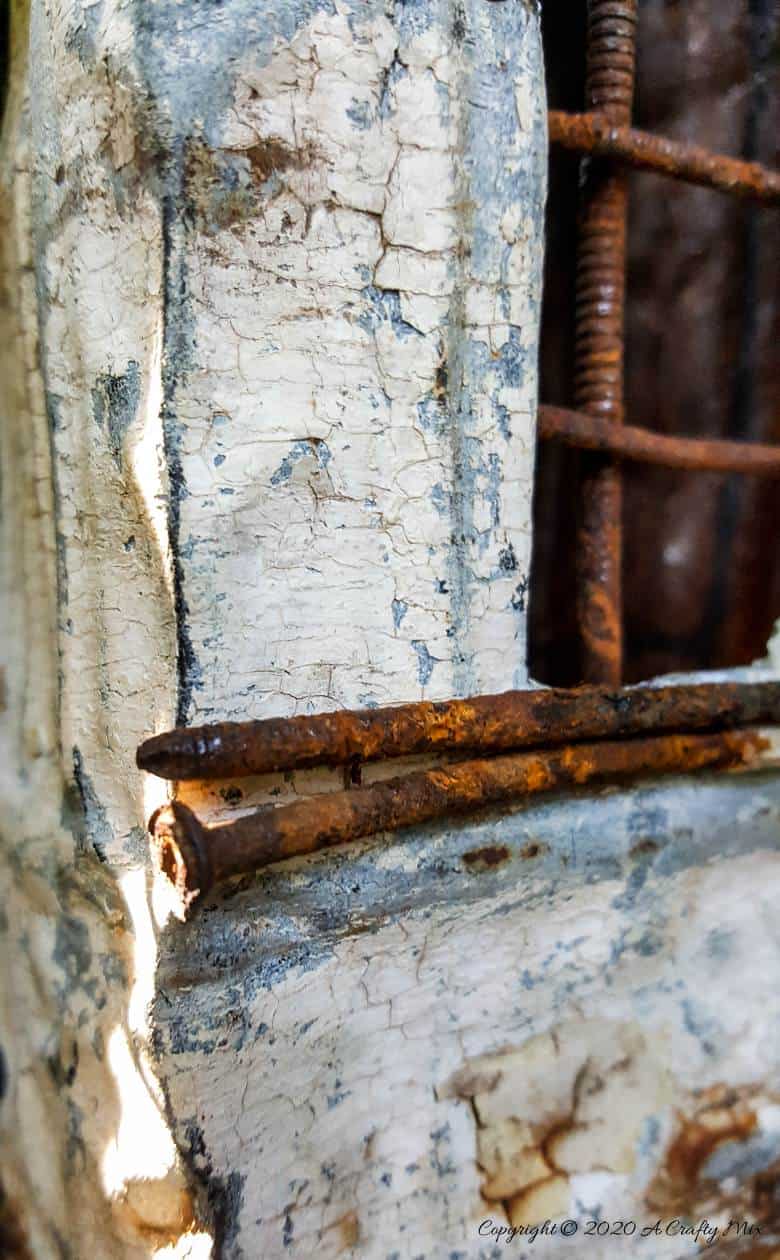
Glue a few rusty nails across the window opening to create some window panes.
Adding the Roof on the fairy bay window
To make the roof that sits on top of the fairy bay window, we first need to add some support on the inside for the roof to rest on. Simply cut some scrap wood and glue and screw it to the roof pitch.
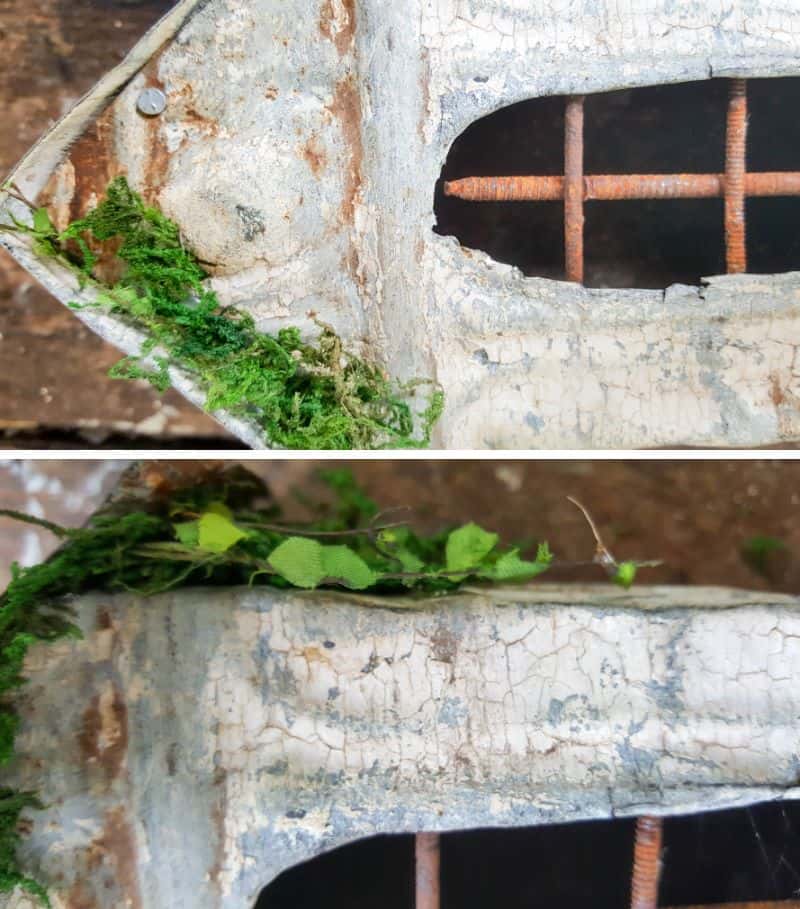
Cut a longer rectangular shape from the ceiling tile for the roof and glue and screw it onto the roof supports. To finish off glue mossy bits to cover any gaps and hide the nail heads.
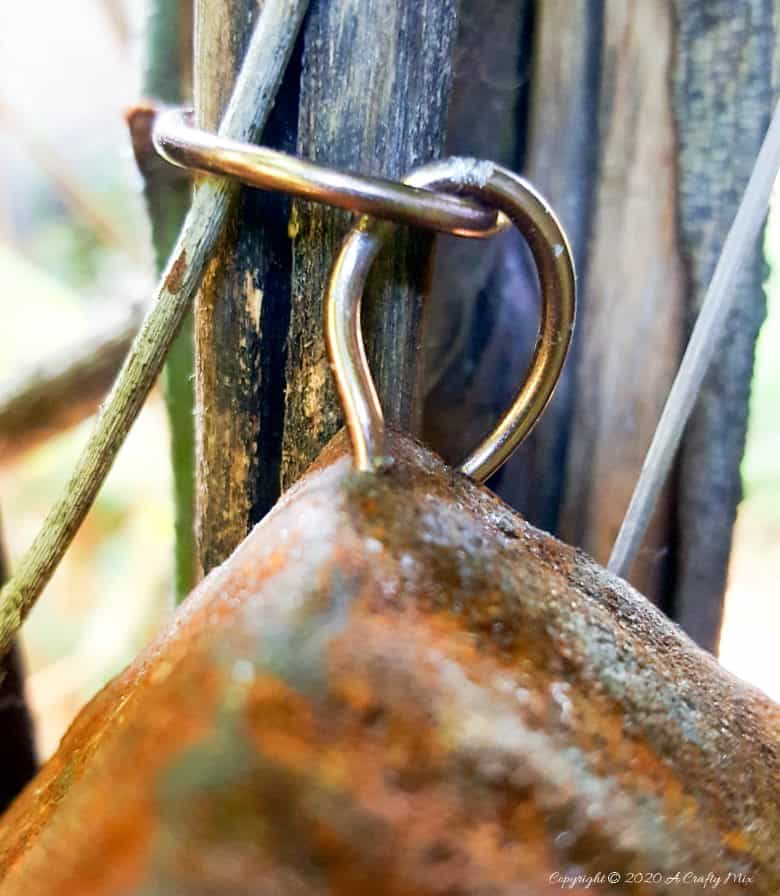
To hang the fairy bay window, make a small hole in the roof and insert some wire.
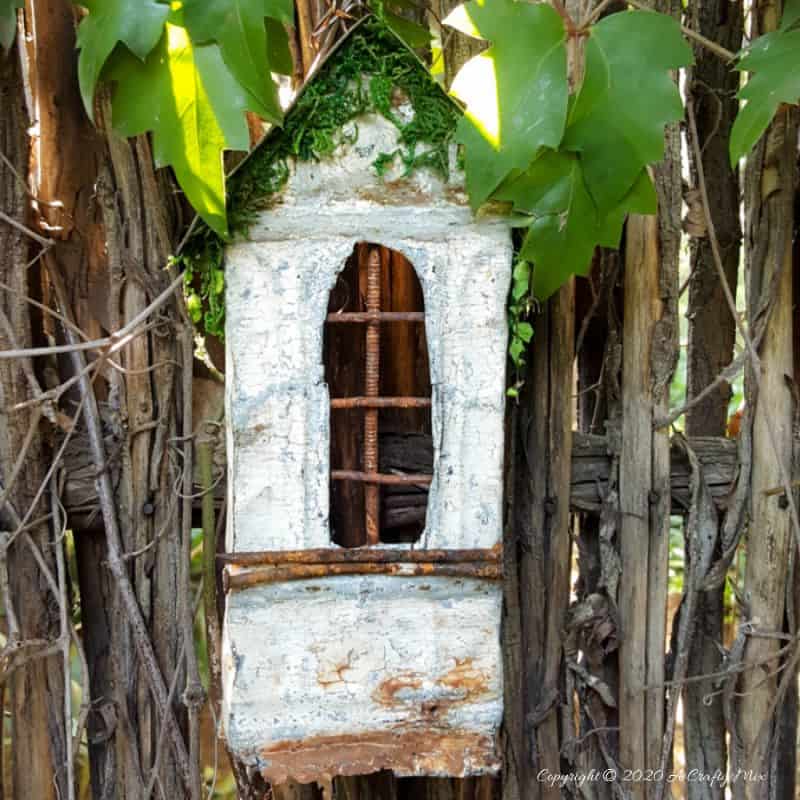
Tie the bay window to a fence or hang her in a tree.

Sit back and enjoy all that rusty repurposed goodness 😉

And when the sun starts setting, place a battery-operated candle inside the bay window………
….. and watch the candle light flickering through the window.
If you like the idea of making a fairy bay window, don’t forget to pin the tutorial for later.
Oh and if you’re looking for some of the things we used, we’ve got you covered. Disclosure: Clicking on the links below, means we may receive a commission from Amazon. But don’t worry it won’t come out of your pocket, and it helps us make more amazing crafts to share with you 😉


And if you prefer to buy rather than DIY, then maybe these beauties will appeal.


And as always, wishing you a wonderful, crafty week filled with lots of love. Thank you for popping in for a visit.

Last update on 2026-06-03 / Source Amazon Affiliates