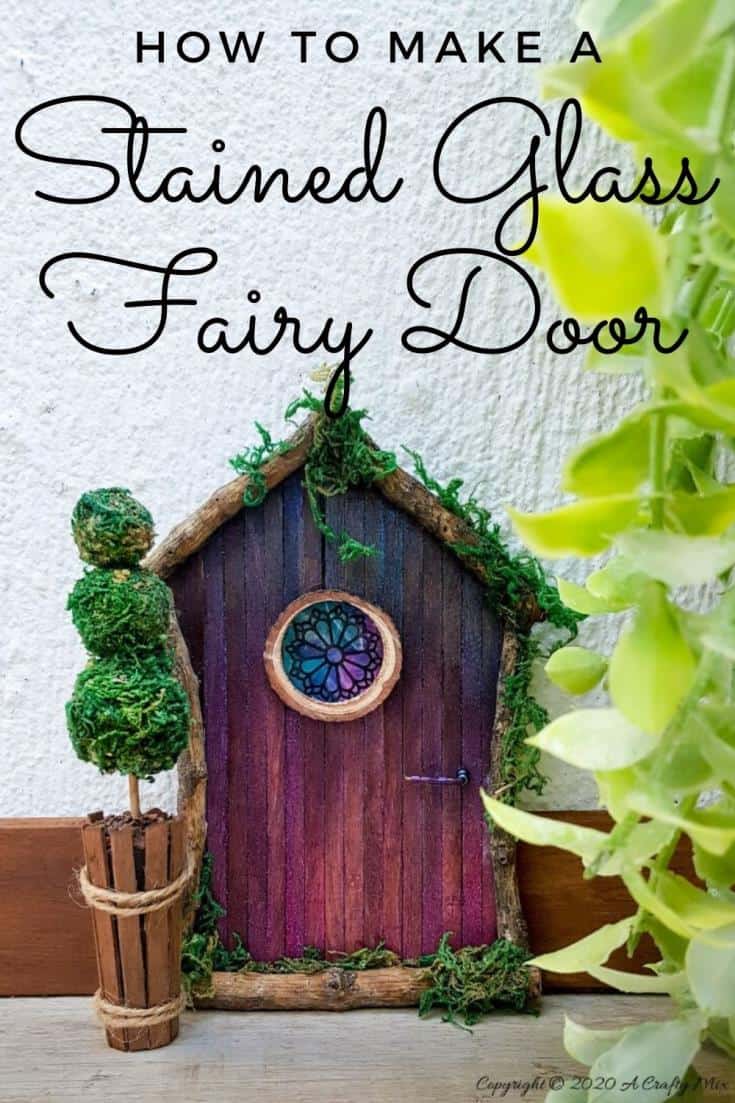
We’ve made a lot of fairy doors for our fairy creations, and I realized the other day that I’ve never actually shared a tutorial on how to make one. Okay, that’s not completely true. I have done a tutorial on making miniature barn doors, but they hide something plain in the house. And as far as I know, the fairies haven’t used them…. yet. So today, I’d like to show you how to make a stained glass fairy door.
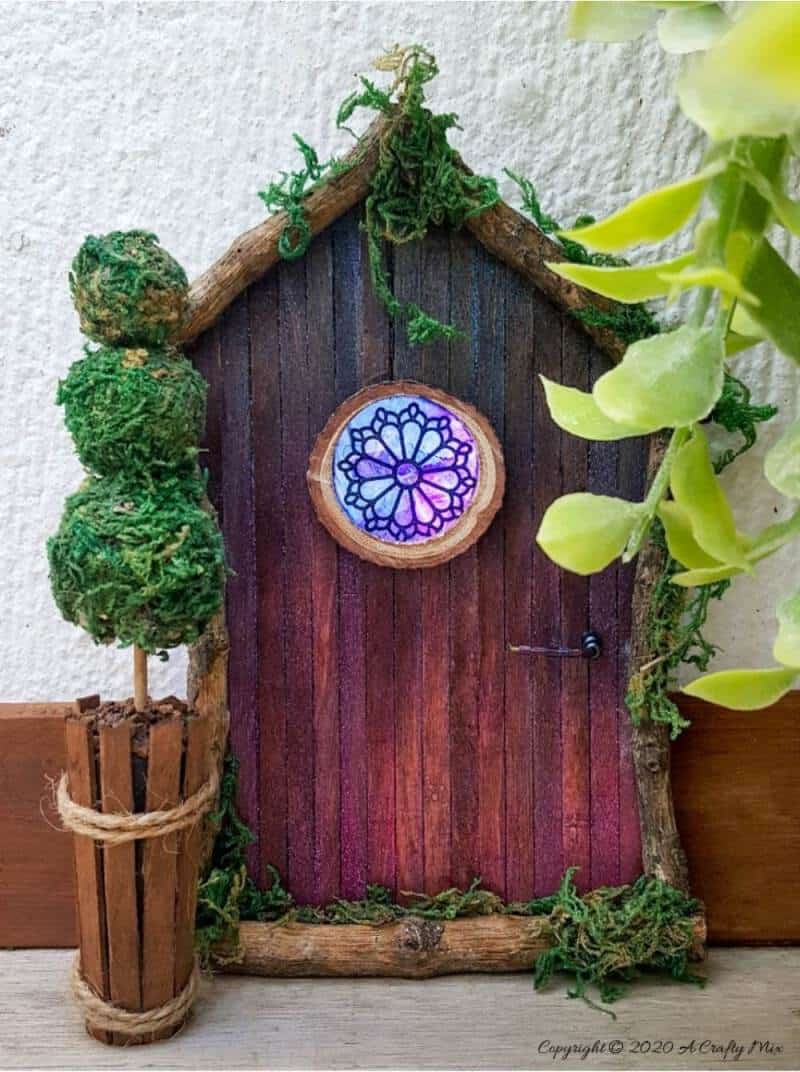
This one is special, though; it also lights up with the flick of a tiny switch.

And I bet you won’t be able to guess where the battery pack’s hidden. Shhhhhh, it’s a secret, but I promise I’ll share it with you in a minute or two. Right, before we get to the good stuff, be sure to follow us on Facebook, Twitter, Pinterest, or Instagram. And don’t forget to subscribe so you’ll never miss a post!
What you need
With all things fairy, it’s always important to take a stroll through the garden before you start. That way, you can breathe in all that nature has to offer, and you might just hear the fairies whisper too. 9/10, they’ll guide you to something that’s going to add a little magic to your project, like this beautifully formed branch. That split towards the top is so perfect for making a door frame.
Besides the branch, you’ll need the following:
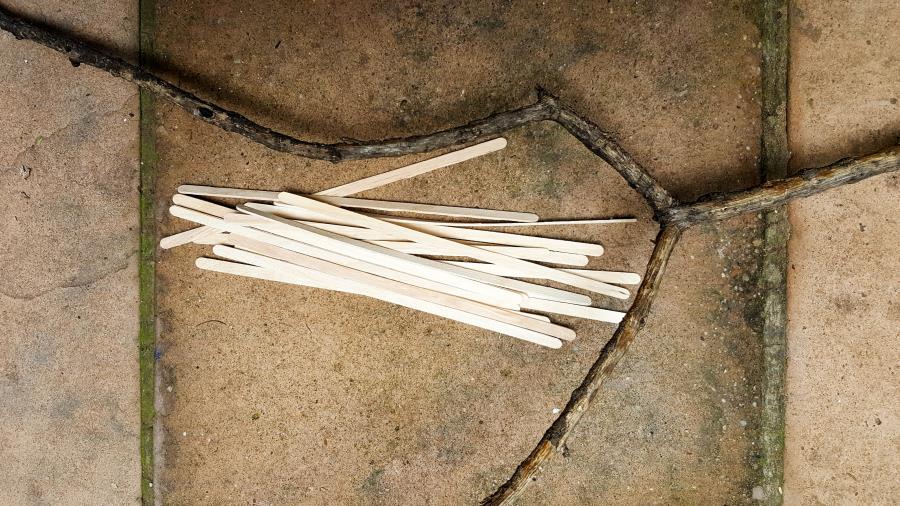
- Ice cream sticks or stirrers
- Craft paint
- Clear plastic
- Alcohol inks
- Free stained glass pattern
- Wood glue
Most of the doors we make for our fairy homes are built from wooden stirrers or ice cream sticks (except for our Medieval fairy door and this magical polystyrene one). Those innocuous sticks of wood are perfect for making all kinds of miniatures, from porch swings to treasure chests and fairy bridges. They’re inexpensive, and if you can’t find any at your craft store, it’s a good excuse to eat lots of ice cream. I prefer using slim sticks for a fairy door, but any size will work. If your door is curved or oddly shaped, I would highly recommend using a scroll saw for cutting.

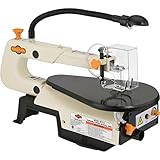
My hubby bought me a Dremel Moto-Saw. It’s like a mini scroll saw on steroids. Love, love, love, how much easier it’s made my life. If you don’t have a scroll saw, a really, really sharp craft knife will work too. All our other fairy doors were cut with a craft knife. You’ll also need a drill and a hole saw to make the frame for the stained glass window. If you don’t have a hole saw, this tutorial will show you how to make vine-wrapped fairy window frames with wire.
How to make a stained glass fairy door
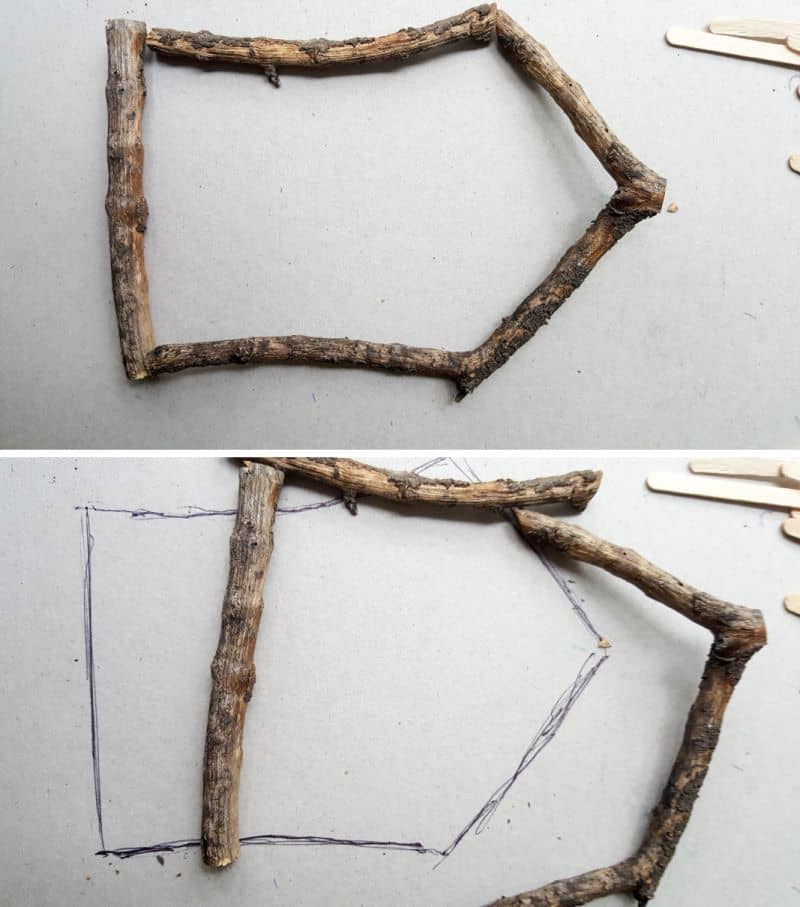
Start by trimming the branch with garden shears to form a door frame. I only needed to trim one side of my branch a little.

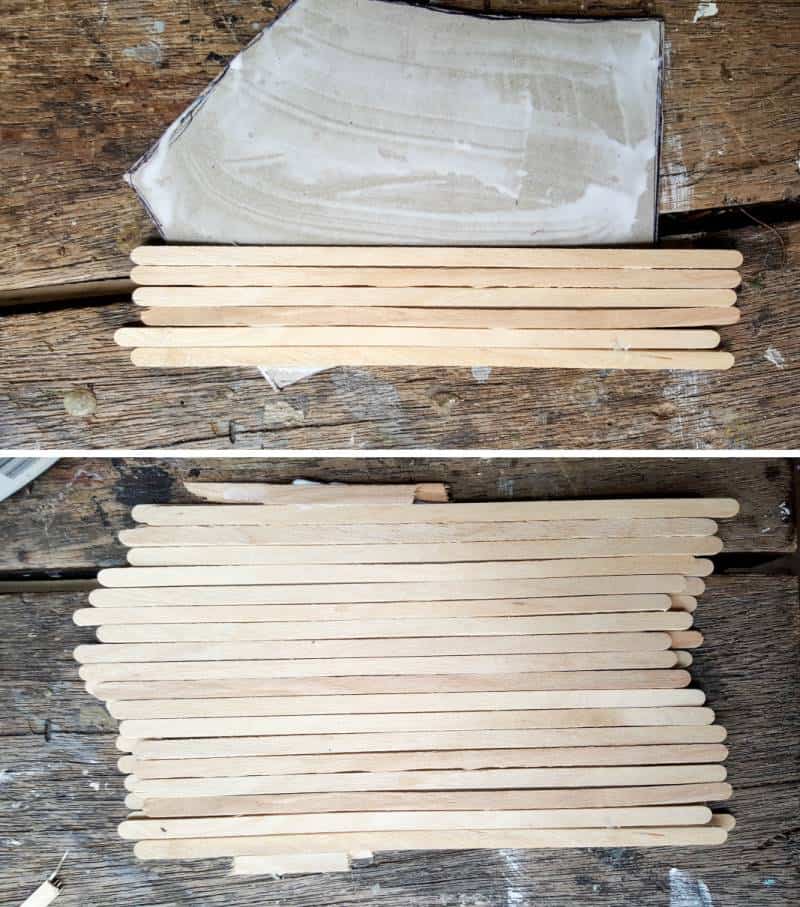
Use the doorframe as a template to figure out how the ice cream sticks or stirrers need to be cut. You can simply trace around the frame.
You should end up with something like this.
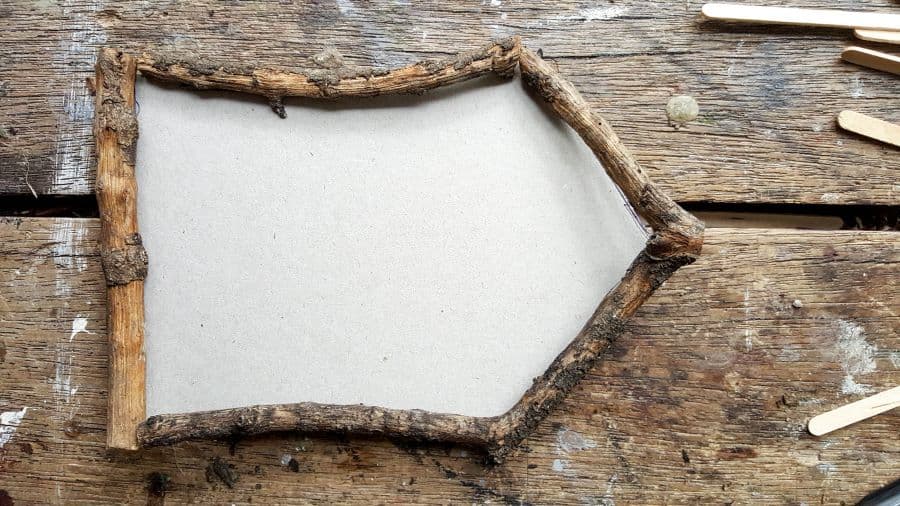
Glue a whole bunch of wooden craft sticks onto the cardboard cut-out. It’s going to make a huge difference when it comes to the final details. Trust me on this one. For a thicker door, glue the sticks on both the front and back of the cardboard.
When the glue dries completely, use your scroll saw or a sharp craft knife to cut the ice cream sticks into the shape you need.
Making the stained glass window and frame
The stained glass window consists of two parts, the window itself and a frame around the window. Make the frame first so you can use it as a template to cut the hole in the door.
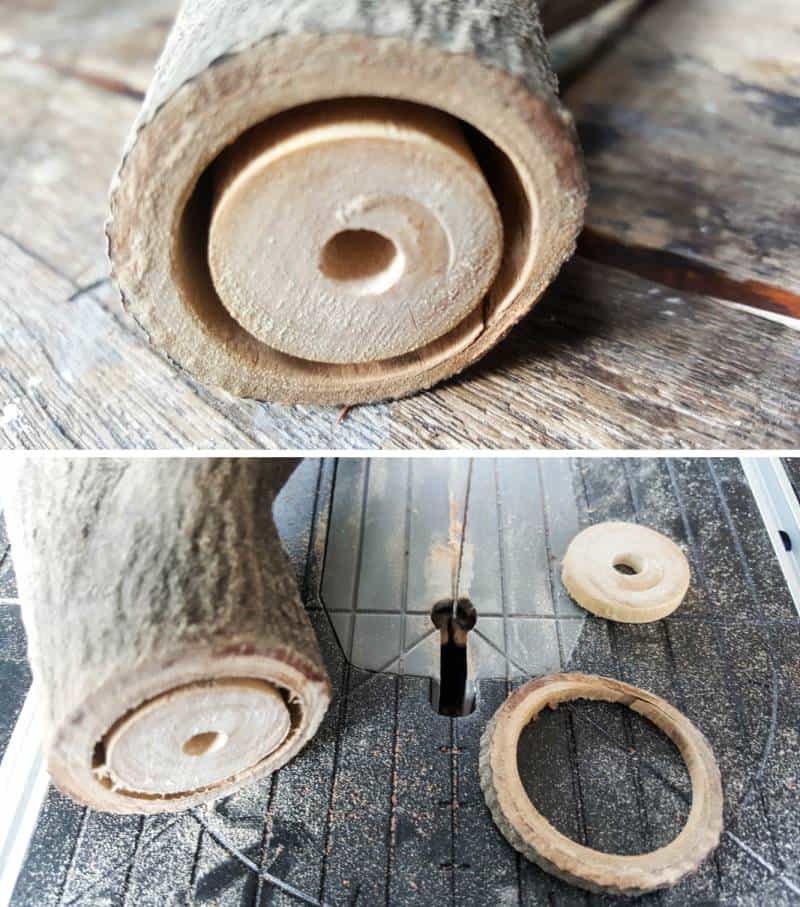
Making the window frame
For the window frame, we’ll use a branch about 1.5” to 2” thick (4 to 5cm). Use a hole saw bit that’s smaller than the thickness of your branch and cut downwards into the branch. Slice the branch as thin as you can to create the frame. If you don’t want to mess with woody bit, have a look at this gypsy wagon tutorial that uses soft vines to make a frame.
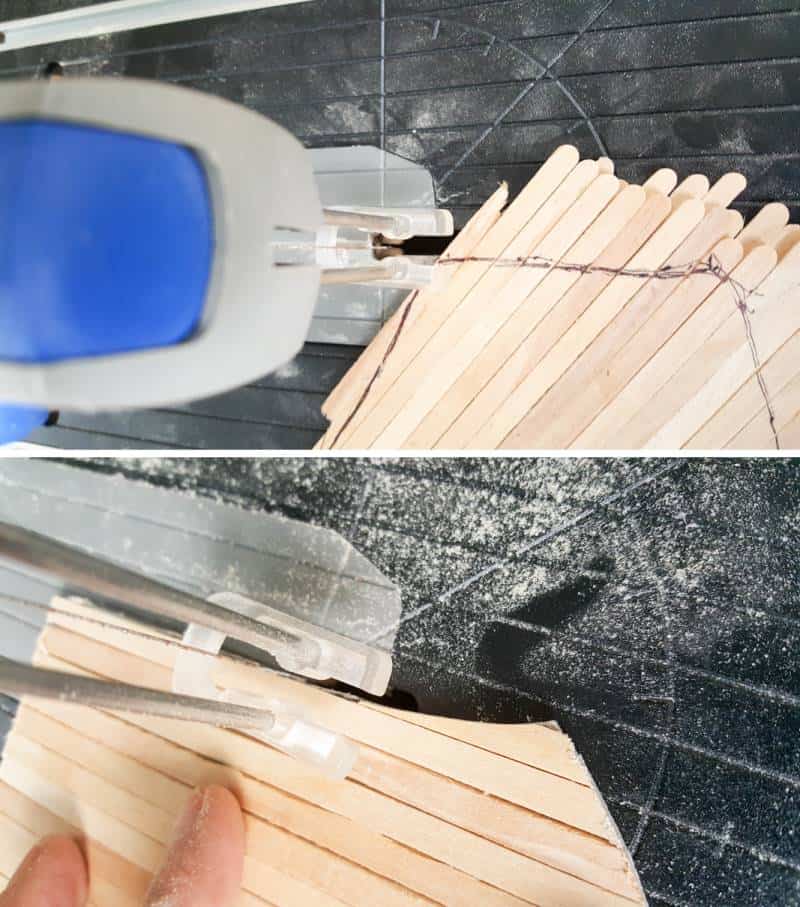
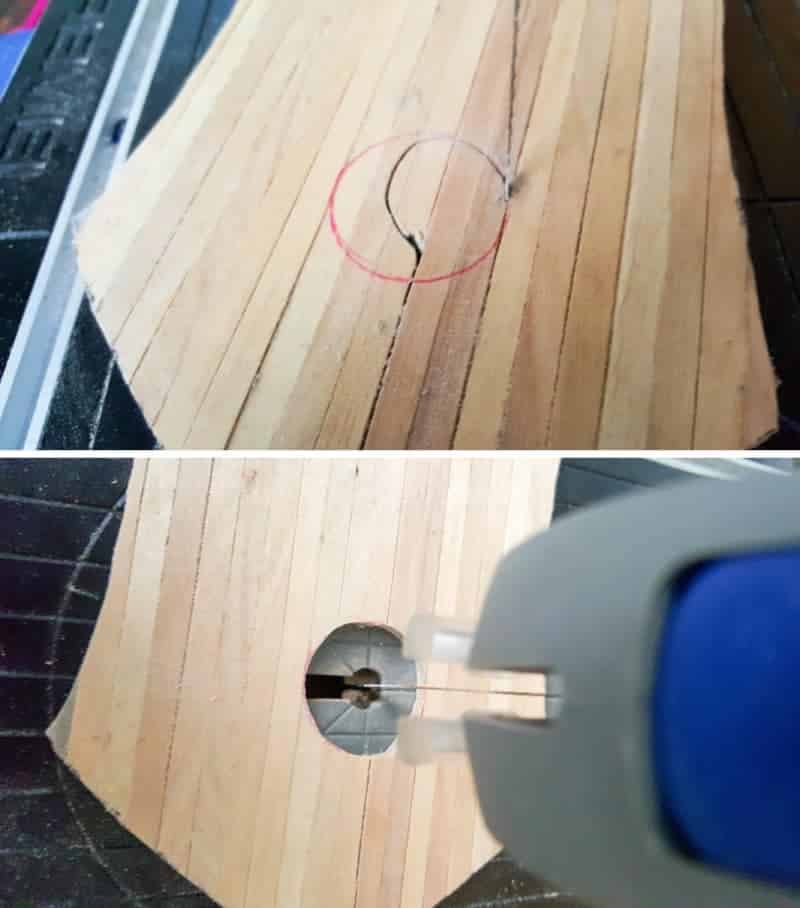
Cutting a hole in the door
Using the window frame, figure out where you want to put the stained glass window. Trace around the inside of the frame and cut. This is where I went “Uh Duh”. Unlike a normal jigsaw, the Dremel’s blade isn’t loose, so I can’t insert it into a pilot hole and cut from there. But hey, that little machine is still the best. Since the blade is so thin, it wasn’t a huge problem. I could just cut between the sticks and then around.
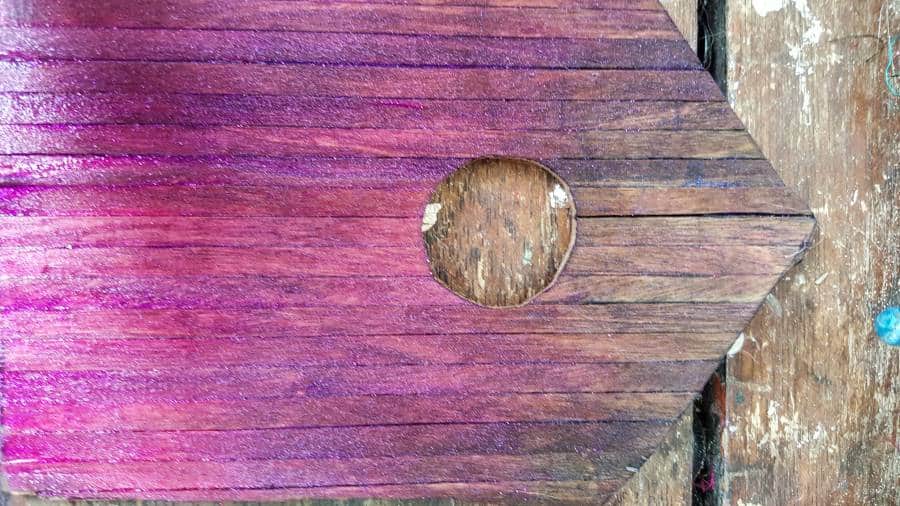
Stain and paint the fairy door in any color you like. I used a little of our Rusty Nail Muti to age the wood first.
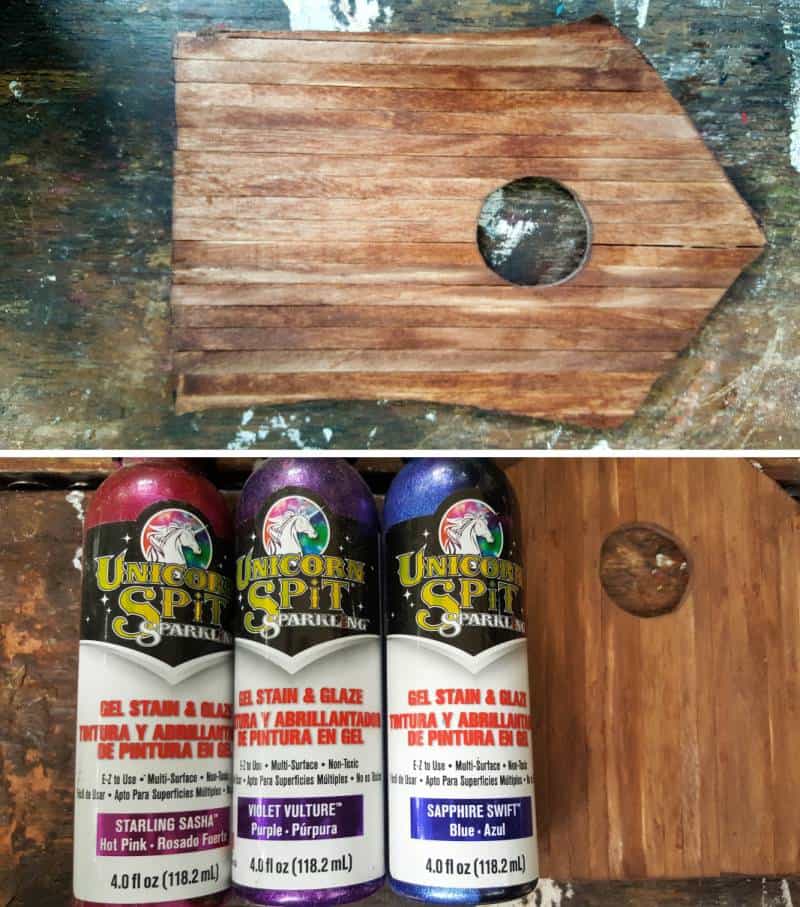
And then added some of my Sparkling Unicorn SPiT to create an Ombre effect by blending Starling Sasha into the Violet Vulture and then into some Sapphire Swift. Don’t you just love those names.

You can get more tips on blending and layering Unicorn SPiT here.
While you wait for the paint to dry, you can start making the stained glass window.
How to make a stained glass fairy window
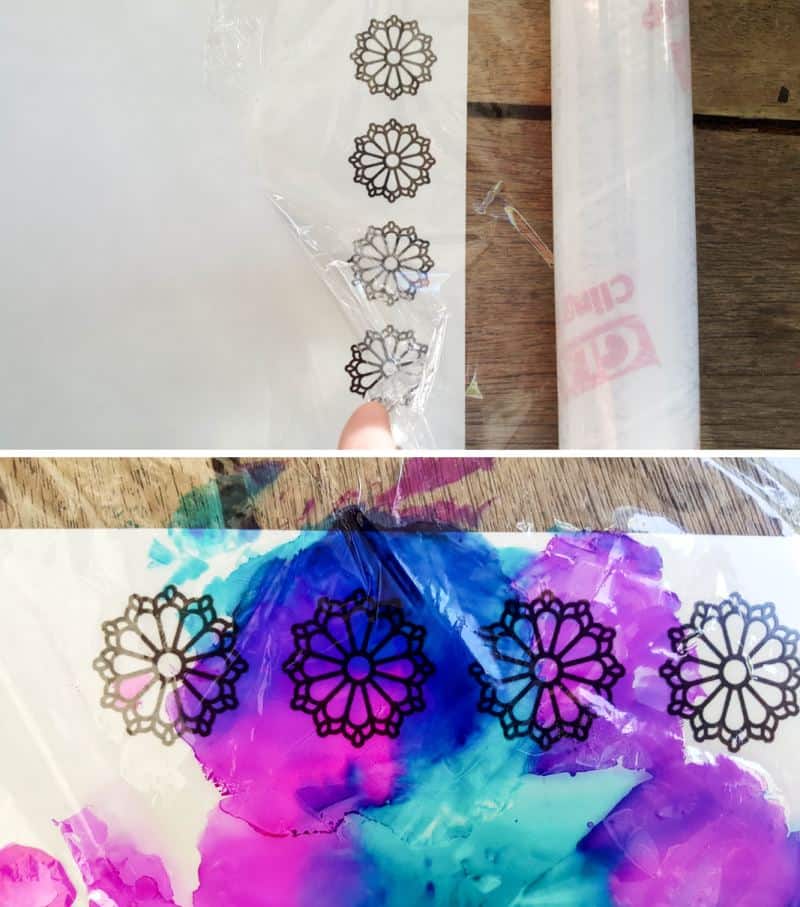
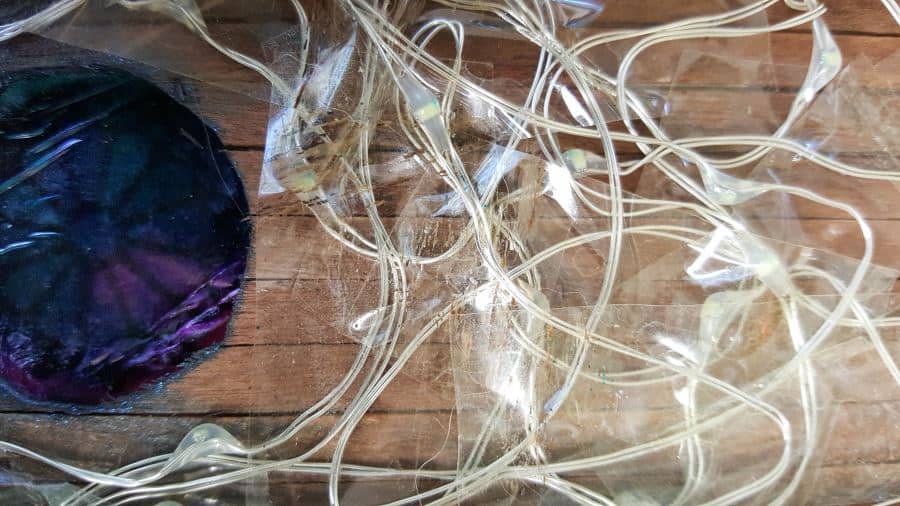
For the window, you’ll need alcohol inks, shrink wrap, and any kind of transparent sticky paper. If you don’t have any alcohol inks, you can use permanent markers and simply color over the top on the transparent sheets.
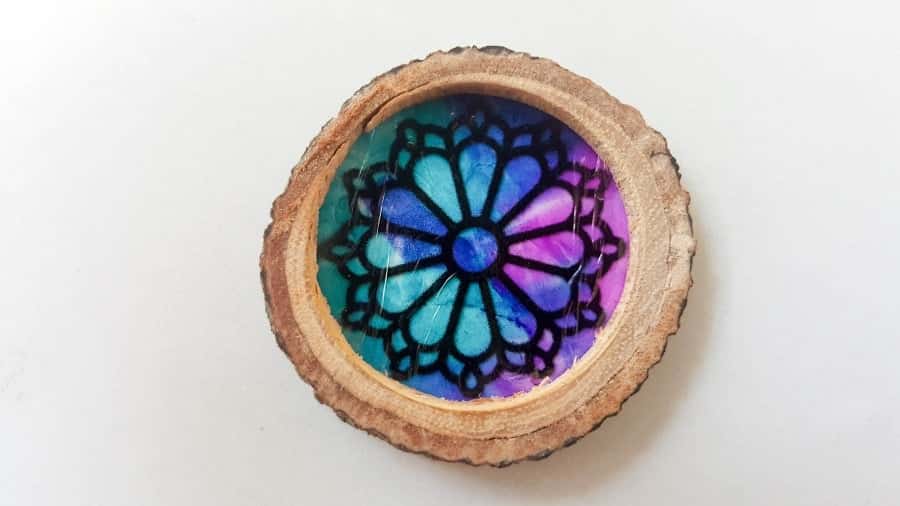
Print the free stained glass window pattern on the transparent sheets. Place some shrink wrap over the top of the printout and drop random colors all over. We used the same technique when we made the gorgeous translucent dragonfly wings. Once you’re happy, peel the backing off the transparent sheets and stick it on top of the inked shrink wrap.
Cut the alcohol ink stained glass window out and glue the window onto the frame, and then glue the window and frame on the door.
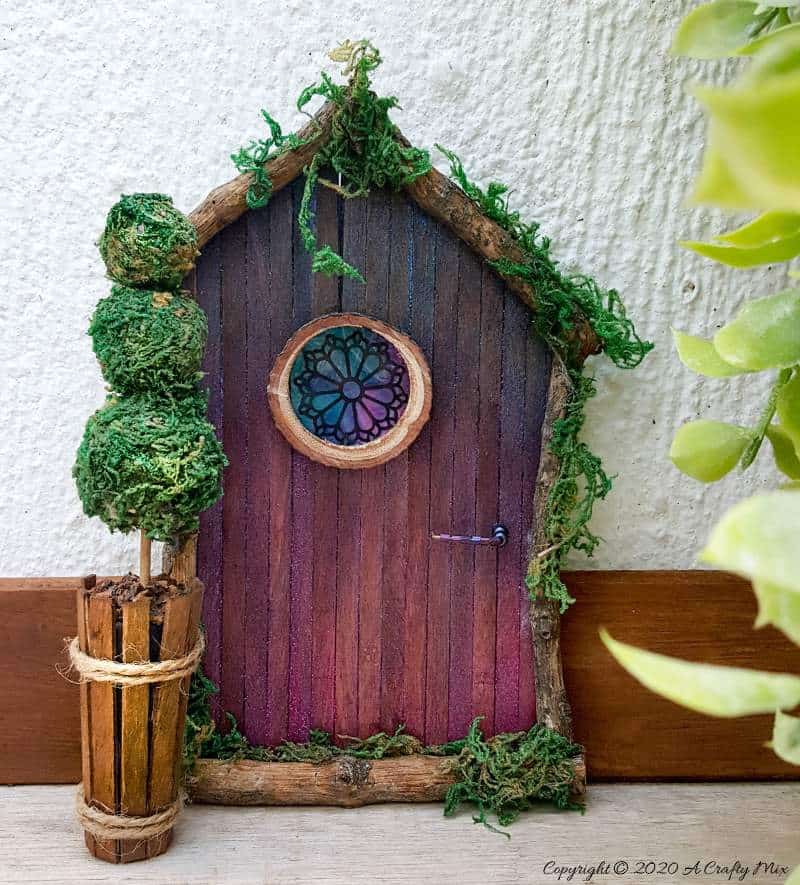
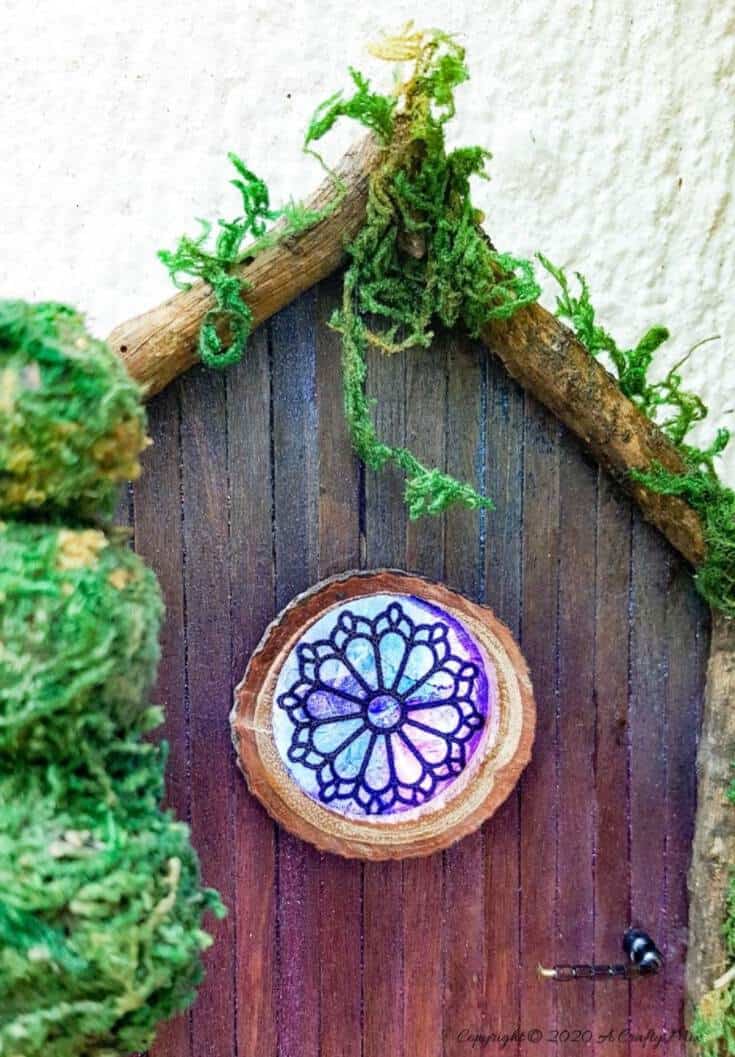
Finish the door off by gluing the door inside the branch door frame and decorating it with a little moss to hide any gaps.

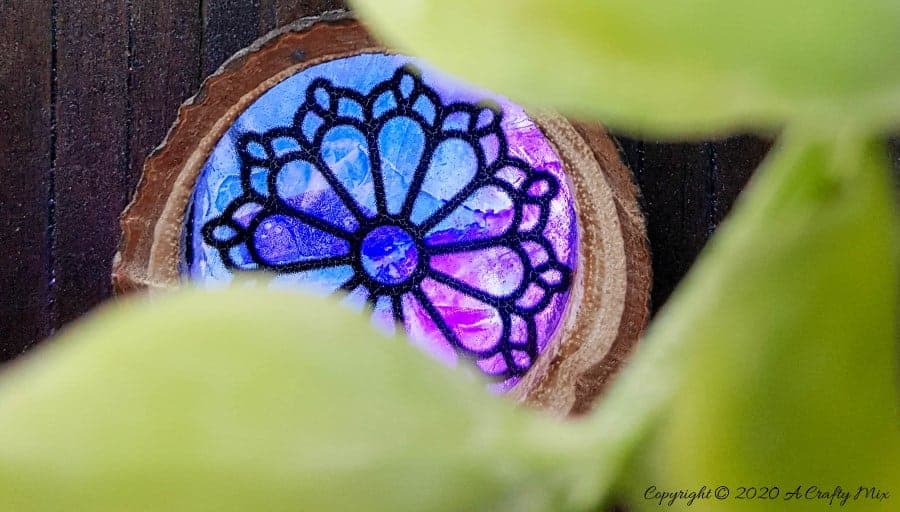
Don’t you just love the way the sun lights up that little stained glass window? For the small door handle, I used a pin and a few beads. You could also use a tiny twig or one medium-sized bead.

Adding some lights and hiding the battery pack
All that’s left to do is add lights so that that stained glass window can shine. And with the stained glass window and fairy door looking so pretty, there was no way I wanted an ugly battery pack messing up the scene. So here’s what I came up with to hide the battery pack. I turned it into a planter and added a miniature topiary.
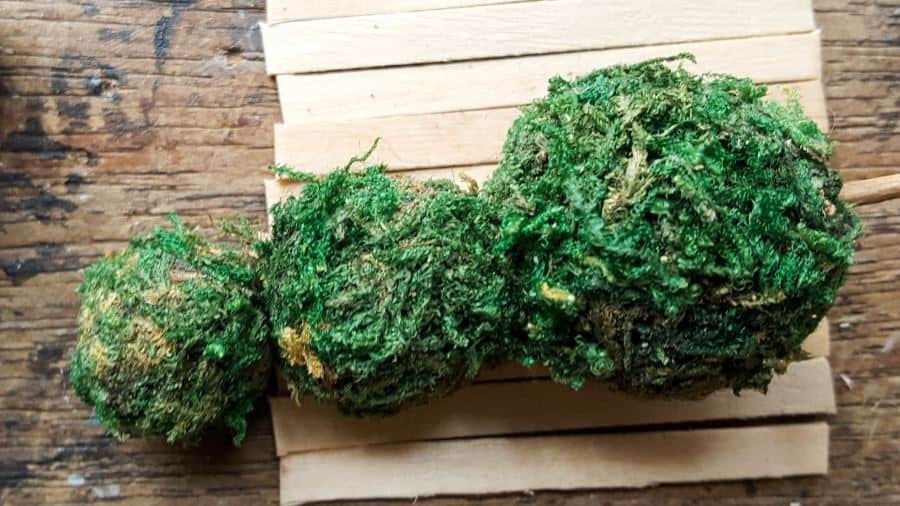
And all you need is a few trimmed stirrers and a small faux plant or little moss topiary (you can get the tutorial for the topiary here).
This method works best with wine cork fairy lights. Measure the length of the battery pack and add about 1/4 inch. Cut the stirrers based on your measurements. Glue the stirrers onto the battery pack making sure to leave the spot where the switch is open. Paint or stain the stirrers and glue a little soil on the top.
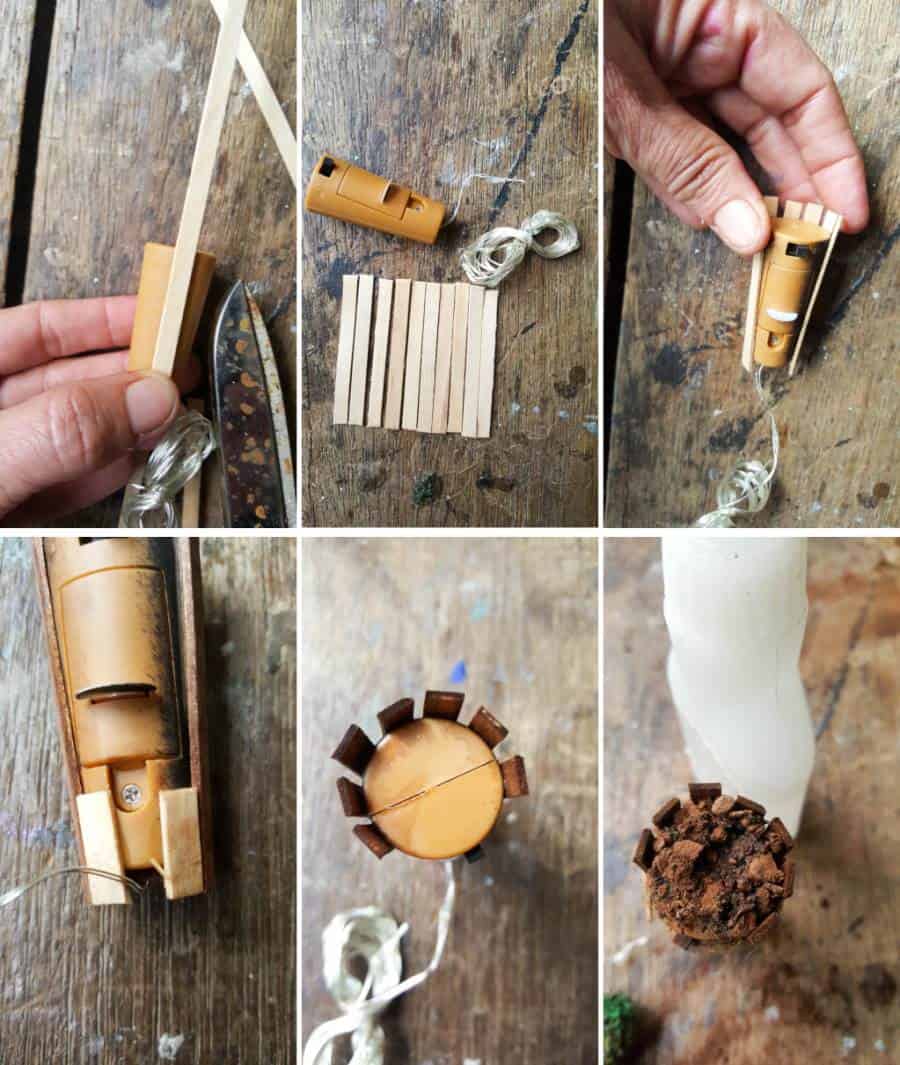
Glue the miniature topiary in the soil and then tape the fairy lights down flat on the back of the door. If you’re using fairy lights with a flat battery pack, simply glue the pack on the back of the fairy door with the switch towards the bottom. This tutorial will show you how to hide a flat battery pack behind a door.
And that’s it. Your stained glass fairy door is done.

The cork fairy lights aren’t waterproof, so it’s best to place the little door inside.

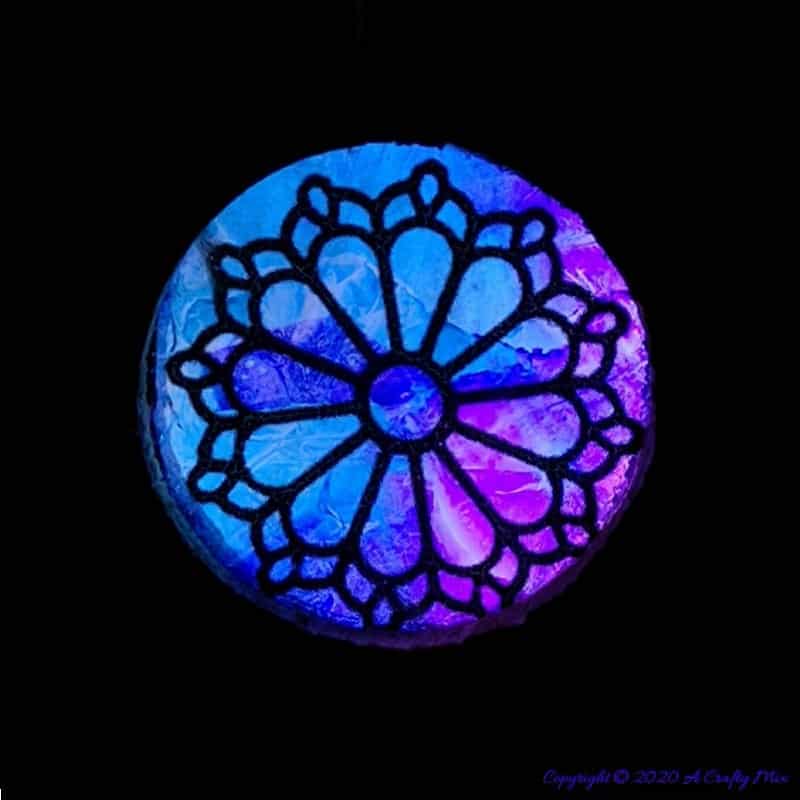
And when you want the stained glass window to shine, simply flip the switch.
So what do you think? Have you made any fairy doors?
If you like the idea of making a stained glass window fairy door, don’t forget to pin it for later.
And if you’re looking for a few more fairy crafts to make, you’ll find a whole bunch on our blog, including:
- A fairy world in a book nook;
- Working grandfather clock;
- Tiny fairy beach in a cloche;
- Adorable fairy playground in a chair planter;
- Our super popular fairy bridge;
- A whole kokedama fairy village;
- Pixie den in a lantern;
- A magical take away dish fairy garden door;
- Fairy potting bench;
- A small fairy forest in a reverse canvas,
- Cute cone Fairy Christmas Tree.
We’ve also included some affiliate links below, so you don’t have to worry about finding some of the stuff we used to make this fairy door. Disclosure: Clicking on the links below means we may receive a very small commission from Amazon. But don’t worry, it won’t come out of your pocket, and it helps us come up with unique DIY and fairy craft ideas for you.


And if you prefer to buy rather than DIY, then maybe these beauties will appeal.

And as always, wishing you a wonderful, crafty week filled with lots of love. Thank you for popping in for a visit.

Last update on 2026-06-03 / Source Amazon Affiliates