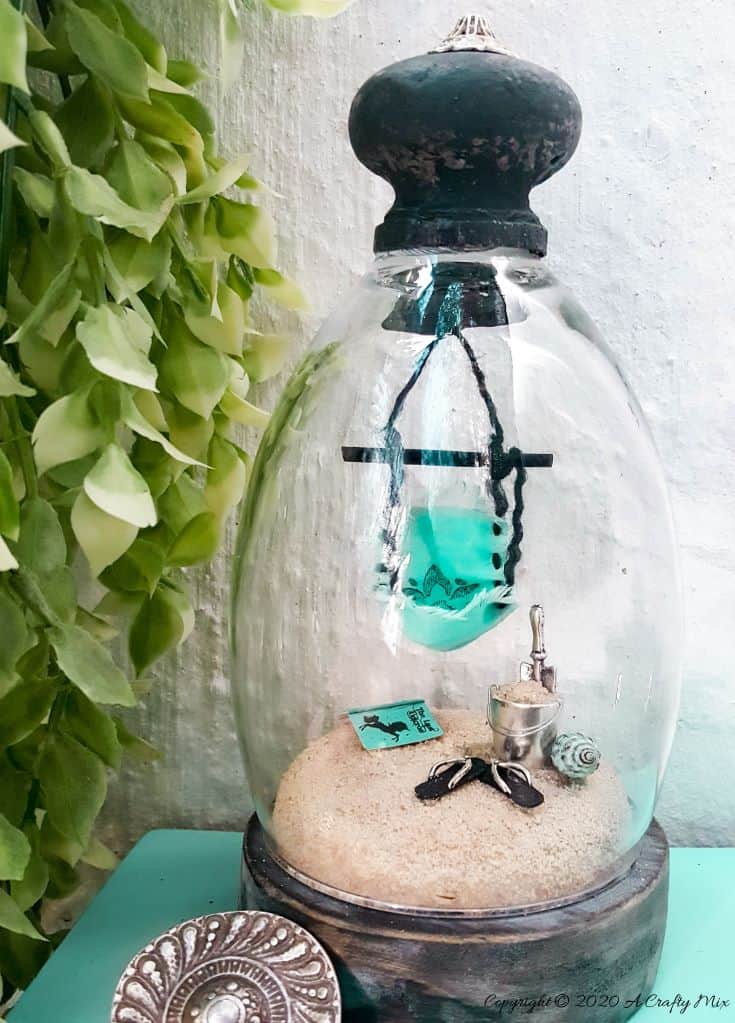
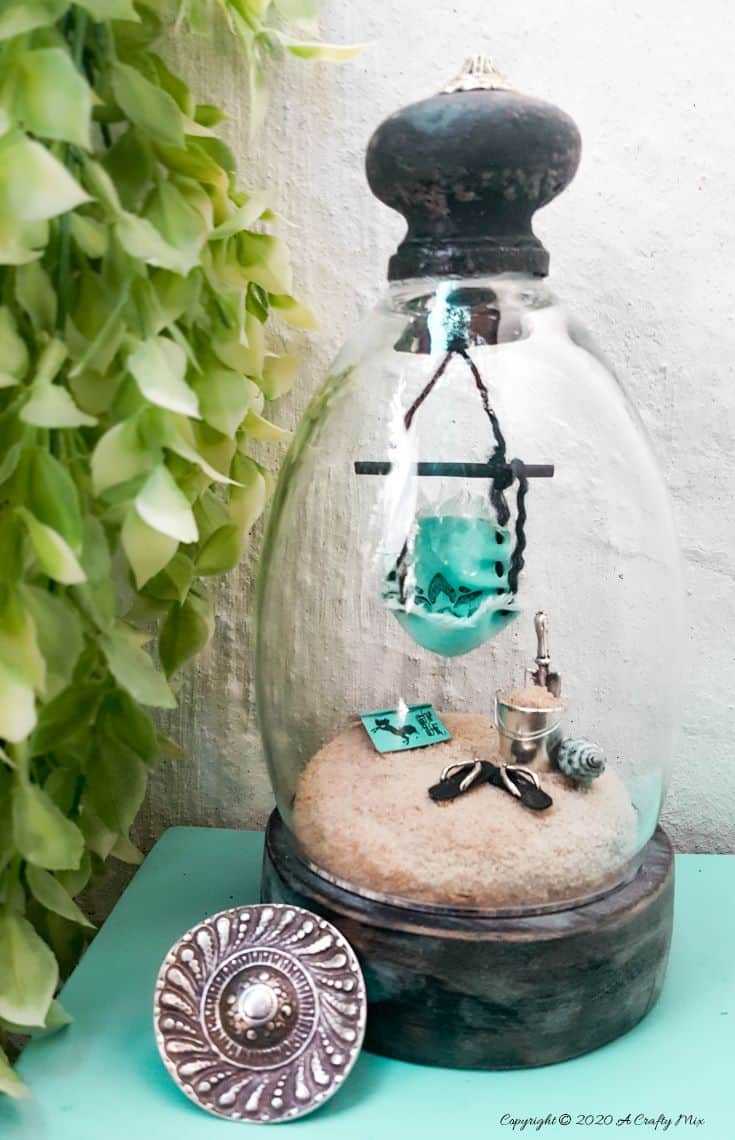
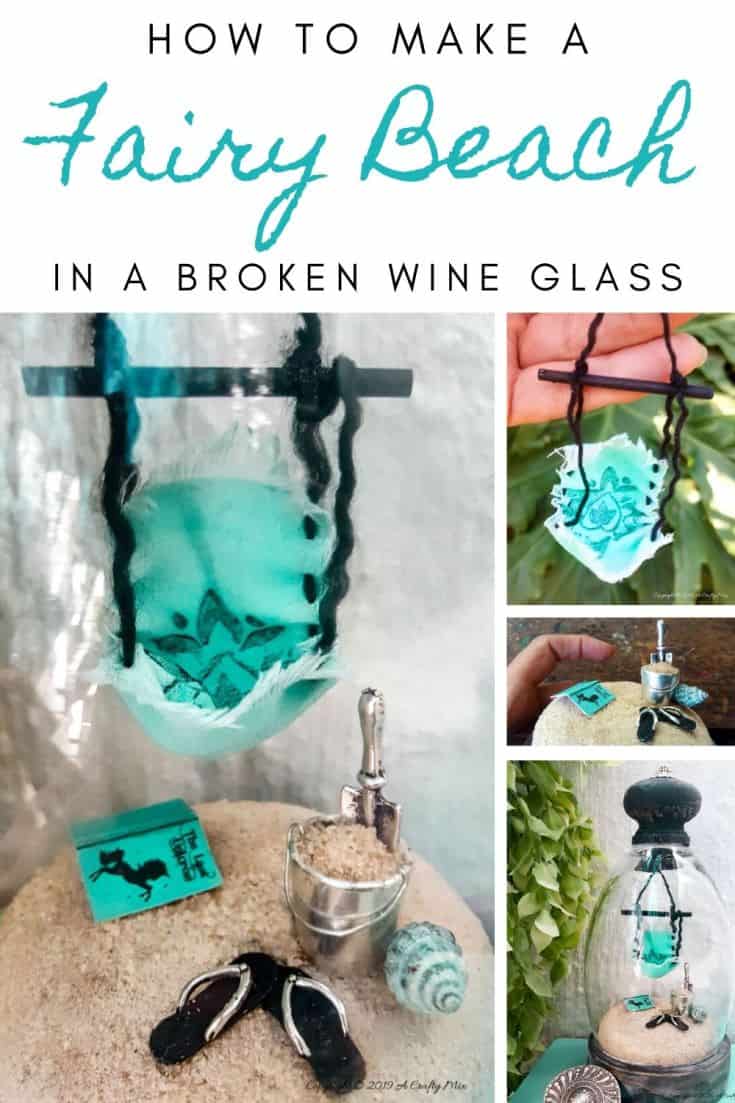
When life gets crazy, and the world turns topsy turvy but you still want to feed your craft addiction, then this fairy beach in a cloche is a great project. It’s fun, easy and looks adorable too.
If you’ve been following the blog for a while, you’ll know how much we love making fairy scapes. It’s a grown-up version of playing with dolls, that doesn’t involve ripping their legs off and turning them into spiders. And right now we probably all need crafty ideas to get rid of some pent-up energy that threatens to overwhelm us in these really difficult times.
Okay, before we get to the tutorial, be sure to follow us on Facebook, Twitter, Pinterest, or Instagram. And don’t forget to subscribe so you’ll never miss a post!
What you need:
- A base for the cloche
- Doorknob, cork or large bead
- Unicorn Spit or craft paint
- Fairy Hammock
- E6000 glue
- Florist foam and fine sand
- Stencil (optional)
- Broken wine glass, tumbler, or small cloche
I repurposed a broken wine glass to make this fairy beach scene. Those things break in our house all the time .
If you don’t have a bunch of crazy friends that break wine glasses, this quick video will show you just how easy it is to cut the stem off a wine glass so you can use them to make a cloche for your fairy beach too.

How to make a fairy beach in a cloche
There are three parts to this fairy beach tutorial
- Turning a wine glass into a cloche. You can skip this part if you have the real thing.
- Creating the fairy beach,
- And making a little hammock. We’ve already shared a tutorial to make a fairy hammock here, so I won’t go into too much detail in this tutorial.
Repurposing a wine glass into a cloche
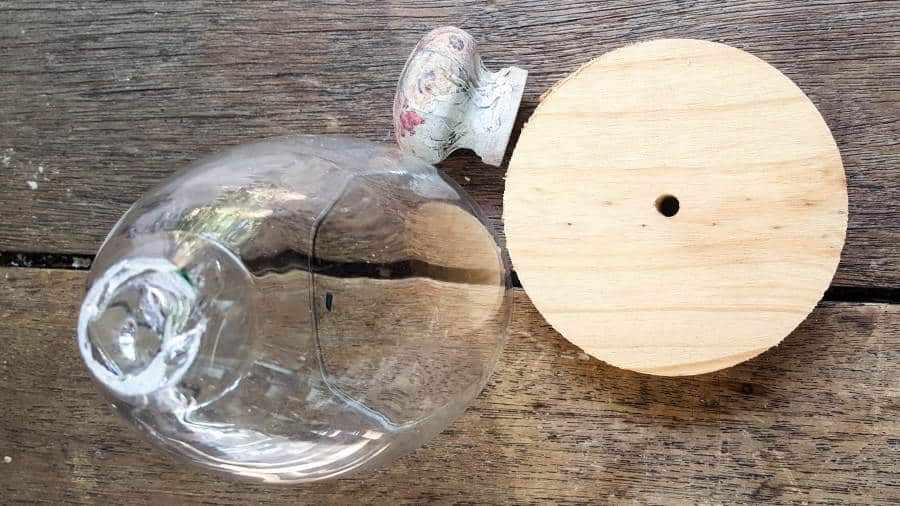
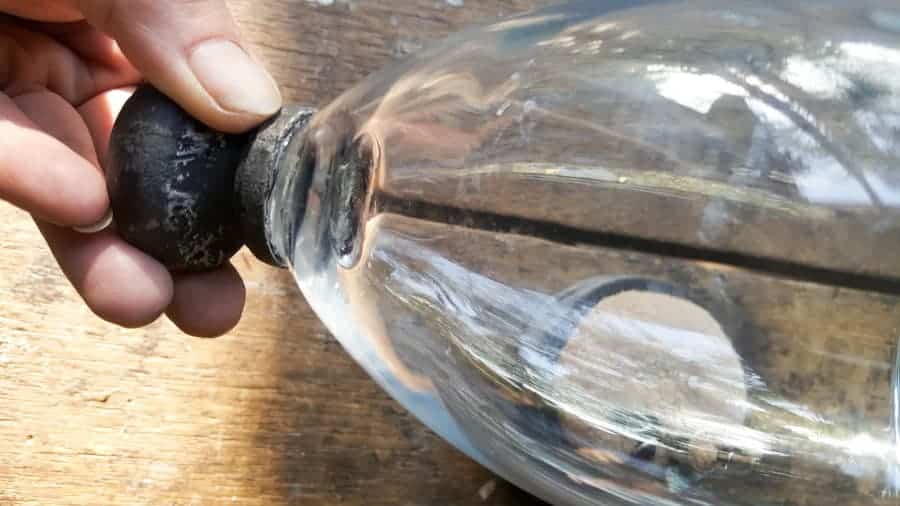
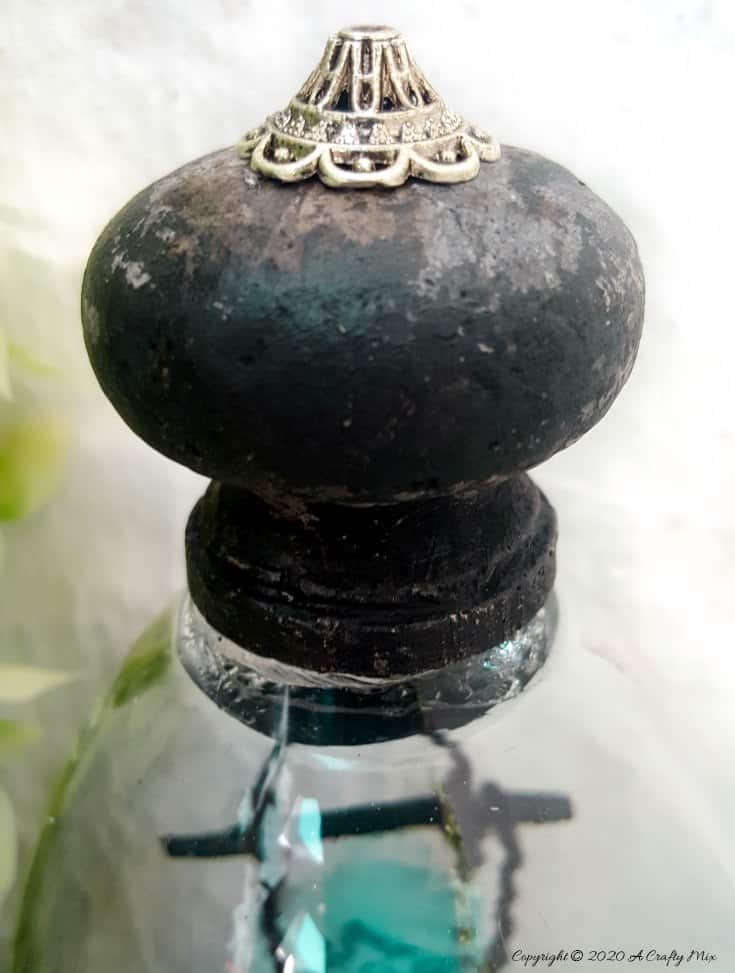
We love repurposing broken wine glasses for our fairy cloches, and it’s really easy to do. All you need is a base and a little something on the top to act as a cloche lifty-uppy thing. You can use a cork, as we did for this fairy diorama, or you can just glue on a pretty bead or an old doorknob.
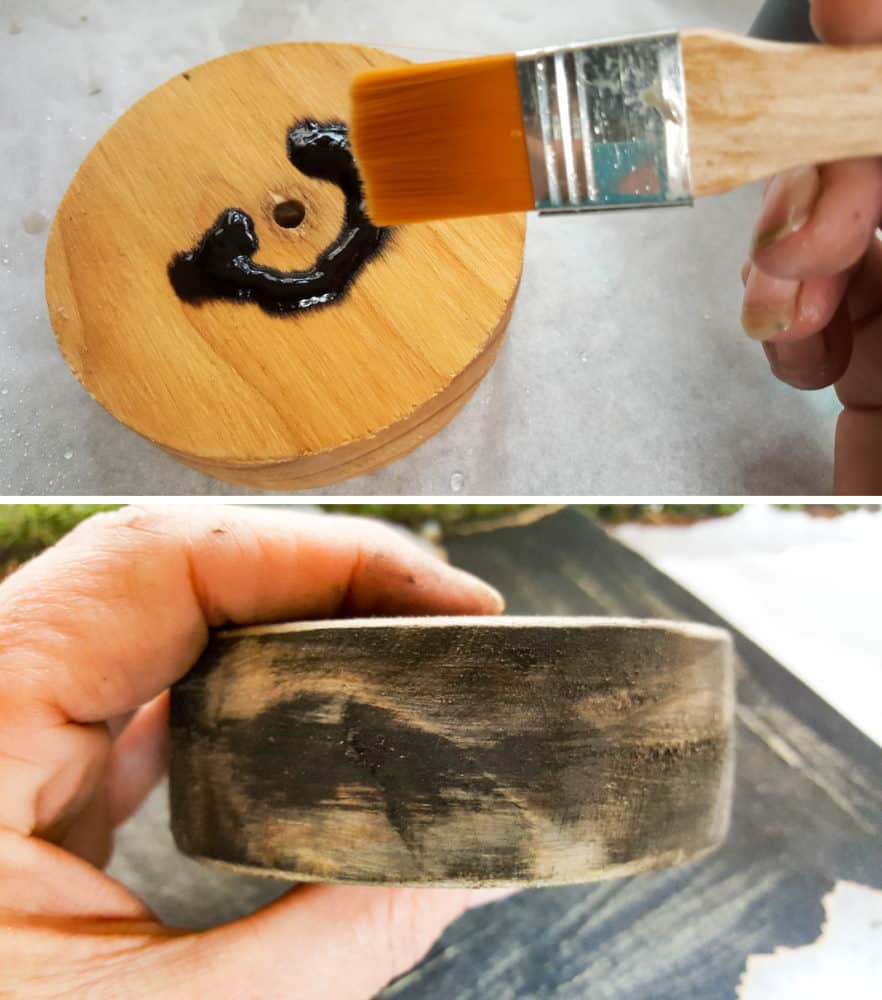
To make a base for the wine glass cloche to rest on, the Hubby cut a scrap piece of wood with a hole saw. After sanding it with 100-grit sandpaper, I stained the base using Unicorn SPiT.
Right, so that’s the cloche done. Now we can start playing and creating our fairy beach.
Creating a fairy beach in a cloche
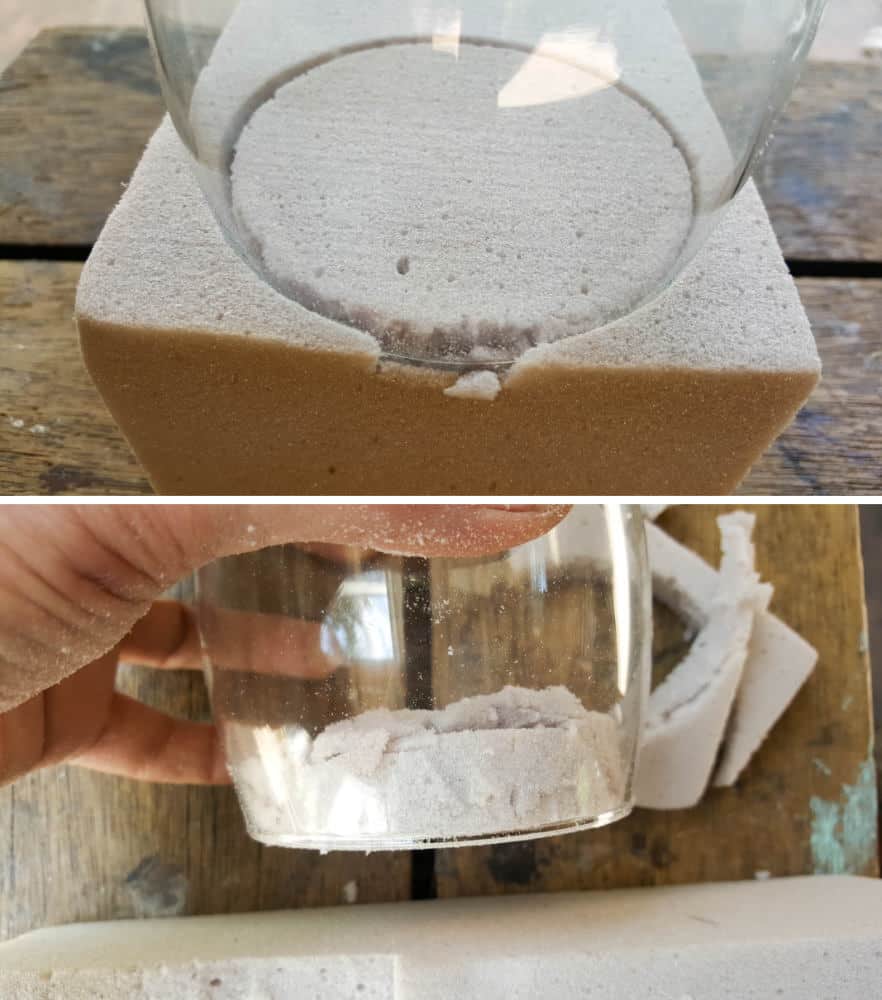
Use the rim of the wine glass cloche to make an indent in some florist foam. Cut out and carve a little away around from the sides to make a small mound.
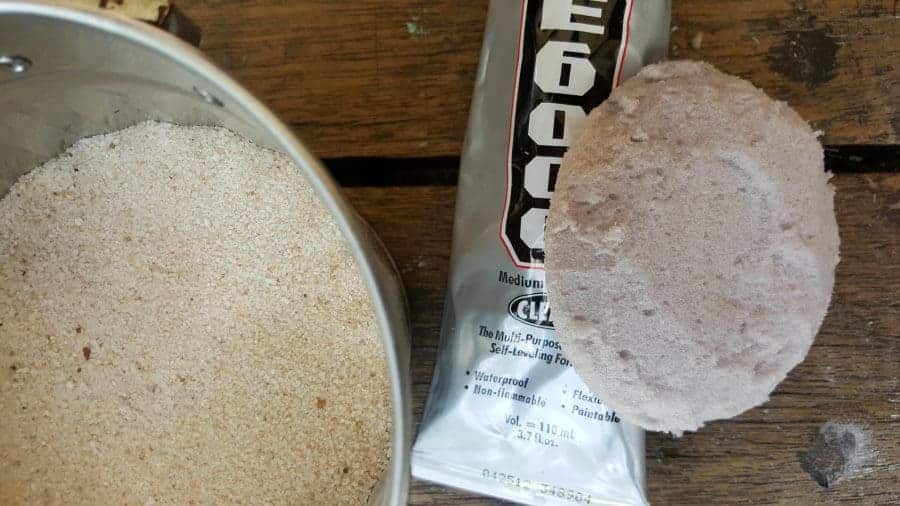
Cover the mound with E6000 and sprinkle on fine beach sand.
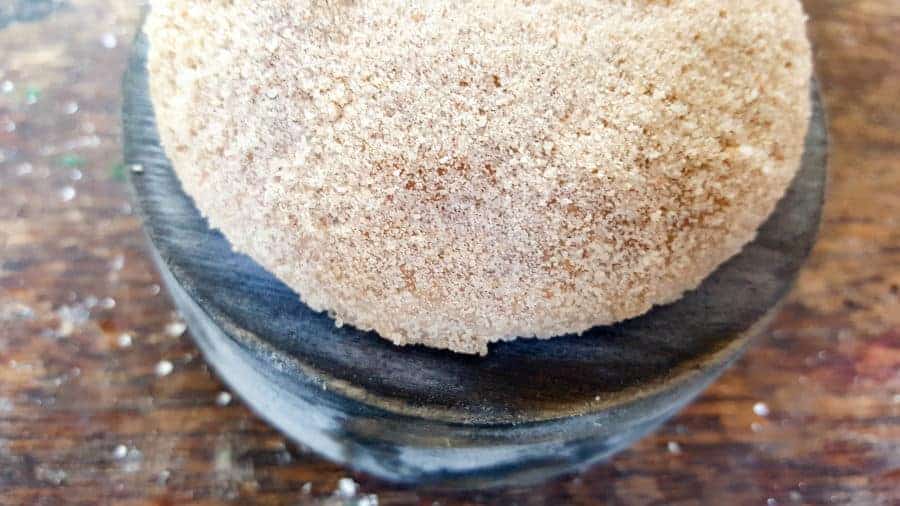
Once the glue dries, use E6000 to glue the sandy mound to the base you made earlier.
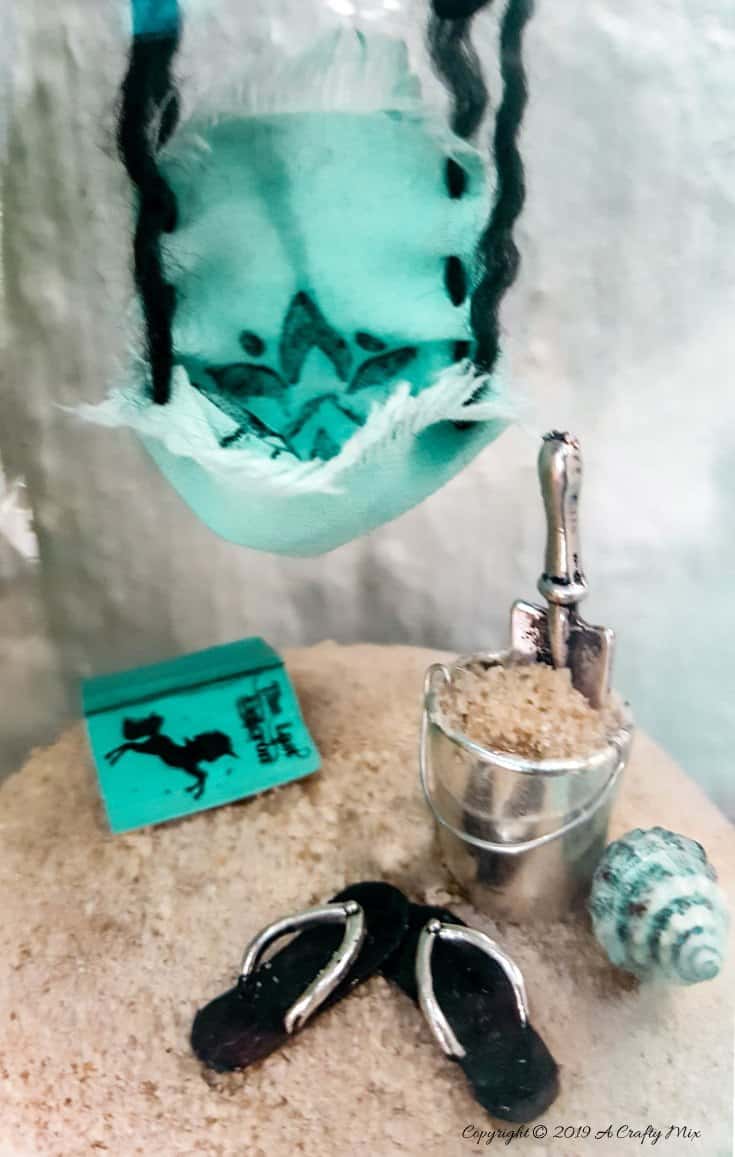
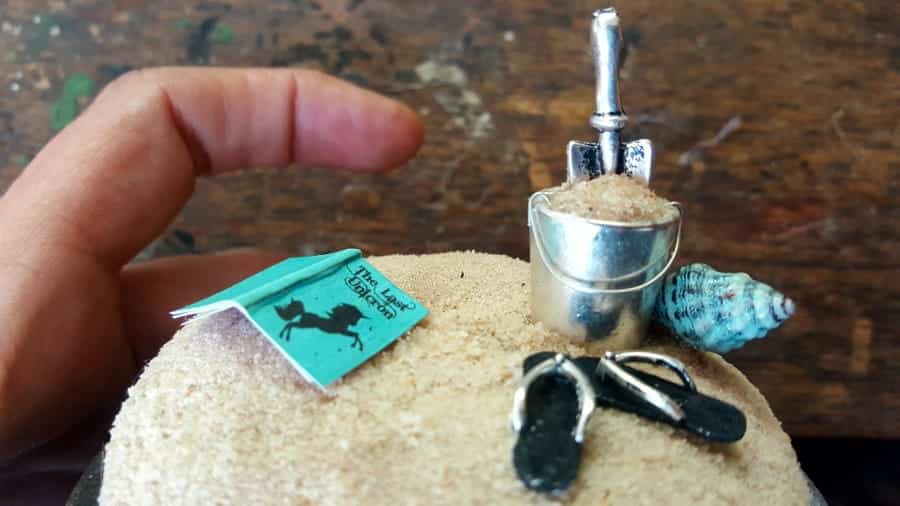
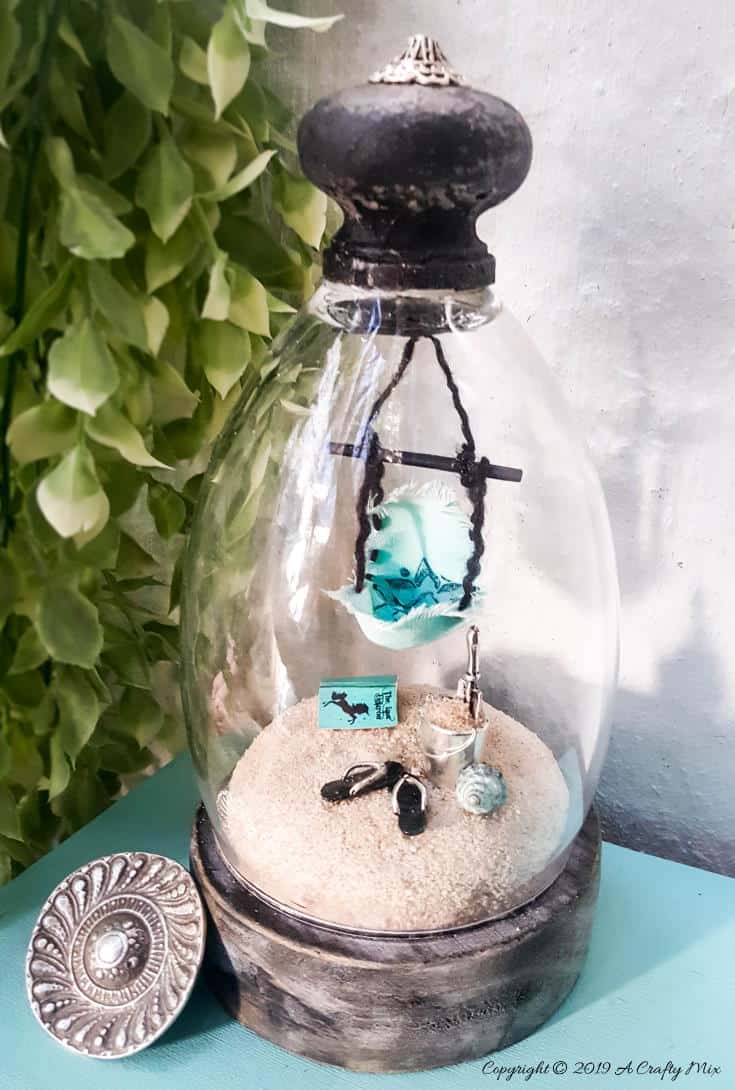
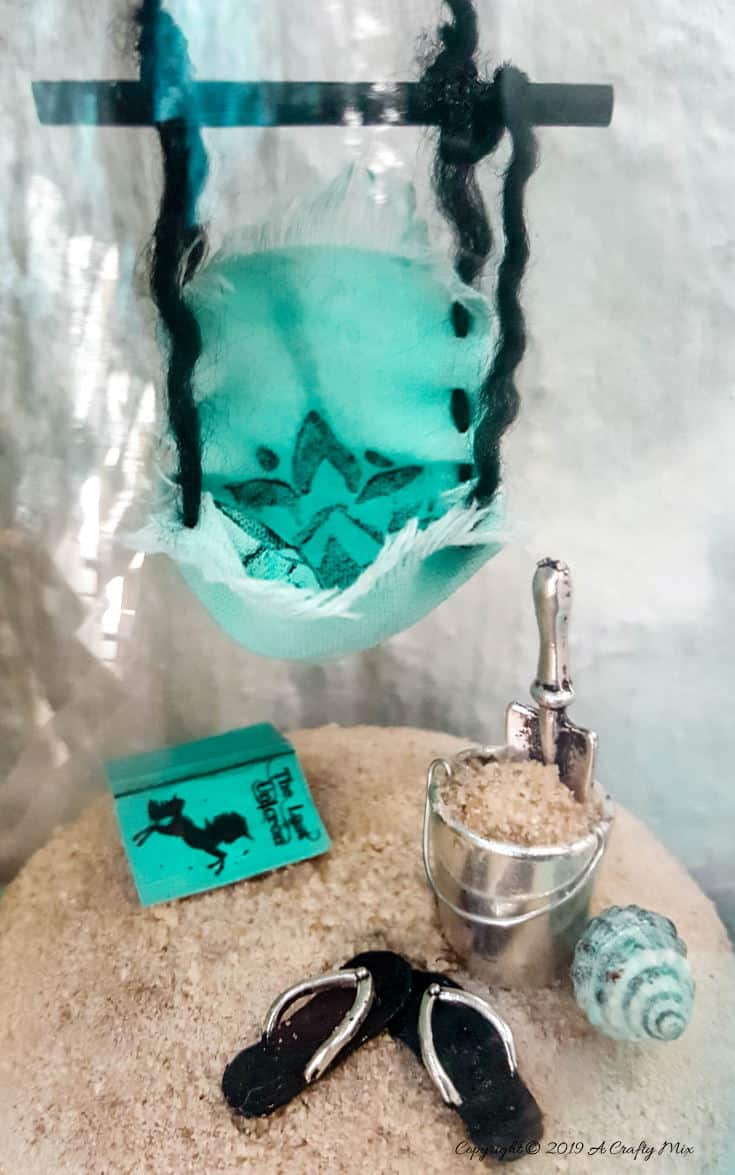
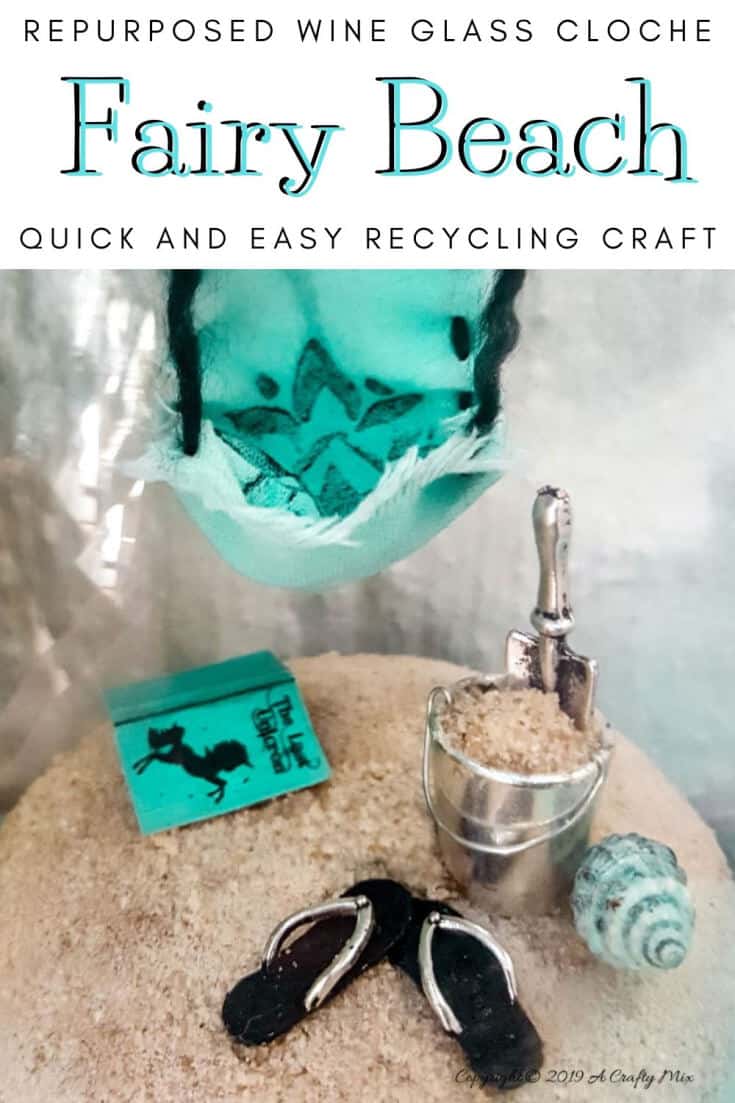
And finally, glue on a few “beach-themed” goodies. We made a teeny, tiny book for ours and added a small shell that’s been enhanced with a little Unicorn SPiT (Zia Teal). The flip-flops and spade are inexpensive bracelet charms that we painted. And that little bucket is just a large tube bead that we glued a piece of wire to.
That’s the wonderful thing about making fairy scenes. There are so many things out there that can be used. Leaves can be turned into bowls and planters, lunchboxes can become a caravan, and an old clock a secret garden. Even a brick can be magically transformed into a fairy home.
Now all that’s left to do is give our fairies something to sit and relax in. I considered adapting our fairy porch swing, but I’m out of popsicle sticks. This little stool would have worked too, but a boho fairy hammock seemed more appropriate.
Adding a boho fairy hammock
As I mentioned earlier, we’ve already shared a tutorial on how to make a fairy hammock here. We just upped the stakes a little, giving it a boho vibe with some Unicorn SPiT and a pretty stamp. Unicorn SPiT is probably my all-time favorite craft paint to use. Not only does it come in the most amazing colors, but you can also use it on glass, wood, and fabric. If you don’t have any Unicorn SPiT, any water-based craft paint will work.
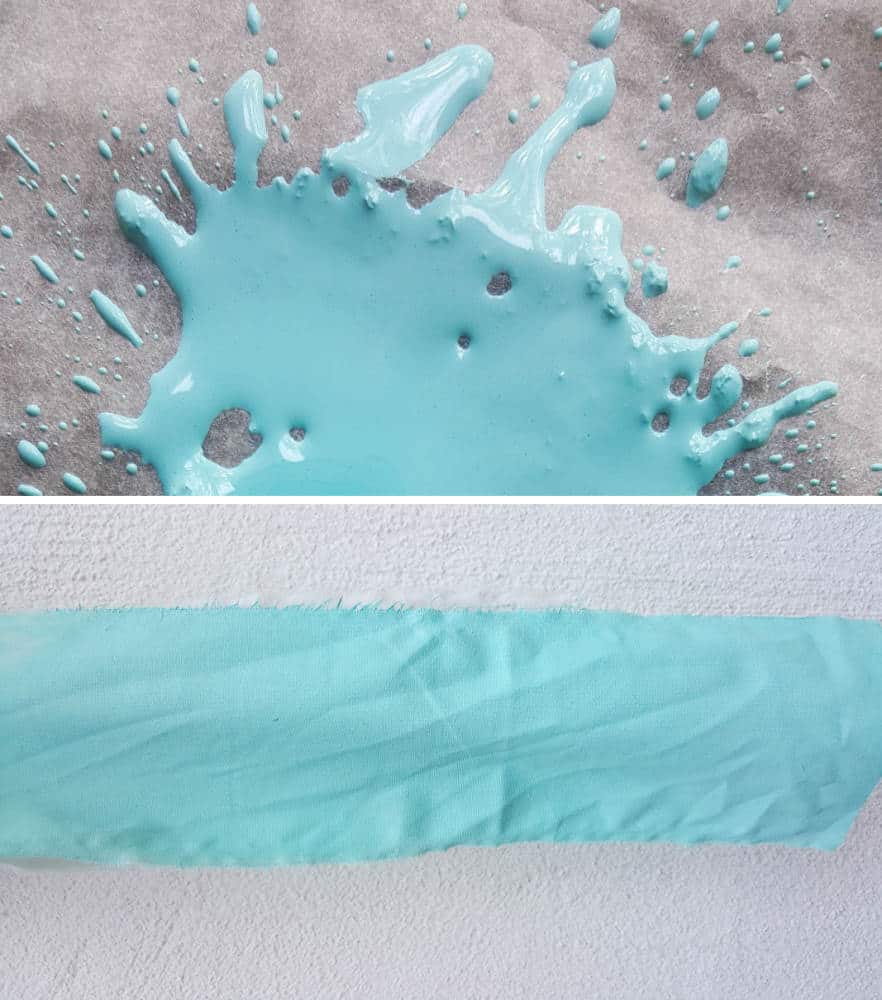
To give the hammock that gorgeous color, I used a dollop of watered-down Zia Teal and drenched a scrap of fabric in the watery SPiT mixture.
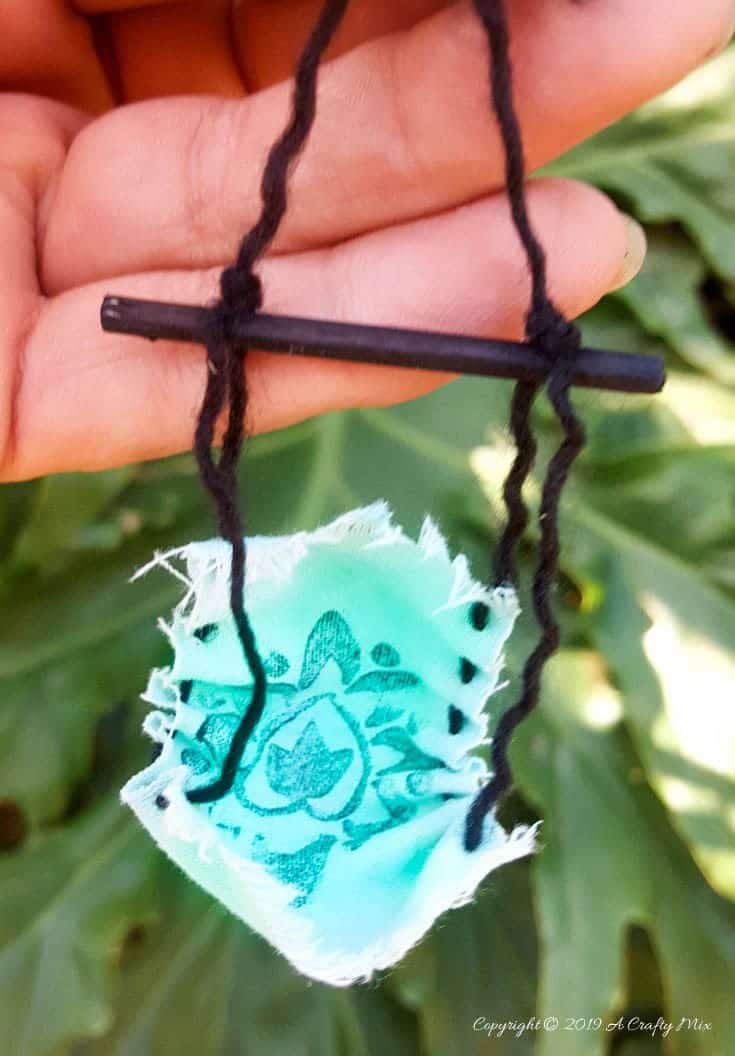
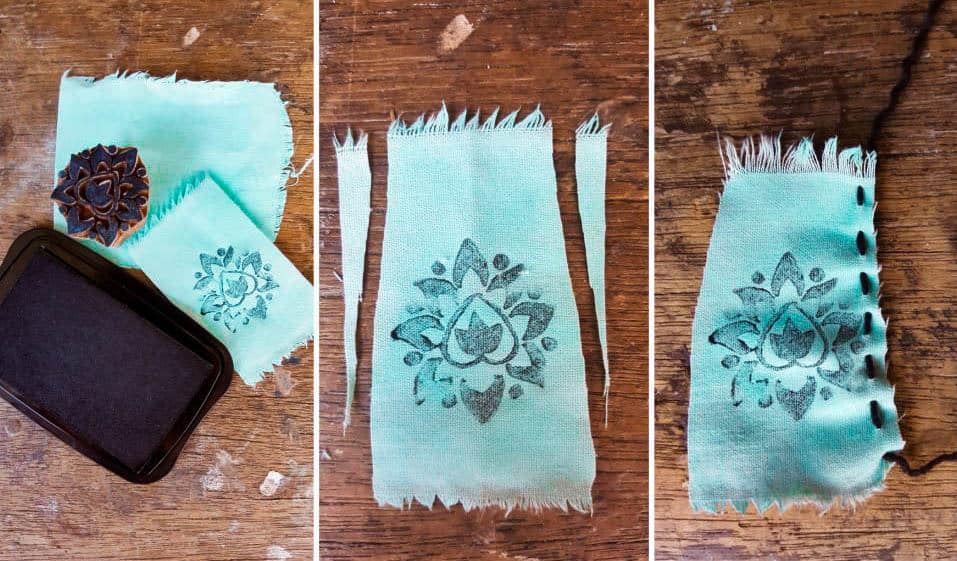
Once the SPiT dries, apply a wooden block stamp to the fabric and cut and string the hammock up.
Glue the hammock to the top of the cloche, and that’s it!!! The fairy beach cloche is all done.
Can I tell you a secret? Making the fairy beach cloche was far easier than taking photos to share with you afterward. One day I’m going to learn how to stop glass from reflecting. If you have any tips to share, I would be so grateful.
But, hey, at least the cloche lifty-uppy thingy was easy to take a piccy of.
I’d love to know what you think of the fairy beach in a cloche and what you would add to yours.
If you like the idea of making a fairy beach in a cloche, don’t forget to pin it for later.
Sharing is caring .
Oh, and if you’re looking for some of the things we used, we’ve got you covered. Disclosure: Clicking on the links below means we may receive a commission from Amazon. But don’t worry, it won’t come out of your pocket, and it helps us come up with more amazing craft ideas to share with you 😉
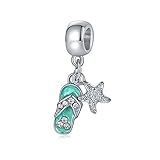
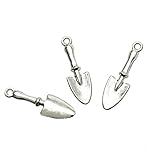

Or if you prefer to buy rather than DIY


And as always sending you lots of love and blessing. I hope you have a beautiful week. Please stay safe. We’re all in this together and we will get through it.

Last update on 2026-06-03 / Source Amazon Affiliates