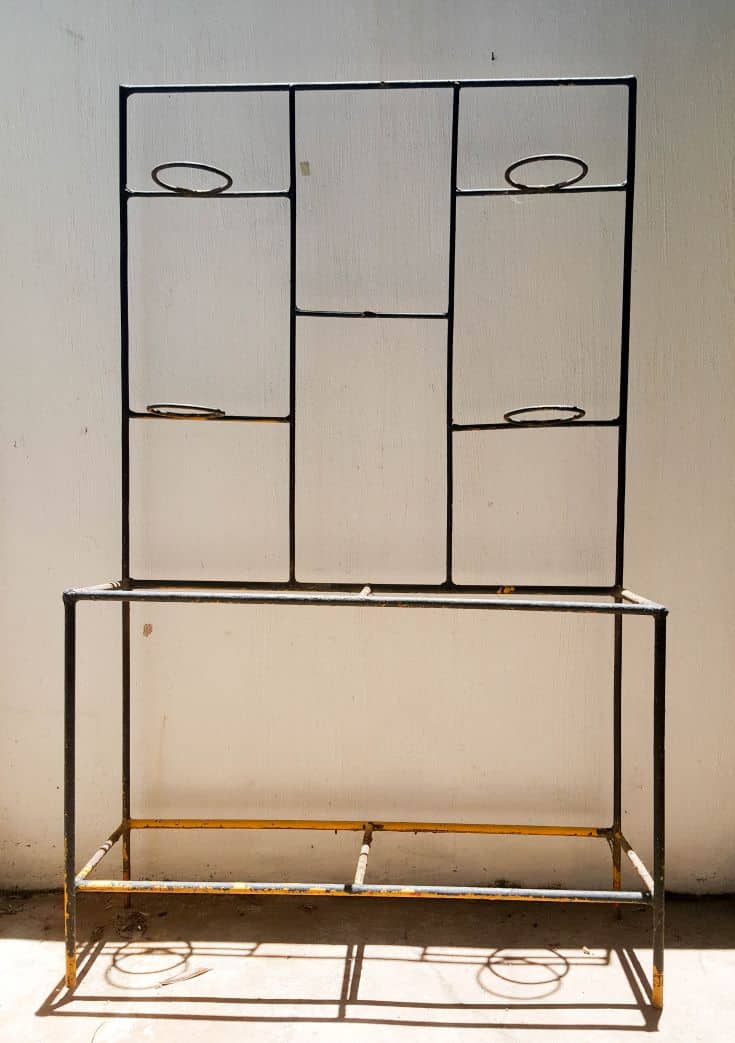
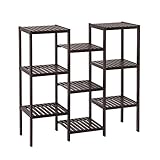
We’ve had this boring metal plant stand for a long time, and she’s served us well for many years. But like so many other things around here she was beginning to look a little worn and faded 😉
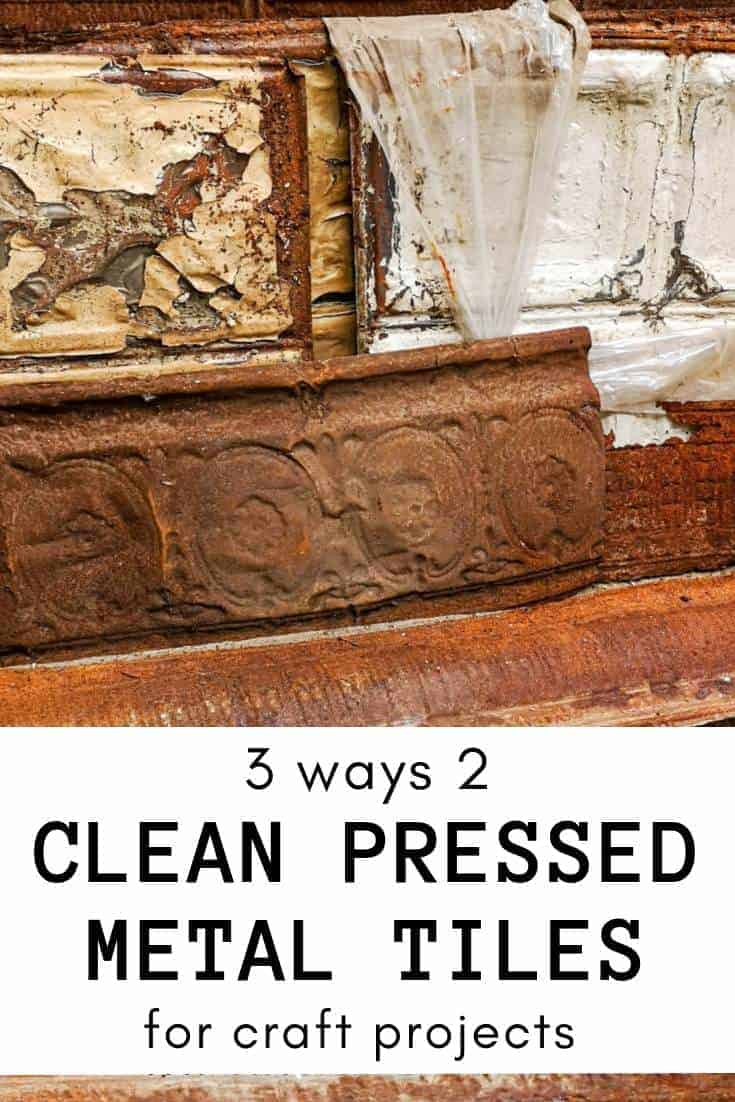
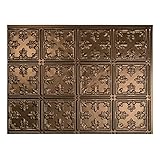
A few weeks ago we bought a whole bunch of old tin ceiling tiles on facebook and I must admit when they arrived I was pleasantly surprised with how many we actually got for the price we paid. But they were really rusty and needed a lot of work before we could use them.
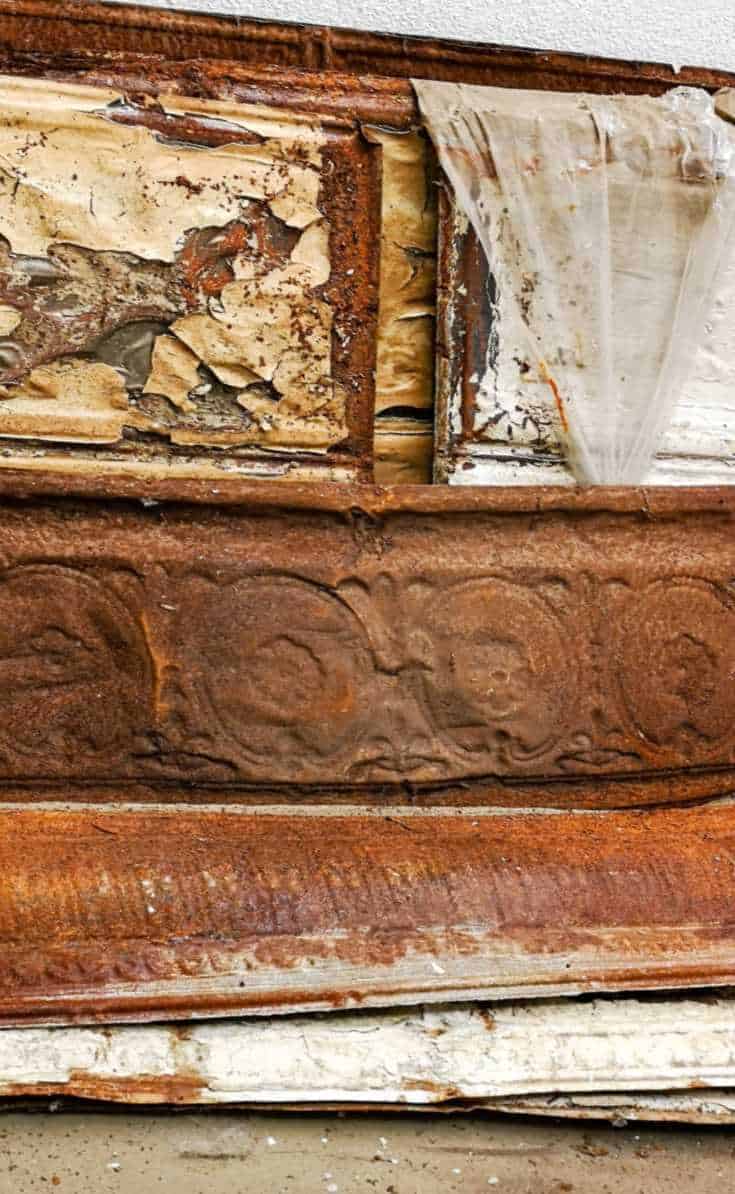
Don’t get me wrong, I love things that are old and rusty. We’ve even gone so far as to “rustify” brand new metal to look old. But these tiles were really, really rusty. And so they lay forlornly in our back courtyard until inspiration struck and the metal plant stand got the makeover of the century.
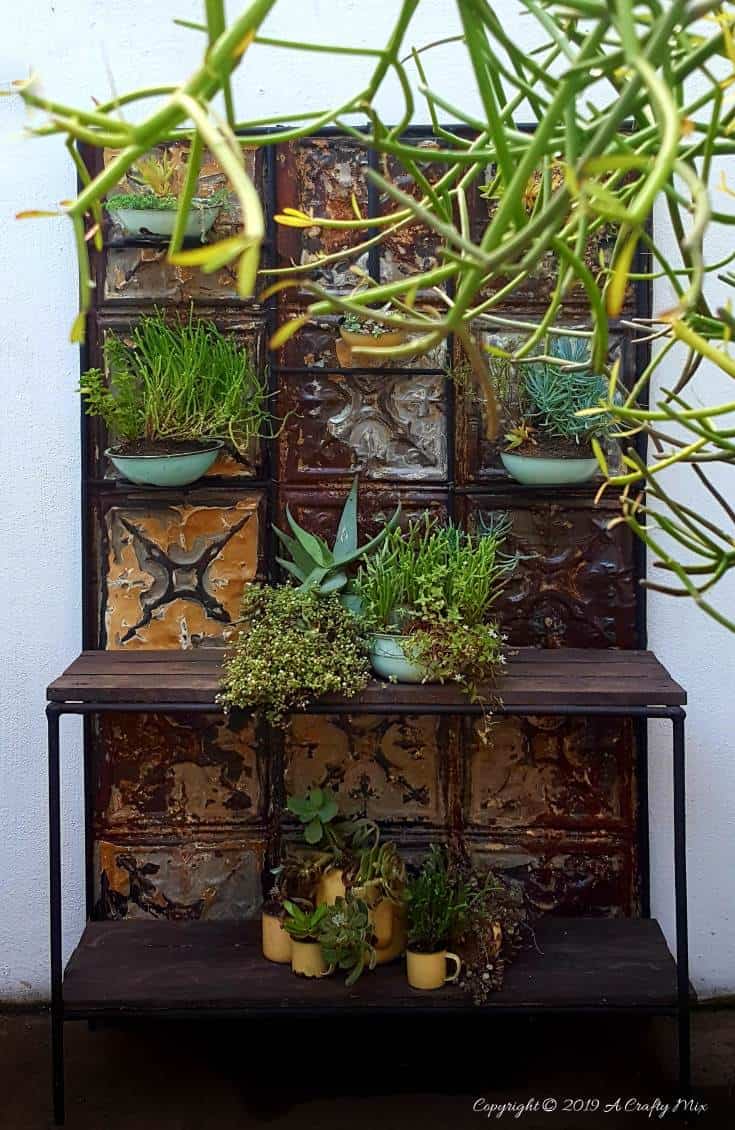
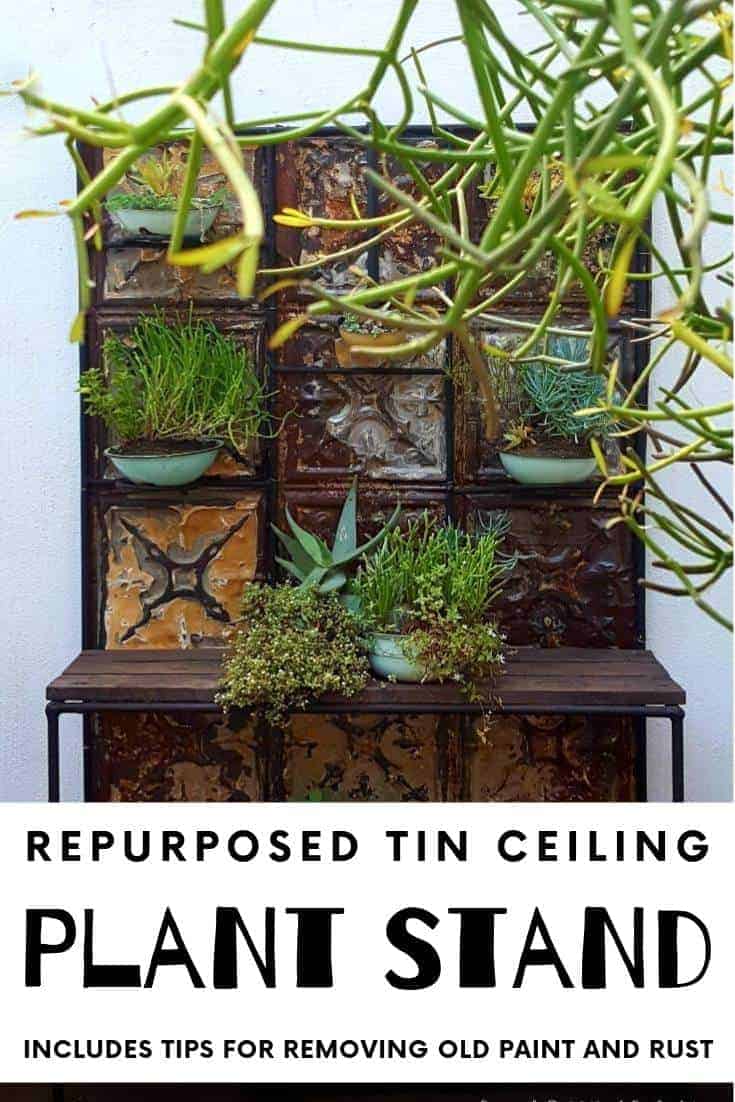
Just WOW!!!!! We’ve made quite a few things that are really close to my heart. Our suitcase dresser still makes me smile every morning when I get dressed and the little “HOME” shelf has a few more special trinkets that have been added over the years. But this tin ceiling makeover has now taken over the no.1 spot. Just imagine seeing this when you walk out the backdoor.
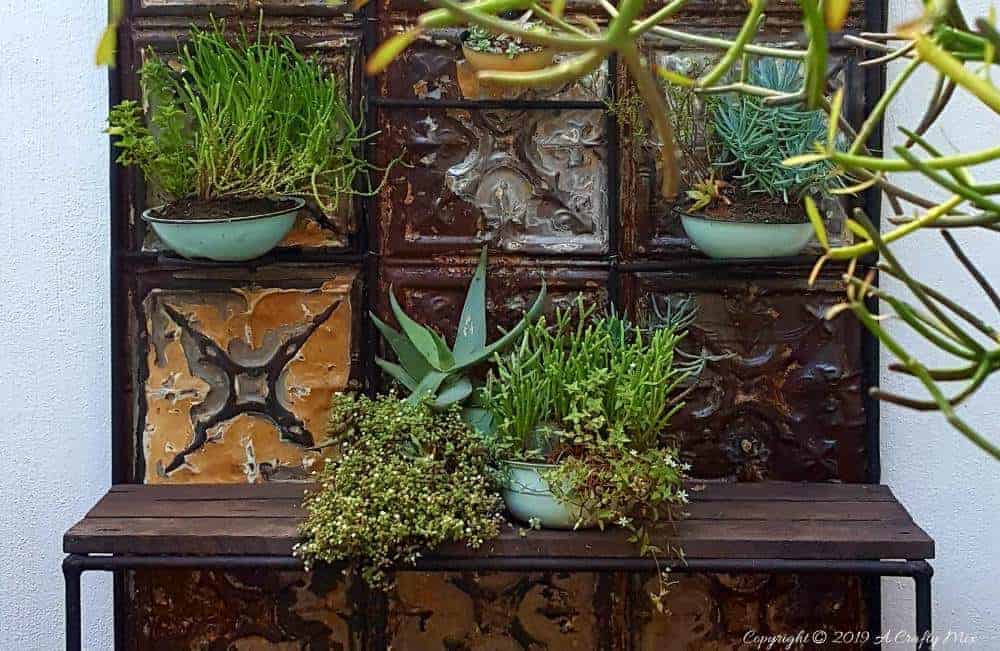
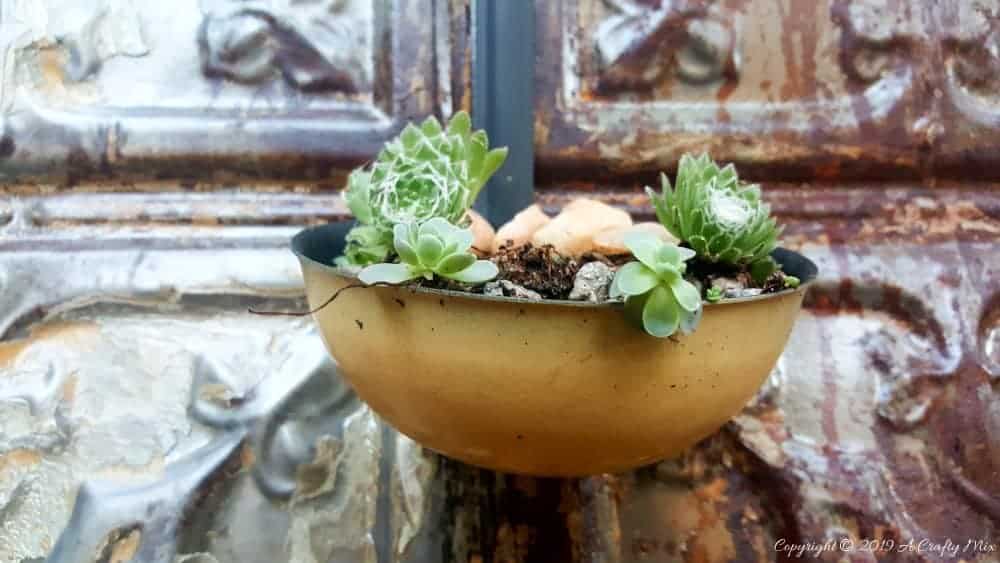
The way the tin ceiling tiles seem to create a frame around the succulents makes my heart do a happy dance. They make the perfect backdrop for our succulents collection.
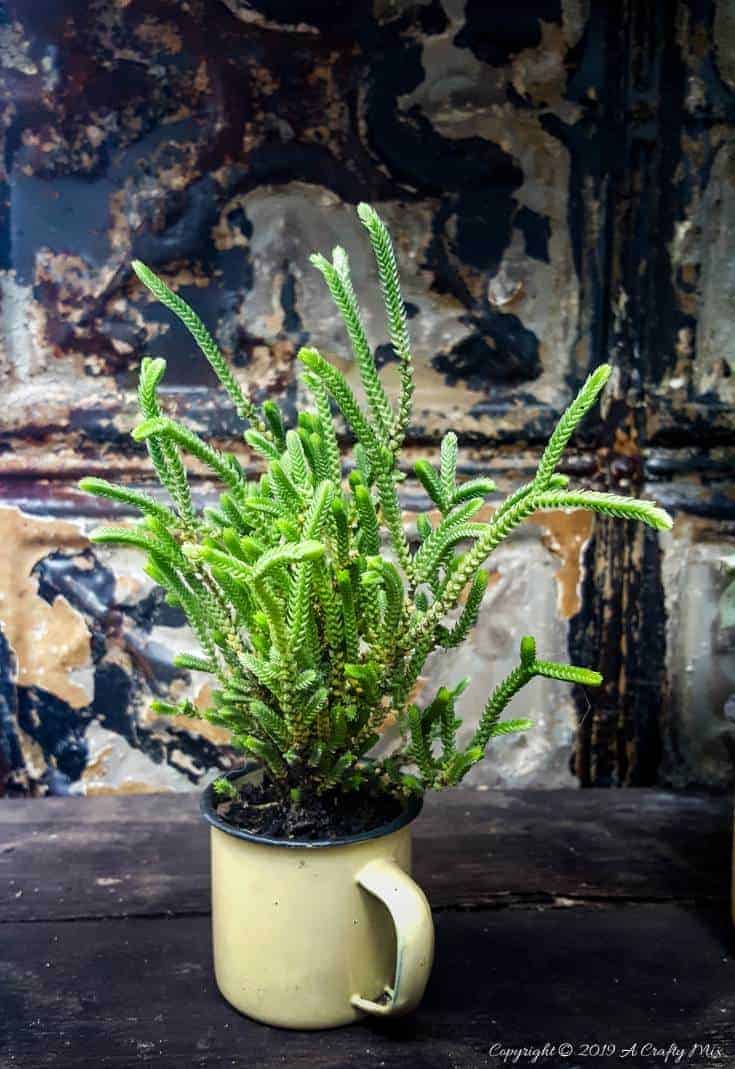
I think I’m in love 😉
Okay, but you didn’t come to visit to hear me gushing about our tin ceiling plant stand 😉 So let me show you quickly how we transformed the old metal one. I’ll also be sharing three ways to clean and prep tin ceiling tiles for craft and DIY projects.
But, before we get to the tutorial, be sure to follow us on Facebook, Twitter, Pinterest, or Instagram. And don’t forget to subscribe so you’ll never miss a post!
How To Transform a Metal Plant Stand with Tin Ceiling Tiles
Getting the Plant Stand Ready
Although the frame of the old metal plant stand was not quite straight it was still solid. There were some rust spots and the old paint had started to peel away, so we removed the loose rust and paint with a wire brush and gave it a light sanding to smooth it all out.
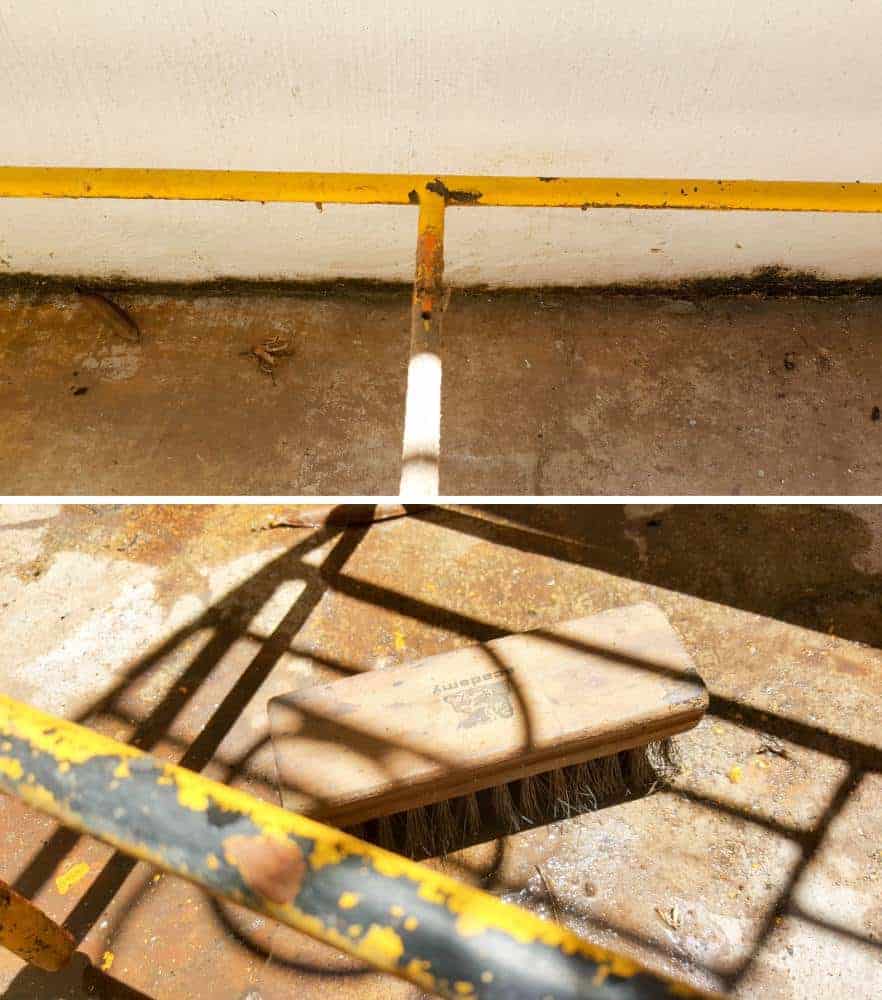
The stand was wiped down with a degreaser to get rid of any dust and oily residue first before giving her a three coats of black primer. She’ll be exposed to the elements, so primer is essential to protect her against rust and corrosion.

To make a new top for the plant stand we cut a few pallets to size and then we could get cracking on cleaning up those rusty tin ceiling tiles.
3 Ways to Clean and Prep Old Tin Ceiling Tiles
Just a heads up, cleaning old, rusty tin ceiling tiles is hard work and it’s a messy business. It took us the whole weekend to prep and clean these. But it’s totally worth it. Please wear protective gear. Most old tiles were painted with lead paint back in the day.
Oven Cleaner
Good old oven cleaner. We use it for so many things. It removes gooey glue, it’s great for cleaning oil marks on concrete and it’s a cheap alternative to paint strippers. Just spray the oven cleaner on and let it sit for a few minutes.
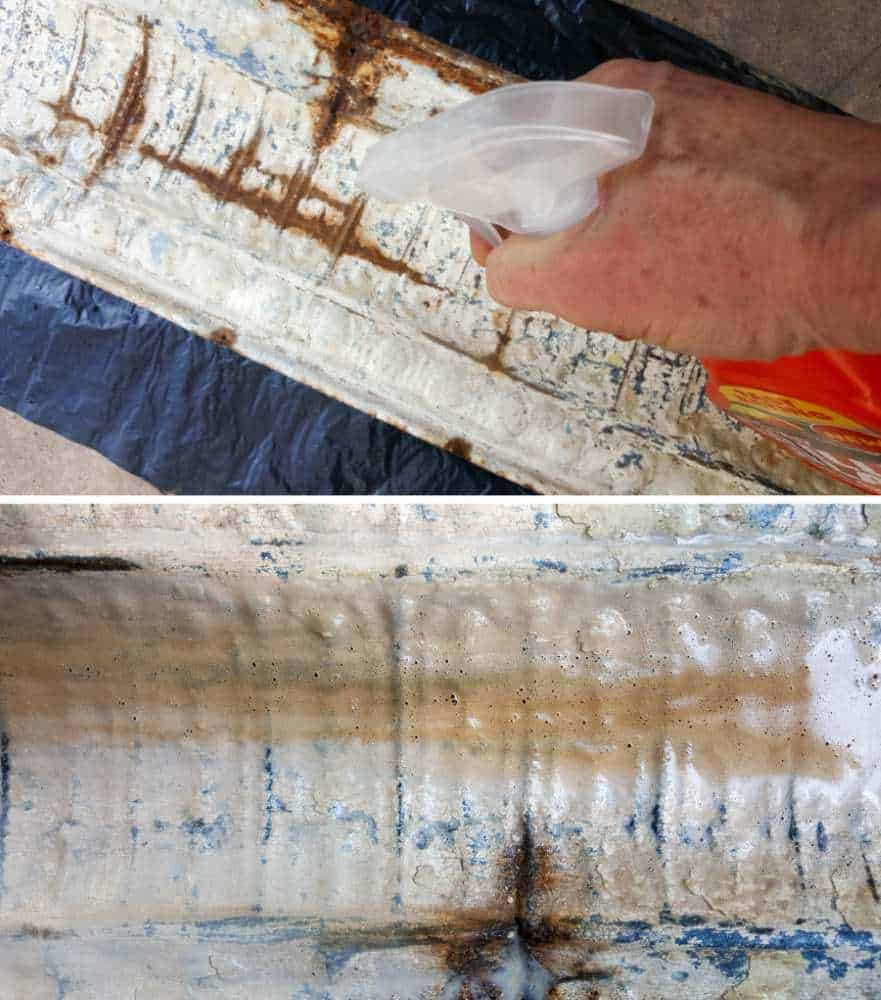
Scrub the paint with a wire brush and remember to wear gloves.

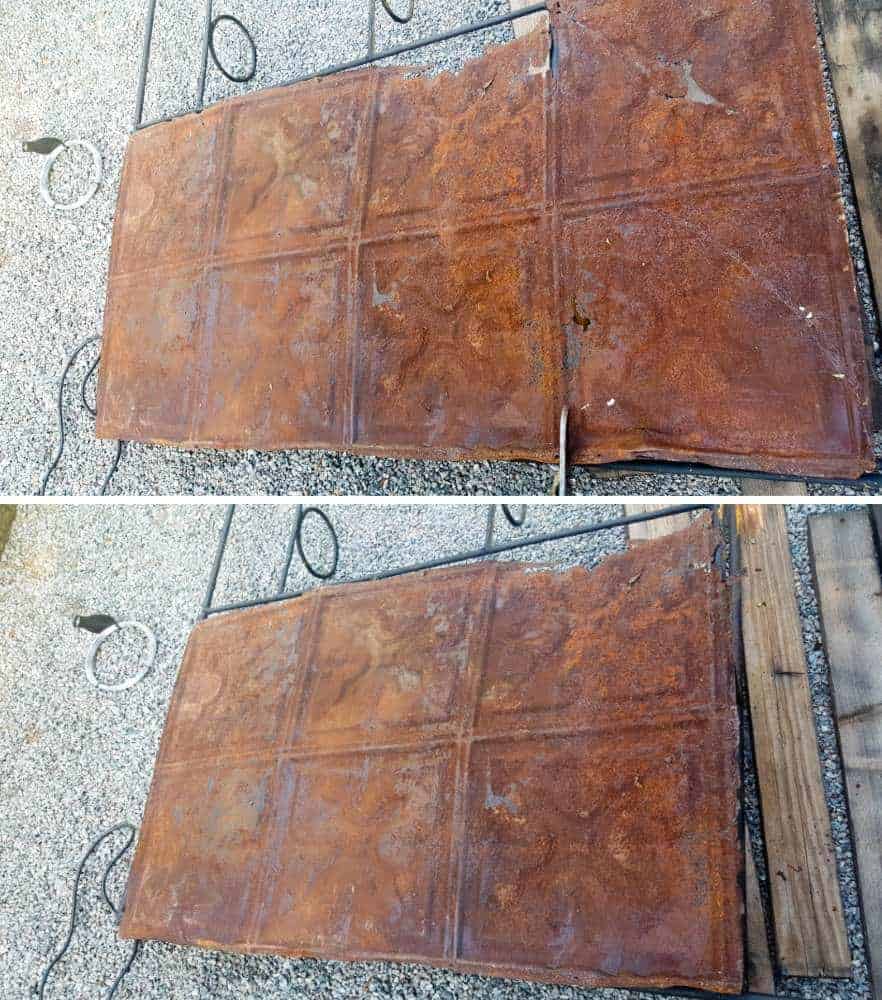
The above photo is after the first application. Depending on how many layers of paint there are you may need to apply more oven cleaner and repeat. On this specific ceiling tile, we had to do it three times. The great thing about using an oven cleaner is the control you have around how much paint you want to keep. Here’s a before and after of the same tile.
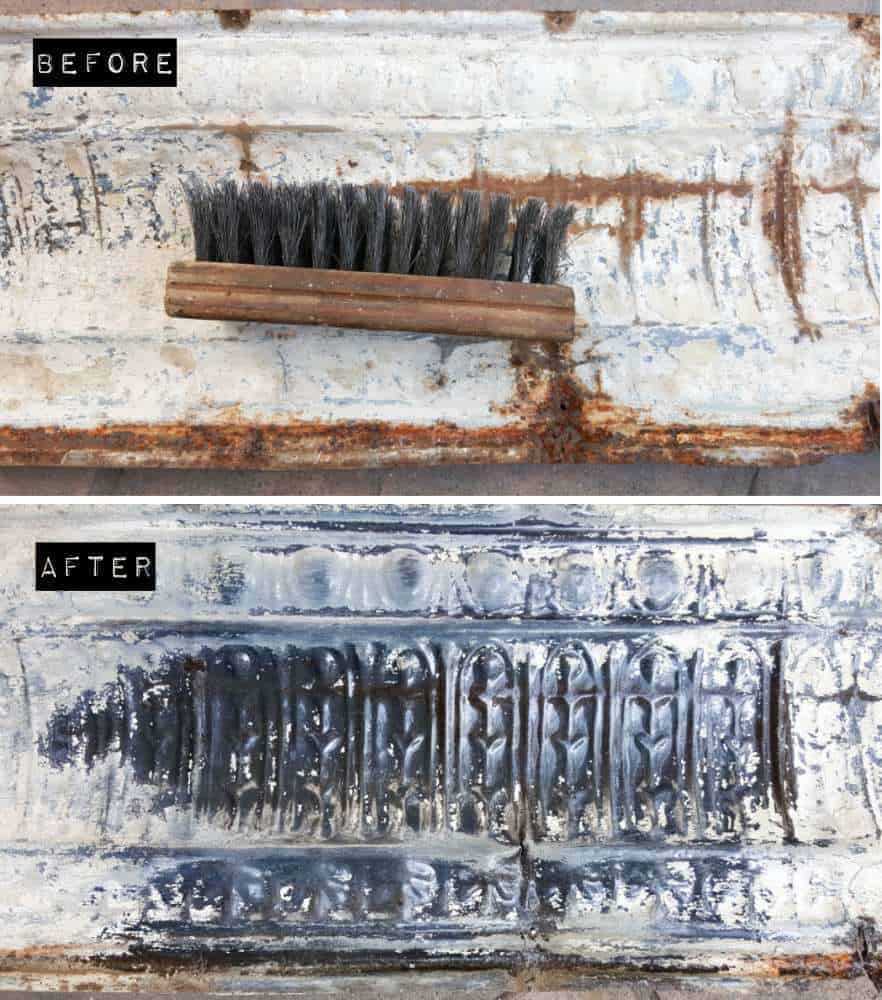
It even removes the rust 😉 Wipe the ceiling tiles with vinegar to neutralize the oven cleaner, and then rinse them off with clean water. Allow the ceiling tiles to dry thoroughly before sealing or repainting.
Sanding and Blasting
If you’re not too fussy about how much paint does, or doesn’t, get removed, a quick and dirty way of preparing and cleaning the tiles is to use a sandblast gun, compressor and a bucket full of sand. Protective eyewear, long sleeves, gloves, and a mask are a MUST. In fact, just put full-body armor on, it’s probably easier 😀 That sand gets everywhere.
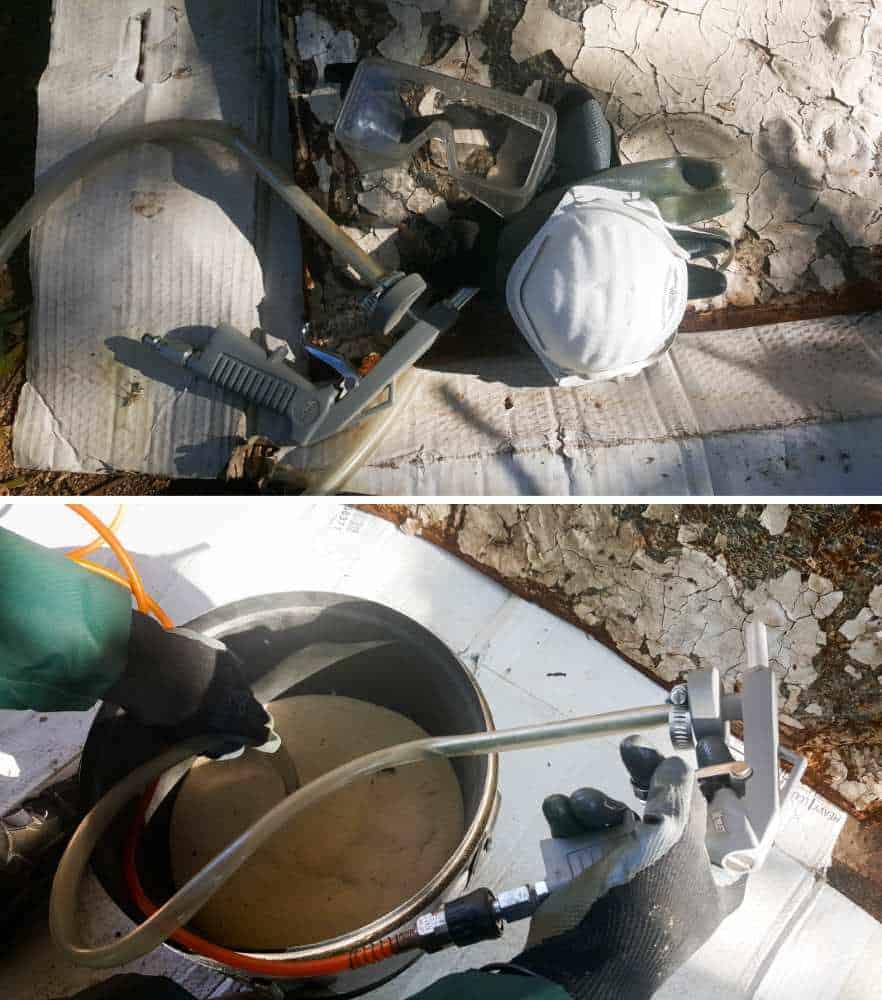
Insert the one end of the sandblaster into the bucket of fine sand and spray away.
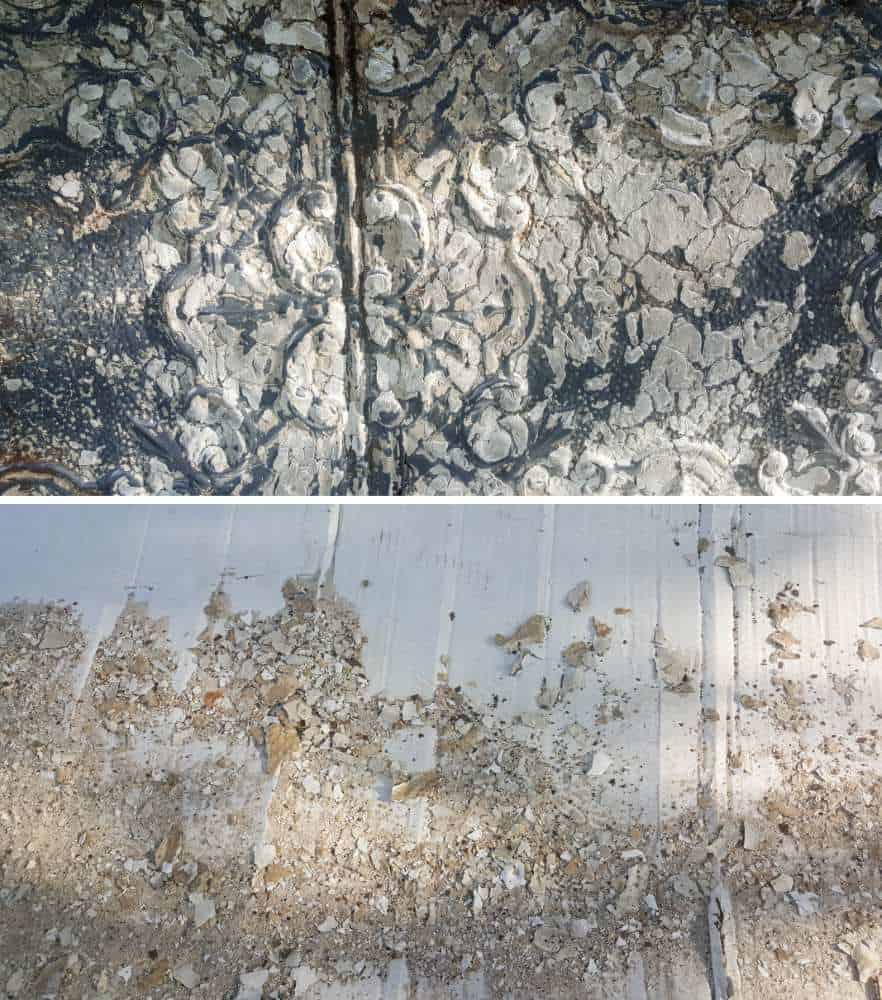
It’s a little quicker than oven cleaner, but it doesn’t remove all the paint, just smoothes it out so it won’t peel off.
Bang, Smack, and Scrape
This is my favorite method. It so satisfying banging, smacking, and scraping those tiles 😀 Bang and smack the tiles with the back end of a paint scraper or screwdriver to get the loose paint off. Depending on how old the paint is, it will come off in chunks. The rest can be scraped off with the sharp end of your tool of choice. You can also leave some of that old paint on the tile after smacking and make this beautiful multi-purpose framed ceiling tile.
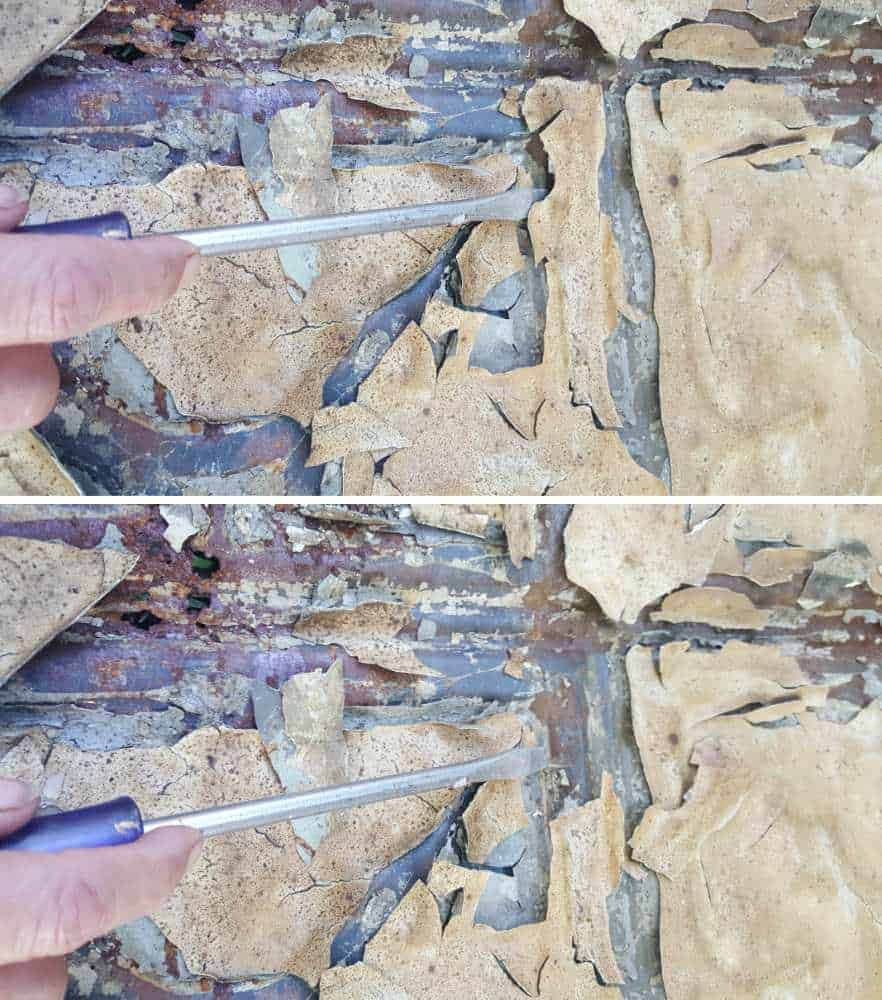
For stubborn paint bits use a wire brush and a little elbow grease 😀
Every old ceiling tile is different so choose the method that works for you. To remove most of the paint use oven cleaner like we did when we made our recycled birdhouse. If you want to keep some of the old paint and don’t mind getting sand in your crack everywhere, use the sandblaster. Or if you like banging things around, go for the bang, smack and scrape approach. For the plant stand, I wanted to retain some of the “history” of the tiles and I loved the layers of interest the paint created so bang, smack, and scrape it was.
If you break down the ceiling, nothing can hold your dreams back.
Whatever method you use, make sure to seal the tiles after cleaning with a clear, protective sealer to protect them and prevent further rust.
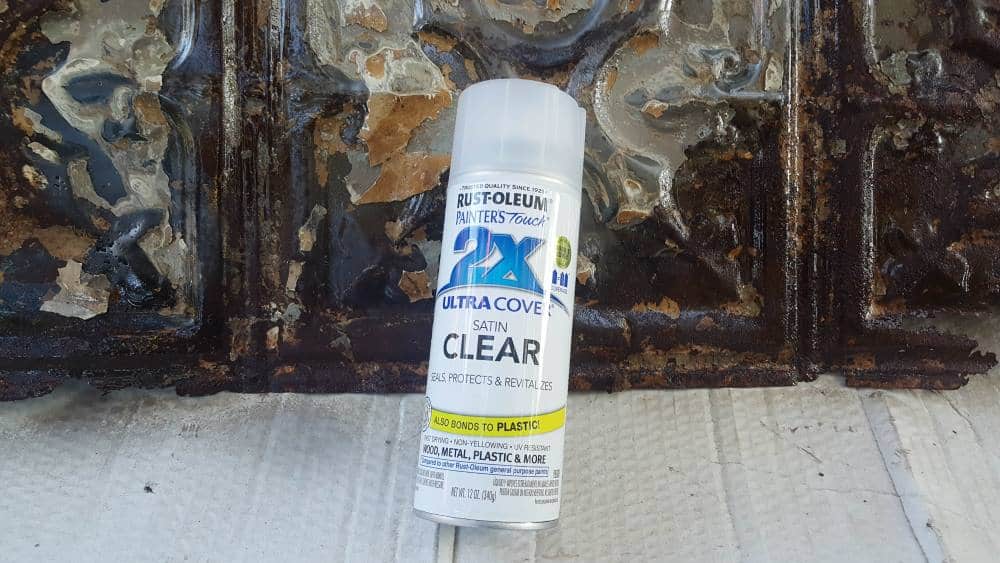
We applied multiple coats of Rust-Oleum, clear Satin. I want these beauties to last for at least another 1/2 century.

Alrighty then. Now that the tin ceiling tiles have been cleaned and sealed, we can add them to the plant stand and take it to the next level.
Adding the ceiling tiles to the plant stand
To attach the ceiling tiles we flipped the plant stand on its side over and cut the tiles using tin snips so they would fit neatly.
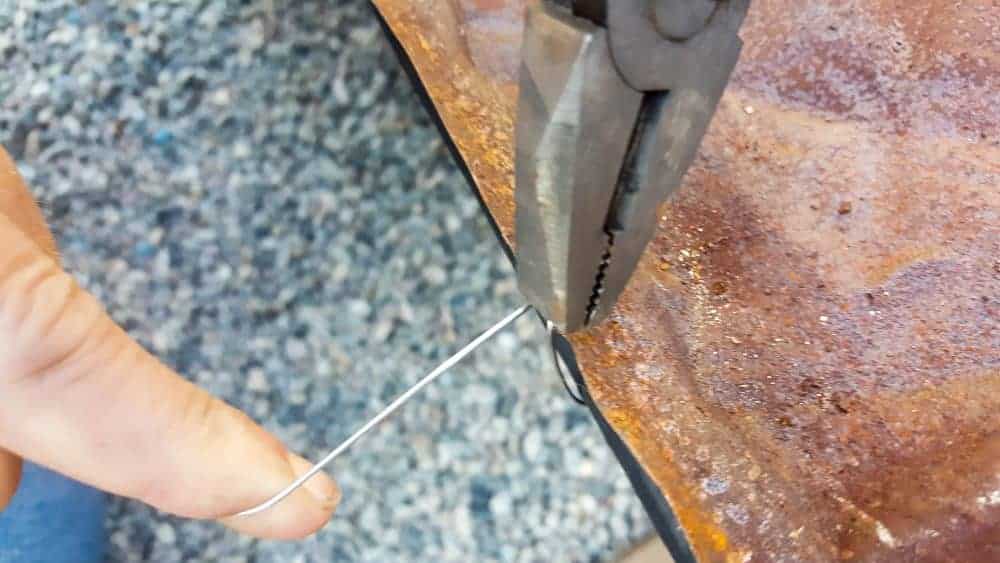
We drilled small holes in the tiles and used baling wire to attach them to the frame of the metal plant stand.
The back of the tiles got two more coats of sealer and our beautiful, gorgeous, stupendously awesome tin ceiling plant stand was ready for a succu-licious display.
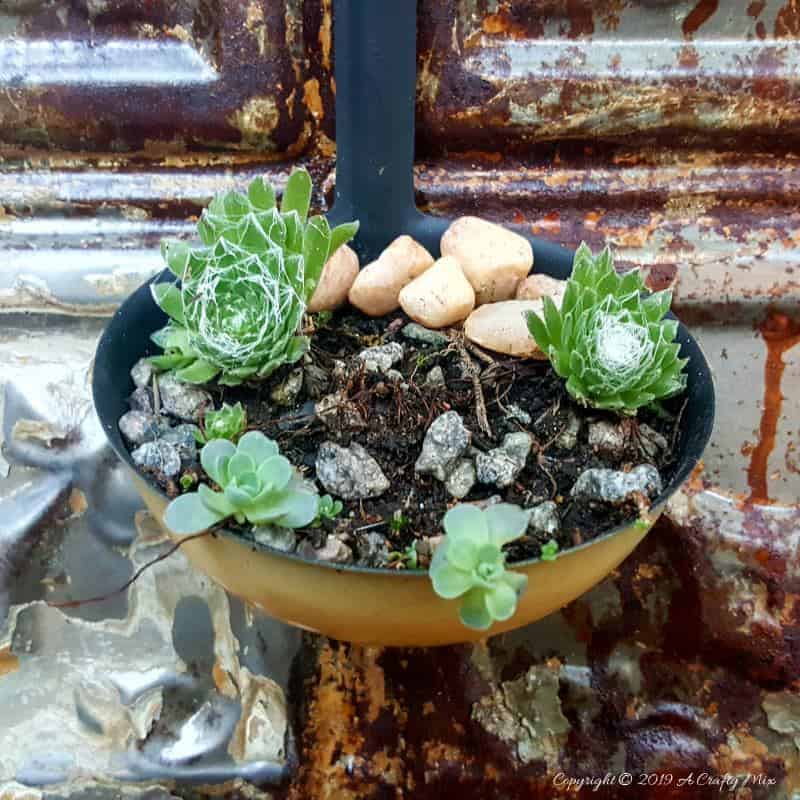
Oops, sorry I promised to stop gushing. But I can’t. Look how beautifully it compliments those succulents.
One more.
Okay, I’m going to stop now, but if you like the idea, don’t forget to pin it for later.
Oh and if you’re looking for some of the things we used, we’ve got you covered Disclosure: Clicking on the links below, means we may receive a commission from Amazon. But don’t worry it won’t come out of your pocket, and it helps us make more amazing crafts to share with you 😉


And if you prefer to buy rather than DIY, then maybe these beauties will appeal.


Until next time, stay crafty and always see the beauty in everything.

Last update on 2026-06-03 / Source Amazon Affiliates