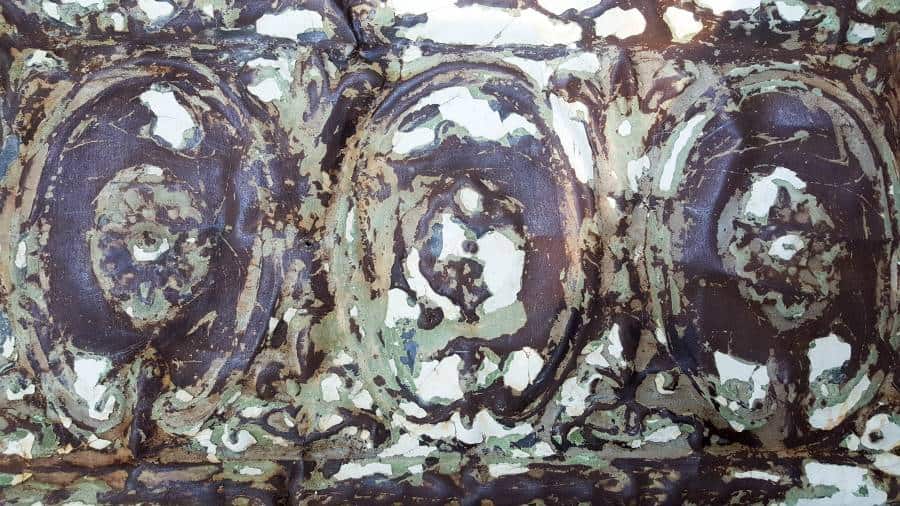
A while back we shared a tin ceiling plant stand that we made for our succulent collection. I love how that project turned out BTW. Have you seen it? When we originally bought the tiles there must have been at least 20 panels. They were all beautifully rusted and filled with history. While cleaning and prepping one of the tiles I fell in love with how the different layers of paint looked against the rusty metal. That one tile was calling for a very special makeover that involved framing the ceiling tile and adding a little something so it could be used in different ways.

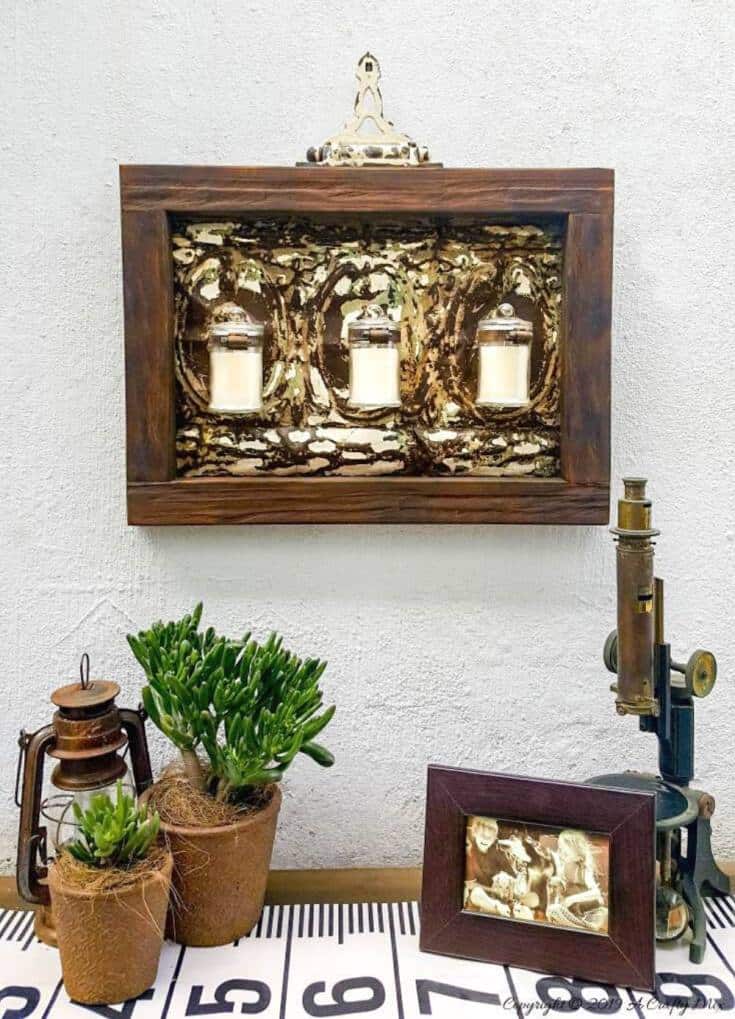
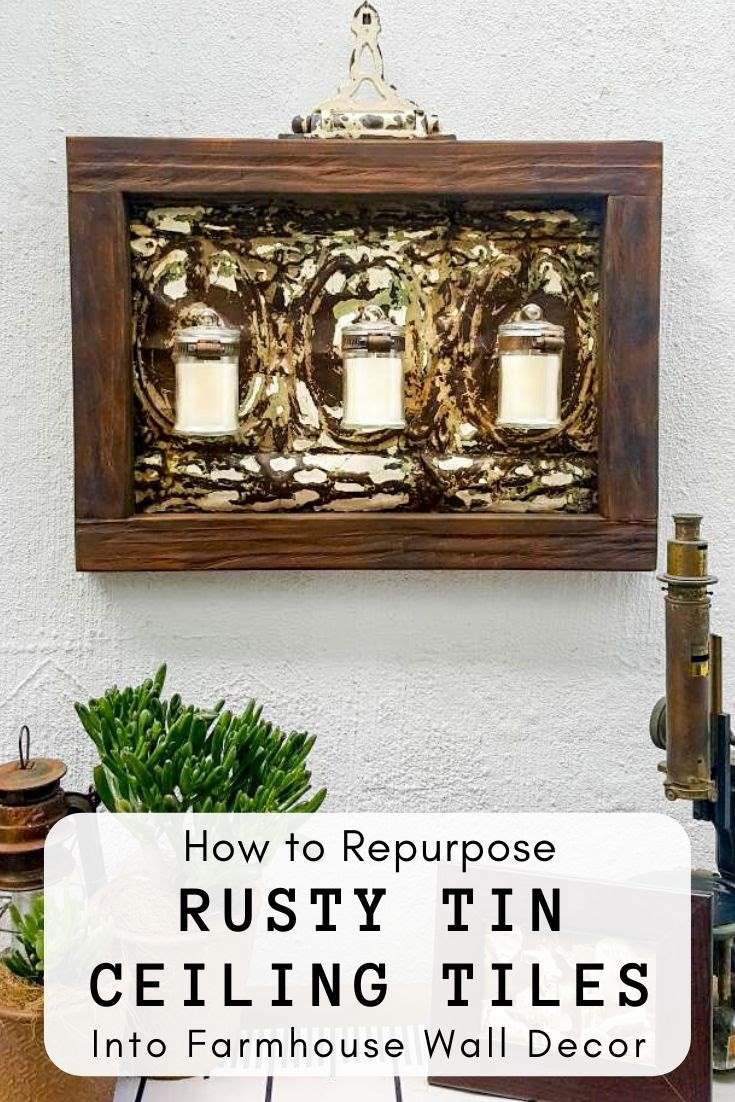
And that’s what makes this decor idea so unique. The look and purpose of the framed tile can be changed by a simple twist of a screwdriver 😀 So you can either add beautiful candles …….

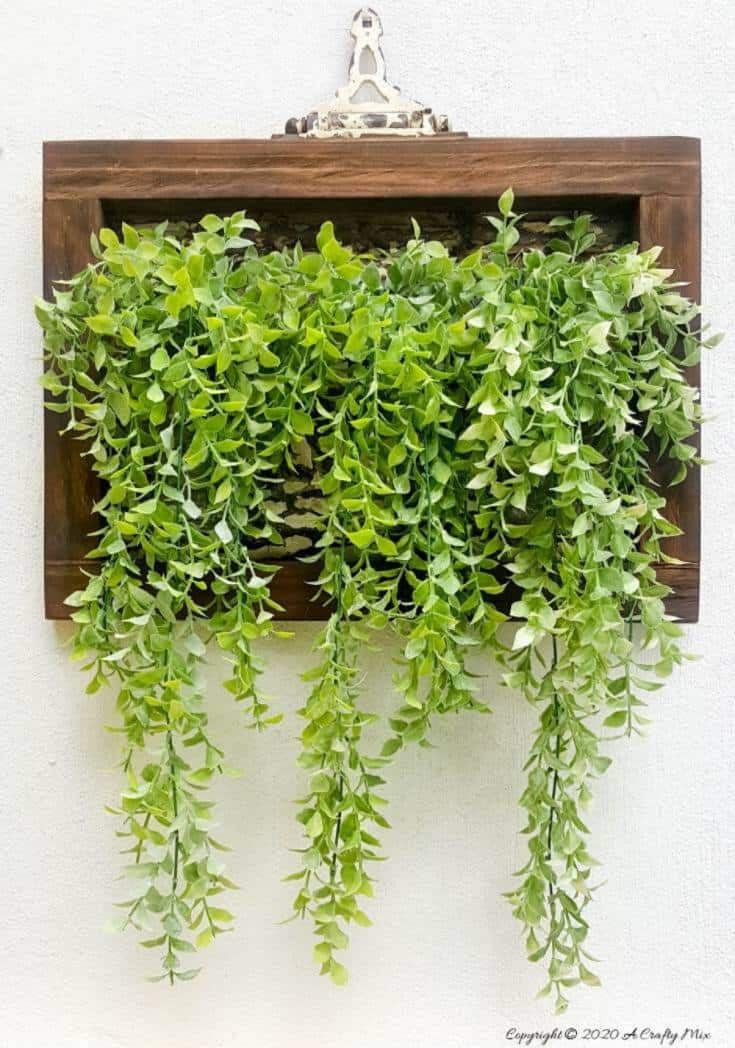
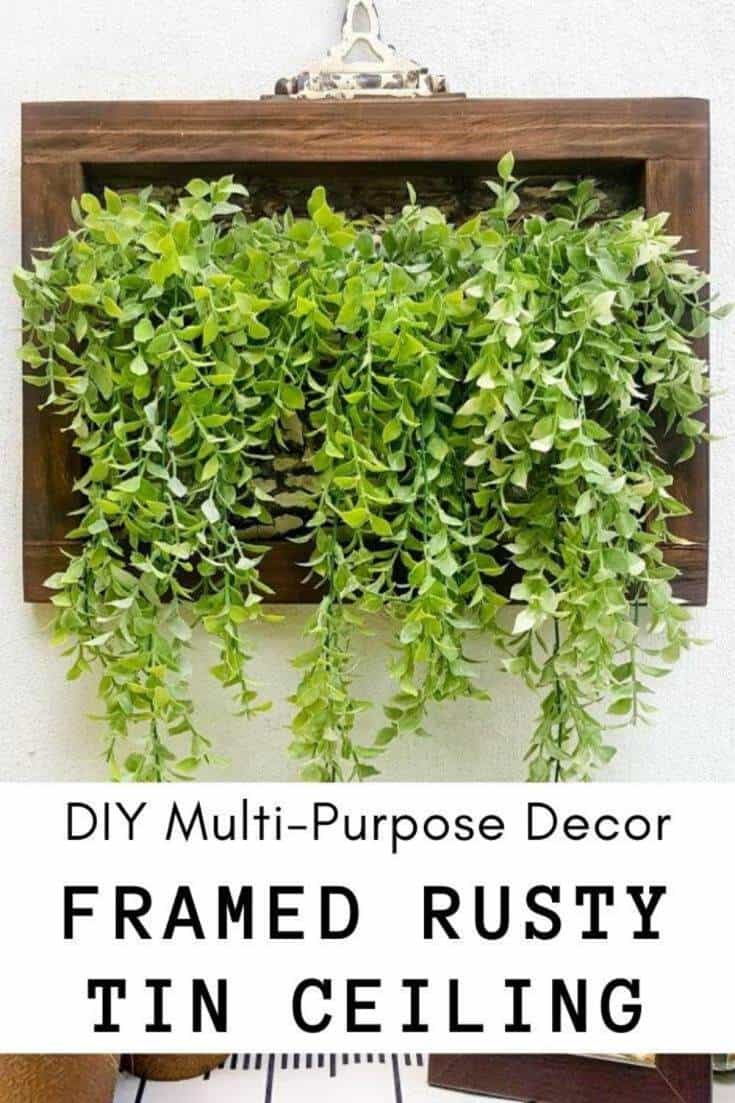
……..or turn it into this gorgeous spilling vertical garden.
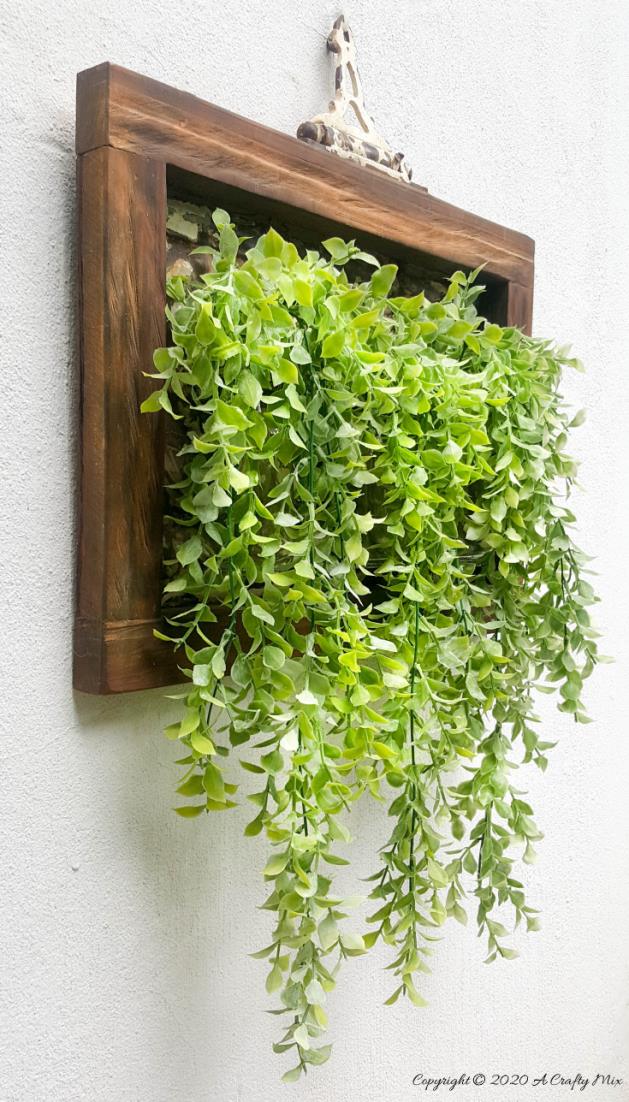
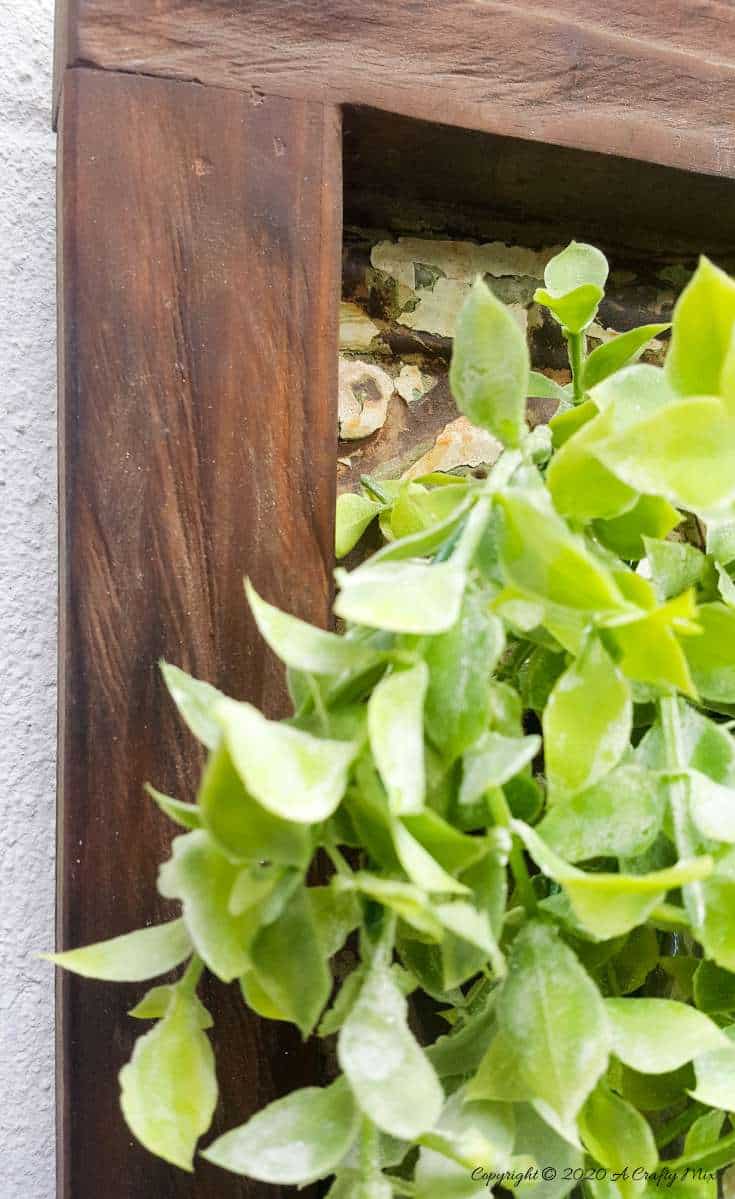
The plants do hide the ceiling tile a little, but you can still see hints of that gorgeous mottled paint between the leaves. And I do so love making vertical gardens.

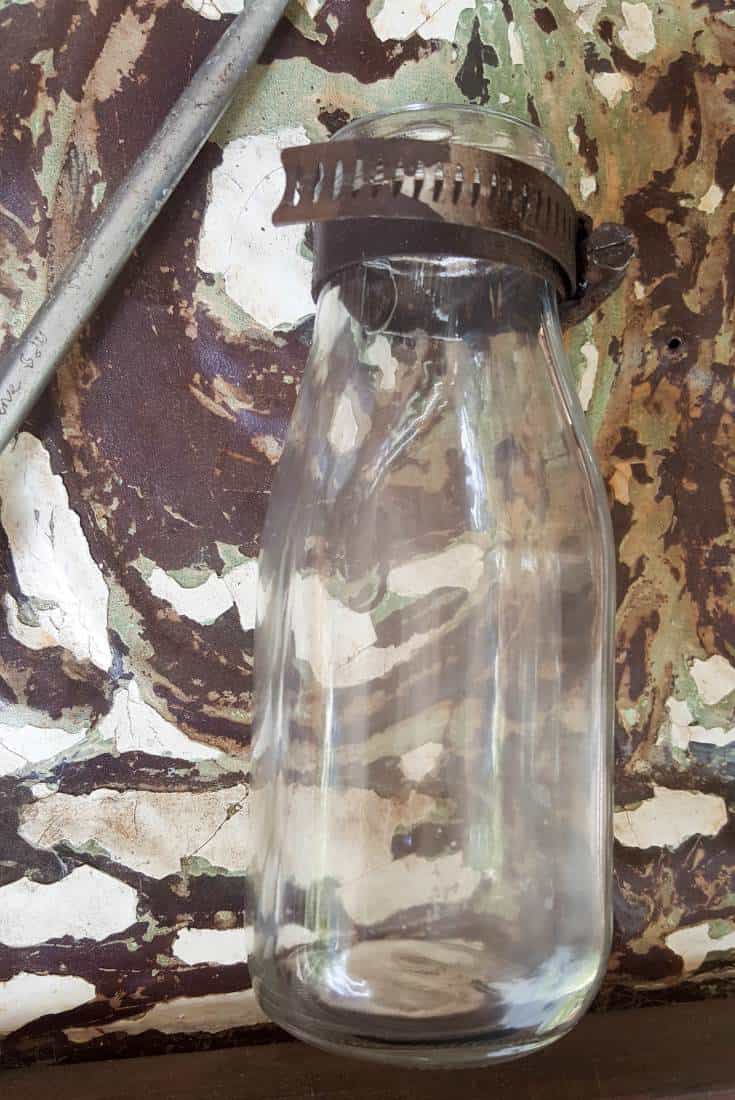
This multi-purpose framed ceiling tile is so easy to change around. If candles or plants aren’t your thing, you can attach empty tin cans instead and use it for storage. Or you can add some of these gorgeous “swappable art bottles”. All you need to do is a “twist and a swop” 😉 RightyO, before we get to the good stuff, be sure to follow us on Facebook, Twitter, Pinterest, or Instagram. And don’t forget to subscribe so you’ll never miss a post!
How to frame a ceiling tile
Depending on how damaged your ceiling tiles are you may need to do a little prep work first before framing the ceiling tile.
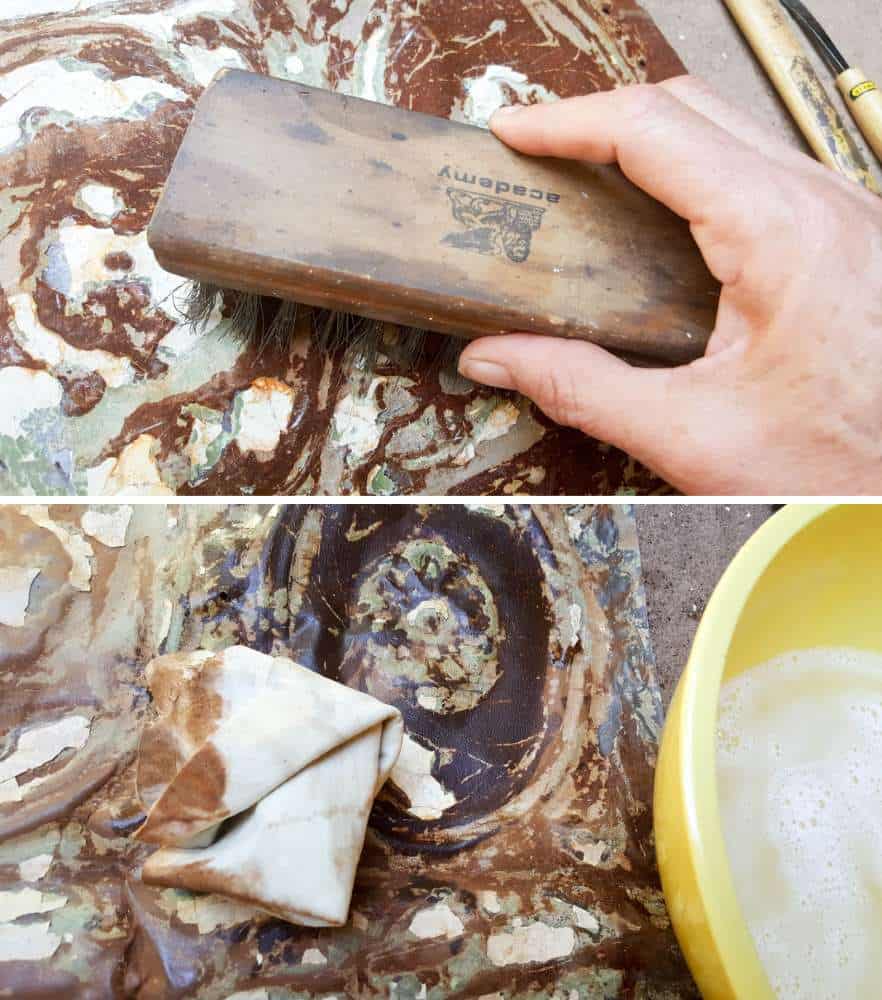
Getting the ceiling tile ready for framing
I had already removed quite a bit of the loose paint using the “bang & smack” method 😉 All I needed to do was give the tile a light scrub with a steel brush and wipe it down with warm soapy water.
Tin snips made it easy to trim the tile to the size I wanted. Don’t throw the scraps away. They can be turned into little bay windows or fairy furniture.

Old style tin ceiling tiles often have these raised and embossed edges, and since I needed my tile to lie flush against the frame I used a hammer and a scrap piece of wood to smack them into shape.
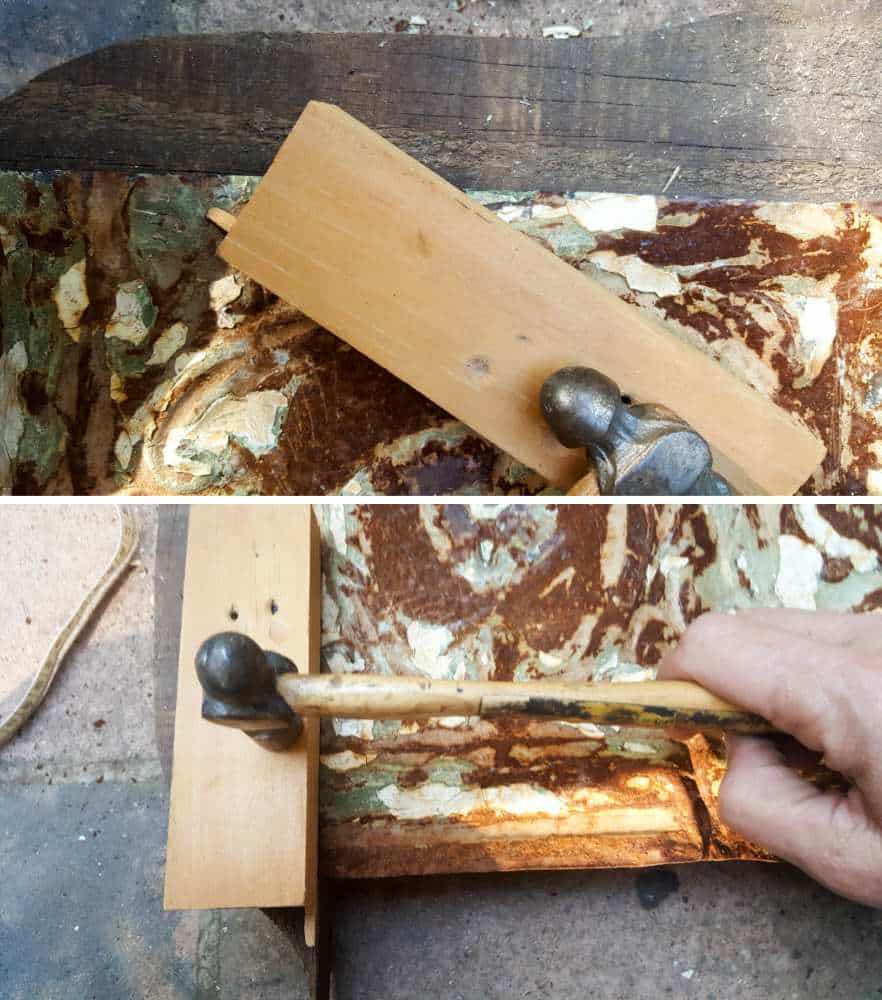
Place the piece of wood on the tile and smack lightly until those curves are all gone.

To seal and protect the tile, I applied two coats of Rust-Oleum’s Clear Satin Sealer.
Making the frame for the ceiling tile
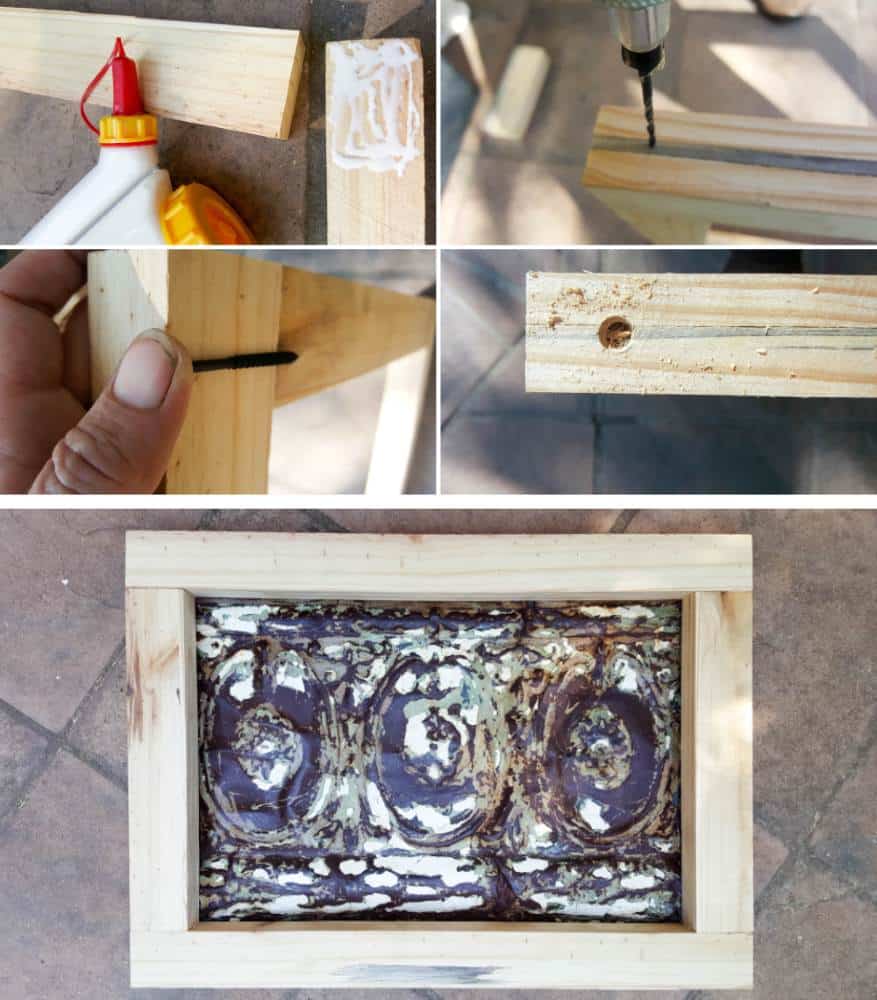
Since ceiling tiles come in all shapes and sizes, it’s not really an option to walk into a craft shop and pick up a frame that will fit. So the only alternative is to make one from scratch. In my humble opinion, the ceiling tile called for a thick, bulky frame. To make this one I used a scaffolding plank. The wood is inexpensive and about 3″ thick so it’s perfect. Simply measure the height and width and cut according to size.

Once all the bits have been cut, glue and screw the frame together.
Right so that’s the frame done, but there was a problem. The frame looked so pristine and new against that gorgeous character-filled ceiling tile and that just wouldn’t do. We needed to turn it into something old and beat up to fit the look 😀
How to age new wood in 3 easy steps
One of the best ways to age wood and give it loads of character is to use a heat gun, wire brush, and paint or stain. Hold the heat gun about an inch above the wood and move it from side to side to scorch the wood. Once the entire frame has been scorched, use a wire brush to heavily distress the wood. If you’re using something like pine the wire brush removes chunks of the softwood giving it that well-worn texture. When you’re happy with the look, apply paint or stain.

Now that’s so much better. We used the same technique to age our framed herb bouquet and depending on how much heat you apply and the type of wood you use, the frames always look well worn and character-filled.

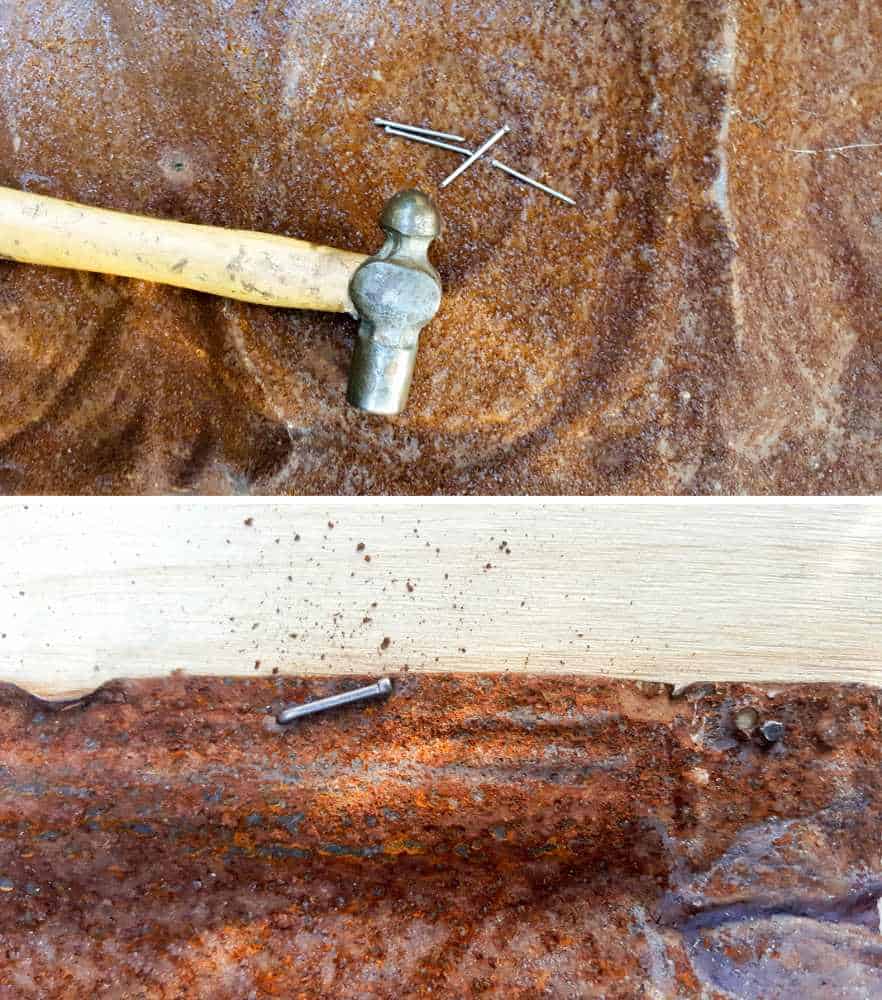
Okay, time to add the ceiling tile to the frame. You can either use a staple gun (we were out of staples) or do it the good old fashioned way; using a hammer and a nail.
Now for the fun bits. Turning that framed ceiling tile into something that’s both functional and can be used in different ways.
Giving the framed ceiling tile more than one purpose
When I made the framed ceiling tile, I really wanted to create something that could be used in many different ways depending on my mood. It’s always more fun if you can change things around 😉 The secret to making this ceiling tile decor interchangeable, are common old hose clamps. They’re inexpensive and the size can be adjusted with a screwdriver, which made them perfect for what I had in mind.
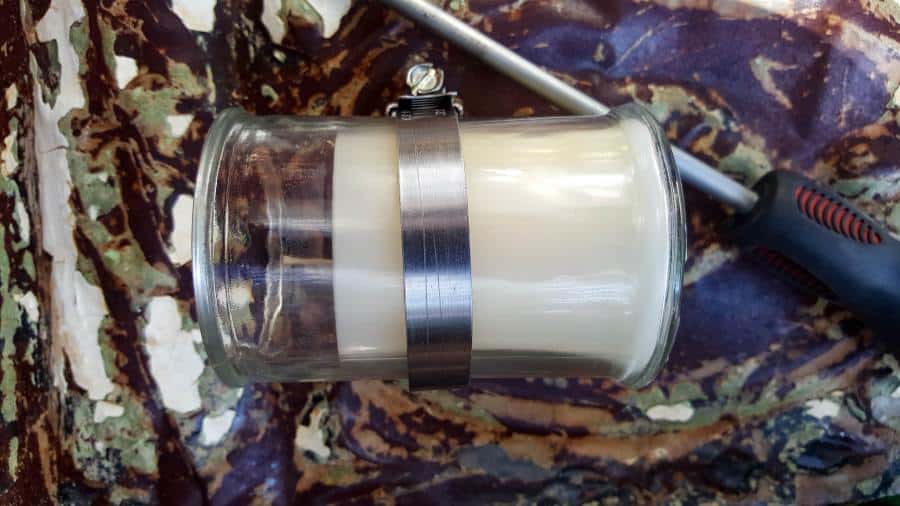
Hose clamps are usually made from stainless steel so I had to “rustify” them first and that’s easy enough to do. Just paint them and sprinkle on some rust coloured spice while the paints still wet.
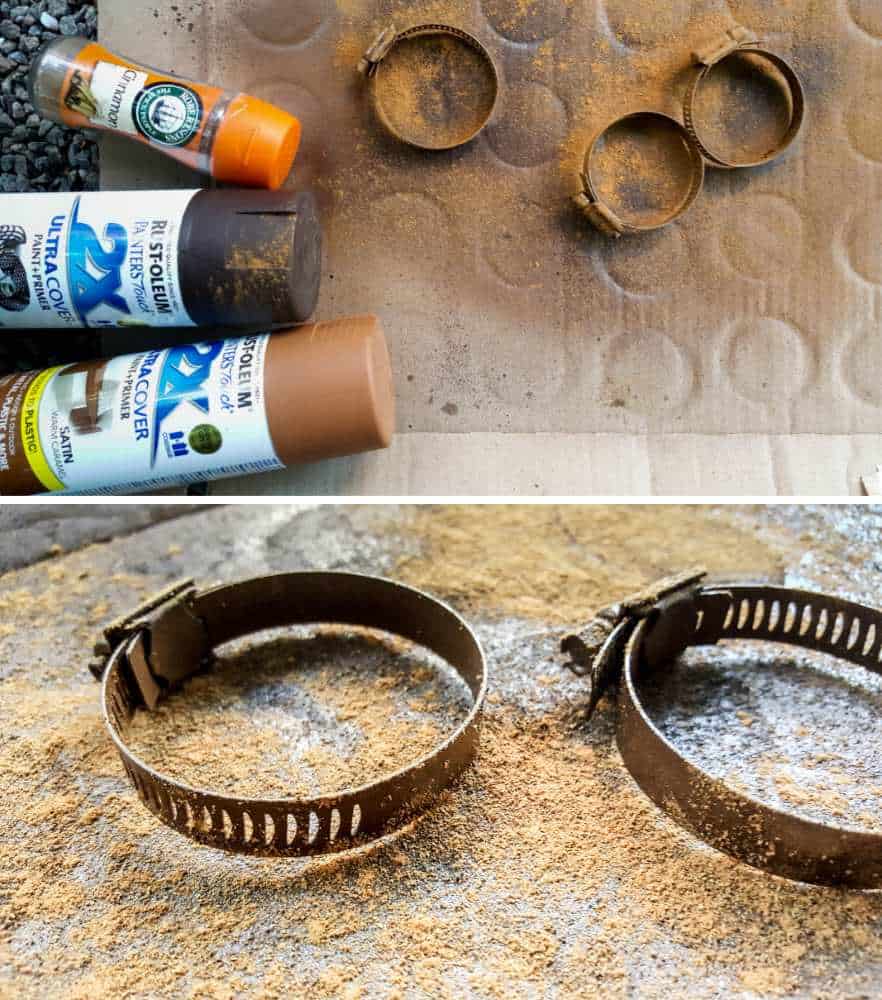
Seal them with a clear sealer. To attached the “rustified” clamps to the ceiling tile, measure and mark where they should go. Drill two small holes for each clamp. Insert some wire through the holes and twist them together at the back of the ceiling tile to secure as shown below.
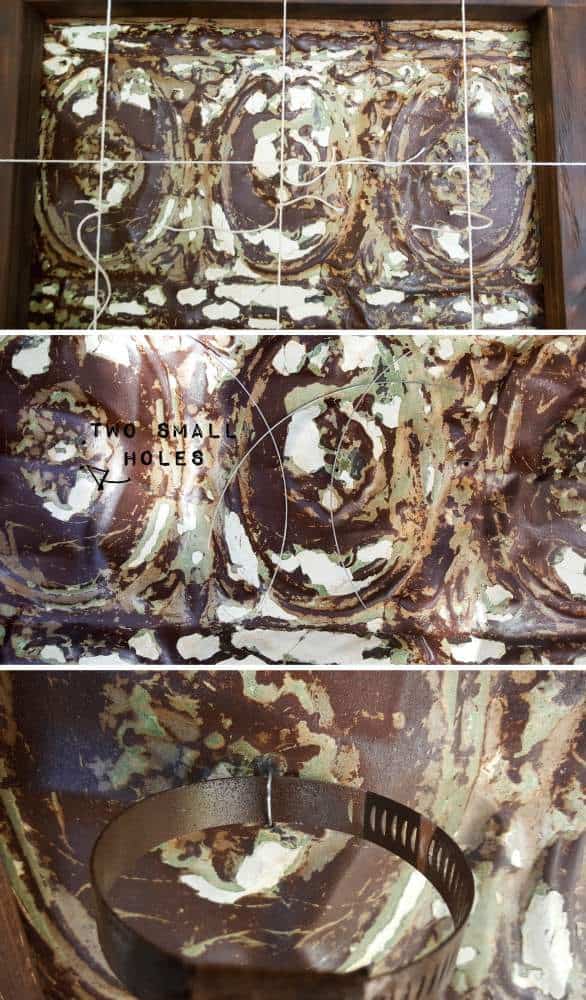
Insert the candle (or tin can or planter or vase or…. you get the point 😉 ) and tighten the hose clamp.

And the multi-purpose framed ceiling tile is ready.

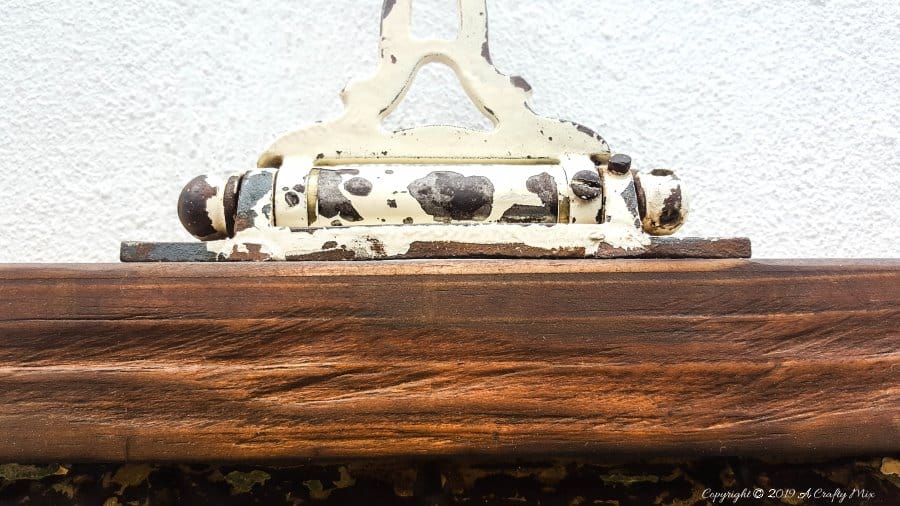
We used an old gate hinge to hang ours.
Isn’t she pretty?
And when you’re tired of the one look, a simple “twist and swop” is all you need to do. Just loosen the hose clamps and replace the candles or tin can or planter or vase with somethings else.
It’s as easy as that.
If you like the idea of farming a ceiling tile to use in your décor, don’t forget to pin it for later.
Sharing is caring.
What would you hang from your framed ceiling tile?

Oh and if you’re looking for some of the things we used, we’ve got you covered Disclosure: Clicking on the links below, means we may receive a commission from Amazon. But don’t worry it won’t come out of your pocket, and it helps us make more amazing crafts to share with you 😉


And if you prefer to buy rather than DIY, then maybe these beauties will appeal.


And as always, wishing you a wonderful, crafty week filled with lots of love. Thank you for popping in for a visit.

Last update on 2026-06-03 / Source Amazon Affiliates