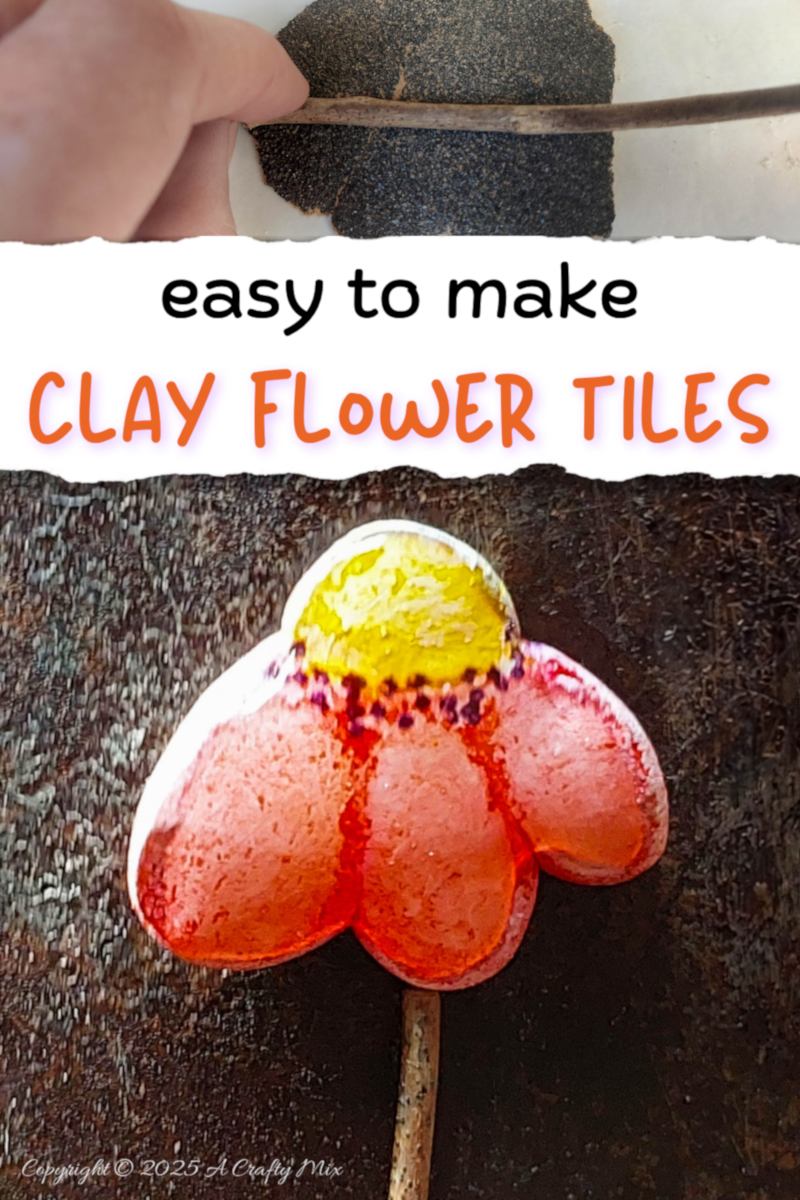
OooooooEeeeee, have I got a fun little project to share with you today. In this tutorial we’ll start by making plump, domed clay flower tiles with dreamy, watercolor effects and glossy, enamel candy petals.
Then I’ll show you how to use them to create a playful mosaic “meadow” around a tired old planter.
It’s a low‑stress, beginner craft that lets you play with color and texture without any fancy tools.
And once you’ve seen how easy these domed flower tiles are to make, you’ll be using them for all kinds of home décor projects. Think fridge magnets, curtain tie‑backs, drawer pulls, napkin rings, and so much more.
But before we get there, follow us on Facebook, Twitter, Pinterest, or Instagram. And don’t forget to subscribe so you’ll never miss a post.
What you need
To make domed clay flower tiles
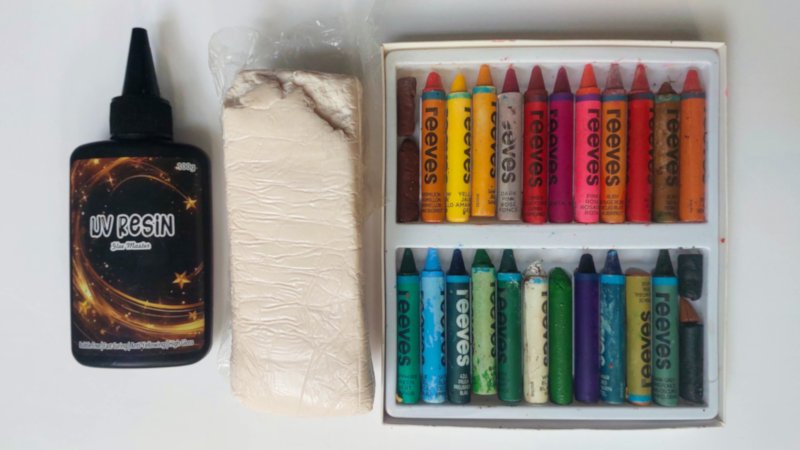
The main ingredient for these flower tiles is clay. Since my flowers will go outside, I used a polymer clay. Air-dry clay will work too if your creations will be living inside. You’ll also need:
- Water-based wax crayons
- UV Resin or clear gel nail varnish
- Cling wrap
- Rolling pin
- Flower-shaped cookie cutter (optional)
To make the mosaic meadow
- Leftover mosaic tiles
- Twigs from the garden
- Silicone glue
- Boring old planter

How to make domed clay flower tiles
You’ve got two super easy options for making clay flower bases. You can roll little clay balls, or you can cut shapes with a cookie cutter. The ball method is great if you want flowers in different shapes and sizes, while the cookie cutter gives you neat, matching blooms. Pick whichever feels right for you. I used both methods to make mine.
Option 1 – clay balls
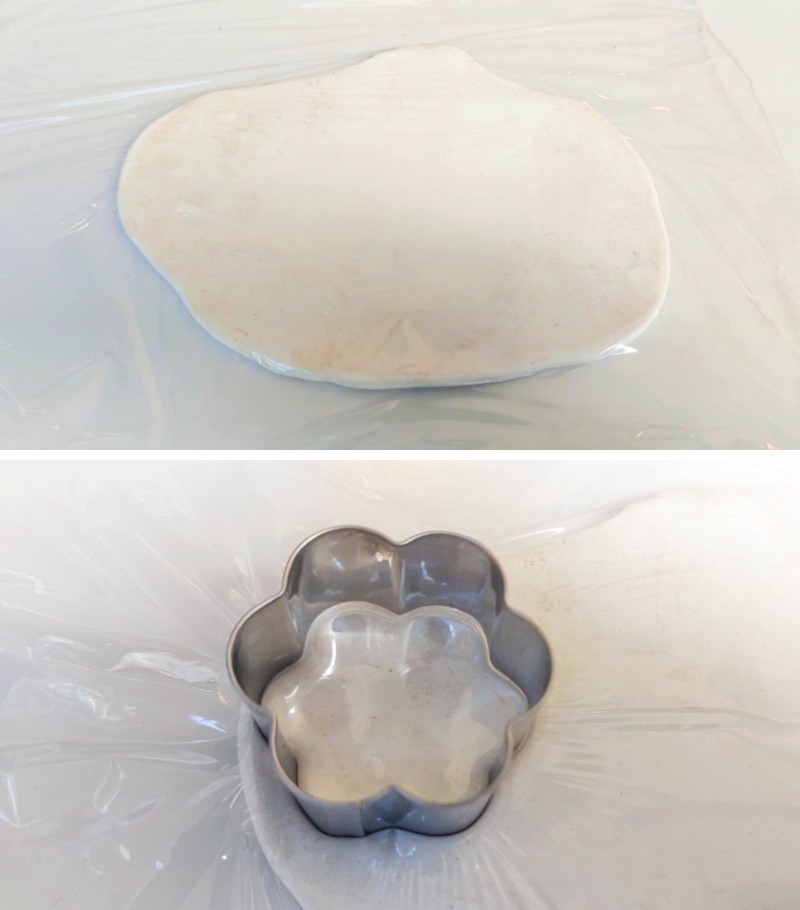
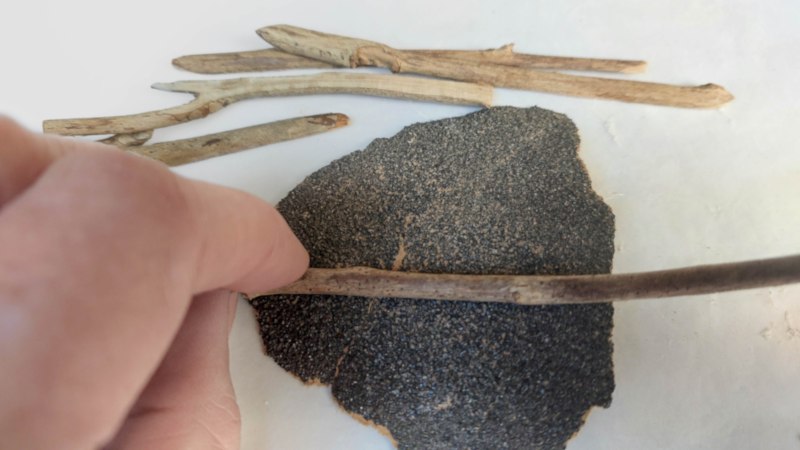
Condition the clay in your hands before pinching off small pieces and rolling them into balls. For each flower you need one ball for the center plus a ball each for the petals. So, if you’re making a flower with three petals, you need four balls. Group the clay balls together as shown below and cover them with cling wrap.
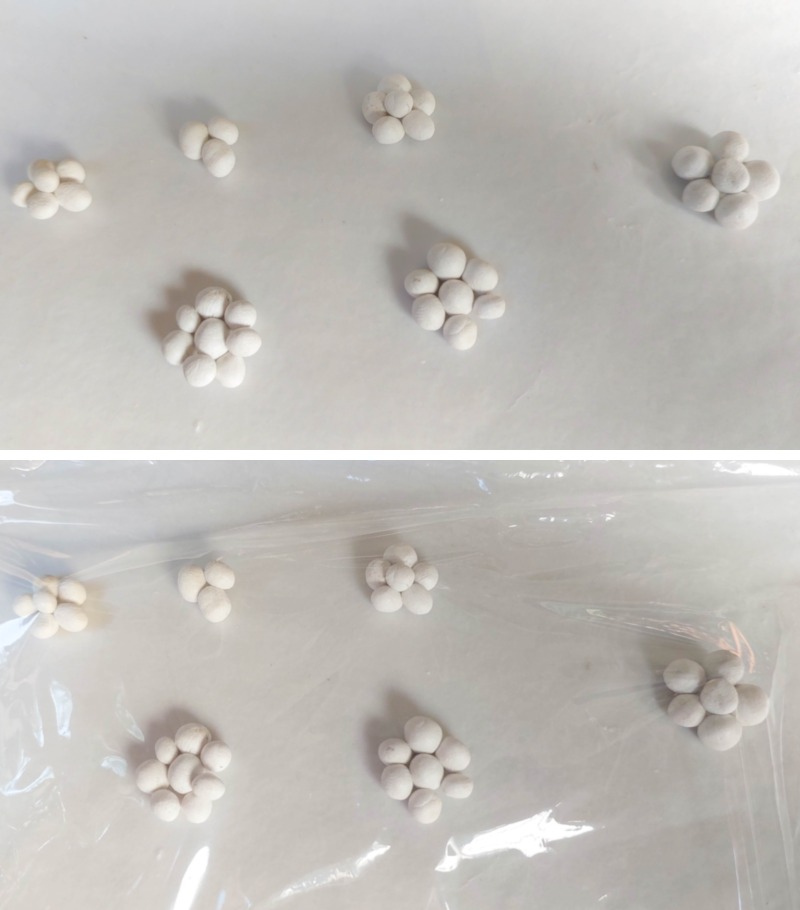
Use a rolling pin to flatten the balls into a flower shape.
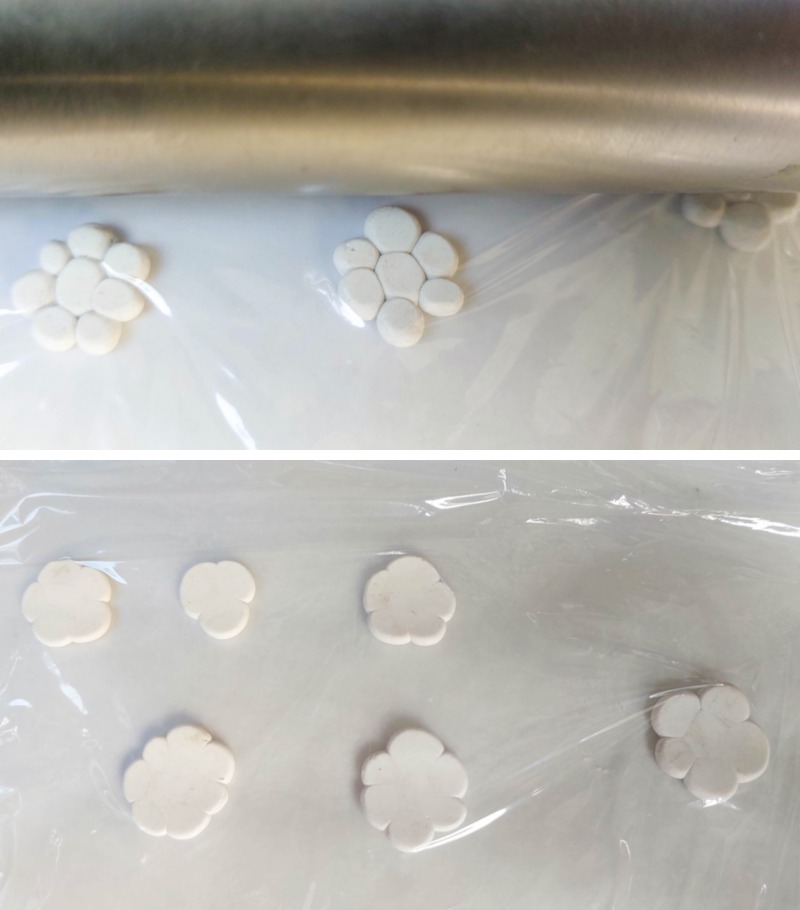
Option 2 – flower cookie cutter
If you have flower cookie cutters you can use them to cut a flower shape. Roll the clay into a flat pancake that’s about 5mm (1/4”) thick.
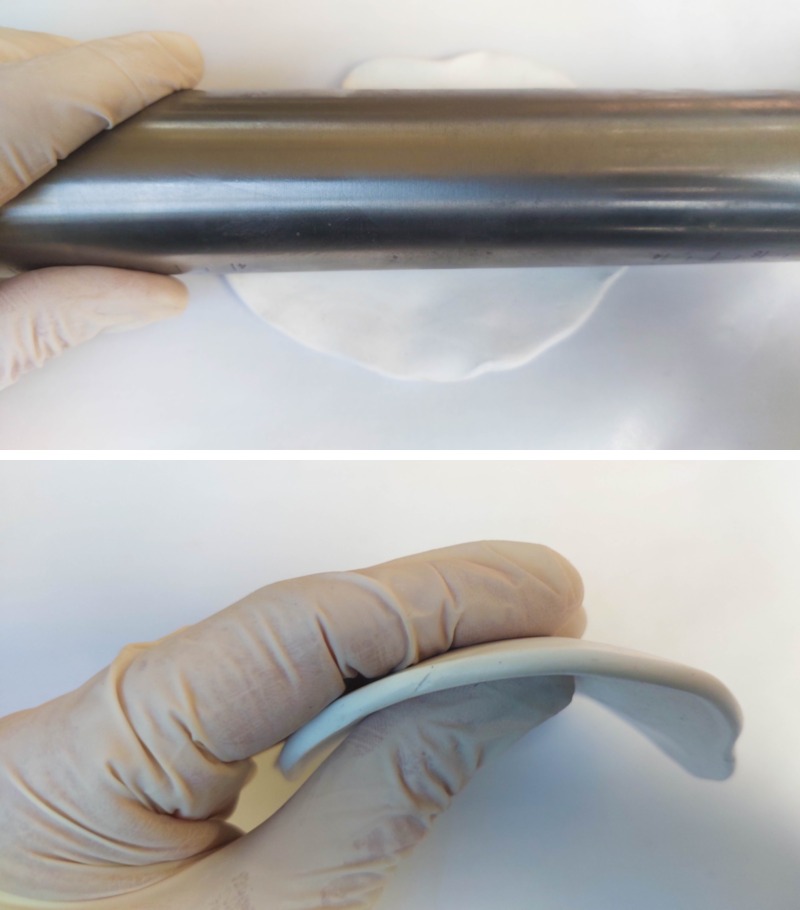
Cover the clay pancake with cling wrap and cut out the flower.
Once you have all your flower shapes, remove the cling wrap and cure or bake the clay on a flat surface according to the manufacturer’s instructions. If you’re baking the flower tiles, leave them to cool down before moving onto the next step.
Coloring the enamel candy petals
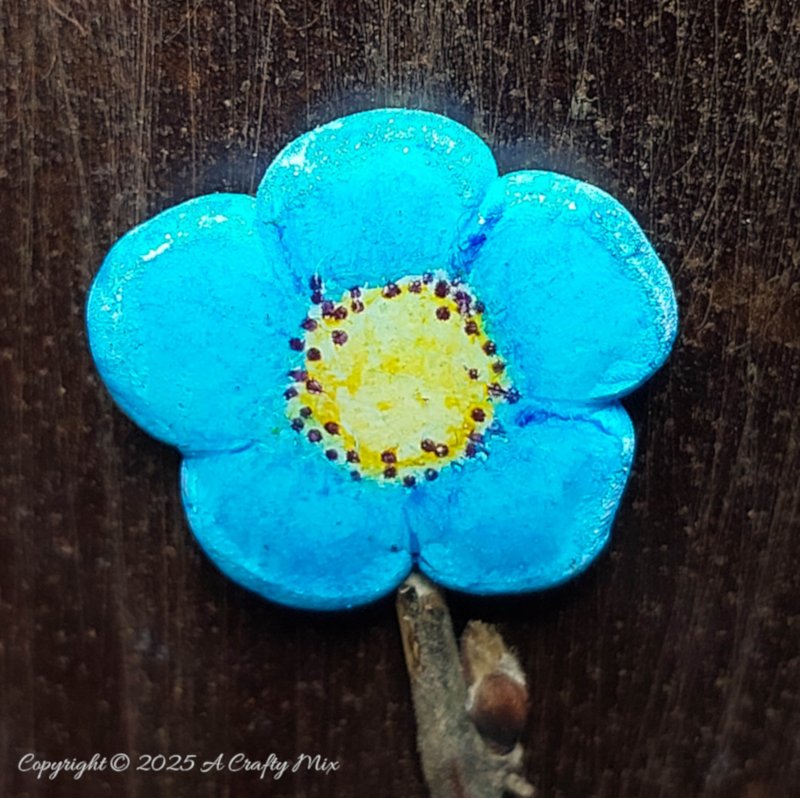
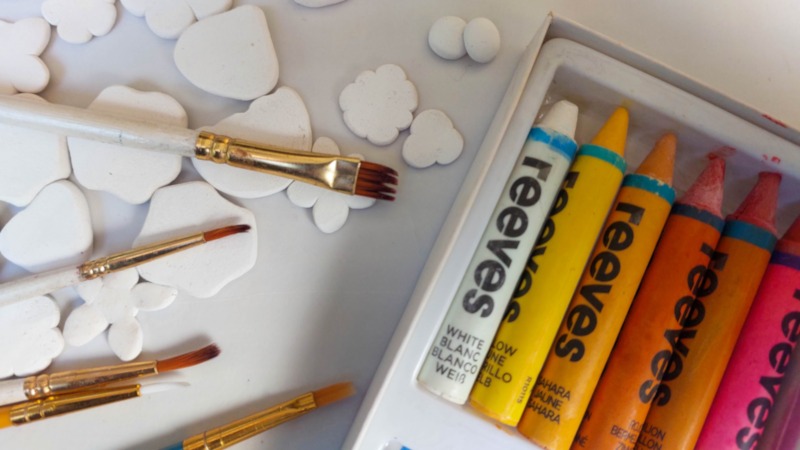
For that vivid, enamel candy look, I used water‑based wax crayons. A few years back I didn’t even know they were a thing. Now they’re a permanent fixture in my craft stash.
You can use them as-is to create bold lines….
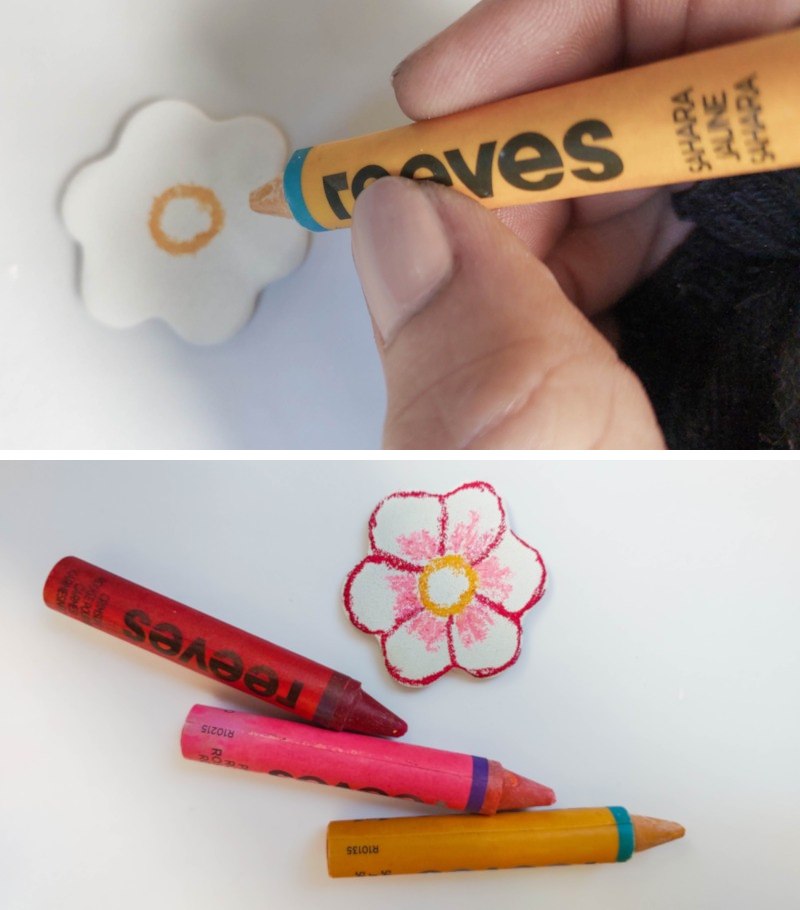
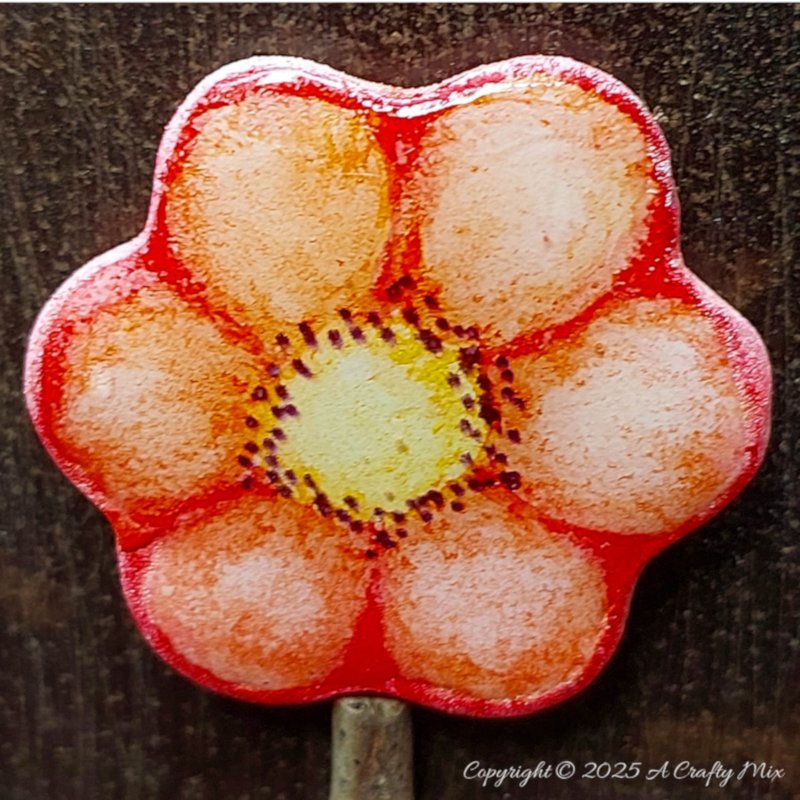
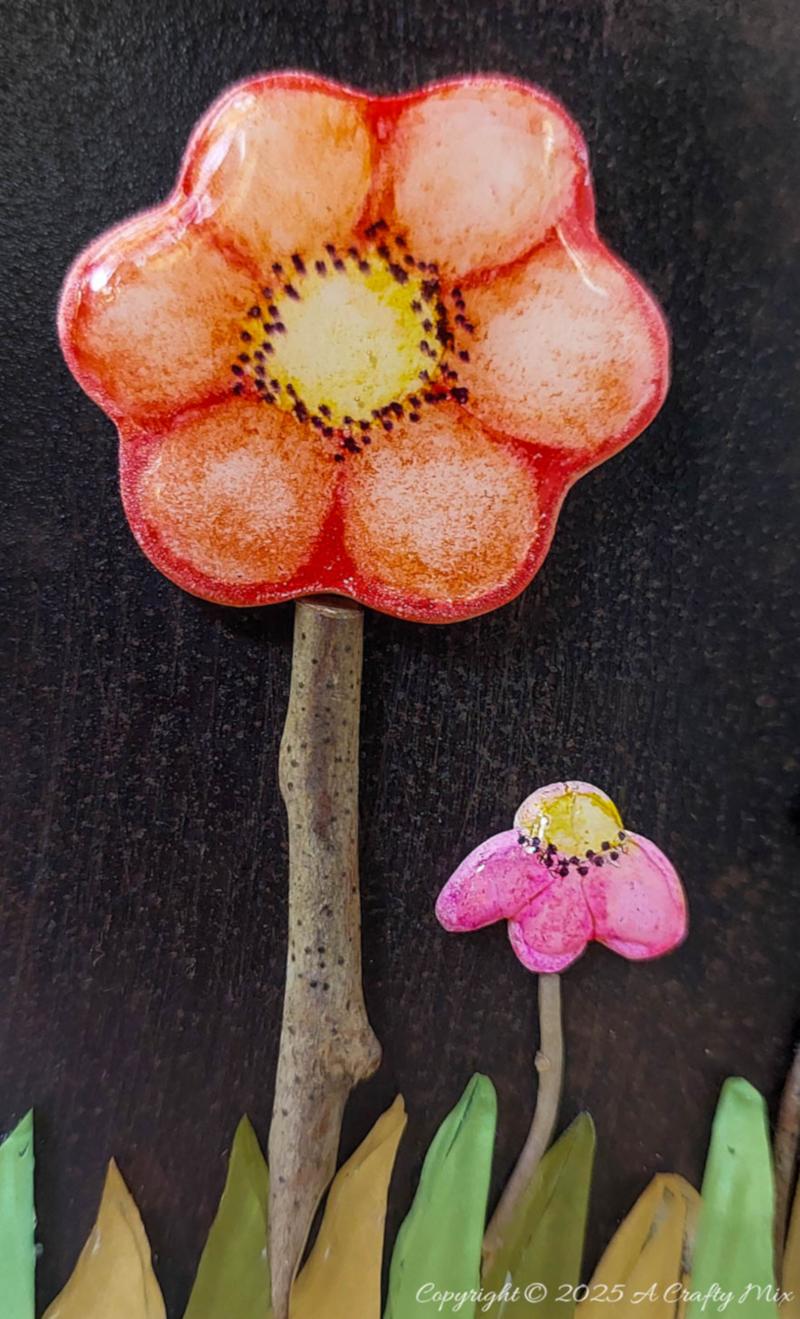
…or add a little water for vibrant, watercolor effects that pop. And it’s really easy to blend colors together too. If you can’t find the crayons, you can use craft paint instead.
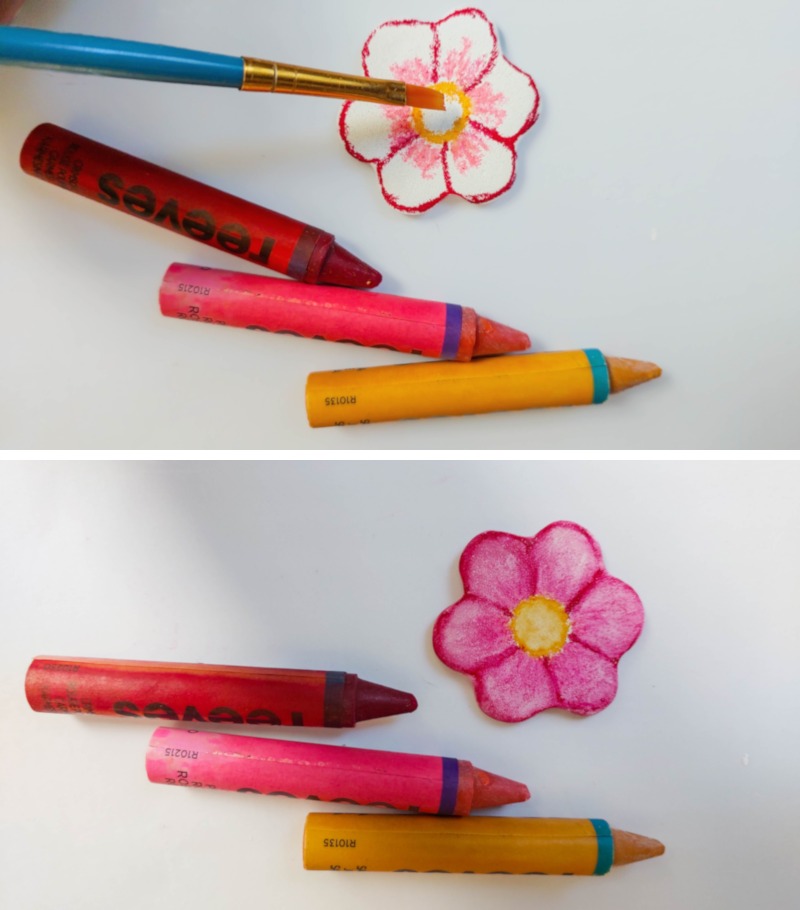
Once you happy with the colors, pour a small amount of UV resin (or clear gel nail polish) over the top and cure under a UV light.
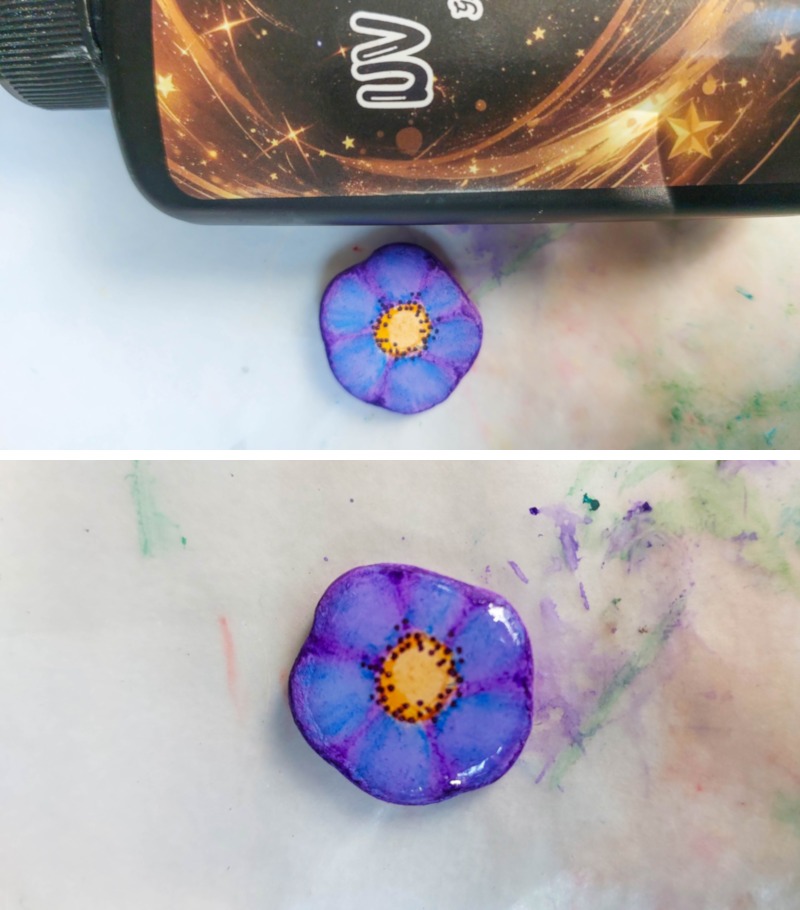
The resin coats the flowers in a shiny, domed layer that mimics enamel candy tiles. Your flowers are now officially ready for mosaic duty.
Using the clay flowers as tiles
I’ve been mosaicking for years and no matter how carefully I plan, I always end up with leftover tiles. Most of the time, they’re those sharp pointy ones that didn’t fit anywhere. You know the ones that you cut at an angle? Yup those ones.

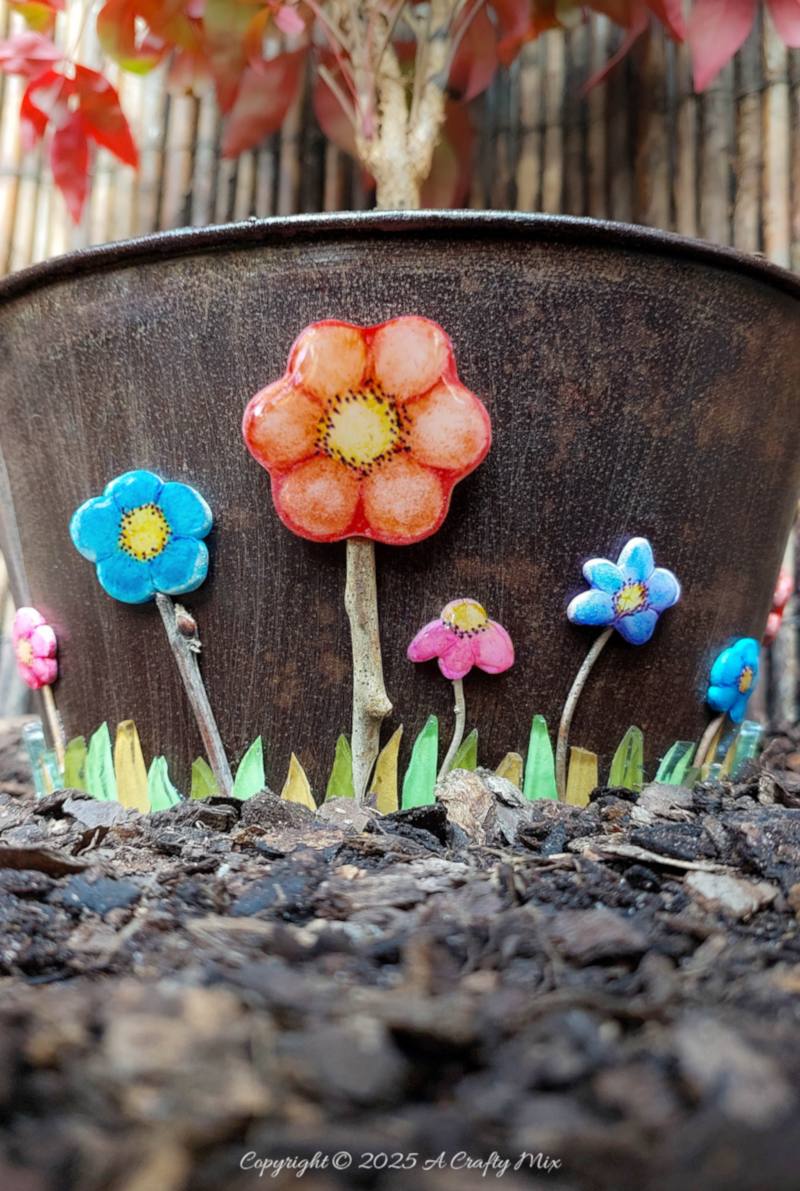
Anyhoos, I went through my scraps and gathered all the greenish, yellowish tiles I could find. They were perfect for creating a meadow-like border around the bottom of an old planter.
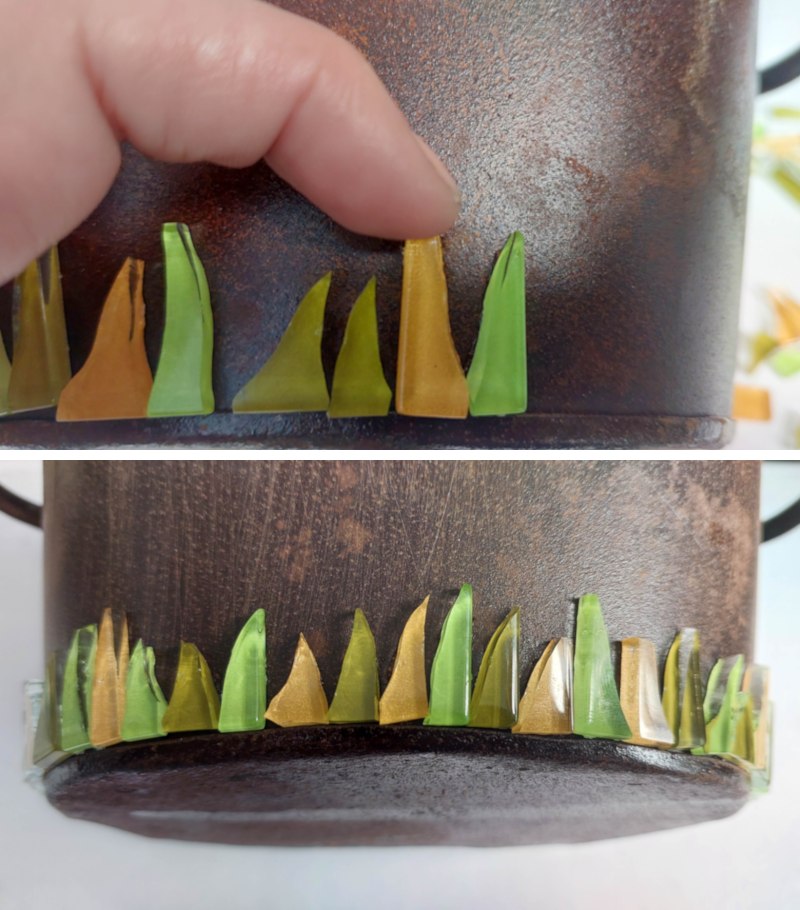
For outdoor vertical surfaces, an exterior silicone sealer like Soudal FixAll is my go‑to mosaic adhesive. It’s really tacky so the tiles don’t slide around while you wait for the glue to cure. It’s tough enough to handle almost anything Mother Nature throws at it.
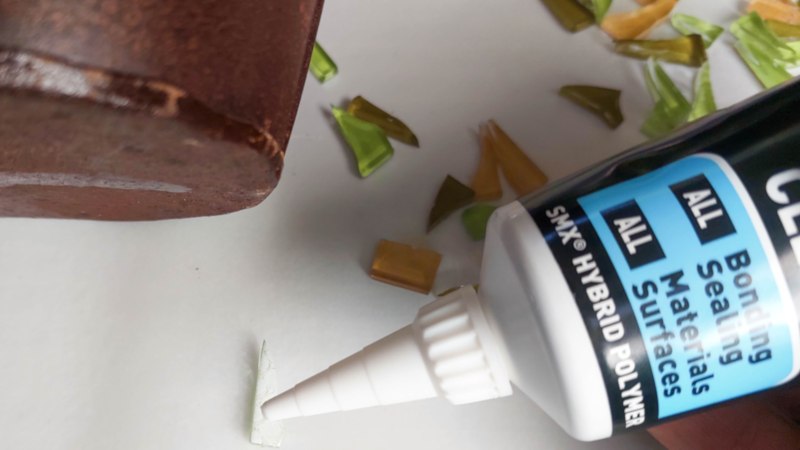
If you can’t find Soudal, look for hybrid polymer adhesives at your local hardware store. They should all work. For indoor mosaics, E6000 is good enough. When you’re happy with the border tiles, glue on a few garden twigs.
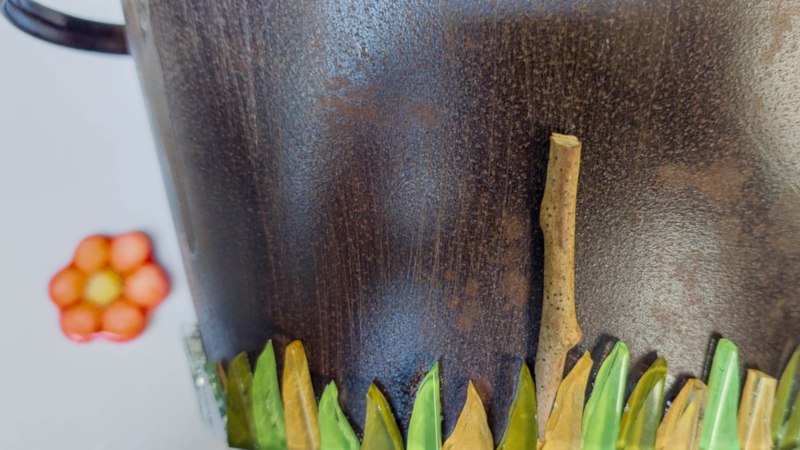
I gave one edge of my twigs a good rough sanding so there’s a bigger surface for the glue to hold onto.
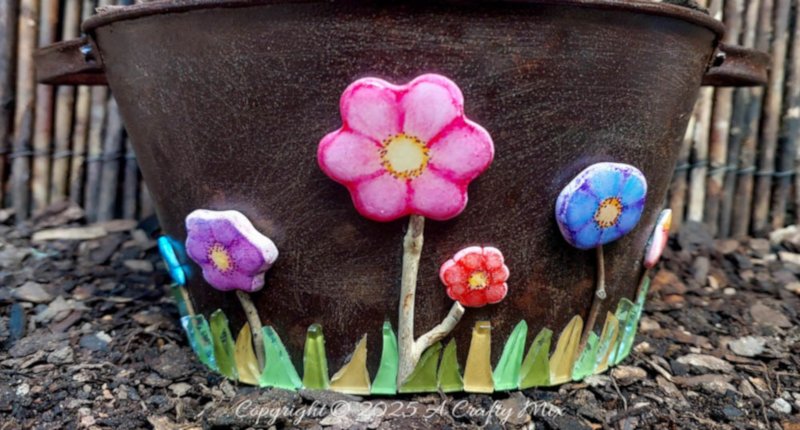
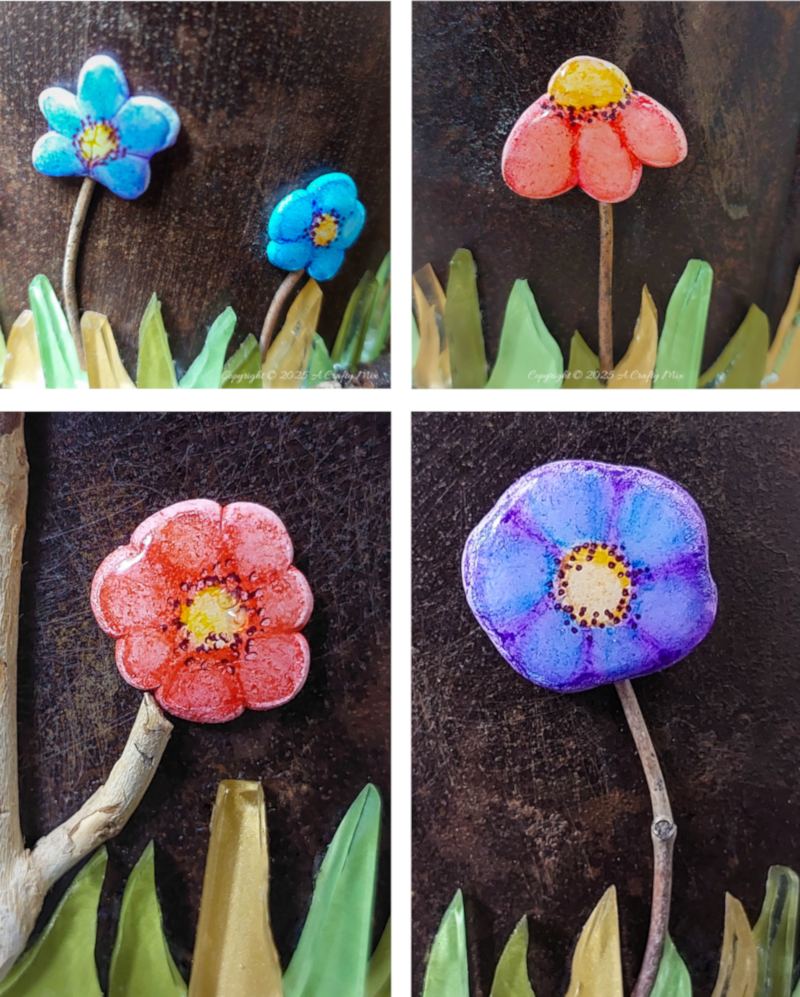
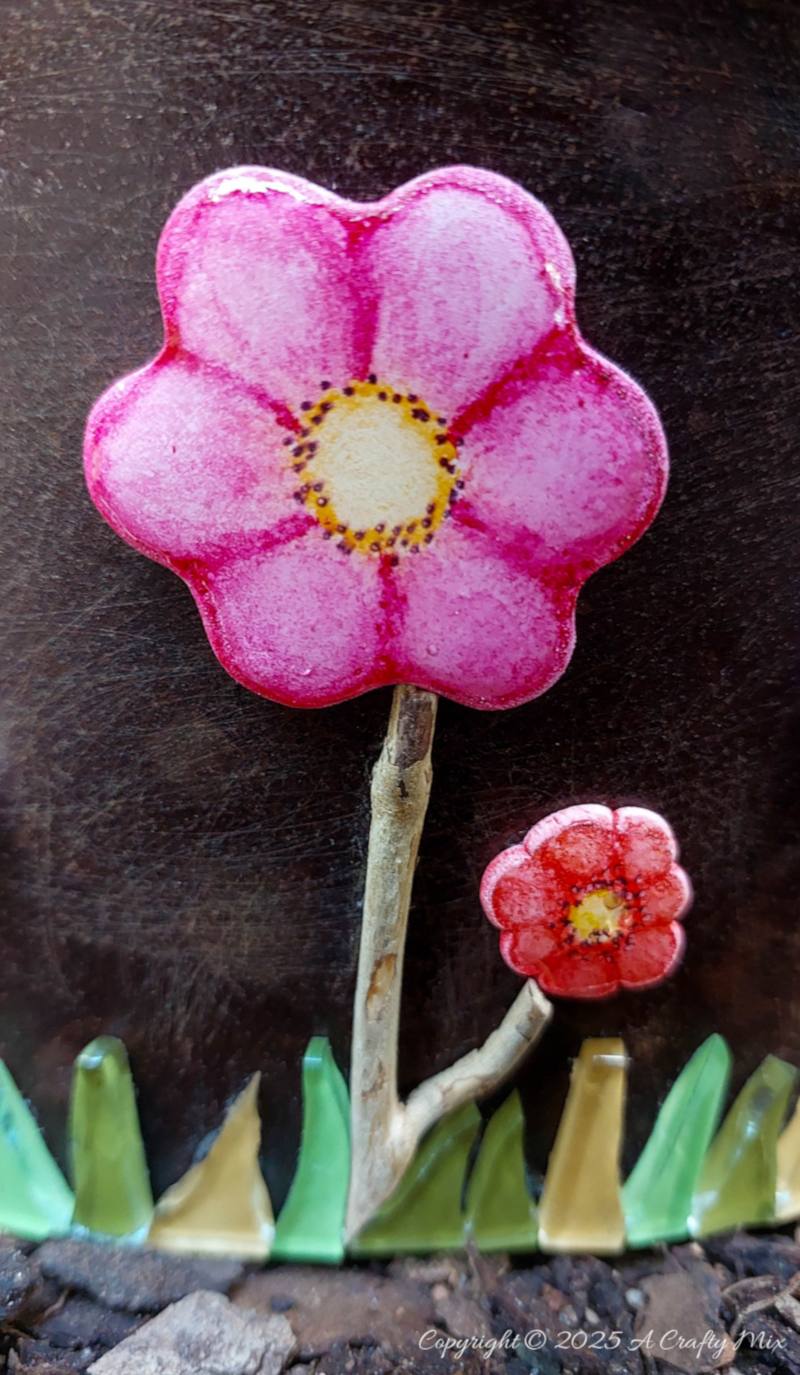
And finally, add the domed clay flowers tiles.
Soudal doesn’t take long to dry, but, just in case, I left my meadow planter to cure overnight before putting her in the garden.
And planting a Sacred Bamboo?
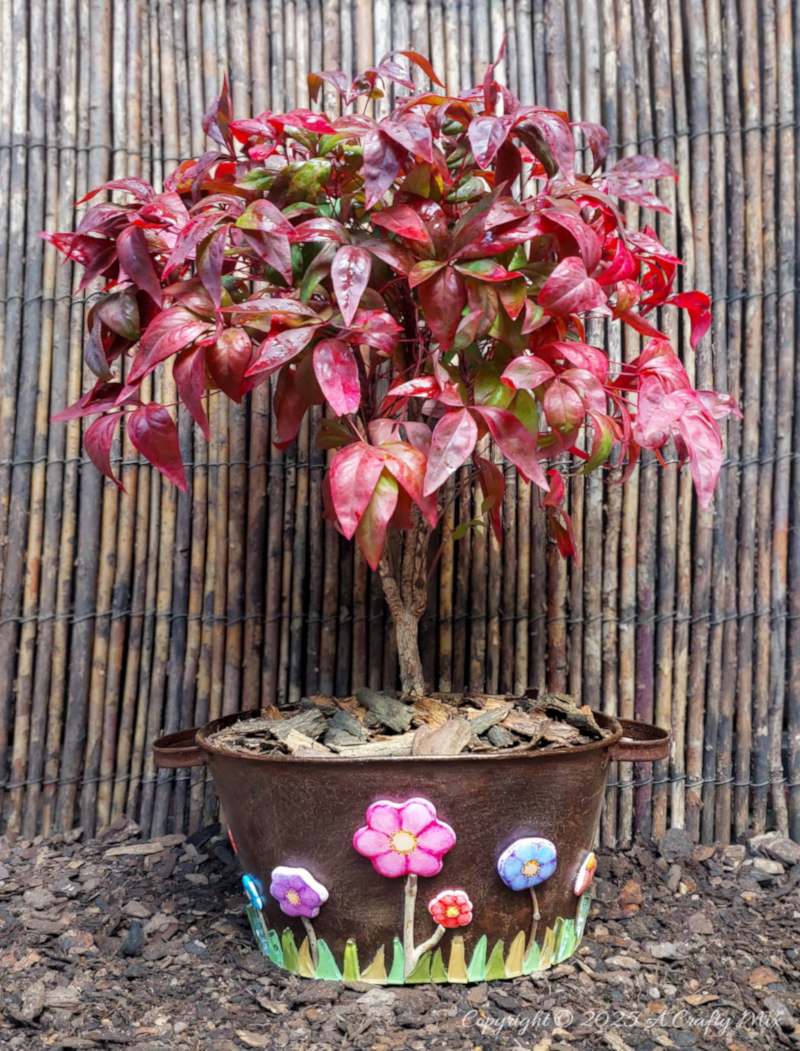
Isn’t she lovely? I’ve been saving her for something special.
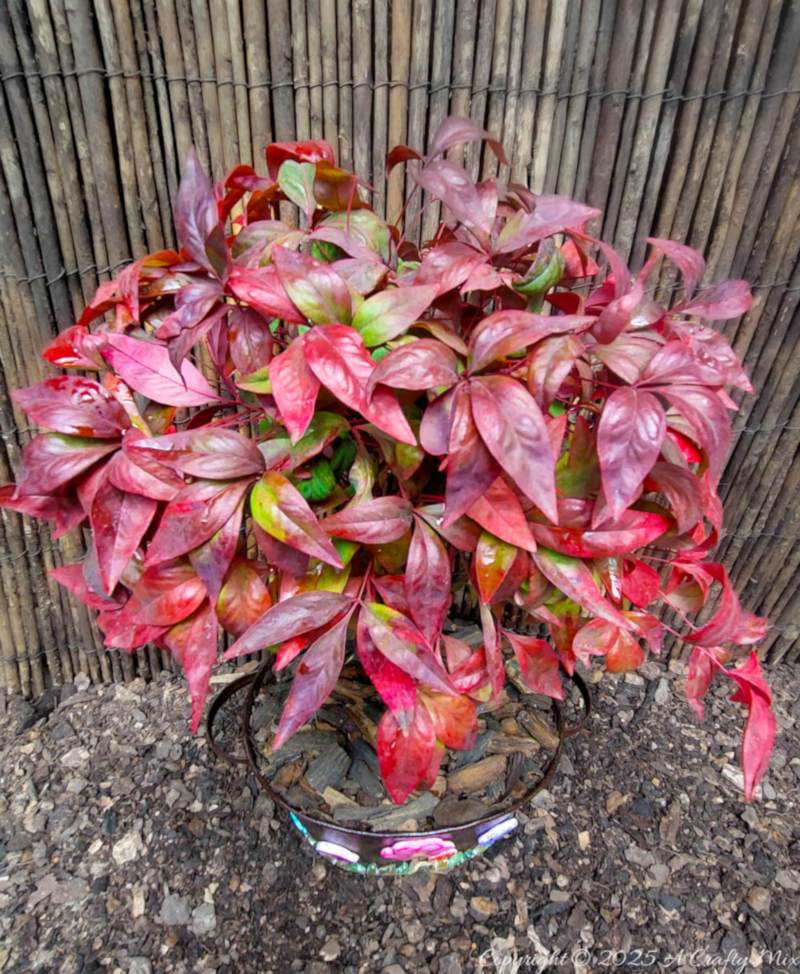
And I think this whimsical planter dressed up with glossy flower tiles qualifies.
What do you think?
If you like the idea of making domed clay flower tiles, don’t forget to pin them for later.
Sharing is caring

Oh, and if you’re looking for some of the things we used, we’ve got you covered. Disclosure: Clicking on the links below means we may receive a commission from Amazon. But don’t worry, it won’t come out of your pocket, and it helps us make more amazing crafts to share with you.


Planters that will work


Or if you prefer to buy rather than DIY


And as always, wishing you a wonderful, crafty week filled with lots of love and laughter. Thank you for popping in for a visit.

Last update on 2026-06-03 / Source Amazon Affiliates