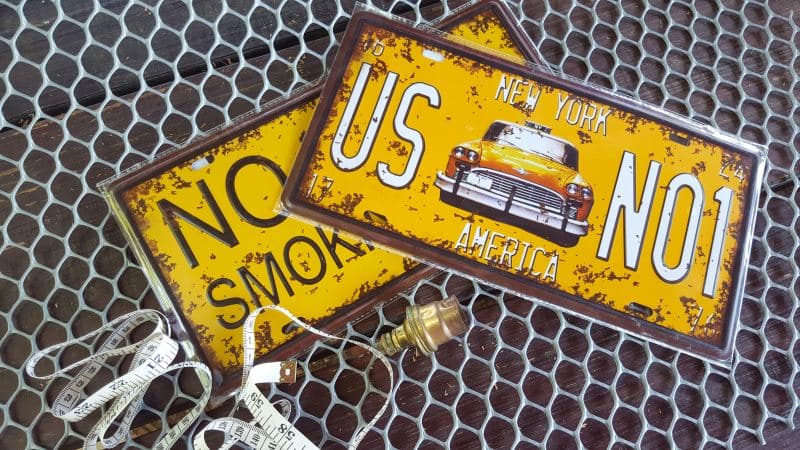
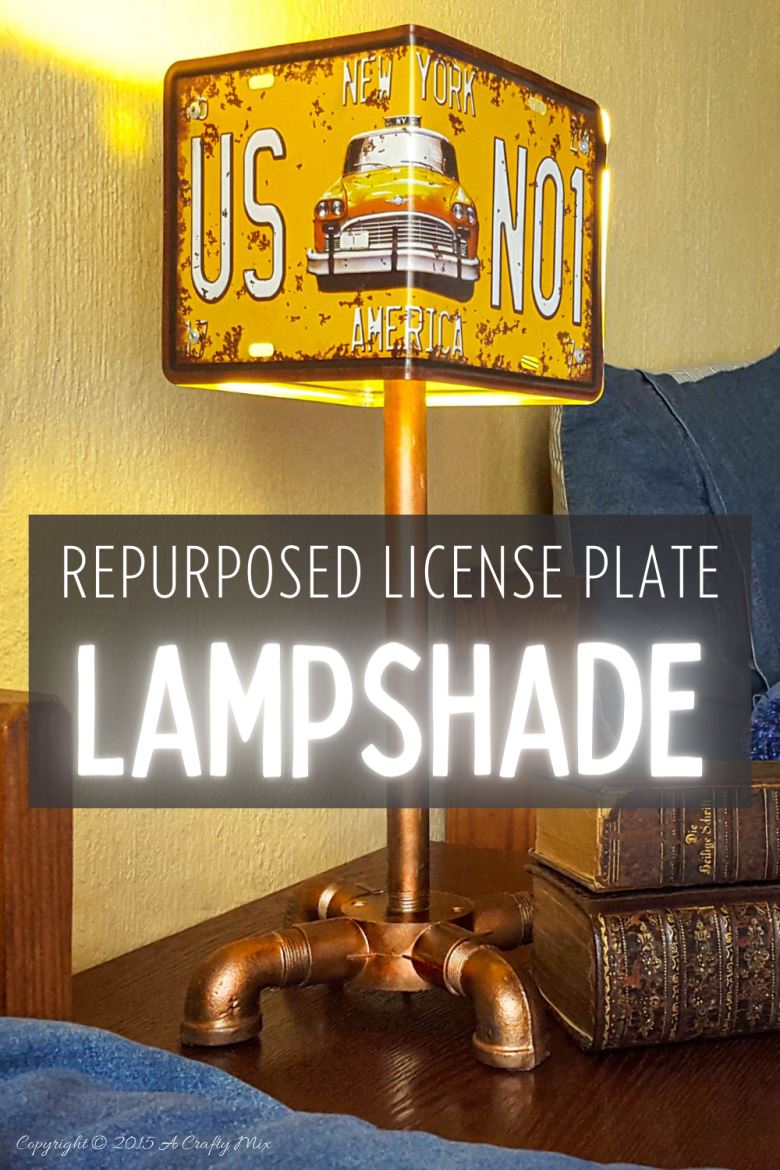
We found some amazing license plate mock-ups at our local China mall the other day and I loved them so much I bought tons. At only R 30 they were an abSooooLute steal 😎 We’ve used them in so many of our projects. Like this boring old office storage that got a complete license plate makeover and this awesome beer caddy. We even made a mini potting shed with a few of them. My son, who by the way has just matriculated (mommy is so very proud of you Calin ♥), needed a new bedside table lamp for his bedroom and we thought the plates would make a perfect lampshade. Add some plumbing bits and you get an easy license plate lamp.
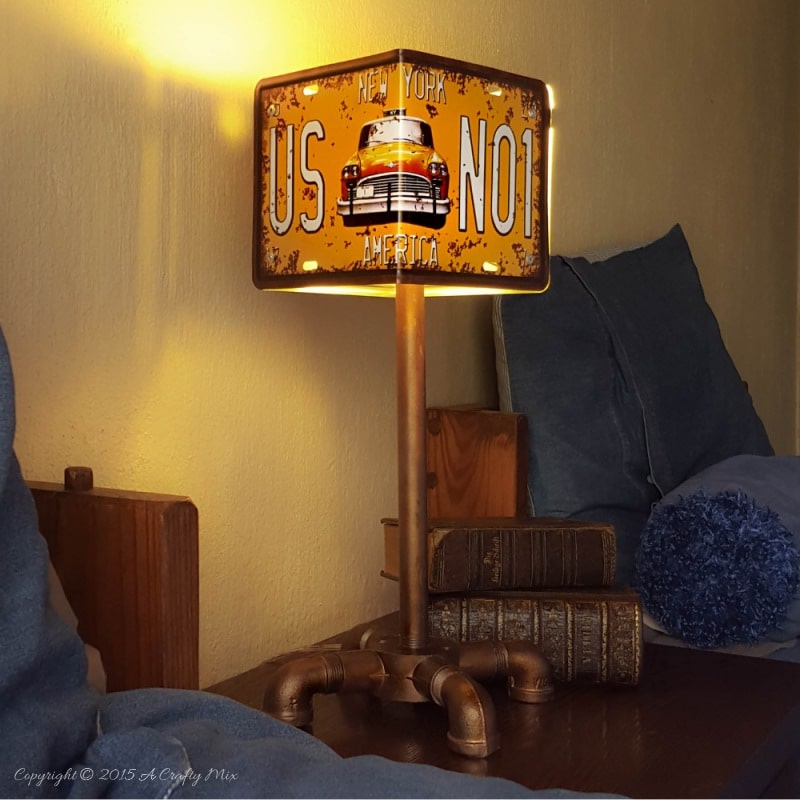
Don’t you just love the whole industrial look? And the light is perfect for a teen’s bedroom or a man cave. I’m thinking of building him this DIY loft bed. We’ll see how things work out.
In the meantime let me show you how we made this license plate light. But before we get there be sure to follow us on Facebook, Twitter, Pinterest, or Instagram. And hit that “subscribe” button so you’ll never miss a post!
What You Need to Make a License Plate Lamp
For the lampshade
- 2 license plates
- 4 brackets
- 8 Pop rivets and a rivet gun
- Electric light fitting (plastic)
- Galvanized wire
- Insulation tape
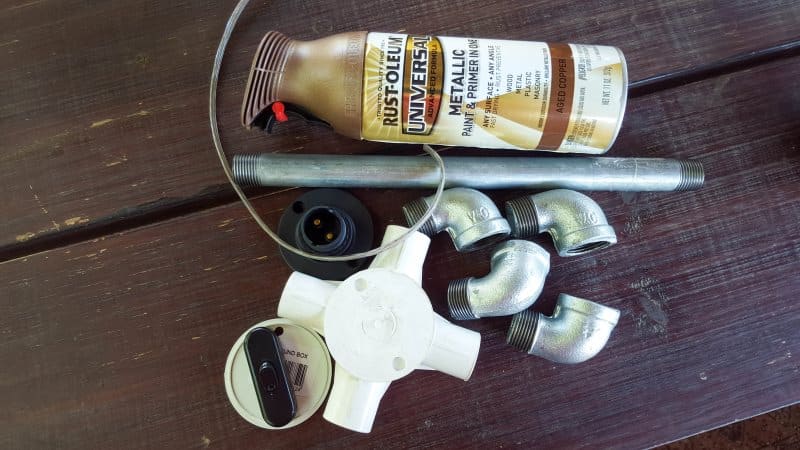
For the lamp base
- 1 four-way PVC box (20 mm or 1″). A five-way 1″ PVC fitting will also work
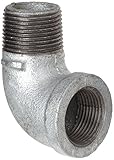
- 4 90o galvanized plumbing elbows – male (20 mm or 1″)
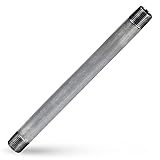
- 1 galvanized tube (20 mm or 1″)
- Spray paint
- Electrical wire, plug, and light switch
Making the License Plate Lampshade
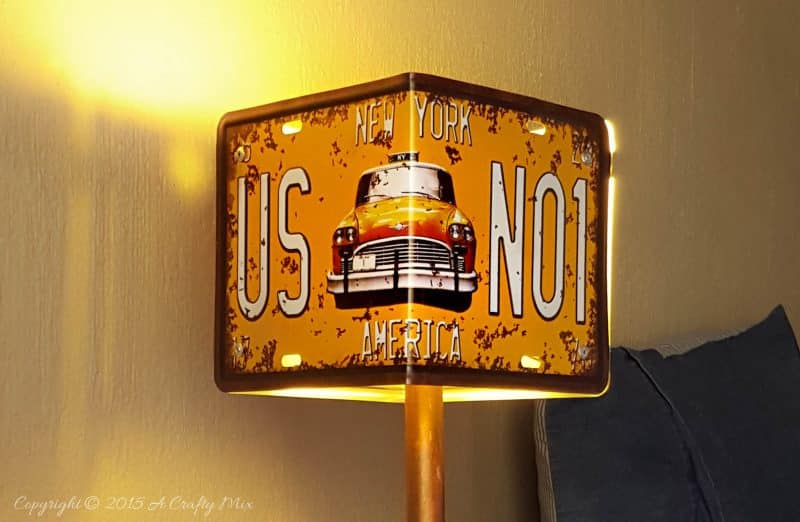
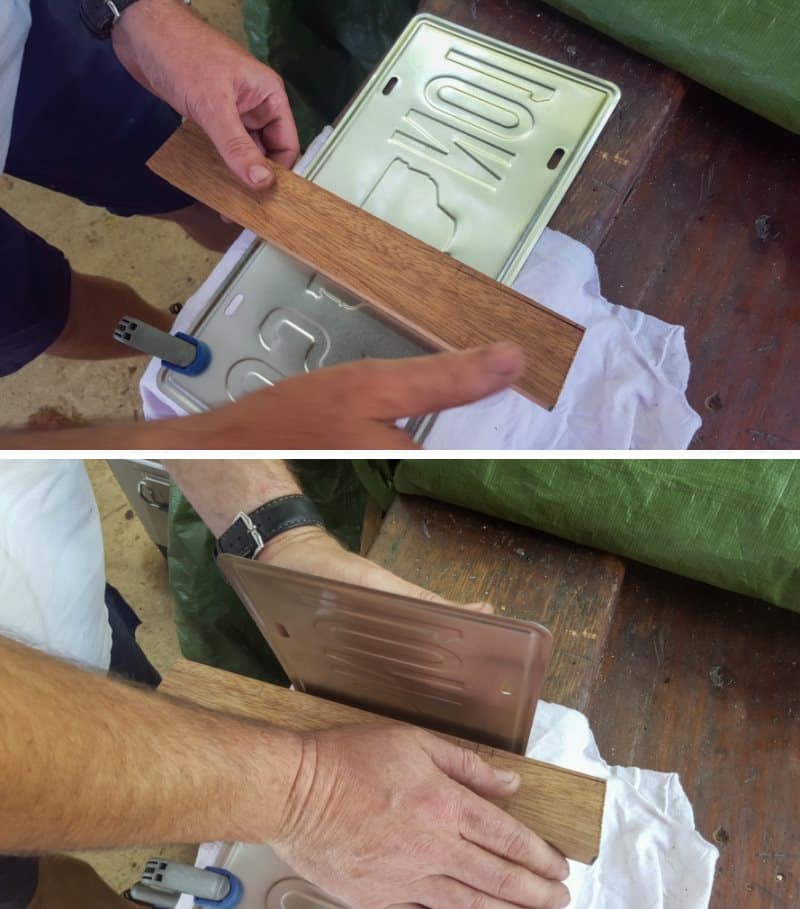
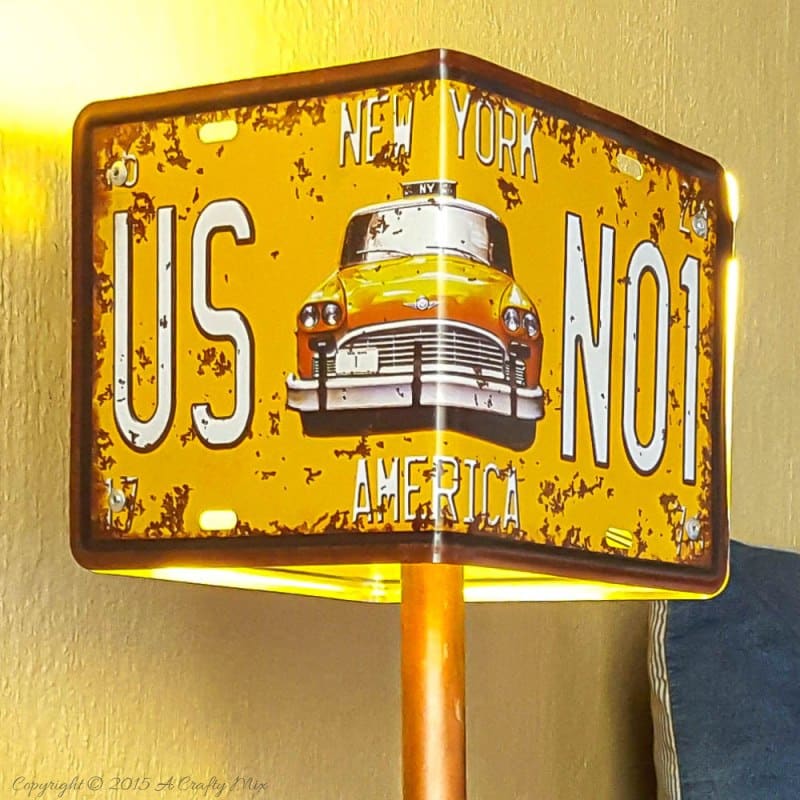
To make the lampshade, measure the horizontal halfway mark on each license plate. Use a straight piece of wood and carefully bend the license plates at the halfway mark so they form a 90o angle.
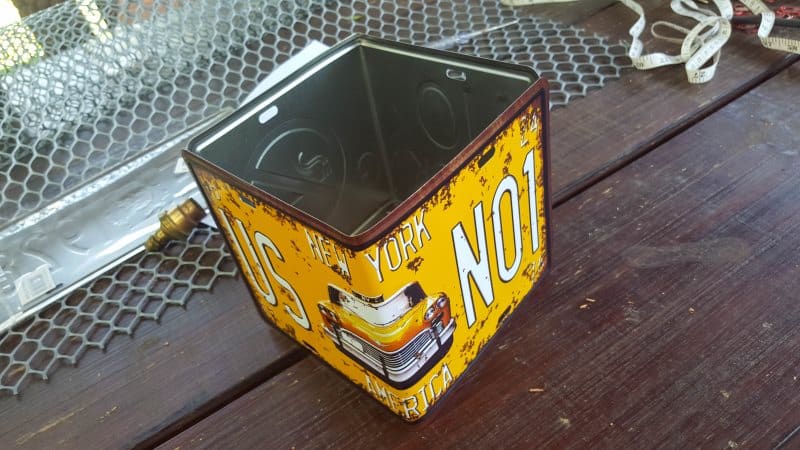
Place the license plates together and attach using the L-shaped brackets and the pop rivets.
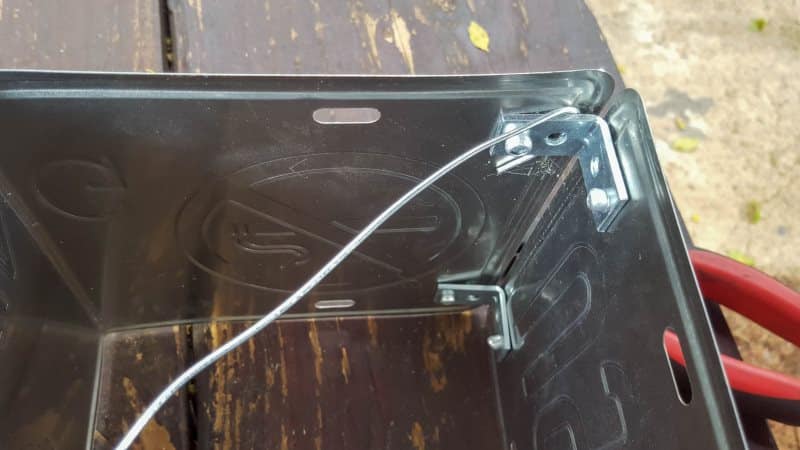
Now for the fun bit. Building a frame inside the license plate lampshade to house the light fitting. We had to put our thinking caps on for this one 😀
After some debate and a beer or two, we decided to use some galvanized wire …..
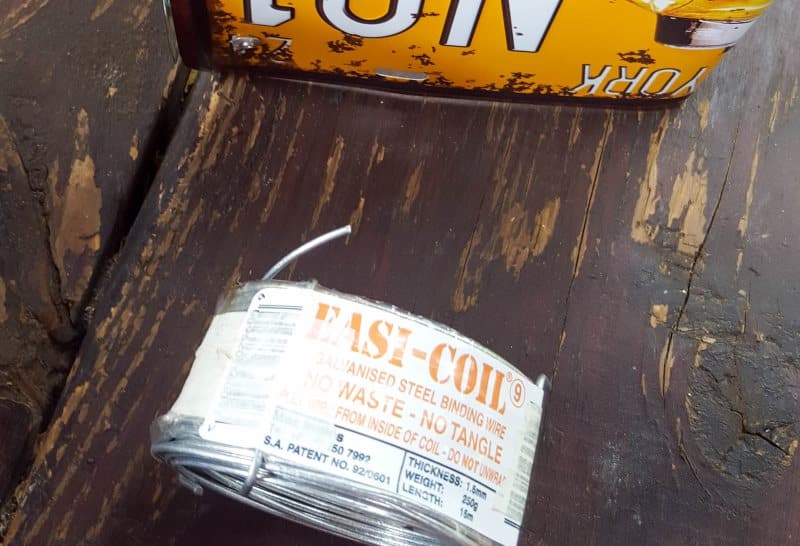
…. to create a floating frame of sorts, on which we could suspend the fitting.
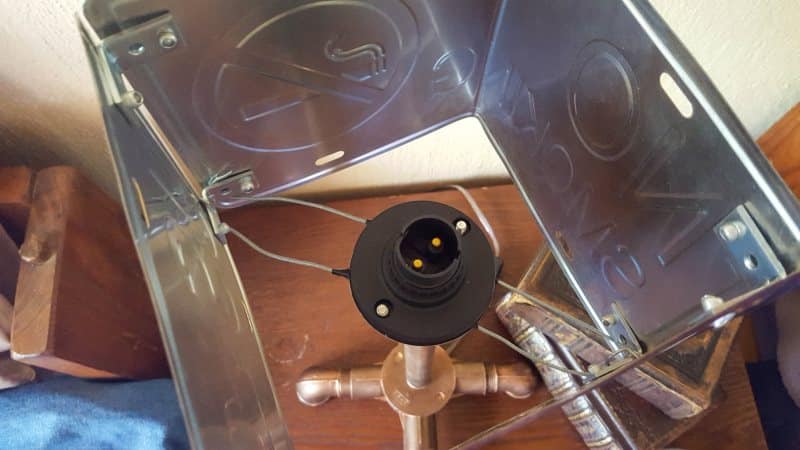
We added some insulation tape to the middle of each wire just to make sure it was safe and then attached the light fitting between the wires.
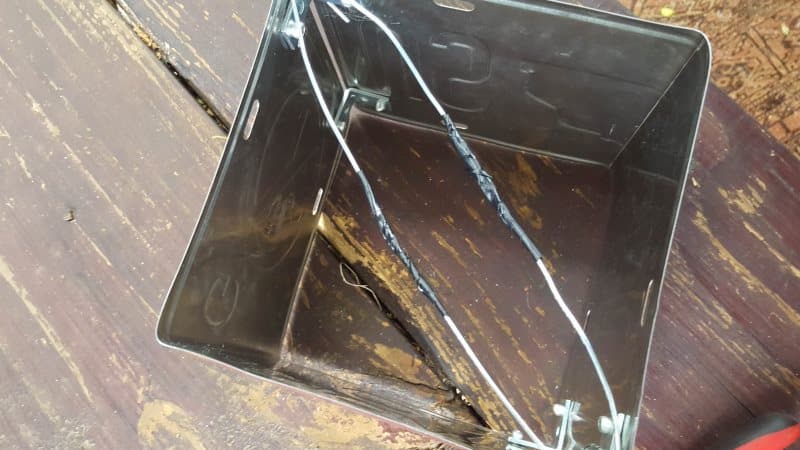
That seems to work 😀
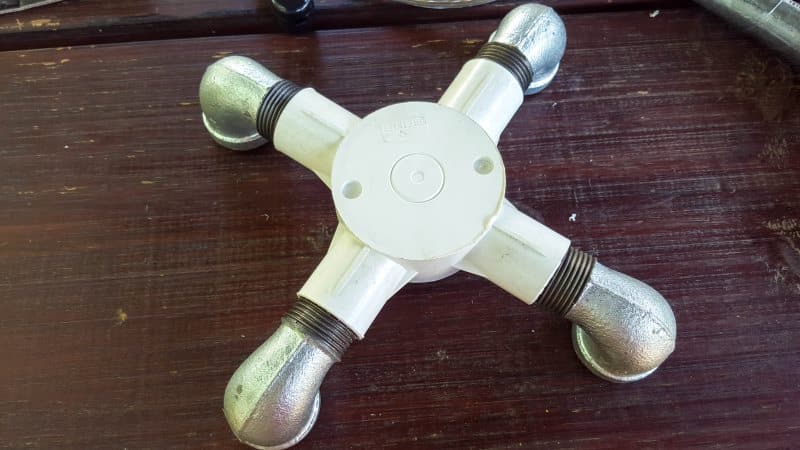
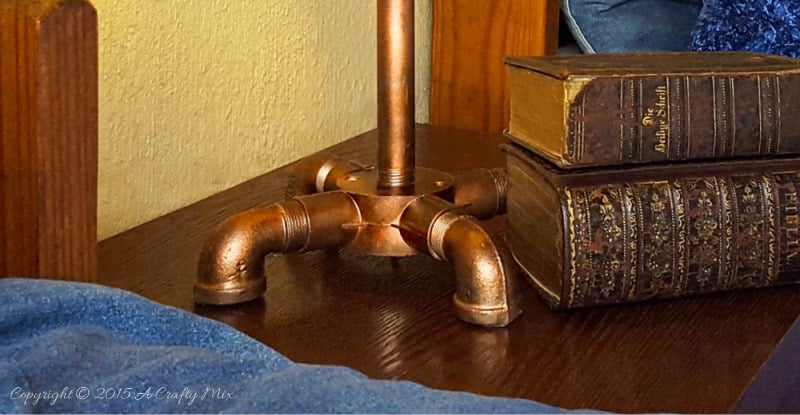
Making the “Industrial” Pipe Base
Now for the base of the lamp. The thread on the galvanized elbows are a perfect fit for the PVC box, simply twist them in.
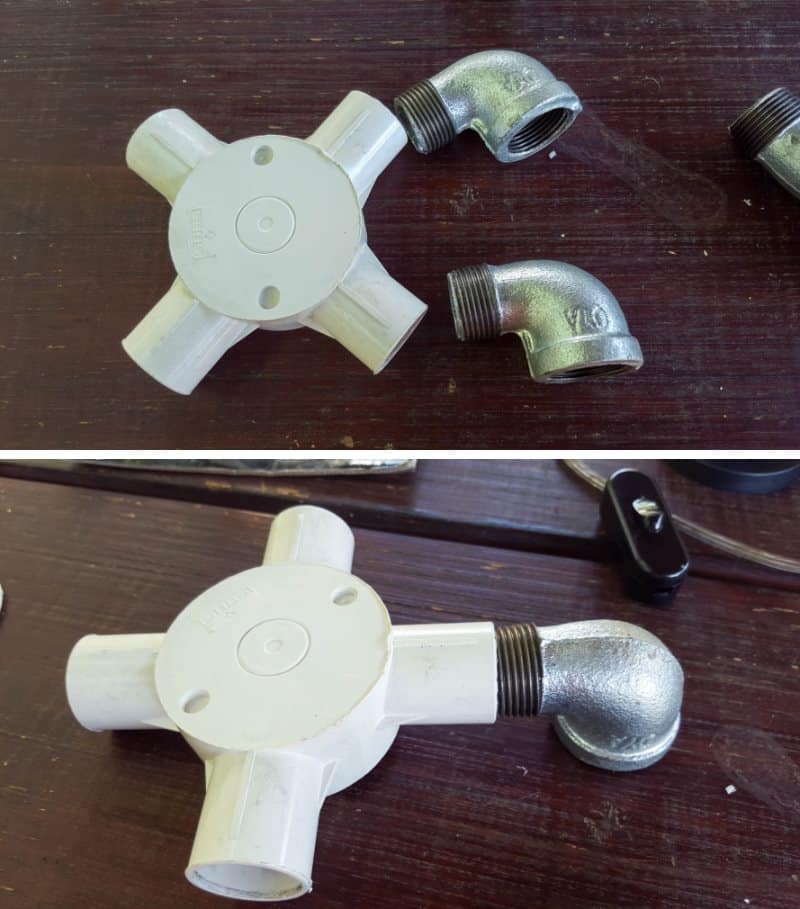
Seriously, it was that easy.
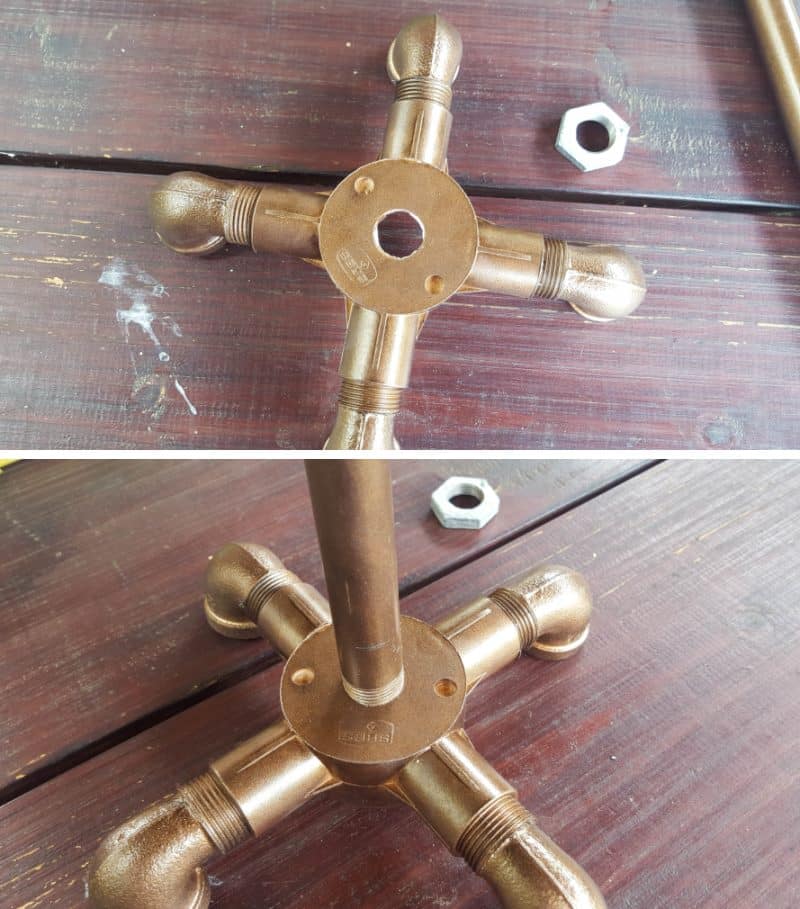
Paint the PVC base, elbows, and pipe so they all match.
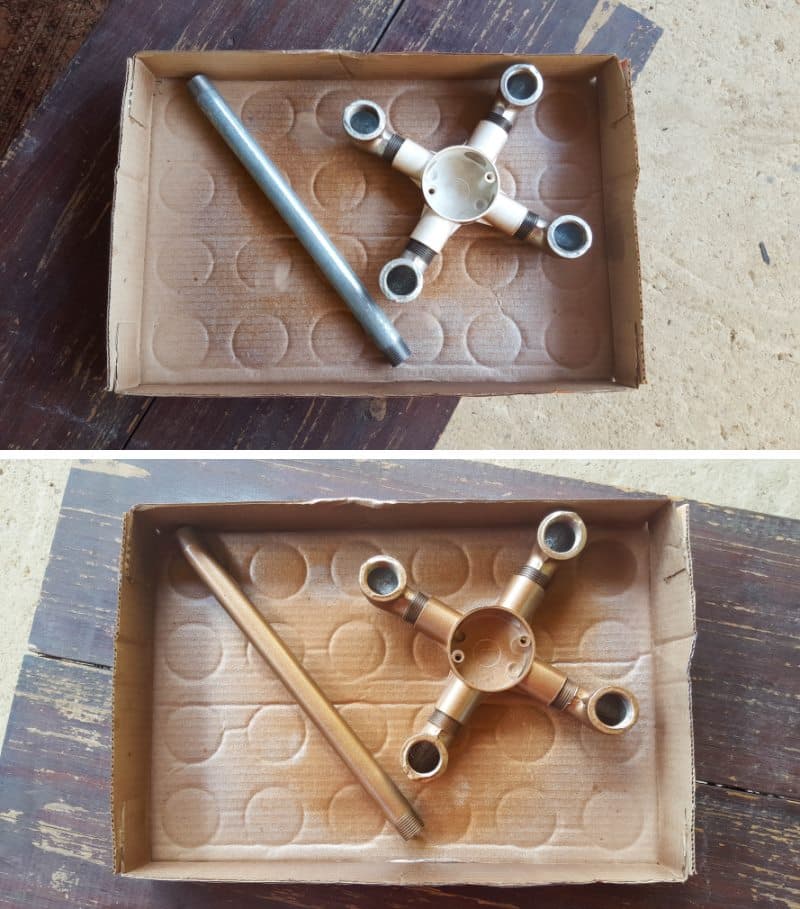
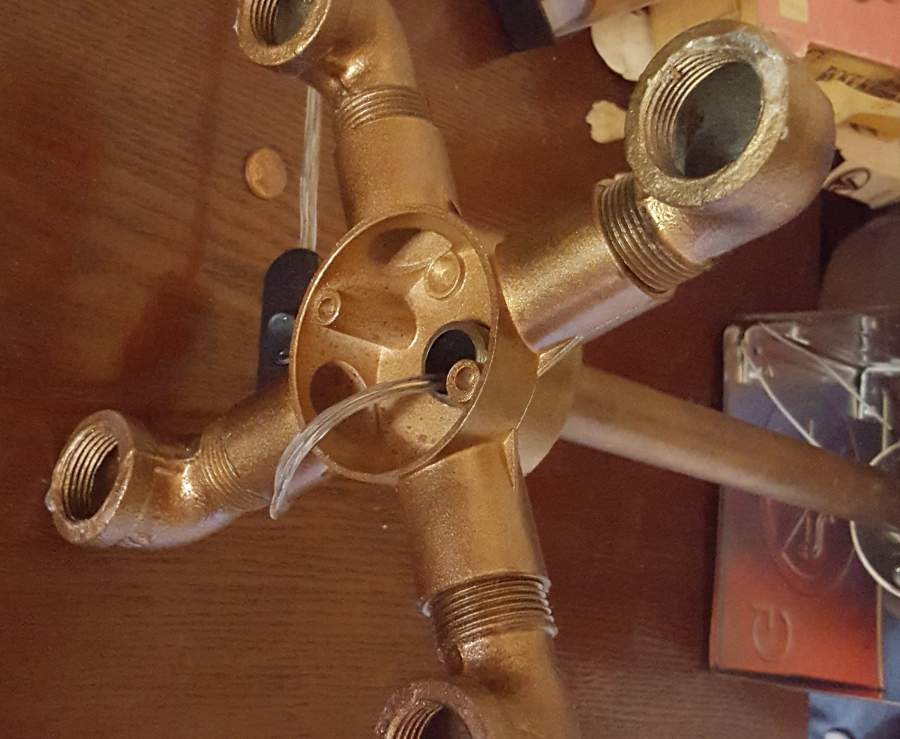
Once the paint dries, gently tap out the little round circle bit in the PVC box, and twist the pipe into the hole. Another perfect fit!! If you’re using the five-way PVC connector then you can simply insert the pipe into the hole on the top of the fitting.
Attach the base to the license plate lampshade and thread the wire from the light fitting down into the pipe and wire the baby up. If you’re unsure how to wire up a plug and light fitting, please get a qualified electrician to do that bit for you.
Add a bulb and plug her in and you’re good to go.
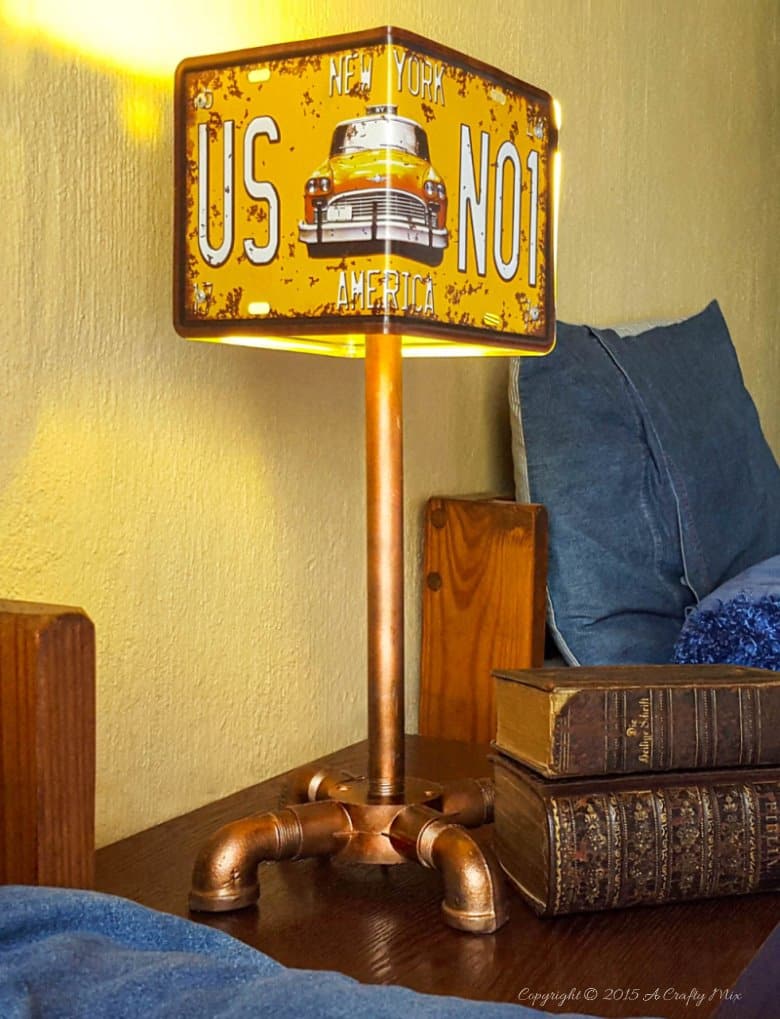
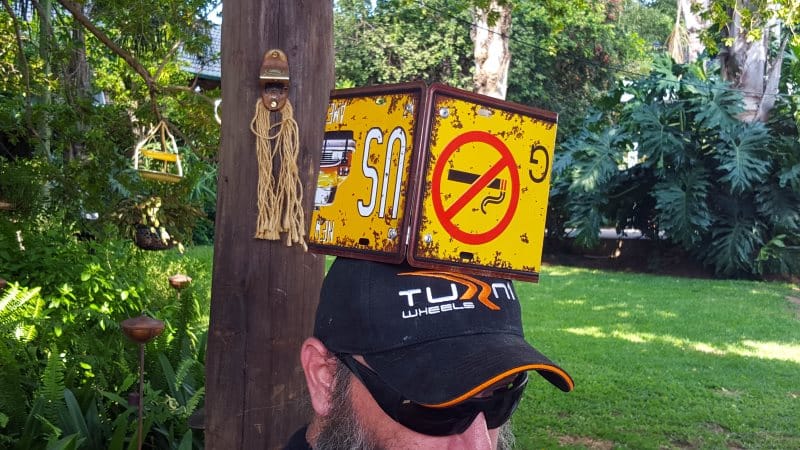
I’m super happy with how it turned out.
And my son does too 😉
What do you think? Is it something you would make for your son?

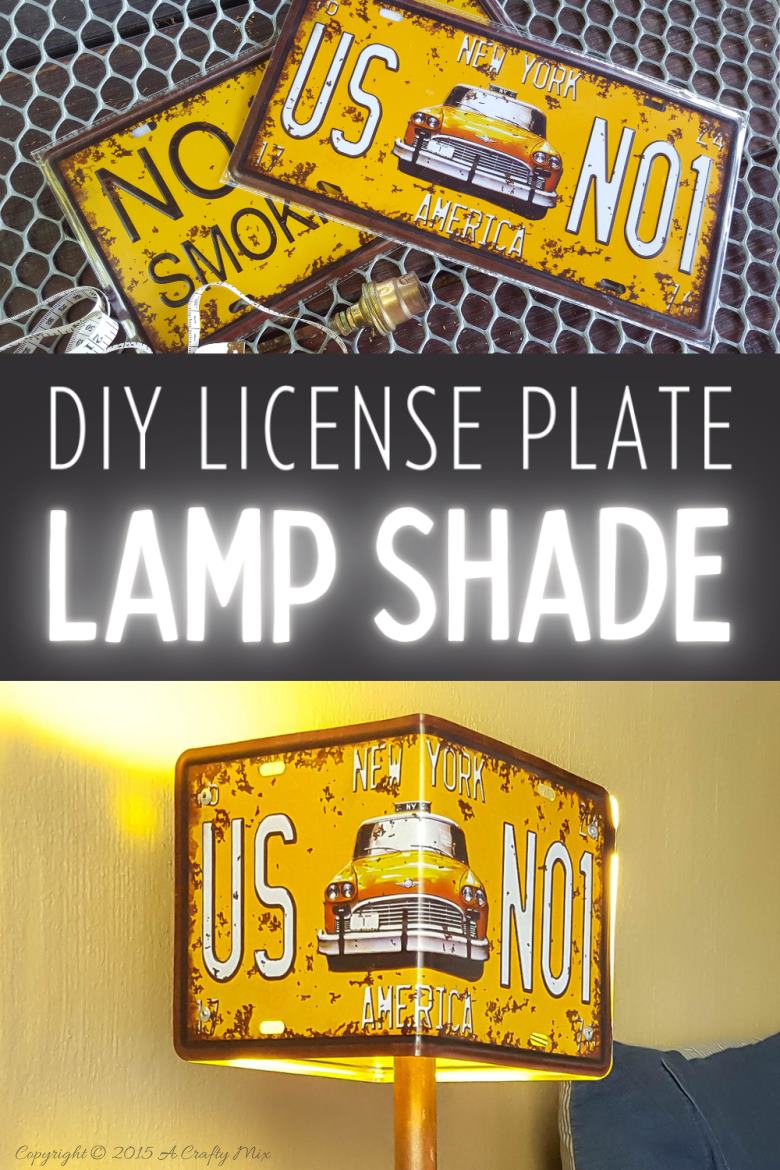
If you like the idea of making a license plate lamp, don’t forget to pin it for later.
Have you made any unusual lights or done something creative with license plates? I would love to hear about it.
Oh and by the way, if you’re struggling to find some of the things we used, I’ve got you covered. Disclosure: If you click on the links below, we may receive a commission from Amazon. But don’t worry it won’t come out of your pocket, and it helps us come up with more unique DIY and craft ideas for you;-)


Until next time, wishing you a beautiful, love filled week.

Last update on 2026-06-03 / Source Amazon Affiliates