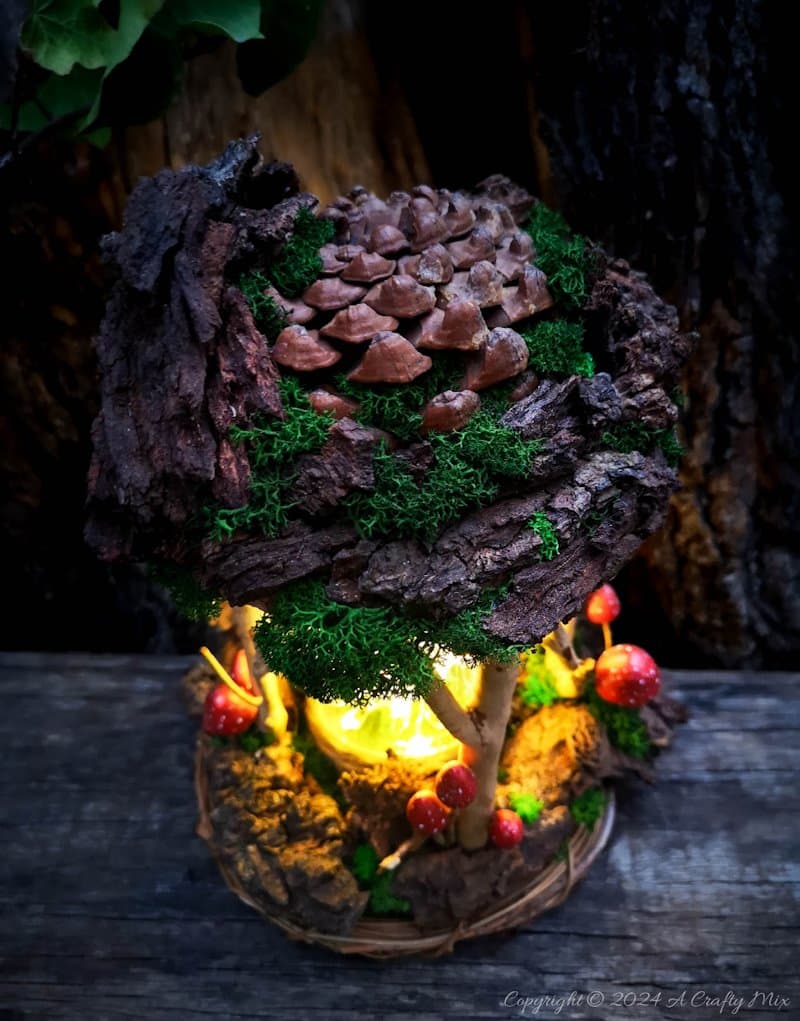
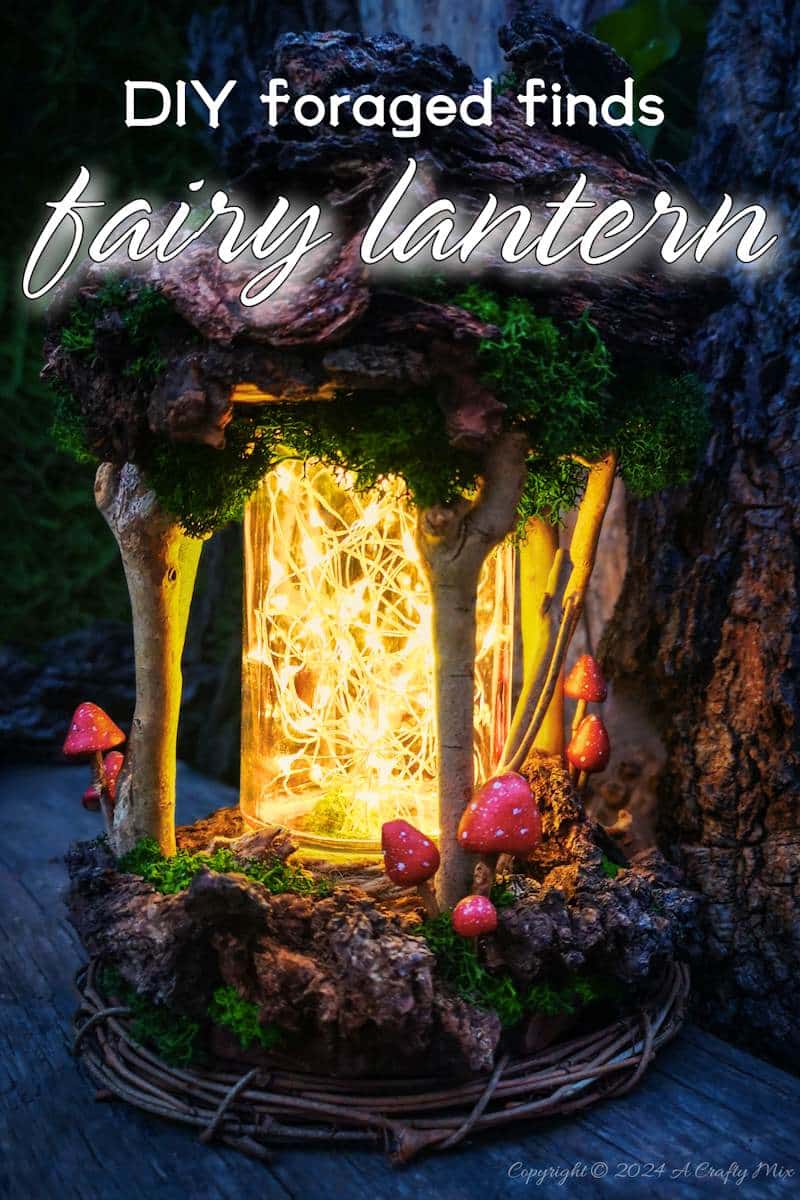
If you enjoy the outdoors and whimsical fantasy crafts, you’re going to love this enchanting DIY fairy lantern tutorial. It is budget-friendly and a wonderful way to bring nature indoors and add a little forest-themed magic to your décor.
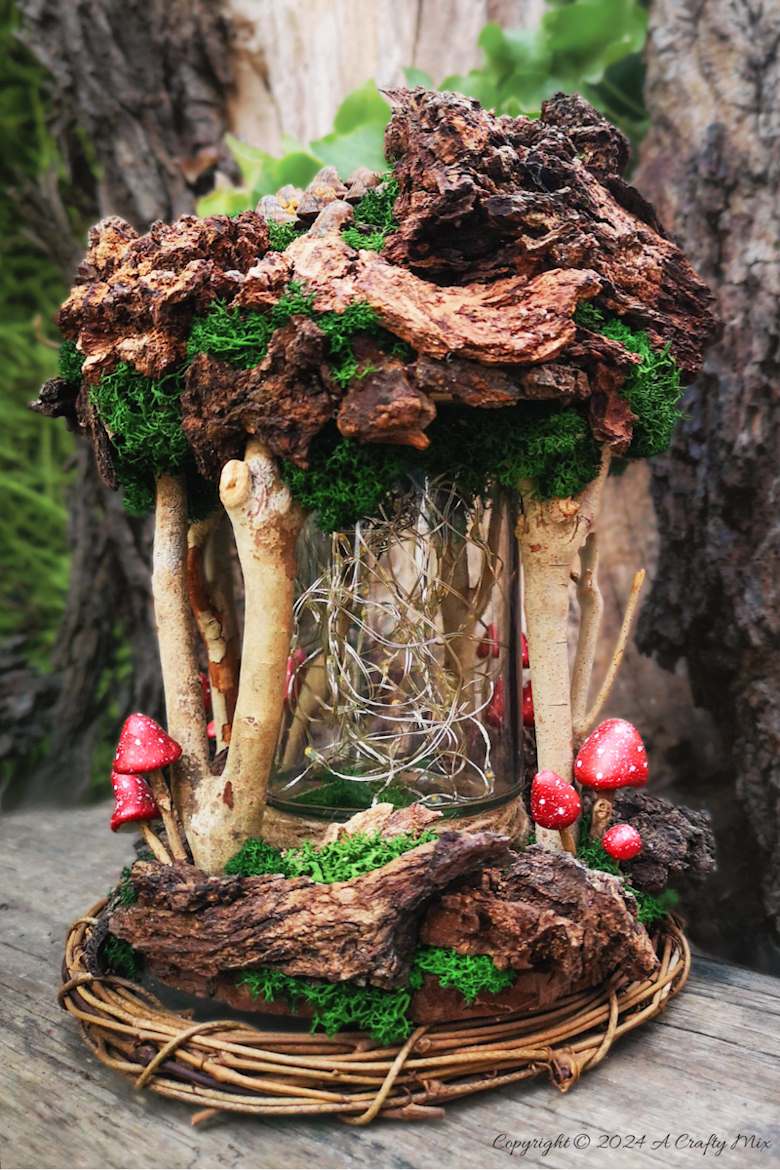
Isn’t it lovely? The whole thing is made from foraged finds and recycled materials.
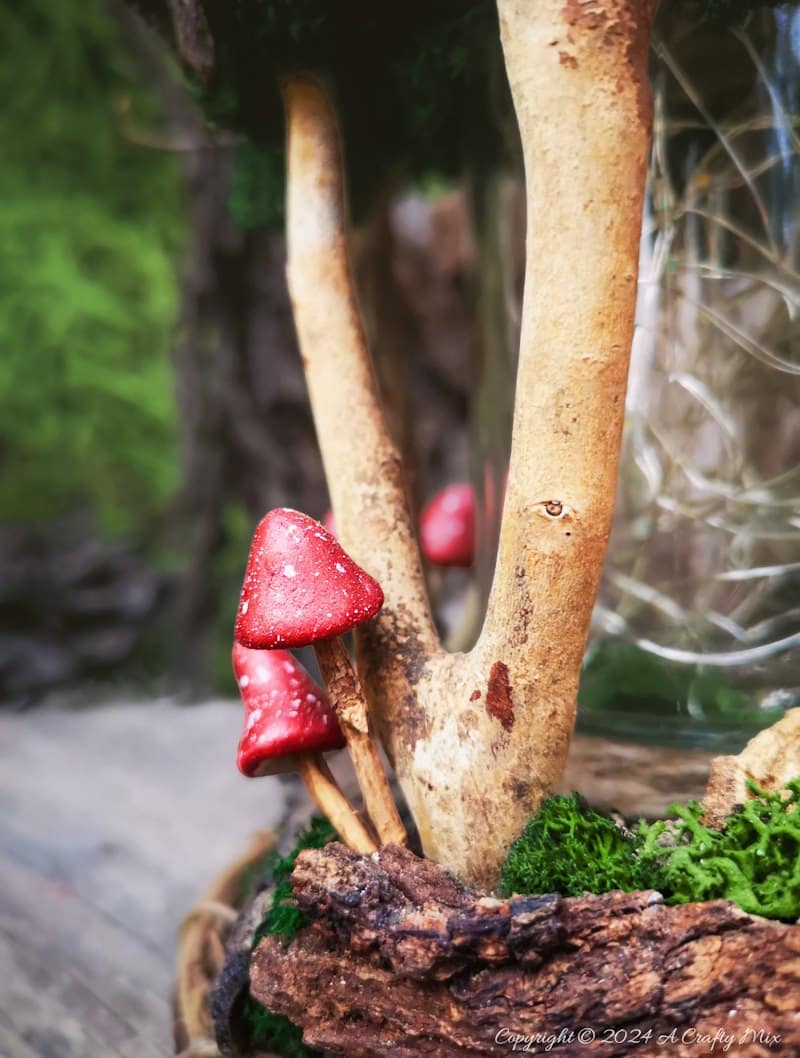
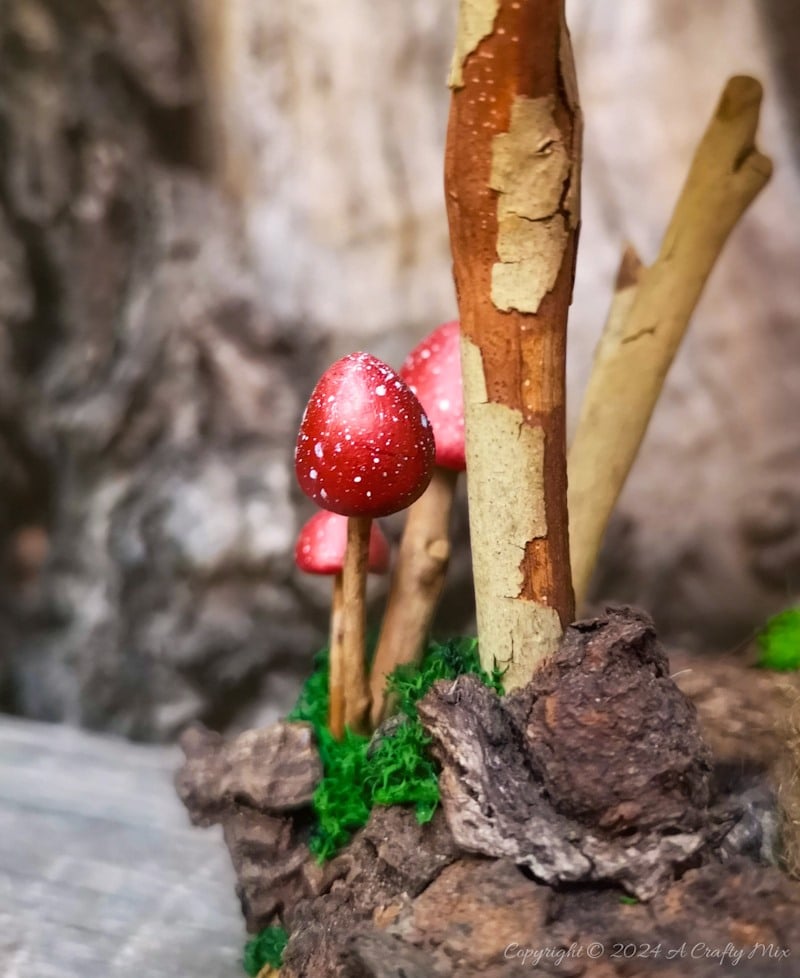
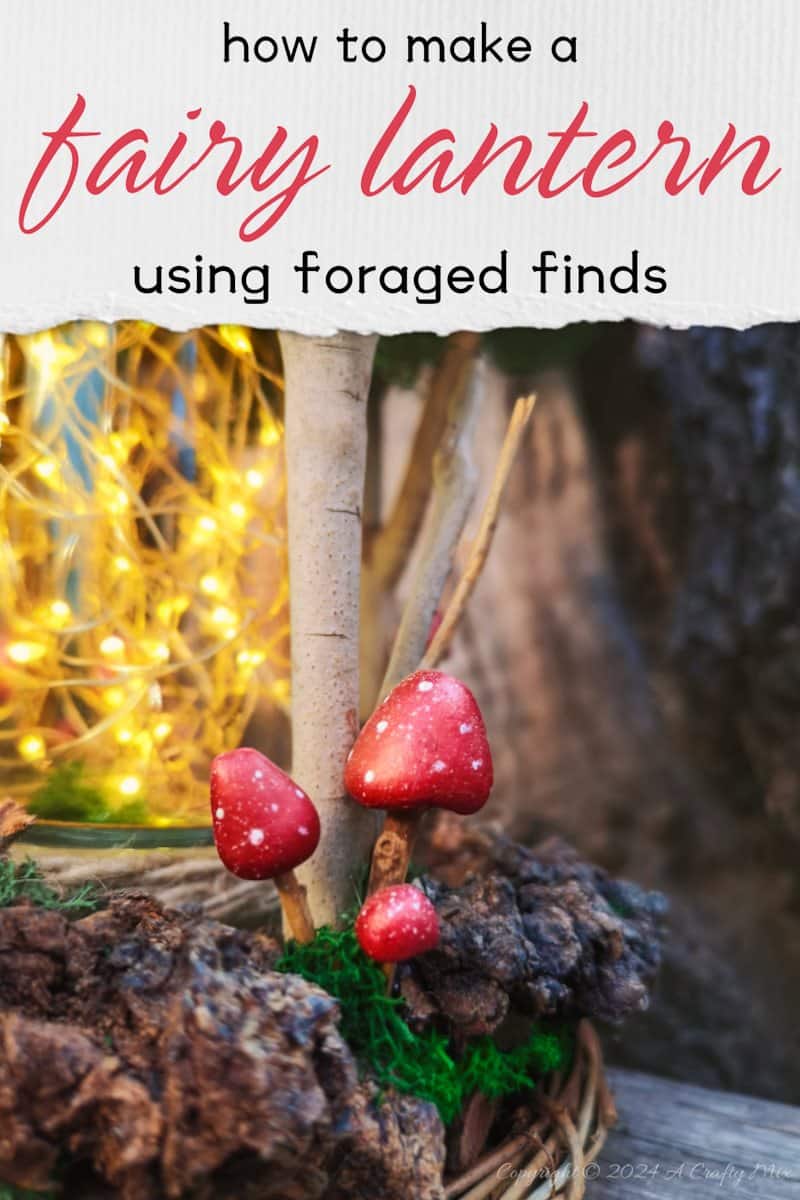
There’s even a mushroom or three for the fae folk to dance under.
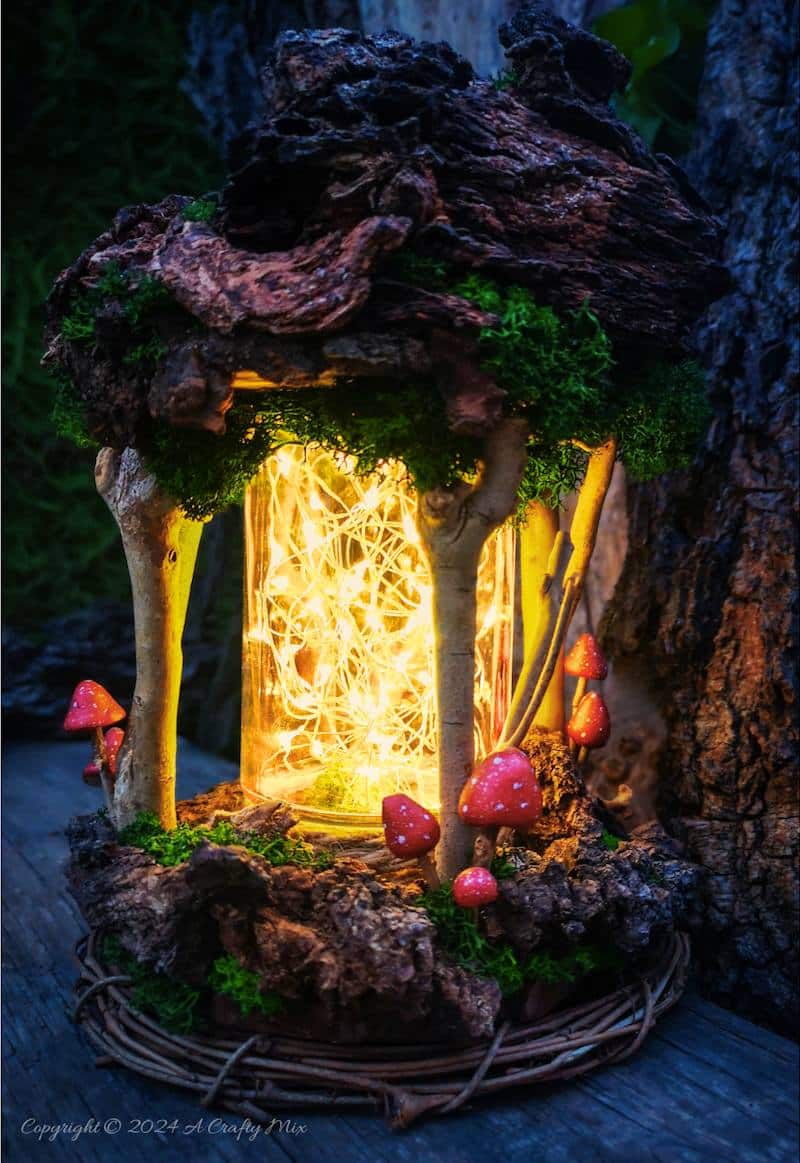
And I think our fairies approve, especially at night when the lantern casts a warm, twinkling glow over everything it touches.
In this tutorial, I’ll show you how to make your very own fairy lantern using foraged finds. But before we get there, follow us on Facebook, Twitter, Pinterest, or Instagram. And don’t forget to subscribe so you’ll never miss a post!
What you need
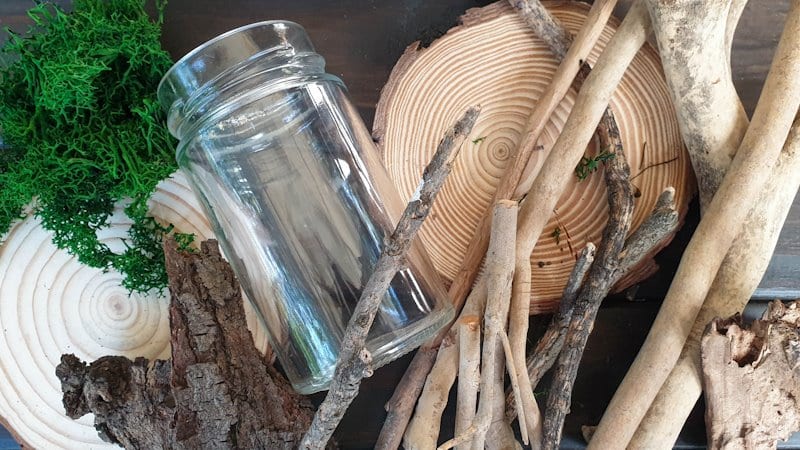
- Empty glass jar
- 2 x wood slices
- Twine
- Glue
- Clay (air dry or baked)
- Fairy lights
- Foraged finds from nature
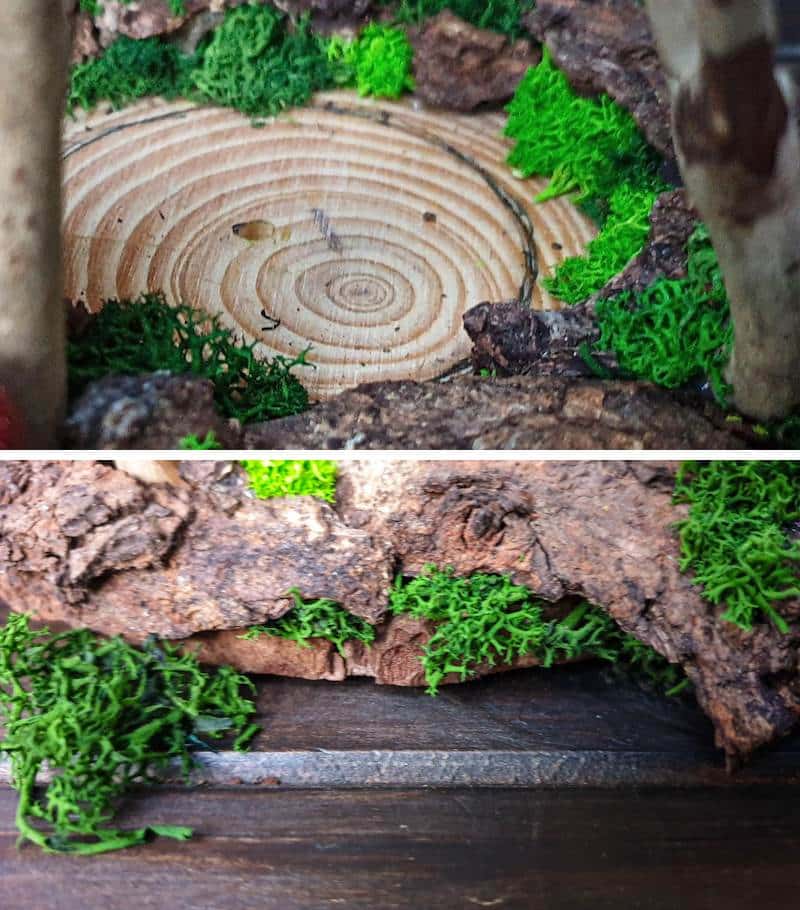
I used bark chips, sticks, moss, and pinecones. Basically, anything that nature gives away for free, provided we take the time to look.
Making an enchanting fairy lantern
This lantern couldn’t be easier. I’ll start by showing you how to make the body or frame, and then we’ll add our foraged finds. Your lantern will probably look completely different to mine, but the process is the same.
Prepping the lantern body
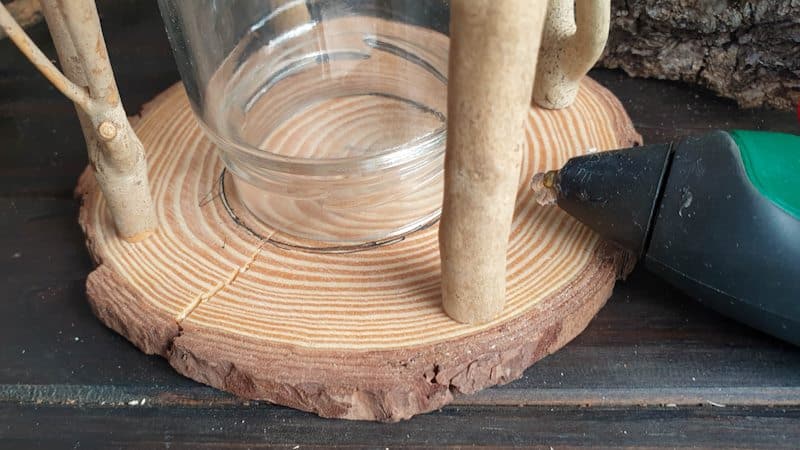
The lantern body is made from two wood slices and an empty glass jar. We’re going to sandwich the jar between the wood slices and add four twiggy supports around the edges.
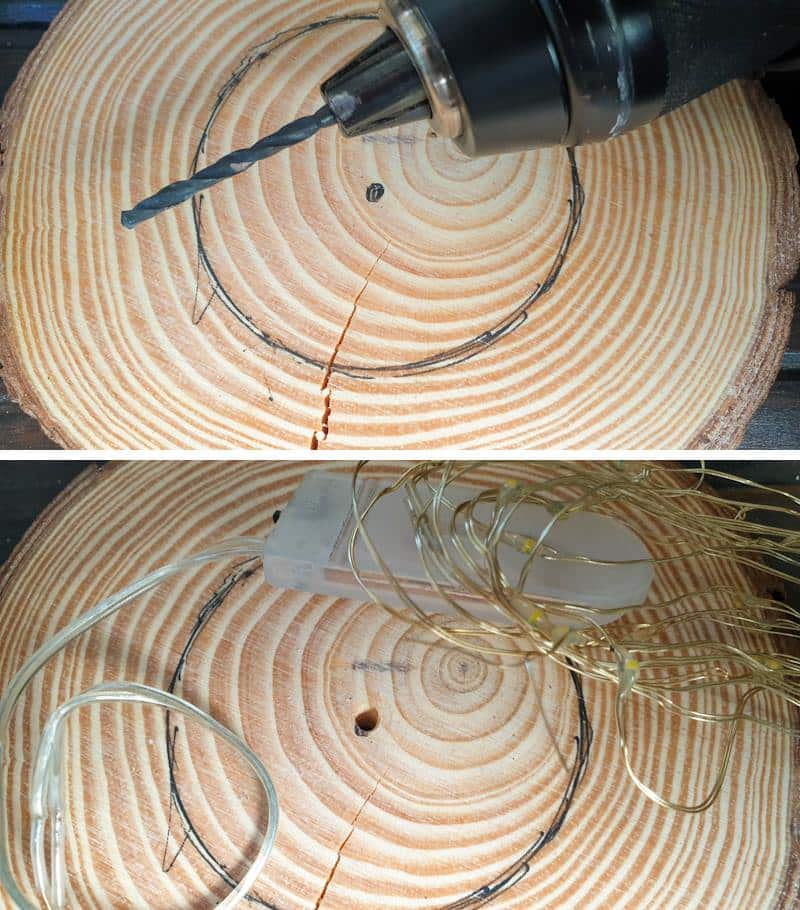
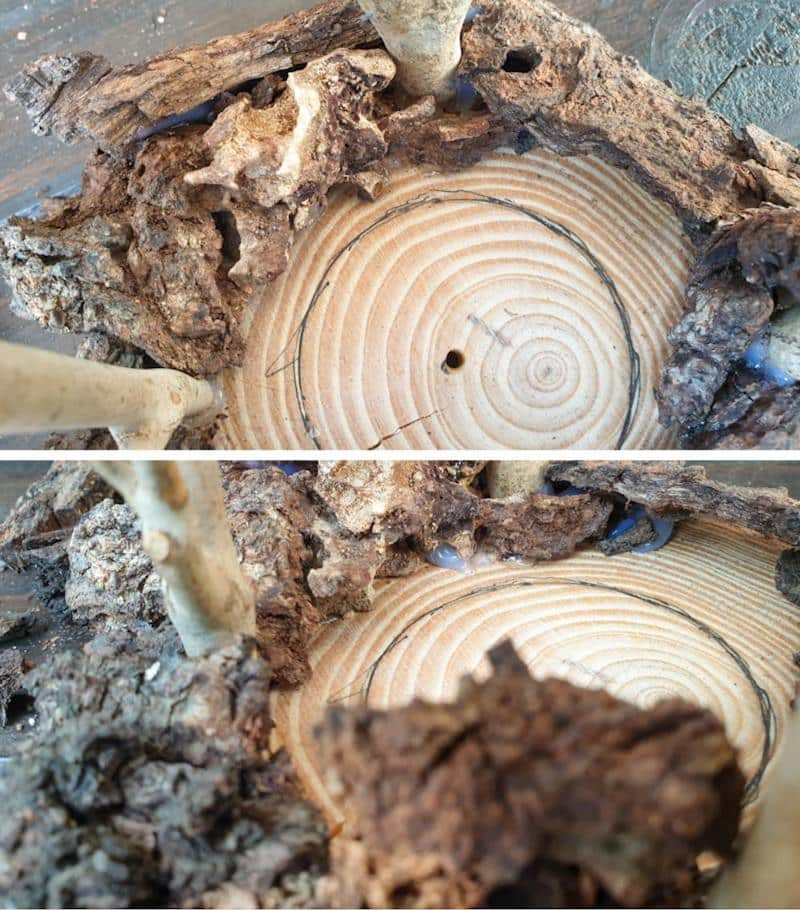
Place the jar upside down in the middle of one of the wood slices and trace around the neck.
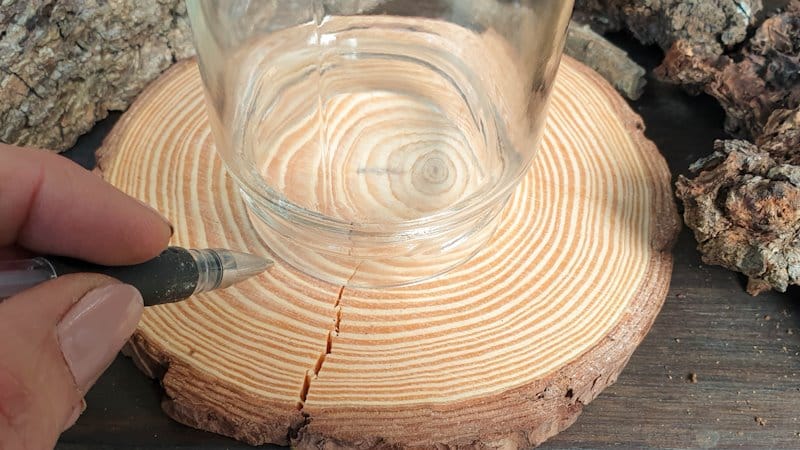
The marked area acts as a no-go zone on the bottom of the fairy lantern for when we start glueing down some of nature’s bounty.
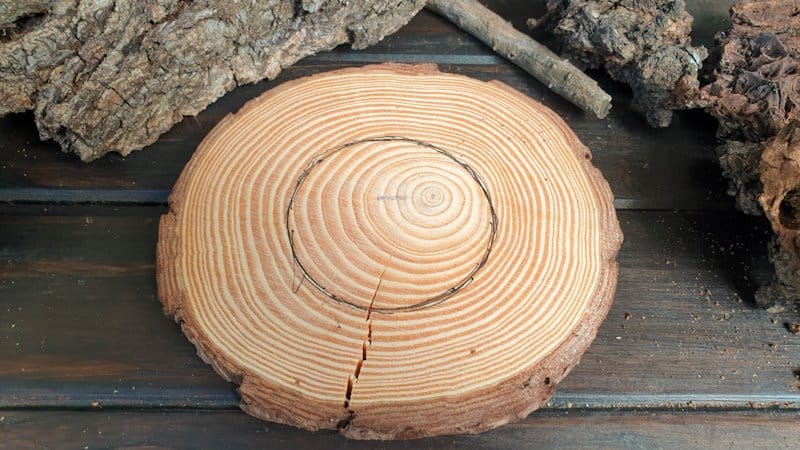
Create a hole in the center of the no-go zone. The hole needs to be big enough for fairy lights to fit through. I’ll be hiding the battery pack under the lantern.
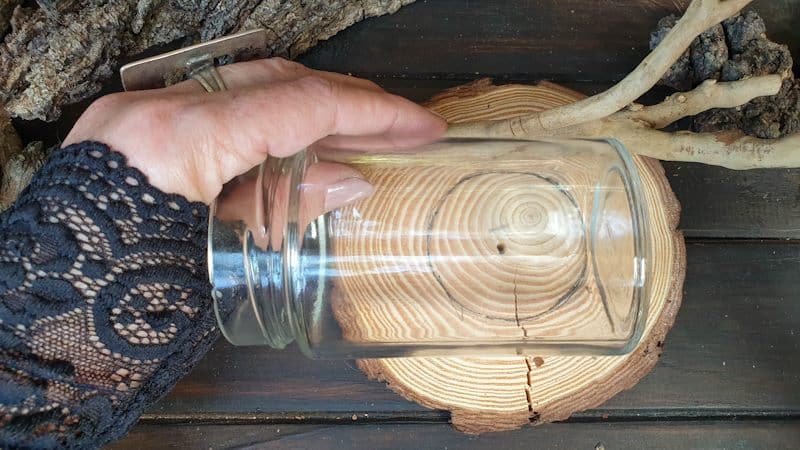
Use the glass jar to figure out the height of the supporting twigs or branches.
And then cut the twigs using a handsaw, jigsaw, or scrollsaw.
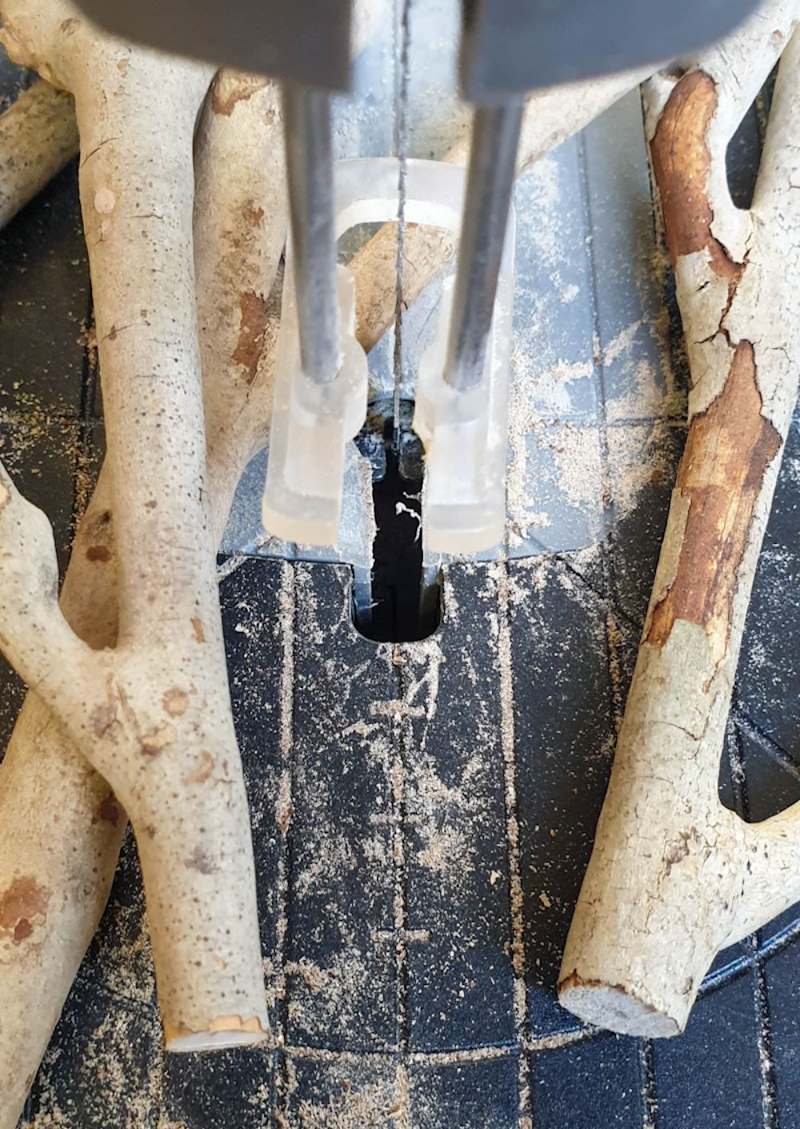
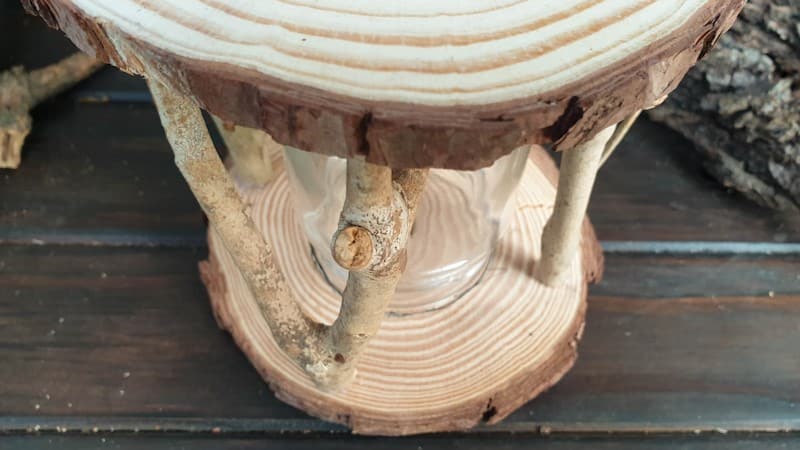
To secure the twigs to the slice of wood, I used a combination of nails and glue.
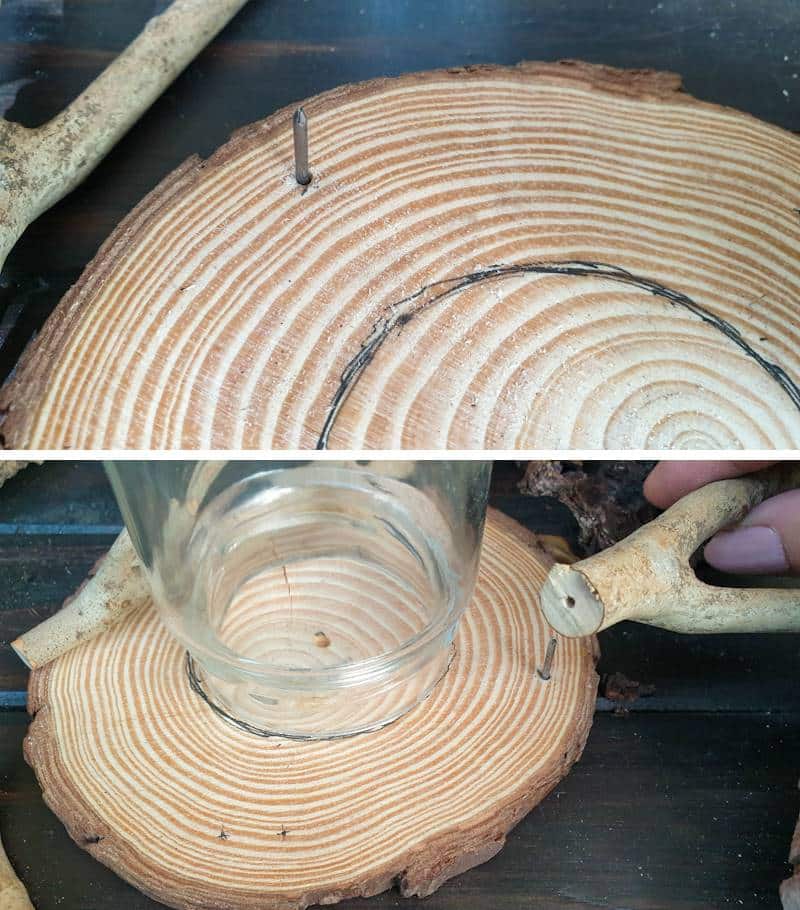
You can add as many twigs as you want to, but keep in mind that the more twigs you use, the more difficult it becomes to get your hand into the space to glue down all the other foraged finds. My fairy lantern has four sturdy twigs equally spaced around the edge of the bottom slice of wood. Just check that none of the twigs get in the way of the glass jar.
Once you’re satisfied with the bottom and twig support, glue the jar in the middle of the other wood slice.
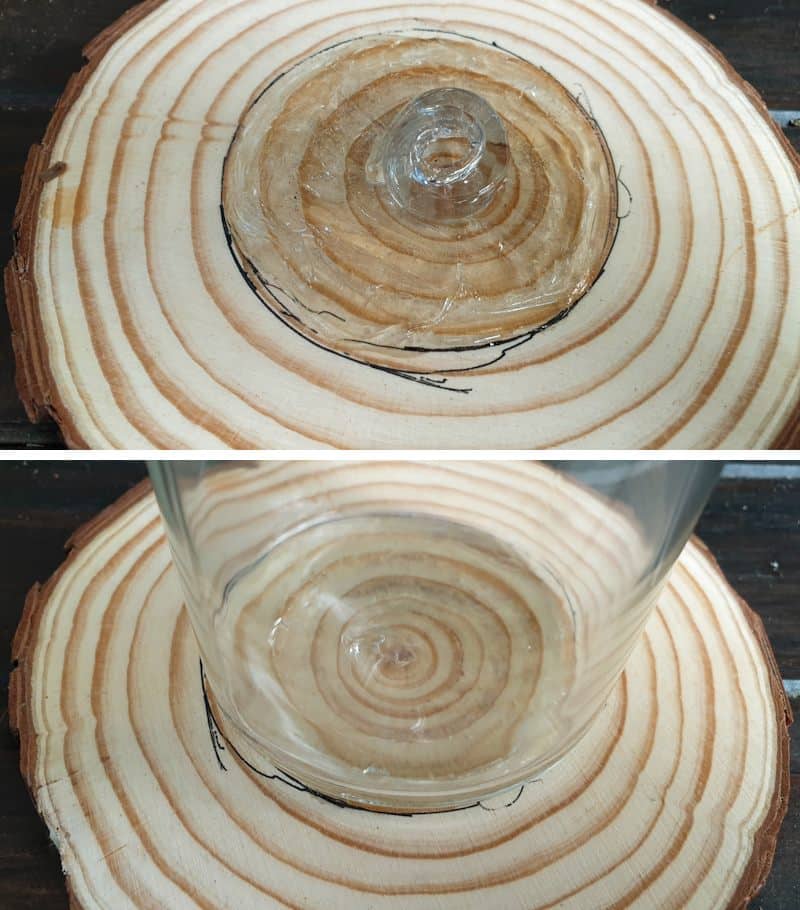
This part isn’t necessary, but I did find that it made the fairy lantern frame more stable.
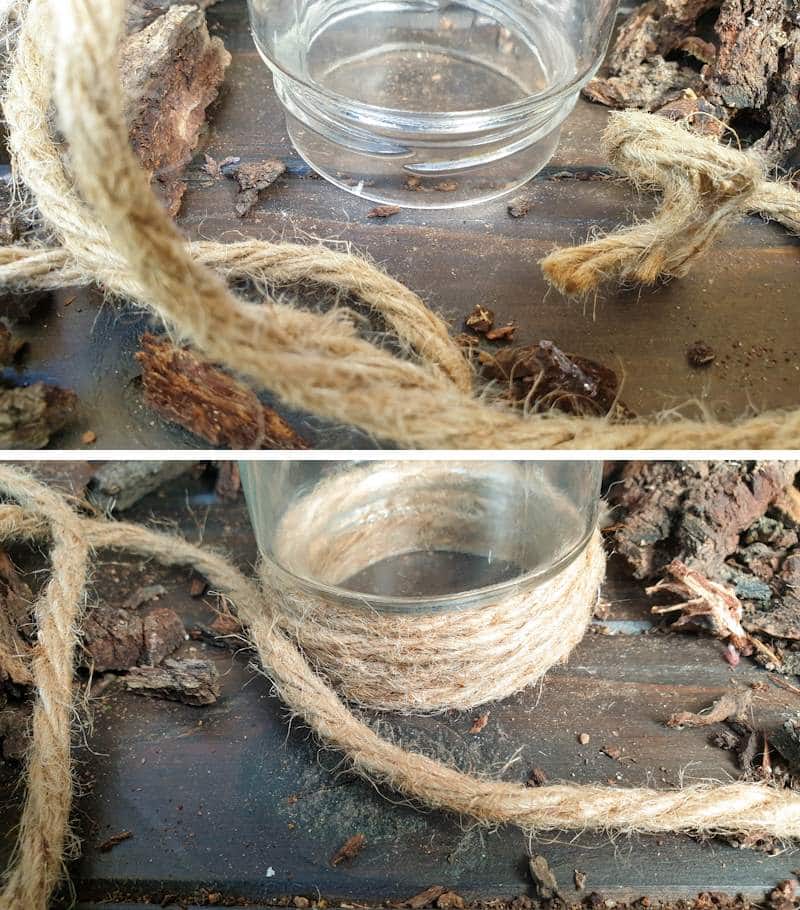
And finally, glue some twine around the top of the jar to hide the cap’s twisty bits.
Right, so that’s the prep work done. Now we can start adding all our foraged finds.
Dressing the fairy lantern in foraged finds
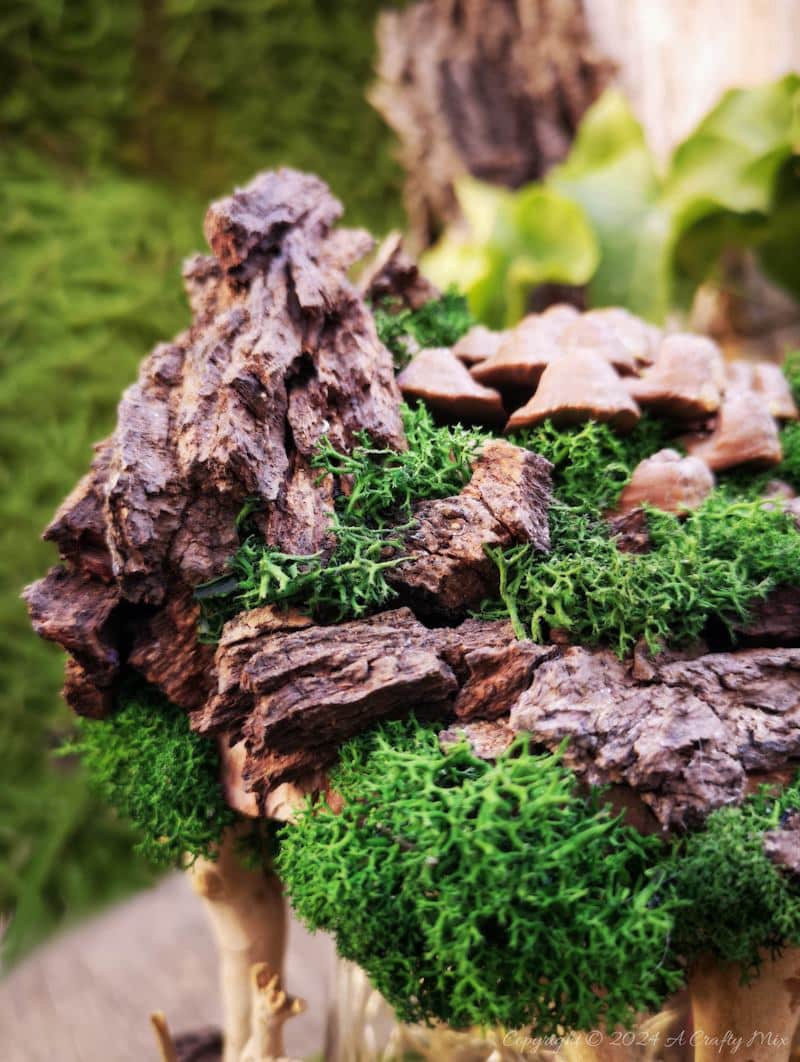
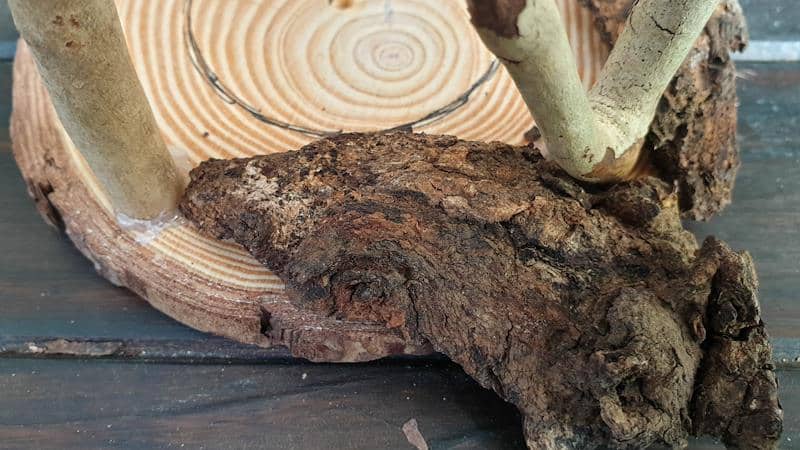
Start with the big pieces first. I glued down large, chunky bits of bark all around the outer edge of the bottom wood slice.
On the top wood slice, I added a pinecone to create that domed shape before glueing the bark chips down.
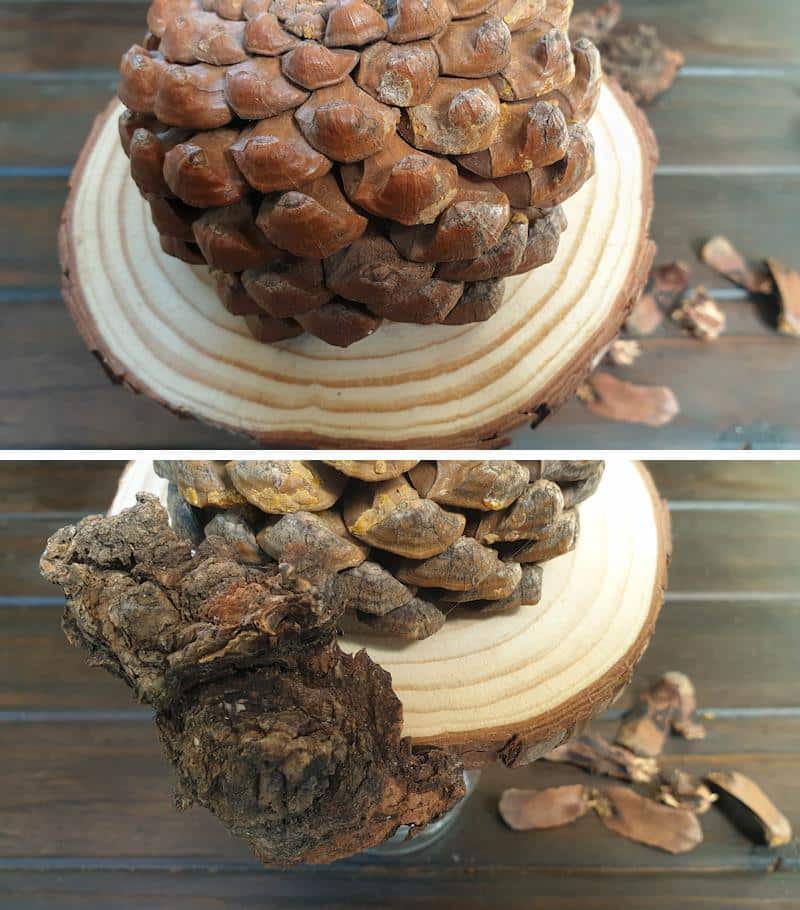
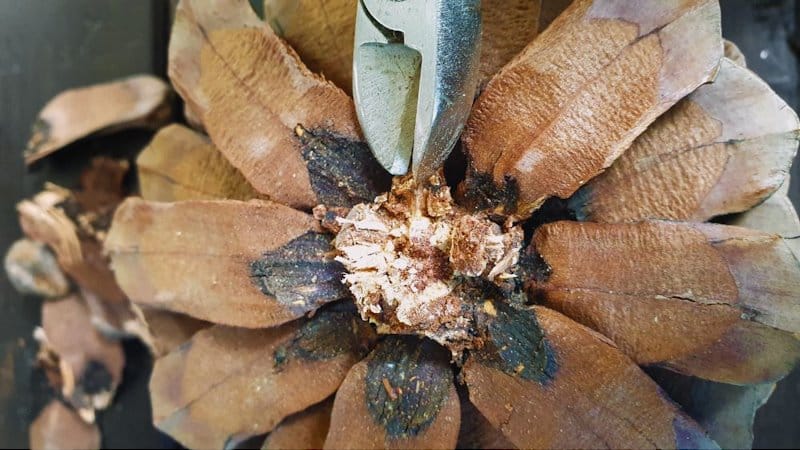
The pinecone was a little too high, so I just ripped some of the top scales off and cut the woody stem shorter.
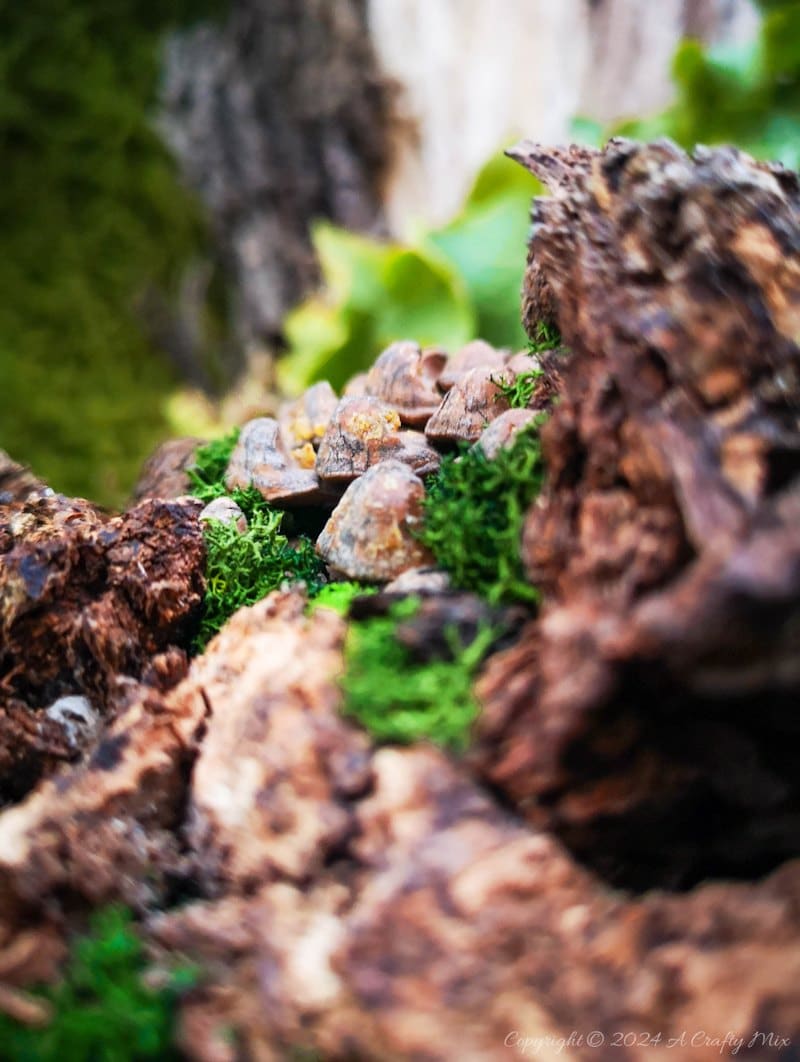
Once all the larger pieces are in place, you can glue on the smaller pieces to fill any gaps and hide blobs of glue.
And if you can’t find the right little bit, there’s always moss.
That stuff is nature’s polyfilla. Psst, did you know you can make fake moss using a bath sponge? Just have fun and enjoy the process. As a final touch, I added a few clay mushrooms.
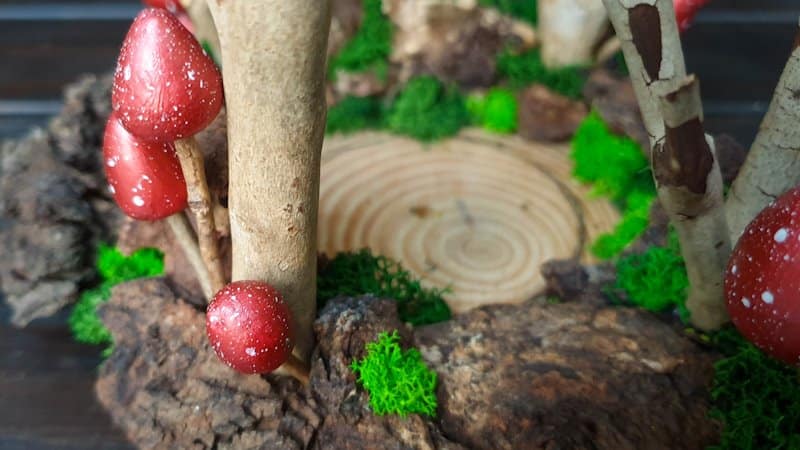
IMHO, you can never have too many mushrooms around an enchanting fairy lantern. 😉 You can even add an adorable forest ball sprite if you’re that way inclined. Alrighty, time to wire this baby up.
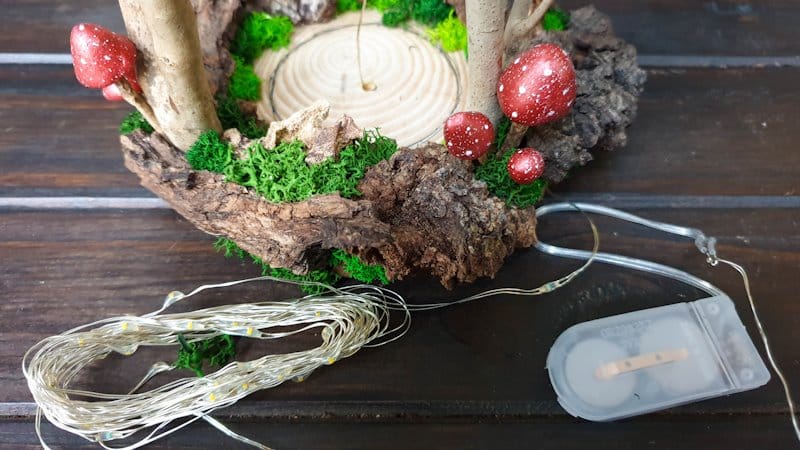
Adding lights
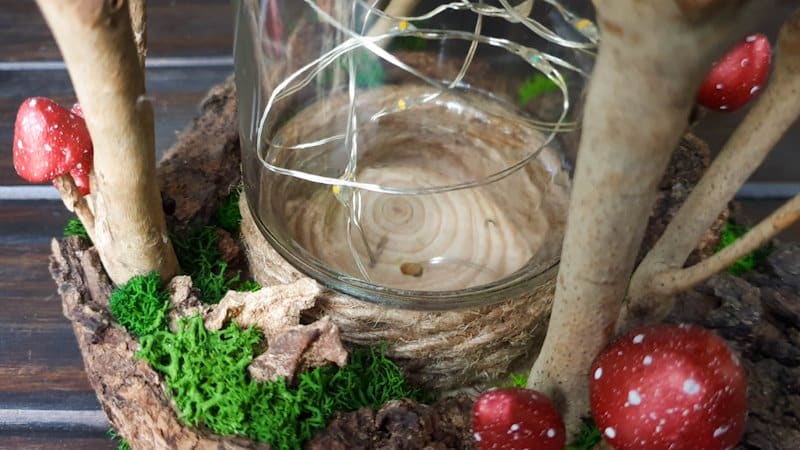
Adding fairy lights takes about a minute. Make sure the lights work and that the glass jar is clean and fingerprint-free. Then simply thread the fairy lights up through the hole you made earlier.
Bunch the lights up and pop the glass jar over the top.
Place the fairy lantern in the garden or somewhere special in your home.
In hindsight, I wish I’d added some twine to hang my fairy lantern. Oh well, I can always make another one since foraged finds are free.
I love the way the lights bounce off the twig supports ……
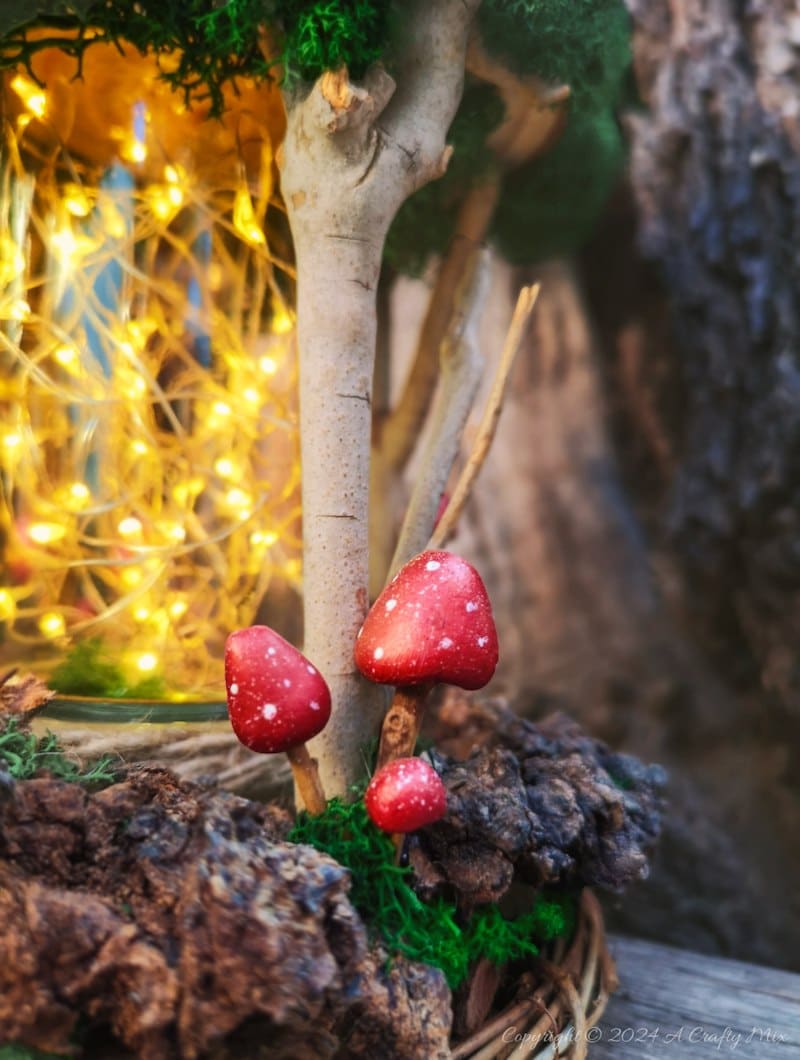
But the real magic happens when the sun goes down.
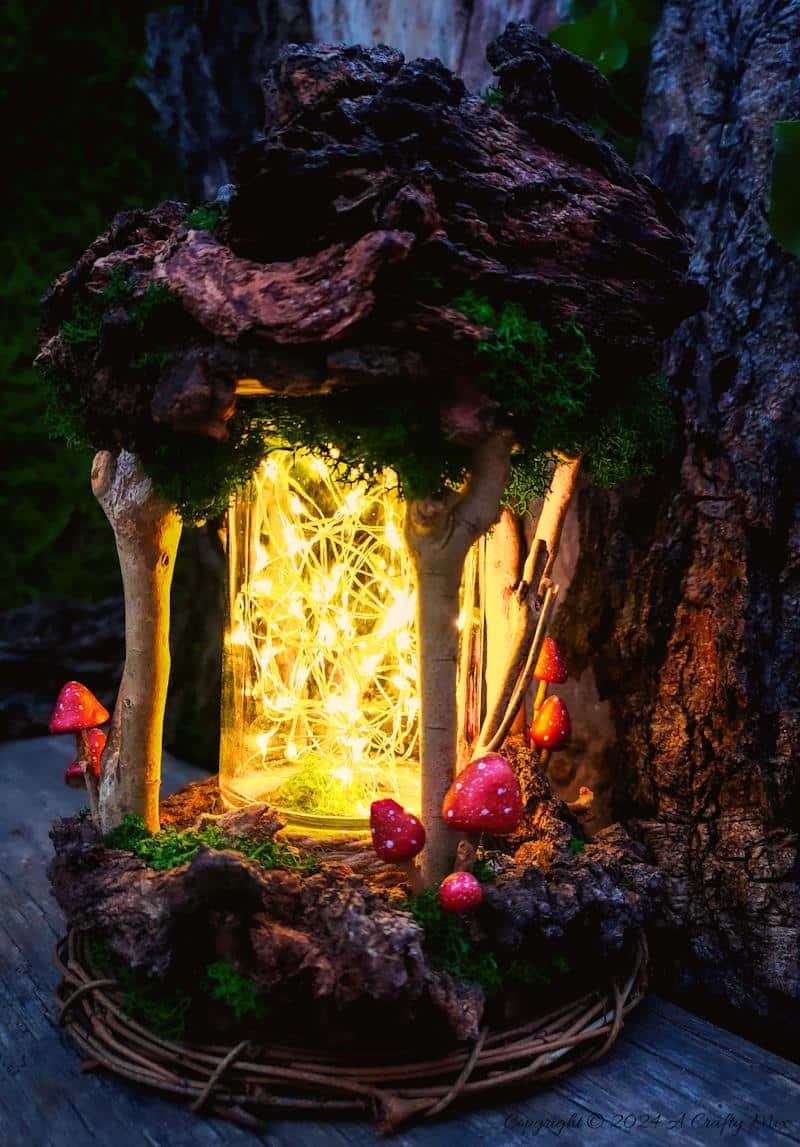
It’s sooooooo pretty. In my humble opinion, when you let nature inspire you, the magic never fades. What do you think?
If you like the idea of making a fairy lantern using foraged finds, don’t forget to pin it for later.
Sharing caring.
Oh, and if you’re looking for some of the things we used, we’ve got you covered. Disclosure: Clicking on the links below means we may receive a commission from Amazon. But don’t worry, it won’t come out of your pocket, and it helps us make more amazing crafts to share with you 😉 If you want to save money, walk around the garden or park and see what you can find first before buying. Your lungs will thank you and so will your pocket.


And if you prefer to buy a fairy lantern, perhaps these beauties will appeal.


And as always, I wish you a wonderful, crafty week filled with sprinklings of fairy dust and lots of love and laughter. Thank you for popping in for a visit.

Last update on 2026-06-03 / Source Amazon Affiliates