For some people, mushrooms are simply another ingredient in a tasty dish. For others, mushrooms represent a connection to nature and the divine, acting as a bridge between the physical world and the spiritual realm. To me, they’re both yummy and other-worldly. Plus, I love incorporating them into our fairy crafts and garden décor. You can use just about anything to make them, from milk bottles to thumbtacks, toilet paper rolls, and cotton wool. In today’s tutorial, I’d like to share how to make these enchanting clay mushrooms.
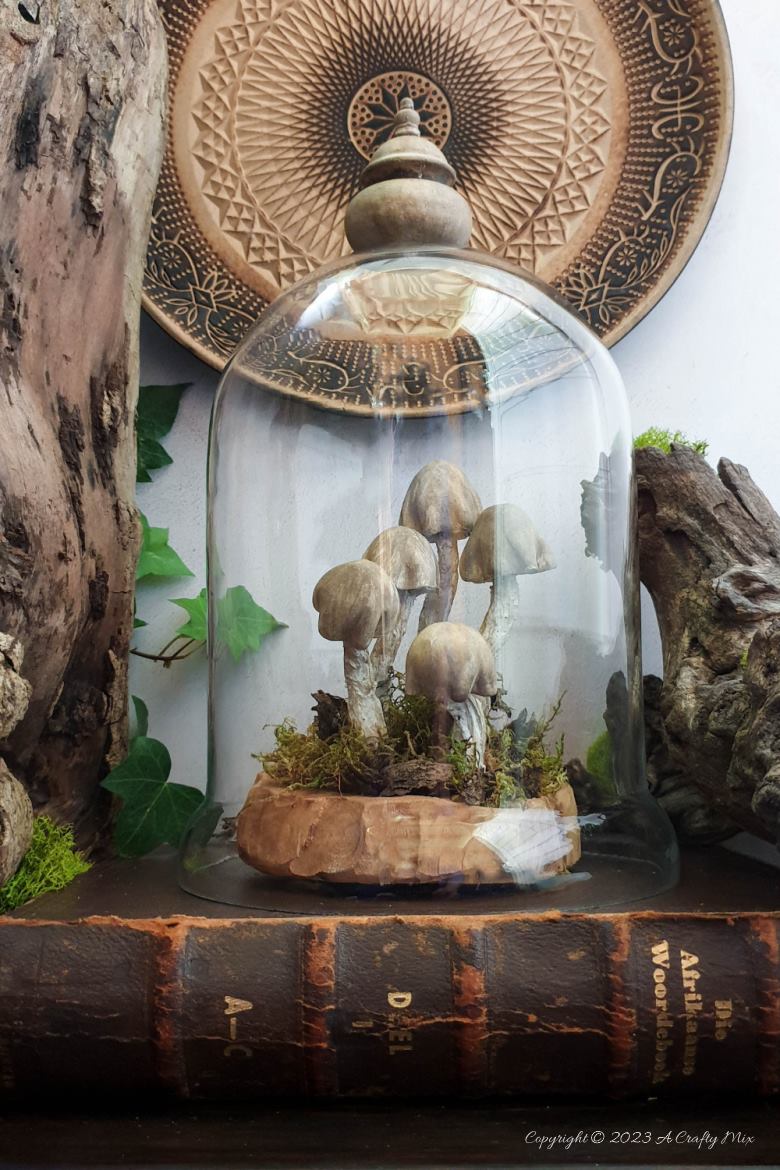
But these aren’t just any mushrooms….
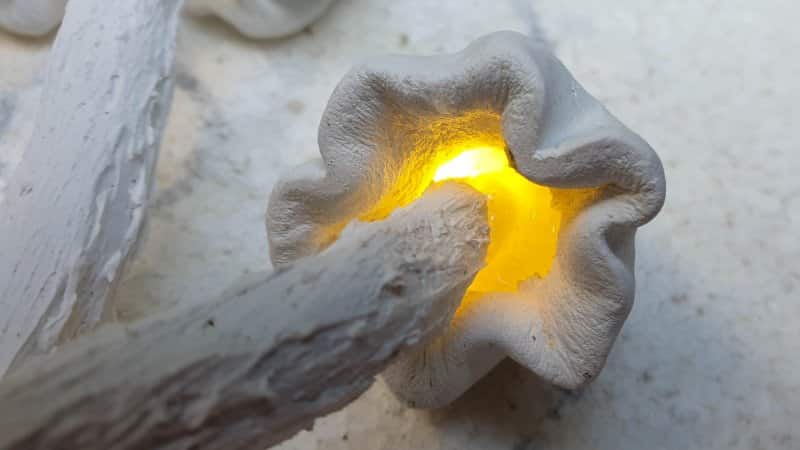
….these babies light up too.
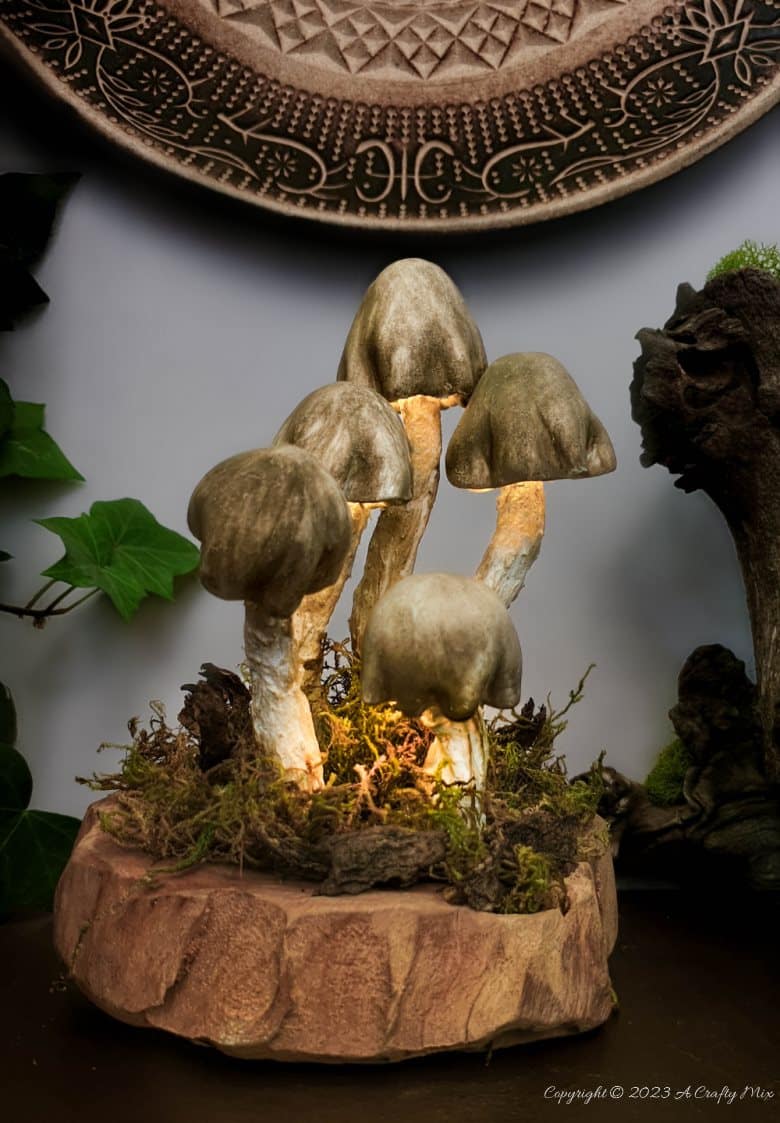
It’s not the brightest light in the world, just enough to cast a warm glow on the mossy floor below.
Right, before I share how I made these clay mushrooms with lights, be sure to follow us on Facebook, Twitter, Pinterest, or Instagram. And don’t forget to subscribe so you’ll never miss a post!
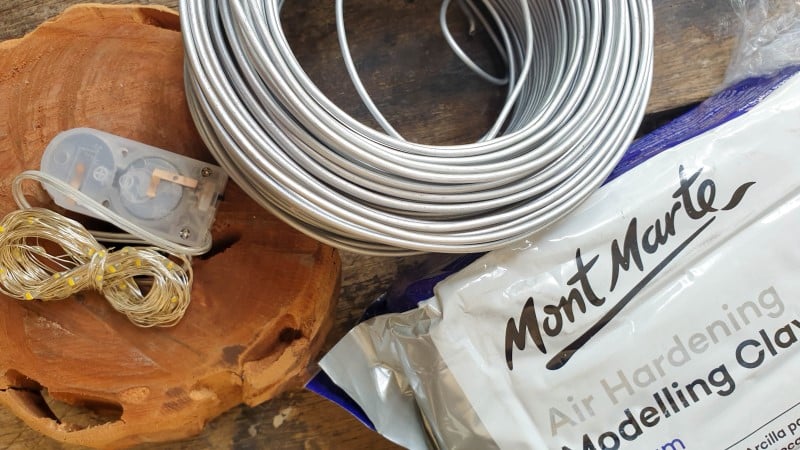
What you need
- Air dry clay
- Fairy lights
- Piece of wood
- Glue gun
- Jewelry wire
- Masking tape
- Polystyrene (optional, but it will make life so much easier)
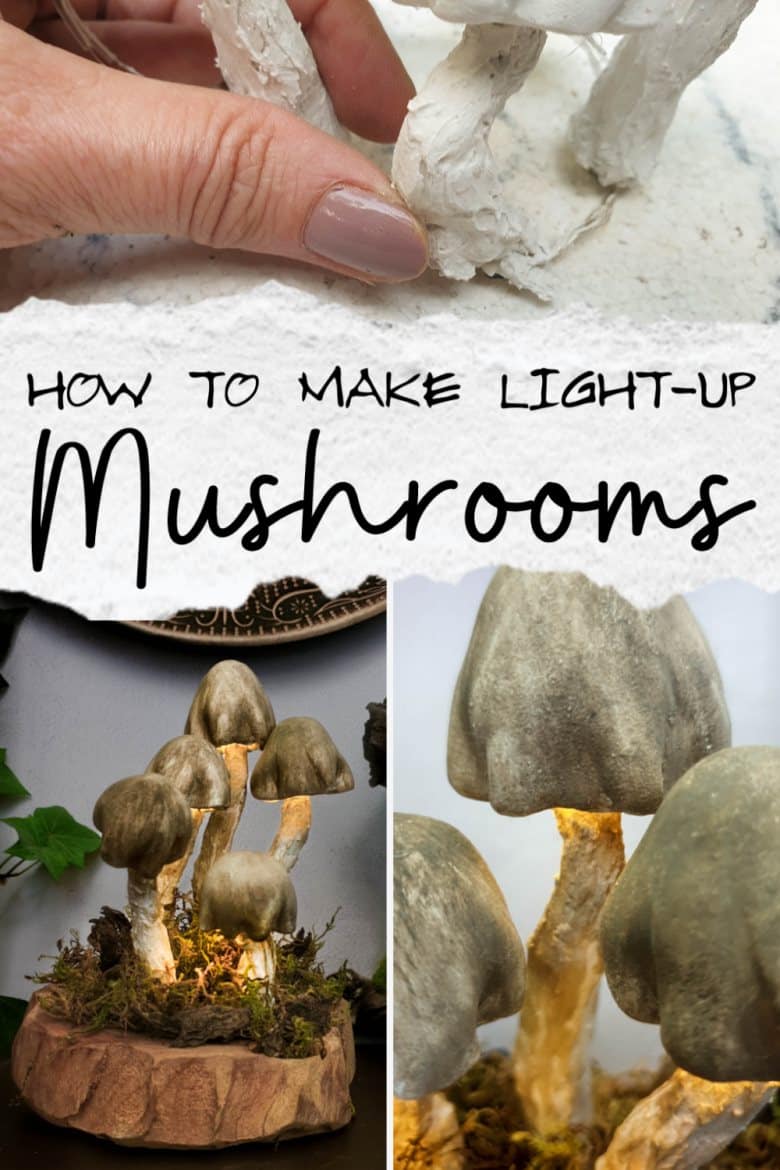
How to make enchanting clay mushrooms that light-up
This tutorial is in two parts. Part one deals with how to make the mushroom stalks and add the lights, and in part two, I will show you how to make the mushroom tops.
Making mushroom stalks and wiring them up
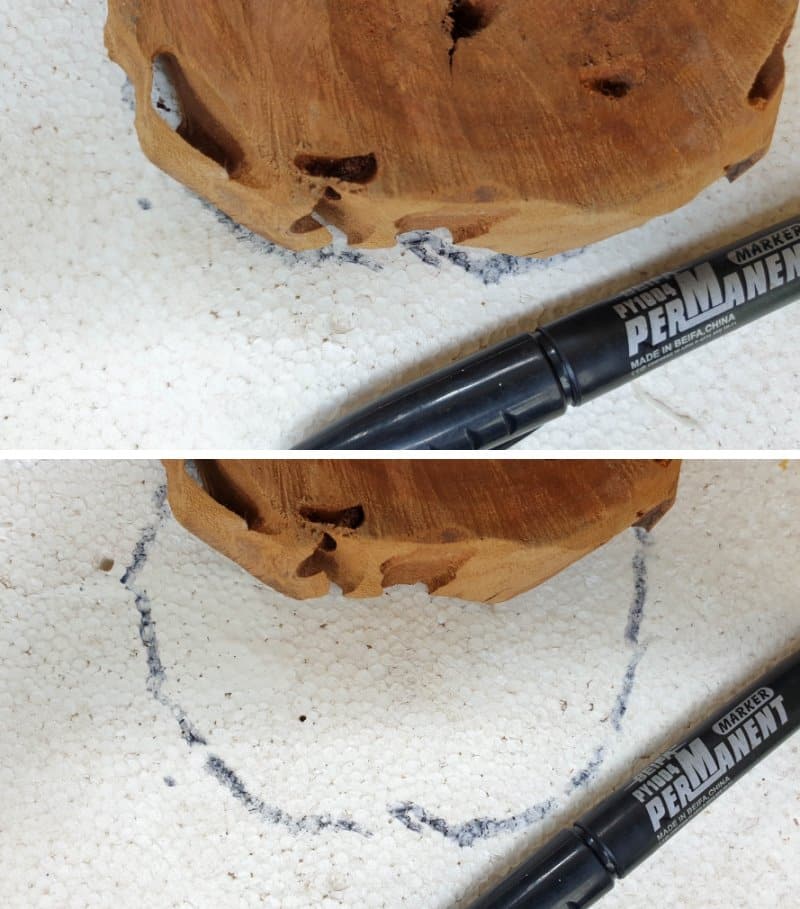
Create a “working area” template on polystyrene by tracing around the piece of wood you’ll be using to stage your mushrooms. The polystyrene “work area” makes it easier to play around with the layout, and it keeps your slice of wood free from the mess while you make the mushrooms.
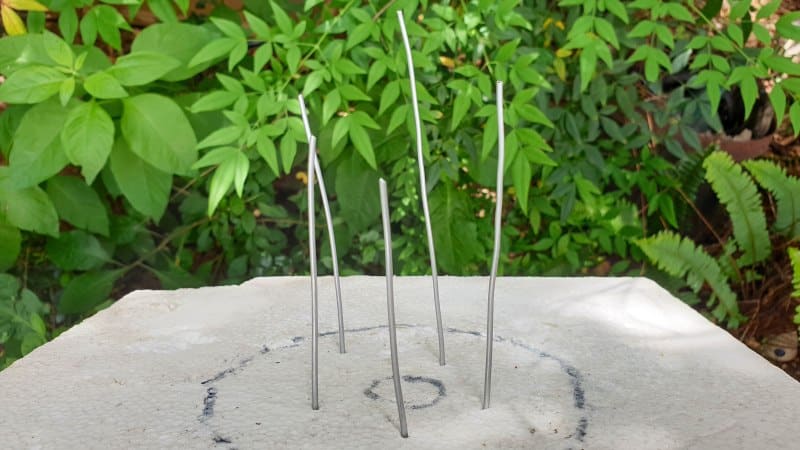
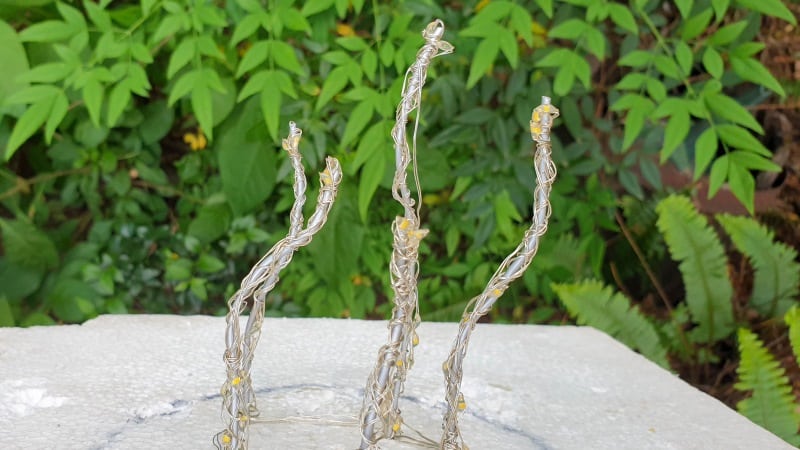
Cut varying lengths of wire and insert them into the polystyrene.
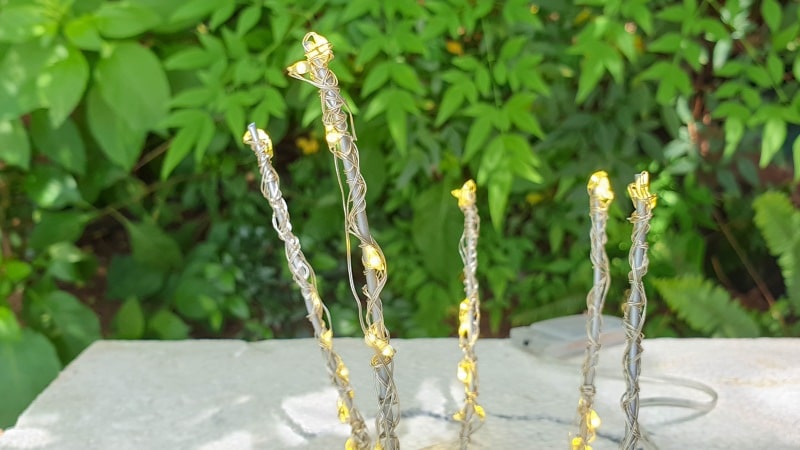
Wind the fairy lights around the wire, starting at the bottom. You want to make sure that there’s a little bulb (or three) at the top of each piece of wire.

Carry on winding the lights around the wire until you reach the end of the string of fairy lights.
To create interest and make the final piece more dynamic, bend the wire stalks a little.
Wrap masking tape around the fairy lights to secure them to the wire and provide a base to add the clay.

Don’t cover the little light bulbs.
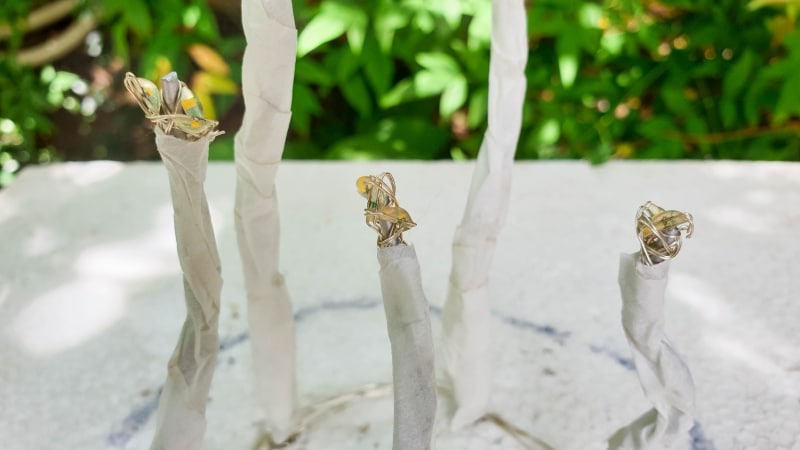
They need to be masking tape free and exposed for now 😉

Take small amounts of air-dry clay and wrap it around the masked lights to bulk up the stalk.
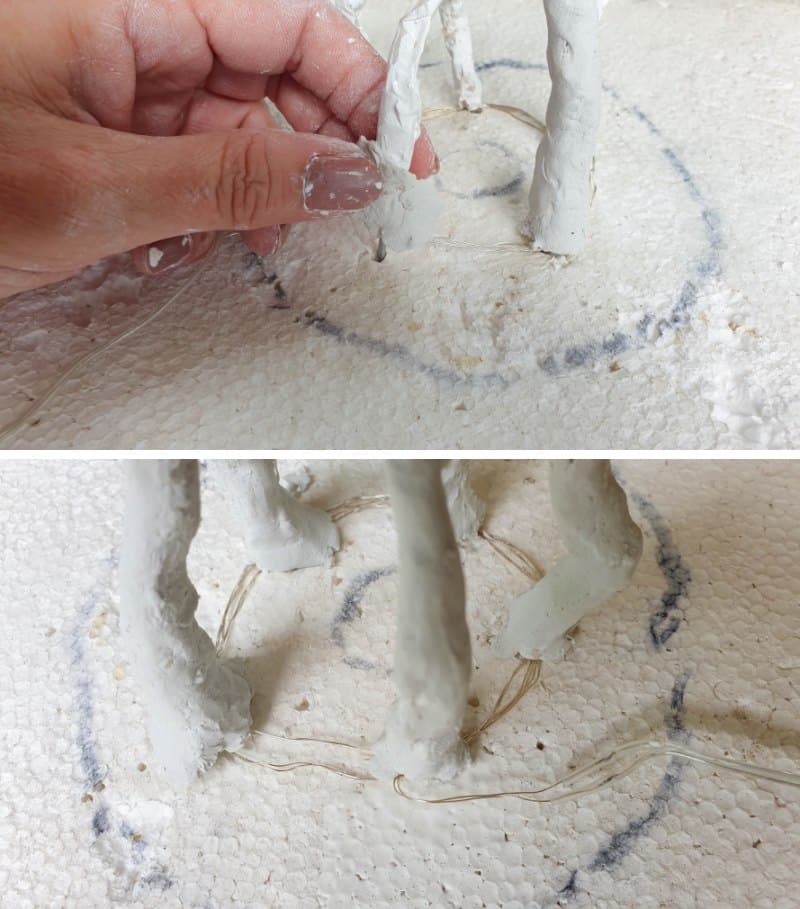
For a lovely textured stalk, don’t smooth the clay out. In my opinion, the rough clay marks add to the final look and give the fairy lights something to dance around. Leave the stalks to air dry.

Making clay mushroom caps
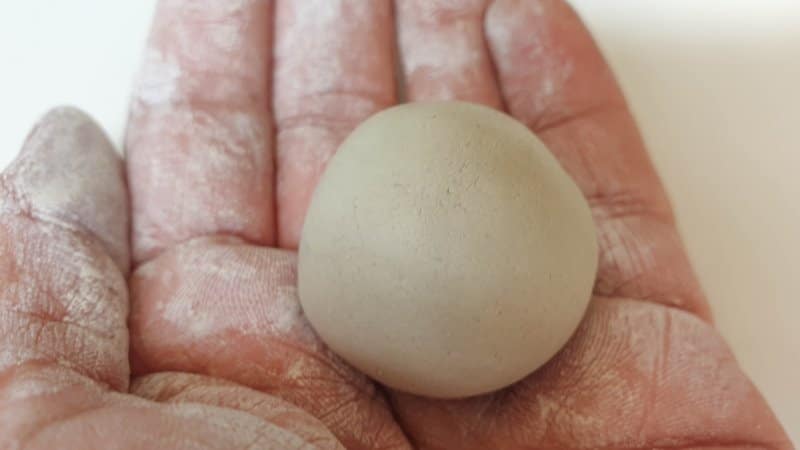
I was in two minds about what type of mushroom cap to make. I could either go for curly tops or keep them as natural as possible. Since I’ve already shared a curly top mushroom tutorial, I chose the latter. Grab a handful of air-dry clay and roll it into a ball.
Use your knuckle to make an indent on one side.
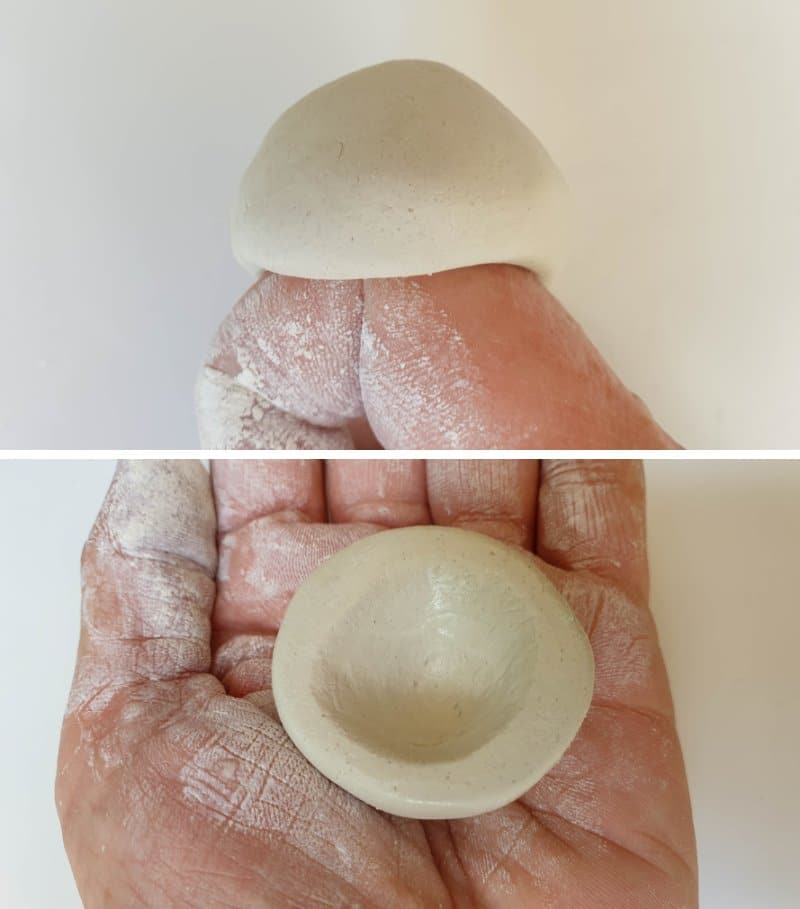
Place the indented side on a flat surface and use your fingers to shape the mushroom. I squished the sides of mine a little.

Once you’re happy with the shape, put the mushroom caps “indent-side” down to cure.
Putting everything together
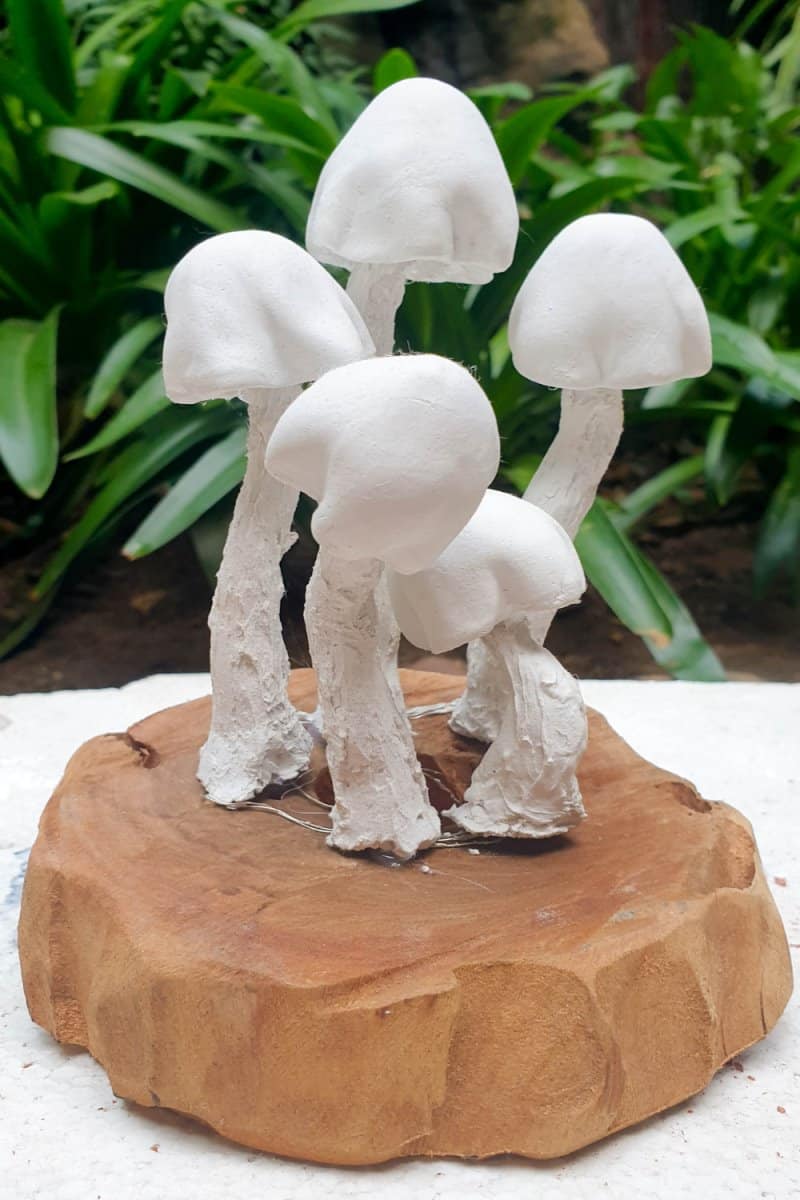
Make sure both the caps and stalks are completely dry before putting everything together. Using your glue gun, put a small dollop of clear glue inside the mushroom cap and pop it on top of a stalk.

Wait a few minutes for the glue to set before removing the mushrooms from their polystyrene base.

Check if the lights still work and make any adjustments. You can also add more glue inside the indent if the mushroom cap feels a little wobbly.
Drill a large hole in the centre of your piece of wood. We’ll hide the battery pack there. Drill a few small holes around the bigger hole.

Insert the wired mushroom stalks inside the smaller holes.
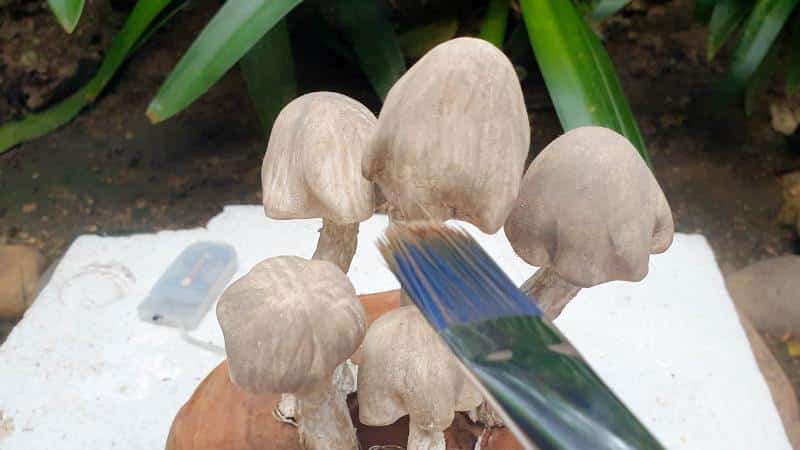
Paint the mushrooms in whichever color you like. I used a watered-down browny, grey color. You can also use simmering eyeshadow to give them a magical makeover. In hindsight, I probably should have painted the mushrooms first to avoid messy paint spills. But you live and learn, right?
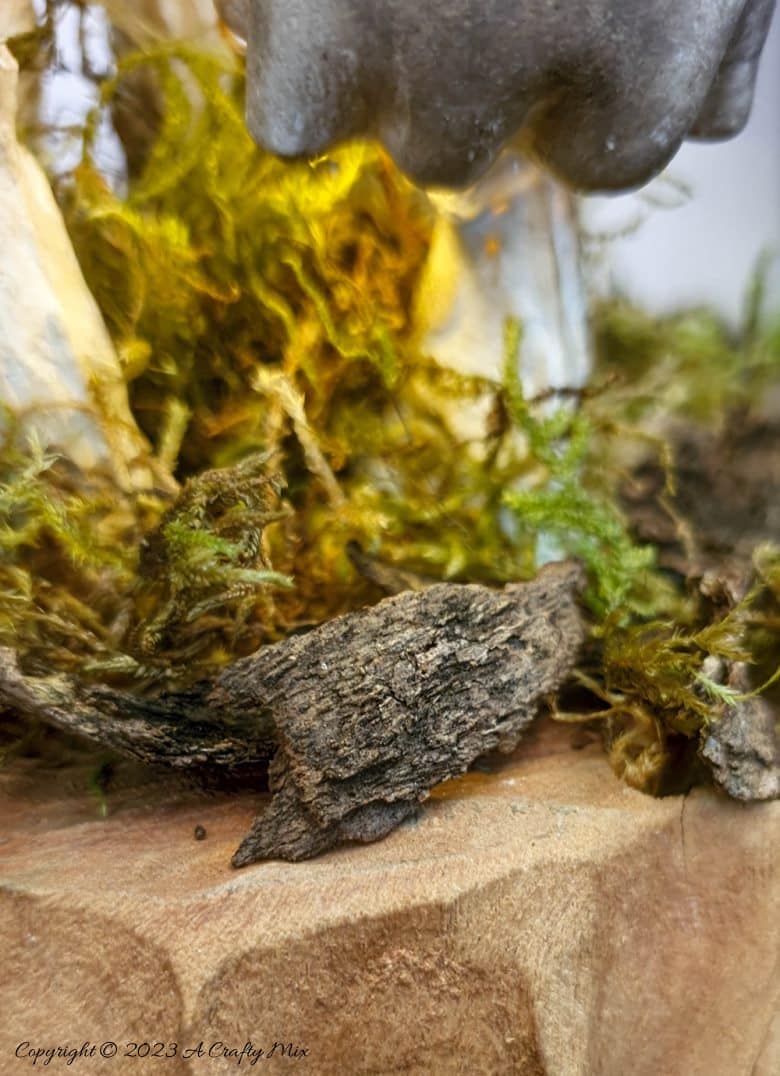
Finish off by gluing moss down under the clay mushroom lights to disguise the wiring (and messy paint spills 😉 ).
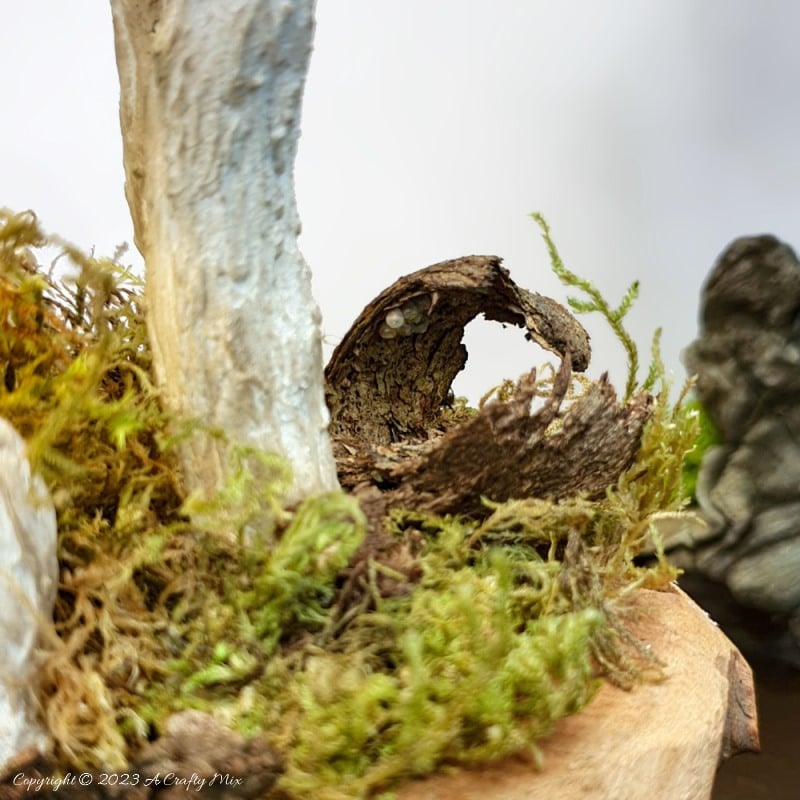
For an extra special touch, add a little bark too.
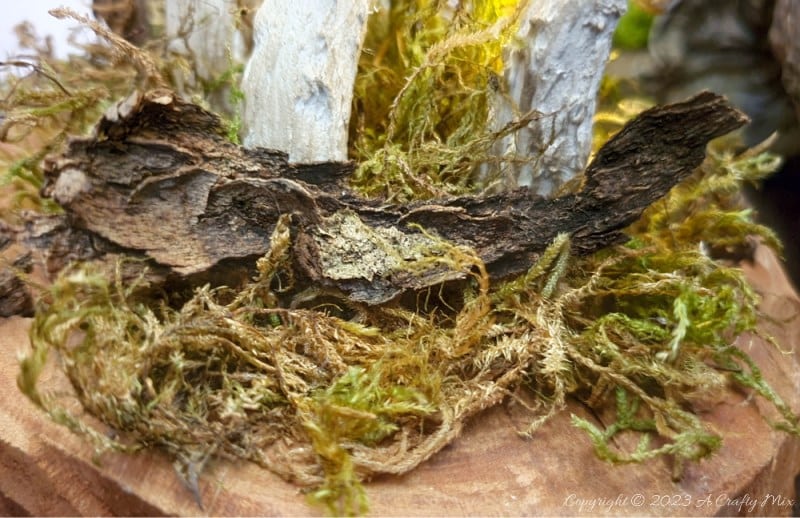
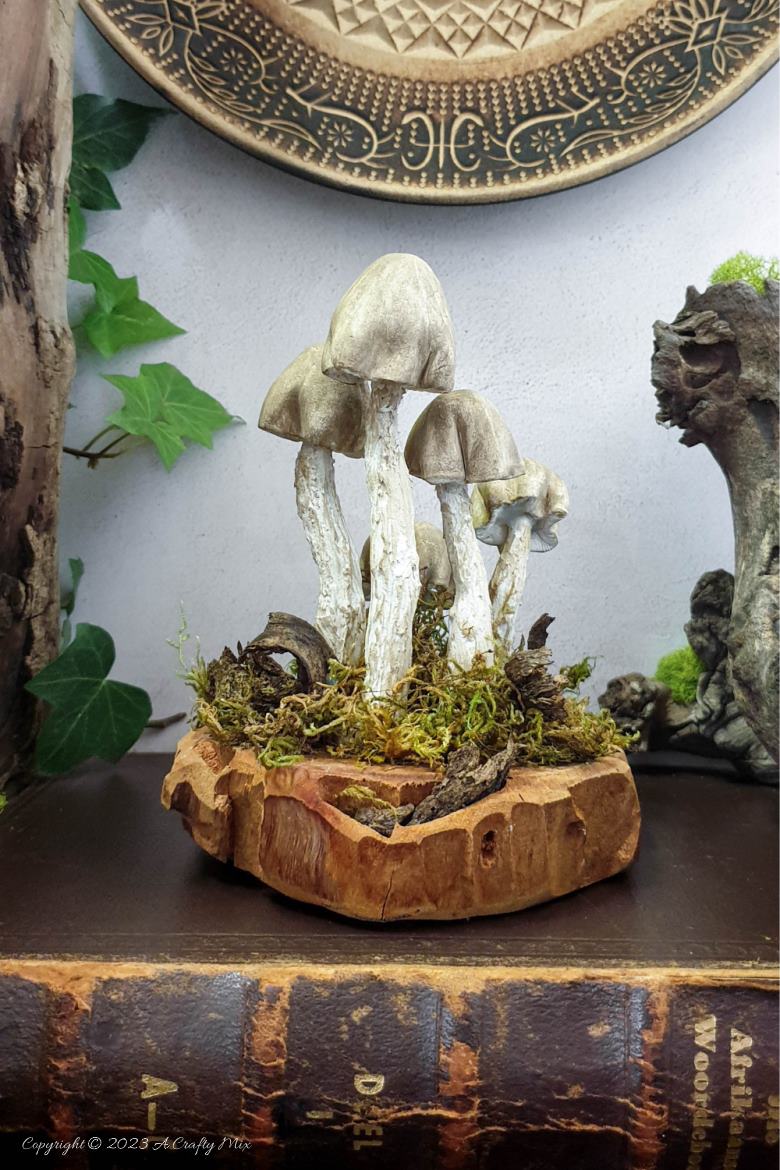
The bark combined with the moss makes me think of a lush forest floor, full of wonder waiting to be explored.
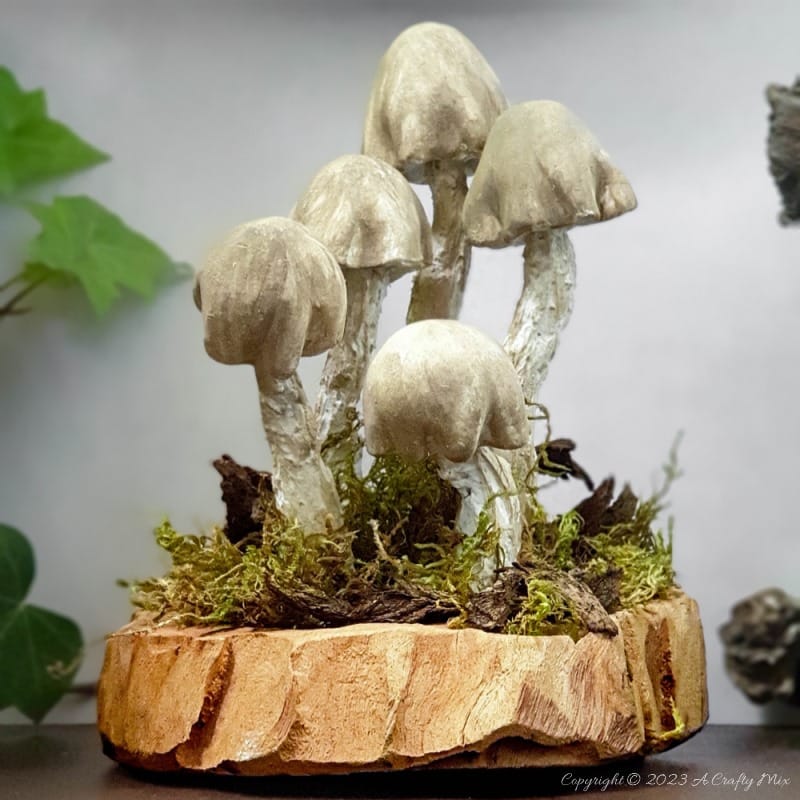
The clay mushrooms look pretty special with the light on too.
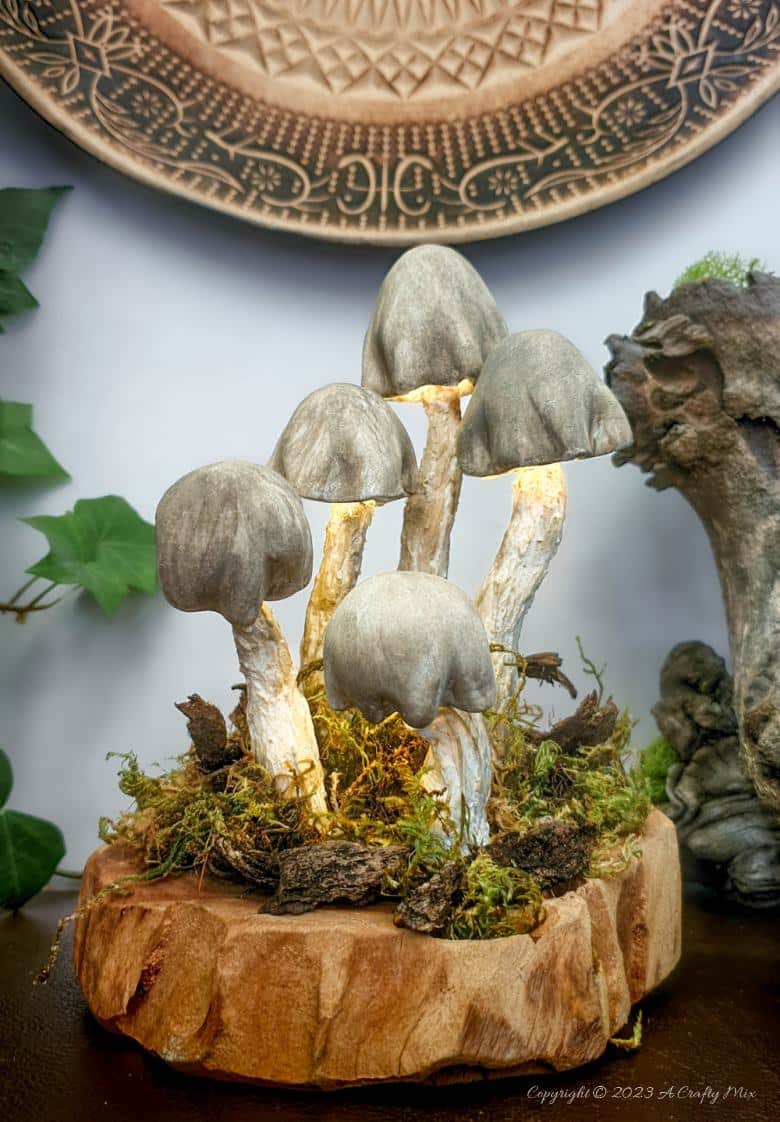

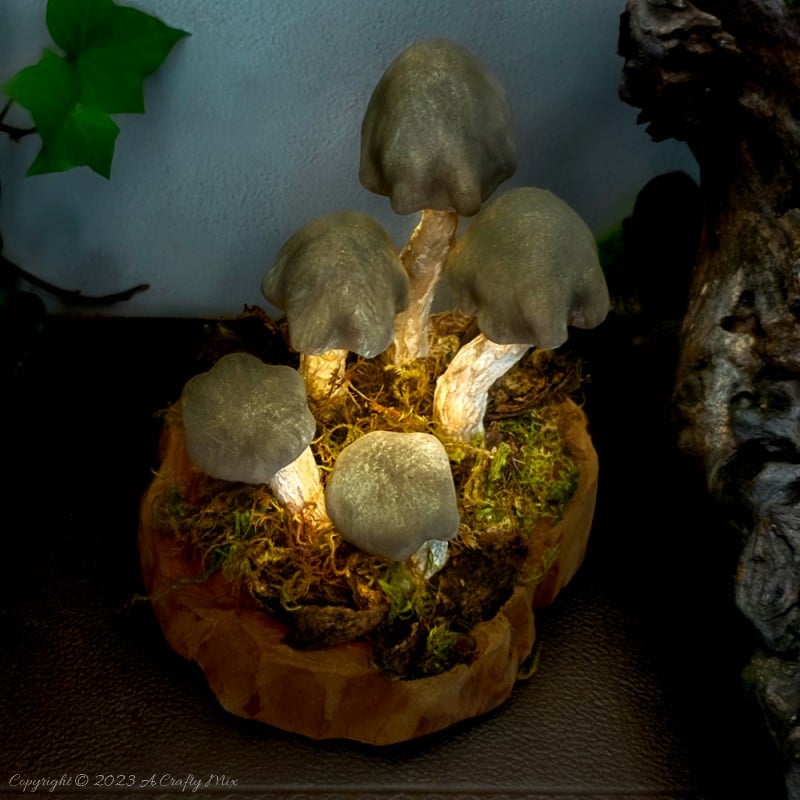
But the magic really happens when the sun sets.
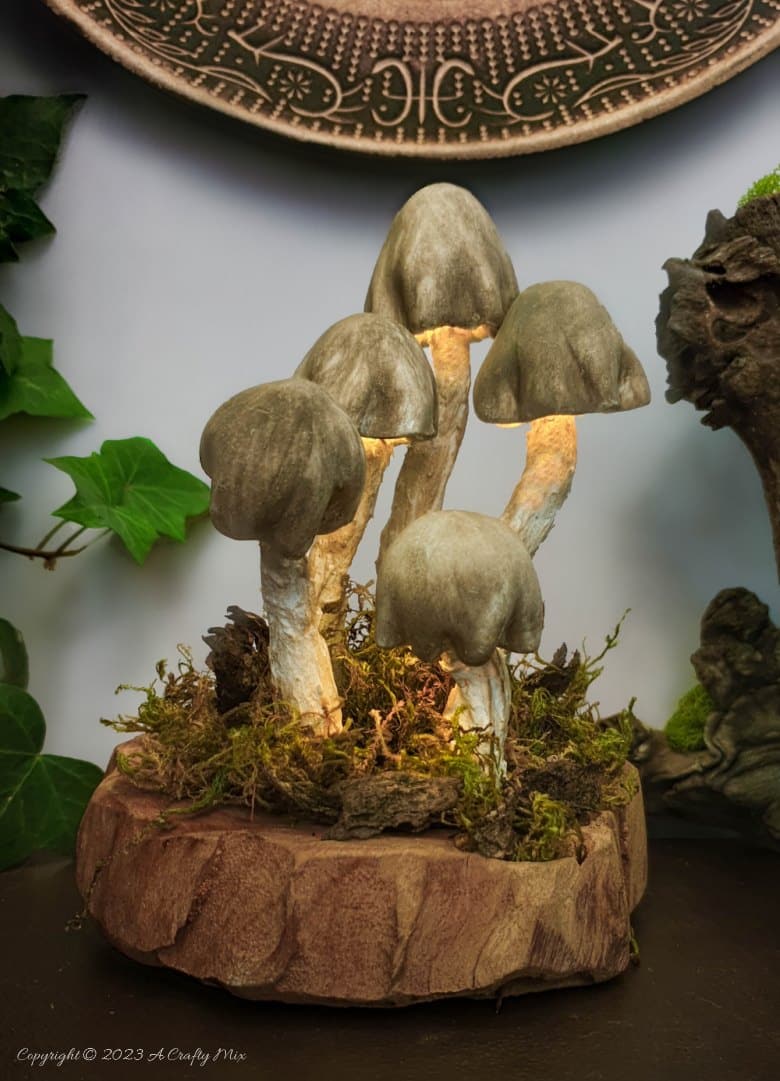
Aren’t they lovely? It looks so other-worldly and mysterious.
Do you like adding mushrooms to your decor?
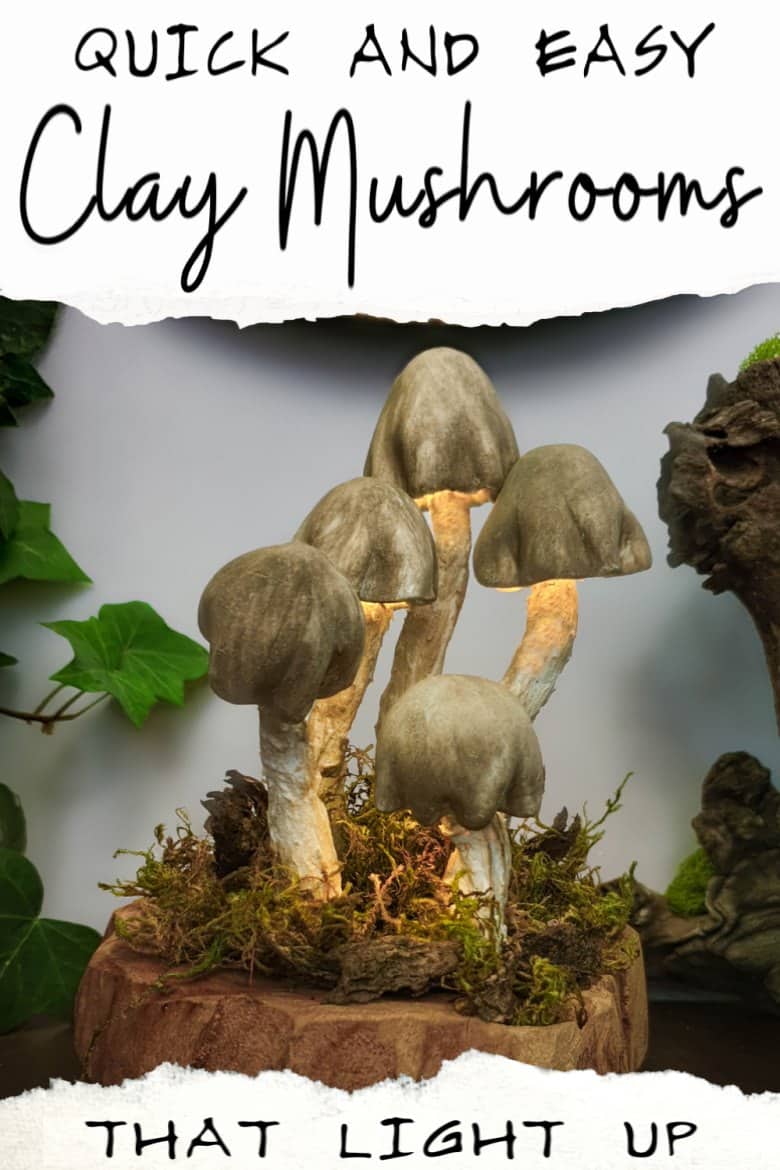
If you like the idea of making enchanting clay mushrooms that light up, don’t forget to pin the tutorial for later.
Sharing is caring 😀
Oh, and if you’re looking for some of the things we used, we’ve got you covered. Disclosure: Clicking on the links below means we may receive a commission from Amazon. But don’t worry, it won’t come out of your pocket, and it helps us make more amazing crafts to share with you 😉


And if you prefer to buy rather than DIY, then maybe these beauties will appeal.


And as always, wishing you a wonderful, crafty week filled with lots of love. Thank you for popping in for a visit.

Last update on 2026-06-03 / Source Amazon Affiliates