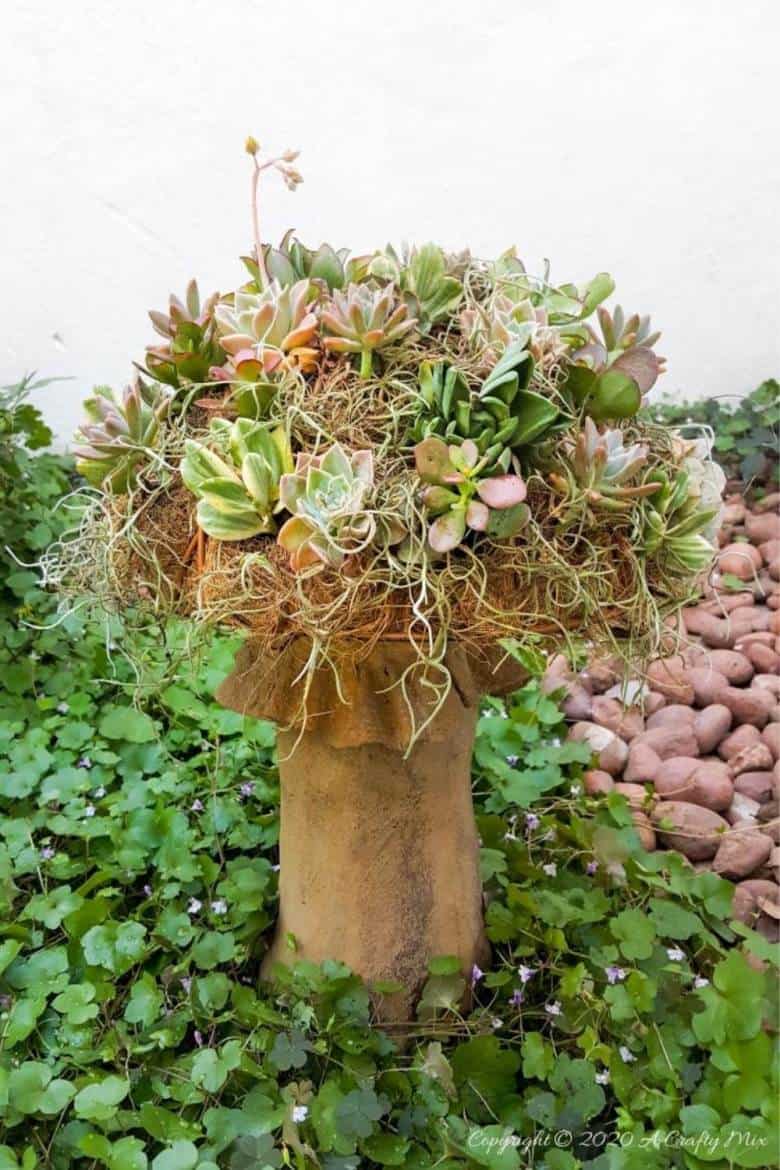
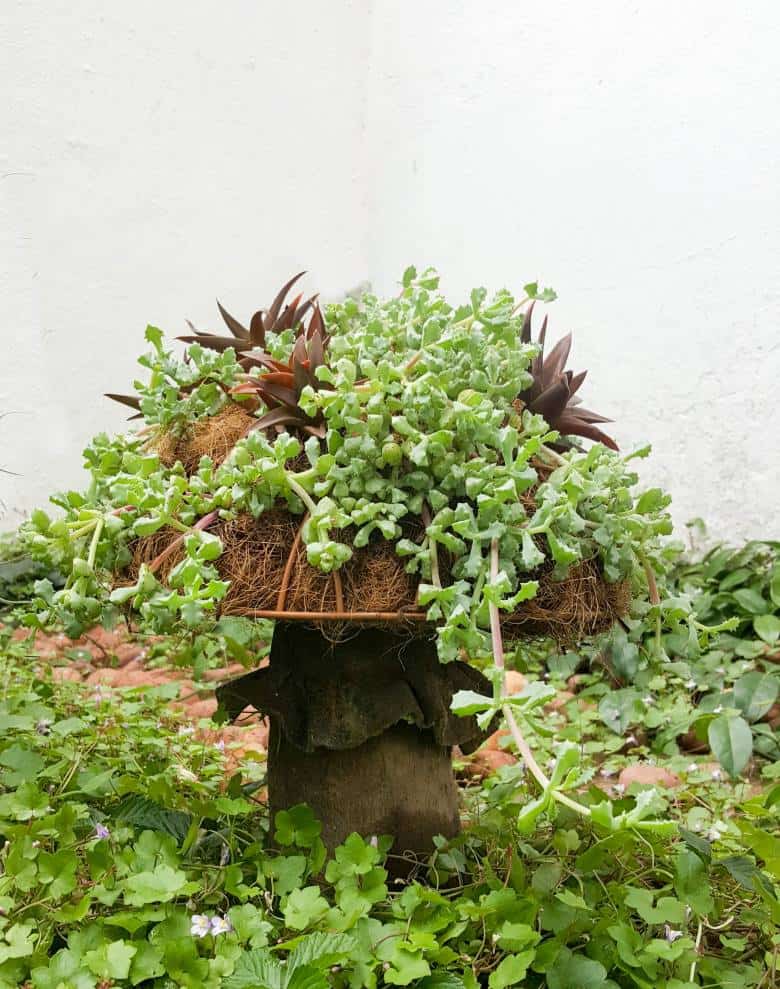
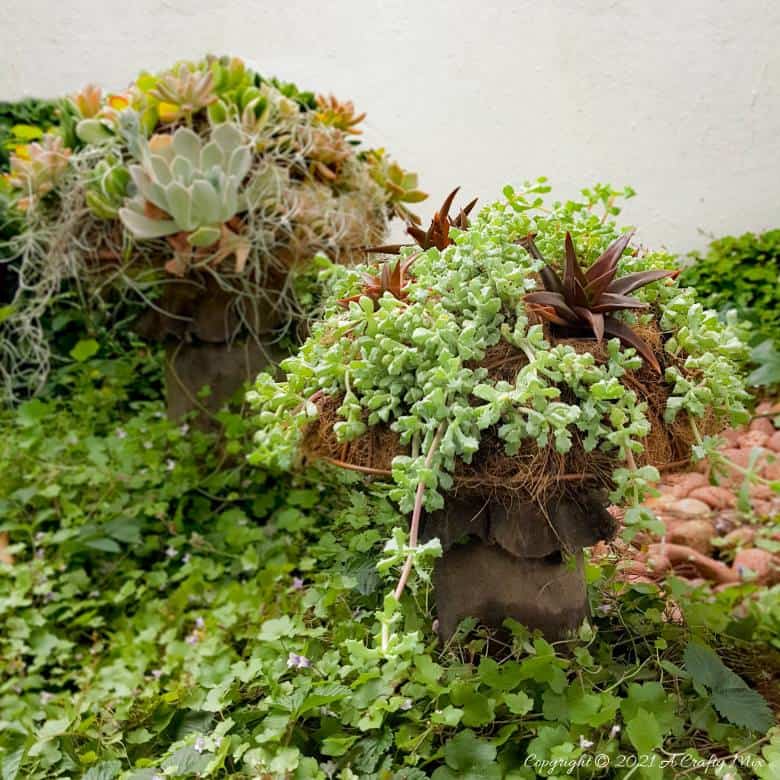
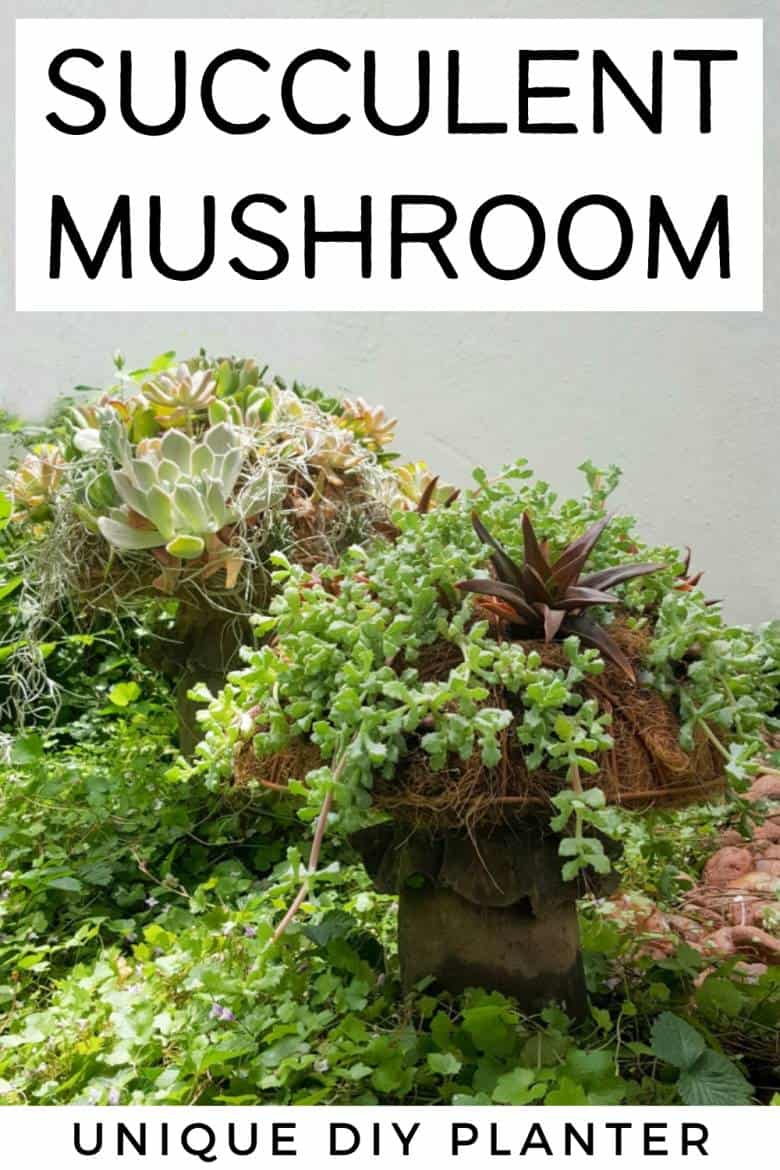
Hands up who doesn’t love a unique planter? Something that adds a little magic to the garden? Something like this gorgeous succulent mushroom?
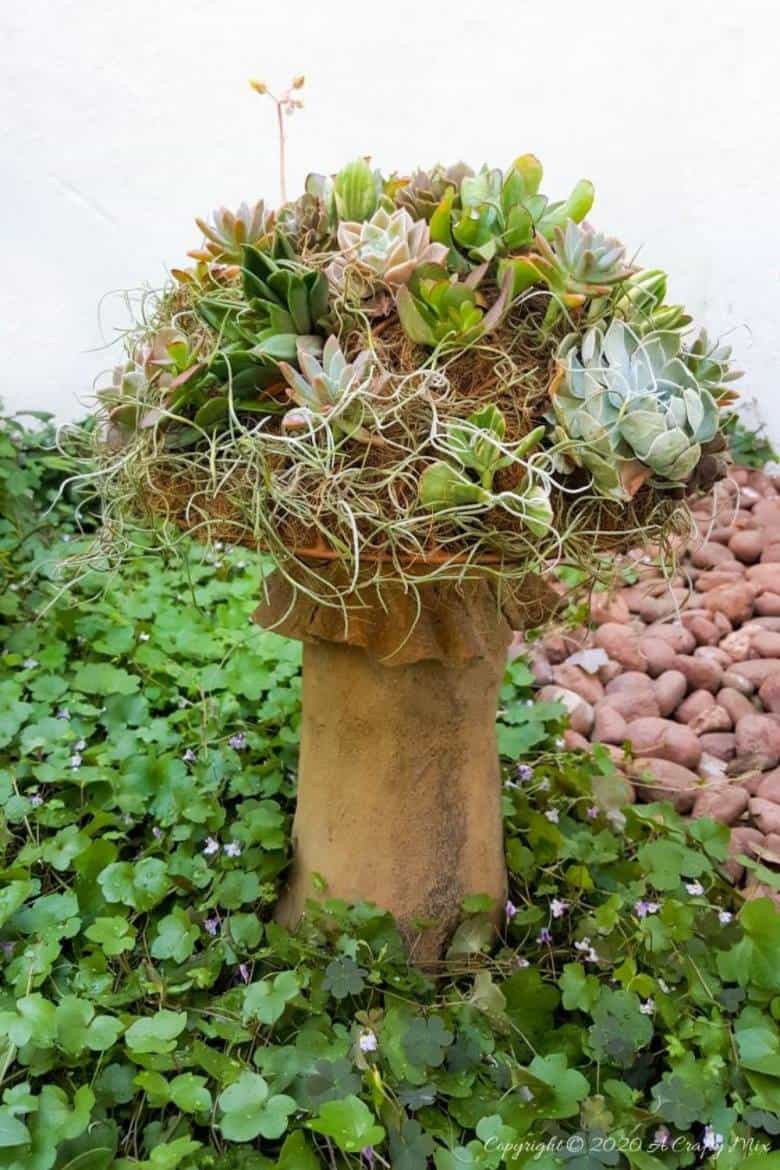
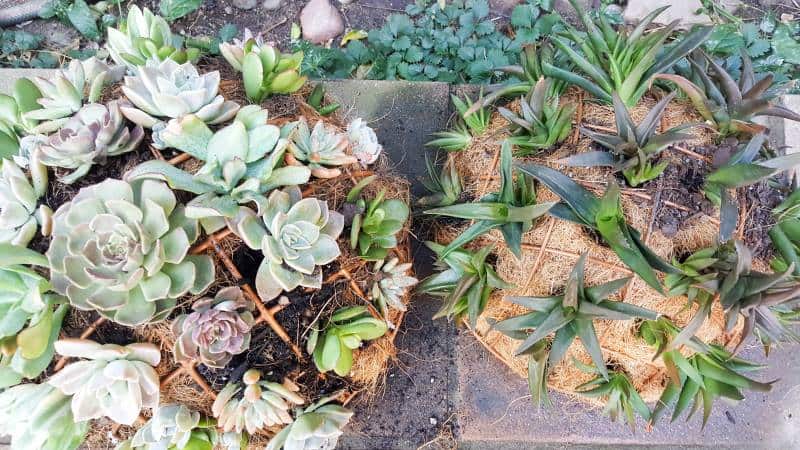
Isn’t she beautiful? We made two a few months back and I’m finally ready to share the tutorial with you all. I wanted to make very sure that they would work and that the succulents would be happy in their curved upside-down world.
Succulents are such easy-care plants and if they’re in the right spot, they’ll just carrying on making babies year after year. And these babies are thriving. The succulent mushroom planter is much easier to make than you might think. It takes a little time but it’s so worth it in my opinion and once those succulents take root and start spreading it puts on such a gorgeous display.
If you don’t have a whole bunch of succulents in your garden that you can look for overgrown pots of Sempervivum (hens and chicks) at the garden center and subdivide them.
Okay, before we get to the living succulent mushroom planter tutorial, be sure to follow us on Facebook, Twitter, Pinterest, or Instagram. And don’t forget to subscribe so you’ll never miss a post!
What you Need
For the mushroom top
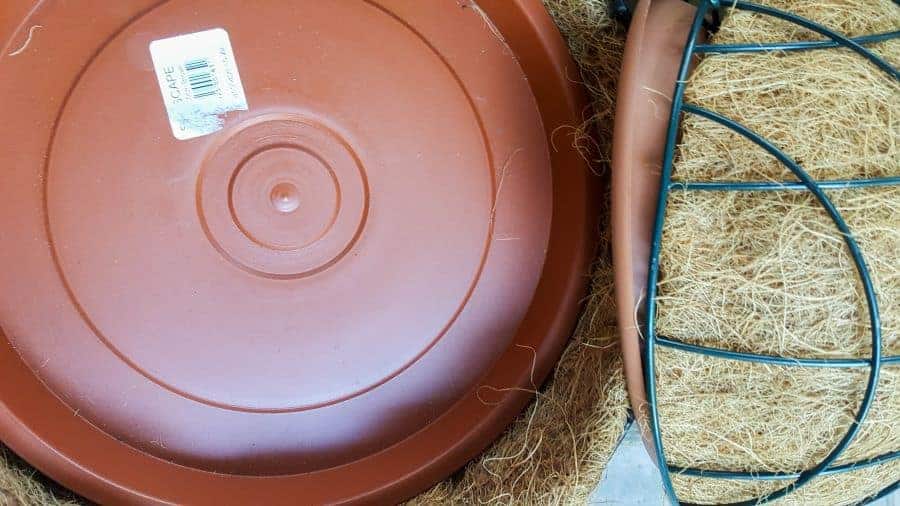
To make the mushroom top you’ll need a wire hanging basket with coconut fiber inner. Any size will work, just keep in mind, that the bigger the basket, the heavier it will be and the more succulents you’ll need to fill her up. You’ll also need:
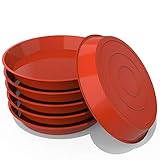
- A plastic drip tray/drainage plate that fits snugly inside the basket
- Cable ties (3-4 per mushroom)
- Drill, scissors, and permanent marker
- Enough soil to fill the baskets. As a guide, a 31 cm (12″) basket holds approximately 9 liters of soil while a 36 cm (14″) basket will hold about 13 liters.
- Succulents. I used Sempervivum, sedums, echeveria, and a dassievygie for our mushrooms. They’re all hardy and make lots of babies really quickly.
There are many other low-growing plants that would work too. Creeping Charlie, String of Turtles (cutest name EVER!! ) and Thyme are just a couple that comes to mind.
For the mushroom stalks
- Empty plastic bottles or PVC pipes
- 10mm thread bar
- Cement, sand, and water
- Fabric (optional to make a frill around the stalk)
What kind of fabric can I use with concrete?
Something that can hold its own weight and is porous enough for the concrete mixture to adhere to. Felt, crinoline, toweling, fleece, flannel, and heavyweight interfacing are all good choices.
If you’re not keen on playing around with cement you can use a thick dried-out branch or stump to make the stalk instead. Or you can make this something similar using a polystyrene form.
Making the mushroom top
Preparing the mushroom planter top
Remove the chains and coconut fiber lining from the hanging baskets …..
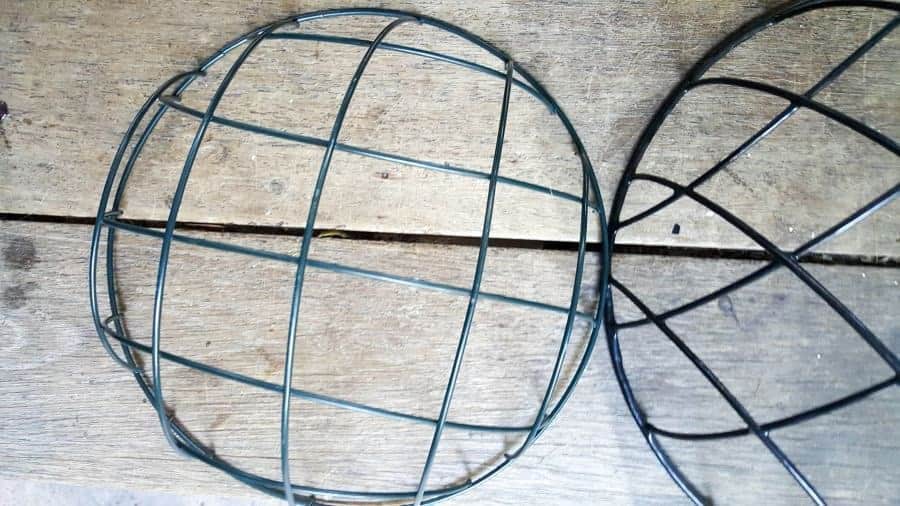
…. and paint the baskets to match the color of the coconut liner.
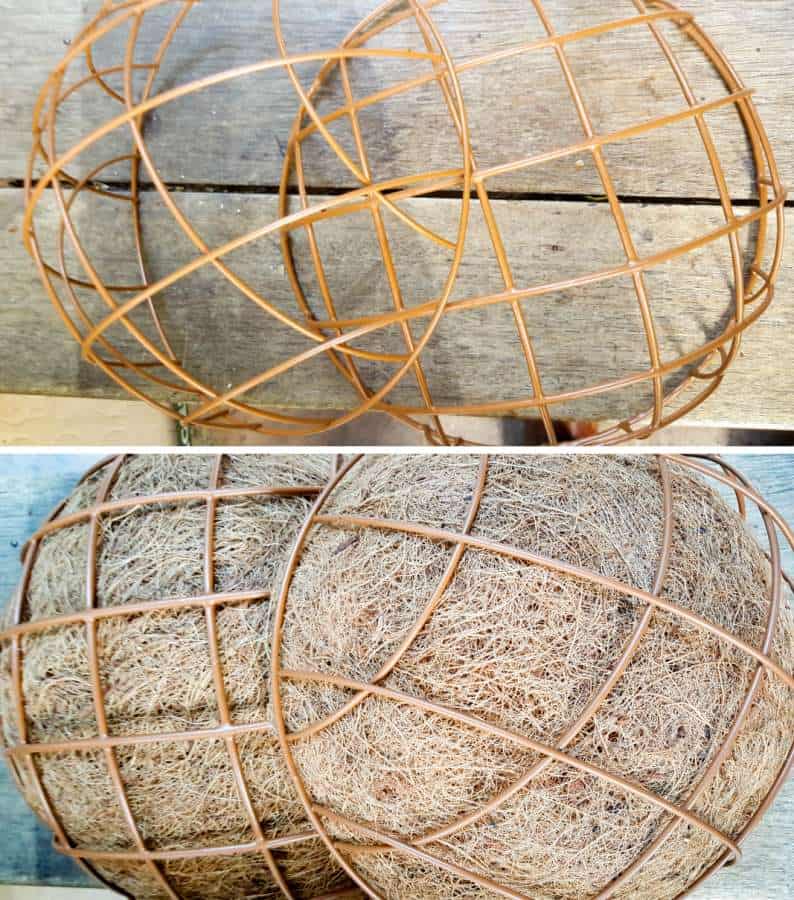
Once the paint dries place the coconut liner back inside. Use a permanent marker to mark where you want to plant your succulents. Trust me on this one. Trying to make holes in that coconut fiber liner after the soil has been added is really hard.
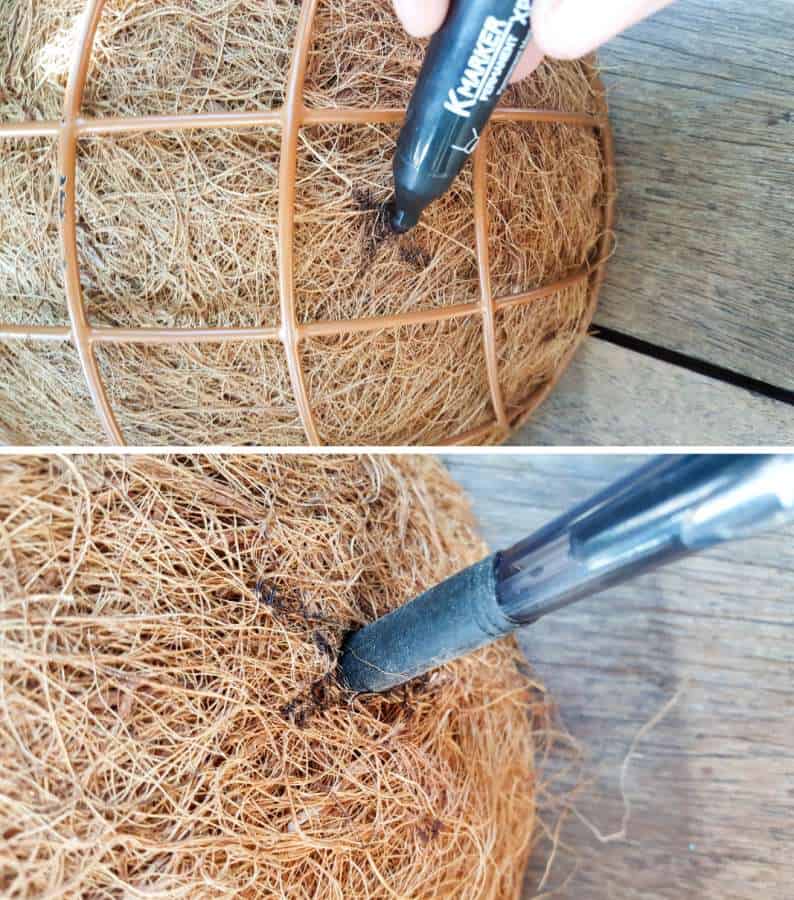
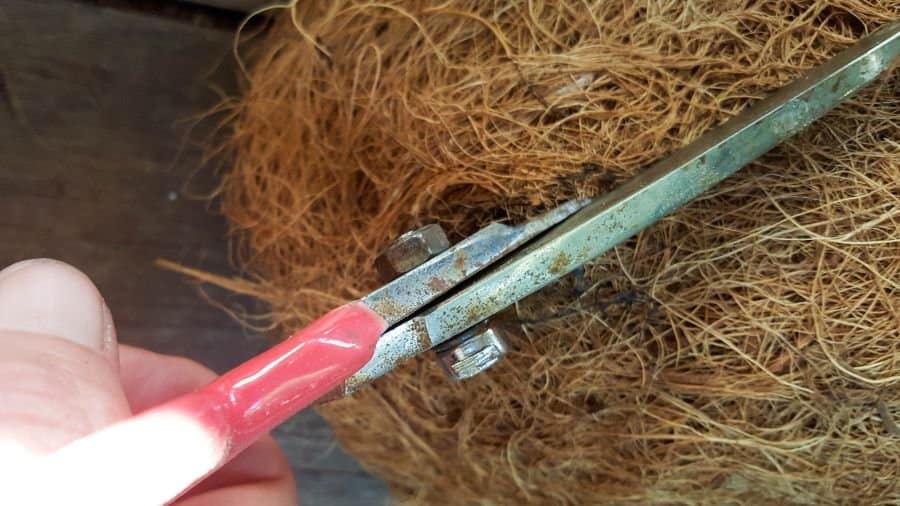
Remove the liner and use an old pen, or something sharp to make a hole where you made the marks. Cut a slit using a pair of scissors or a sharp knife. If you’re not keen on the coconut fiber you can also line the basket with chicken wire and moss, as we did when we made the mossy pillow.
Pack moist succulent potting soil tightly inside the baskets, patting it down firmly as you go. I find that using moist soil makes it easier to fill the basket completely. Try not to leave any gaps since it will make the coconut liner sag when it softens up from watering.
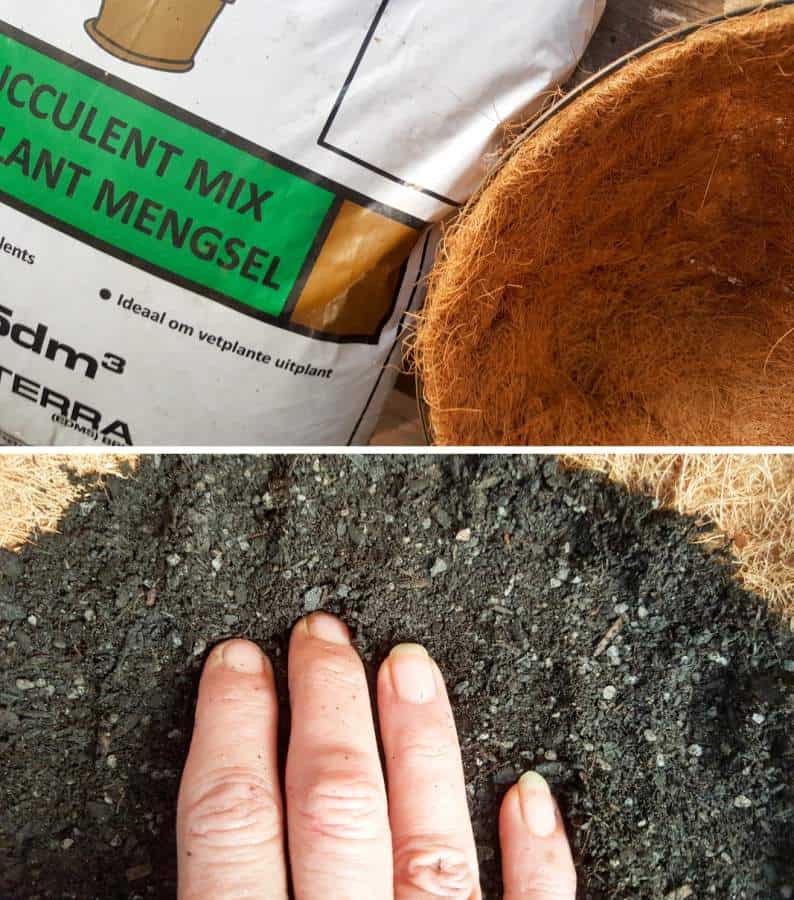
If you can’t find succulent potting soil, you can make your own by mixing three parts potting soil with one-part perlite or fine gravel for drainage.
Sealing the bottom of the mushroom top
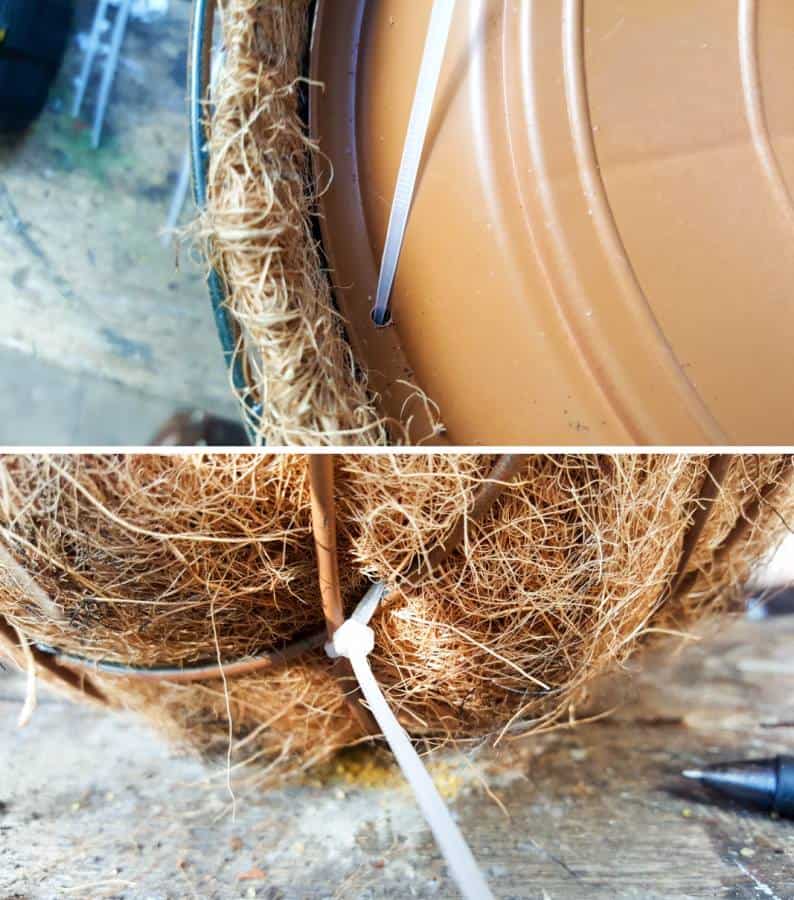
Drill 4-5 drainage holes in the bottom of the drip trays and another hole in the middle. Succulents hate it when their feet stand in water. Place the drip trays inside the soil-filled hanging baskets to check that the soil’s been packed in there tightly enough and then drill 3 – 4 holes around the outer rim. Put the drip trays back inside the soil-filled wire baskets and use cable ties to secure the drip trays to the sides of the hanging basket.

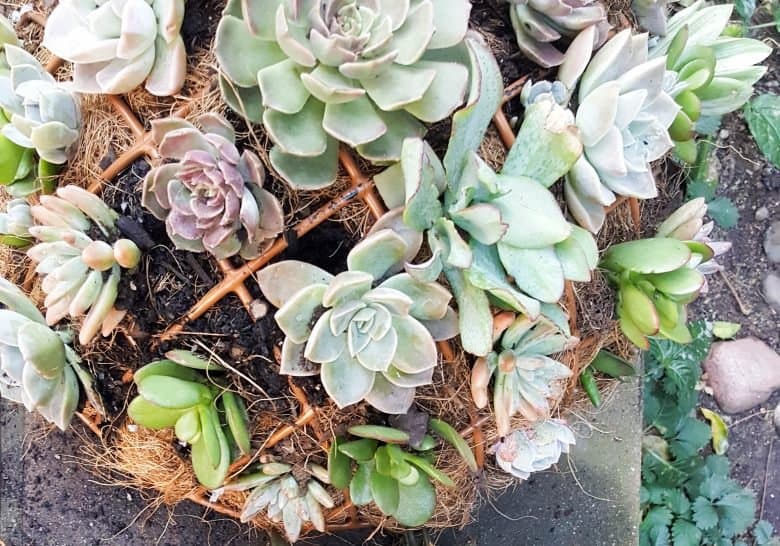
Adding succulents to the mushroom planter
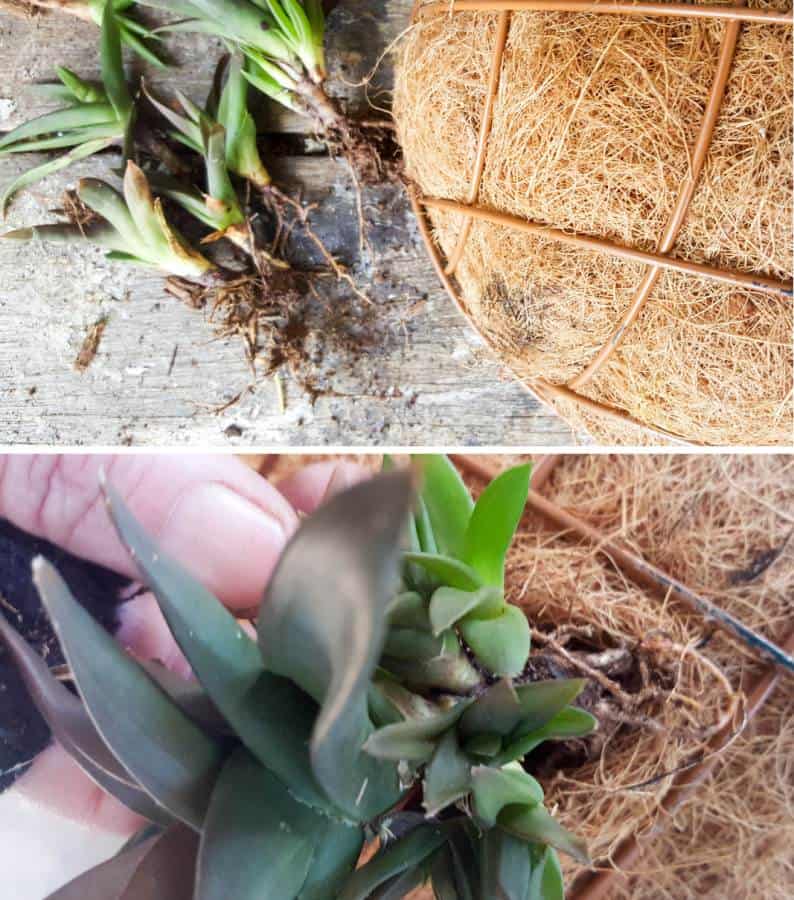
Flip the hanging baskets over and open up the holes you make earlier in the coconut fiber liner. Use your fingers to make a small cavity for each plant. Remove most of the soil around your succulents and break any clusters up. Carefully arrange the succulent roots and tuck them inside the hole. Continue planting, working your way around the mushroom top. Some of the smaller succulent pups can be tucked straight into the coconut liner. They can be held in place with floral pins until they take root.
Water well and allow the succulents to settle on a flat surface for a week or two before finishing off the mushroom. Remember to turn your mushroom tops every few days so all the succulents get the same light and have the best chance of settling in their new mushroom planter home.
You may have to replace some of the succulents that didn’t root well and guide new chicks to fill any blank spots. Fortunately, ours all seemed happy in their new mushroom planter home.
After a few weeks, you won’t be able to see the wire baskets as the succulents spread and cover it completely. The best succulents to use for the mushroom planter are low-growing, creeping species and those that form little rosettes. Echeveria, small Agaves, Crassula, Ghost plant, Beard of Jupiter, Mesems (vygie), and the classic Hen and Chicks are all good choices. You can read all about identifying and growing succulents here.
Right, while you wait for the succulents to settle into their new home, you can start making some mushroom stalks.
Making the mushroom stalks
Just give me a moment here. Those stalks gave me all kinds of grey hairs. I just couldn’t get my head around how to make them. Well, until I tripped over a bag of cement in the garage that is. Duh, so obvious. A concrete stalk would be tough enough to keep the tops up and last in all kinds of weather too. Now all I needed to do was find a mold of some sort. And plastic soda bottles were perfect.
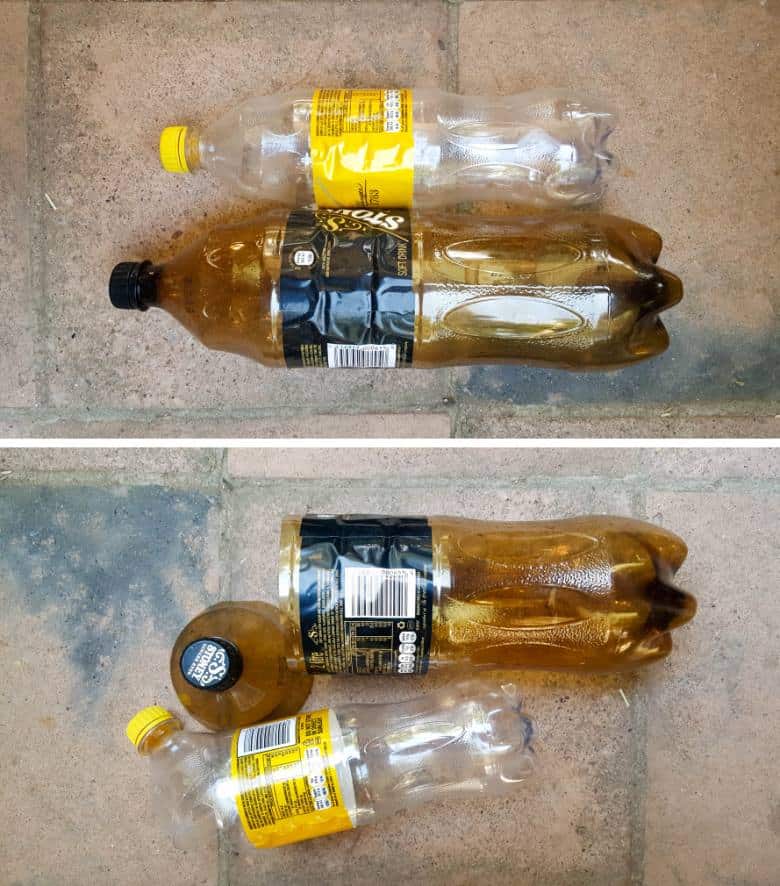
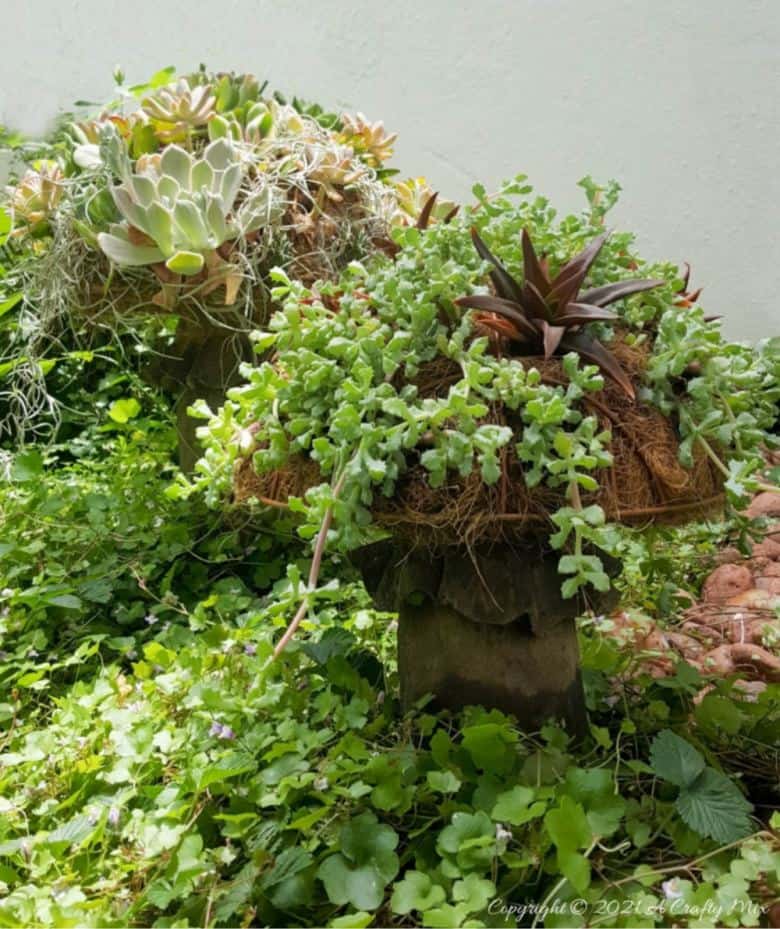
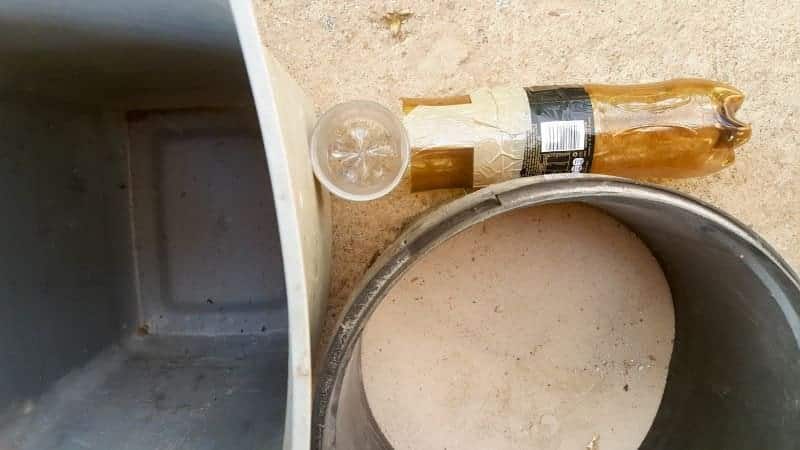
The one mushroom top is quite a bit bigger than the other one, so it needed a longer stalk. Plastic bottles here in South Africa come in standard sizes and the biggest one was just too short. Easy enough to change. Just cut another one and insert it inside the first one.
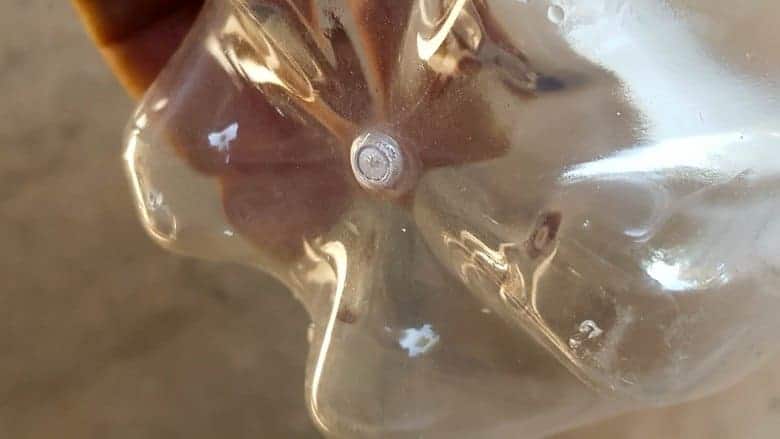
Poke 2 -3 holes in the bottom of the bottles to help drain the water from the cement mixture we’ll be adding in a minute.
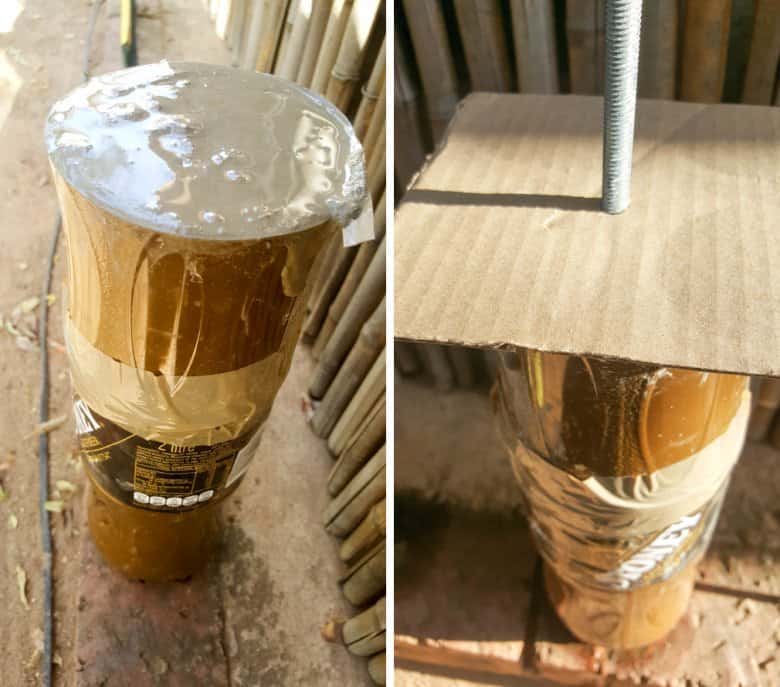
Mix up a batch of cement, sand, and water according to the manufacturer’s instructions. I used about 5 cups of ordinary Portland cement with 2 cups of fine beach sand and then added 4 cups of water for each stalk. Pour the mixture inside the bottles and insert a thread bar in the middle. That thread bar will go inside the mushroom top to keep the whole thing stable and attached. To hold the thread bar upright and in the middle, I used a piece of cardboard with a hole in the middle.
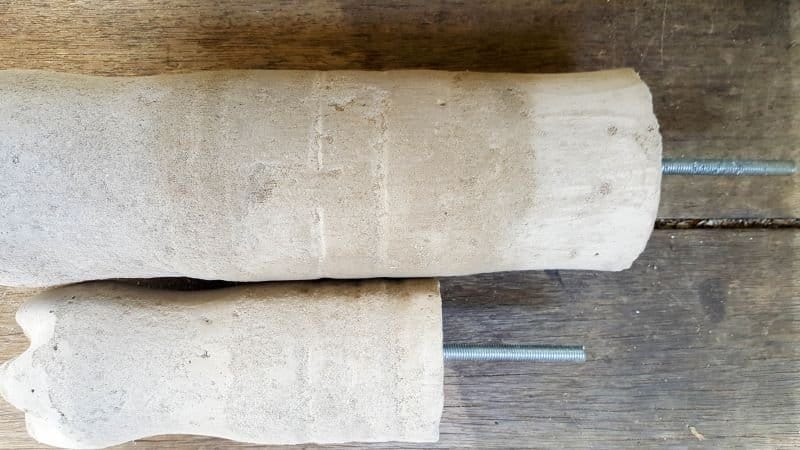
Wait for about a day for the concrete to firm up and set. Not completely mind you, but just firm enough to not collapse in a puddling mess when you de-mold the stalks. To de-mold, carefully cut the plastic bottle away and leave the stalks in a warm space to dry and cure fully.
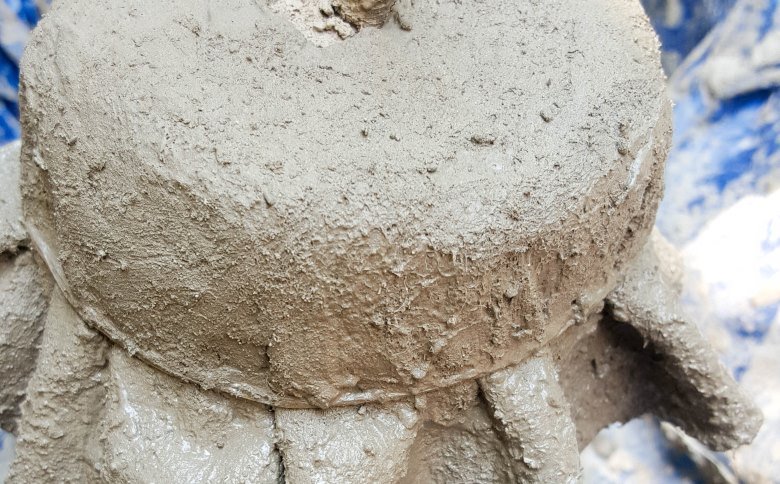
Bulking up the mushroom stalks
To give the mushrooms a stalk-ish appearance I mixed up another batch of concrete and added a bonding agent. The bonding agent is super important. It helps the new layer of concrete grip onto the previous dried layer. Without the bonding agent, the new, thin layer of concrete becomes very vulnerable to the weather and can crack and crumble because it does not move or bend in the same way as the first layer.
To bulk up the mushroom stalks place some scrunched-up tin foil around the bottom of the concrete bottle stalk forms before applying a layer of concrete on top.

And then layer by layer, build up the form until you’re happy with the shape.
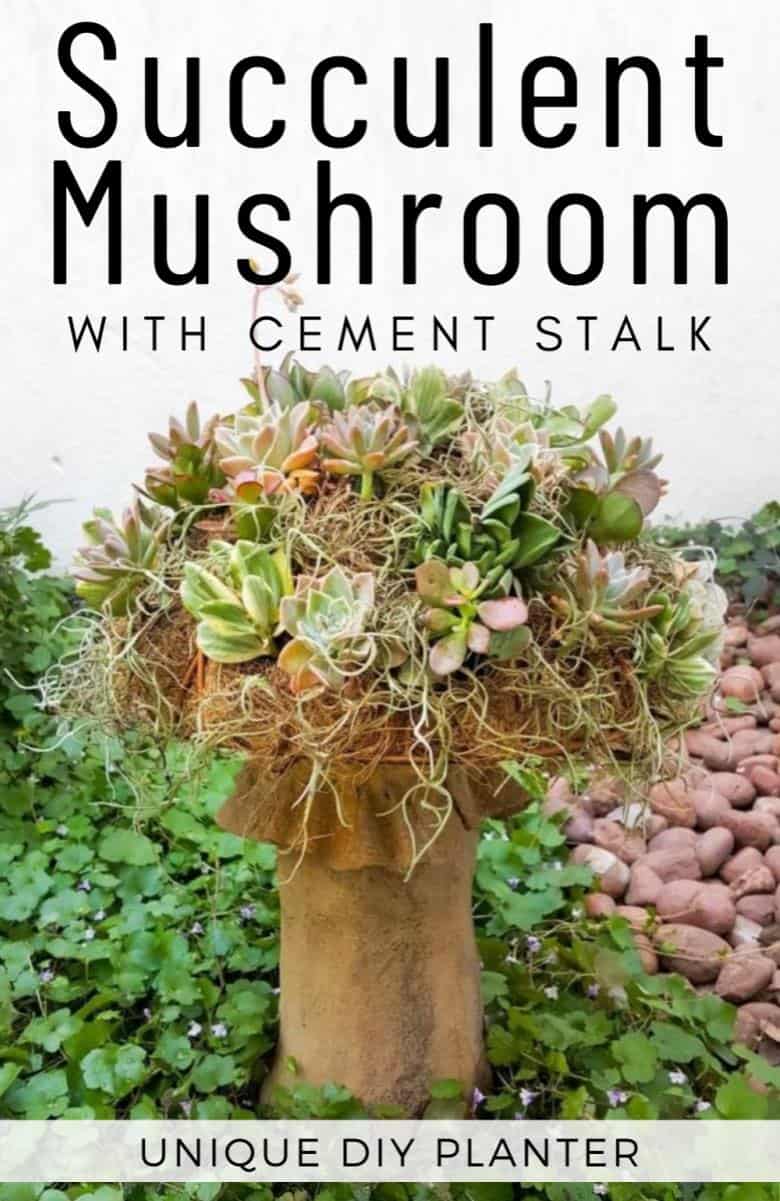
Making the mushroom skirt/frill
The little mushroom frill was a last-minute add-on. It’s made from fabric and draped over the mushroom stalk.
I used some woven interlining cut into a circle. That’s the stuff you put in dresses to make them stiff and proper 😀

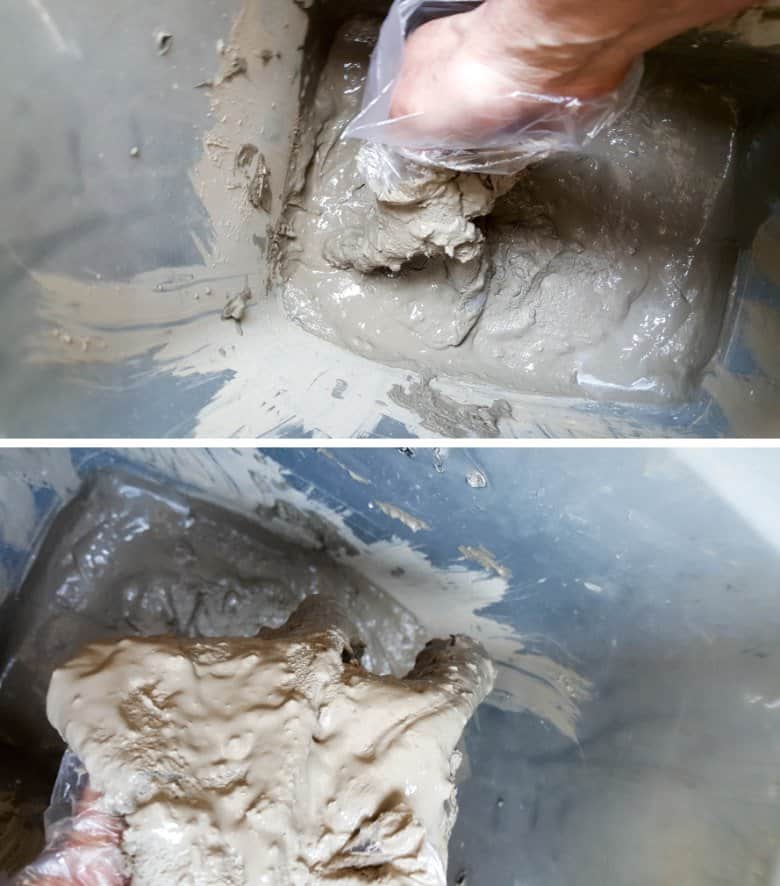
Dip the fabric/interfacing in a watery mix of cement and water, often referred to as a slurry mix. I didn’t add any sand to my slurry mix. Just cement and water.
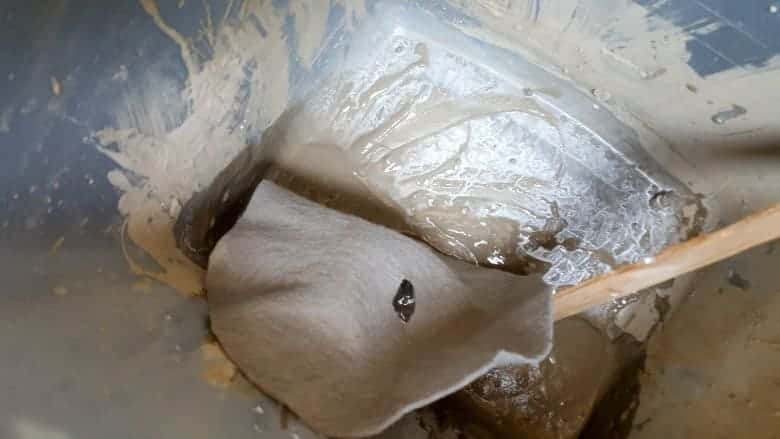
Squash and knead and push the fabric into the mix so the whole thing gets drenched in the slurry. Lift the fabric out and wring it out, before dipping it into the mix again. Repeat until the fabric is completely slurrified. Sorry, that’s the best word I could come up with. It’s kinda like doing hand washing, only you’ll be doing it in gooey concrete 😉
When the fabric is completely drenched/slurrified, place it around the top of the mushroom stalk and secure it with a rubber band. Wait for the frill/skirt to dry completely before cutting the rubber band.
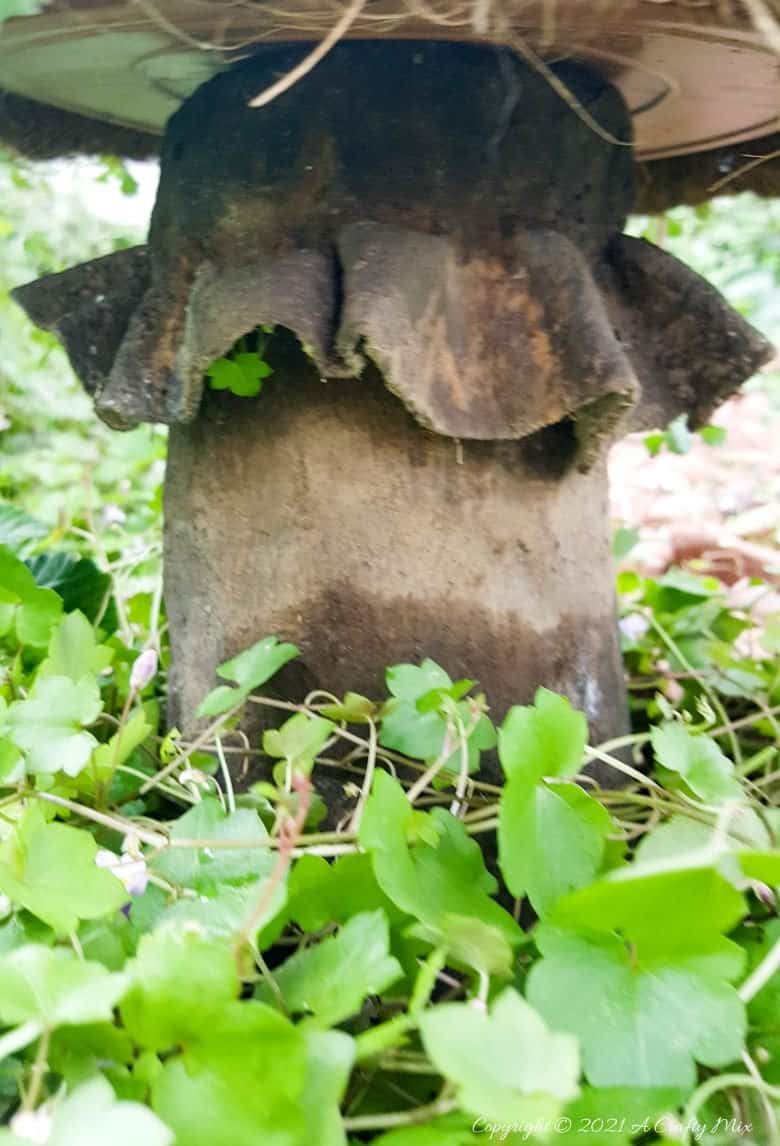
Finishing the succulent mushroom planter off
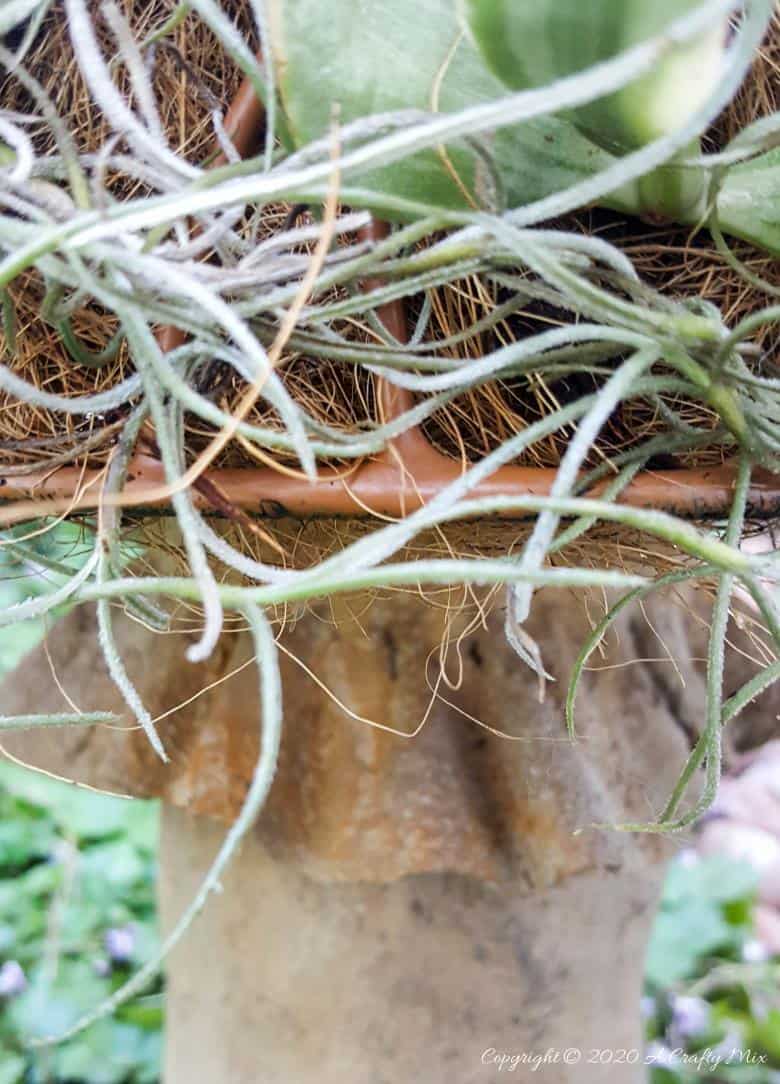
To finish the mushroom planter, simply insert the thread bar into the hole in the drip tray and glue it down.
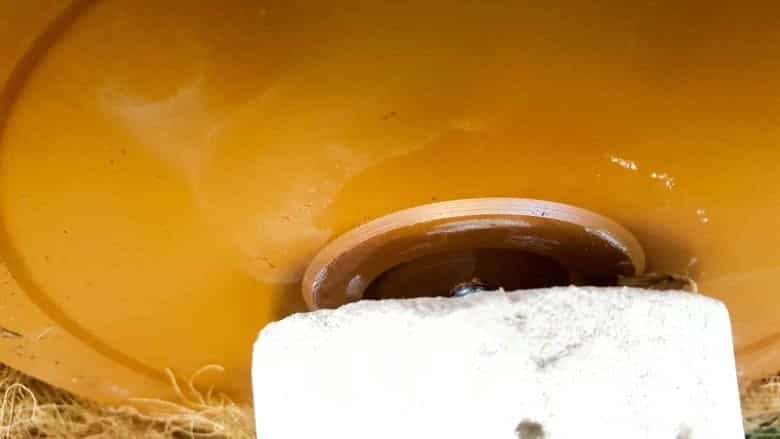
Place the living succulent mushroom planter in a spot in the garden and enjoy all the oohs and aaahhhhs from your friends 😉
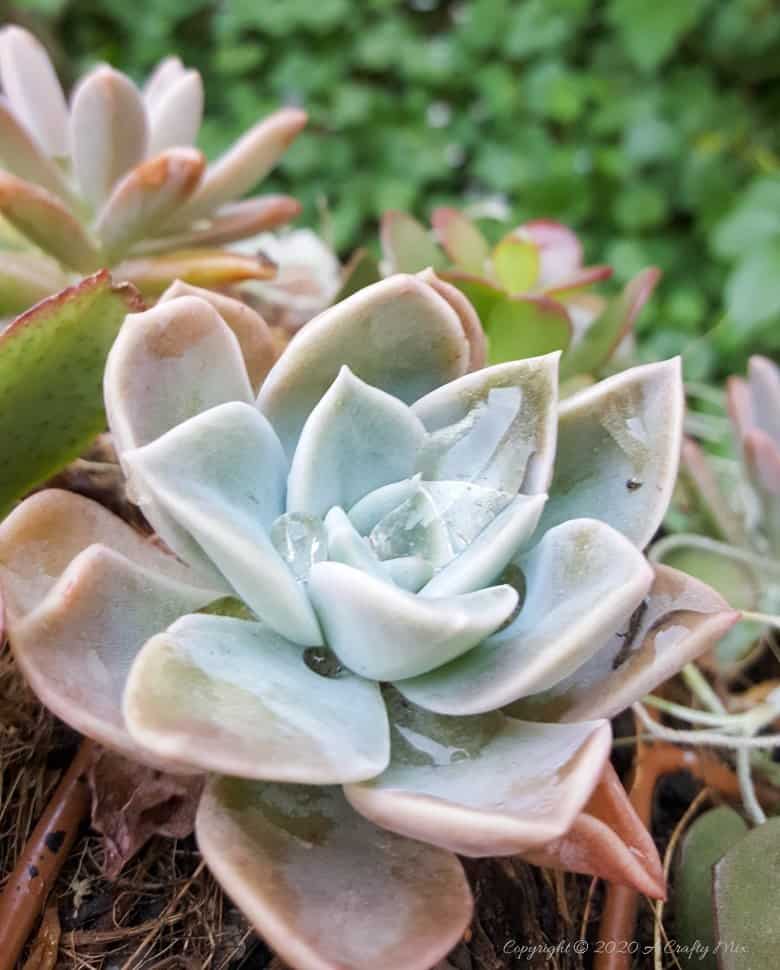
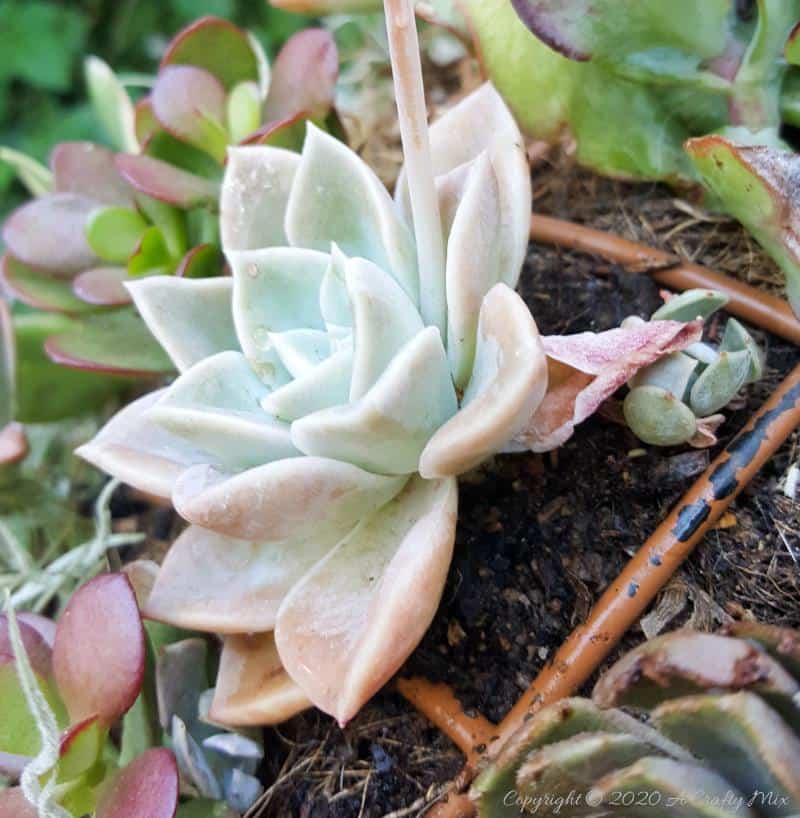
Happiness is when a succulent starts flowering in its new home 😀
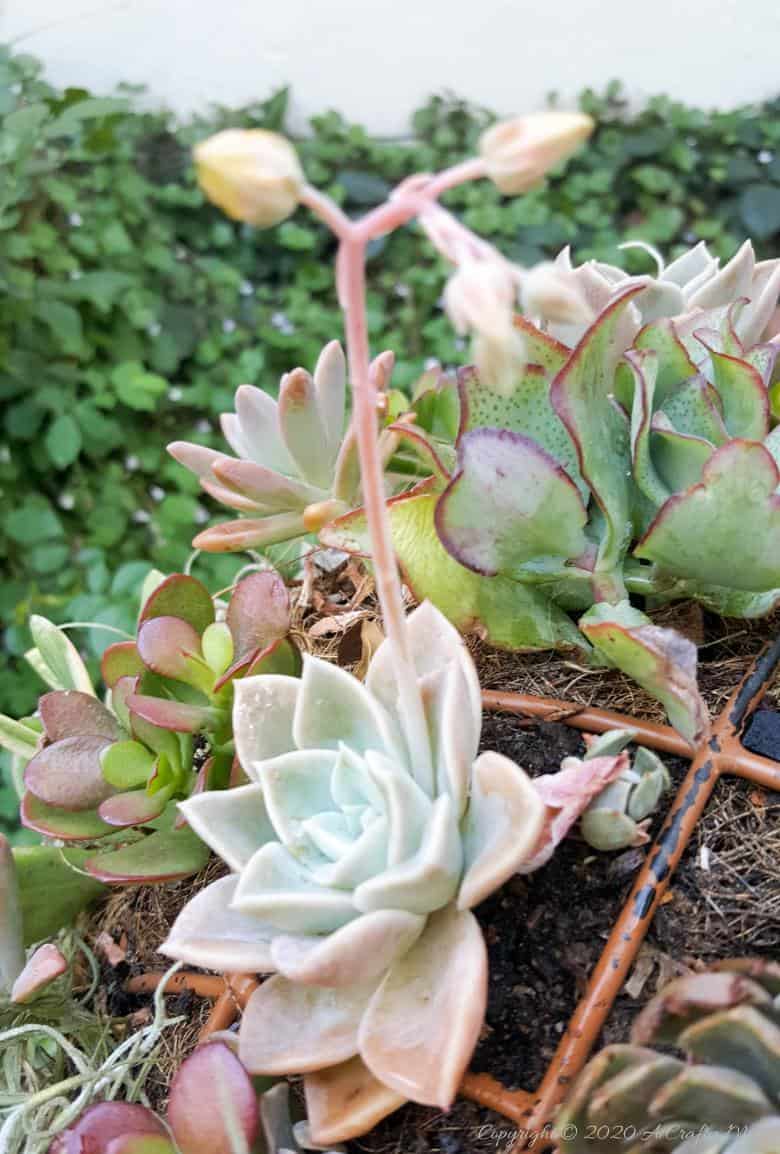
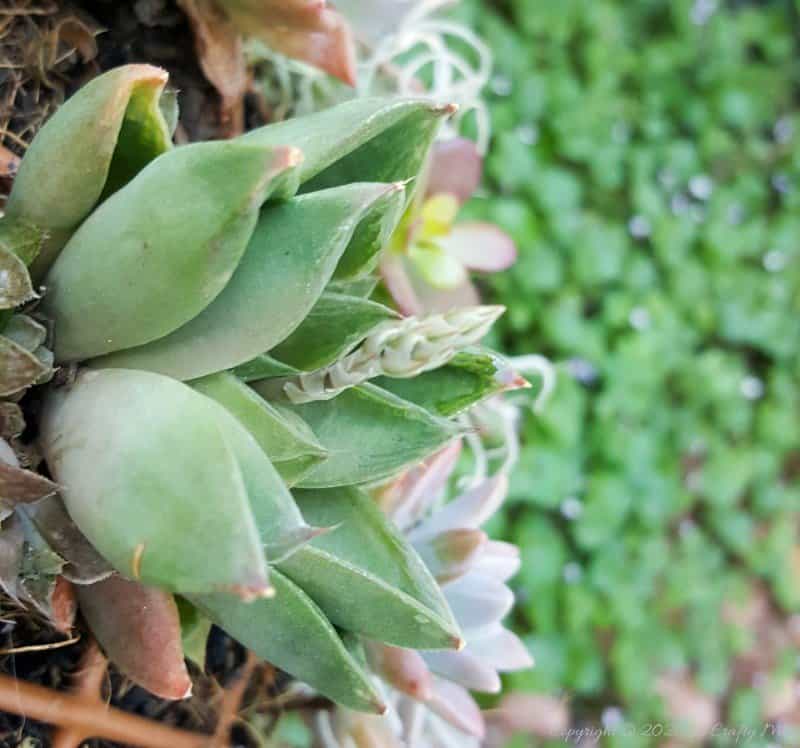
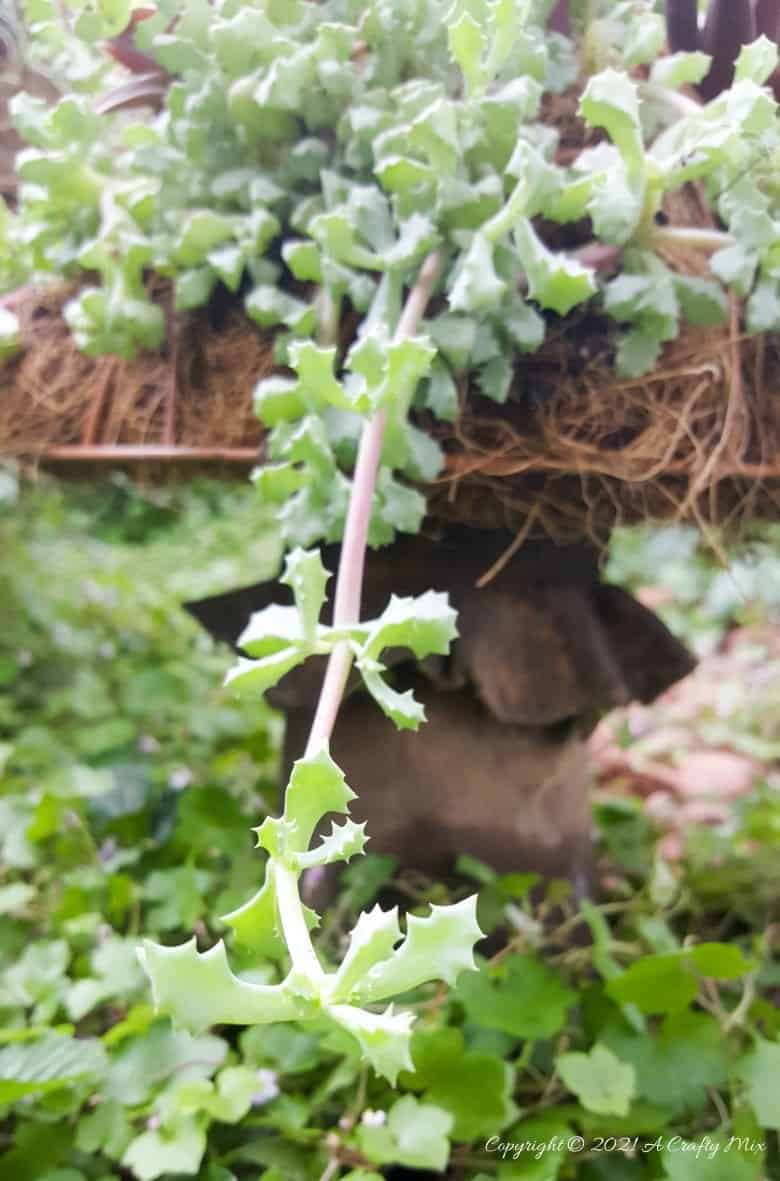
And new growth appears.
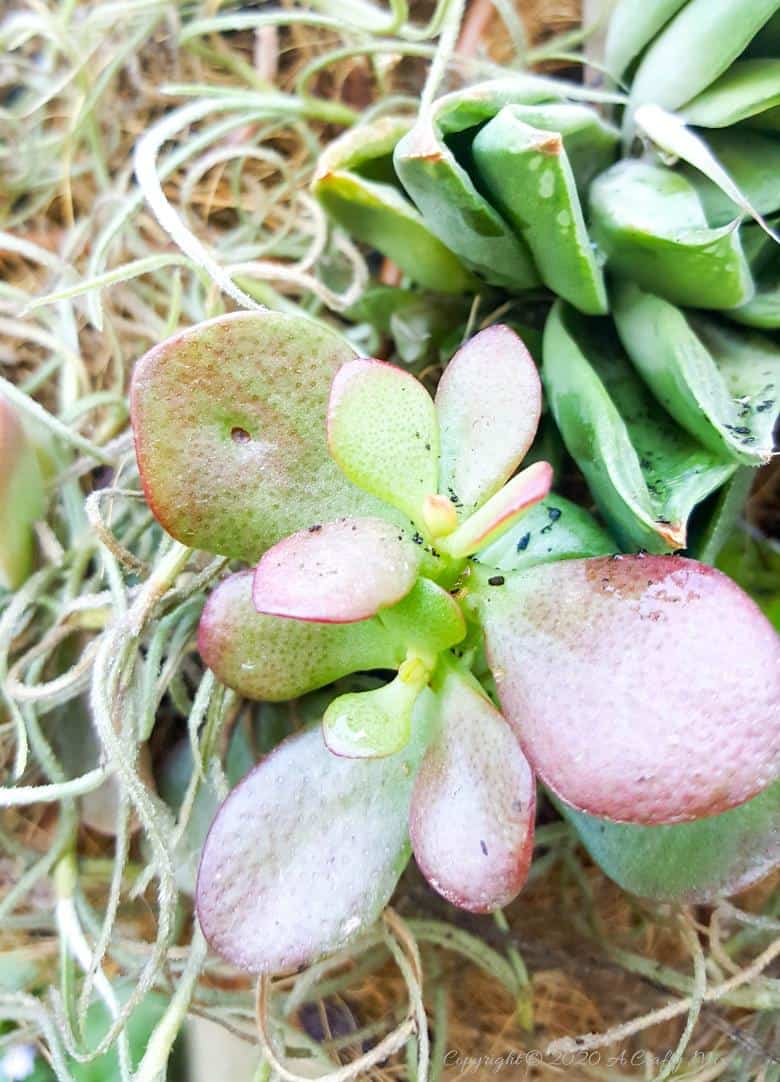
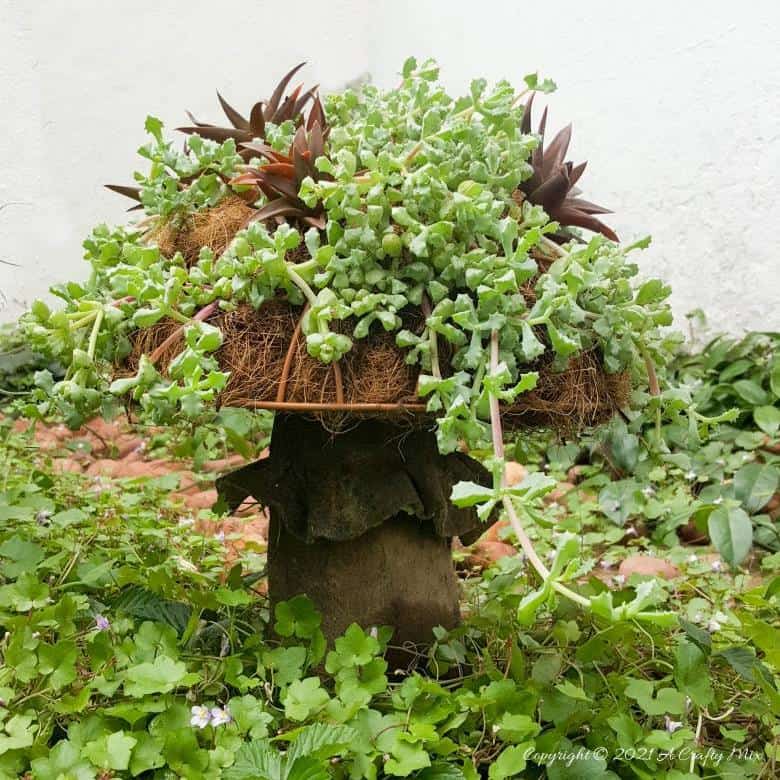
I added some leaf cutting from a dassievygie to the smallest mushroom. And they have just gone crazy 😀
She’s such a curious and rewarding little plant.
The dassievygie (Oscularia deltoides or pink ice plant) is a low-growing, grey succulent that produces the most gorgeous pinkish, lavender-colored flowers in late Spring and Summer. She gets her name from her three-sided fat, succulent leaves. Deltoides is Latin for triangular 😀 Indigenous to South Africa, the dassievygie can be grown from leaf or stem cuttings.
If you like the idea of adding a living succulent mushroom to your garden, don’t forget to pin it for later.
Sharing is caring 😉
Oh and if you’re looking for some of the things we used, we’ve got you covered Disclosure: Clicking on the links below, means we may receive a commission from Amazon. But don’t worry it won’t come out of your pocket, and it helps us make more amazing crafts to share with you 😉
For the mushroom top

For the mushroom stalk


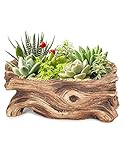
And if you prefer to buy rather than DIY, then maybe these beauties will appeal.


And as always, wishing you a wonderful, crafty week filled with lots of love. Thank you for popping in for a visit.

Last update on 2026-06-03 / Source Amazon Affiliates