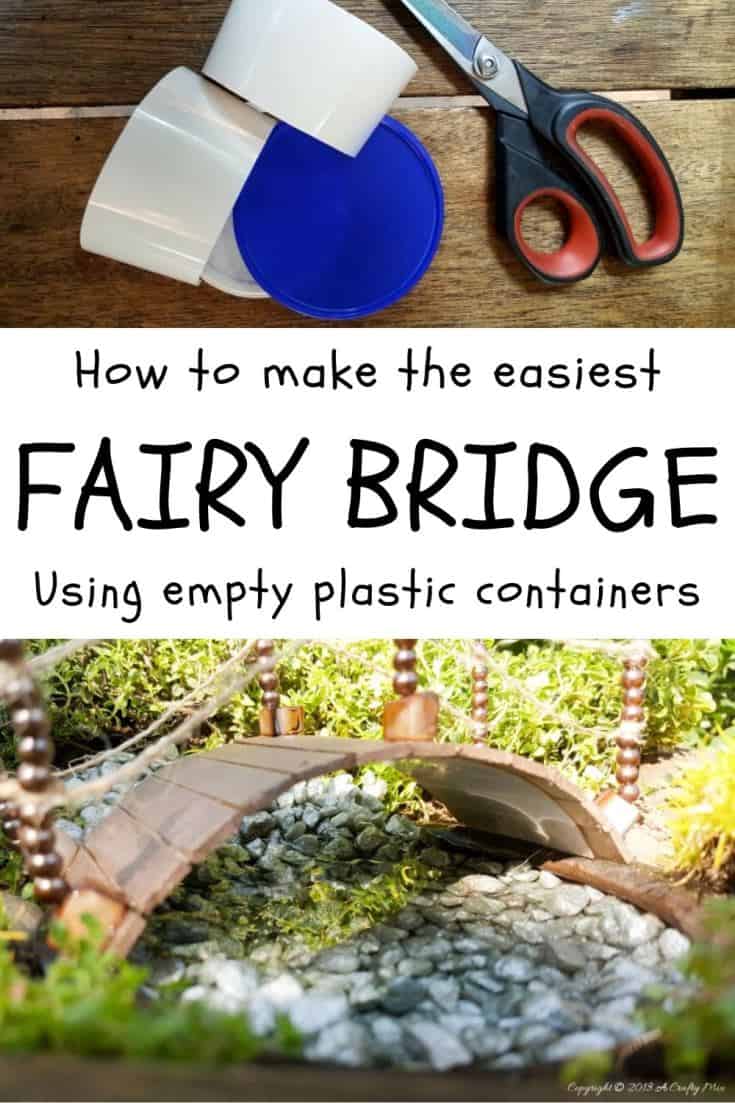
Let’s be honest, fairies aren’t snobs about building materials. They’re quite happy to cross yesterday’s ‘rubbish’ if it looks magical. This little fairy bridge proves it. It all began when we decided to recycle a plastic cup recycle that was headed for the trash can.
Isn’t it just adorable? You would never say that the bridge started out looking like this.

And it’s one of those really easy projects that take less than an hour to make.
Plus it’s such a fun project to do with the kids and they can learn all about building bridges too. The little ones can help with painting the bridge while older kids will love coming up with creative ideas to make the deck and the handrails.
Okay, before we get to the tutorial, be sure to follow us on Facebook, Twitter, Pinterest, or Instagram. And don’t forget to subscribe so you’ll never miss a post!
How to Turn a Plastic Cup into a Fairy Bridge
For the fairy bridge, you only need the sides of the plastic cup. Use a pair of scissors to cut down either side of the cup and remove the bottom. Don’t throw them away, they can be turned into oversized smiley badges. Just add a safety pin on the back and mod podge an emoticon onto the front. Or wrap it in silken rags and use it to make the cutest boho storage.

The curved cup half looks like an arch, and it’s really strong, which is the perfect starting point for the deck of the fairy bridge. To cover the deck, we used a few ice cream sticks. Those innocuous sticks of wood are perfect for making all kinds of miniatures, from porch swings to treasure chests, stained-glass fairy doors and tiny, little park benches.

Cut the ice cream sticks, so they’re a little wider than the piece of plastic. The easiest way to do it is to simply use a pair of scissors or a sharp knife to score a long the sticks and break them off. Don’t worry if they’re not the same size; it adds to the look. Before gluing the sticks to the bridge, use 100 grit sandpaper to roughen the plastic up a little, so the glue has something to grip onto.

The plastic bits are really “bouncy,” which makes it so much easier when you’re gluing the sticks on. Press it down firmly to create a flat piece, and then add the sticks. That way, they won’t slide off the curved surface while the glue dries. We used quick setting glue, so it only takes a few seconds.
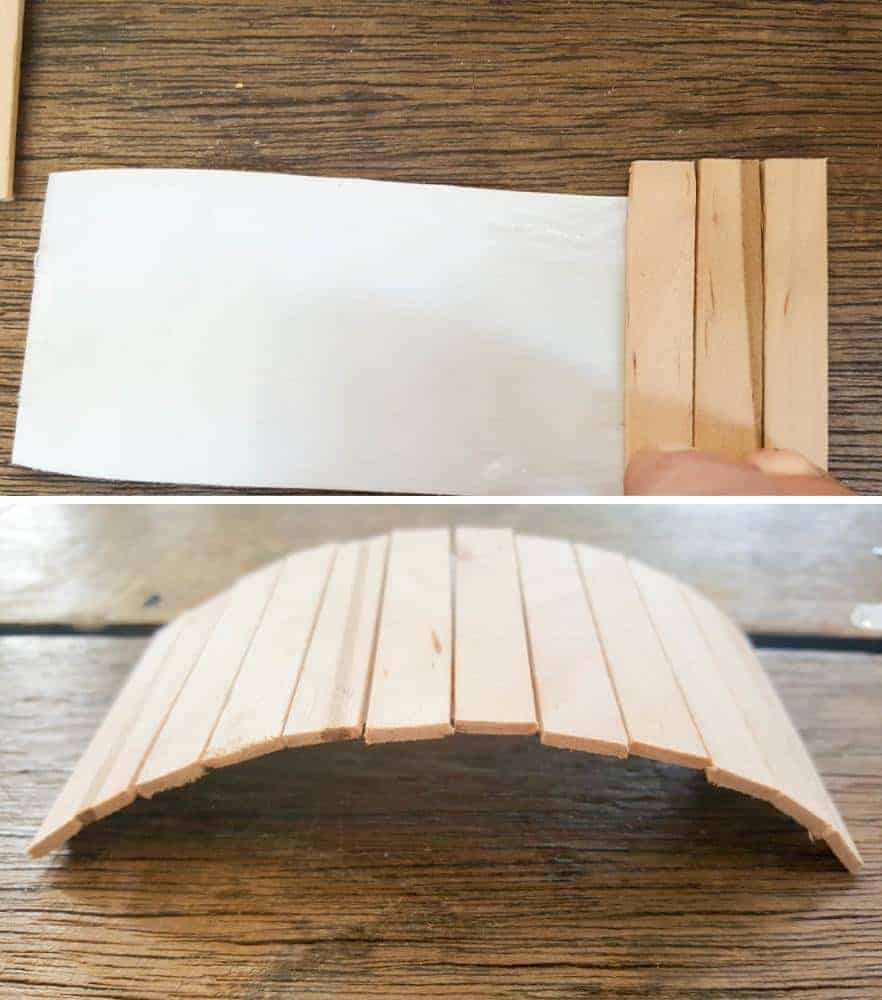
As soon as the glue dries and you stop pressing down, it will pop right back up again. It’s magic 😉

Before adding the handrails, you can paint the deck or leave Au Naturale if you prefer.
Adding the Handrails to the Fairy Bridge
There are quite a few ways to add handrails to the bridge. We don’t want our fairies falling off. You can glue twigs to the sides of the bridge, or you can take it up a notch and use beads instead. To form a stable base for a bead handrail, I first glued on equally spaced flat-bottomed abalone nuggets. While the glue is still wet, insert a piece of wire. You’ll have to bend the wire a little, so the actual handrail stands up straight.
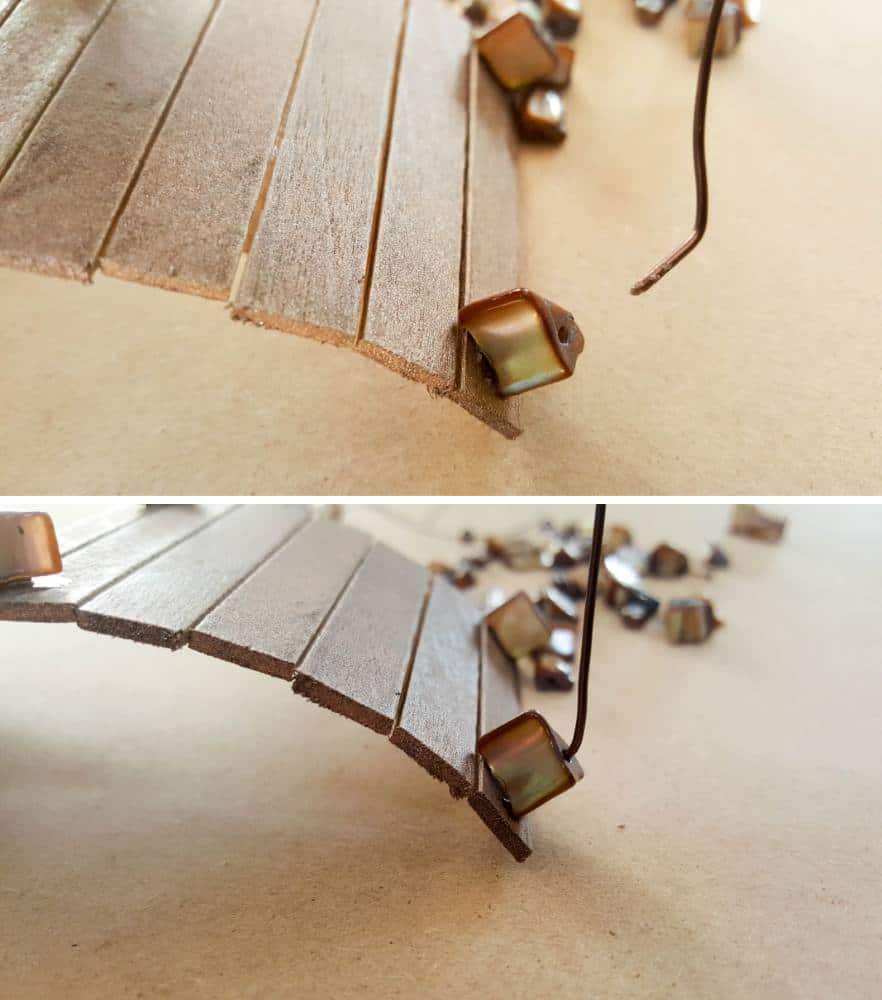
Thread a few small beads onto the wire support beams and tie them together with a bit of twine. To ensure the beads don’t fall off, add a little bit of glue to that last bead at the top before threading the beads onto the piece of wire.
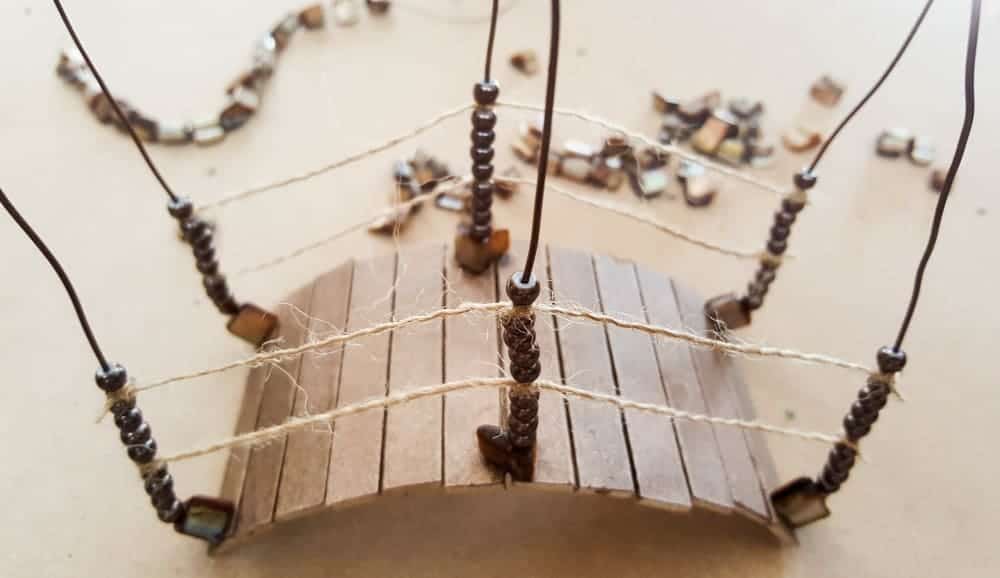
Snip off any excess pieces of wire, and the bridge is ready for your fairy garden. Fill a container with potting soil and add your favorite plants and flowers.
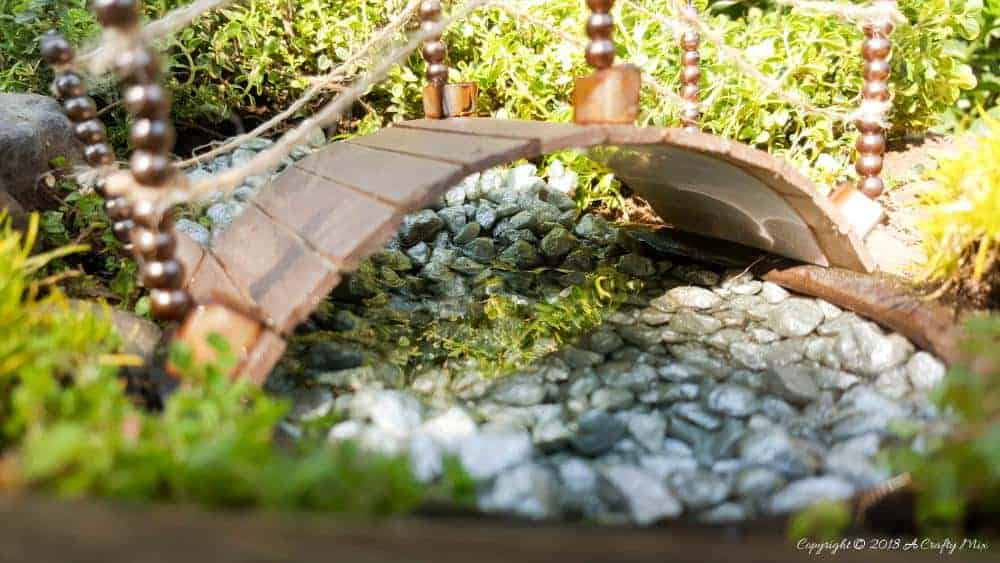
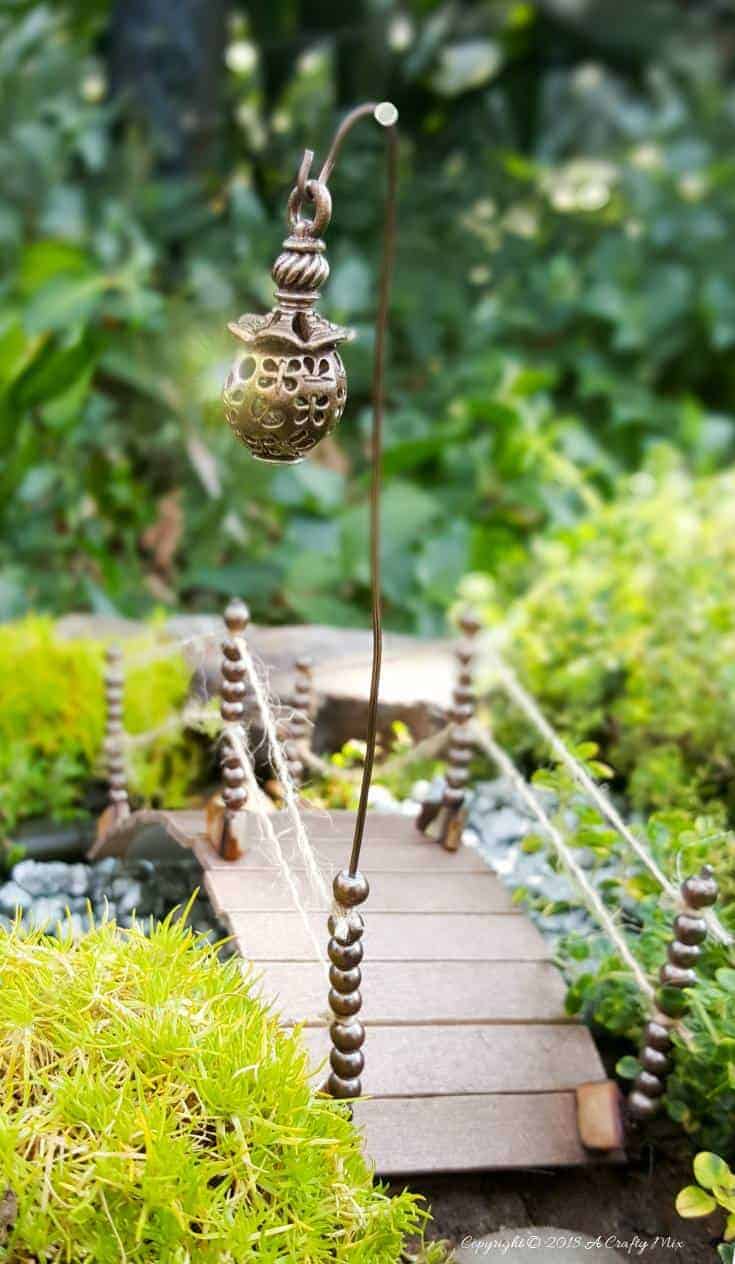
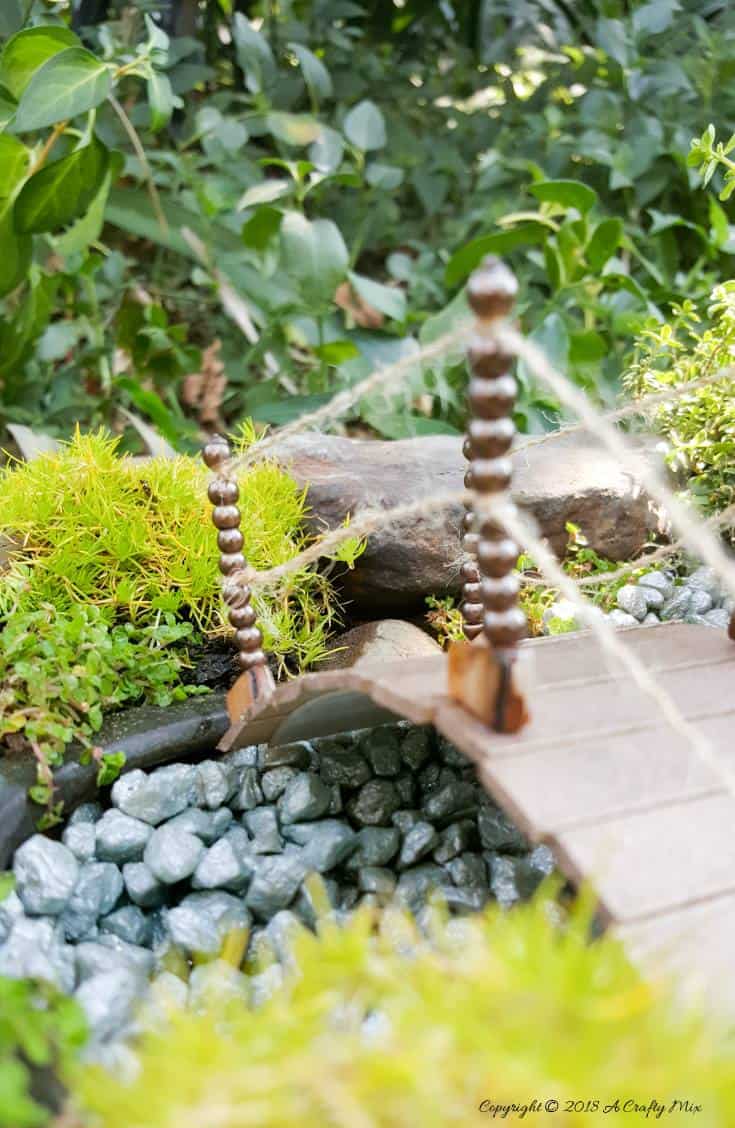
Our little fairy bridge spans a small ceramic bowl that’s been filled with silver pebbles and water.
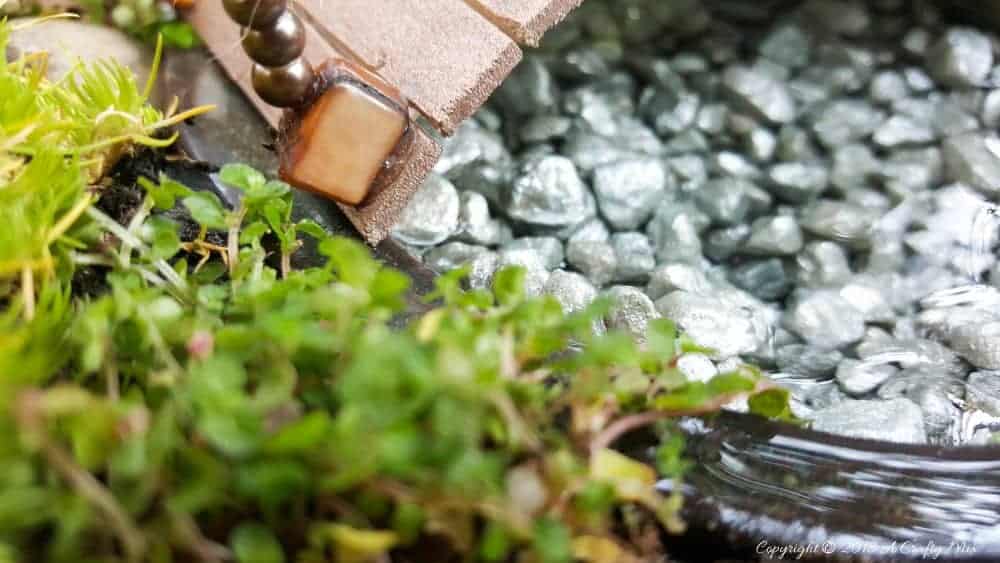
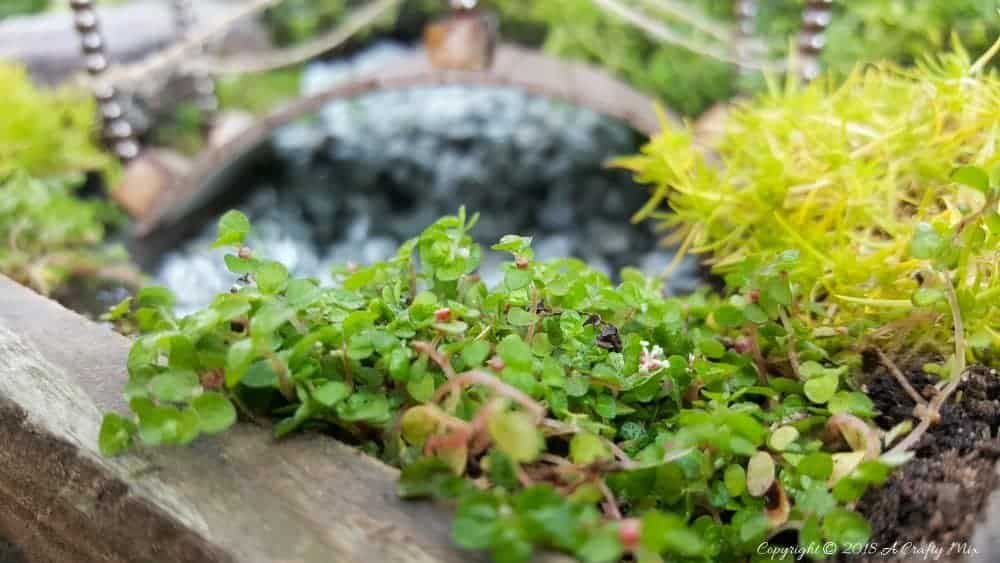
We placed the fairy bridge and the bowl inside a wooden crate and added Peace in the Home (Soleirolia soleirolii) and thyme.
Fairies love thyme. It’s one of the plants they like to dance around!
Most herbs work well in fairy gardens since they have tiny delicate leaves and flowers that attract butterflies. And if there are butterflies, you’re sure to find a fairy too.
Don’t forget to add a few fairy mushrooms under the thyme for a pop of color.

And hang a fairy wind chime or lantern-shaped bead on one of the handrails to guide the way.
The possibilities are endless. Just let your imagination run wild.
FAQ
What kind of plastic cup works best for a fairy bridge?
A sturdy yogurt‑style or takeaway cup with fairly rigid sides works best because it keeps its curved shape once you cut it. Thin, flimsy cups can collapse or bend too much when you glue on the deck and handrails.
How long does it take to make a plastic cup fairy bridge?
The basic bridge takes less than an hour to make, especially if you use quick‑setting glue. Drying time for paint or sealant can add a little extra time if you choose to decorate it further.
Can kids help make this fairy bridge?
Yes, kids can absolutely help with this project. Younger children can paint the bridge and help place beads or twigs, while older kids can safely help cut the craft sticks and design the handrails with supervision.
Do I need to sand the plastic cup before painting or gluing?
Lightly sanding the plastic helps a lot, because it gives the smooth surface some tooth so the glue and paint can grip better. A quick rub with medium‑grit sandpaper is usually enough.
Can the fairy bridge be used outdoors?
The bridge can be used outdoors in a sheltered fairy garden, but it will last longer if it’s protected from constant rain and harsh sun. Sealing the wood and plastic with an outdoor‑safe clear sealer helps the bridge stay pretty for longer.
What can I use for fairy bridge handrails?
You can glue on twigs, beads threaded on wire, or a mix of small stones and twine to create handrails. In the tutorial, flat‑bottomed nuggets and wire are used as supports, with beads and twine added for extra detail.
How else can I recycle plastic cups for fairy gardens?
Plastic cups can be used to make so many fairy things. Here are a few more ideas to recycle them for your fairy garden:
- Make a wishing well by simply gluing twigs or small stones around the outside of the cup and adding wire or longer twigs to form the arch of the well, and you’re good to go.
- Turn the plastic cup upside down, add a little roof similar to the one we made for our fairy toadstool and paint on some windows and doors to make an adorable fairy hut. Just remember to lightly sand the cups before painting, so it doesn’t peel off.
- Paint the inside of the plastic container grey, fill it with resin and add small fish beads for a quick and easy fairy pond.
- Or you can use those plastic cups and/or the lid to make a really cool fort for a fairy playground.
I hope this project inspired you to reduce, reuse and recycle those plastic cups or containers. It’s a great way to teach our kids to take something that would normally get thrown away and find a fun way to reuse it and protect the planet. Small efforts can make a huge difference!

And if you’re looking for a few more fairy crafts to make, you’ll find a whole bunch on our blog, including:
- A fairy world in a book nook;
- Working grandfather clock;
- Tiny fairy beach in a cloche;
- Fairy throne in an altered bottle;
- Adorable fairy playground in a chair planter;
- Fairy door with a stained glass window;
- Kokedama fairy village;
- A pixie den in a lantern;
- Potting bench and the smallest planters ever;
We’ve also included affiliate links below, so you don’t have to worry about finding some of the stuff we used to make the fairy bridge. Disclosure: Clicking on the links below means we may receive a very small commission from Amazon. But don’t worry, it won’t come out of your pocket, and it helps us come up with more unique DIY and fairy craft ideas for you 😉


And as always, wishing you a beautiful, crafty week filled with lots of love. Thank you for popping in for a visit.

Last update on 2026-04-23 / Source Amazon Affiliates