Living in a small little home is not for sissies. You learn really quickly that every single square inch is “valuable real estate” and finding enough storage space is always a challenge. When we remodeled our round holiday home a few years ago we added a second story so we could double the size from 32m² to 64m². And “doubling up” meant building a curved staircase. Stairs can be pretty expensive and they take up a lot of space. Sadly, it didn’t take long before the void under the stairs became a dumping ground for all our stuff.

It was driving me insane. We had to do something to hide all that crap stuff. Something that was pretty, practical, would last a long time, and withstand whatever holidaymakers could throw at it. And with a budget of only R1000, about $70, we had to get creative. Fortunately, we’re “do it yourself” kinda people and managed to transform that space beneath our curved staircase from ugly and cluttered to this.

So much better right? We managed to do it all within our budget and we still had a whole chunk of cash left over for the storage bits inside. Happy dance. Oh by the way, did you know that the triangular space under the stairs is called a “spandrel”? Me neither. I’m so going to use it the next time I want to start a conversation……… Something along the lines of “Do you know what we did with our spandrel”.
But before I show you how we created extra storage under our spandrel, be sure to follow us on Facebook, Twitter, Pinterest, or Instagram. And don’t forget to subscribe so you’ll never miss a post!
How To Enclose a Curved Staircase aka Spandrel
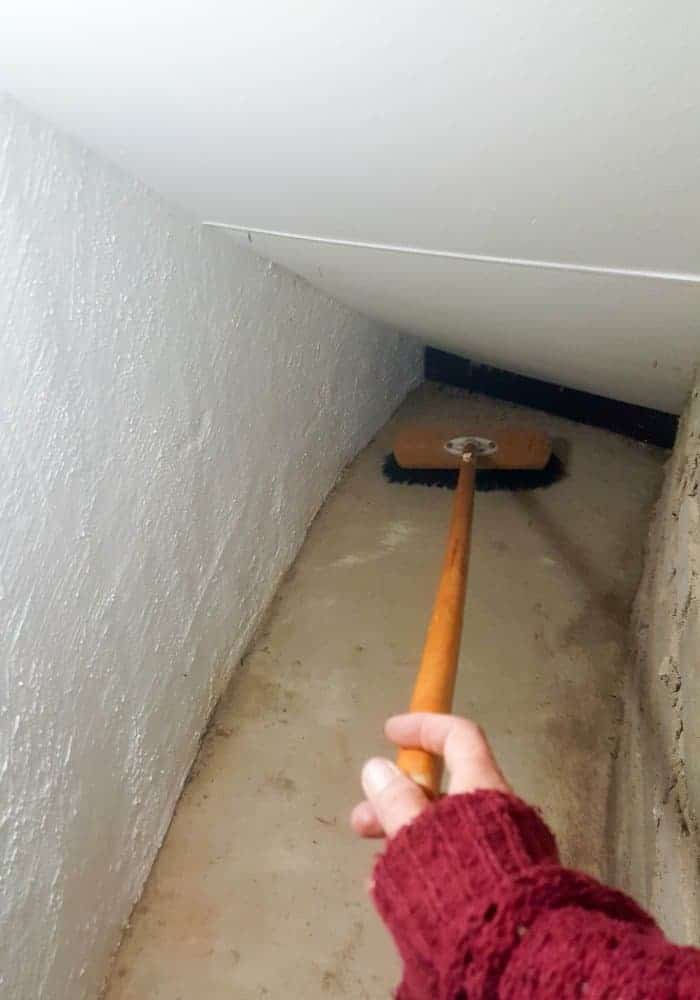
Because our holiday home has round walls we weren’t 100% sure that we’d be able to enclose the space under the curved stairs using drywall. Drywalls aren’t really a thing here in South Africa and we have no experience whatsoever with putting them up. We do know how to lay bricks though and building a curved brick wall is pretty easy. You just need to follow the line and use a spirit level.

Sorry, I don’t have any photos of the building part except for this really bad one after it had been plastered. Since the wall in non-load bearing, we only used a single layer of bricks, which kept the costs down and gave us a few extra inches of space. We didn’t enclose the entire area under the stairs since I still wanted an open area for our fridge.
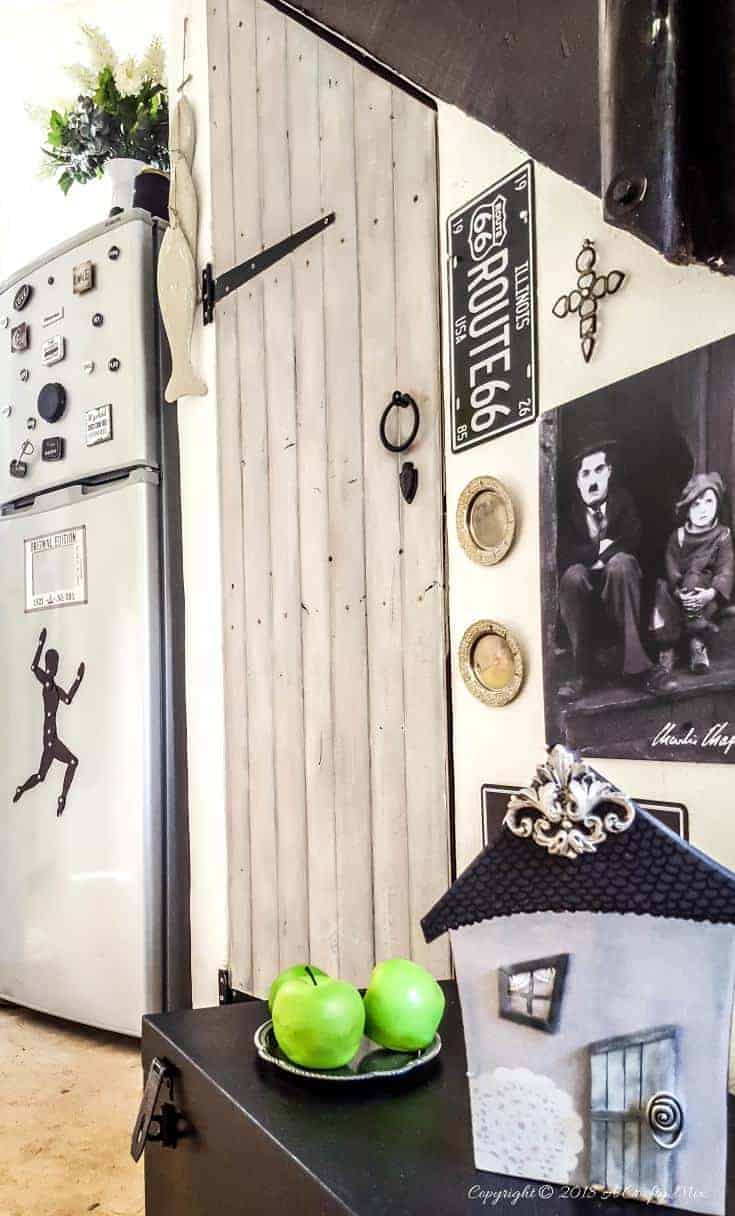
We made a rustic wooden door from reclaimed wood to fit snuggly under the stairs. The door was hung with old gate hinges and once it had been painted and distressed it matched our décor style perfectly.
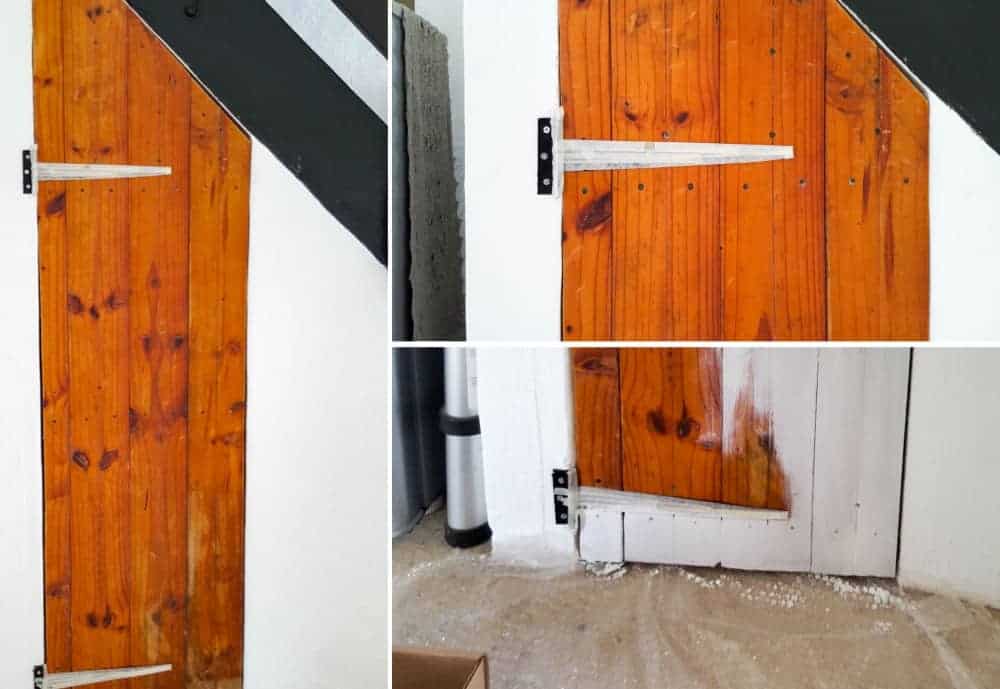
Well, almost perfectly 😉 We just need to add some pretty hardware to complete the look.

Adding Storage Under the Curved Staircase
Okay so now that it’s looking pretty darn awesome under those curved stairs, we could finally start organizing the inside and adding some much-needed storage. The enclosed area under the stairs is only 58cm wide (22”) and 1,5m long (59″). That’s not a lot of space so we needed to find storage ideas that would be practical and make the most of the space underneath the stairs. I considered adding DIY closet shelving but we only had a week to get everything done and beach time was important 😉
We debated building some storage crates but finally went for those plastic tubs or storage bins on wheels. They’re great for the following reasons:
- Convenient and easy to use – The wheels make it super easy to move the contents
- Functional – Since the tubs are plastic you know the contents will be protected and dust-free
- Practical – They’re easy to stack so you can use every inch of your storage space
- Versatile – There are so many different sizes to choose from
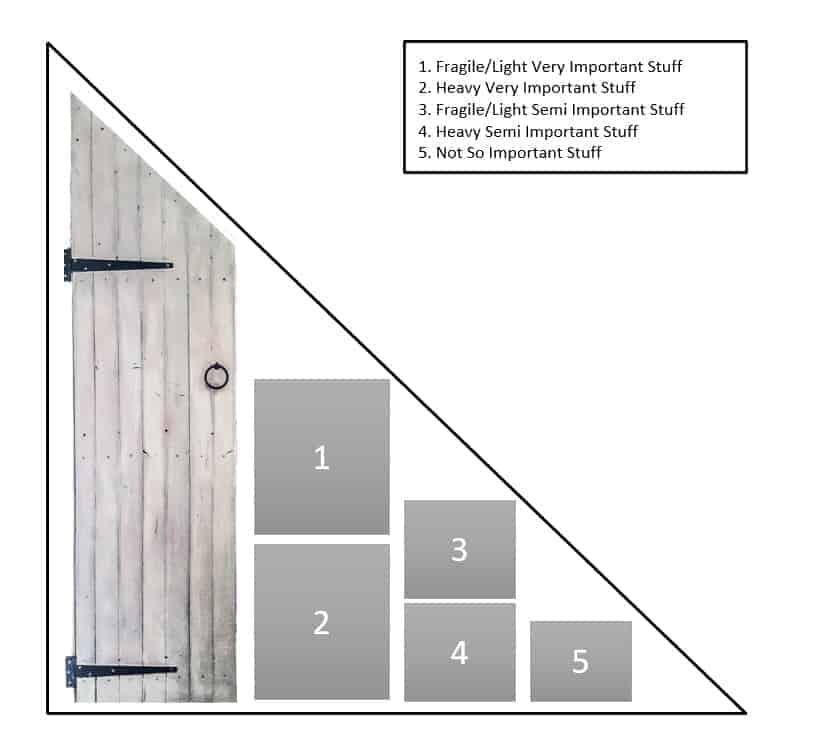
So using our highly scientific method of organizing we drew up a plan of how to stack the tubs underneath the stairs ……….
………and went shopping. We tried really hard to find clear tubs but had no luck and settled for these sturdy black ones instead. Since we won’t be able to see what’s inside we labeled each tub.
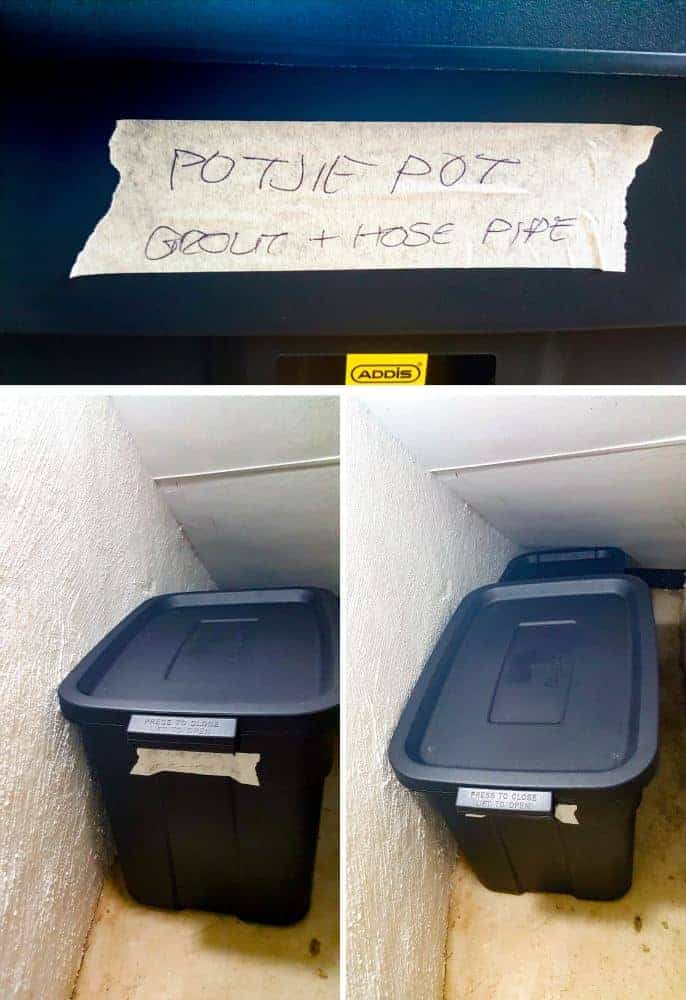
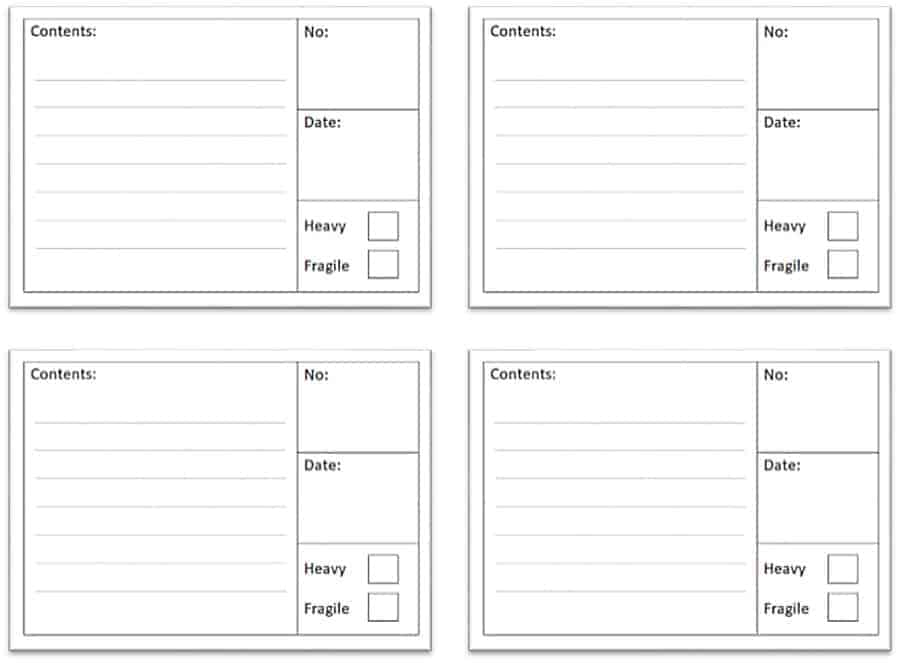
I’ll be replacing those handwritten labels with these next time we go down. You can download them for free here if you want to use them too.
We also stuck a “Find My Crap” Cheat Sheet on the wall to make it easier to figure out what’s in all of the tubs. You can download the cheat sheet here. We printed ours on cardstock and had it covered in clear DC Fix so we update the sheet with a non-permanent marker when things get moved around.
More Storage Ideas
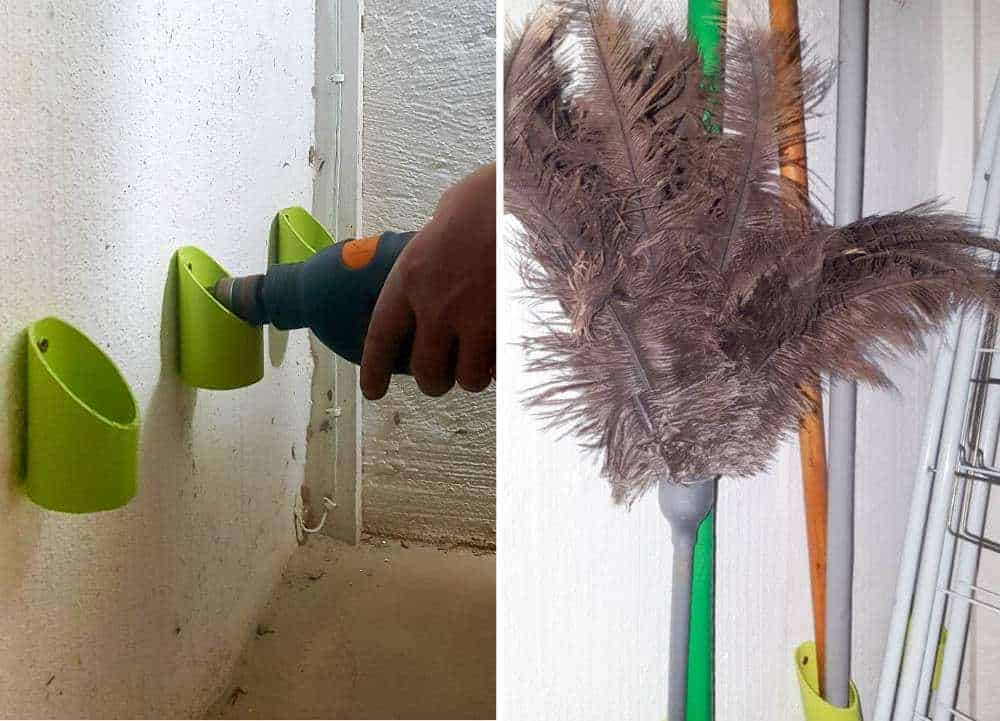
Some things can’t be packed away neatly in a tub. Like our mops and brooms. To keep them neat and tidy we screwed PVC pipes onto the wall so we can slot them inside. PVC pipes come in so handy. We did something similar when we made this handy toolbox caddy.
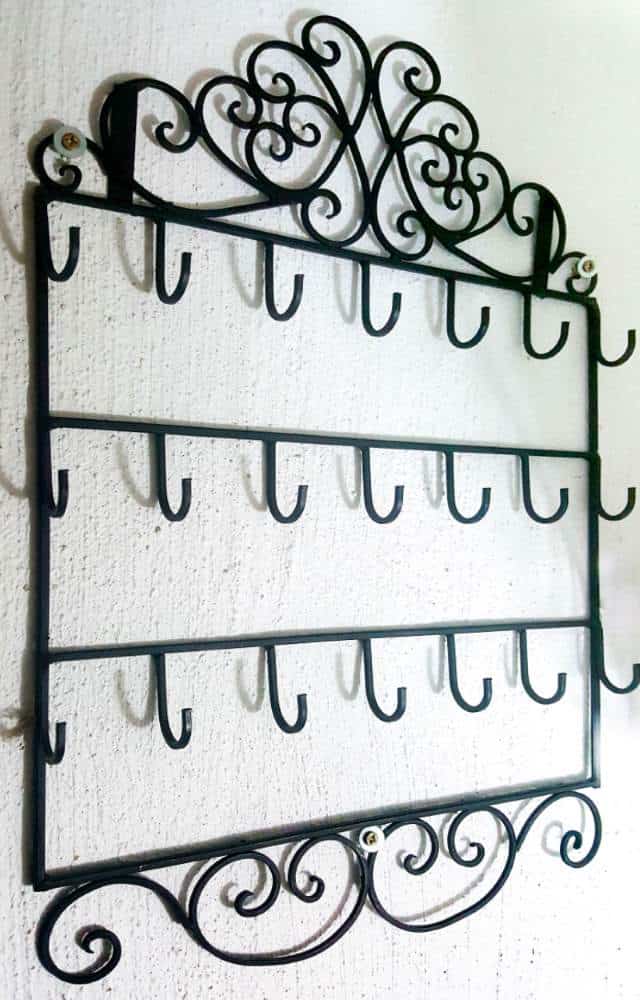
We also hung a sweet little jewelry organizer on the wall. It’s perfect for those small things like spare keys, torches, and whatnots.
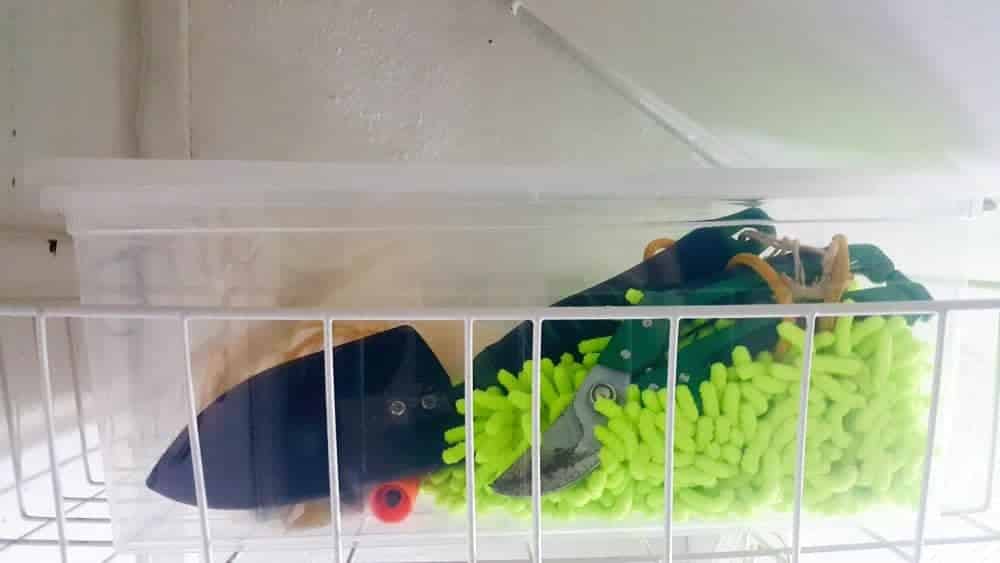
And added a clear tub, the only one we could find, on a narrow metal shelf for those, not so pretty things that I use on a daily basis. Like my gardening stuff and mop shoes. Best invention ever. They’re like slippers that mop while you walk 😀
And finally, we screwed a narrow spice rack onto the back of the door.

Now there’s no more clutter under those curved stairs. It’s all neatly packed away and organized.

And when you shut the door all you see is a pretty gallery wall and a door with loads of character.
We learned a few things along the way and I wanted to share them with you in case you ever want to create extra storage underneath your curved stairs.
9 Tips for Creating Extra Storage Under a Curved Staircase
- Every square inch can be used to store something. The walls and door are good for hanging things while the floor is perfect for storing larger items. We even hung the fishing rods on the roof
- Clear storage tubs are the best since you can see what’s inside. If you can’t find any clear tubs, be sure to add labels and use a cheat sheet so you can find things quickly.
- Get the tubs with wheels. They may cost a little more but your back will thank you later
- Plastic tubs or crates are good for stacking and since they come in so many different sizes you can layer them to fit your space
- When trying to figure out what to pack where separate everything into three piles:
- Very important – things you use every week (large tubs in front)
- Semi-important – things you use maybe once a month (medium tubs in the middle)
- Not so important – things you only use for special occasions, like Christmas decor (small tubs at the back)
- Take each pile and separate them again into fragile and heavy. Put the heavy stuff at the bottom and the fragile stuff on top if you’re stacking your tubs
- In tight spaces use thin narrow shelves to maximize storage space and still leave enough room to move around
- Put some lights up so you can see where everything is. We just stuck battery-operated lights along the wall. It was so much easier than messing with electricity.
- Keep a storage “cheat sheet” nearby to help you remember what you’re storing under the staircase. I would be lost without mine 😉
I’m so happy with how it turned out. It’s so much better and much more practical than that clutter-filled, gaping hole under our curved stairs.
If you’re thinking of creating extra storage under your curved staircase, don’t forget to pin it for later.

Do you have any other storage tips? I’m always looking for creative ways to use every inch of our small home. In fact, I have a whole Pinterest board with more than 1000 creative storage ideas. I’m always looking for more.

Oh and if you’re looking for some of the things we used, we’ve got you covered. Disclosure: Clicking on the links below, means we may receive a commission from Amazon. But don’t worry it won’t come out of your pocket, and it helps us come up with more amazing ideas to share with you 😉


Until next time, I hope you have a beautiful, love-filled week. Thank you for coming to visit.

Last update on 2026-06-03 / Source Amazon Affiliates