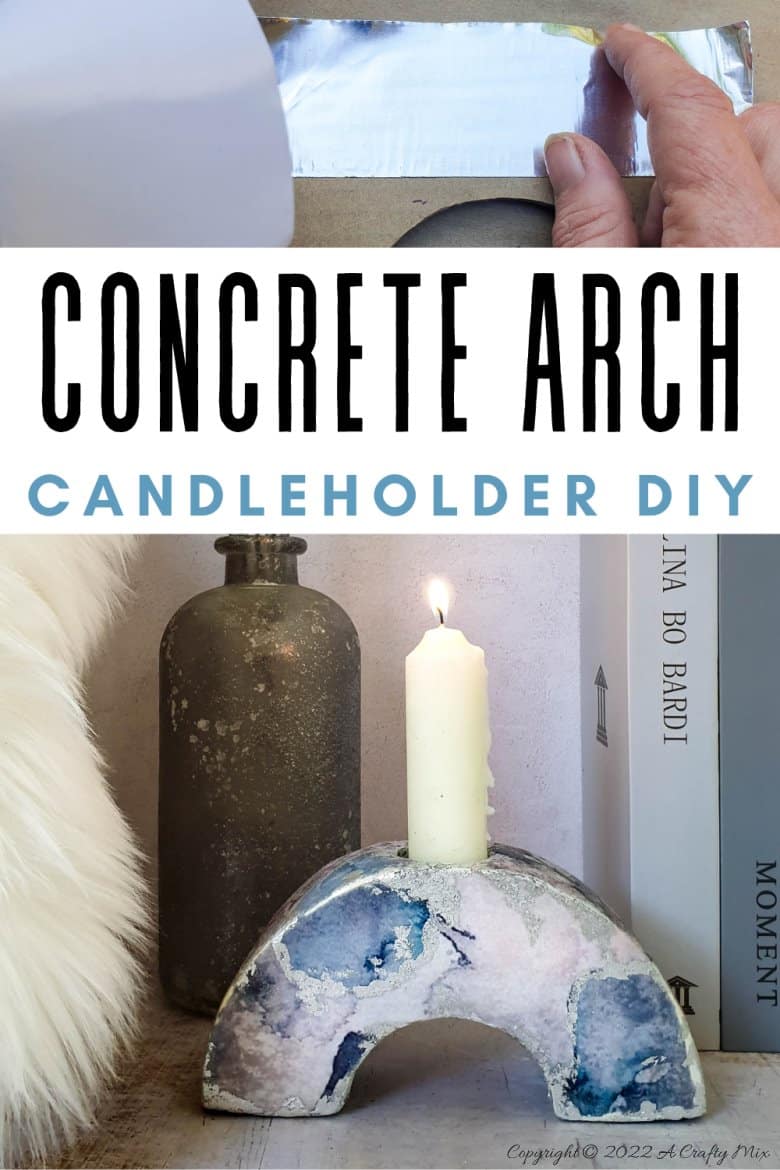
I’m a big fan of unusual décor items. And if it’s unique and homemade, even better. Case in point; this glamorous arched concrete candleholder.
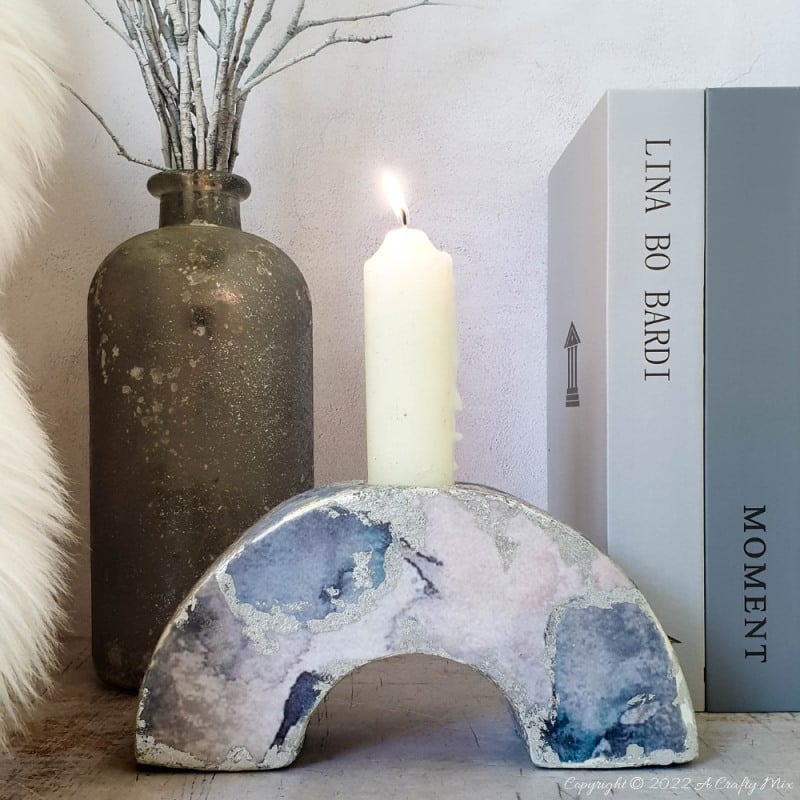
It’s an elegant take on the plain candleholder and an easy way to instantly elevate your home decor. No one would ever guess there’s concrete hiding under that blue and silver exterior.

Don’t get me wrong. I love the look of raw concrete, but the shape called for something a little more classy. Plus, it’s so simple to make too.

Okay, before I show you how to make a concrete arch candleholder, be sure to follow us on Facebook, Twitter, Pinterest, or Instagram. And don’t forget to subscribe so you’ll never miss a post!
What you need
For this DIY Craft idea, you’ll need the following:
- Quick setting concrete
- Sturdy cardboard box
- Aluminum tape or masking tape
- Sharp craft knife
- Ruler or measuring tape
- Tealight Candle

To decorate the concrete candleholders:
- Paint
- Mod podge
- Pretty decoupage prints
The best prints for something like this are ones with a random pattern. I also prefer prints on rice paper. They’re so much easier to apply, and I’ve had no problems with wrinkles and air bubbles, either.
How to make a concrete arch candleholder
Before we can cast the concrete arch, we need to make a mold of some sort. I used a sturdy cardboard box for the candle holder. Cardboard can be shaped in so many ways and we’ve used it before to make a Flintstone shelf, so I know it works.
Making the concrete arch mold
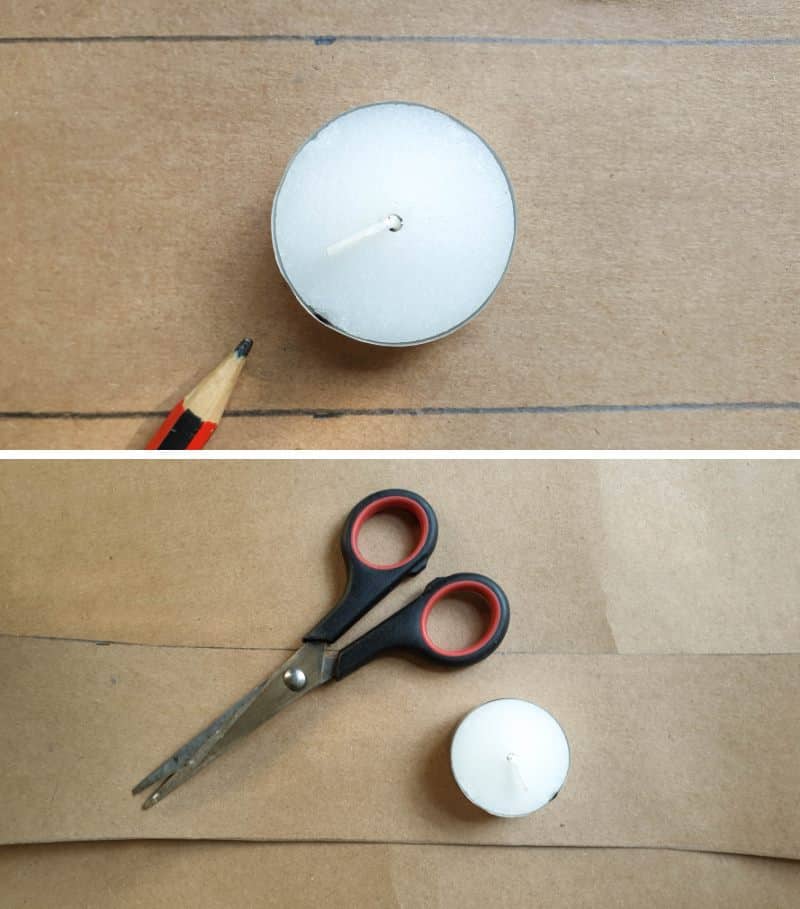
Dismantle and flatten the box before using whatever round thing you have in your cupboard as a template to draw a circle. I used a pot lid 😀

Cut the circle out with a sharp craft knife. Divide the circle in half and cut so you end up with two semi-circles. Keep one to make this tribal boho decor and the other for the arched candleholder.

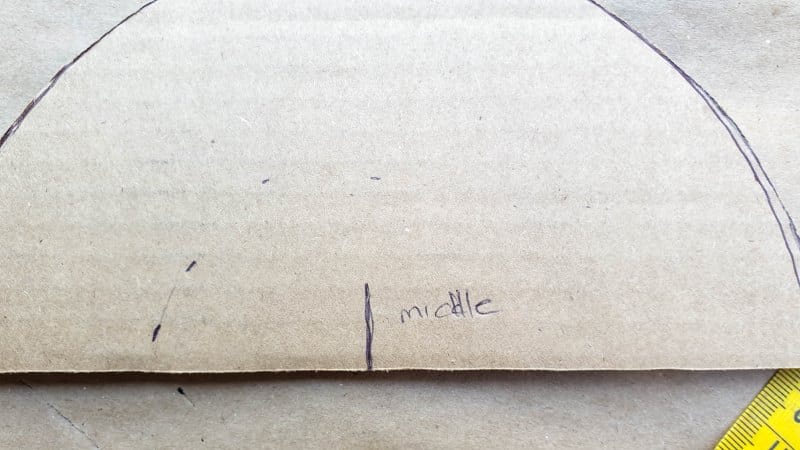
Now to turn the semi-circle into an arch. You can do it in two ways; either use a smaller round object and trace around it or use a measuring tape or ruler. I couldn’t find the right-sized smaller object, so went for option two. Mark the bottom middle of the semi-circle.
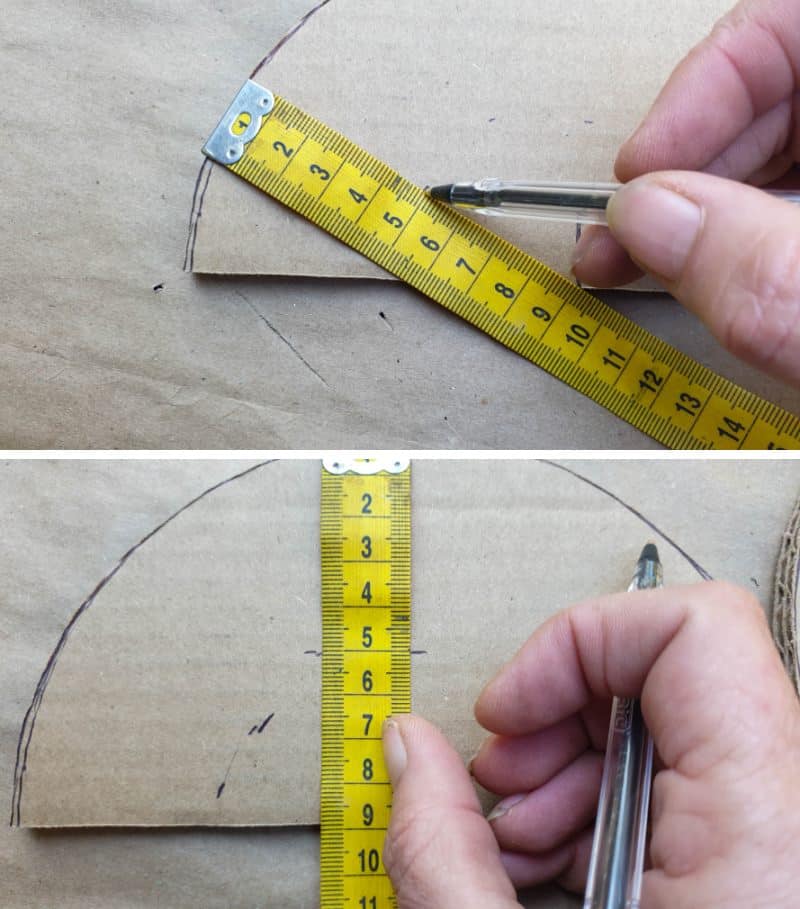
Place a ruler or measuring tape on the middle point and mark off points while rotating the ruler or measuring tape around the middle point.
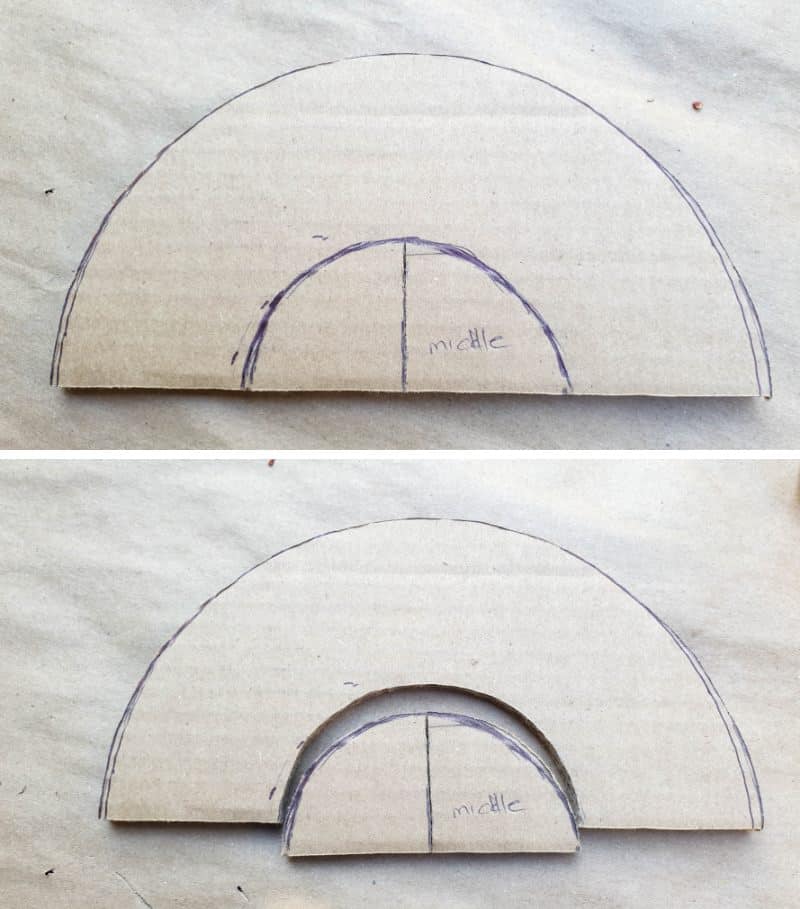
Cut the smaller semi-circle out with a sharp craft knife.
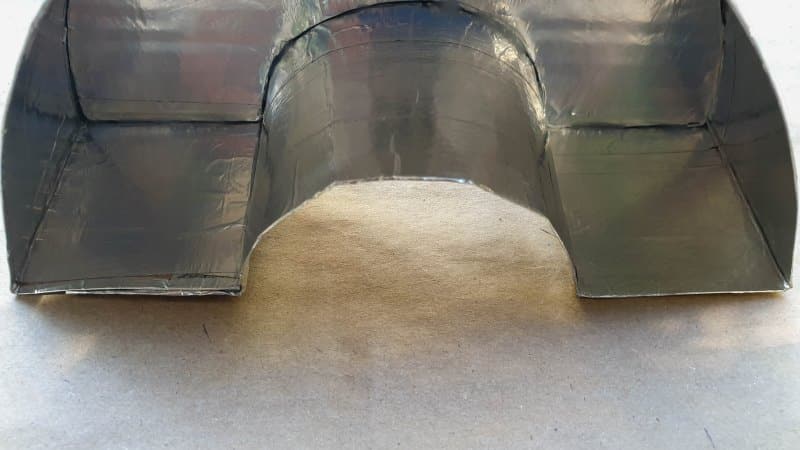
The cardboard arch will form the bottom of the mold. To make the sides of the mold, cut a long strip of cardboard that’s at least 2 cm (1/2″) wider than a standard tealight.
Cover both the cardboard strip and arch in aluminum tape.
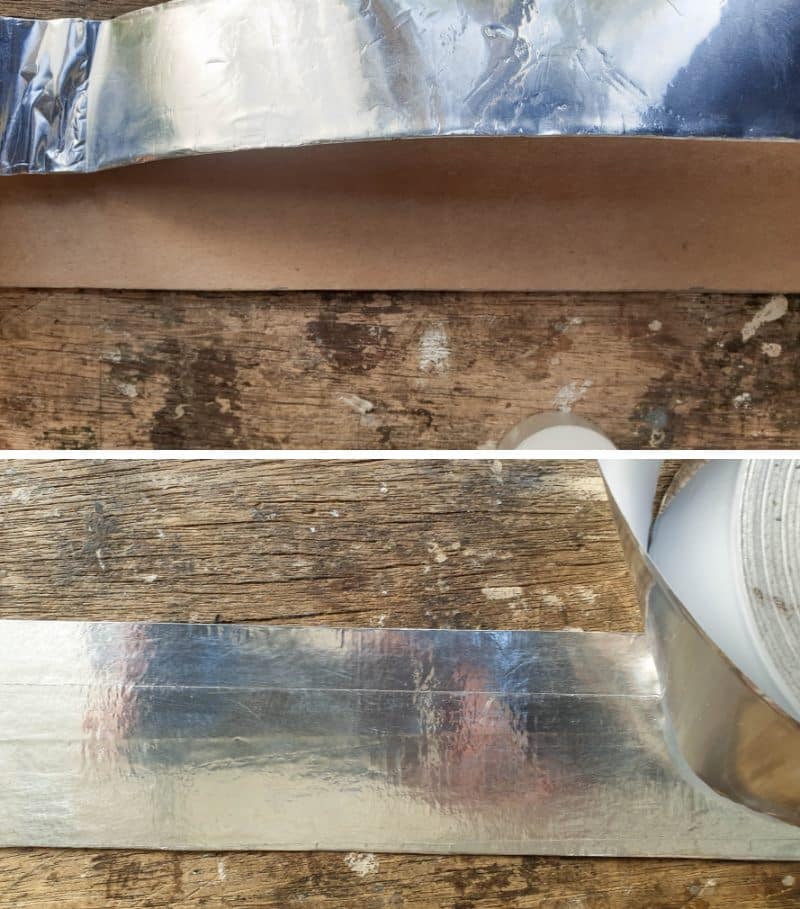
I love using the stuff. It’s water-resistant and super sticky. Plus, when it comes to concrete you don’t need to use a mold release either. It will peel right off.

The cardboard arch and long strip together are all you need for the mold.

Before putting these two together measure the thickness of the cardboard arch. We need to take that measurement into account when adding the tealight so it doesn’t sit off center.

Measure the distance between the edge of the strip and the mark you made. Place the tealight in the middle of the long strip (between the mark and the edge of the cardboard) and trace around the edges.
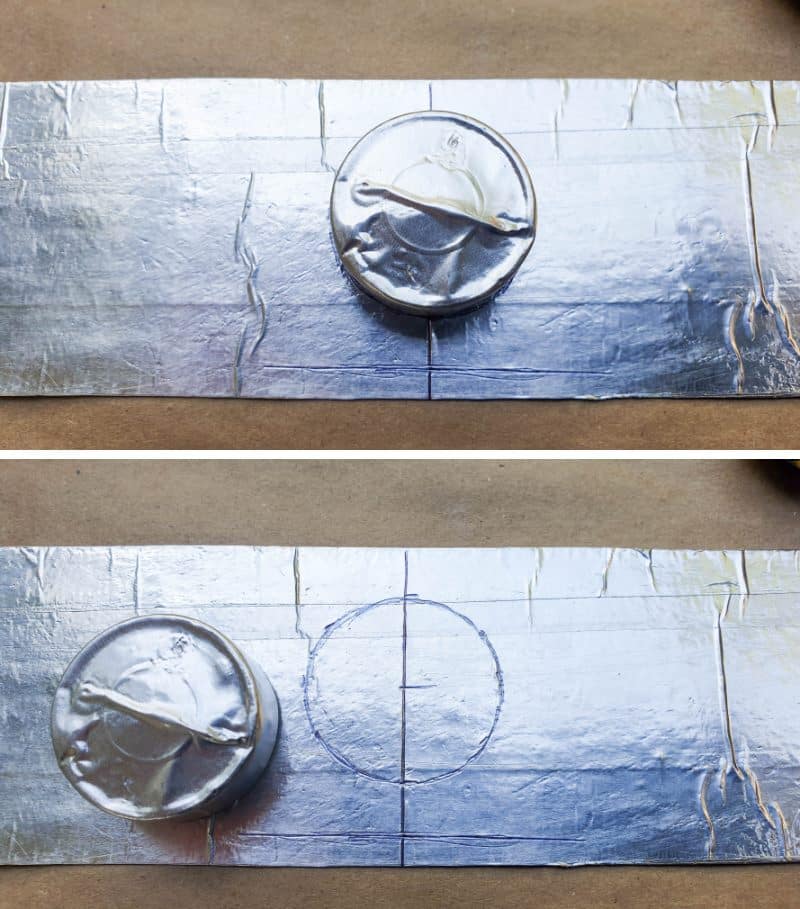
Use a glue gun to glue the tealight down on the marked area.

Glue the cardboard strip all around the outer edge of the cardboard arch, making sure the tealight is in the center of the top of the arch. It’s really important to get this bit right, otherwise, your concrete arch candleholder will come out all wonky.
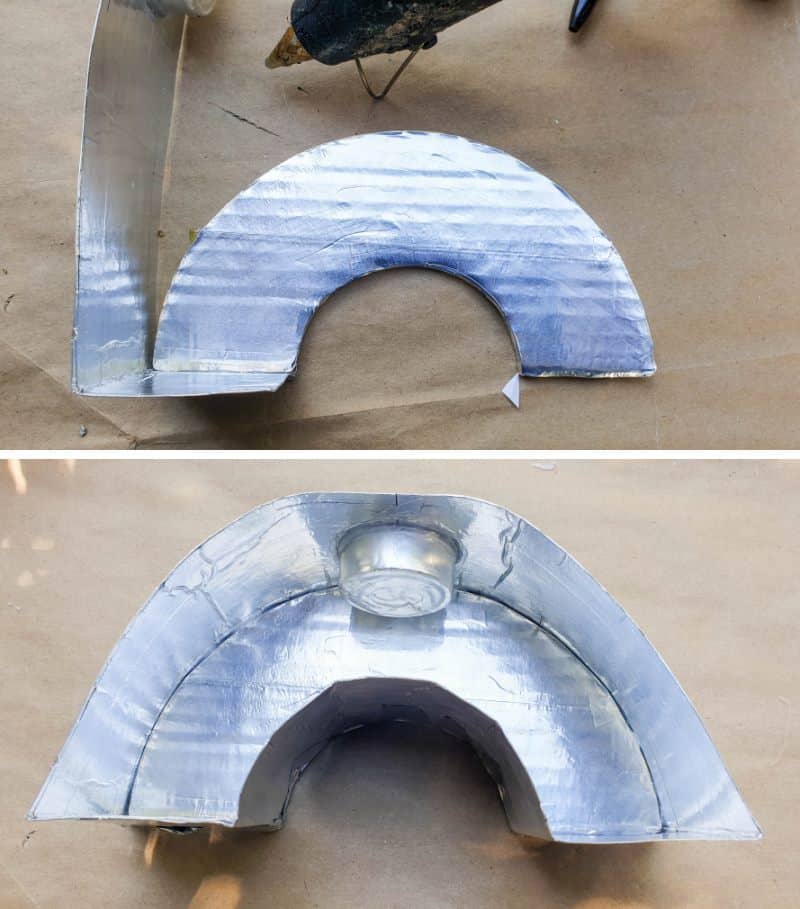
RightyO, that’s the mold done.
Mixing and pouring the concrete arch candleholder
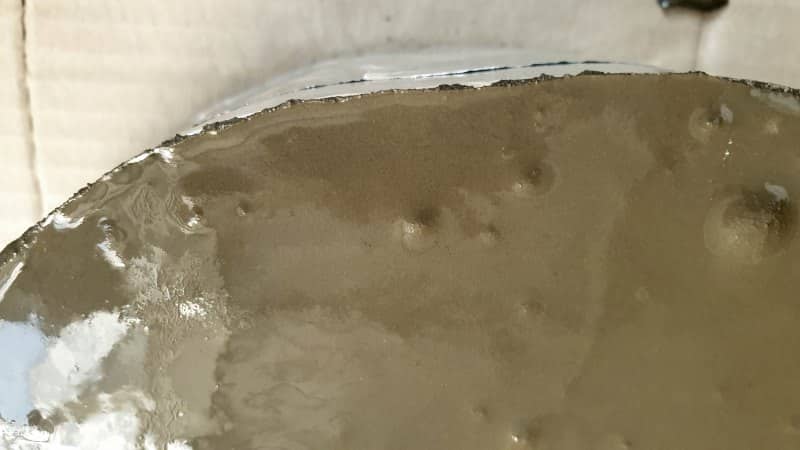
Mix up a batch of quick-setting concrete according to the manufacturer’s instructions and pour it inside the mold.

Tap the arch form lightly to get rid of any air bubbles and make sure it’s filled to the top.
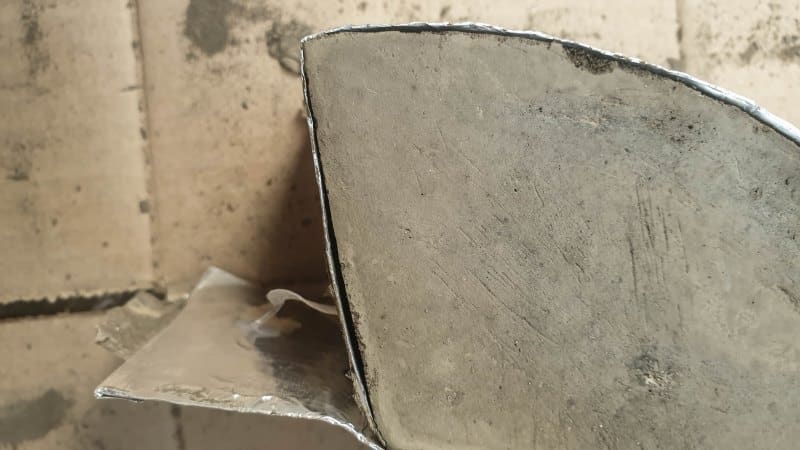
Once the concrete sets, unmold the arch by peeling away the cardboard outer strip. It should come off really easy if you used aluminum tape.
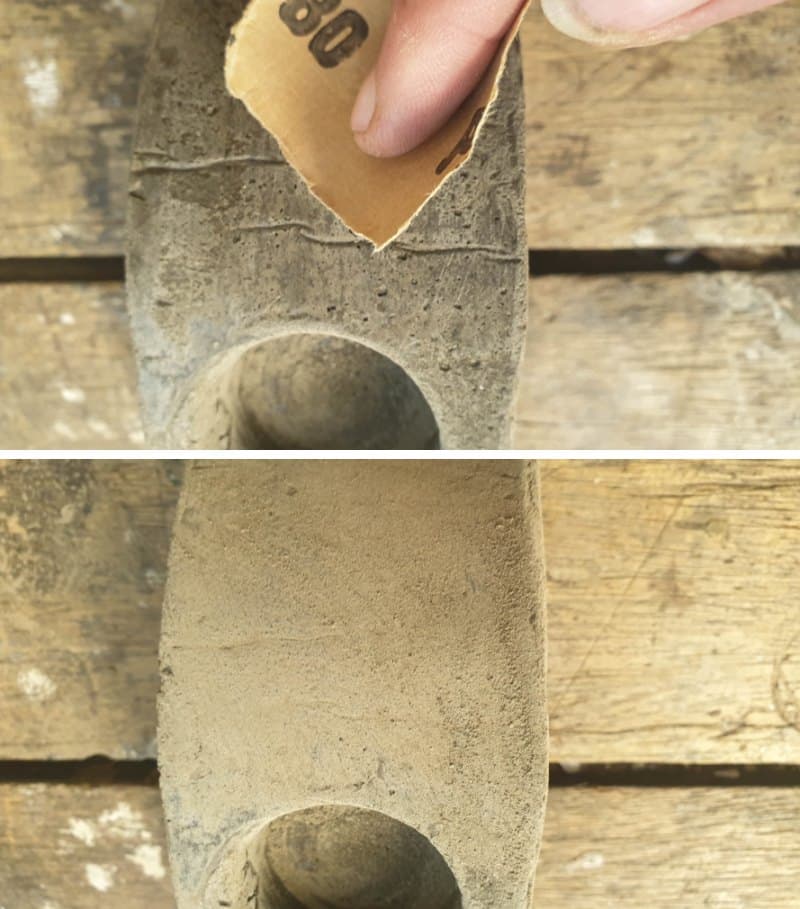
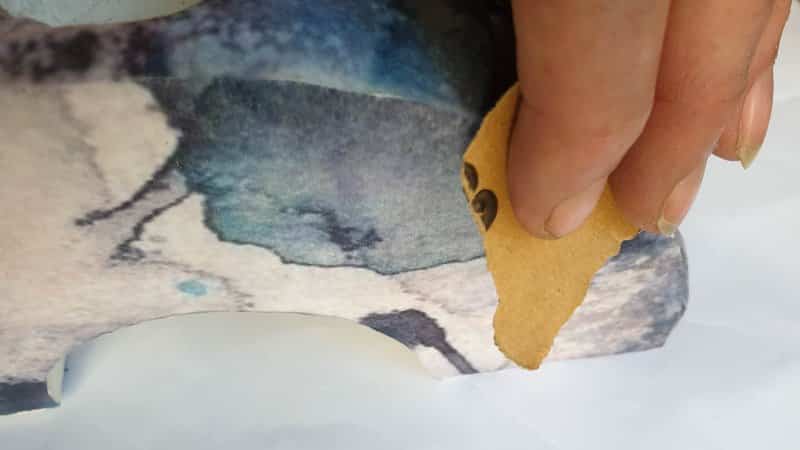
Use 80 – 100 grit sandpaper to sand smooth and get rid of any fold marks before decorating the concrete arch.
Decorating the concrete arch using rice paper prints
There are so many different ways to decorate the concrete arch candleholders. You can leave them as is, paint them, decoupage them or add texture paste to roughen things up. I used printed rice paper and silver leaf to decorate mine.
Whichever decorating technique you decide to use, make sure the concrete is fully cured to prevent any trapped moisture from messing with your end result. Since my decoupage print had a very light background, I gave my concrete candleholder two coats of white paint. I didn’t want any grey to show through the rice paper.

Place the rice paper print under the concrete arch (right-side facing downwards) and trace around the arch.

Use mod podge to apply the rice paper. If you’re using a print you may have to play around with the images so they flow.

I found it easier to mod podge the print over the tealight candle hole and then cut the excess away once the mod podge was dry.

Sand the edges lightly to get rid of any excess rice paper.
For an extra touch of glam, add some silver leaf and seal with two coats of varnish.

Pop a candle inside and you’re all done.
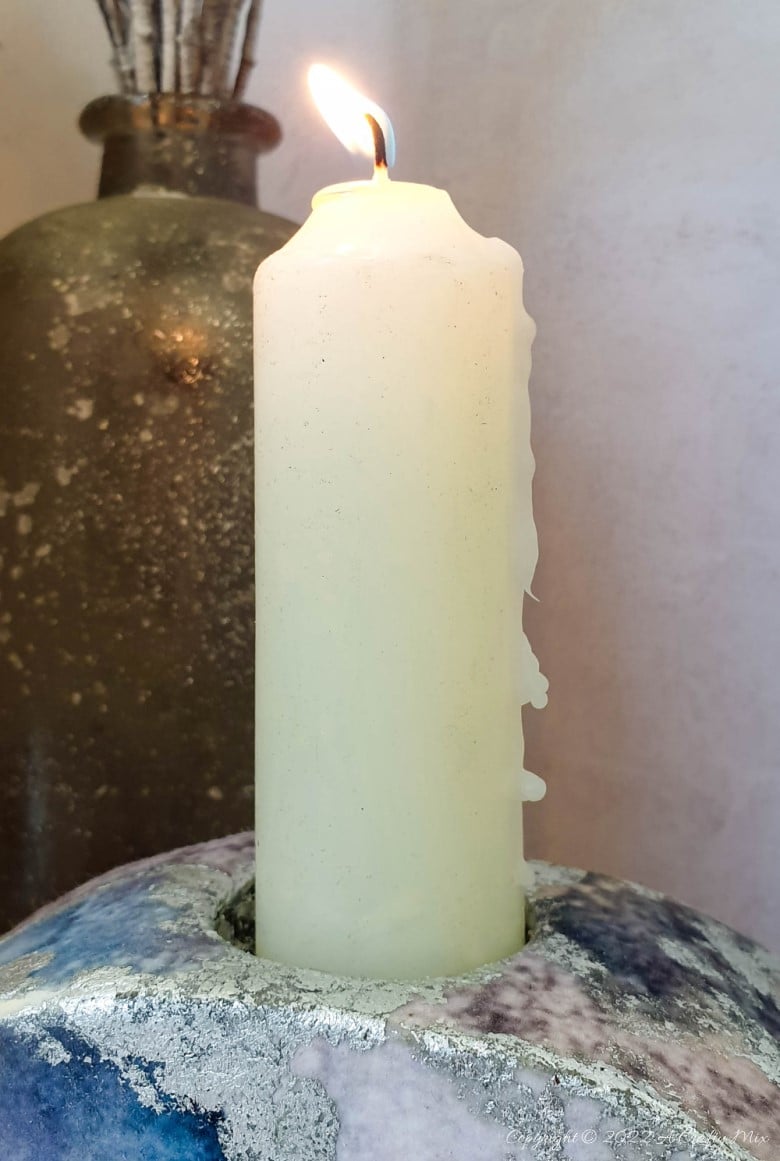
I used a pillar candle in mine but any candle will work as long as it fits inside the hole and doesn’t topple over.
I’m in love with the simple, organic shape.
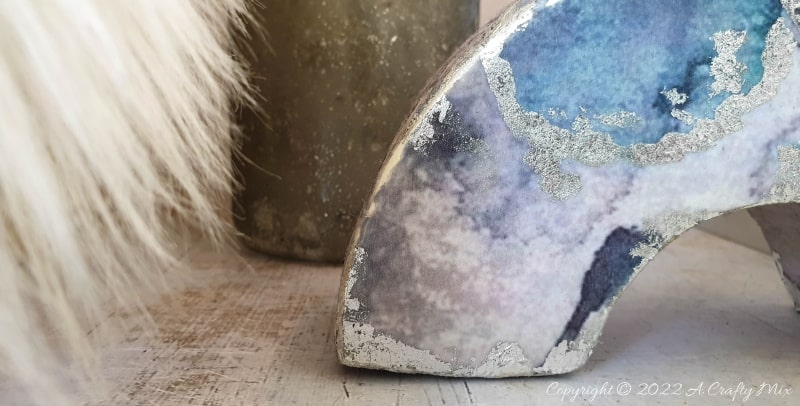

And it doesn’t matter if you put one of these on the table, on the mantle, or on a windowsill, the curved lines on the concrete candleholder look gorgeous.

How would you decorate your candleholder?
If you like the idea of making a concrete arch candleholder, don’t forget to pin it for later

Sharing is caring 😉
Oh and if you’re looking for some of the things we used, we’ve got you covered. Disclosure: Clicking on the links below, means we may receive a commission from Amazon. But don’t worry it won’t come out of your pocket, and it helps us make more amazing crafts to share with you 😉

And if you prefer to buy rather than DIY, then maybe these beauties will appeal.

And as always, wishing you a wonderful, crafty week filled with lots of love. Thank you for popping in for a visit.

Last update on 2026-06-03 / Source Amazon Affiliates