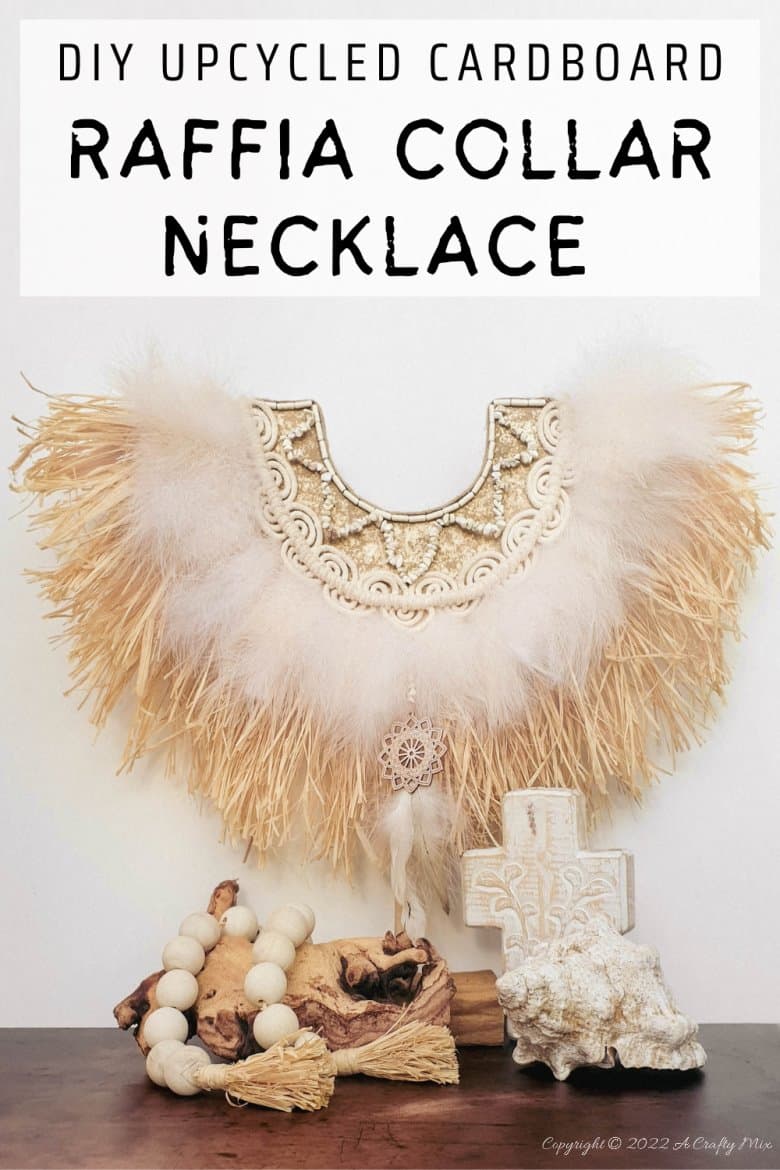
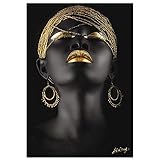
Did you know that some of the oldest jewelry ever discovered was found right here in South Africa? Hand-crafted jewelry made from organic materials has been an essential part of African cultures for centuries and comes in many forms. Often times African jewelry is both ornamental and a sign of an individual’s power or status in society. To celebrate this awesome continent I call home; I decided to make an upcycled raffia collar necklace. Not sure if it will give me more power or status, but it sure adds a lovely tribal boho vibe to our decor.
Lucky for me, I had everything needed in my craft cupboard, so it didn’t cost a thing other than my time.
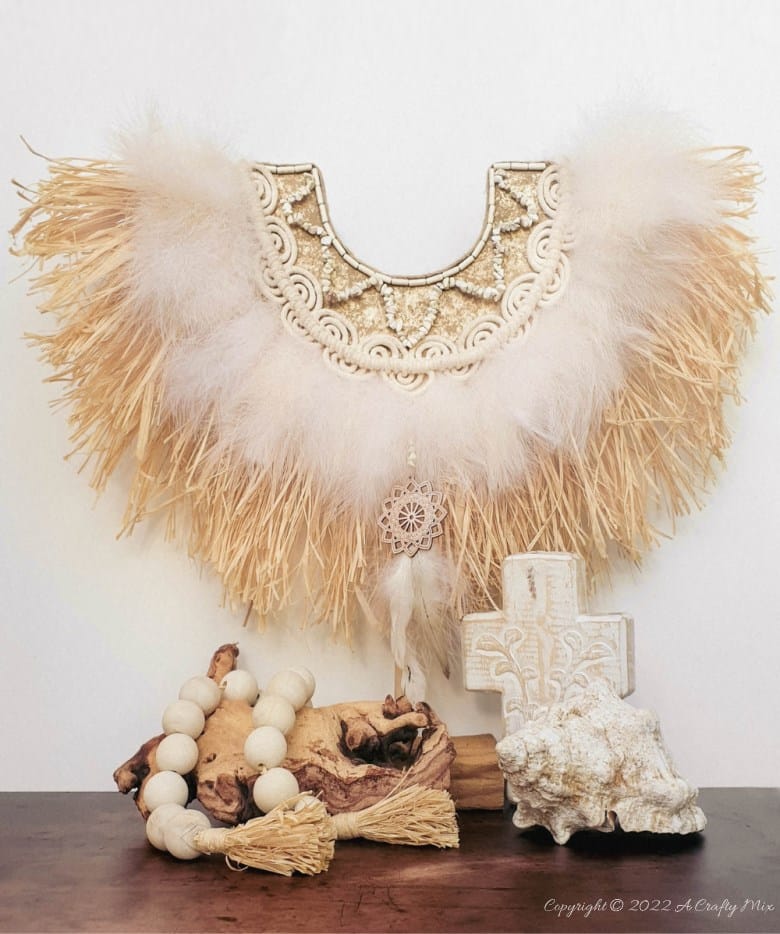
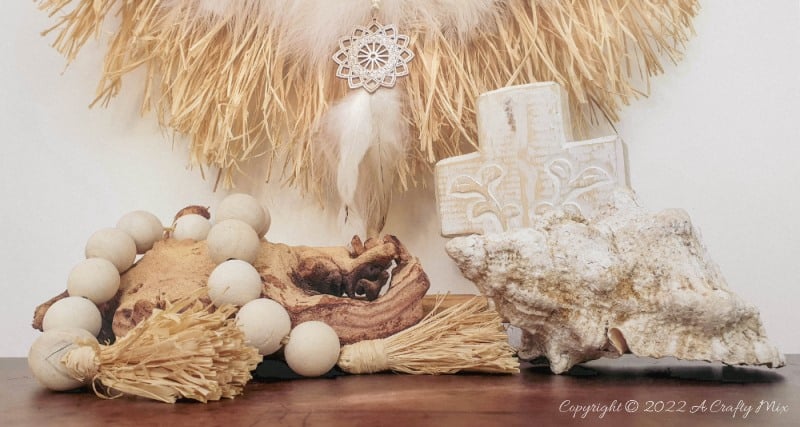
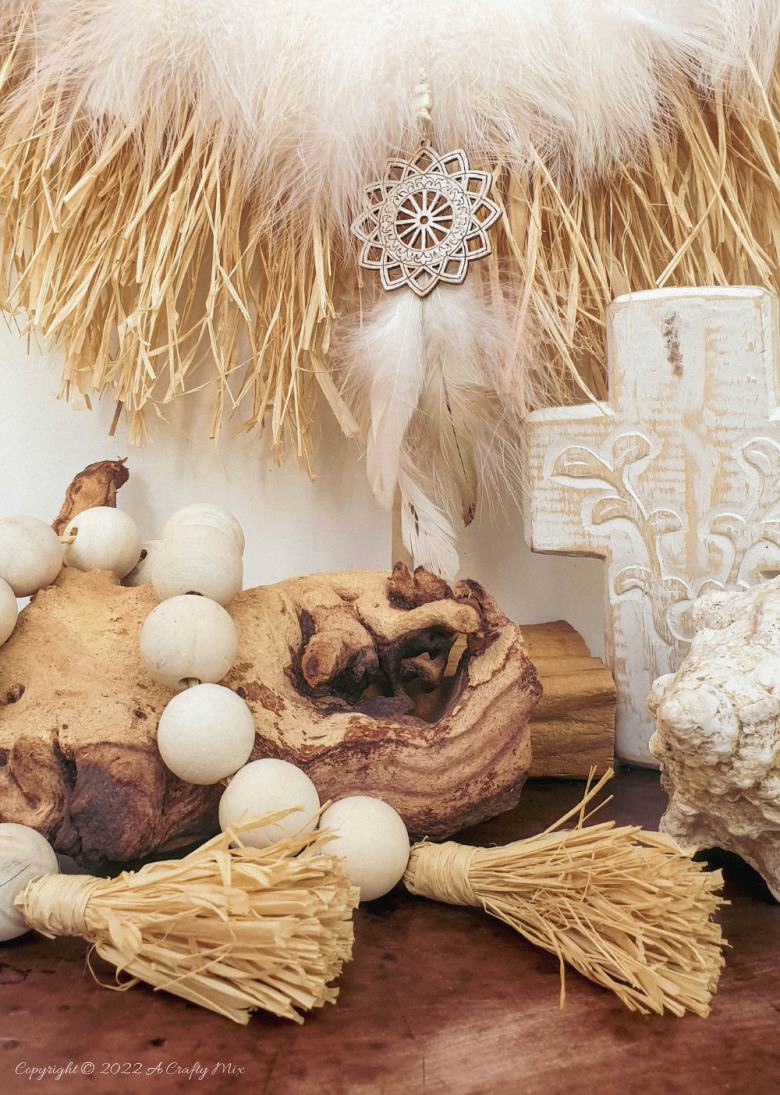
She’s quite big. From raffia-tipped end to raffia-tipped end, she’s about 50 cm wide and roughly 41 cm tall.
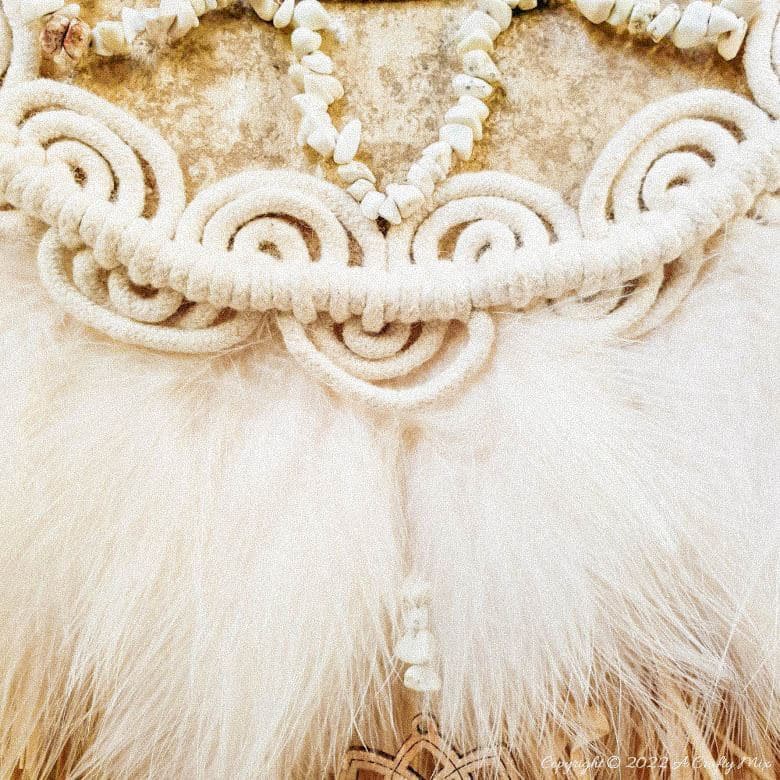
Don’t you love the softness of the feathers against the untamed naturalness of the raffia?
My raffia collar necklace is purely decorative and symbolizes my deep love for our beautiful, chaotic, wild, and wonderful African continent.
Right, before I share how to make a raffia collar necklace to add to your home decor, be sure to follow us on Facebook, Twitter, Pinterest, or Instagram. And don’t forget to subscribe so you’ll never miss a post!
What you need
- Natural raffia ribbon
- Feathers
- Sturdy cardboard
- Glue
- Scissors
- Craft knife
- Small round bowl to use as a template
- Lace, ribbon, or decorative trim.
I used some natural ivory-colored beads and a curtain tie-back that lost its buddy somewhere along the way.
How to upcycle cardboard and make a raffia collar necklace
This upcycle idea couldn’t be easier, and you don’t need any special tools either.
Cutting and prepping the cardboard base
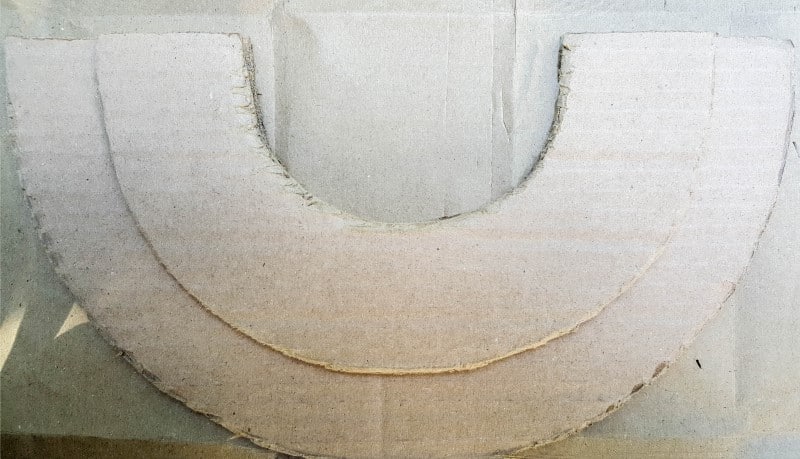
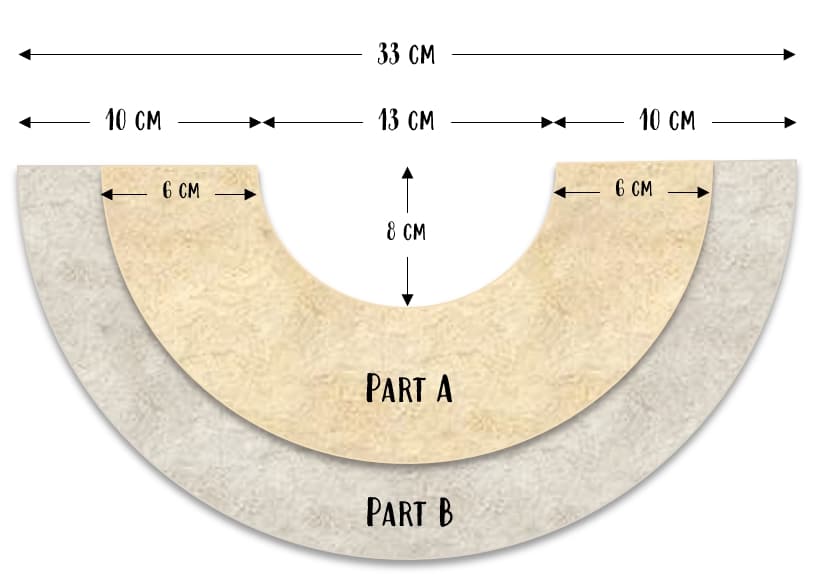
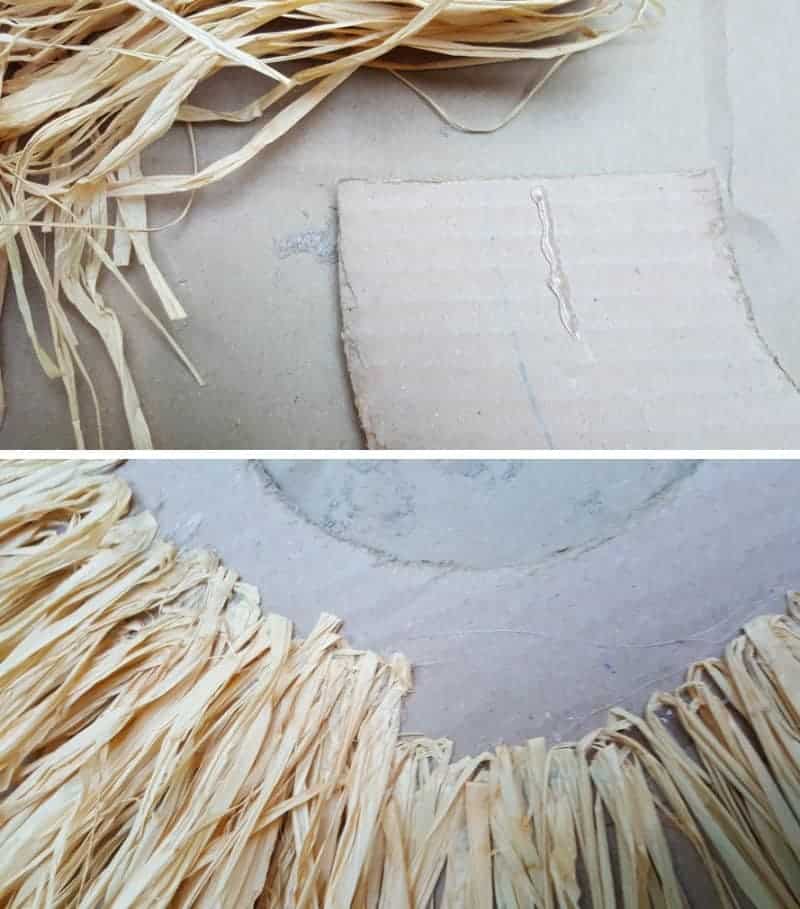
We’ll start by cutting out two U-shaped arches from sturdy cardboard to form a base for our collar. Cardboard can be upcycled to make so many different things, from vases and lights, to gorgeous Christmas trees, so we save all our boxes just in case inspiration strikes. When cutting the U-shaped arches, one will be wider than the other.
To make things easier you can first trace halfway around a small round bowl to draw the inside of the U-shaped arch.
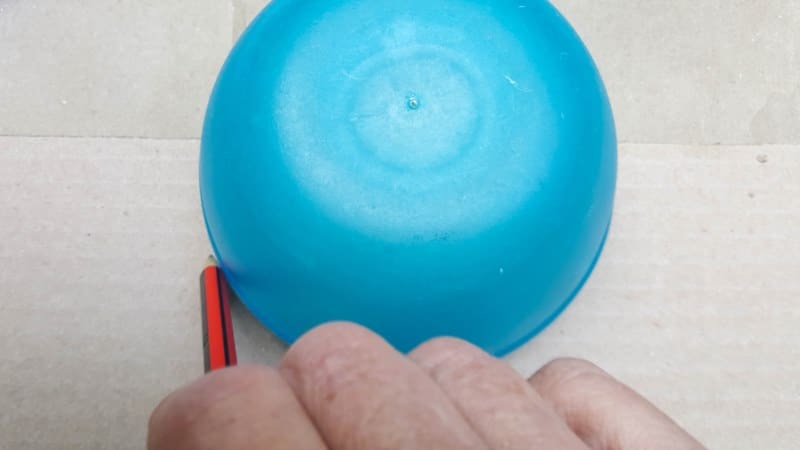
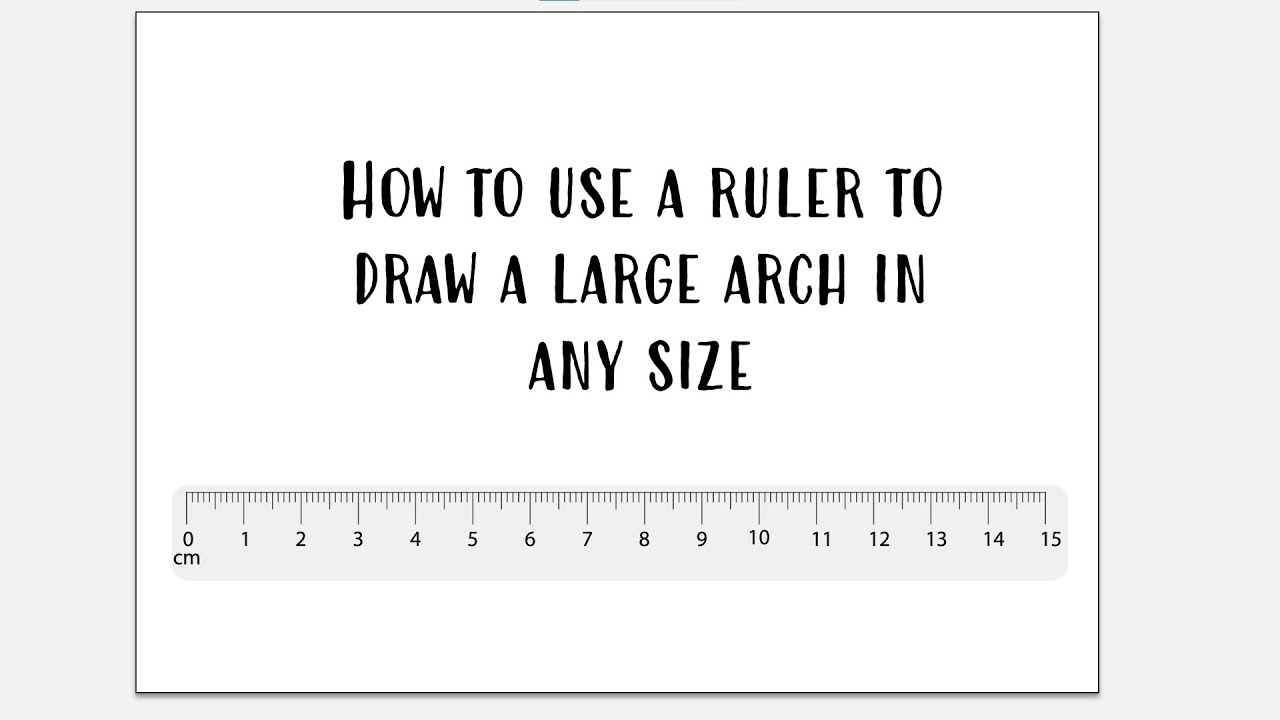
And then use a large round object to draw the outer edge of the U-shaped arch. I didn’t have a plate large enough so used a ruler instead. The short video below will show you how easy it is to do.
My thin U-shaped arch (Part A) is 6 cm wide (2.4”) and the larger, wider U-shaped arch (Part B) is 10 cm wide (4”).
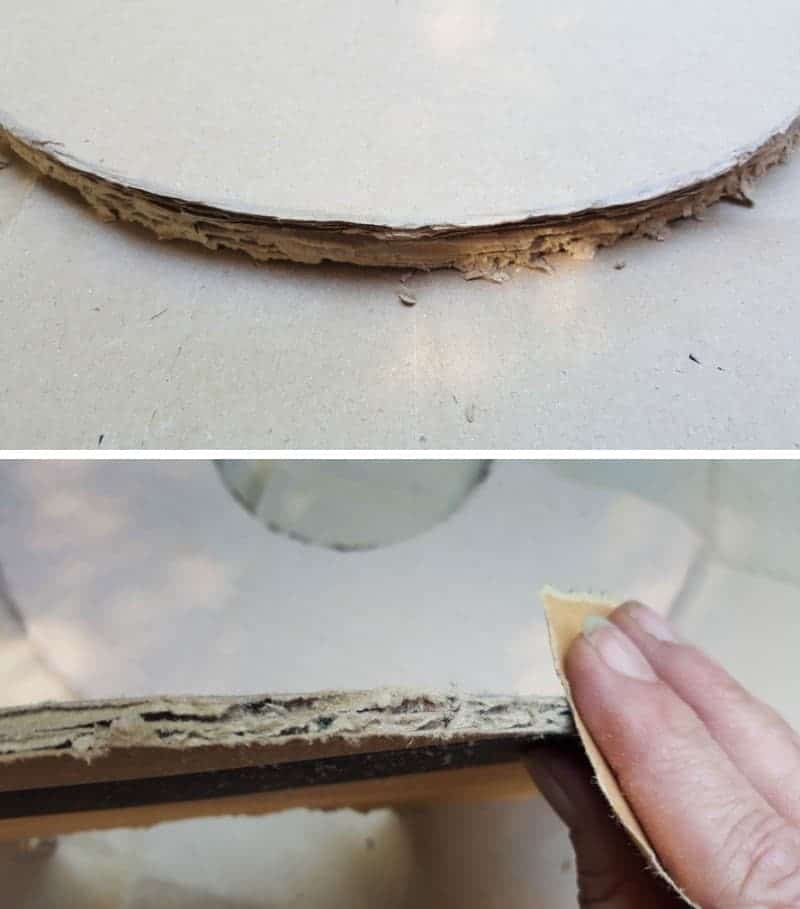
Lightly sand the edges to neaten them up.
Place the thinner arch on top of the wider arch and trace around the edges.
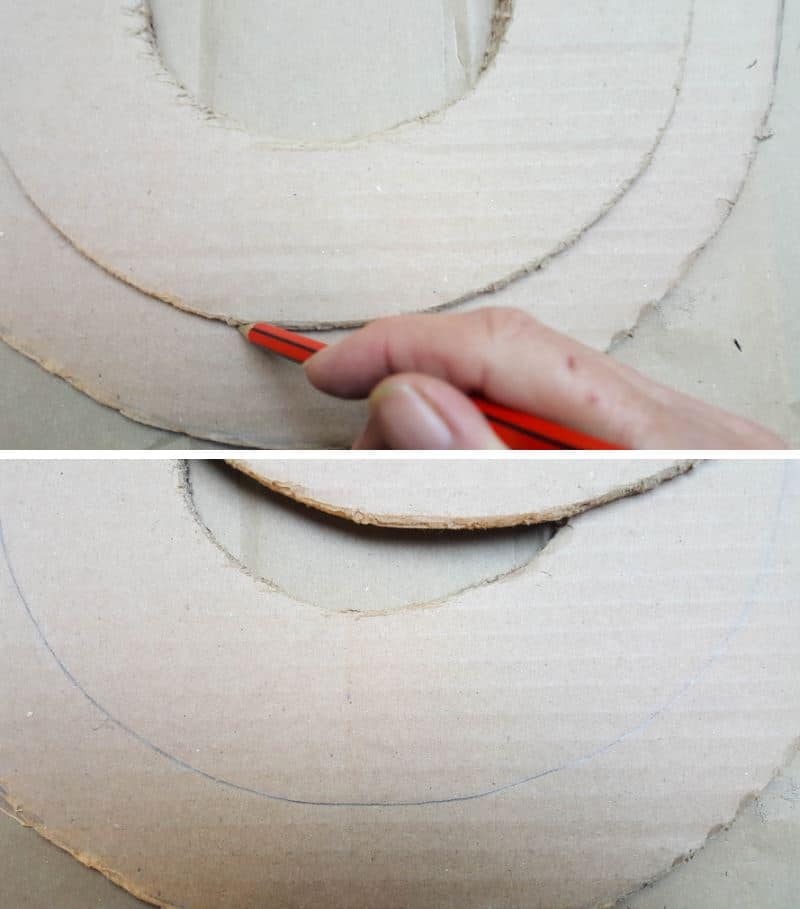
This line will act as a guide for our next step. Put the thinner arch (part A) to one side.
Dressing up Part B of the collar
Cut the raffia ribbon into 30 cm pieces. Fold them in half and glue them all around the outer edge of the wider arch using the marked guide. Add a second layer of raffia just above the first. Repeat until the raffia layers are nice and full.
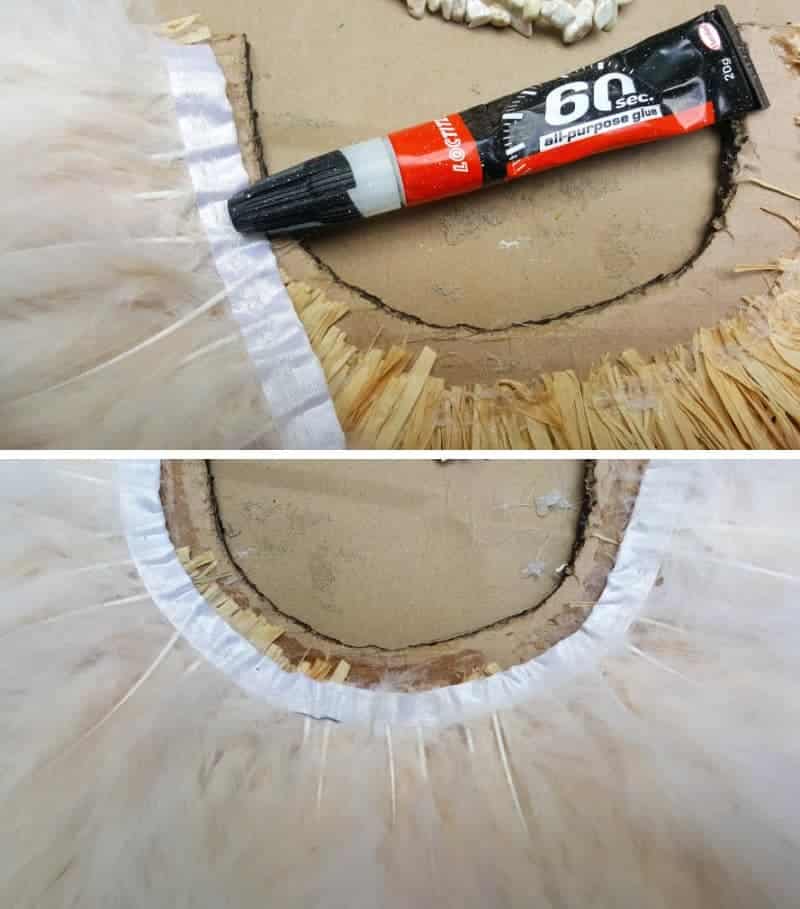
Glue the feathers down as a final layer on top of the raffia layers. My feathers came in a ribbon strip, which made it so much easier. I bought them years ago when we went to visit an ostrich farm in Oudtshoorn. If your feathers are loose, you can line the shafts up on the sticky side of some wide masking tape and glue that down.
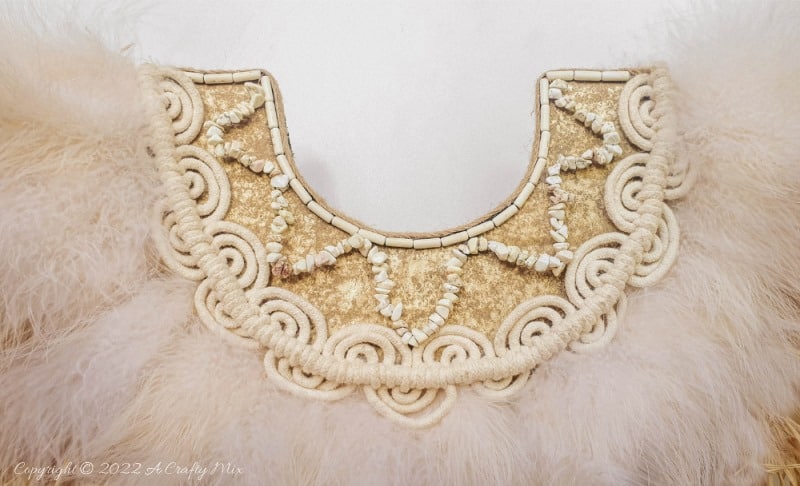
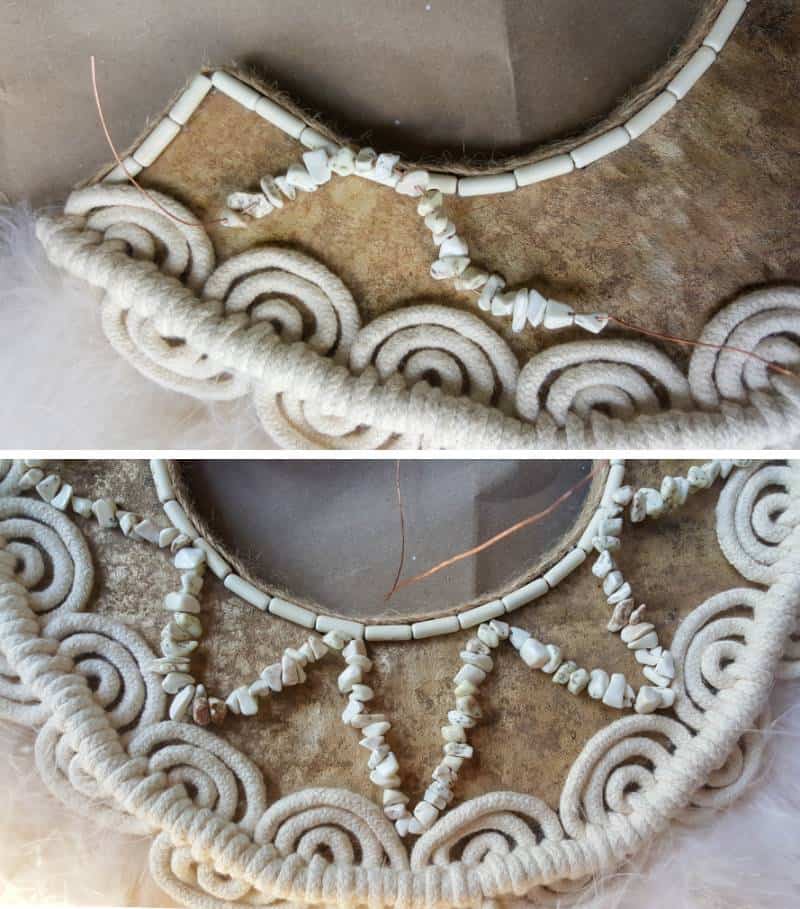
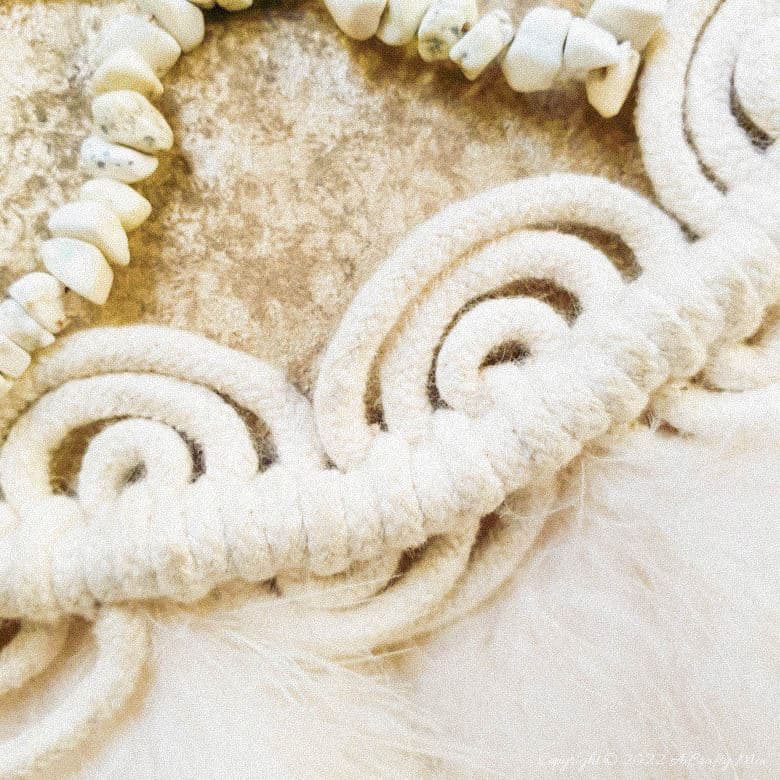
Adding beads and trim to Part A
Part A of the collar serves two purposes: it hides the glued-down layers on Part B, and it’s a blank canvas for you to be creative. For Part A, I used that “buddyless” curtain tieback, ribbon, beads, and gold craft paint. The curtain tieback fits neatly around the outer edge of the smaller, thinner arch (Part A).
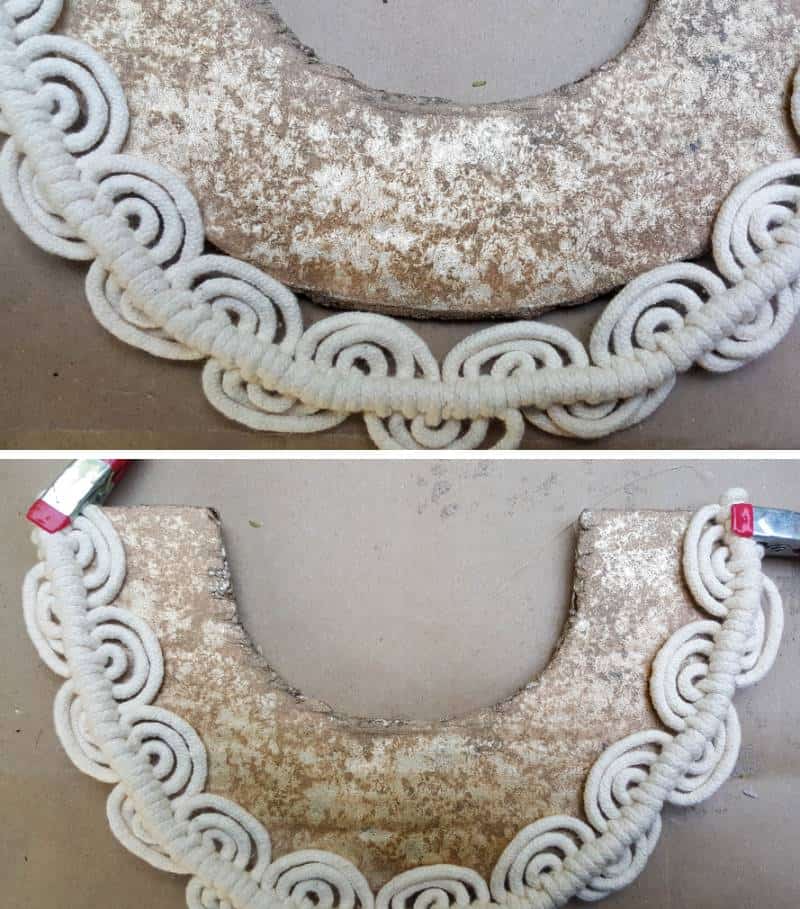
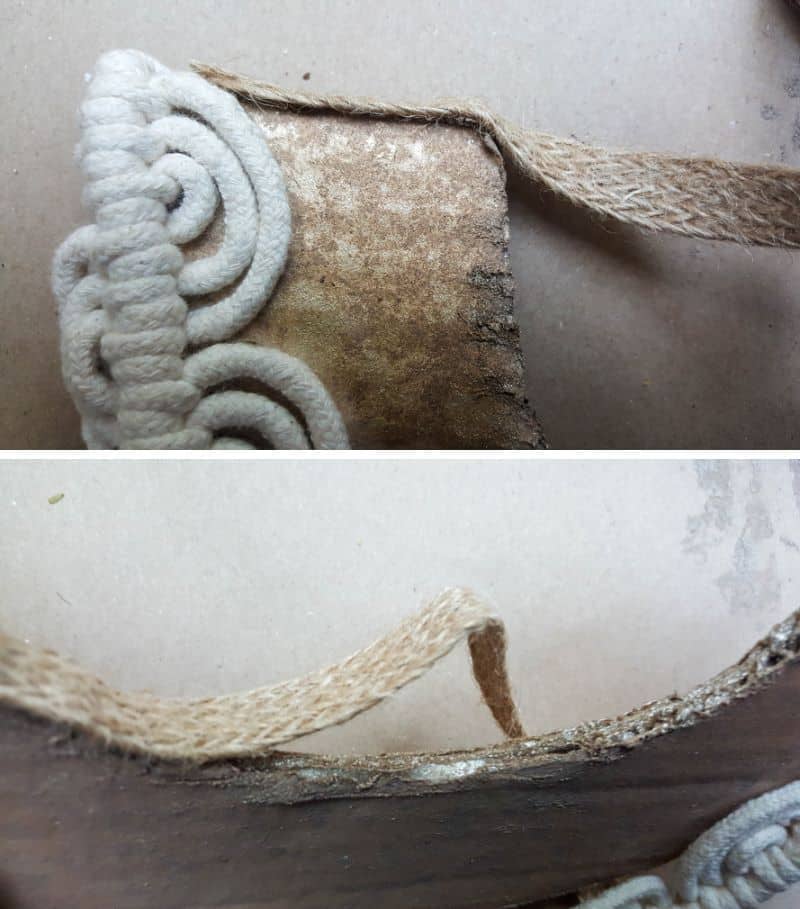
And the ribbon disguised the cardboard edge perfectly.
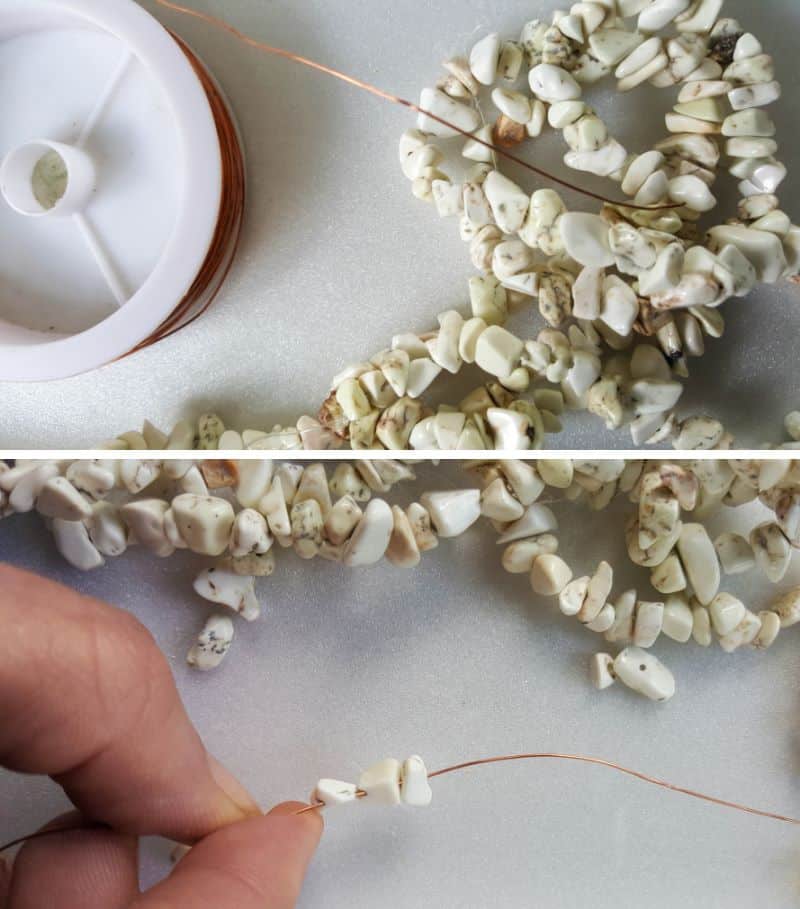
If you’re using beads and want them to form a pattern of some sort, I would suggest threading them onto jewelry wire before gluing them down. It makes it so much easier, especially if the beads are irregularly shaped.
Just play around and have fun. It’s only cardboard, and you can always cut another piece if you think you messed up.
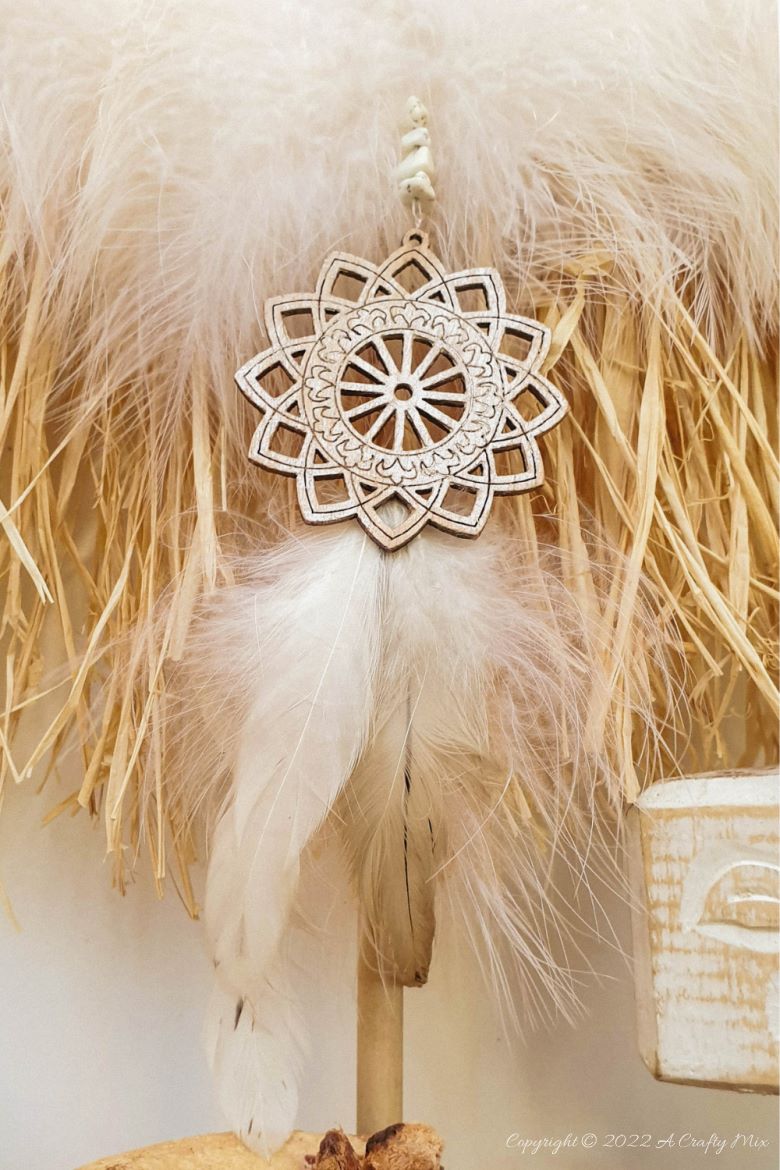
Once you’re happy, glue the beads down and then glue the thinner arch (Part A) on top of the wider arch (Part B). Put a few heavy books on top to weigh it down so you end up with a collar that’s nice and flat. You can hang the raffia collar necklace on the wall or mount it on a scrap piece of wood using a skewer and pop it on a shelf or table.
Easy, right!!?

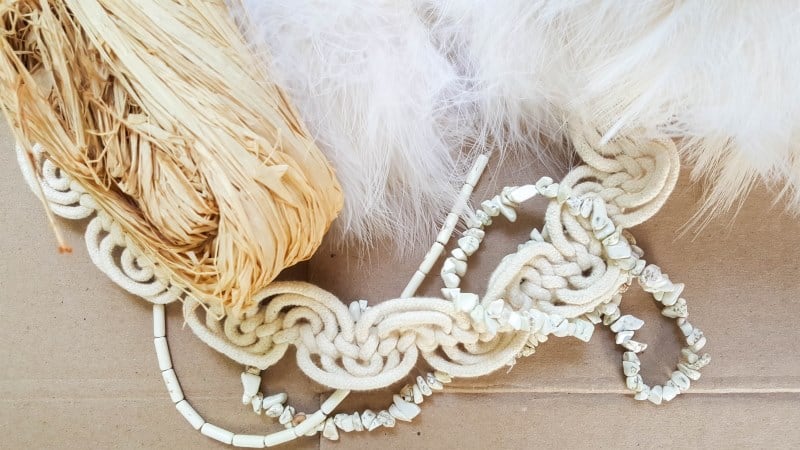
I had some raffia left over, so I used the rest to string together large wooden beads and raffia tassels.
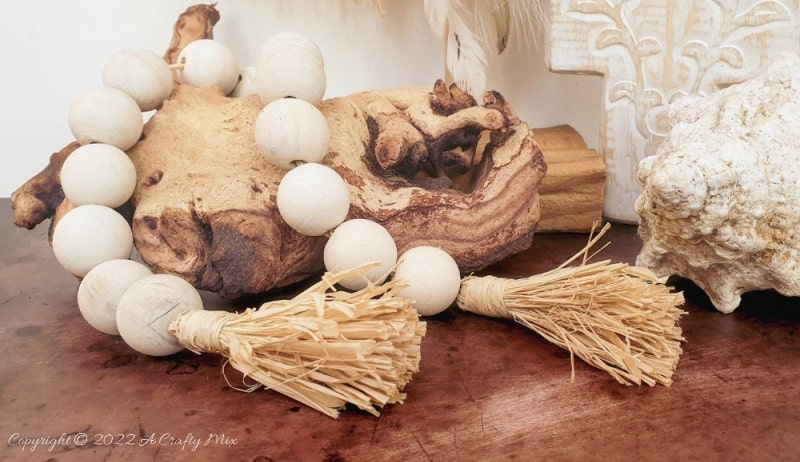
Nothing goes to waste in this house.
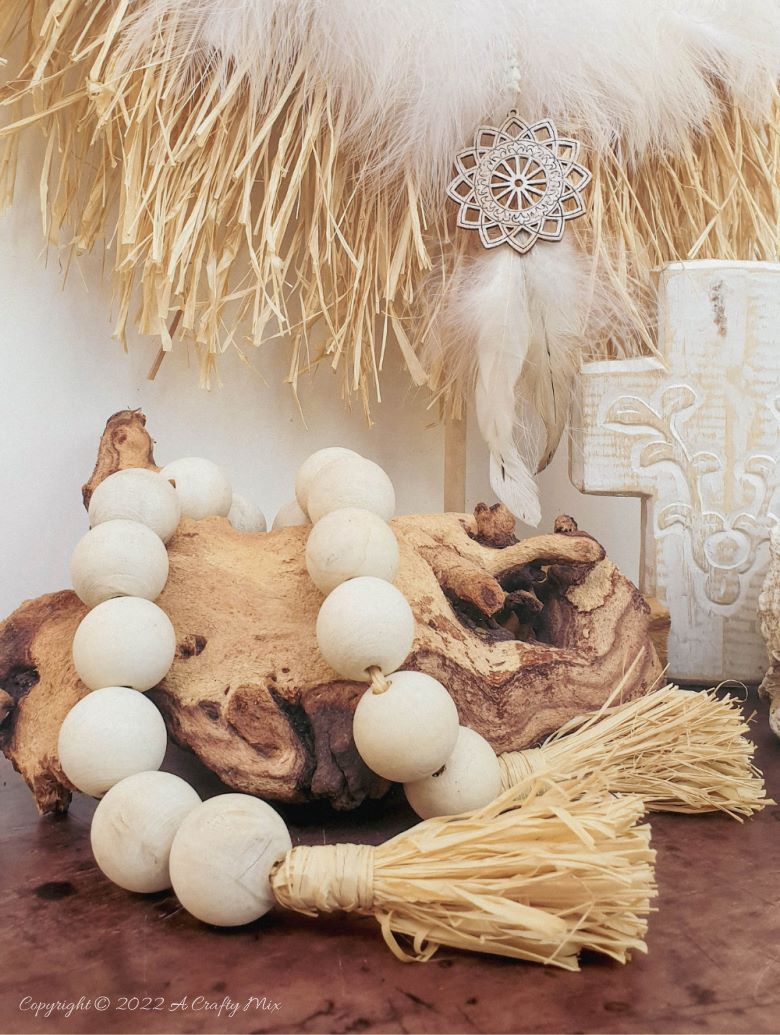
And I finally found a way to reuse that curtain tie-back that lost its buddy.
What do you think? Would you upcycle some cardboard to make a raffia collar necklace?
If you like the idea of upcycling some cardboard to make a raffia collar necklace, don’t forget to pin it for later.
Oh, and if you’re looking for some of the things we used, we’ve got you covered. Disclosure: Clicking on the links below, means we may receive a commission from Amazon. But don’t worry it won’t come out of your pocket, and it will help us make more amazing crafts to share with you 😉


Or if you prefer to buy rather than DIY

And as always, wishing you a wonderful, crafty week filled with lots of love. Thank you for popping in for a visit.

Last update on 2026-06-03 / Source Amazon Affiliates