
What is it with wine glasses? They always seem to break off near the stem when they drop. Which happens quite often in our house. Yup, we like to party. Not the drugs, sex, and rock and roll kind of parties, mind you. More like big bonfires, drumming circles, and kumbaya till the early hours of the morning. So when our wine glasses break, what do we do? We turn them into fairy garden cloches or make these awesome coconut planters. It’s way more fun than just throwing them away.

They look stunning as a rustic centerpiece and can be made in a few hours, depending on the glue you use 😉
Why do coconuts make great planters
Coconuts make great planters for several reasons:
- Natural Materials: Coconuts are made of natural materials and are biodegradable, making them environmentally friendly.
- Durable: The hard, woody exterior of a mature coconut is sturdy and will last a long time under the right conditions.
- Nutrients: Coconut fiber contains nutrients that are beneficial for plants. As the coconut decomposes, it releases nutrients into the soil, which helps the plant to grow.
- Portable: Coconuts are lightweight and easy to carry, making them ideal for transporting plants.
- Aesthetically Pleasing: Coconuts have a unique and attractive appearance that can add a tropical and exotic feel to any garden or indoor space.
Coconut planters are an excellent way to reuse natural resources and promote sustainable gardening practices.

Okay, before we get to all the good stuff, be sure to follow us on Facebook, Twitter, Pinterest, or Instagram. And don’t forget to subscribe so you’ll never miss a post!
Right, let’s grab those broken glasses and some coconuts, and let’s get cracking, shall we?

Broken Glass. It’s just like glitter, isn’t it?
First things first. Cutting the coconuts and getting all the yumminess out to use later
How To Cut and Clean A Coconut
We prefer to buy our coconuts fresh since it works out cheaper, and I love the taste of the meat when it hasn’t been desiccated yet. It’s not so coconutty 😀 Did you know that the dried meat inside is called Copra? Me neither. Anyways, to cut and clean the coconut, you’ll need a glass (to drain the milk), a hacksaw, and a knife. Remove all the hair on the outside of the coconut. Don’t throw it away. You can use the hair to make these adorable miniature bird nests. Look for three little indents at the bottom of the coconut. One of the indents will feel more squishy than the others.

Grab a sharp knife and dig that little squishy indent and the meat behind it.

Flip the coconut onto the glass and drain the milk. Once empty, you can cut it in half with a hacksaw.

Scoop the meat out with a knife and save those inside bits for later. You can hop on over to my friend Jas’s delicious cooking blog to get some amazing coconut recipes, BTW.
Turning the Broken Wine Glasses and Coconuts into Planters
Attaching the stem
Eyeball the thickness of the wine stem and grab a drill bit that’s a little bit thicker and make a hole in the bottom, center of the coconut half. You’ll only need to drill into one of the halves since the indents should be wide enough for the stem of the wine glass to fit into. Don’t forget to drill a few small drainage holes too.

Mix some strong all-purpose glue and attach the wine stem to the coconut half. We used Pratley Steel Quickset, but any waterproof, non-toxic glue like E6000 should work.

To hide the glue, add some of the coconut hair around the stem.

Once the glue dries, you can start filling the planters.
Adding the plants
You can add any small plants to the coconut planters. We put succulents in ours.

I think the spiky job in the picture above is a Gasteria Flow. They’re often confused with Aloes, but they require less light and make ideal house plants. They get their name from the sac-like shape of their flowers, which are supposed to resemble a stomach, hence the name Gasteria. Ours have never flowered, so I’m not 100% sure.

The little trailing plant is a Crassula pellucida. One of my all-time fav indigenous succulents. She’s super easy to grow. Just cut one of her trails off and stick it in the ground.

Each little leaf produces roots, and a new plant will form in no time.


So next time someone breaks a wine glass, don’t throw it away. Save the bits and turn them into coconut planters instead. Or, if you prefer an elegant and stylish alternative that doesn’t involve a coconut, then you can use the broken wine glass stems to make these beauties.

And if you don’t have a bunch of friends that break wine glasses, this quick video will show you just how easy it is to cut the stem off a wine glass so you can turn them into planters too.
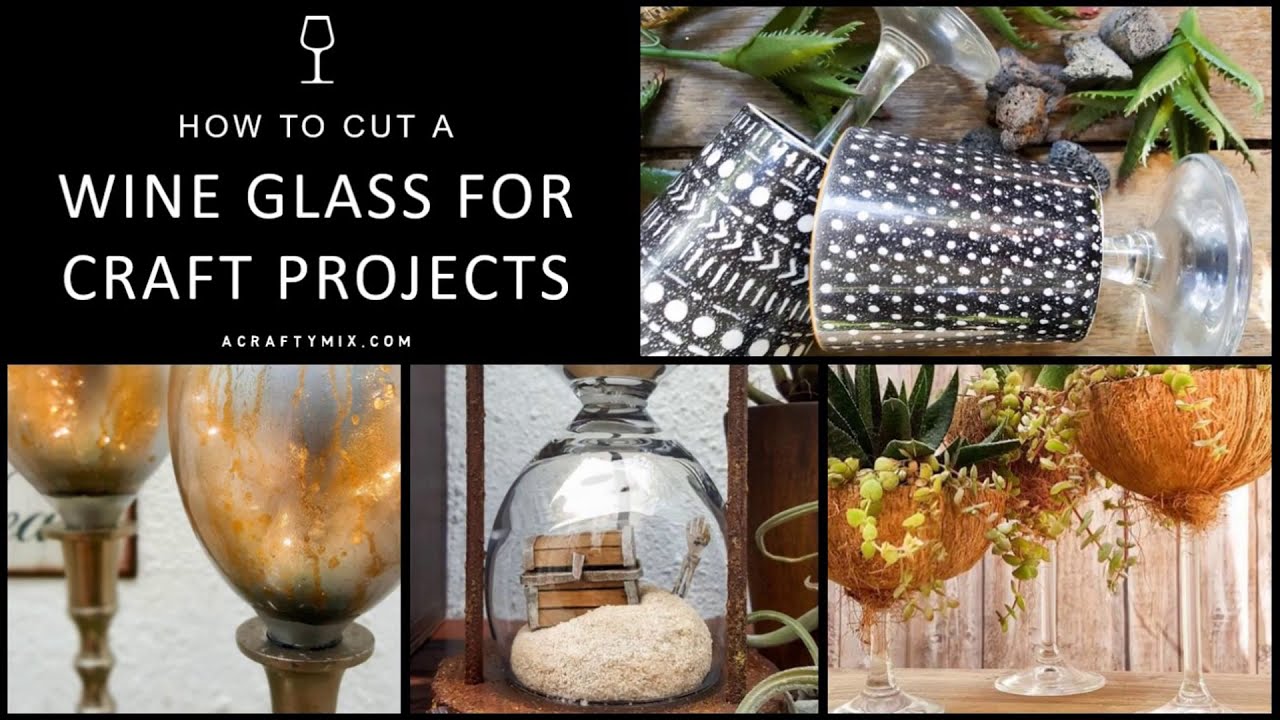
If you like the idea of turning broken wine glasses into rustic coconut planters, don’t forget to pin it for later.

And if you ever need to clean a coconut, there’s a pin for that too.

-
If you’re not a big fan of coconuts or can’t find any fresh ones, you can make something similar using cups or ceramic holders.
-
Those broken stems are also perfect for creating a dreamy, upcycled candle holder.
-
On the odd occasion when the stem breaks and you’re left with a stemless wine glass, these tutorials will show you how you can upcycle the bowl
Let me know what you think and if you have any other ideas on what we can do with broken wine glasses. I know we’ll have a few more the next time we’re singing folk songs around the campfire Don’t have any broken wine glasses? No problem, I’ve got you covered. Disclosure: If you click the links below, we may receive a commission from Amazon. But don’t worry, it won’t come out of your pocket, and it helps us buy new wine glasses for our next party 😉


And as always hope you all have a beautiful, crafty, and love-filled week. Thank you for popping in for a visit. We hope you’ll be back for more.

Last update on 2026-10-01 / Source Amazon Affiliates
110 comments
I love this project idea! Totally fits with my tropical theme.
Thanks so much Erlene ?
Wow!! Great use of the broken wine glasses. It can even be used for decorating tables of the restaurant with same concept. In place of using the vases, this is the great stuff.
So glad you like them Benjamin. Thank you ?
¡Muy buena idea!
Muchas gracias Luis
This is the coolest project!!!
Thank you Janine
I know, right?!!??
😀
What a cool project! I love how these turned out.
Thanks so much Sarah
Hahaha!! We have the same issues with champagne glasses in our house!! Will have to hang onto them the next time they break!! Fabulous creative idea!!
? If I had to try drink champagne I would be on my ear or on my butt ? Thanks so much Sam
What a cute idea and a great repurpose for something that would otherwise go in the recycle bin.
Thank you Toni ? We were just playing around with the goblet piece of the glass last weekend and there are so many recycle possibilities for that bit too.
Oh so cute!! I need a coconut. And a wine glass.
I love them. Pinned and shared!
🙂 gwingal
Thank you Nikki ❣
Love it! Let’s break some glasses!
Yes!!!! ?
What a fun tropical kinda Lahaina feel to them! Don’t eat fresh coconuts, but might just to do this project. Oh yeah, then I need to find the stems as I don’t really drink wine!
Thank you Kathy ? We don’t drink wine either but we have loads of friends who do ?
Michelle, these coconut planters are amazing!! You’re really too clever! Such a pretty repurpose.
Thank you Keri, I’m super happy with how they turned out
My mouth always opens aaaaaaaaaaaaa!!!! I love, love, love it! You can work as a florist also, you know that? The combination of the plants is perfect! Excellent work and idea my friend. Unfortunately I throw away all my broken glasses last summer 🙁
Thanks my friend, that means alot ?
I’m a florist and I love the idea! I have thrown all of my broken wine glasses and stems away reluctantly always feeling there must be something to useful purpose for them. Now that I found out what I can’t wait to make some and I love coconut. I might suggest a small filler of pea gravel at the base of the base of the shell for any excess water and a little air. Since they don’t need much water they are good for newbies! Great idea????
I have to remember that Debbie. I put a few small stone in before adding the soil but I probably should have added a bit more