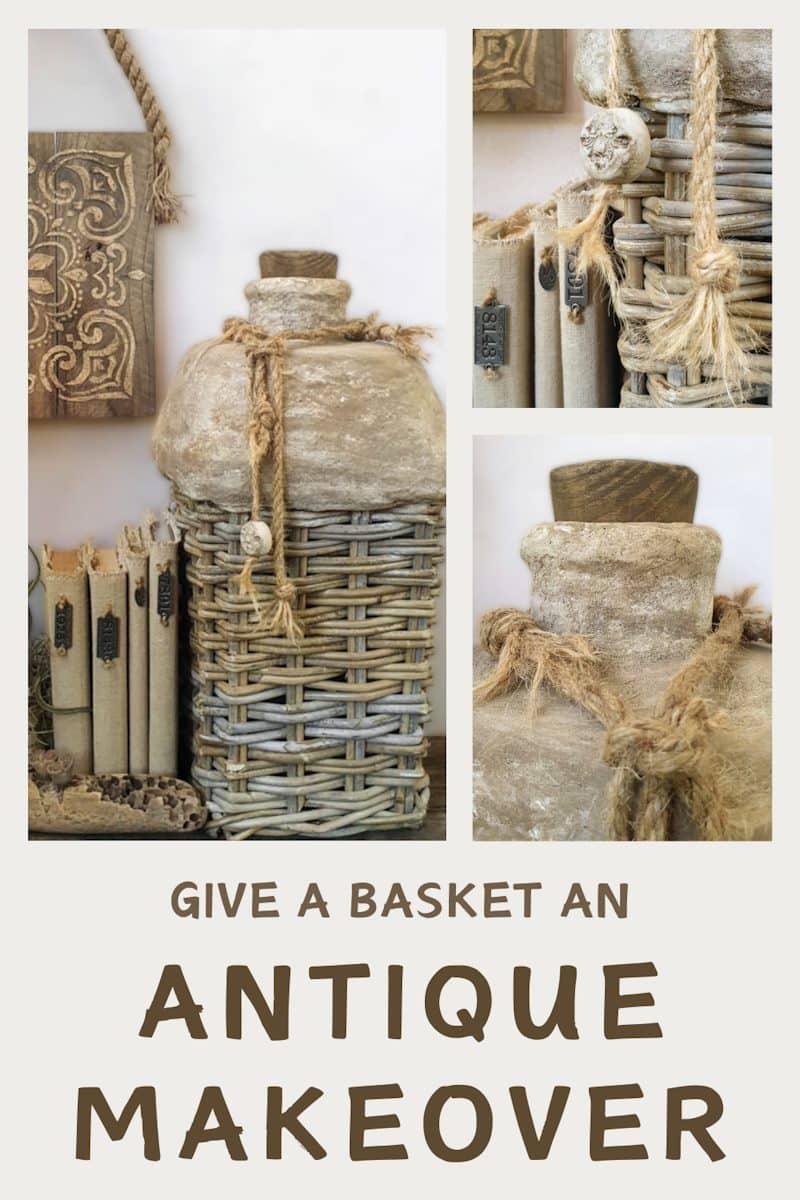
OMW, I found the most gorgeous antique wicker vessels the other day and my history-loving heart fell head over heels. There’s not much information about them, other than they’re old and may have been used to store oil or fish in rural China many moons ago. Who knows, but I wanted one. Badly. Like really badly. And then I saw the price. Mmmmmmm, nope. Way out of my league. So, I did what any self-respecting DIYer would do. I made my own wicker woven oil basket by using a secret ingredient from the garden and repurposing what I already had at home.
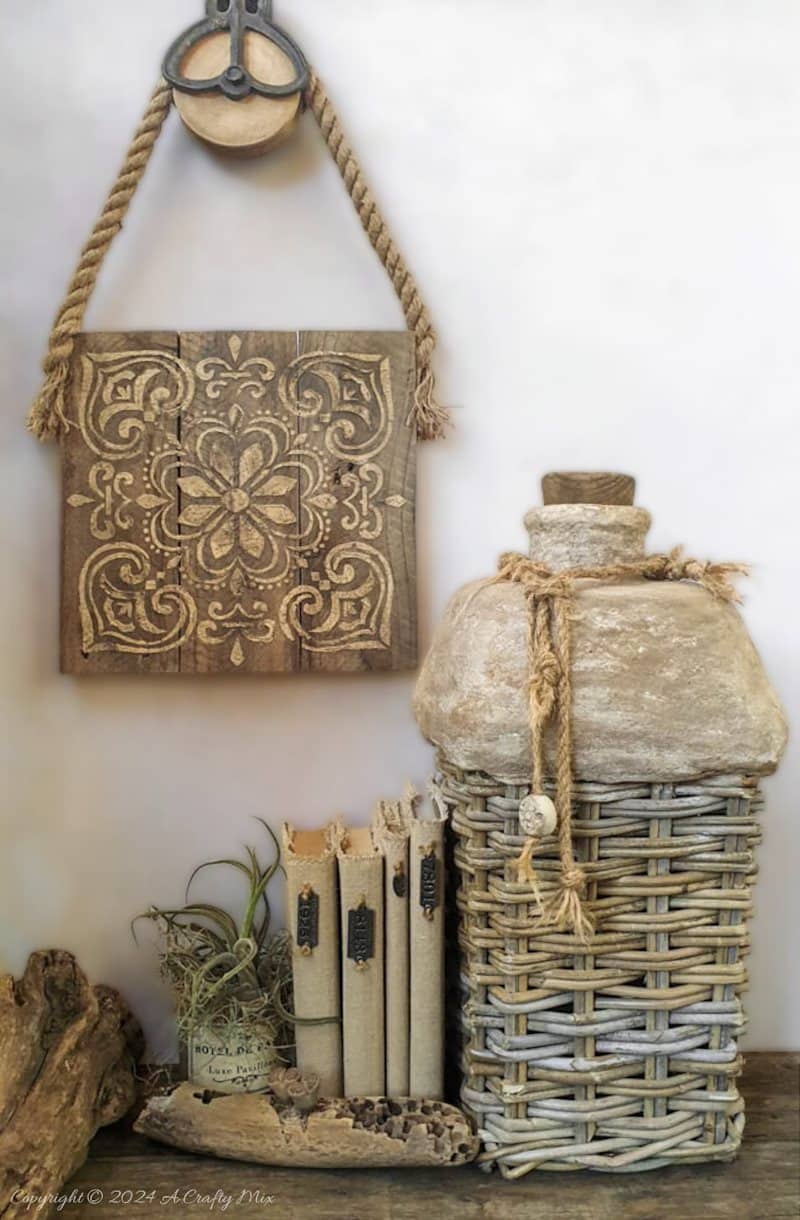
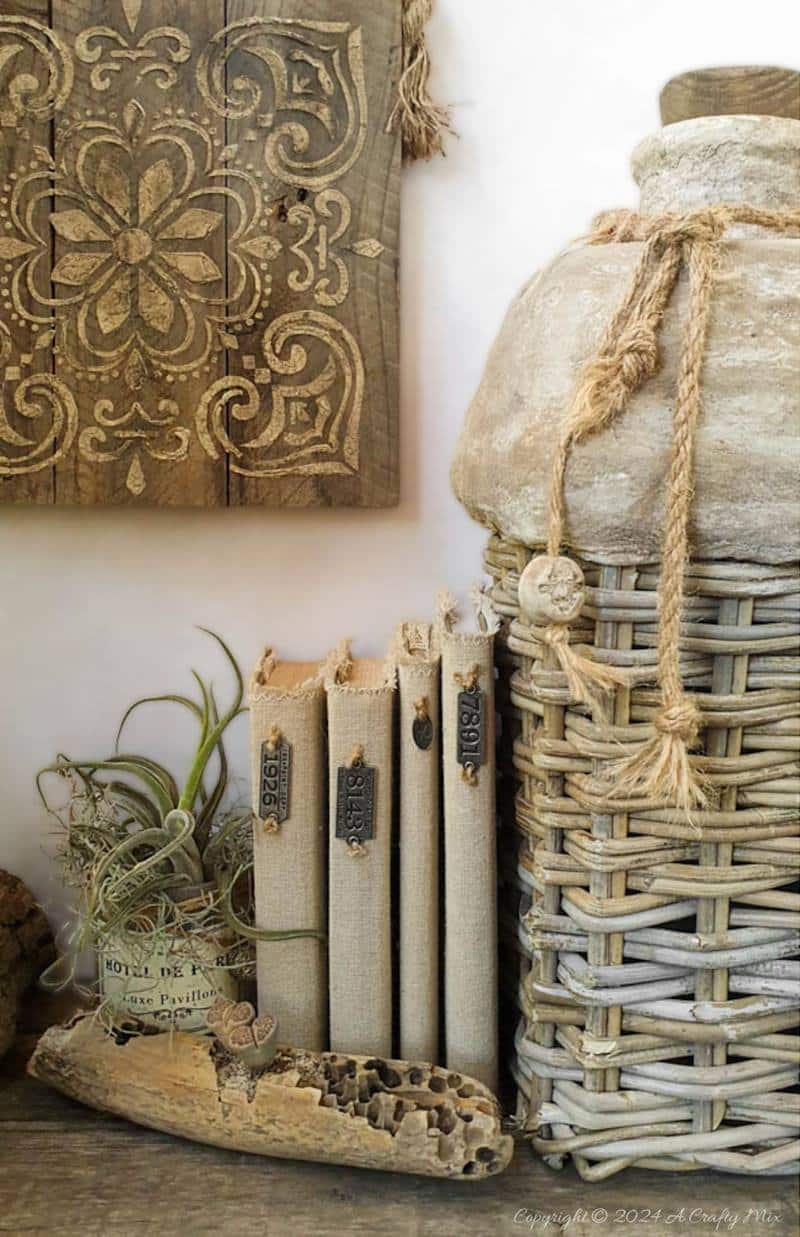
She serves no purpose other than to stand tall and share her time-worn appeal with anyone who cares to glance her way.
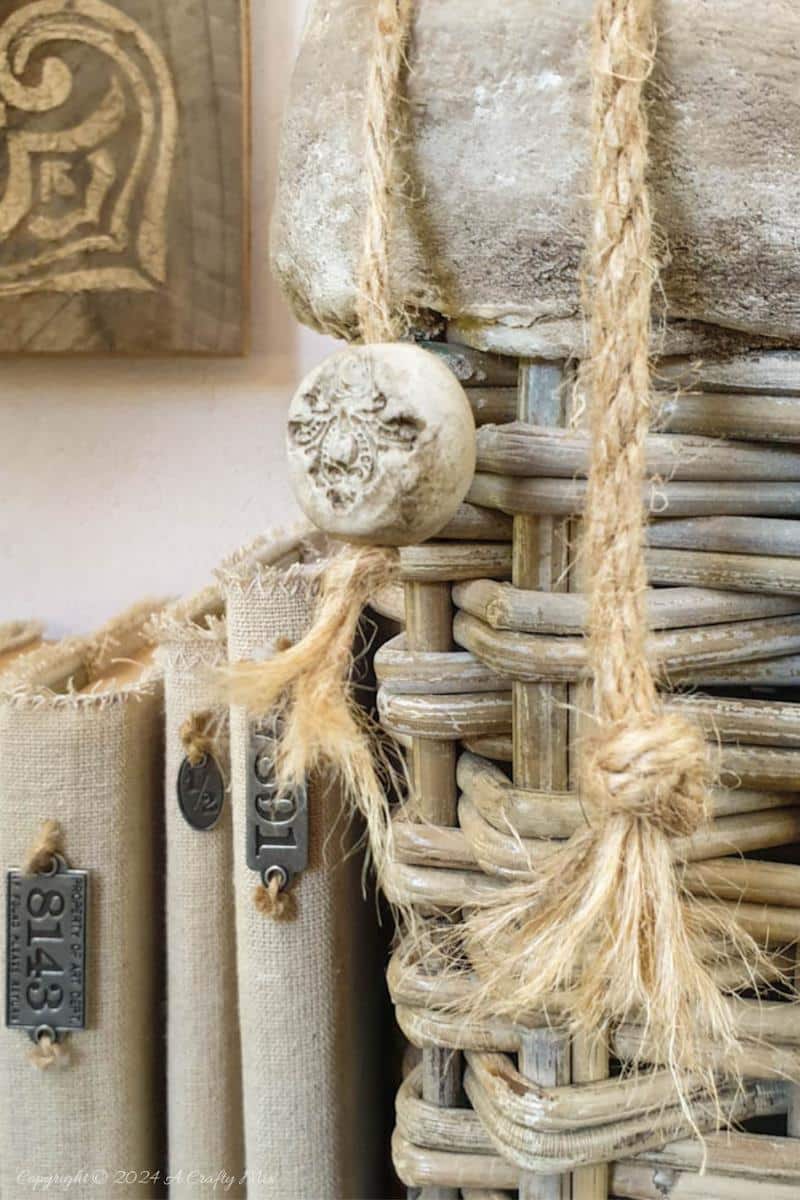
The basket fits in perfectly with our linen-covered books and collection of plants.
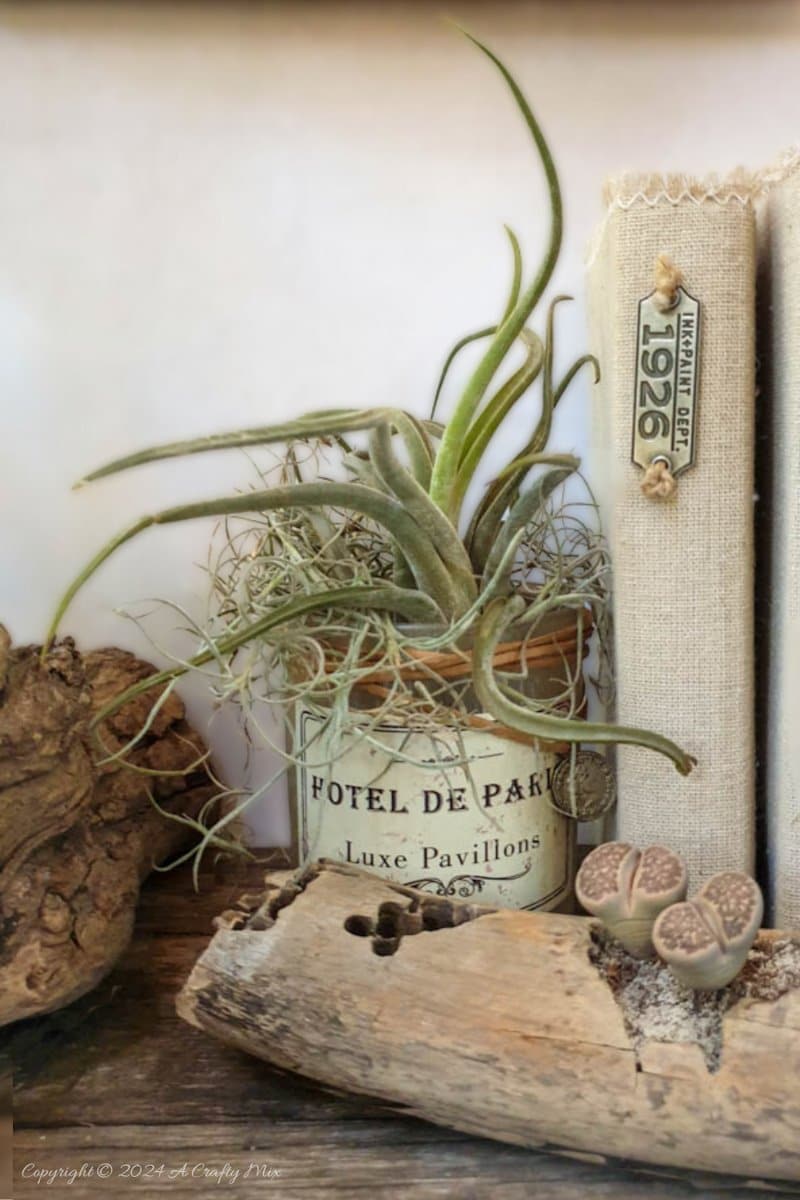
The little succulent growing in a piece of driftwood is called “fairy elephant’s feet” (official Latin name: Frithia pulchra). She was a gift from my son the last time he came to visit from Canada.
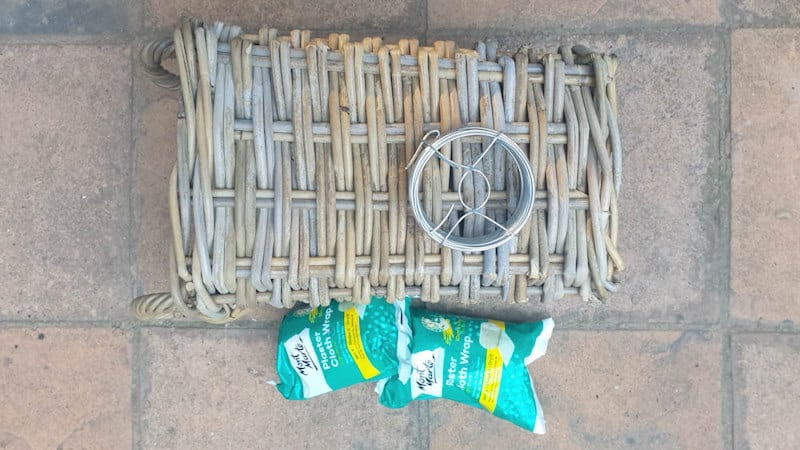
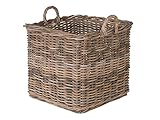
Here’s what my basket looked like before.
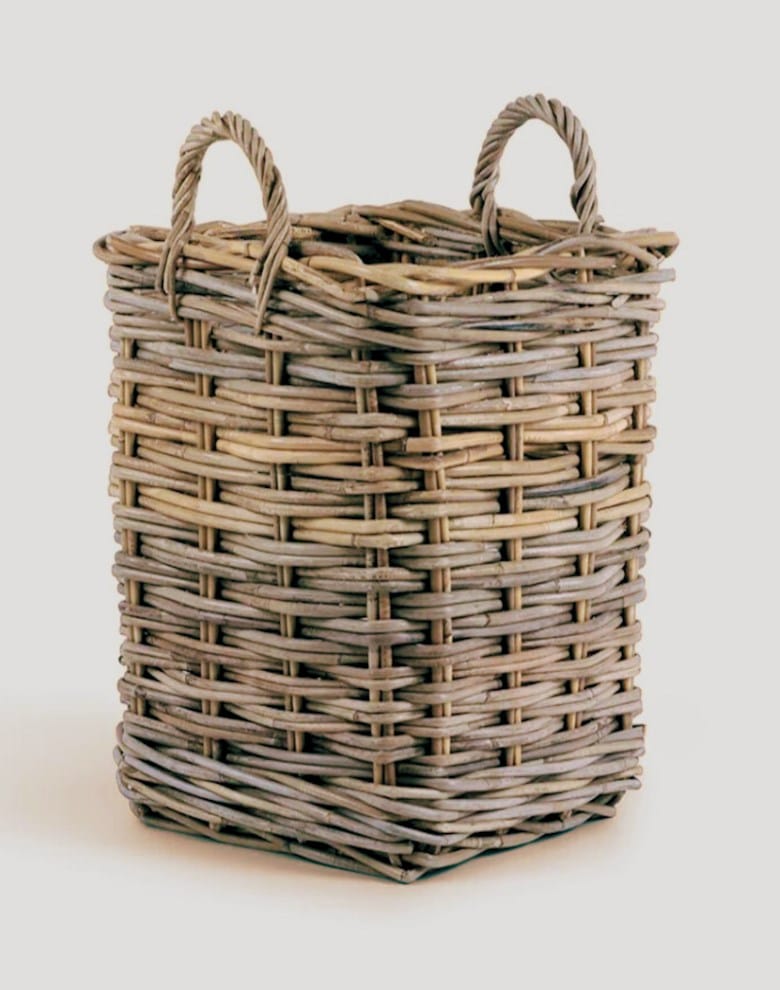
A perfectly ordinary, well-made rattan basket, with good bones, that you wouldn’t look at twice. Unless you want something badly enough. Once I got my grubby paws on her, she didn’t stand a chance. Now she’s been transformed into a statement piece that’s worthy of attention at a fraction of the price.
So just in case you find yourself in a similar predicament, I thought I’d share how I made this wicker woven oil basket. But before we get there, be sure to follow us on Facebook, Twitter, Pinterest, or Instagram. And don’t forget to subscribe so you’ll never miss a post!
What you need
To make something similar, you’ll need a sturdy, rattan or willow basket. I bought mine a few months back from basketly. It can be square, round, battered, brand new, tall, or short, they’ll all work. Look for one that doesn’t have a large, clunky ridge around the top. You’ll also need:
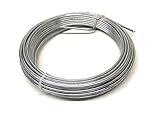
- Baling wire
- Paper
- Mod Podge
- Plaster of Paris bandages
- Texture paste (homemade recipe here)
- Garden soil
- Cardboard tube
- A scrap piece of wood for a cork (optional)
How to make a wicker woven oil basket
Depending on what your “to-be-repurposed” basket looks like you may need to do some prep work first. Mine had handles, which had to go. They would just get in the way of what I planned. You can use a hack saw or scissors to get rid of any protruding bits that mess with your vision.
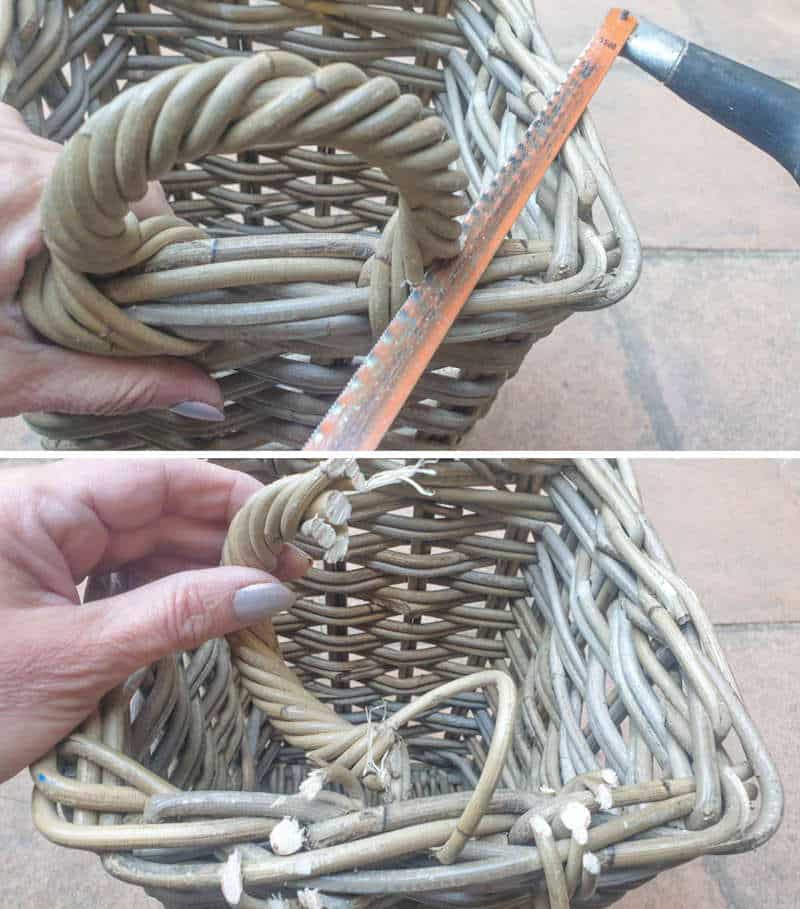
That’s better.
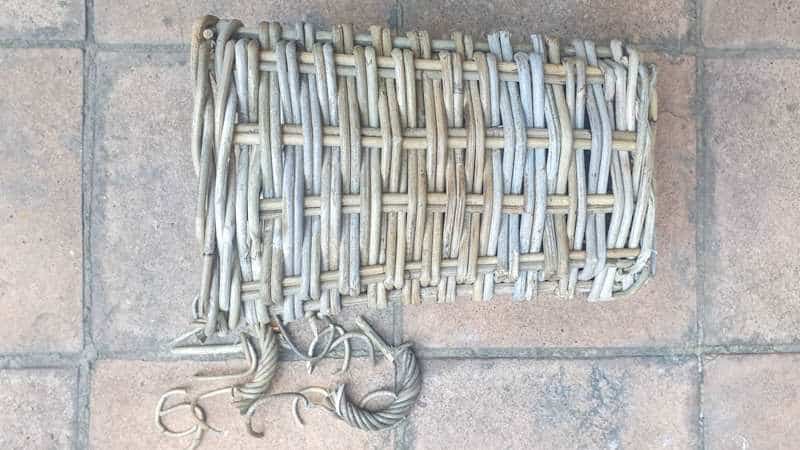
Okay, so now I have a simple basket to work with, I could start adding that clay top and turning it into something that resembled my inspiration image.
Creating a wireframe for the clay top
The woven oil baskets I used as inspiration for this makeover had what looked like a curvaceous clay top, with the rattan or wicker basket portion at the bottom. To create something similar, I built a frame using baling wire. Cut the wire into equal lengths that are roughly double the height of the top you want to make.

Loop one end of the baling wire and insert it into the rim of the basket. Squish the end closed to secure.
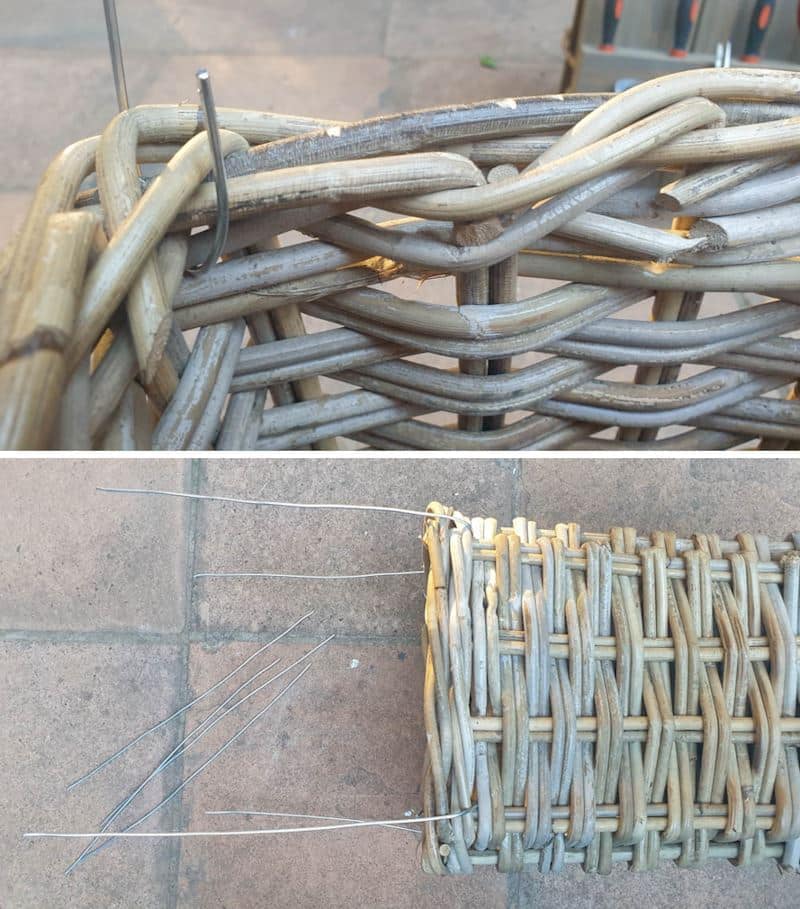
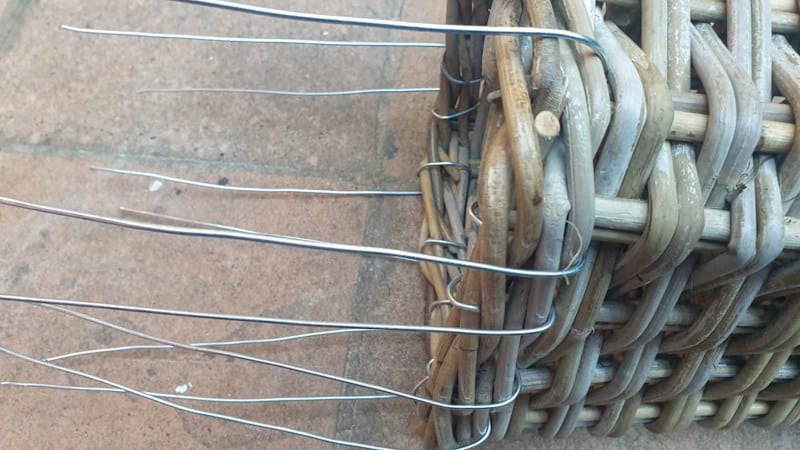
Add the baling wire all around the rim of the basket to create a frame.
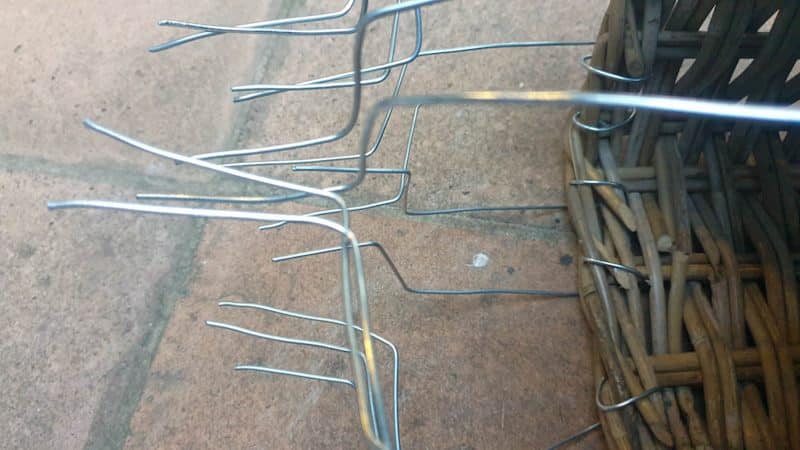
Use a craft stick or piece of wood as a guide, and bend the wire frame inward at a 90-degree angle.
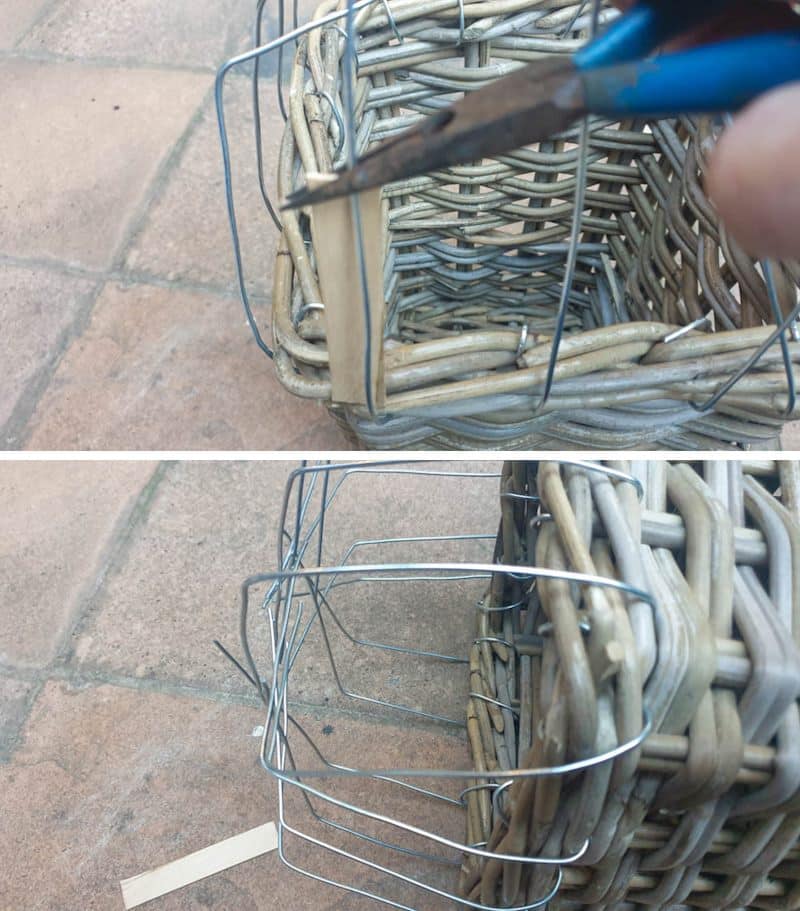
Make another upwards bend to form the neck as shown below.
Tie the neck wires together with the thinner wire. In hindsight, I probably didn’t need to do this step.

I thought it would keep the neck stable (it did), but the tube I slipped over the wire was strong enough to hold everything together.
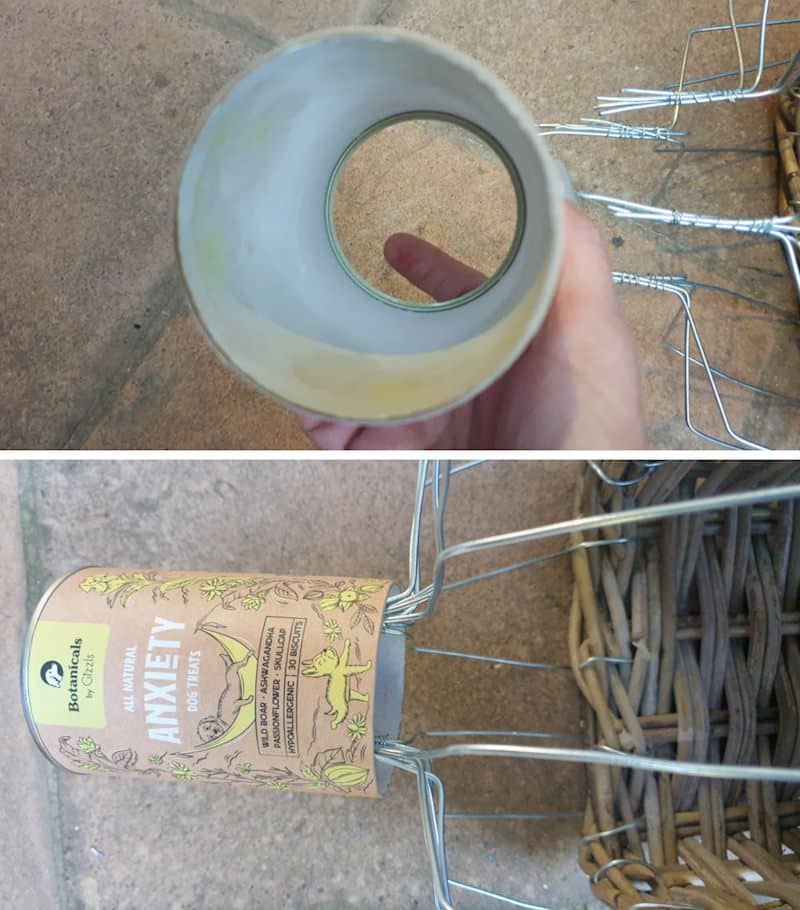
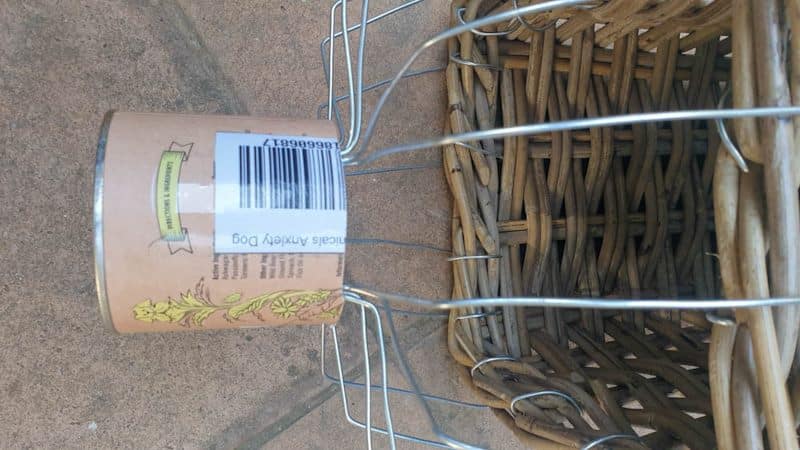
All I needed to do was cut the tube to the right height and slip it over the neck.
Next up, hiding the ugly wire frame and getting messy.
Cladding the wireframe
I’ll be cladding the wireframe in a bit, and had to make sure there was some kind of base for the next layers to rest on. Easy enough to achieve with the help of some masking tape.

Tape the tube down so it sits firmly over the wire neck.
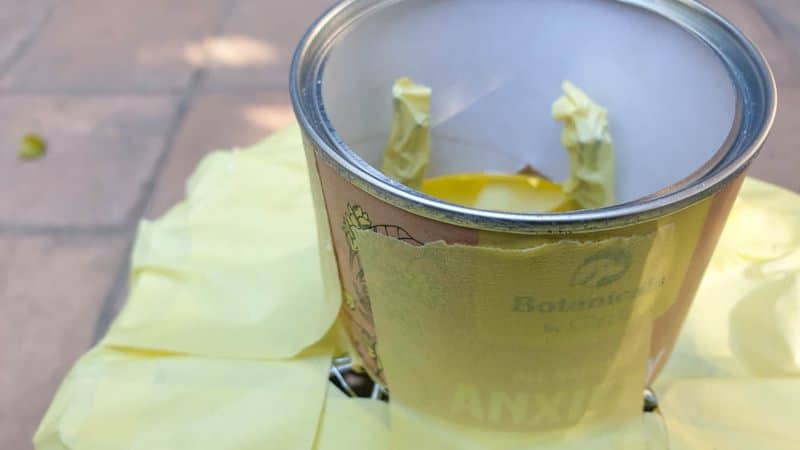
To disguise the tube-ish shape I used a little air dry clay and just formed it around the top of the tube.


Leave the clay to dry fully before moving on to the next step.
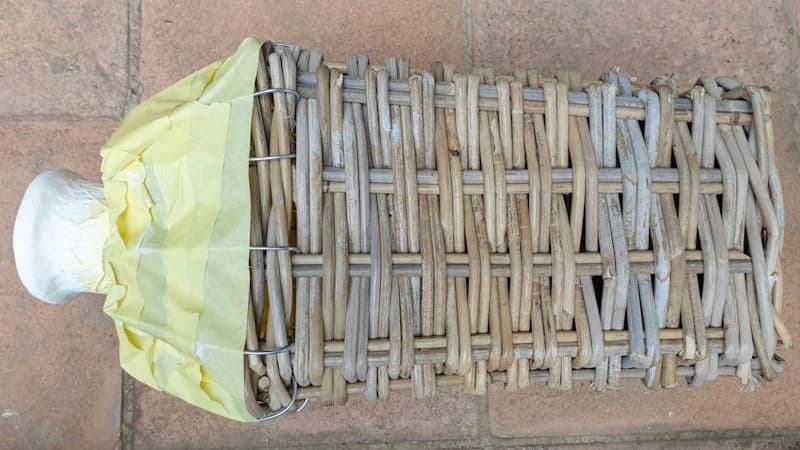
Wrap the rattan basket in plastic to protect it from the mess that’s about to follow.

Adding paper Mache layers
I used paper Mache as a base to bulk up the curvaceous “clay” top of my oil basket. Mix wood glue or mod Podge with a little water to thin it out. Tear newspaper into strips and dunk them, one at a time, in the watered-down glue.
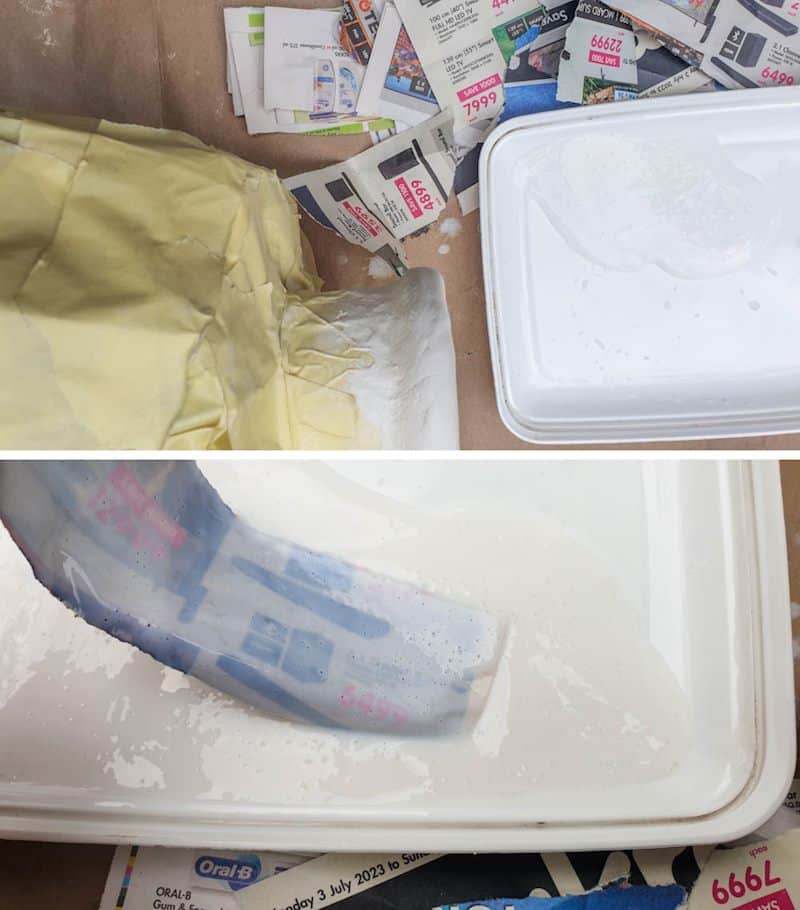
Lay the gluey paper over the masking tape. I found it easier to use long, wide strips and place them in such a way that they span across the wire frame. Wait for the glue to dry at least partially before adding another layer.
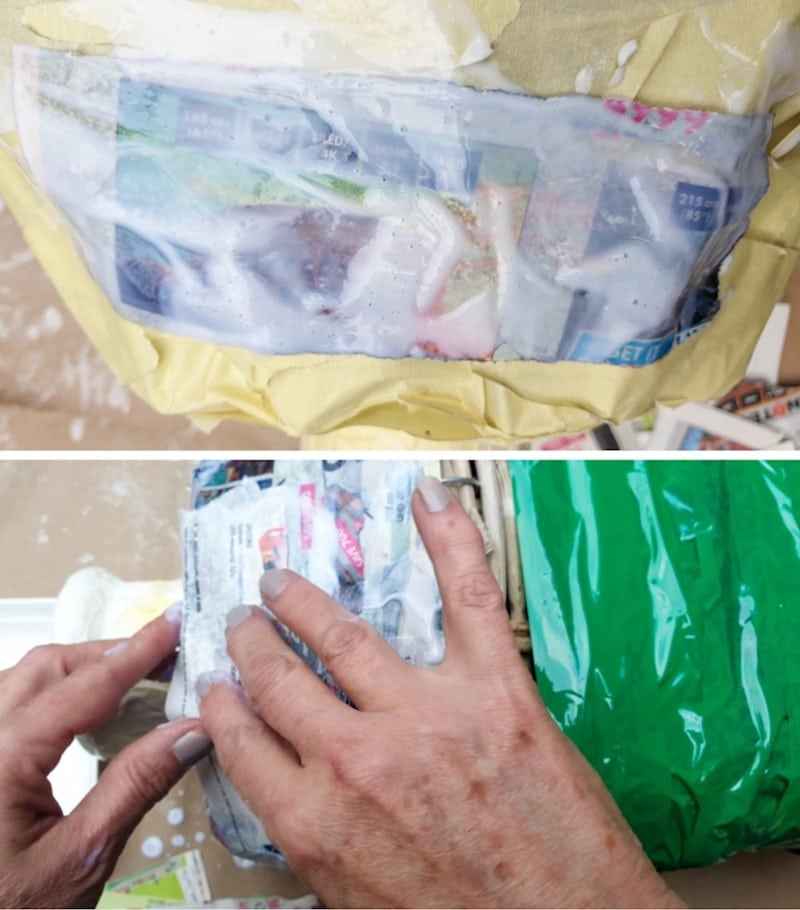
I did 3 layers in total and covered the entire top and neck of the basket.
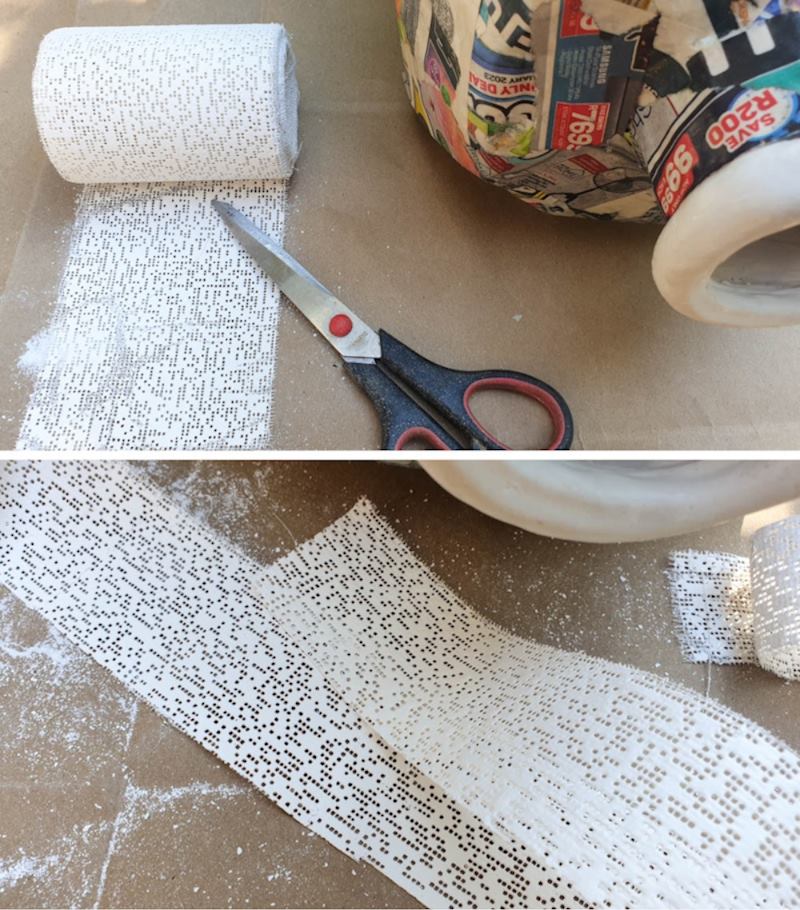
Adding Plaster of Paris layers
From past experience, paper Mache on its own is pretty flimsy, and I wanted my oil basket to last a long time. To add strength and durability I applied plaster of Paris bandages over the paper Mache. I love using them. They’re inexpensive, easy to apply, and designed to conform to any shape. Depending on where you need to add them you may need to cut the PoP bandages into smaller pieces.
Dunk the PoP bandages in a little water and apply over the dry paper Mache.
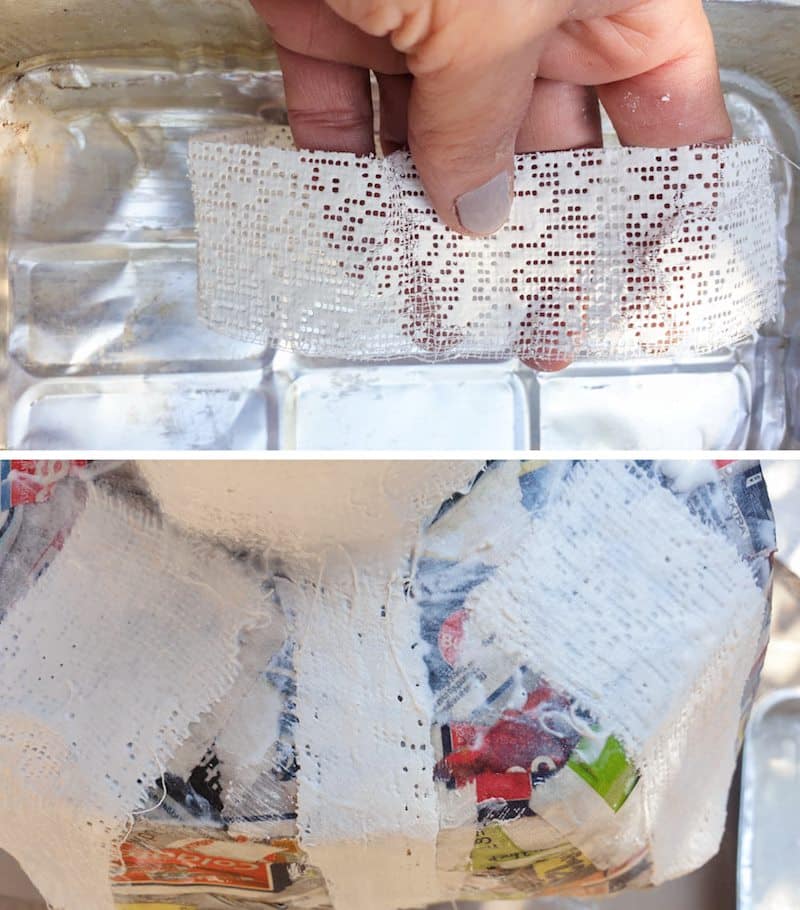
I added three layers and alternated the direction of each layer. Make sure to cover the entire top and any visible wire bits.
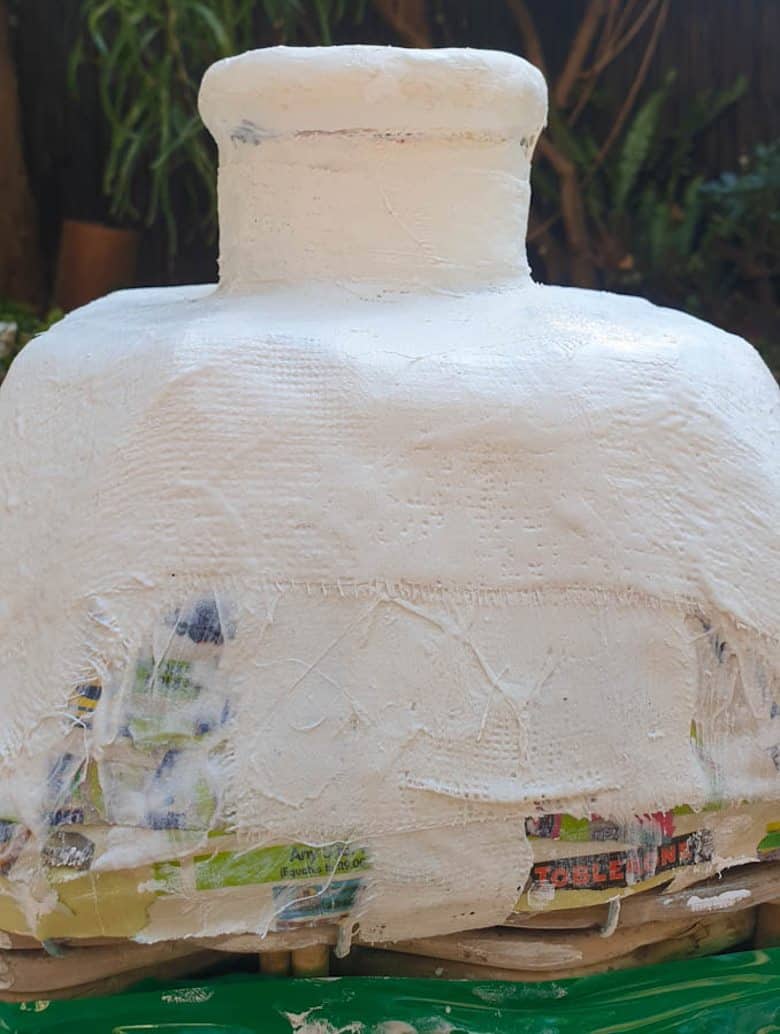
PoP bandages set within a few minutes, which is always a plus in my books. I’m not the most patient person in the world. Those few minutes were just enough time for me to make a lid.
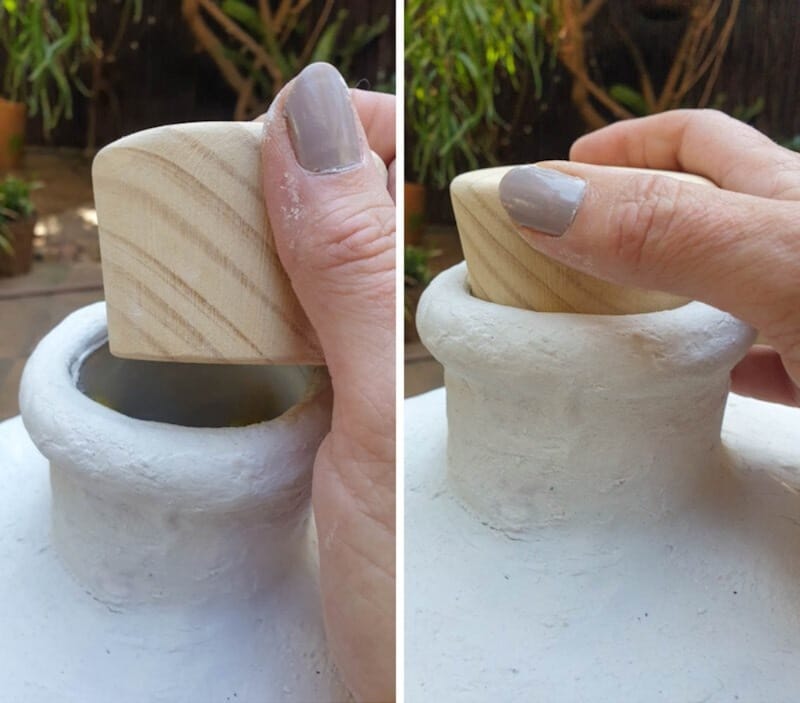
Making a lid for the wicker woven basket
None of the baskets I used as inspiration had lids, but mine felt like it needed one. So, this part is optional. I used a piece of paper to make a template.

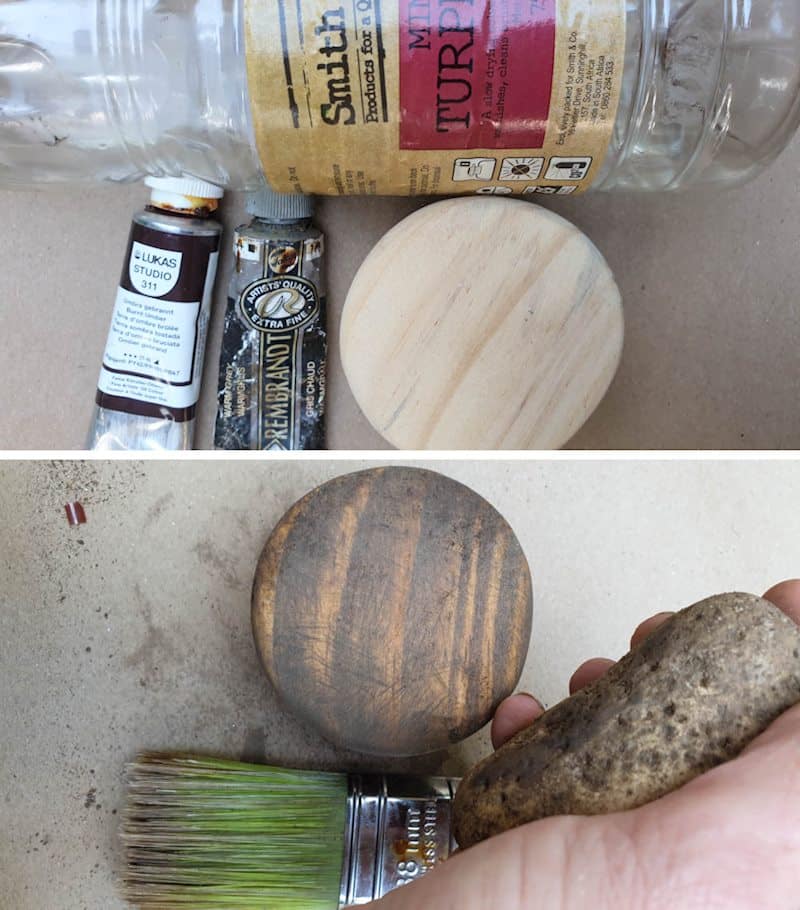
And cut a nice chunky lid out of scrap wood with a jigsaw.
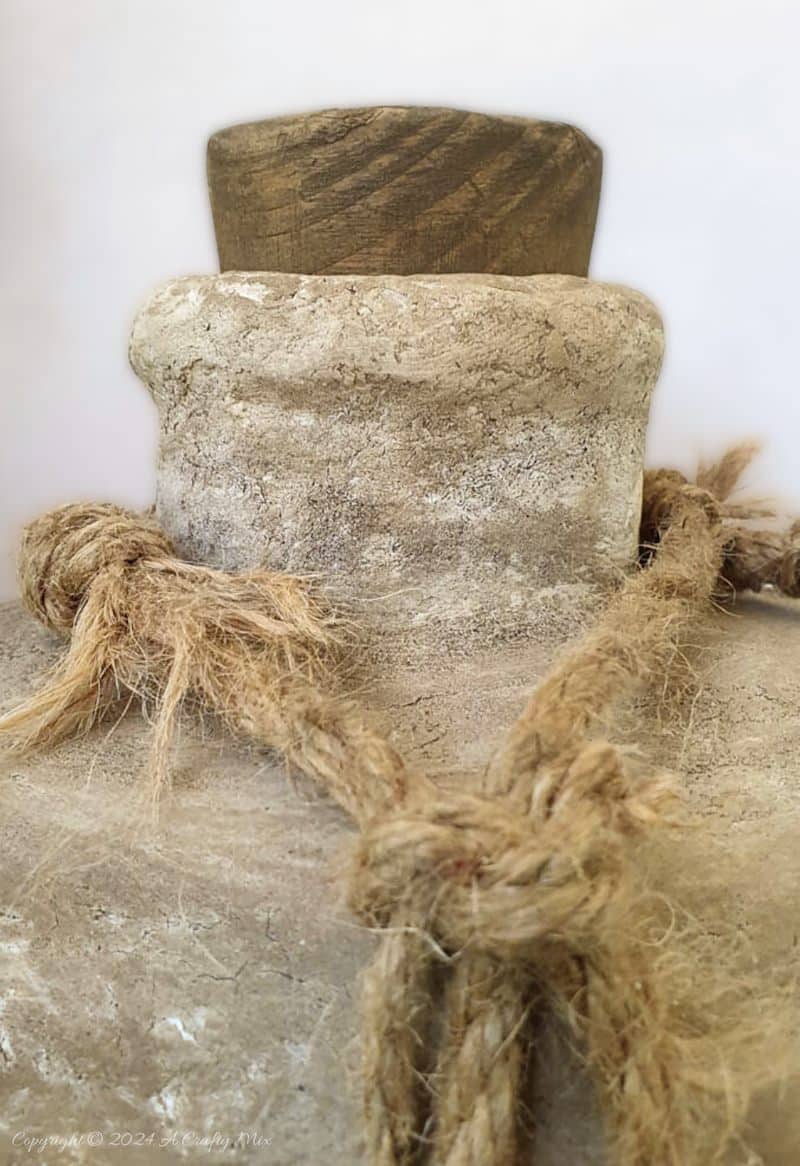
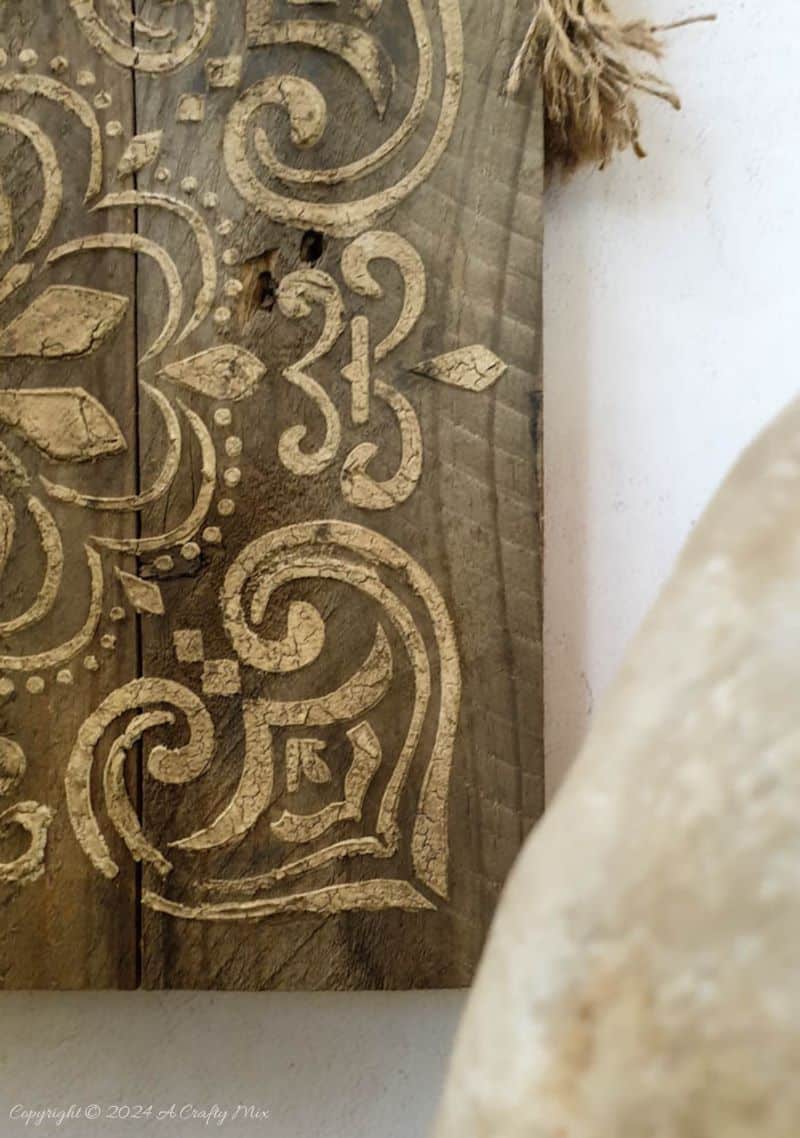
The new wooden lid got a good sanding before I mixed up a batch of homemade stain using oil paints and turpentine. A few good smacks with a large pebble gave it that well-worn and battered look I was after.
Now we just need to give that new curvaceous basket top a grungy, clay-like appearance. And the best way to do that is to use some magic ageing powder that can be found for free right under our feet. Yup, I’m talking about good old-fashioned garden soil.
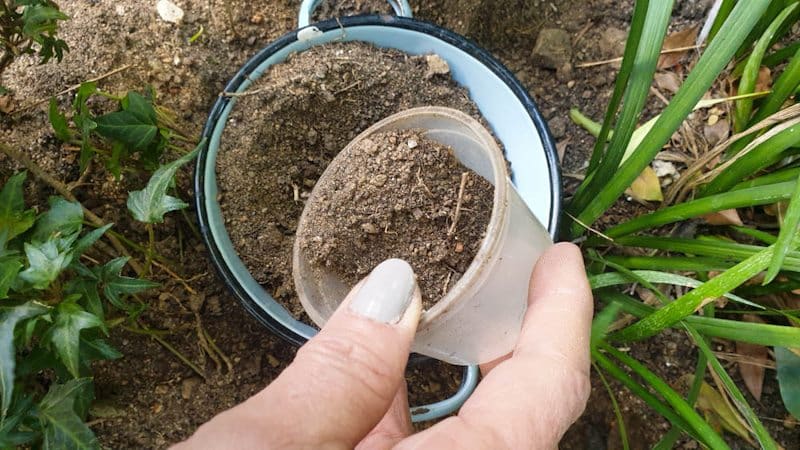
Ageing the clay basket top
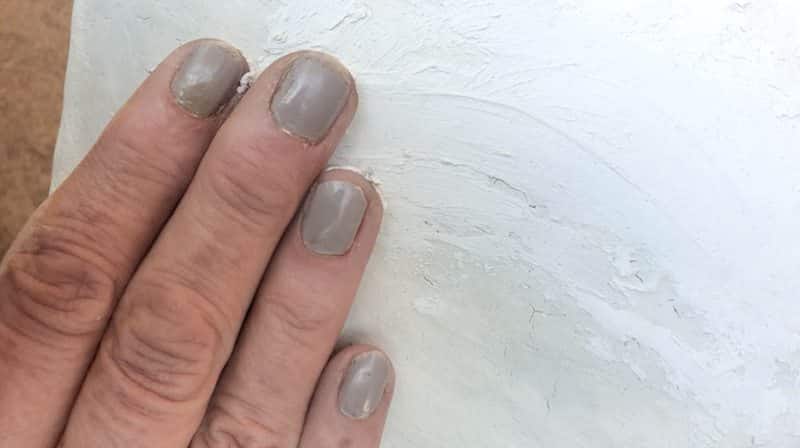
There are two ways to apply this magic powder. You can either mix the soil with water and paint it on, or you can add a layer of texture paste (homemade recipe here) to the basket top and….
… sprinkle the soil into the paste while it’s still wet.
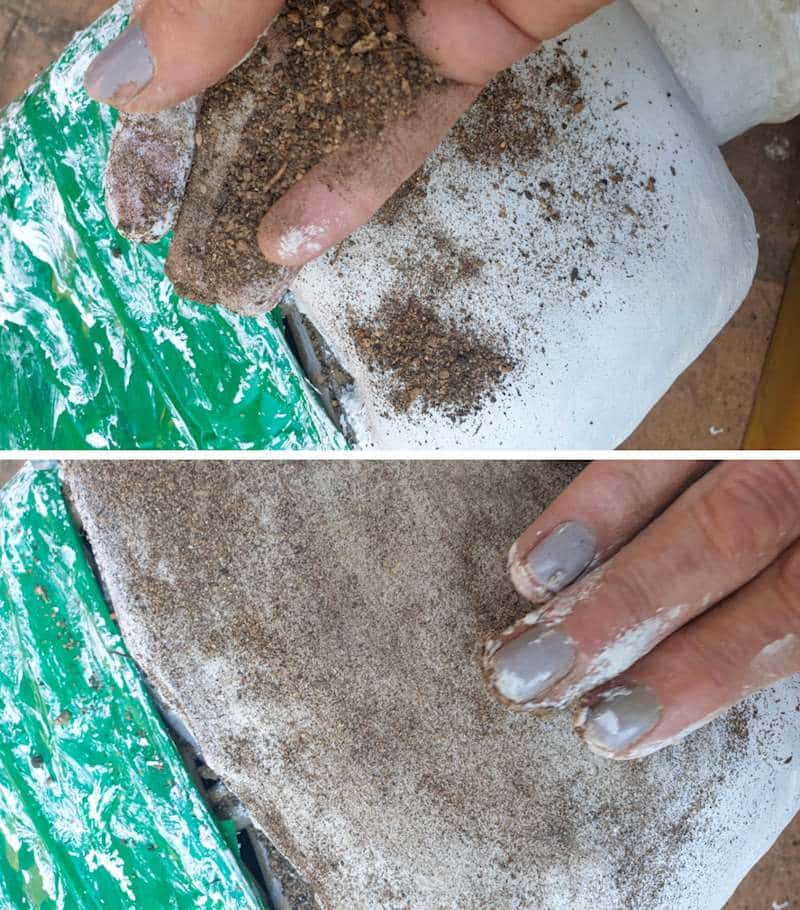
Smoosh the soil around to create contrast and texture. As the “soiled paste” dries it creates into this beautiful, lightly cracked, mottle, mud clay effect.
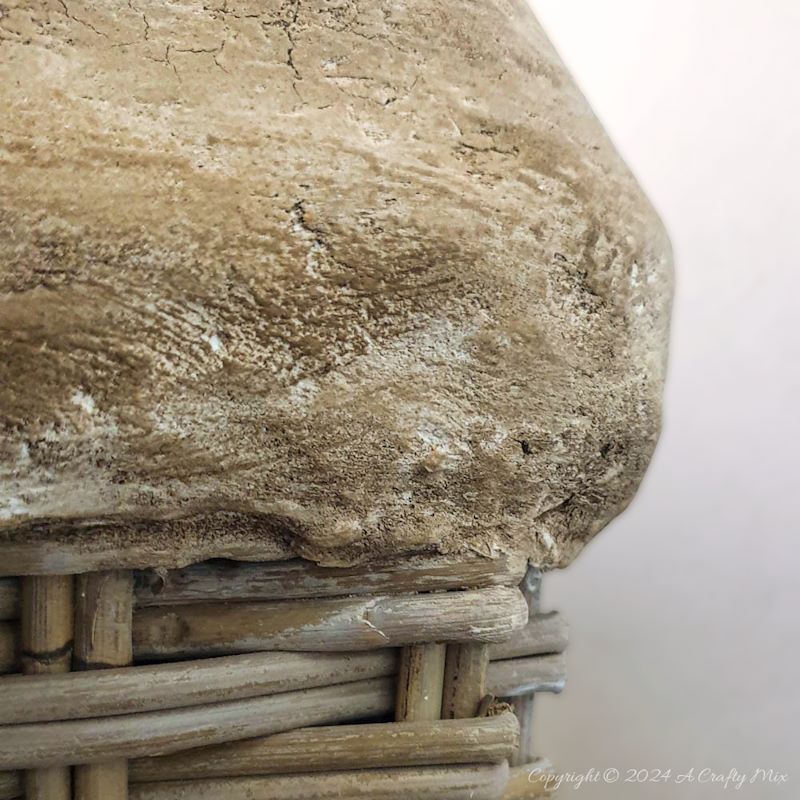
It looks like something made many, many years ago.
Pssst, you can mix soil with our homemade 3D paste to create a similar time-worn effect on wood.
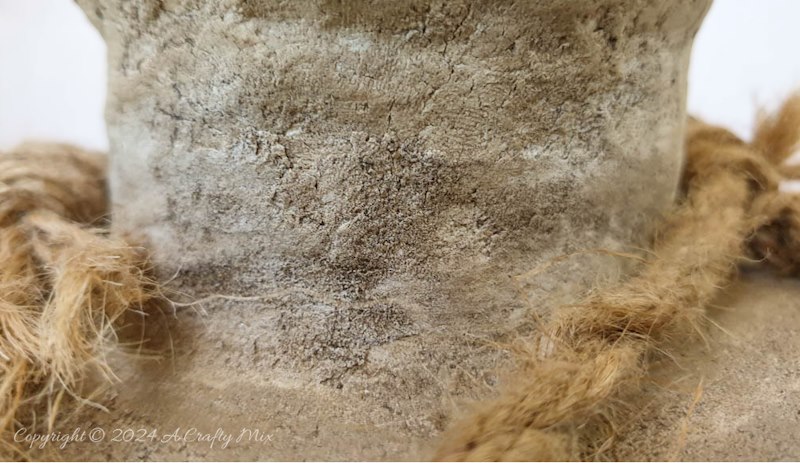
To add interest, I wrapped some rope around the neck of my repurposed new “antique” oil basket.
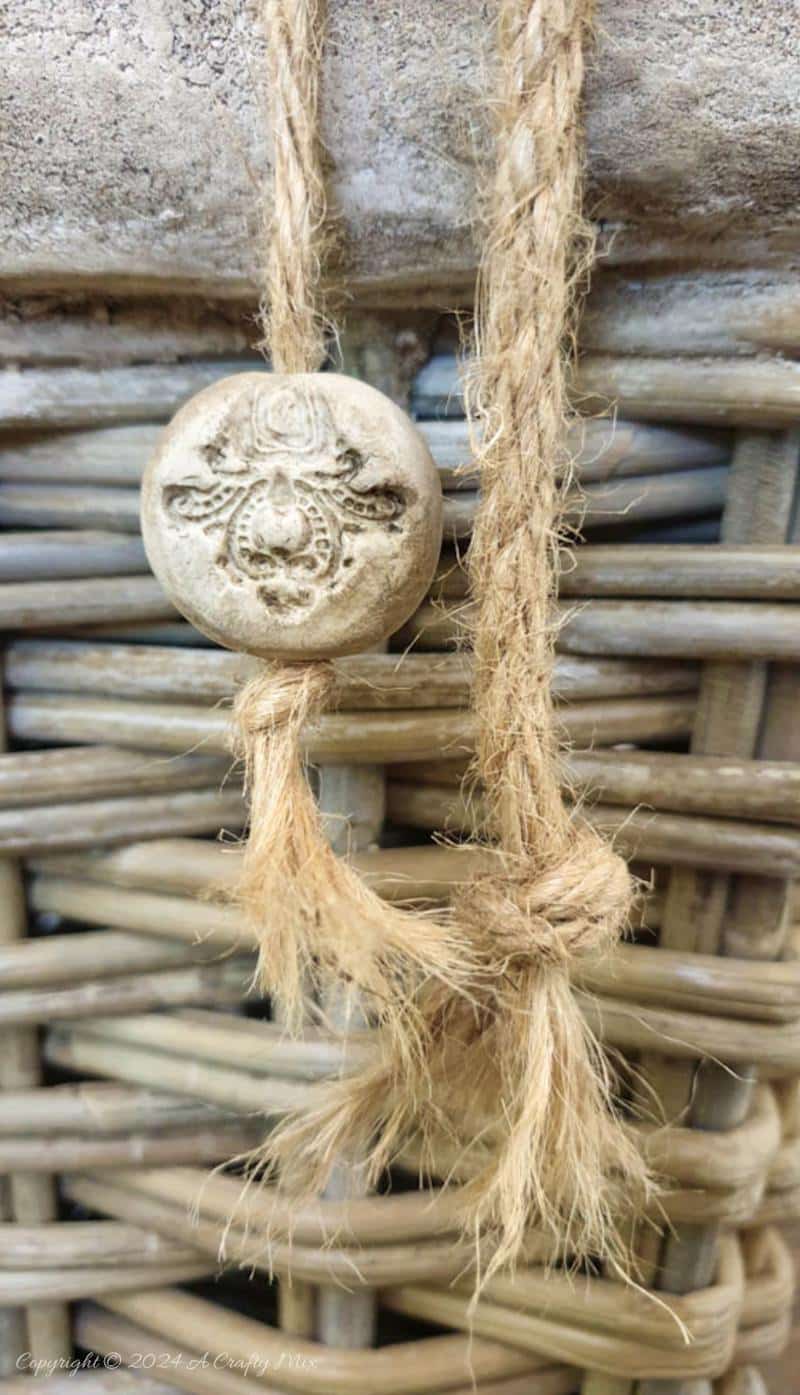
A small clay stamp finishes things off.
Here’s a quick reminder of what we started with.
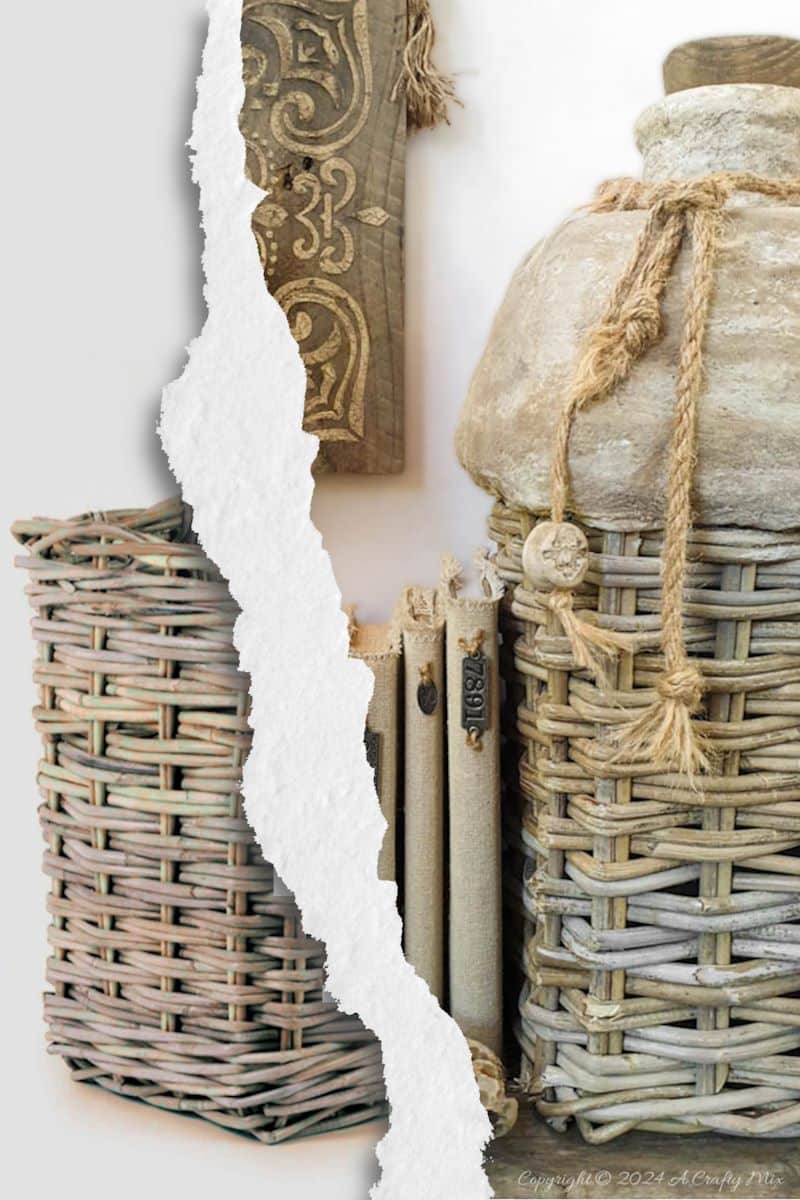
Not bad for a day’s worth of hacking, smacking, and getting messy. This must be one of my favorite makeovers of all time and it pairs beautifully with our DIY linen book covers.
But I would love to know what you think. Let me know in the comments.
If you like the idea of repurposing and making your own wicker woven oil basket, don’t forget to pin it for later.
Sharing is caring

Oh, and if you’re looking for some of the things we used, we’ve got you covered. Disclosure: Clicking on the links below, means we may receive a commission from Amazon. But don’t worry it won’t come out of your pocket, and it helps us make more amazing crafts to share with you 😉

And if you prefer to buy rather than DIY, then maybe these beauties will appeal.


And as always, wishing you a wonderful, crafty week filled with lots of love. Thank you for popping in for a visit.

Last update on 2026-06-03 / Source Amazon Affiliates