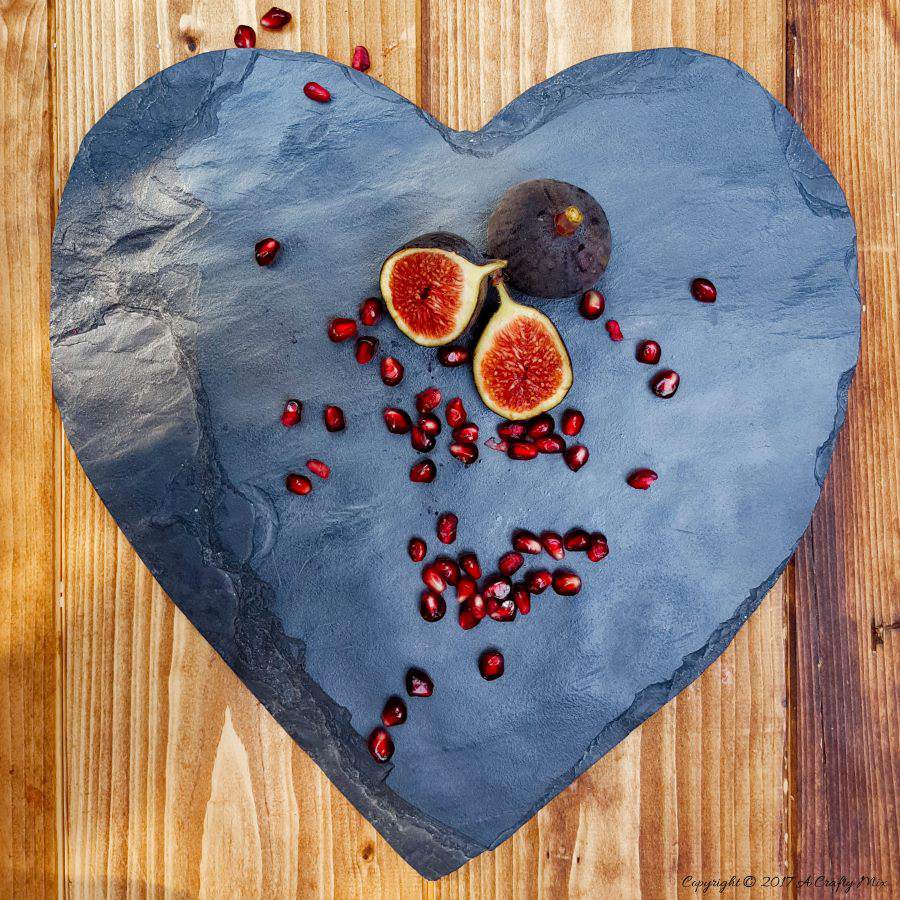
When we shared our rustic egg cup holders a few weeks ago, a lot of people asked about the slate heart we used to stage the photo and how we made it. Silly me, I honestly thought that it was almost too easy to share, but sometimes, the best DIY projects are the simplest.
How To Make a Hand Crafted Slate Serving Board
The gorgeous slate heart serving boards take about an hour to make and hardly cost a thing. With Mother’s Day around the corner, it might just be the perfect gift too 😉
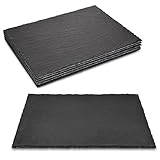
All you need is a piece of slate. You should be able to find some at builders’ yards or tiling shops. If you’re in South Africa, then go to Builder’s Warehouse peeps. They have them in the back, and you can pick and choose the thickness and colors.
Learn to embrace a blank slate
You’ll also need a spray bottle filled with water, pliers, a rubber mallet, safety gear, a tile cutter, and a tile file.

Before we get into the how-to, I just want to chat a little about tile cutters.
Tile Cutters
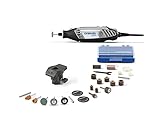
You can use various tools to cut slate. A wet tile saw, a regular circular saw with a tile blade, an oscillating multi-tool, or even a tile nipper all work. But we prefer using our Dremel and attaching a diamond tile cutting wheel. It’s lightweight, and the smaller blade makes it sooo much easier to cut the rounded edges at the top of the heart. It’s like using a girly-man tool. (I’ll add an affiliate link at the bottom of the post for your convenience). If you don’t have a Dremel, no worries; many hardware stores will rent them out for the day. So you can play without paying too much.

RightyO, be sure to follow us on Facebook, Twitter, Pinterest, or Instagram. And don’t forget to subscribe so you’ll never miss a post!
Making the Heart Shaped Slate Serving Board
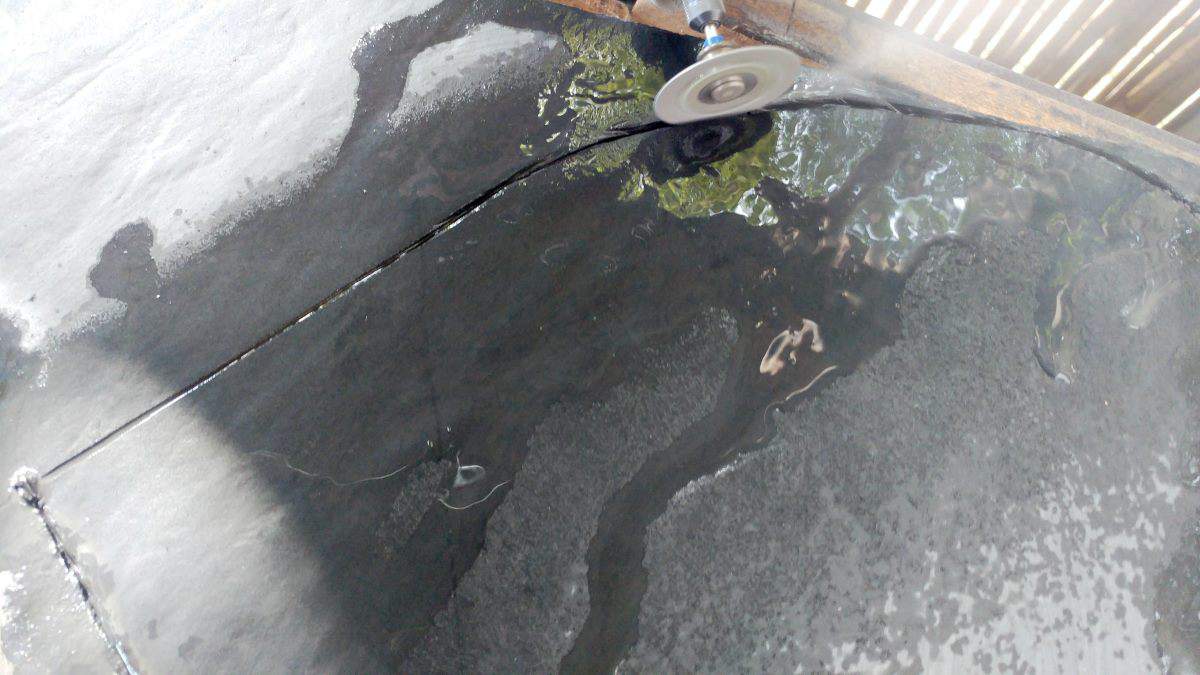
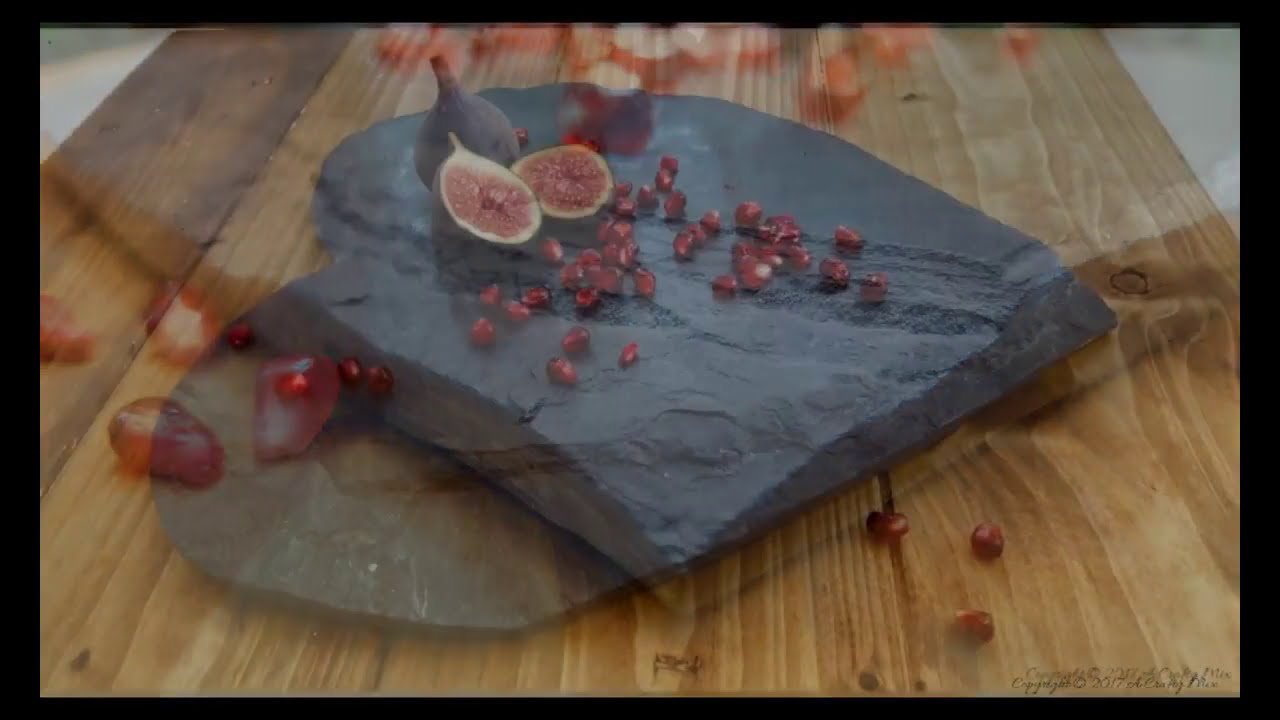
To make the heart shape, score a heart onto the slate using a sharp knife or pointy stick. You could also use a permanent marker to draw the heart. When you’re ready to start, spray the slate with water, turn on the cutting tool, and start cutting. The water helps lubricate the blade and eliminates airborne dust. Oh yeah, and don’t forget to put on a dust mask and all your protective gear. That fine dust you see in the picture below is hot, so please be careful.
You don’t need to cut all the way through the slate. About 5 mm (1/8”) should be more than enough. Once you’ve cut all the way around the heart, use your pliers to break off the outer edges. They break off really easily. We saved all those little bits and used them to tile our tiny bathroom and transform cardboard into a tray. But if you want to be really adventurous, you can always learn a new skill and turn them into arrowheads and make some bookends 😉

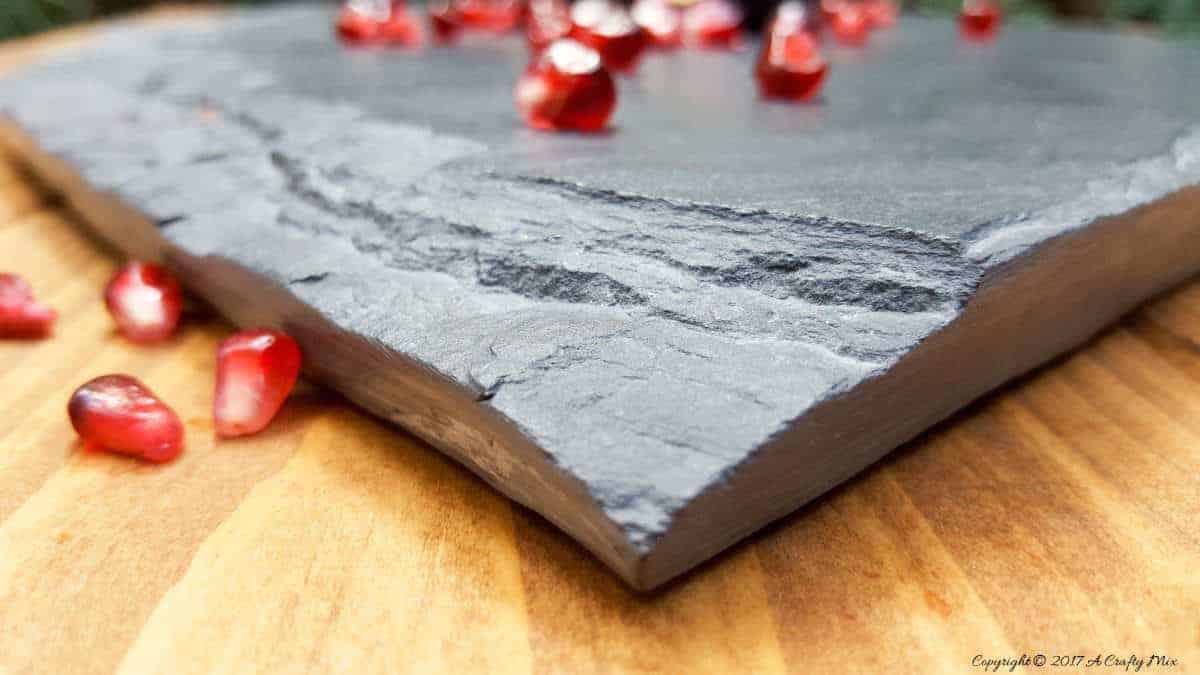
To break off the larger pieces, a light tap with a rubber mallet works beautifully. The slate should break all along the “fault” line you made with the cutting wheel. If there are any sharp edges, you can get rid of them with a tile file. Just sand them away. Slate has a tendency to stain, so it’s best to put on a food-safe tile sealer if you want to use it as a serving board.
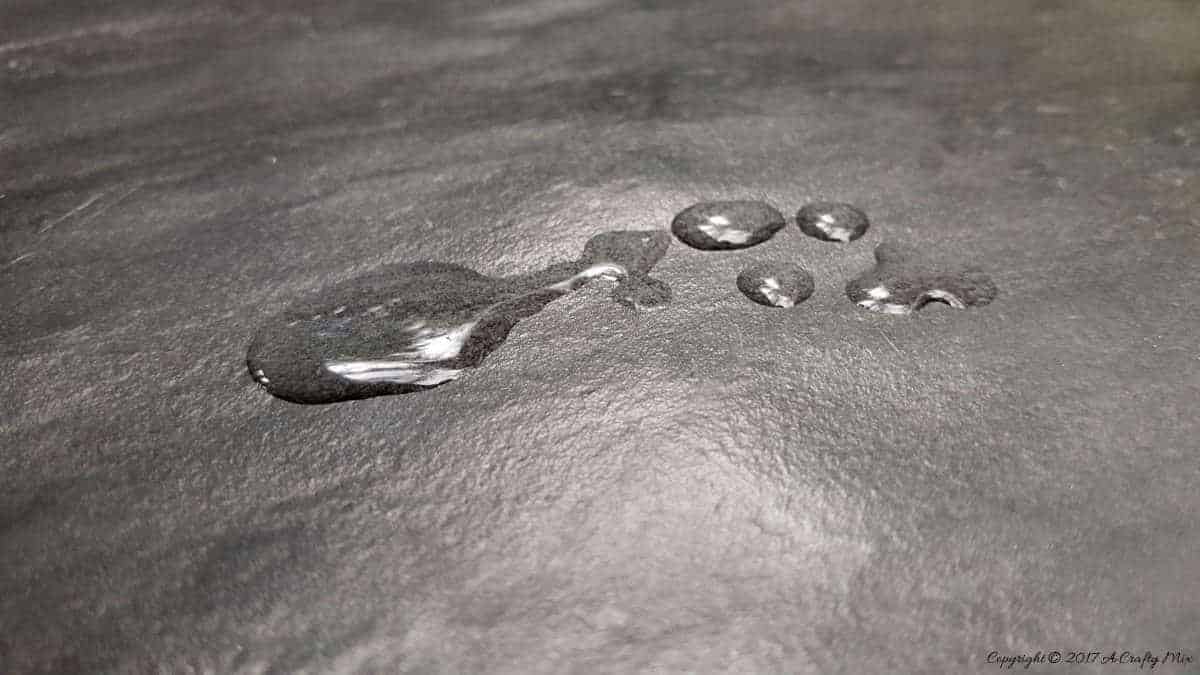
The sealer also gives it a beautiful sheen and brings out all those gorgeous “slatey” colors. Slatey is a word, right!!?
Having a clean slate to start with is absolutely great

Isn’t that slate just beautiful?

If you like the handmade slate serving board, why not pin it for later 😉

I wasn’t sure if a few words and pictures were enough to explain how easy it was to make, so we’ve uploaded a video just in case. We’re still learning how this whole video thing works, so please let me know what you think. Editing a video is way more complicated than cutting a heart in slate.
Did the video help? I hope so, but if you’ve got any questions, please ask away in the comments. I’ll do my best to answer them. Oh, before I forget, if you’d like to make something similar or prefer to buy rather than DIY, we’ve got you covered. Disclosure: Clicking on the links below means we may receive a commission from Amazon. But don’t worry, it won’t come out of your pocket, and it helps us come up with more crafty ideas to share with you.

Wishing you a beautiful week and happy crafting. Thank you for popping in for a visit.

Last update on 2026-06-03 / Source Amazon Affiliates