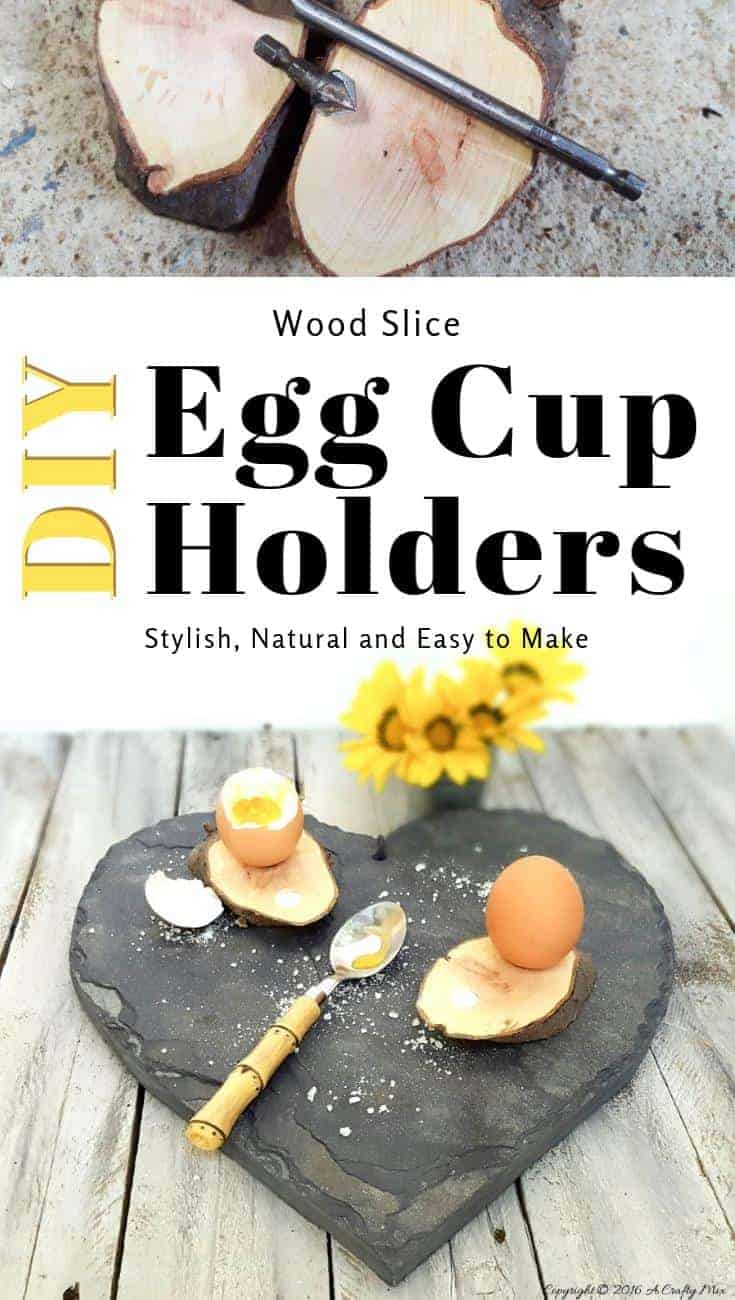
Are you planning on hosting a brunch this Easter? We’re having some friends over and hubby will be cooking up a storm. My only contribution will be the hard boiled eggs. One of the few things I can make without burning down the kitchen. Well to be honest I don’t actually make them. I have this kitchen gadget thing that you put the eggs in, set the timer and wait for it to go beeeuurrpp when they’re ready. It’s sooo easy. My only problem is I don’t have anything to serve the eggs on once they’re done, so we decided to make some of these rustic egg cups. 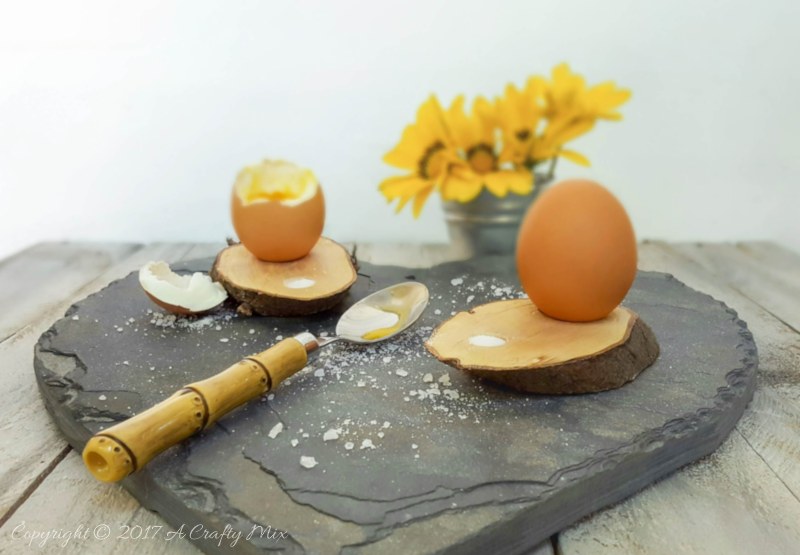 They can be used all year round and I think they’ll make a great gift for your guests too. The best part is that you can whip the rustic egg cups up in a flash, and they hardly cost a cent. A super idea for those “Oh darn, I don’t have enough egg cup moments”.
 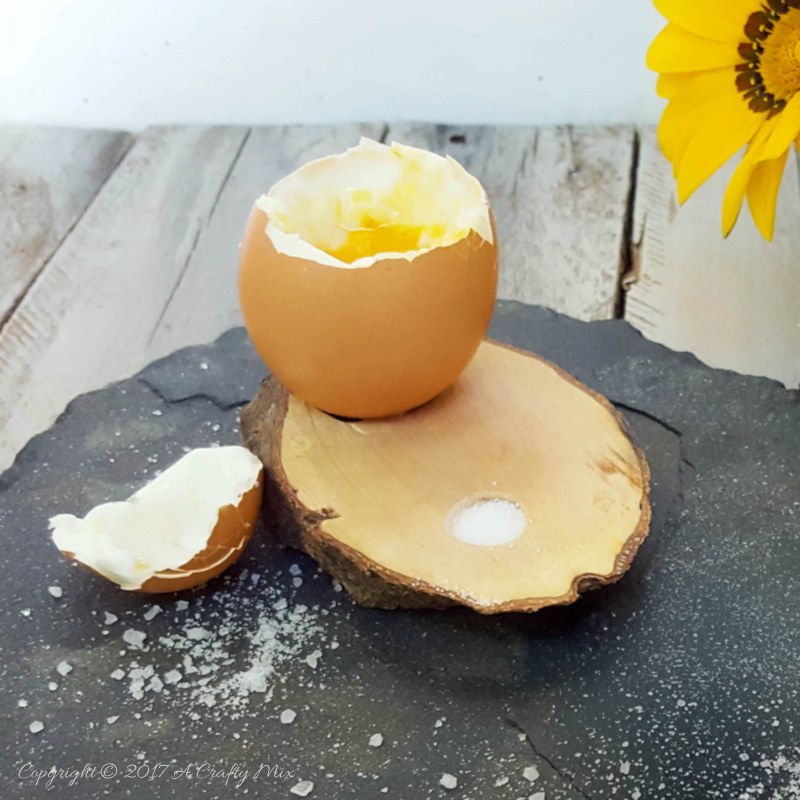 In this tutorial, I’ll show you how to make the rustic egg cups. But before we get there, follow us on Facebook, Twitter, Pinterest, or Instagram. And don’t forget to subscribe so you’ll never miss a post!
What you need
All you need is a dried branch from a hardwood tree. Think oak, birch or maple. We love using branches to make something like our towel rack and even these quirky door handles on our Unicorn Spit bathroom cupboard. They’re so versatile and add loads of character.
In God's garden of grace, even a broken tree can bear fruit.
We used a branch we cut down last year from one of our indigenous red karees. The red karee has the most beautiful, dusky pink wood grain that makes it perfect for this kind of project.

Just a branch
The branch needs to be about as thick as your arm and free of bugs and other creepy crawlies. Just smack it a few times on the floor and if anything flies or crawls out, pick another one. You’ll also need:
- Food safe wood finish
- A 28 mm (1 1/4″) spade bit
- A countersink bit
- A saw and sand paper
How To Make Rustic Wood Slice Egg Cup Holders
To make the rustic egg cups, remove any small side branches and then cut the branch at an angle into slices about 2.5 cm or 1” thick. The thicker the branch and the wider the angle, the bigger the egg cups will be.
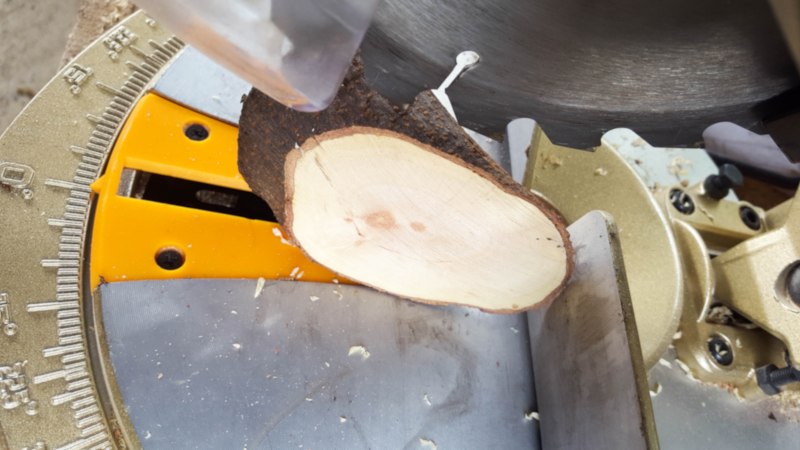
Cut at an angle
Be sure to cut a few extra wood slices to make these adorable chickens. Sand the top and bottom of the slices starting with 60 grit sand paper and work your way up to 180 grit to get a smooth finish.
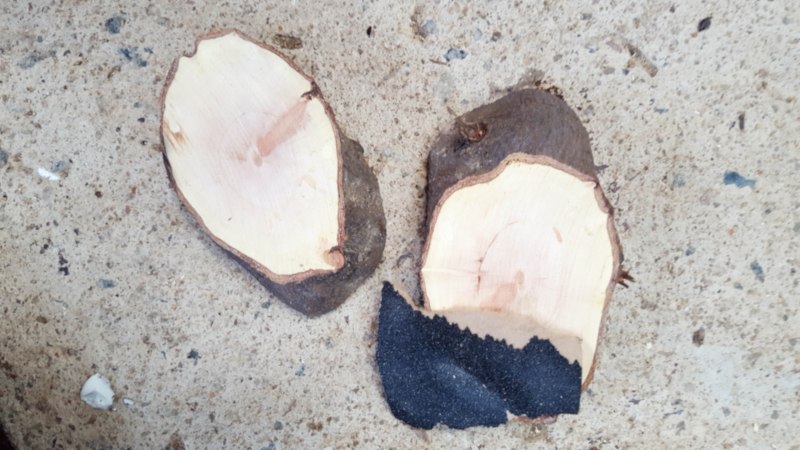
Sand the slices
Time to drill some holes using the spade bit and the counter sink bit.
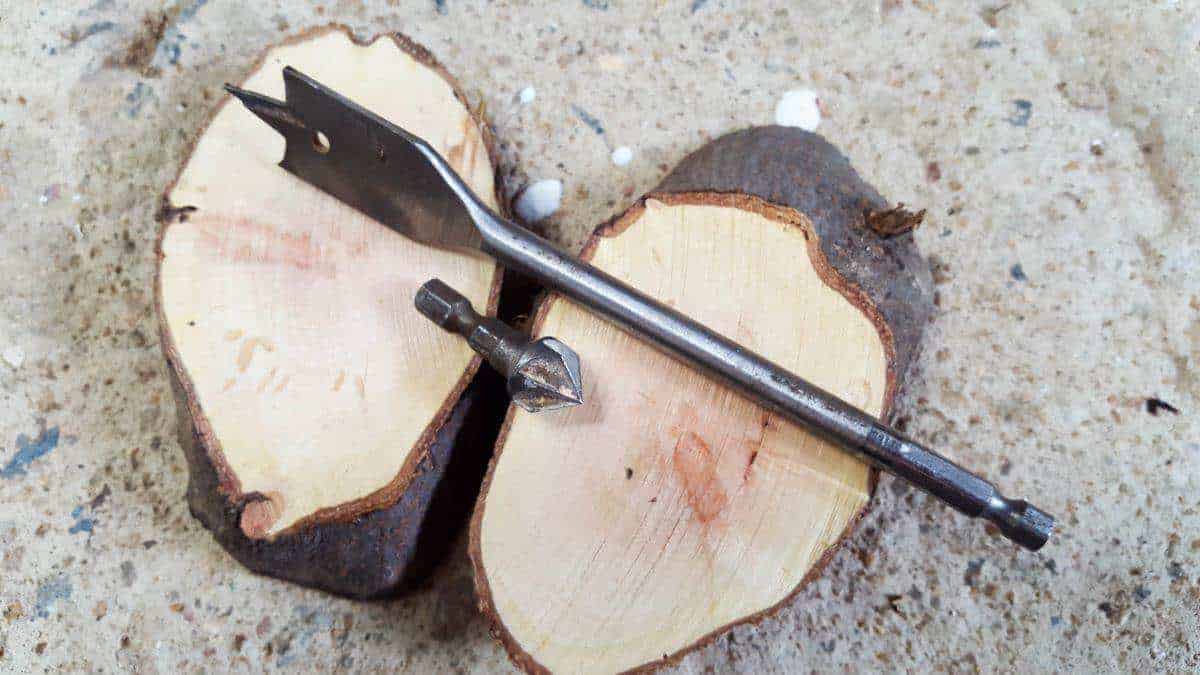
The drill bits we used
Use the spade bit to drill a hole all the way through at one end of wood slice and use the counter sink bit to drill a small indentation on the other end of the slice.

Make two holes
Sand any rough edges and spray the wood slices with white vinegar to disinfect them before applying a food safe wood finish.

Sealing the egg cup holders
We used Provencal furniture varnish to seal the rustic egg cup holders. I love this stuff, but I think it’s only available in South Africa. It goes on easy, dries pretty quickly and, best of all, it’s water, oil and wine resistant. Okay the wine bit might be an over kill at a brunch, but you can never be too careful with the friends we have. They’ll crack open a bottle of wine at the drop of a hat. If you can’t find something similar then tung oil, raw linseed oil or beeswax are all egg-cellent alternatives. All yolks and puns aside, I’m pretty impressed with how they turned out. 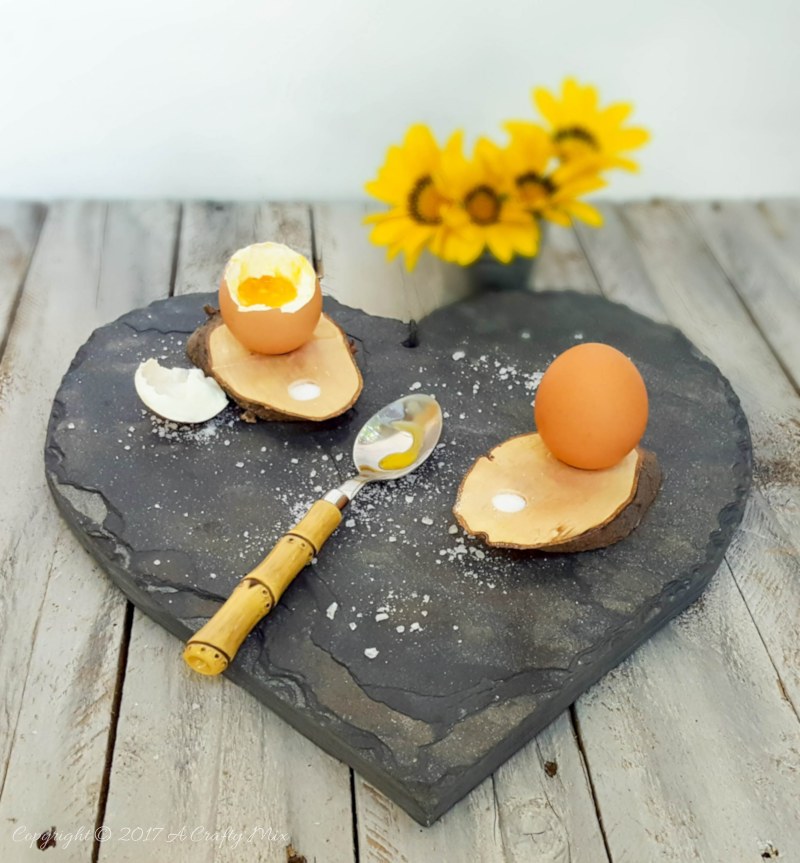 That small indentation is just perfect for a little sprinkle of salty goodness.
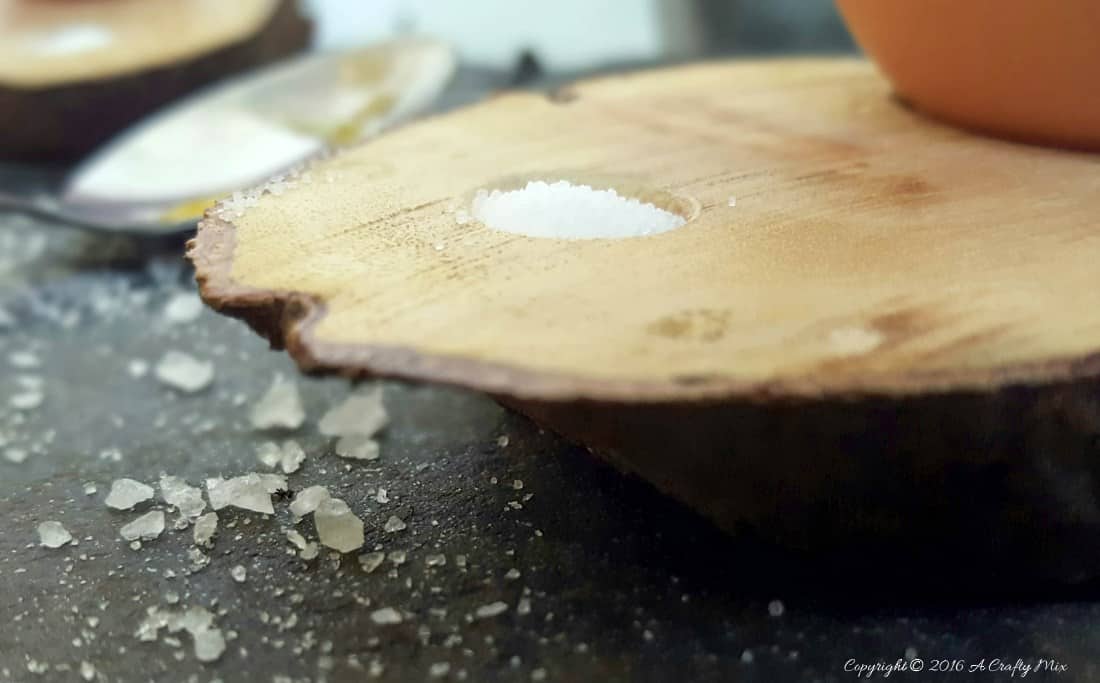
With a pinch of salt
They’re easy to store, easy to make and, bonus factor, they didn’t cost us a cent. 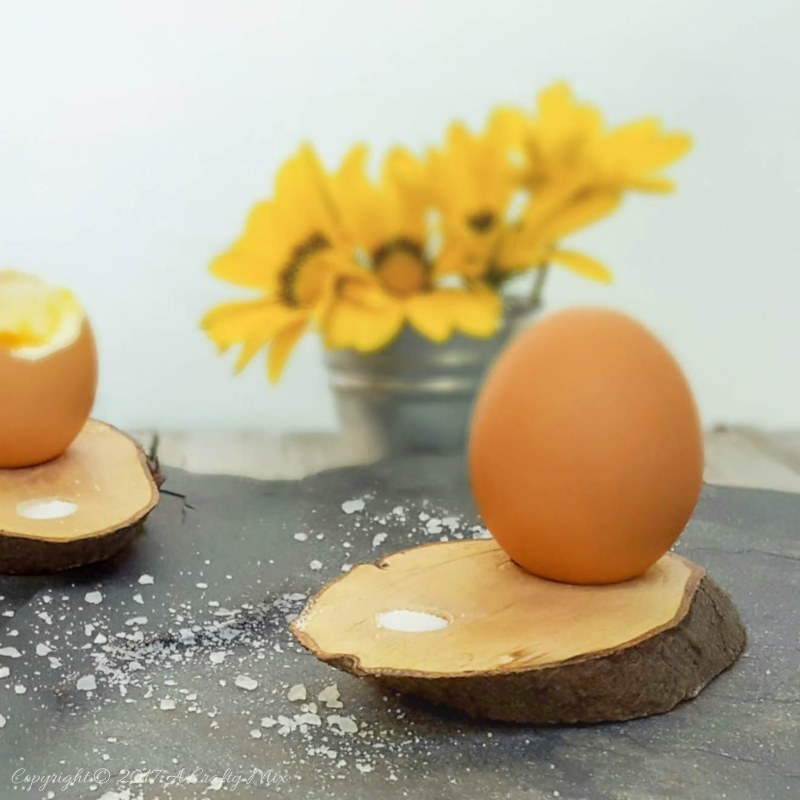 I think the rustic egg cups look great on the slate heart serving board.
If you like the idea would you mind pinning me?
 How will you be celebrating Easter? I’d love to hear about them and you’re welcome to egg me on with some egg puns. They’re always crack me up. Oh before I forget, if you’d like to make something similar or prefer to buy rather than DIY, we’ve got you covered Disclosure: Clicking on the links below, means we may receive a commission from Amazon. But don’t worry it won’t come out of your pocket, and it helps us come up with more crafty ideas to share with you.


Last update on 2026-06-03 / Source Amazon Affiliates