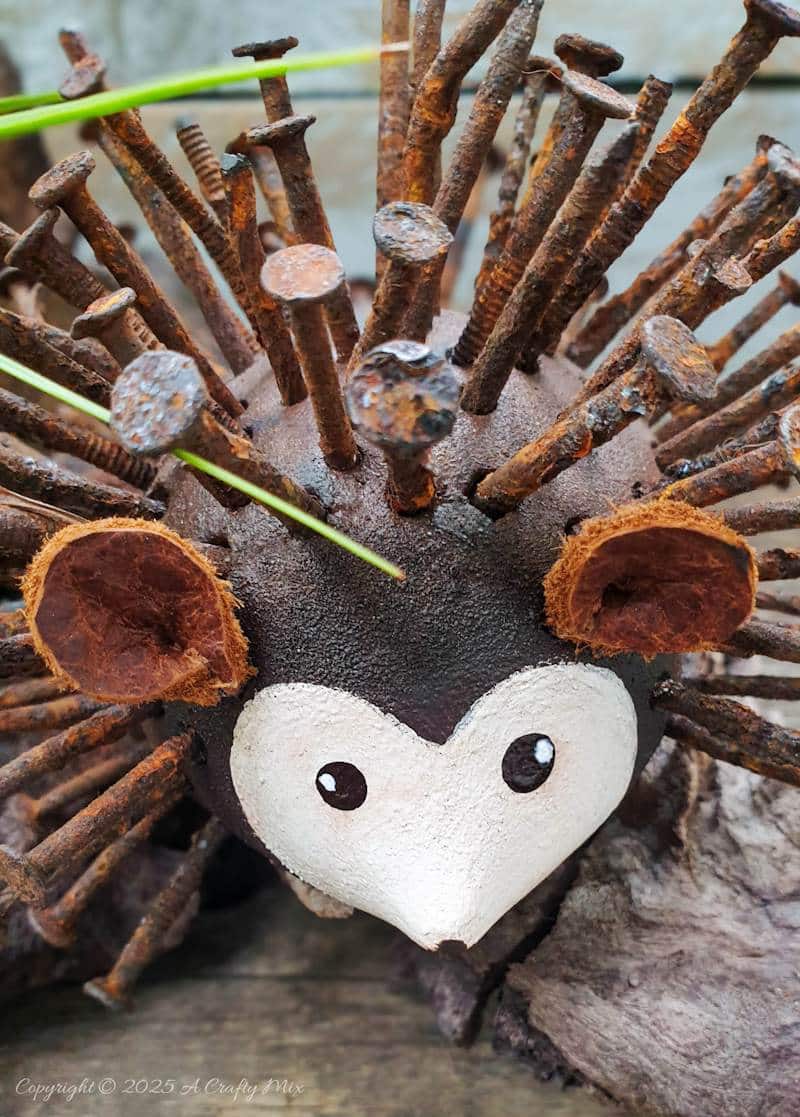
We have a lot of rusty nails. A LOT!!! They come in so handy for all kinds of things. We’ve used them to stain wood, create art, and make home decor. If it weren’t for those oxidized metal spikes, our wooden reindeer and nuzzling horses wouldn’t have a leg to stand on. But none of those things have made a dent in our collection. Until now. ……. Meet Prickles, our adorable rusty nail hedgehog.
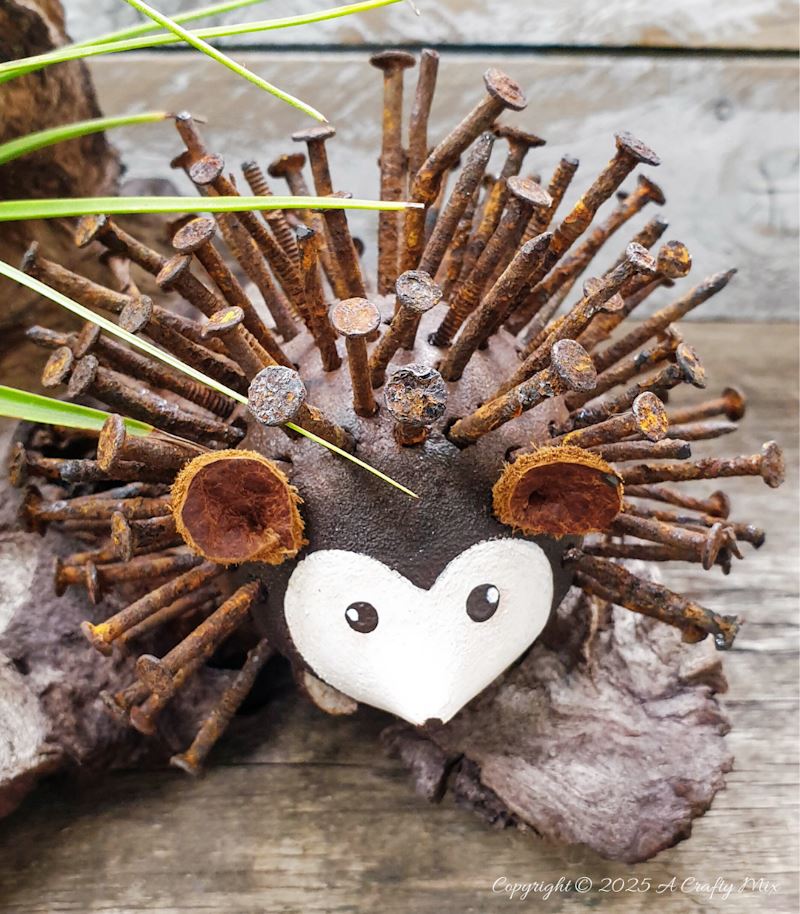
Who would have thought that bent, discarded iron could be so cute?
If she wasn’t so prickly, I’d give her a cuddle. 😉
This easy clay craft is perfect for anyone who loves upcycling, hedgehogs, or just wants an excuse to use up all those weathered, metal spikes.
In this tutorial, I’ll show you how to make your very own rusty nail hedgehog. But, before we get there, do me a favor and follow us on Facebook, Twitter, Pinterest, or Instagram. And don’t forget to subscribe so you’ll never miss a post!
What you need
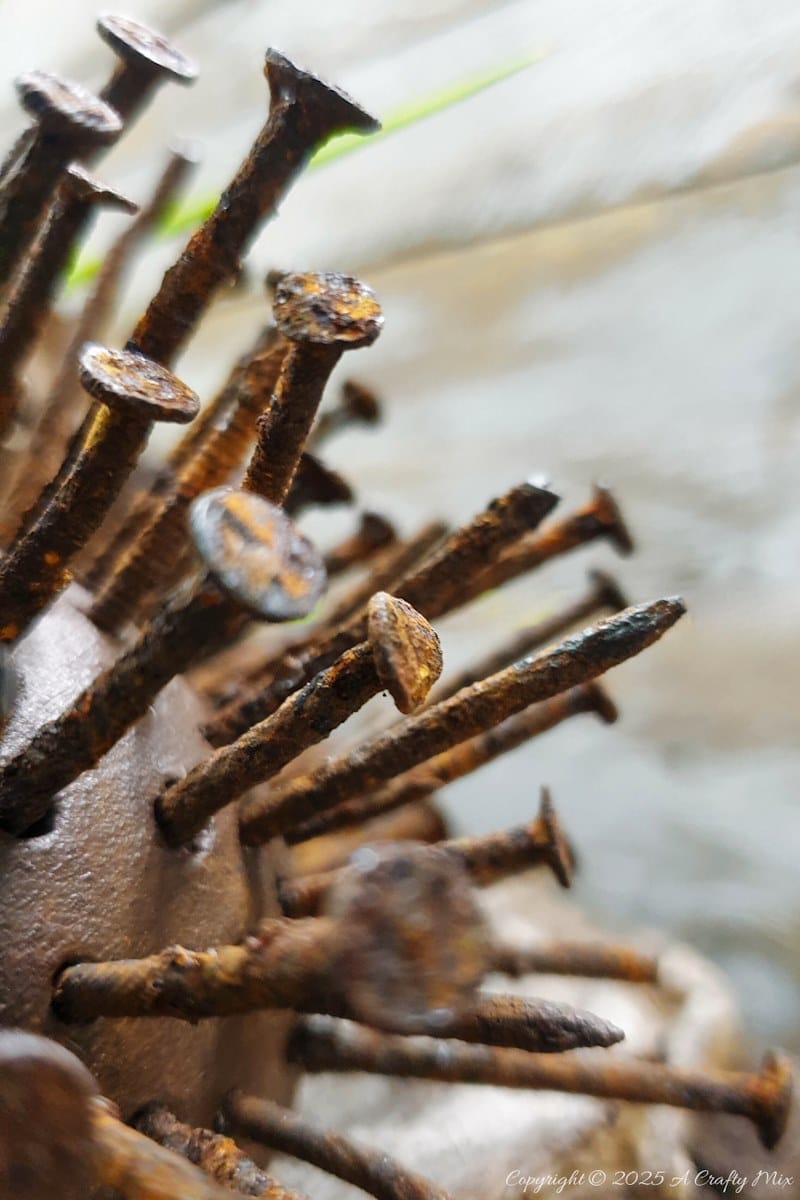
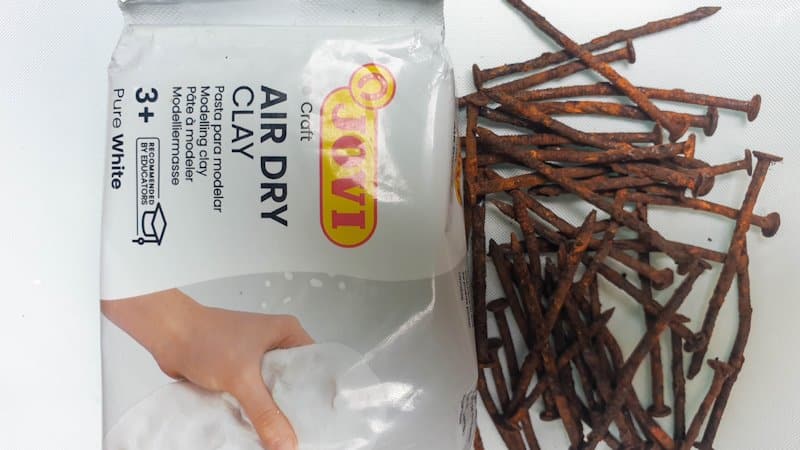
When it comes to crafting, rusty nails might not be the first thing that comes to mind. But for this idea, you need quite a few that are roughly the same length. If you don’t have any lying around, you can use shiny new nails too. You’ll also need:
- Aluminium foil (tin foil)
- Air dry clay
- White and Brown craft paint
- Paintbrush
How to make a Rusty Nail Hedgehog
Prickles the Hedgehog has a clay body. Now, I don’t know about you, but that stuff can be pretty expensive. So, to keep the costs down, I used aluminum foil to bulk out her body. I used the same technique when I made the centers for these extra large mosaic flowers. Gently crumple the foil into a ball.

Shape the ball into something that resembles the piccy below. Hedgehogs have a small, pointy nose, so you want one end of the ball to taper outwards.
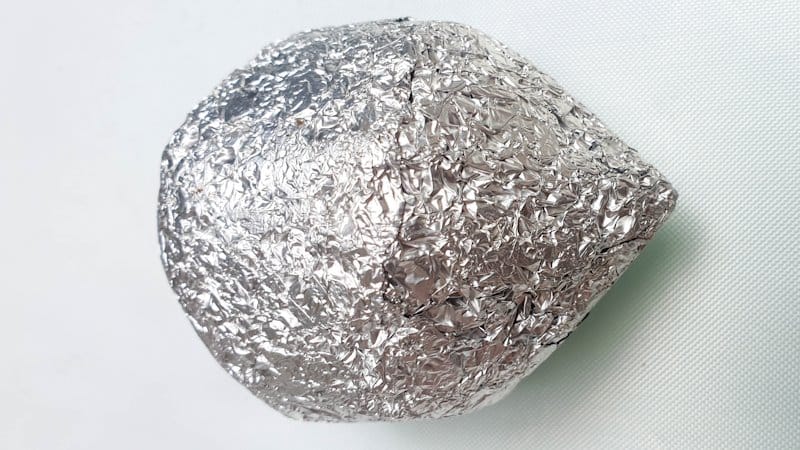
Add layers of foil until you’re happy. You can use a bit of tape or glue to secure foil layers together.
Adding Clay to the foil
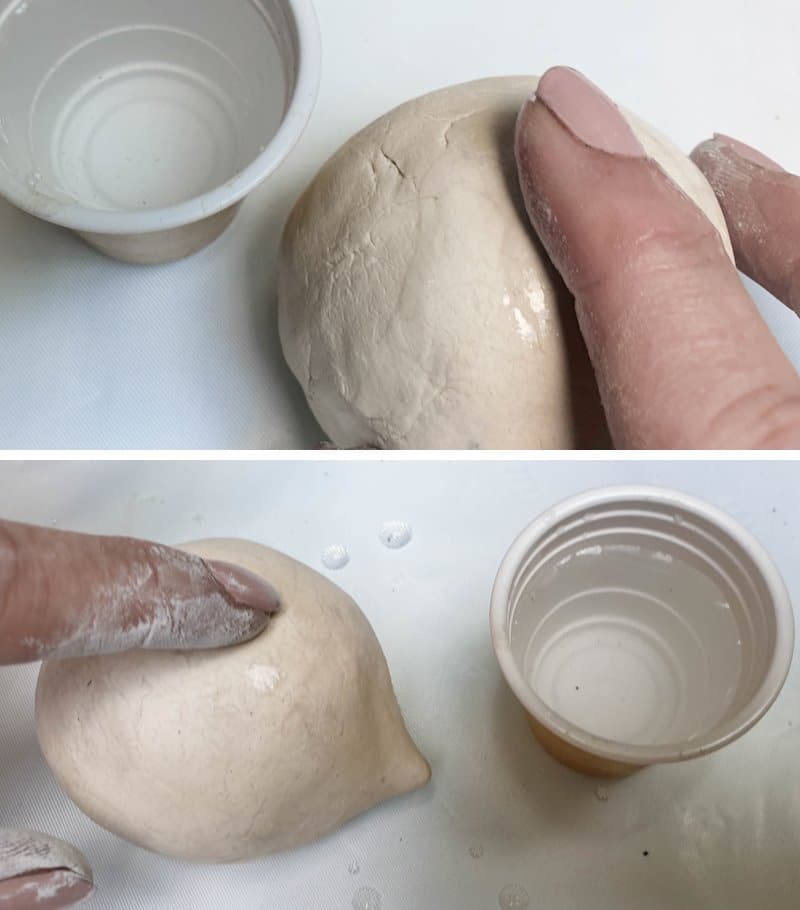
Grab a hunk of clay and condition it between your fingers. Roll the clay out so it’s about 5mm thick (1/4”).

Place the clay over and around the foil body.

Smooth out any cracks, joins, or imperfections with a little bit of water.
You should end up with something like this.
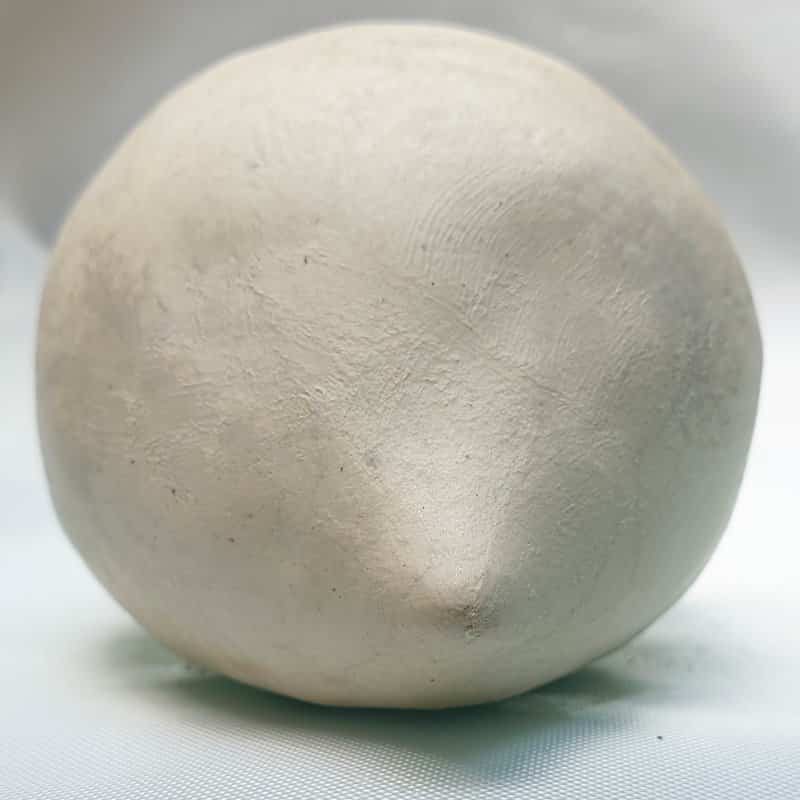
Front View
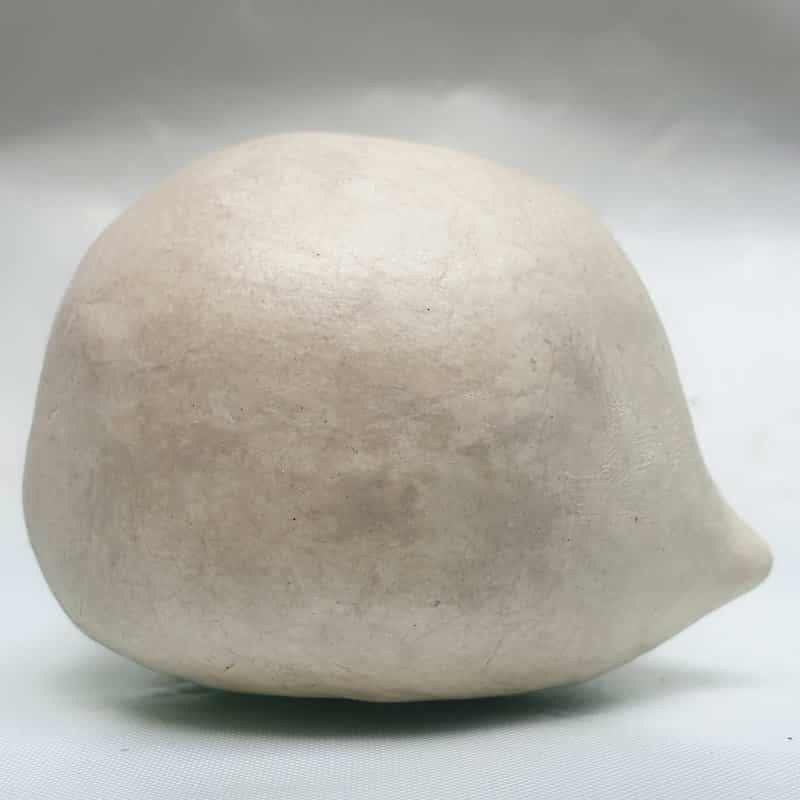
Side View
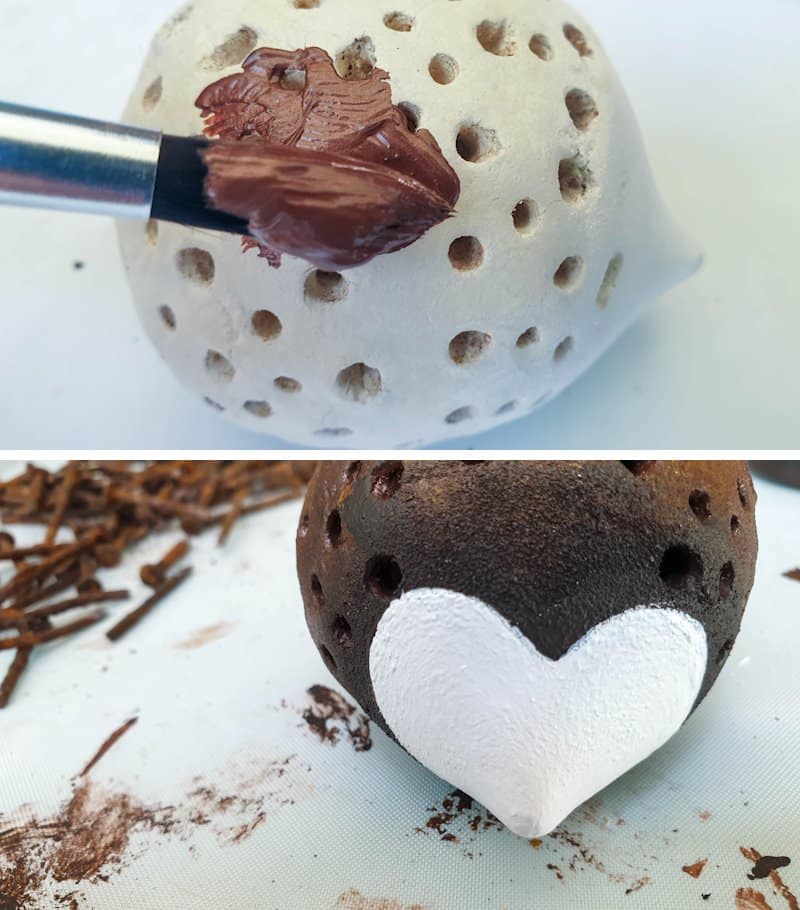
While the clay is still soft, poke holes in the body but leave the face area smooth. When you make the holes, push the rusty nail into the foil. That way, when you glue the nail inside the hole, they won’t fall out. A bald hedgehog looks a little odd.

Leave the clay to dry completely before painting the body brown and the face white.
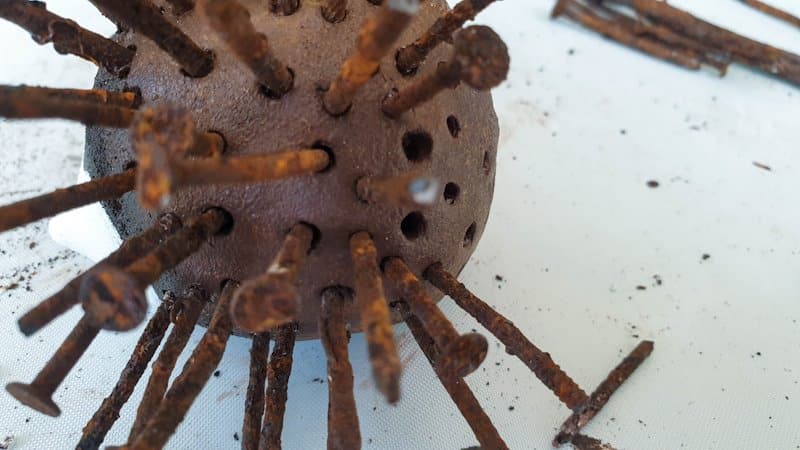
Adding spikes and ears
Add a small drop of glue to the nail tips and stick them inside the holes.
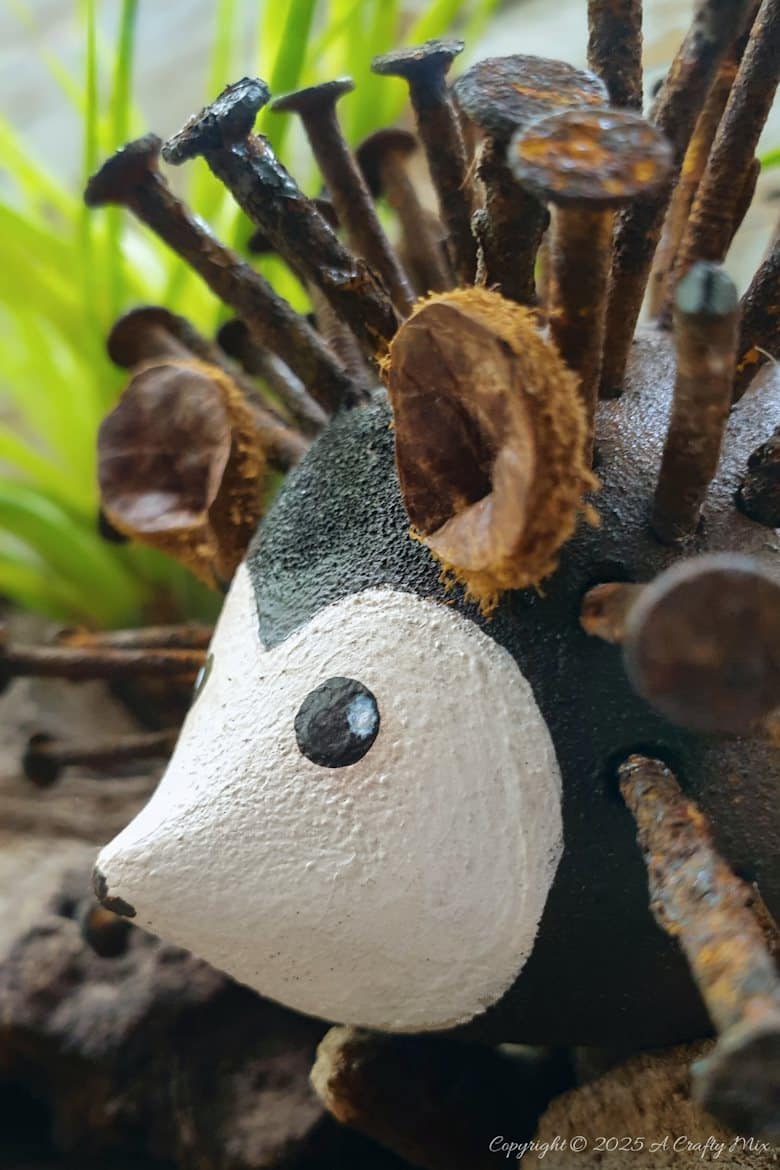
Glue on two small ears. I used leather offcuts, but any stiff fabric will work.

Dip an earbud in brown paint and dot on two eyes and a nose.

Air-dry clay isn’t waterproof unless you seal it with copious amounts of Outdoor Mod Podge or a spray-on sealer.

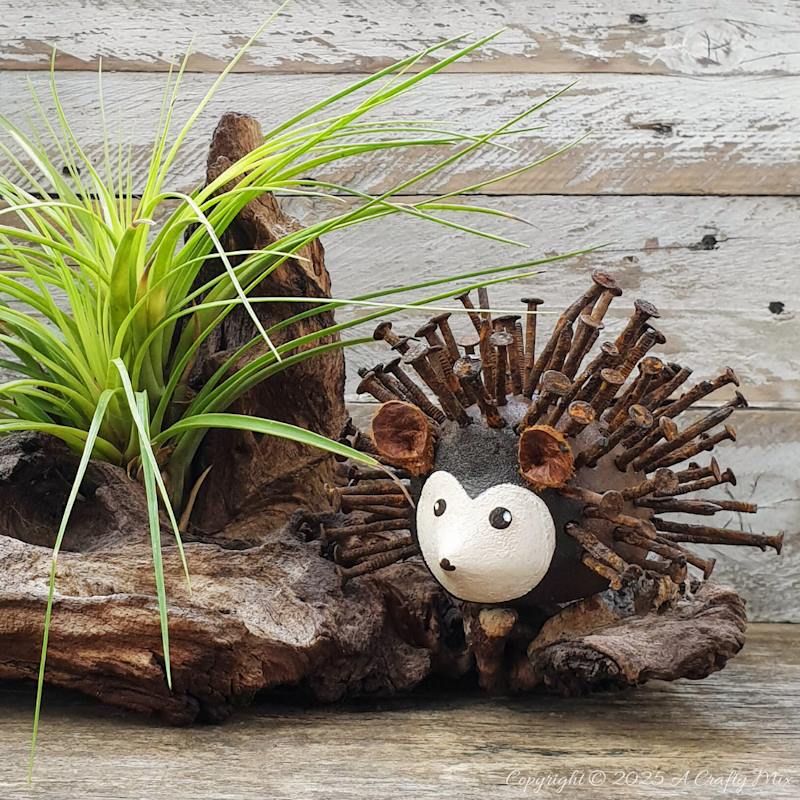
Prickles, the rusty nail hedgehog, hasn’t been sealed. So, for now, she’s safely tucked away on our patio, keeping one of our spiky air plants company.

But she would look right at home on a mantel or bookshelf too.
I would love to know what you think of this cutie. And if you have any more ideas on how to repurpose corroded spikes of metal, pop them in the comments. I still have half a bucket to work my way through.
If you like the idea of using rusty nails to make an adorable hedgehog, don’t forget to pin the tutorial for later.

Sharing is caring

Oh, and if you’re looking for some of the things we used, we’ve got you covered. Disclosure: Clicking on the links below means we may receive a commission from Amazon. But don’t worry, it won’t come out of your pocket, and it helps us make more amazing crafts to share with you 😉


Or if you prefer to buy rather than DIY.


And as always, wishing you a wonderful, crafty week filled with lots of love. Thank you for popping in for a visit.

Last update on 2026-06-03 / Source Amazon Affiliates