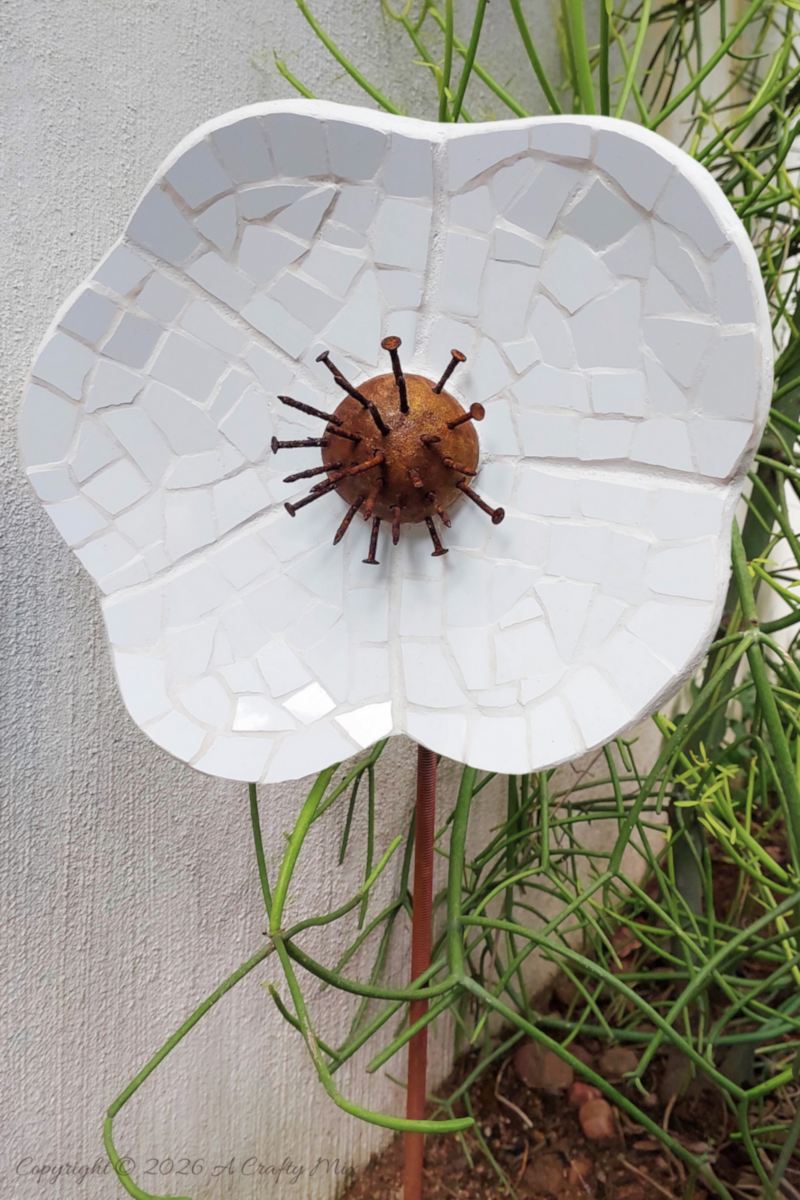
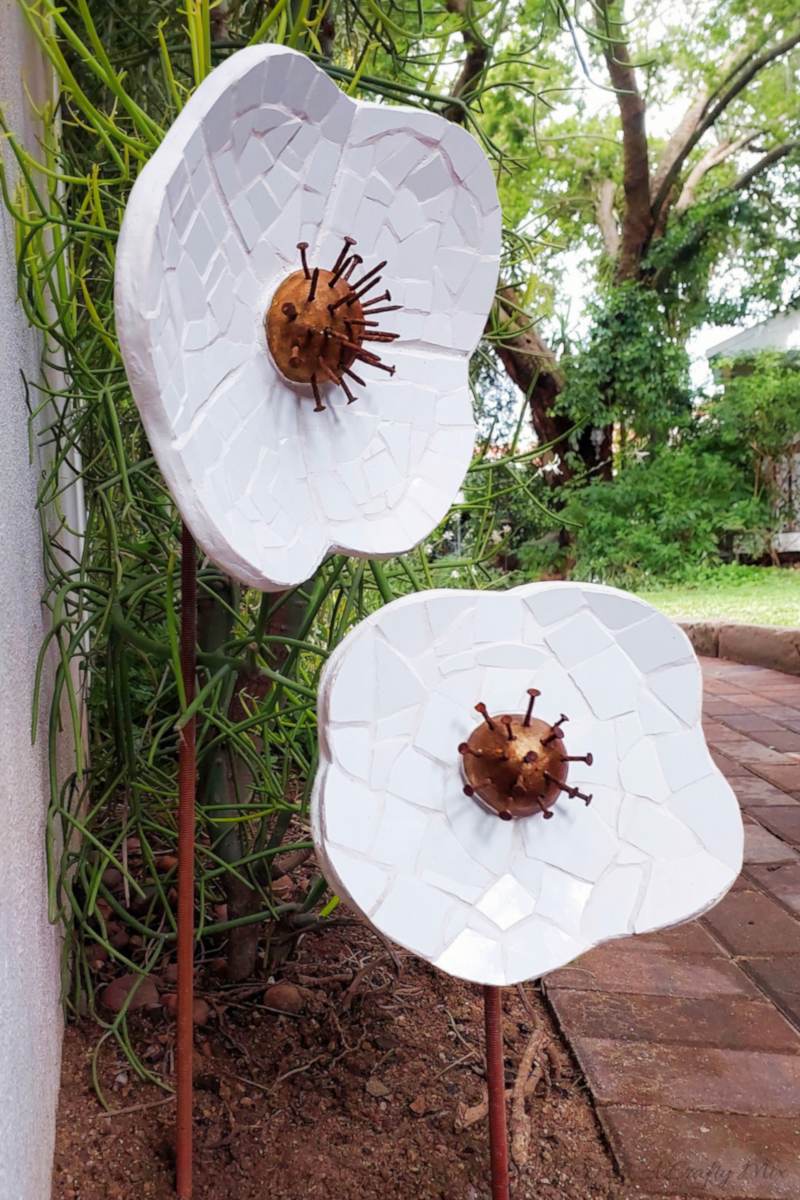
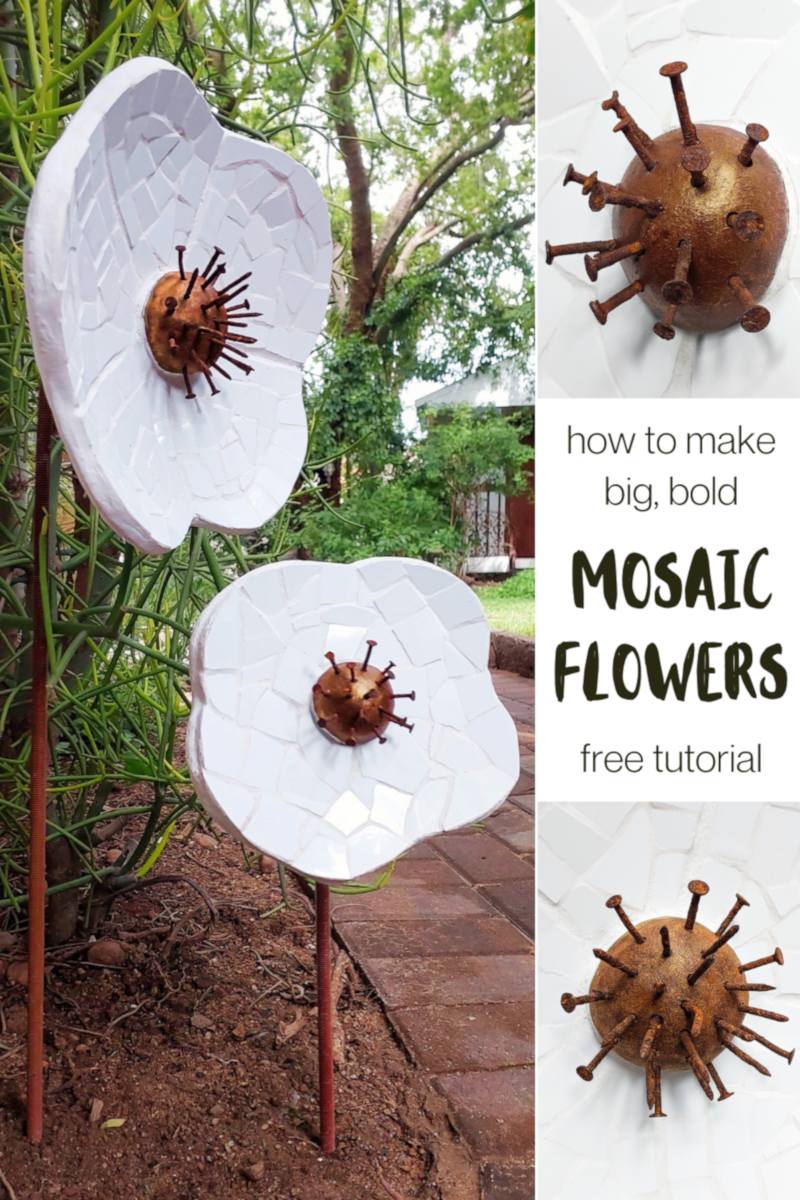
OMW, I’m so excited to share this project with you. For years I’ve wanted to create something for a dull corner in our highveld garden, and it finally happening. Ta da…. A pair of large mosaic flowers.
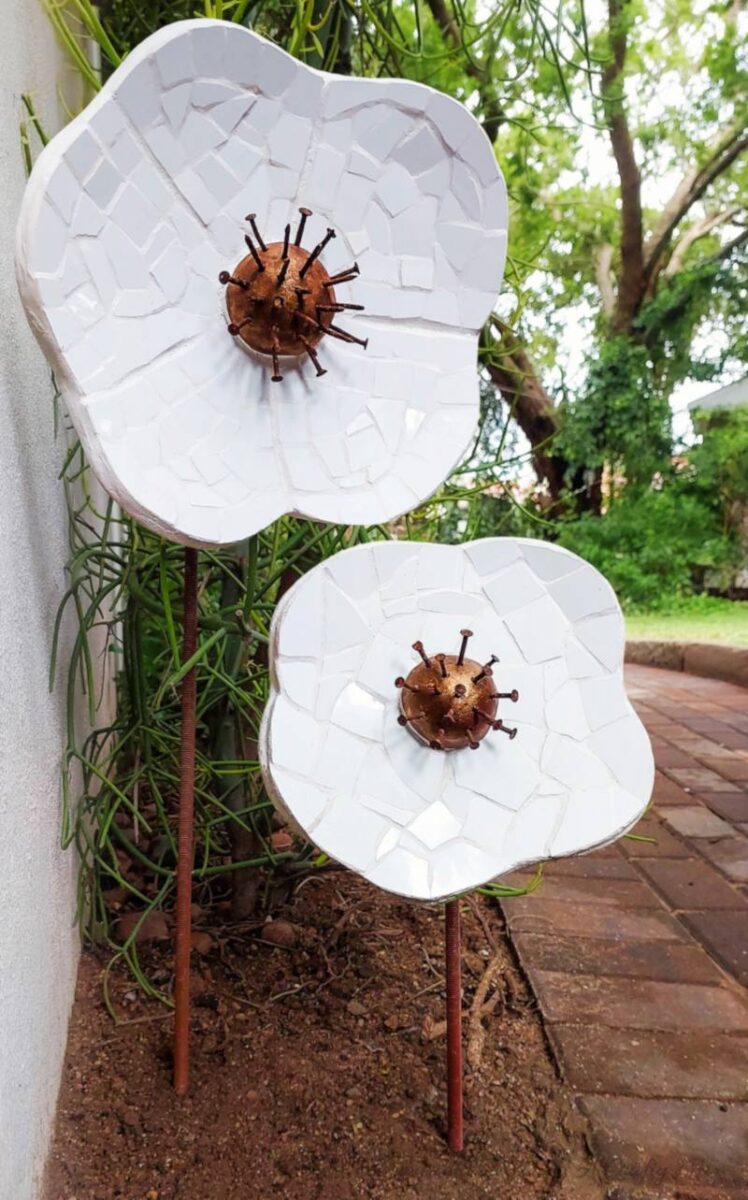
Aren’t they just perfect for that odd little corner where nothing grows?
Best of all, they’re made almost entirely from scraps and a handful of rusty odds and ends.
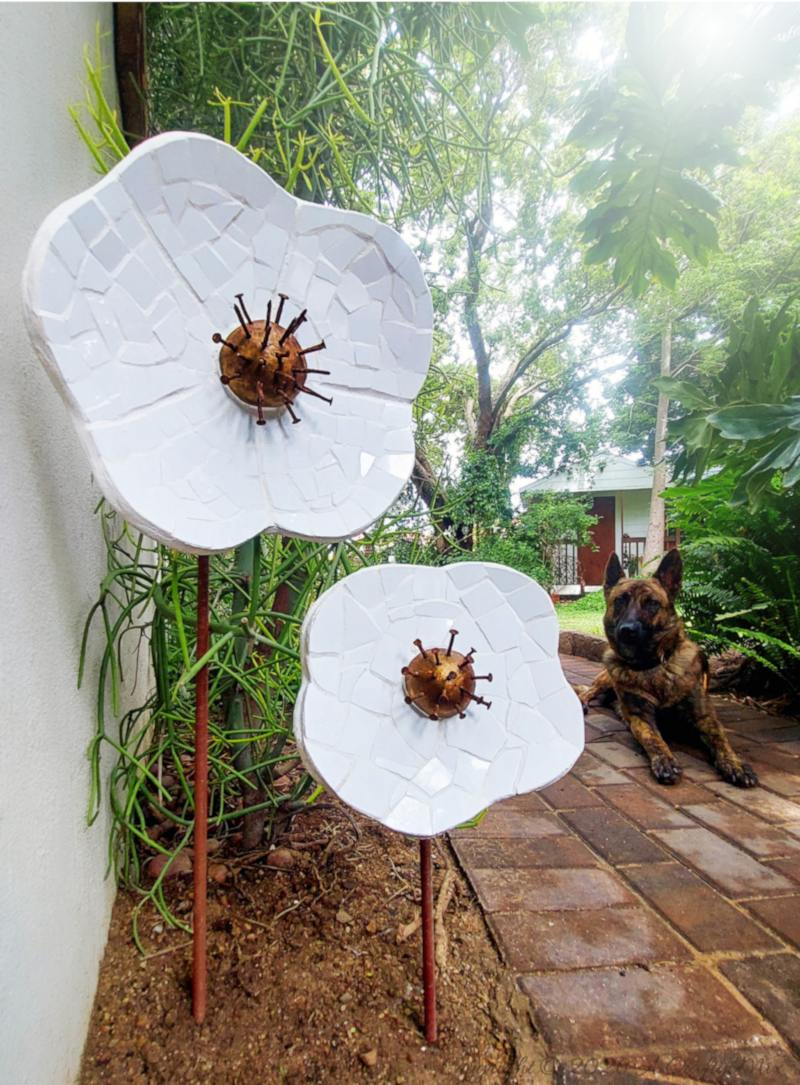
These sculptural blooms are weather‑friendly, and dog‑proof too. With our new fur baby, Meaka, they’d better be.
They’re such a lovely way to turn broken tiles and leftover hardware into a statement piece that brightens the garden all year round.
But before we get to the tutorial, do me a favor and follow us on Facebook, Twitter, Pinterest, or Instagram. And don’t forget to subscribe so you’ll never miss a post!
What you need
For the concrete flower base
- Old towel, t-shirt, or denim
- Scissors
- Dust mask and gloves
- Tile adhesive/cement
- Water
- Fine sand
- Plastic mixing container
- Something to stir the mixture
- A small tube (spacer)
- Optional – A domed form. I used a wok lid. My hubby was not impressed.
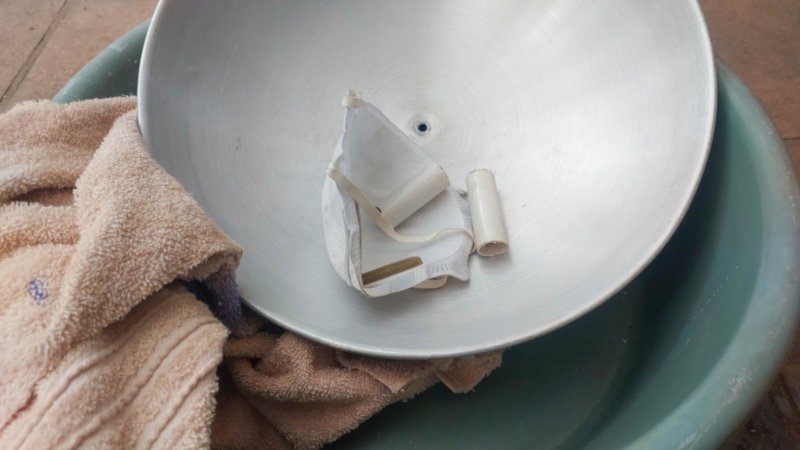
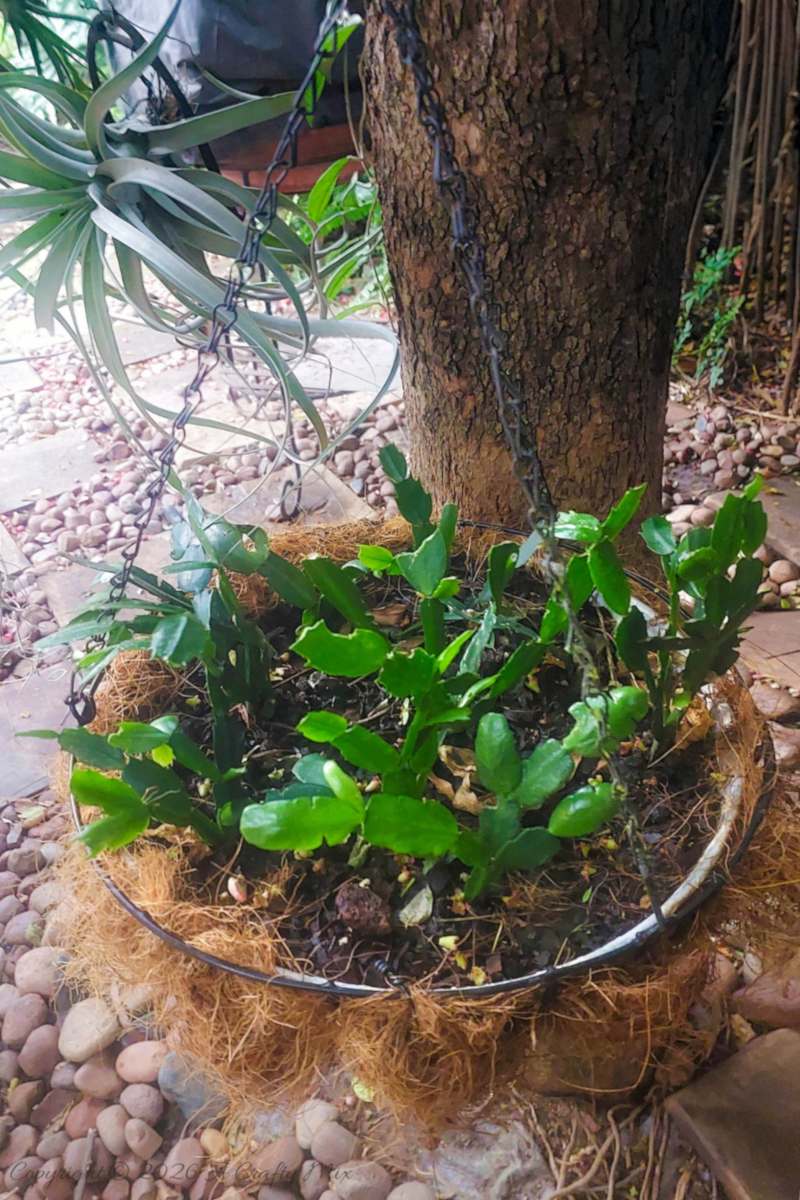
I ruined it, so find something that you won’t mind messing up. BTW, the wok lid is now a hanging, Christmas cactus nursery, but I will need to buy him another one.
Flower center
- Rusty nails
- Tin foil
- Oven bake clay
- Paint
Mosaic
- Leftover ceramic tiles
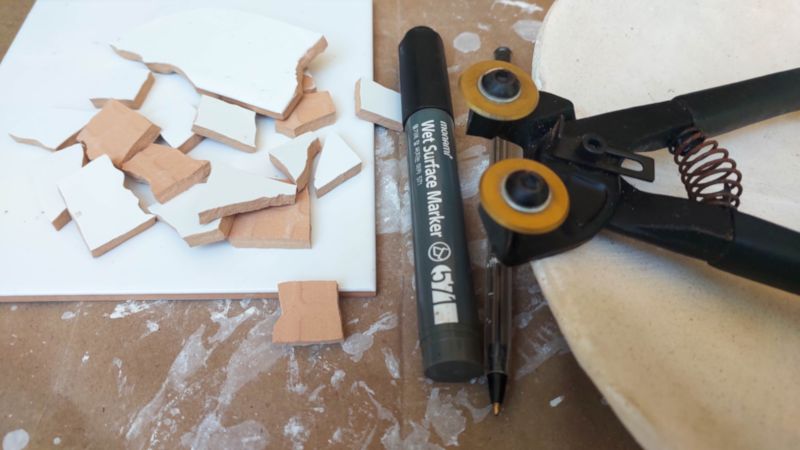
- Tile nippers
- Containers
- Permanent marker
- Tile adhesive
Stem
- Threaded rod (10mm)
- 2 x 10mm washers
- 2 x 10mm nuts
- Vice
- Heat gun
Safety notes
When working with glass, nails, and grout, always protect yourself and your workspace. Wear safety glasses, gloves, and closed shoes, and sweep or vacuum up any tiny shards of glass straight away so pets and bare feet stay safe.
Mix grout in a well‑ventilated area, avoiding direct skin contact and washing your hands thoroughly when you’re done.
How to Make large Mosaic Flowers
The flowers are made in four parts:
- A concrete flower base or substrate
- Spikey stamen/pistil
- The mosaic detail
- A bent metal stem or stalk
We’ll cover each one separately.
Making a concrete flower base
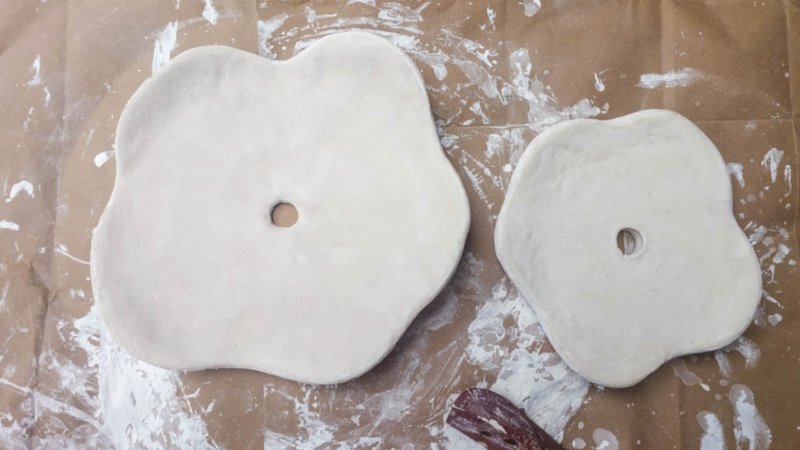
Begin by cutting a simple shape from an old bath towel to create the base for your large mosaic flower. The size of the fabric flower will determine how big your finished mosaic will be. You can also use cotton, linen, denim, muslin, or polyester.
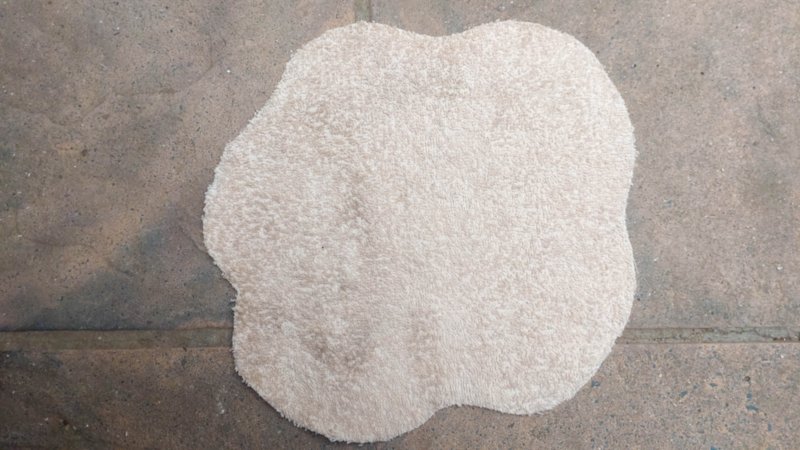
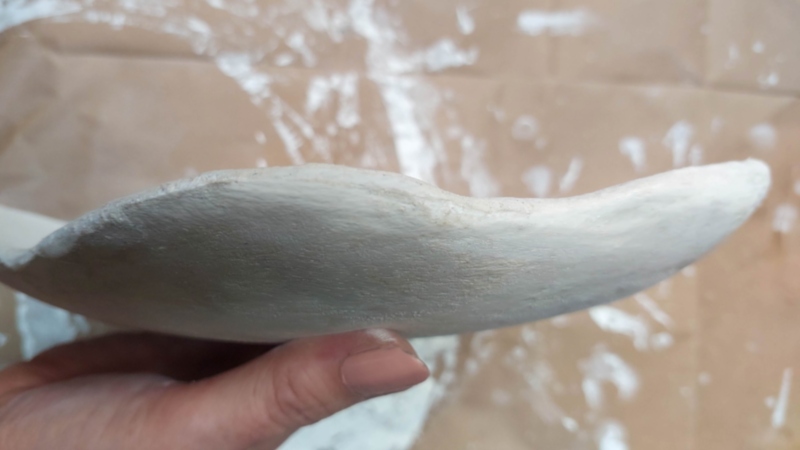
Any fabric that absorbs water will work. The fabric reinforces the base and makes it crack-proof and durable. If you want a slightly cup-shaped flower check that the shape drapes over your domed object.

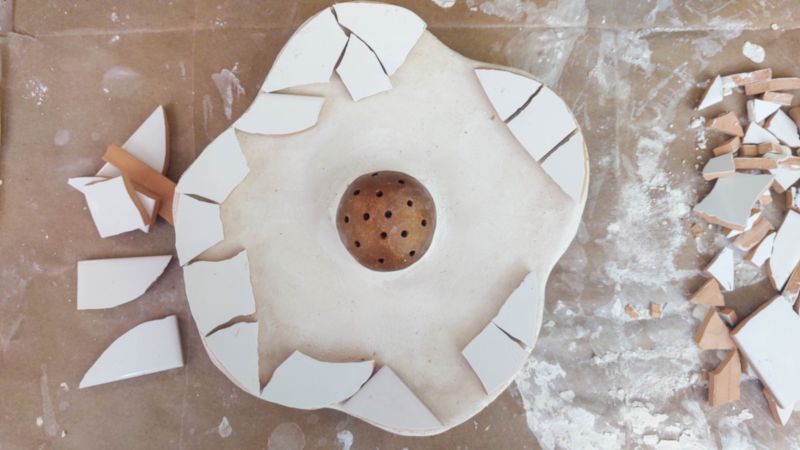
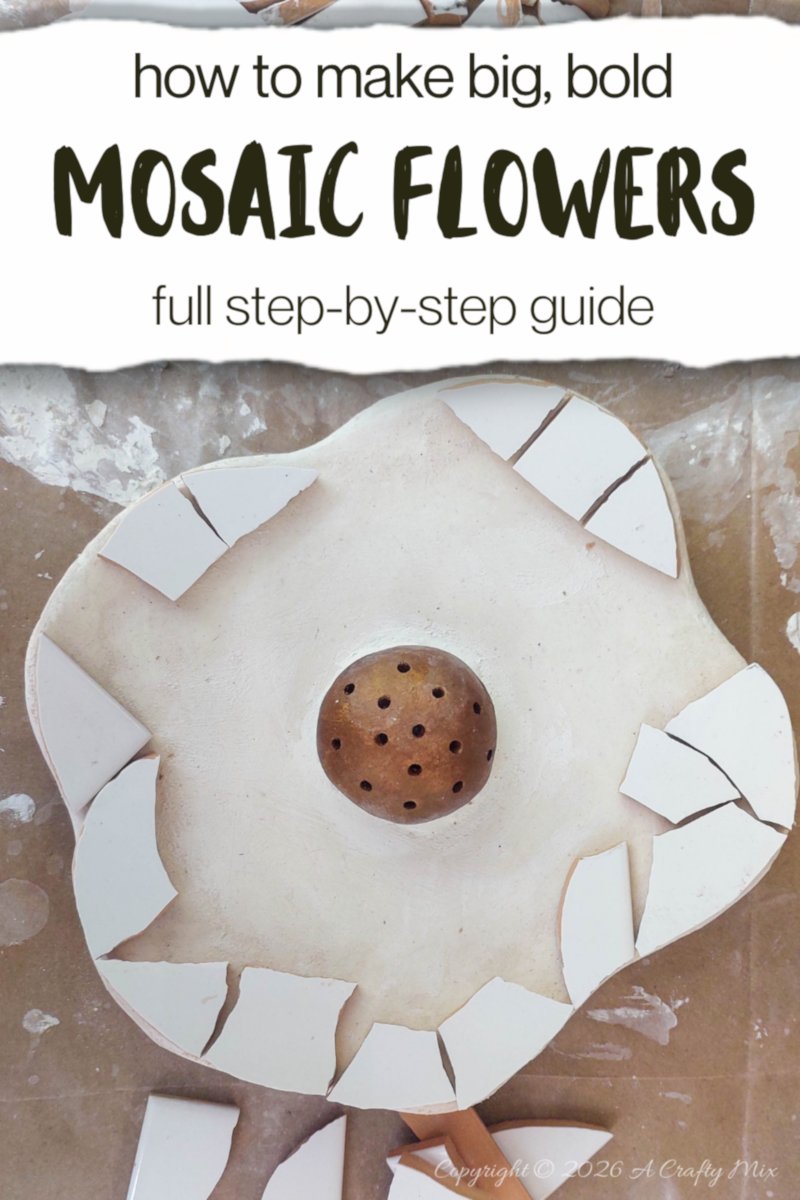
Make a small hole in the middle of the flowers. We’ll add the stalk here later so make sure it’s big enough. I used an offcut of a plastic tube as a spacer.
![]()
To stop it from falling off, I glued my tube spacer onto the wok lid.

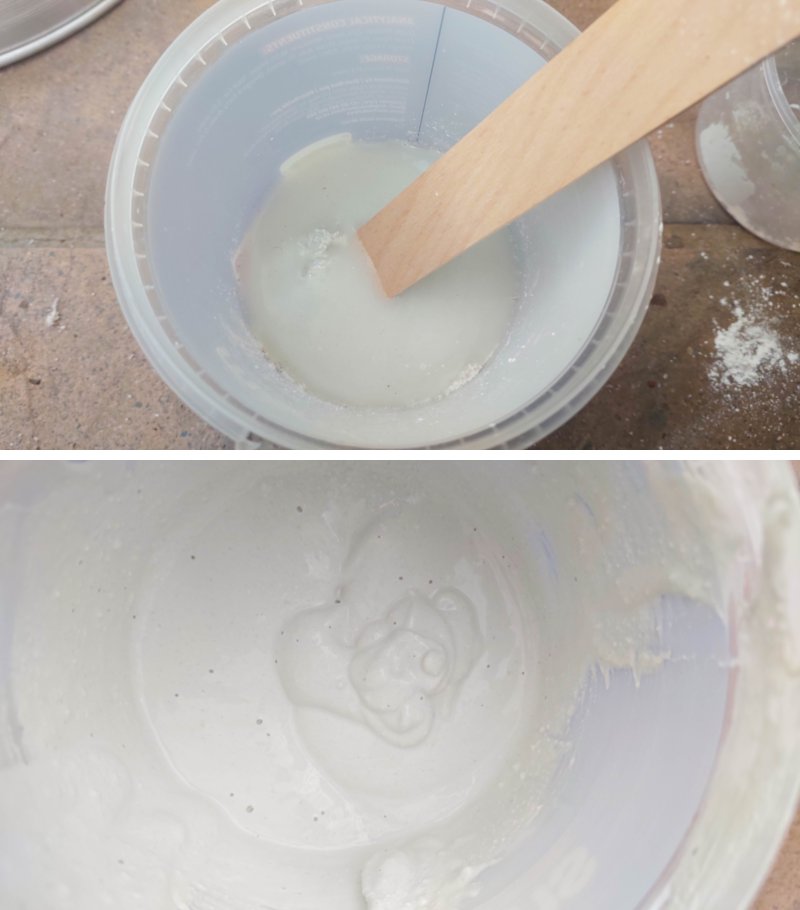
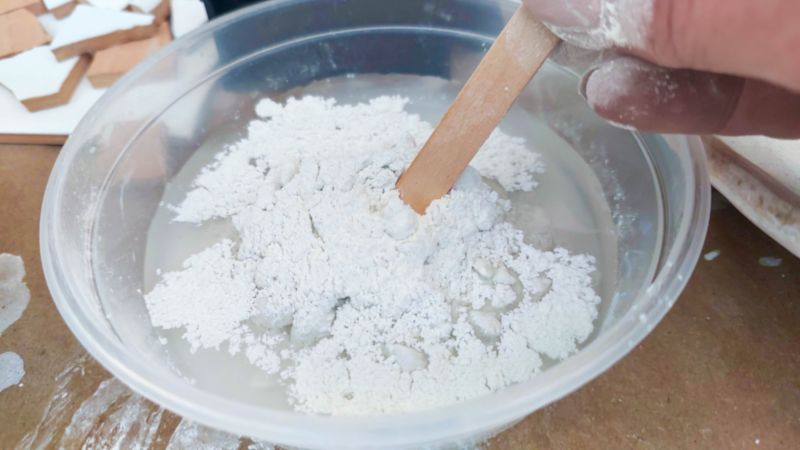
Mix 1 part water with 1 part cement to make a slurry. You want something with the same consistency as wood glue or heavy syrup; smooth and pourable, without being runny. You can also use tile adhesive. Always add the powder to water, mix thoroughly and let it stand for a few minutes.
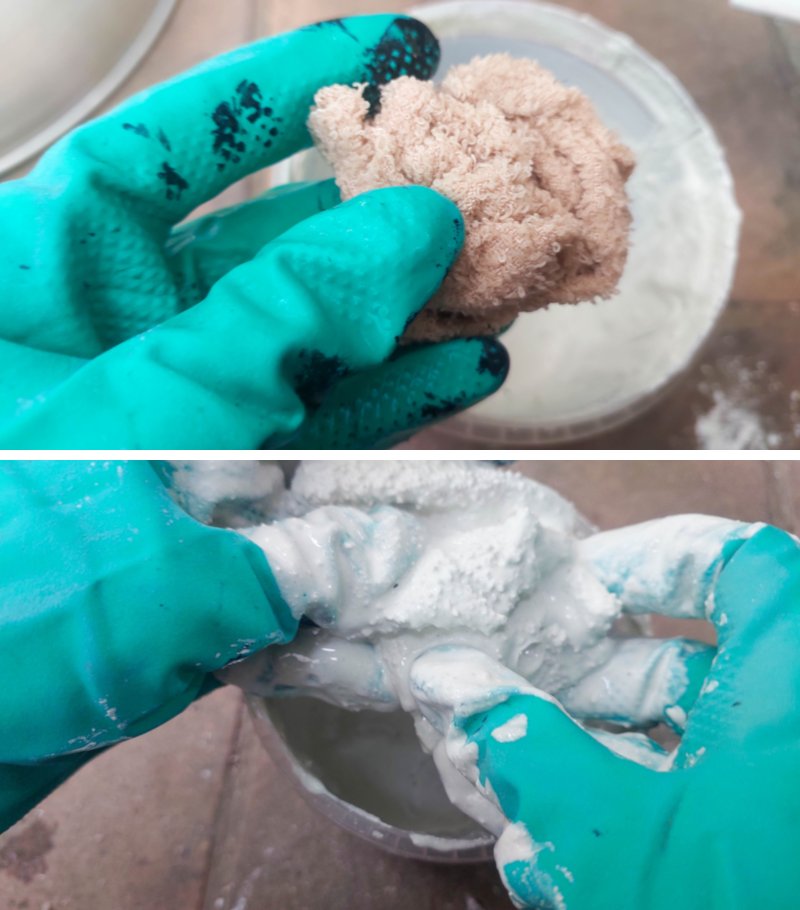
Wet the fabric flower shape and wring out any excess water. Dip it in the slurry and use your fingers to squish the mixture into all the fibers. Dunk the fabric again if you need to. The slurry should soak into the flower.
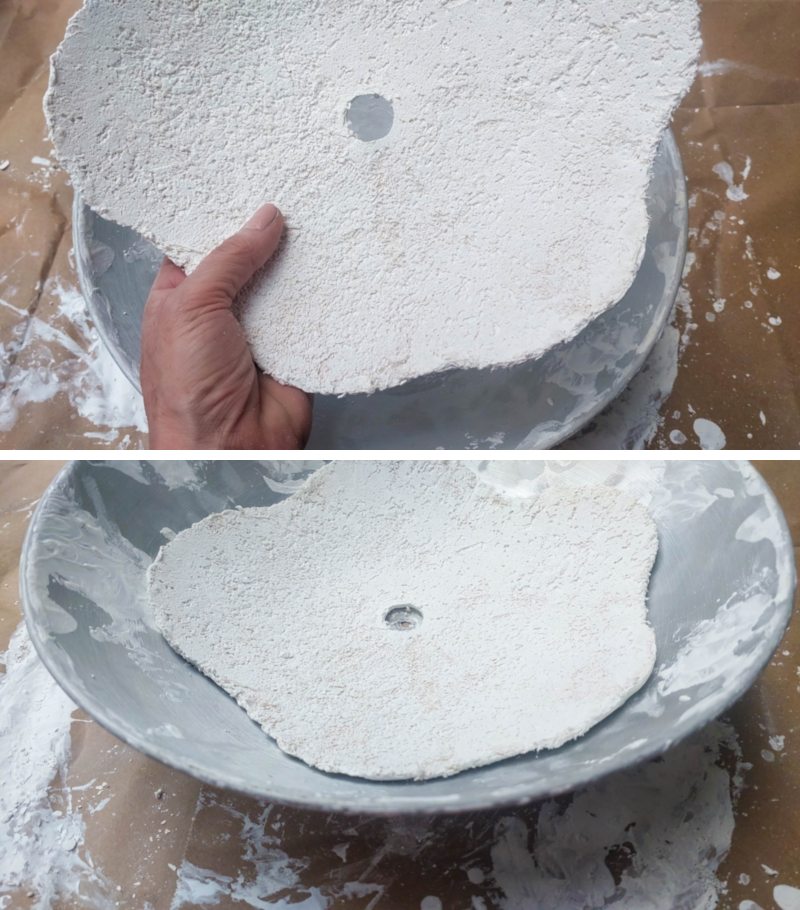
Lay the soaked fabric flower over the wok lid (or whatever you’re using as a mold). Pour some of the slurry over the flower and smooth it out. Leave the flower to harden. I used quick cure white cement, so it only took a few hours on a warm sunny day. Check the manufacturer’s instructions for your drying time.

Flip the flower over and place it on the inside of the wok lid.
Mix up another batch of slurry and pour it over the lesser-coated side. Leave to cure. If you find that the mosaic flower base is too thin (less than 1cm or ½”), you can add more layers of the slurry mix.
Sand the concrete first and wet it slightly before applying the next layer.
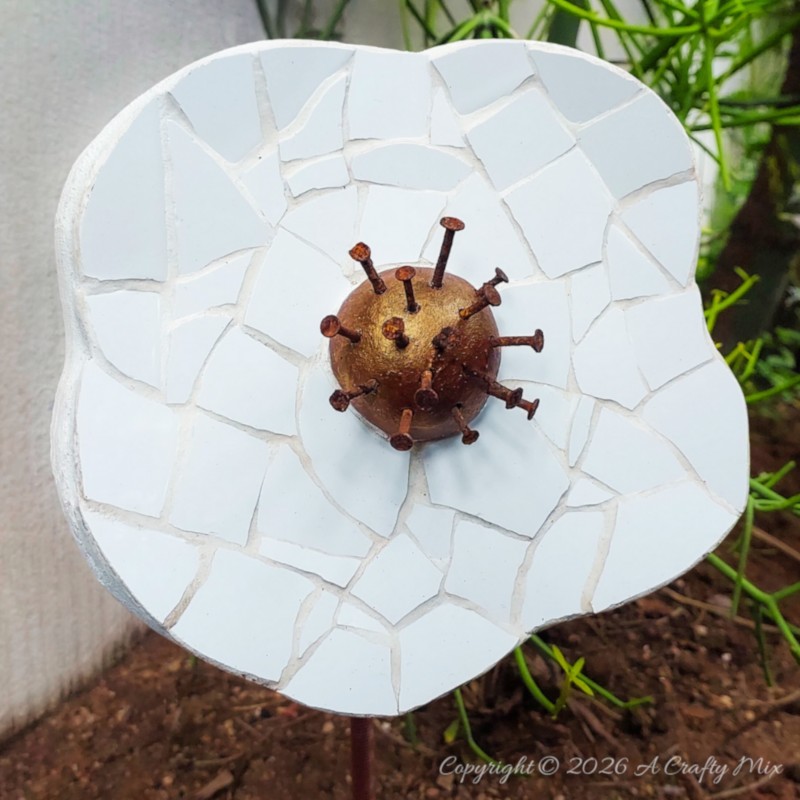
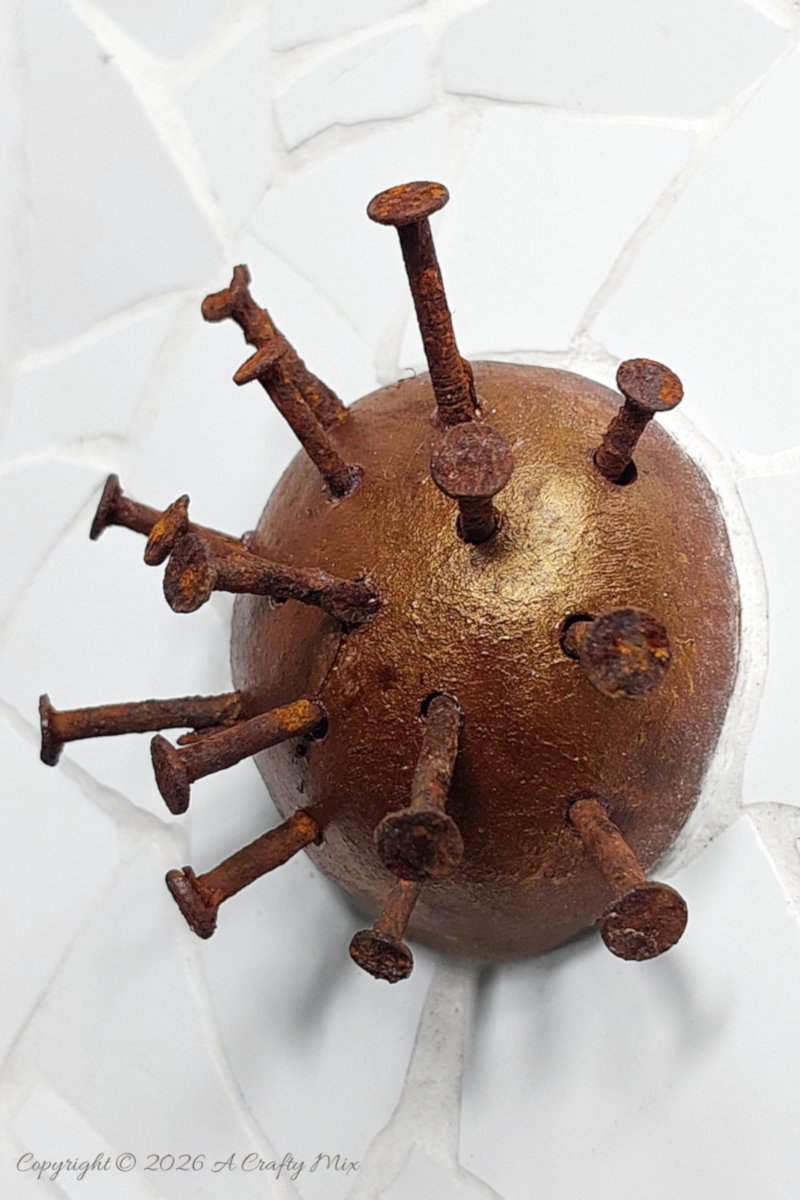
Making the stamens and pistils
Next up, making the pistil and stamens.
 The flower center adds a touch of drama and secures and hides the nut that holds the stalk in place.
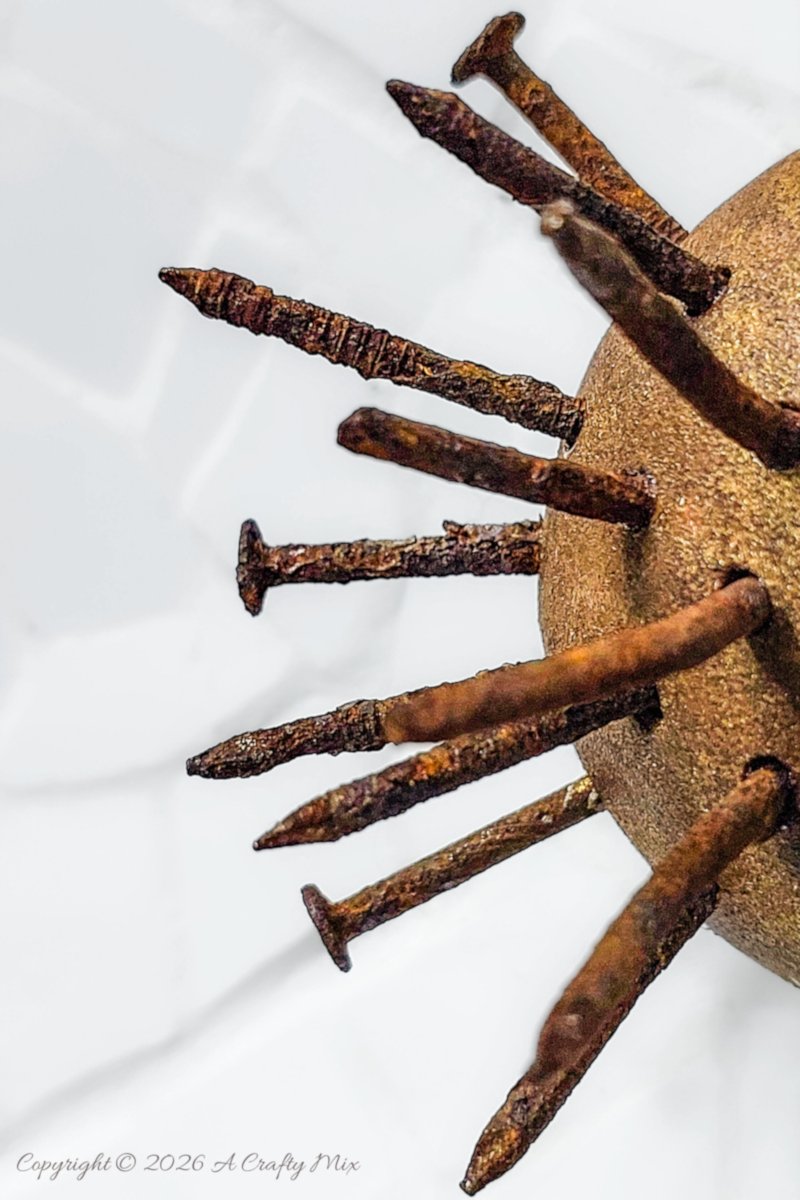
I used polymer clay, aluminum foil and rusty nails to make mine. If you’ve seen our the rusty hedgehog tutorial the next steps will look familiar. Tear off a strip of foil and scrunch it loosely around the threaded rod.
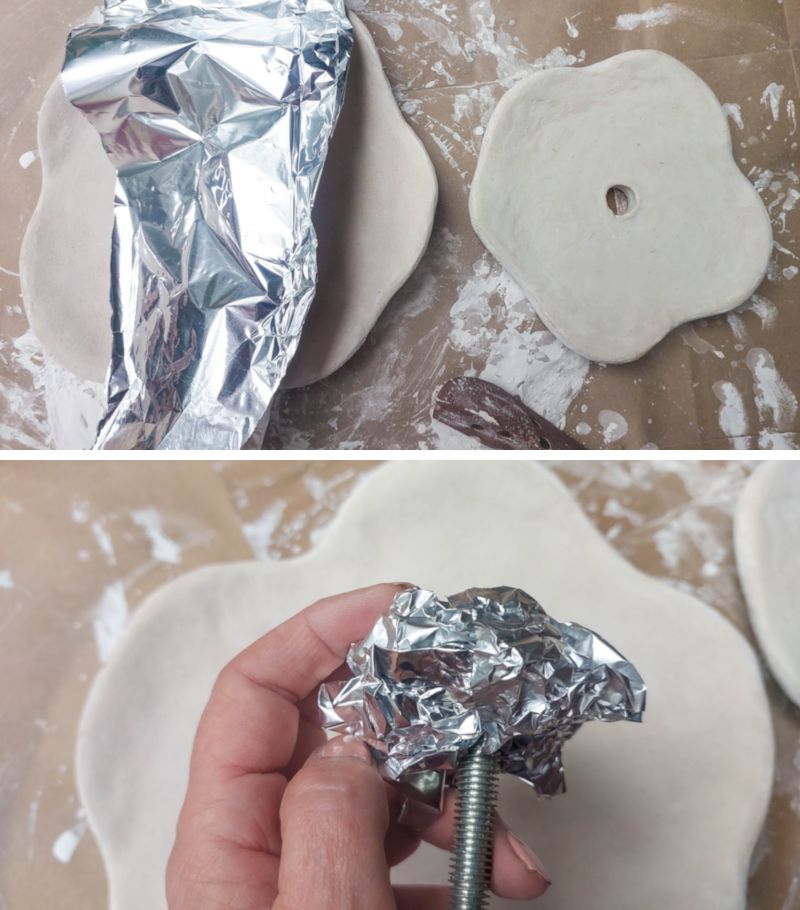
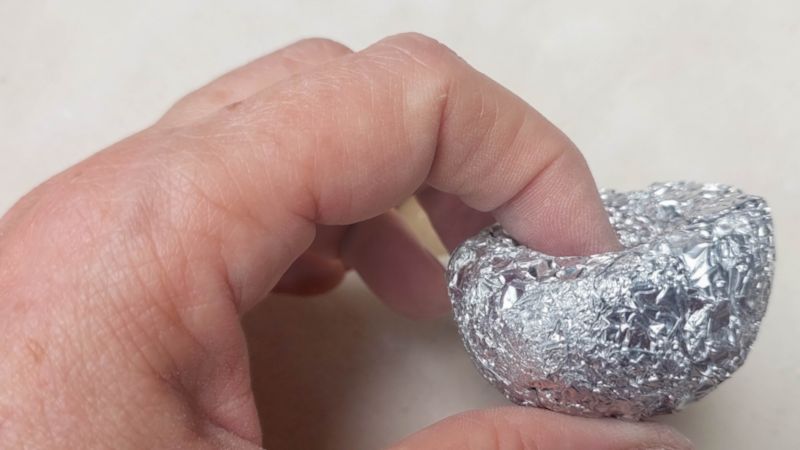
Use your fingers to shape the aluminum foil into a small dome, gently pressing and smoothing it into place while keeping the center indent open for the rod.
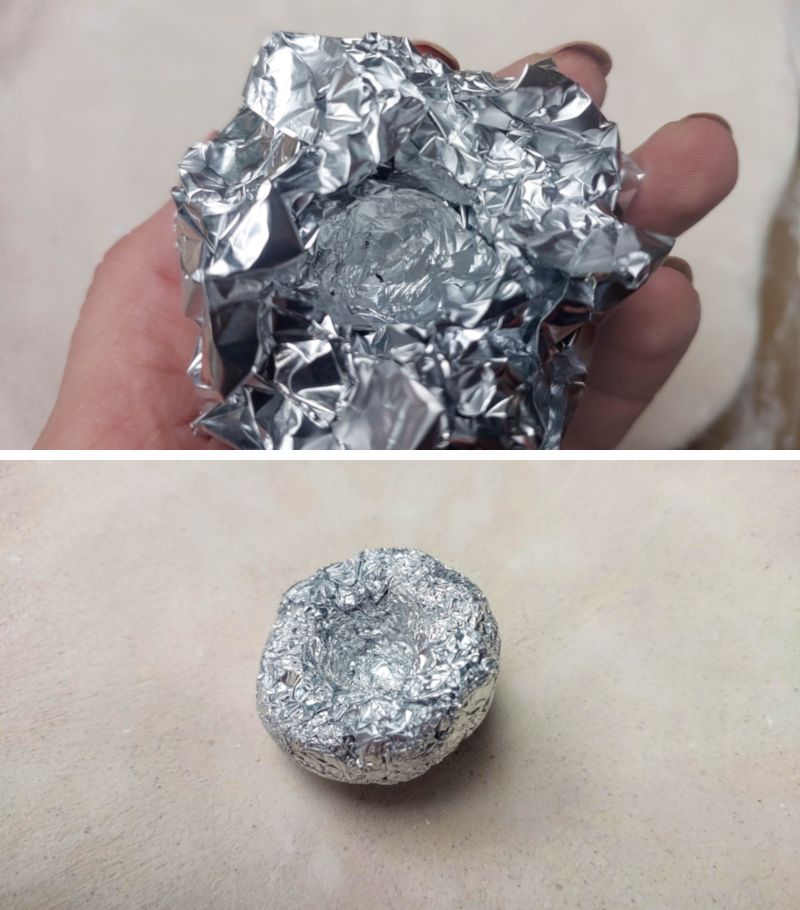
Continue refining the form until you’re happy with both the size and the shape.
Grab a hunk of clay and flatten it into a circular shape.
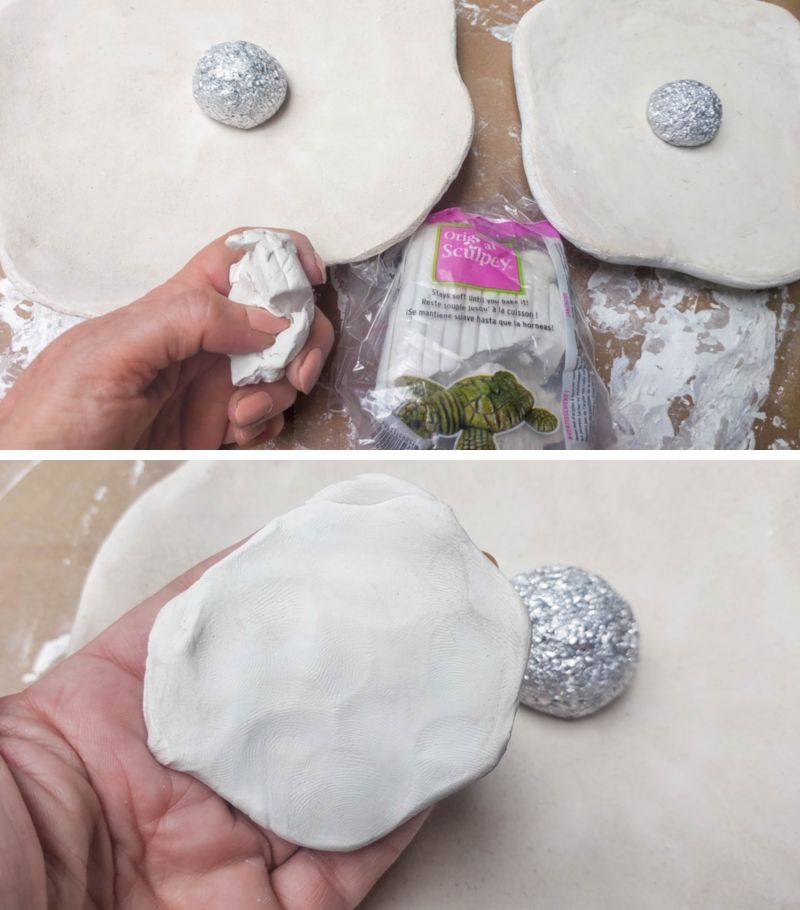
Place the clay over the dome and bake in the oven according to the manufacturer’s instructions.
Use the rusty nails as a guide, drill a few holes into the clay dome flower center.
Paint the dome and leave it to dry.
Flip the dome over and glue a nut into the indent. Let the glue cure completely, then test that the threaded rod can screw in and out easily. The last thing you want is to reach the final step and only to discover the rod doesn’t fit.
Glue the washer to the base of the dome. Set it aside to dry.

Now we’re ready to start mosaicking.
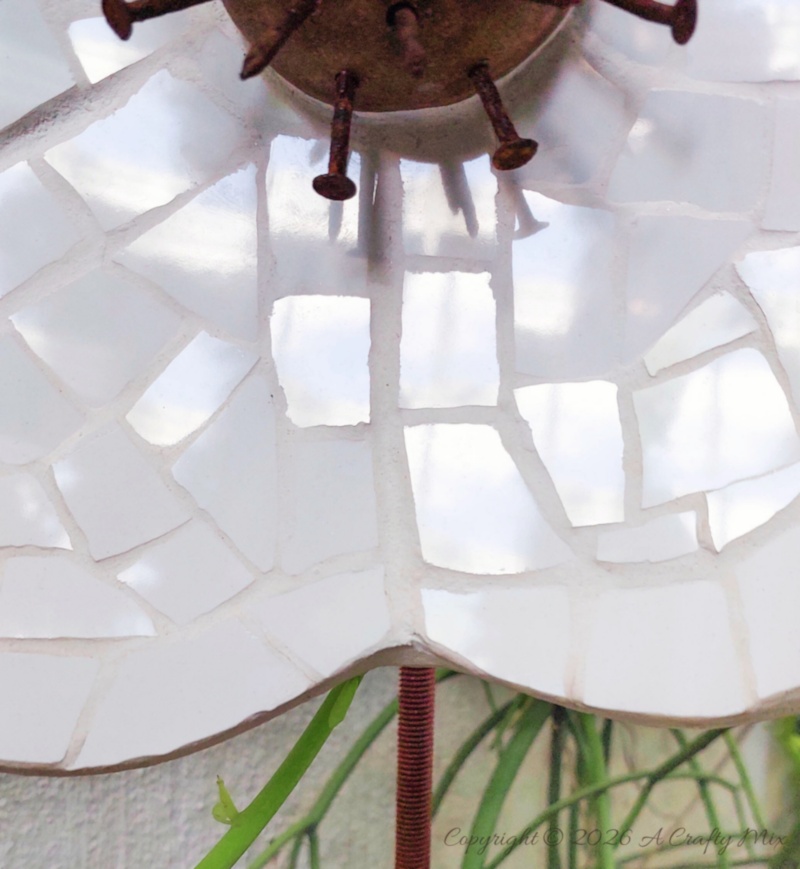
Adding the mosaic tiles
If you’re not a fan of mosaics you can skip this bit and just glue on the spikey flower center and add the stem. I never needed an excuse to make a mosaic, and we had some leftover white tiles, so it was a no brainer for me.
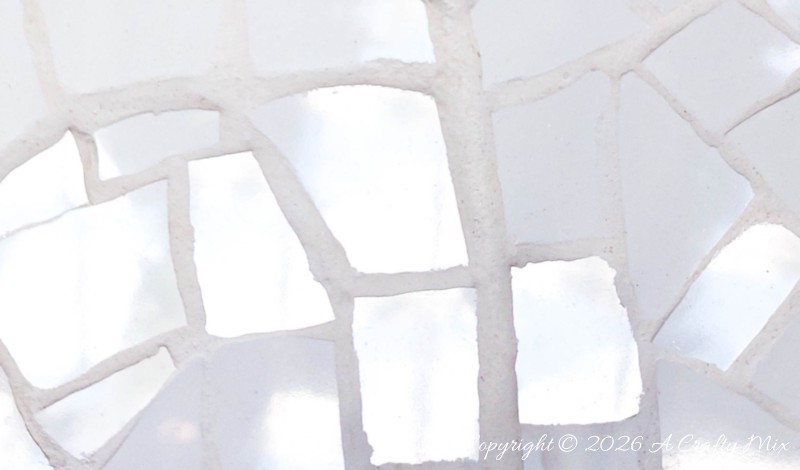
Plus, I love the reflections and the way the light bounces off the tiles.
We have a whole bunch of mosaic tutorials on the blog so I’m not going to go into too much detail here. These ones will help you get started if you’ve never done a mosaic before:
To glue the tiles down, I used thin-set tile adhesive. Mix according to the instructions and always add the powder to the water to minimize dust and avoid lumps. I water mine down a little so I can use it as grout too. Thin-set tile adhesive forms a skin after about 20–30 minutes, so mix small batches at a time.
Spoon a small amount of tile adhesive onto the bottom of the flower center and spread it evenly. Don’t cover the opening in the middle.

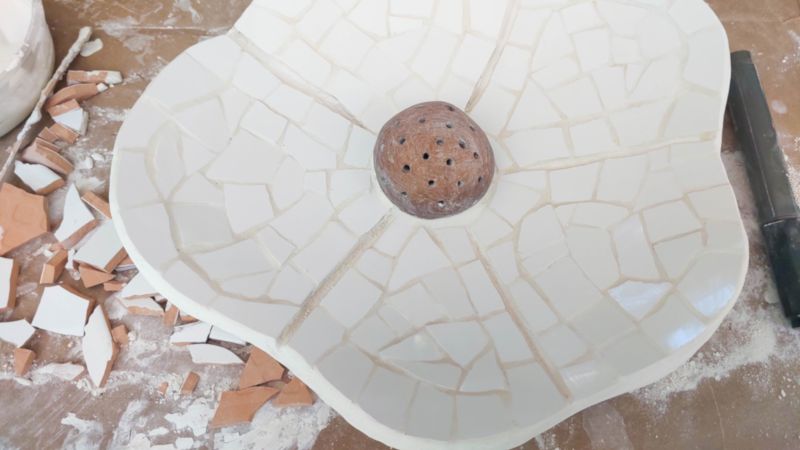
With something like these large mosaic flowers, I always start mosaicking from the outside edges and work my way towards the middle. The edges define and frame the piece, and you want them as neat as possible.
If you’re using inexpensive ceramic tiles, 80-grit is my go-to for smoothing things out.
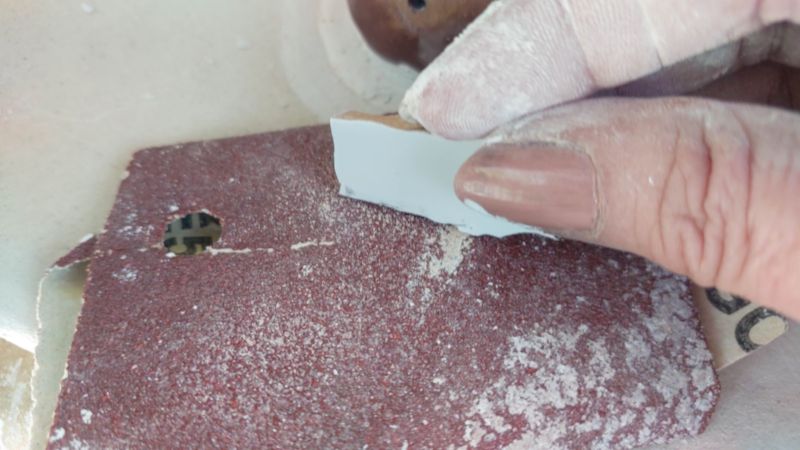
And a permanent marker is great for drawing cutting lines on the tile pieces. It makes the trimming so much easier, and you can simply wipe the marker off with a damp cloth. If your tiles are unglazed, use a pencil.

Test fit the cut pieces before applying tile adhesive to both the tile and the mosaic flower base.
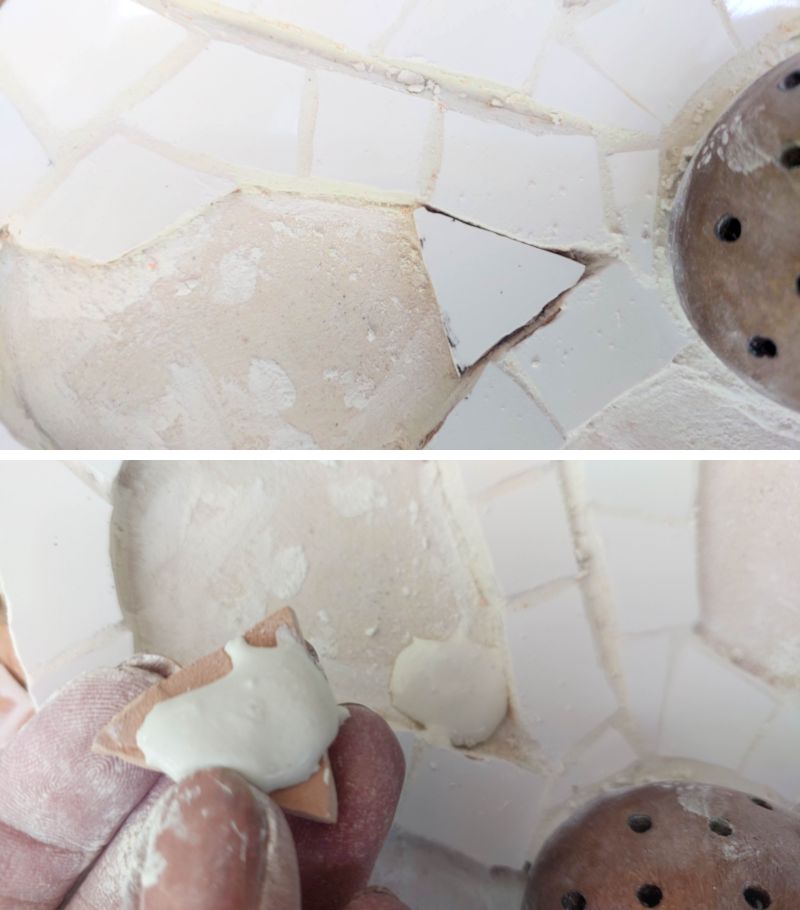
Squish the tile in place and use the excess adhesive to fill in the gaps between the surrounding tiles.
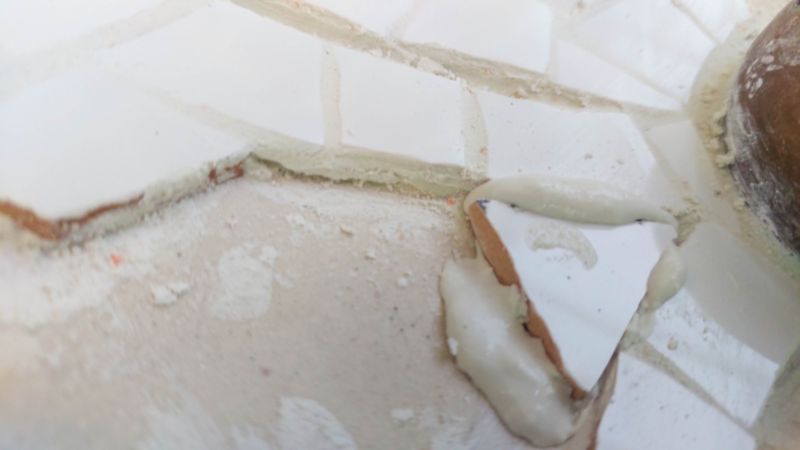
That way the adhesive can double up as grout while you’re working. Oh, and if you’re going to work on the flower some other time, scrape away any leftover adhesive first. That stuff dries rock hard.
Leave the finished mosaic flowers to cure for a day or so before adding the stem.
Adding a stem
Almost done. Depending on the size, the large mosaic flowers are quite heavy, so you need something strong to keep them upright. You also need something that can bend.
Our welding skills leave a lot to be desired, so making a stem from scratch wasn’t an option. But a threaded rod, that we my hubby can do. Me, I just marked where I wanted the rod bent and he disappeared into the garage to work his magic.
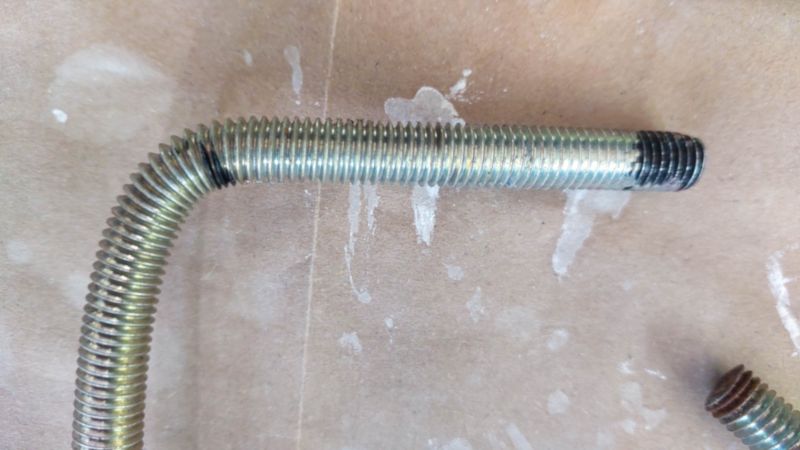
Which is why there’s no photographic evidence. He did give me the low down though:
- Stick rod in vice
- Apply heat with a blow torch on the mark
- Slowly bend the rod
- Wear gloves – it can get hot
- Remove from vice and return the rod to the wife
- Open a beer and wait for the next instruction.
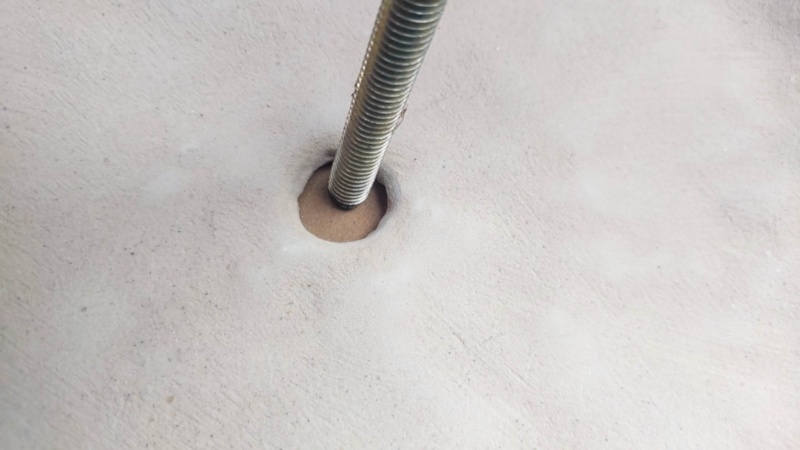
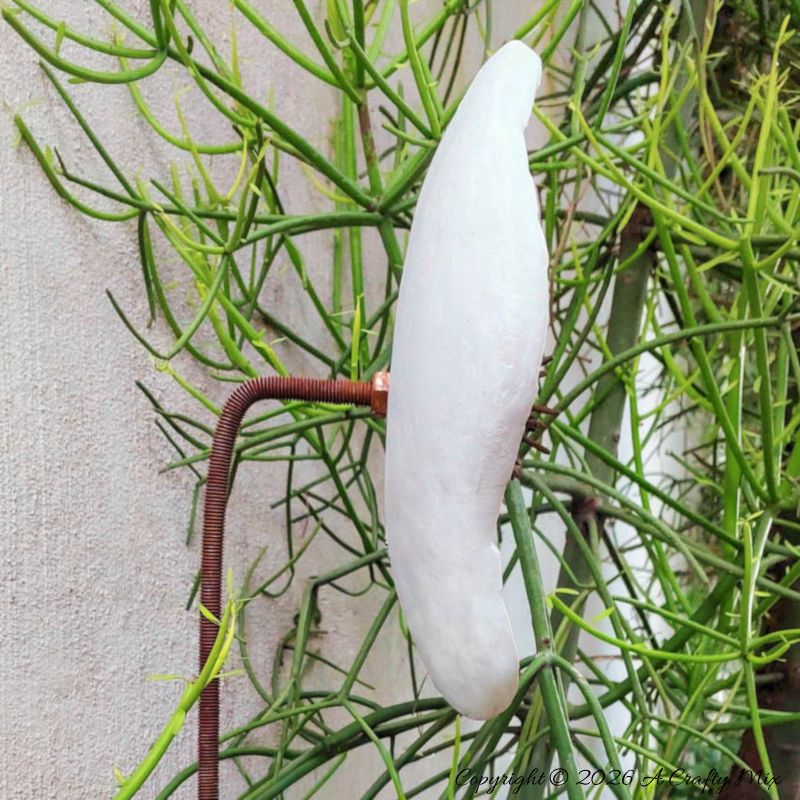
Paint the rod and washer and screw the stem it into the large mosaic flower as shown below.

Tighten the nut and paint it to match the stem and washer. You can probably paint it before, but I was worried that by tightening the nut I’d remove all the paint. Dig a hole and plant the large mosaic flowers in the garden.
If you enjoyed this tutorial for making large mosaic flowers, don’t forget to pin it for later.
Sharing is caring.
Oh, and if you’re looking for some of the things we used, we’ve got you covered. Disclosure: Clicking on the links below means we may receive a commission from Amazon. But don’t worry, it won’t come out of your pocket, and it helps us make more amazing crafts to share with you.
Concrete Flower


Mosaic


Or if you prefer to buy rather than DIY, then here you go.


And as always, wishing you a wonderful, crafty week filled with lots of love and laughter. Thank you for popping in for a visit.

Last update on 2026-06-03 / Source Amazon Affiliates