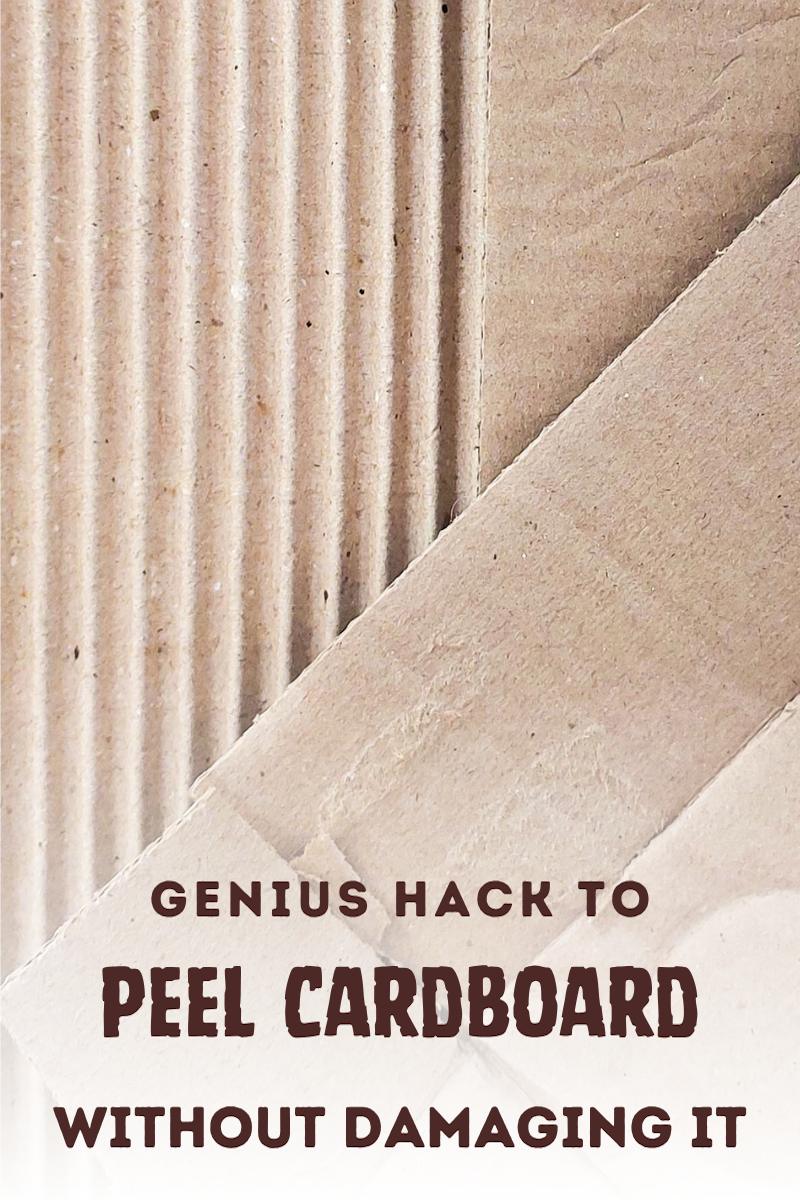
I love using cardboard boxes to make things for our home. They’re eco-friendly, and if you’ve ever ordered something online, you probably have a lifetime supply gathering dust under a bed somewhere. But today, we’re going to take those boxes to a whole new level and use my simple no-fail cardboard peeling hack to create a textured, corrugated effect.

Once you’ve seen how easy it is, you’ll never look back. Corrugated cardboard comes in so handy for adding texture and interest to craft projects – think mixed media collages, frames, gift cards, tags, embellishments, and miniature washboard ornaments. The possibilities are endless.
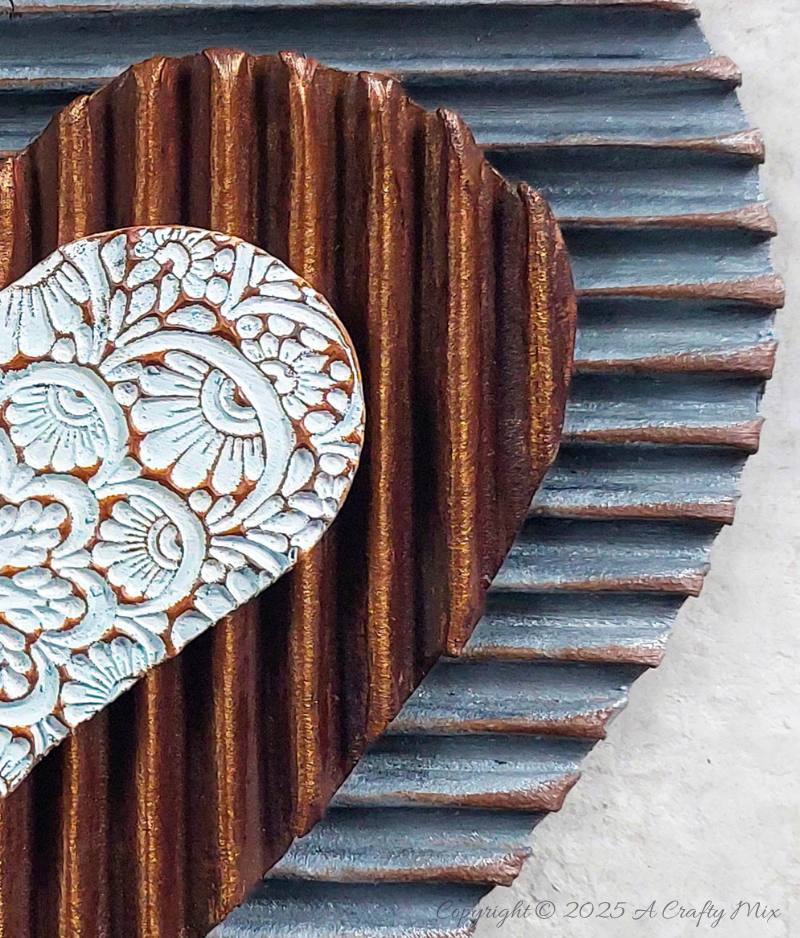
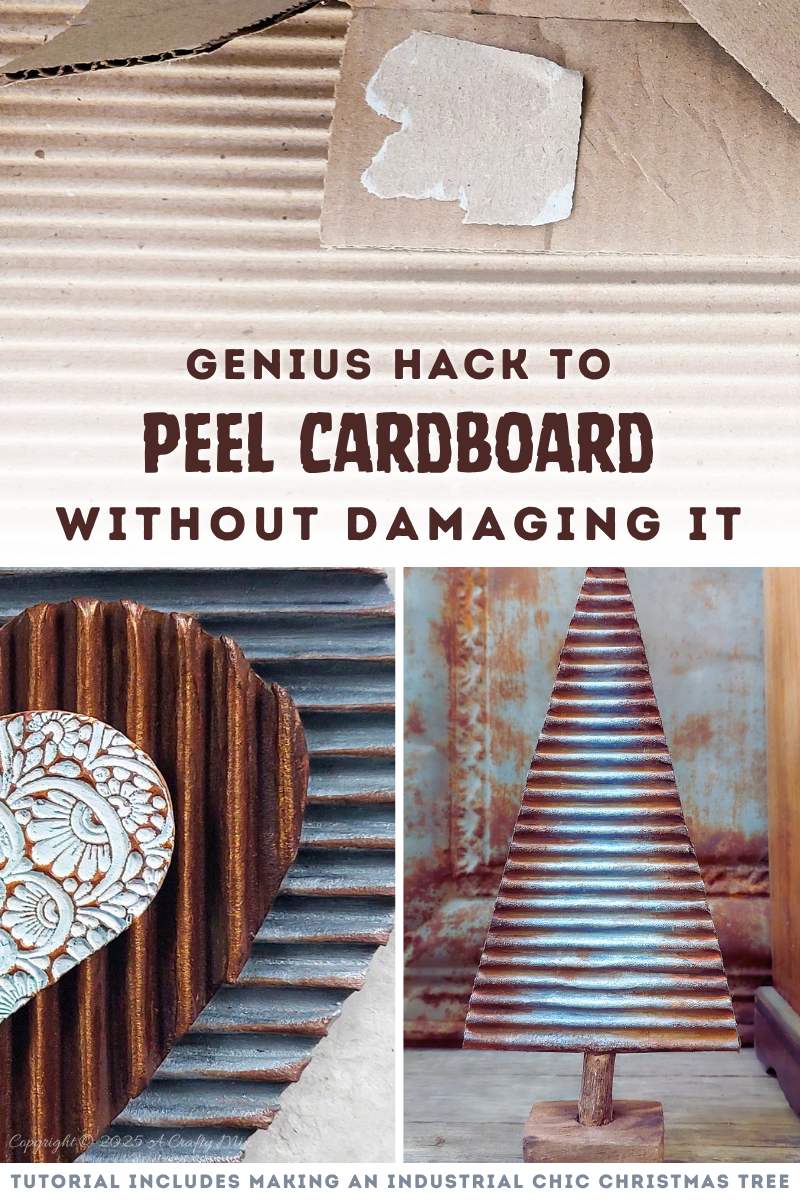
You can even use it to make a small tin roof for a fairy brick home or mimic metal siding for crafts like this industrial chic Christmas tree.

Look at all that delicious rusty texture. Isn’t it lovely? You can find the tutorial for making the little Christmas tree towards the bottom of this post.

But, first, I’ll show you just how easy it is to peel cardboard using my no-fail hack. Psst, before we get there, do me a favor and follow us on Facebook, Twitter, Pinterest, or Instagram. And don’t forget to subscribe so you’ll never miss a post!
What you need
- Cardboard box
- Spray bottle
- Water
- Dishwashing liquid
- Soft nail brush
If you want to make the industrial chic Christmas tree, you’ll also need:
- Plain and peeled cardboard
- Glue
- Scissors or craft knife
- Craft paint
- Sturdy twig
- Scrap wood
The simple way to peel cardboard for a corrugated effect
Grab one of those cardboard boxes you have stashed away and flatten it out. Remove any tape or labels.

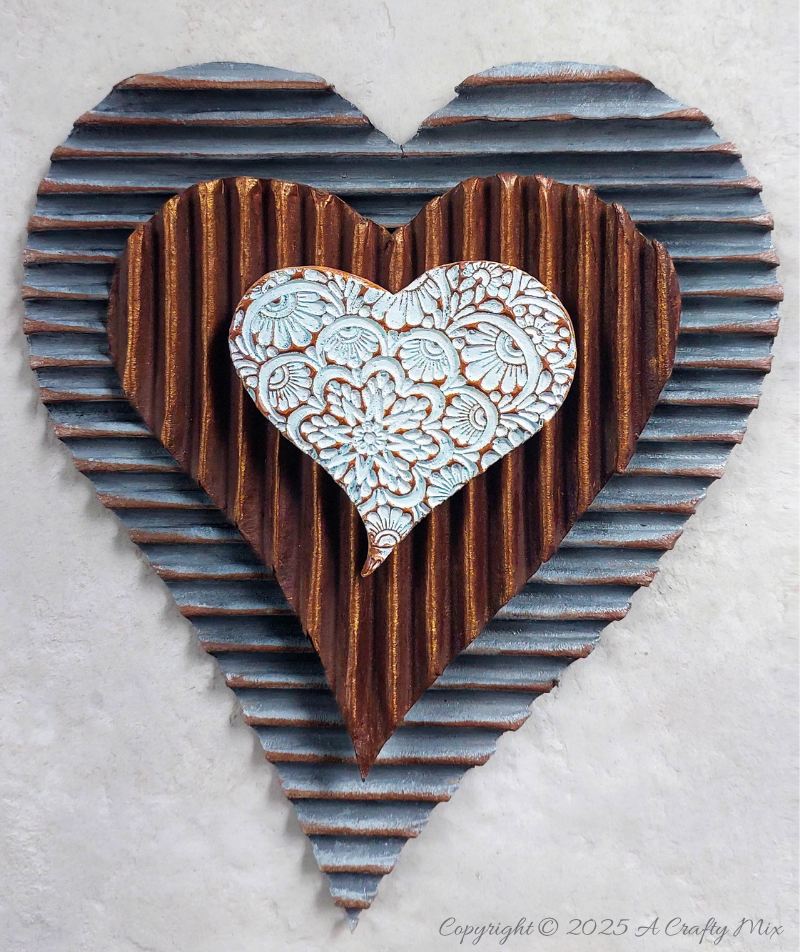
Make sure the cardboard isn’t too thin, squished, or damaged. Save them to make this heart frame or these upcycled candleholders.

Fill a spray bottle with water and a teaspoon of dishwashing liquid. Mix well. Take the flattened cardboard and roll it along the grain or flute. That’s the technical word (apparently) for that wavy, wiggly-woggly, middle layer. Wait, let me show you in a video how it’s done.
Easy, right? A simple, eco-friendly hack that’s perfect for adding texture to craft projects like that industrial Christmas tree I mentioned earlier.
How to make an industrial chic Christmas tree
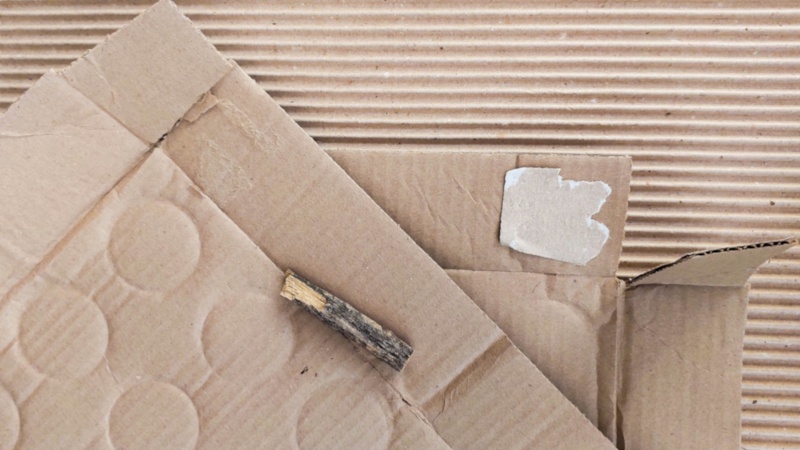
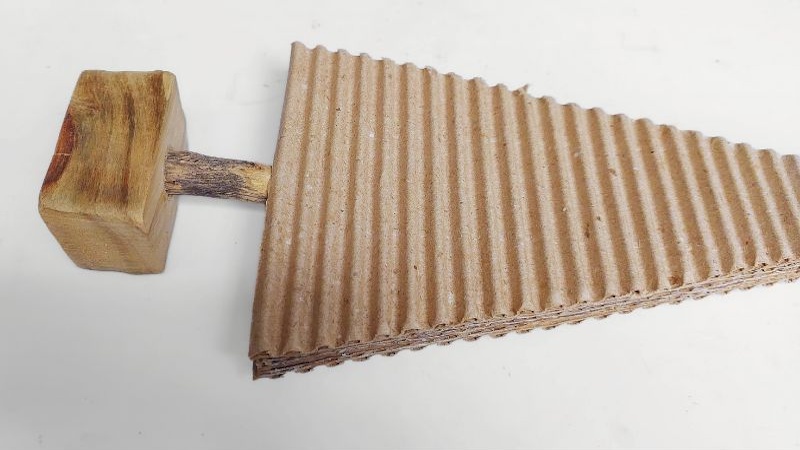
Now that we have a stash of peeled cardboard (that sounds so wrong), let me show you how I made this small Christmas tree that looks like rusty metal siding. Start by cutting out two or three equally sized triangles from an ordinary, damaged box.
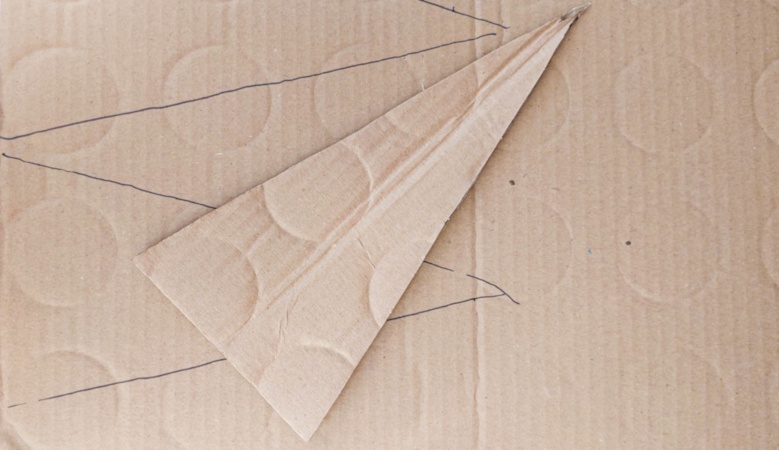
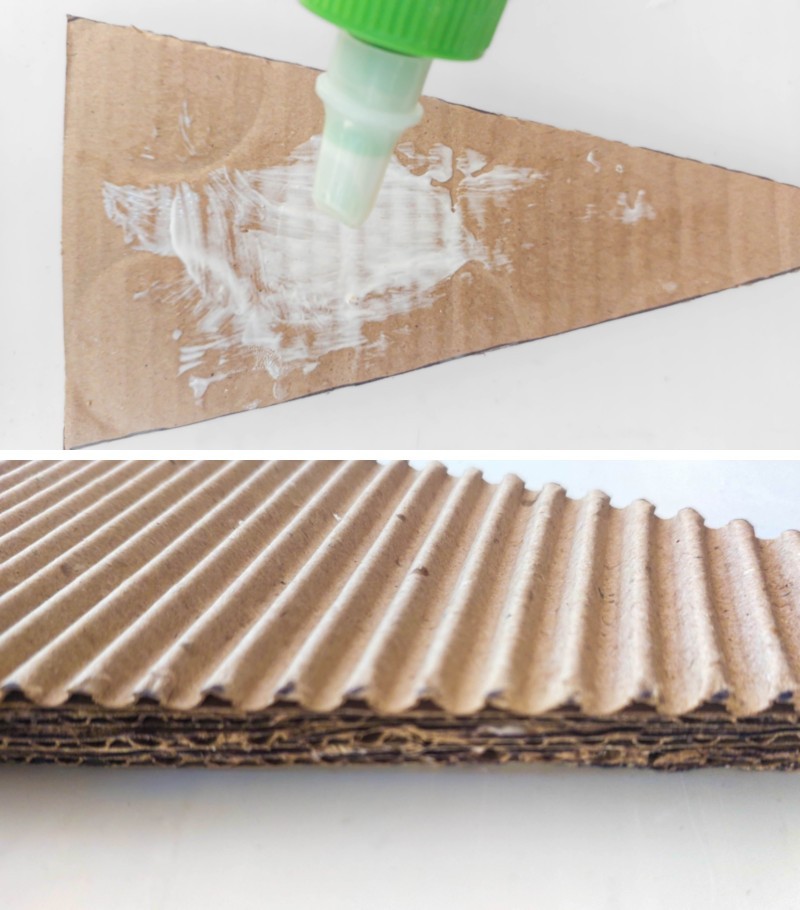
These triangles will be used to bulk up the industrial tree. Use the cut triangles as a guide to cut two more triangles from the DIY corrugated cardboard. Glue the peeled and unpeeled cardboard triangles on on top of the other. Make sure the peeled layers are on top and facing outwards.
Glue a small twig or branch to a scrap piece of wood, and glue that to the bottom of the tree.
Leave the tree as is, or decorate it using whatever you have on hand. I used our cheap paint trick to create a faux rust effect.
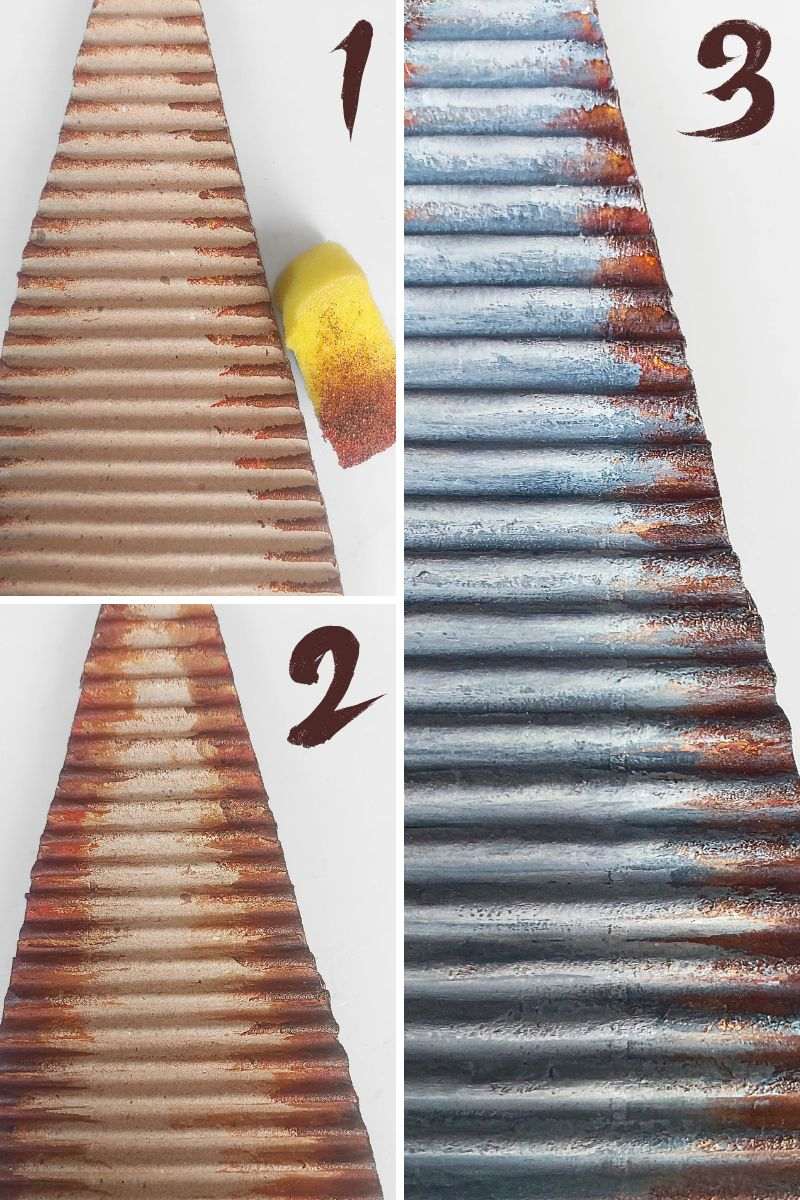
It makes the peeled cardboard pop and emphasises those gorgeous curves.

Add the tree to your festive décor.

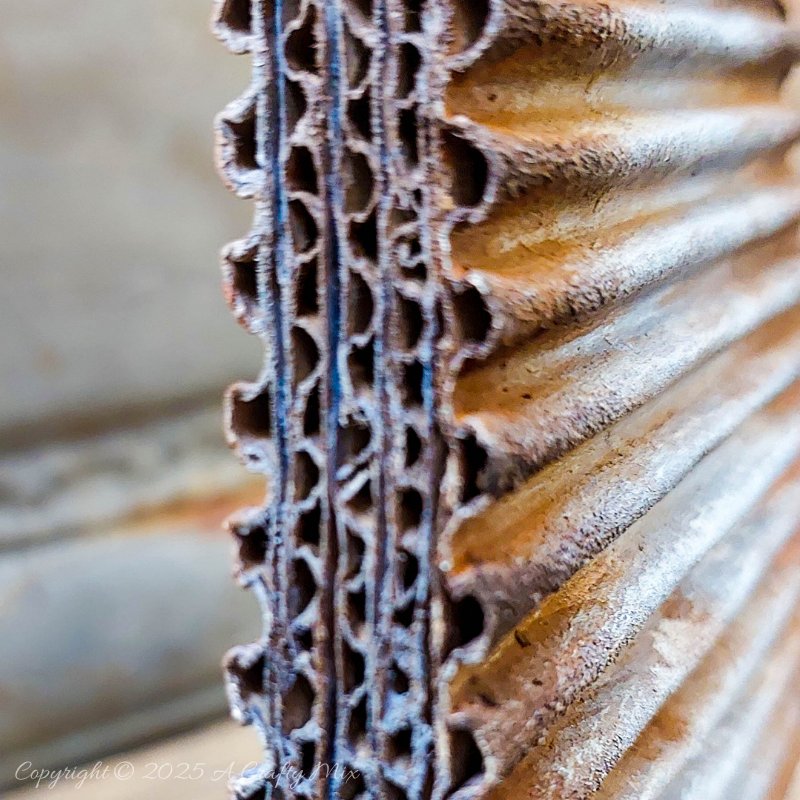
I usually try to hide the wiggly-woggly bits, but this time I think they’re worth celebrating.
What do you think? Are you going to give it a go?
If you enjoyed this no-fail cardboard peeling hack for craft projects, don’t forget to pin it for later.
Sharing is caring.
Oh, and if you’re looking for some of the things we used, we’ve got you covered. Disclosure: Clicking on the links below means we may receive a commission from Amazon. But don’t worry, it won’t come out of your pocket, and it helps us make more amazing crafts to share with you.
Cardboard Peeling hack


Cardboard Christmas Tree


Or if you prefer to buy rather than DIY, then here you go.


And as always, wishing you a wonderful, crafty week filled with lots of love and laughter. Thank you for popping in for a visit.

6 comments
I never knew it was so easy. It worked like a charm. Thx
You’re welcome Suzie
Inspiring!
Glad to hear, Kathleen. It works every time
I LOVE that this corrugated look can come from ANY piece of cardboard! I’ll definitely be playing around with this one. Your faux metal tree is incredible!
Thanks so much, Donna. I used to get so frustrated trying to peel that first layer away, but this trick works every time.