I’m dreaming of a white Christmas……. Or maybe not. It’s more like a gorgeous combination of browns, reds, and oranges with a speckling of dusty cream. And that got me thinking…. I don’t think we’ve ever shared a tutorial that uses inexpensive craft paint to give almost anything a terracotta makeover. We done cheap paint tricks to create rust effects and mixed sandstone for Baba Yaga’s hut, but never terracotta. So here goes.
It’s really quick and easy to do.
And you don’t need fancy ovens or expensive paint to get the look either.
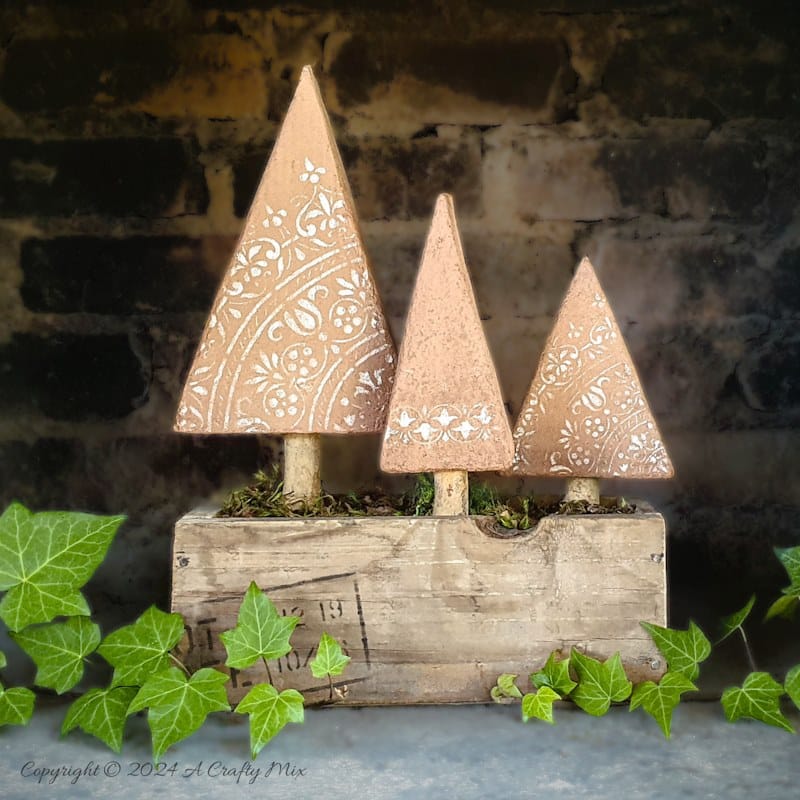
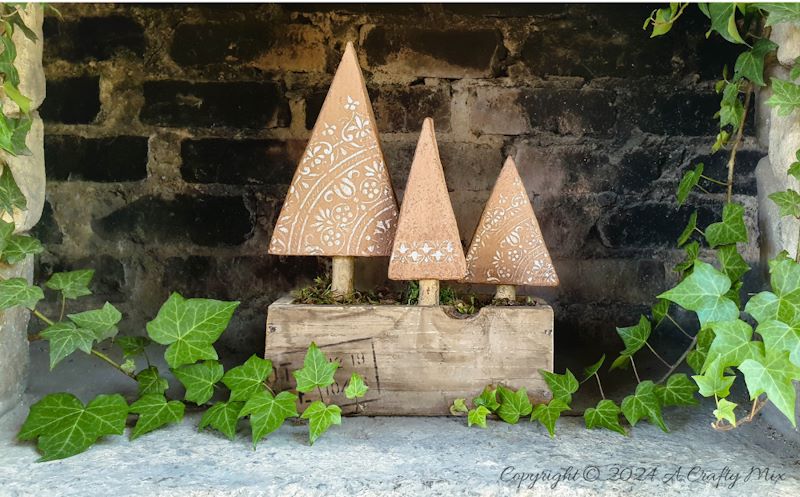
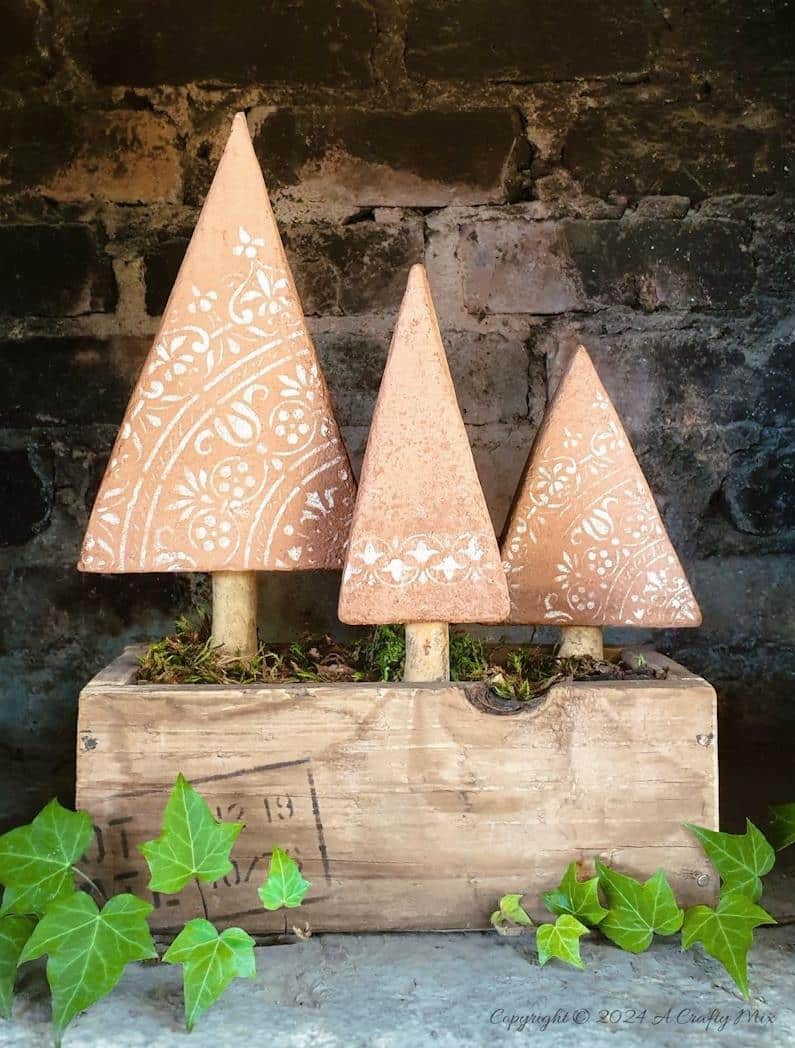
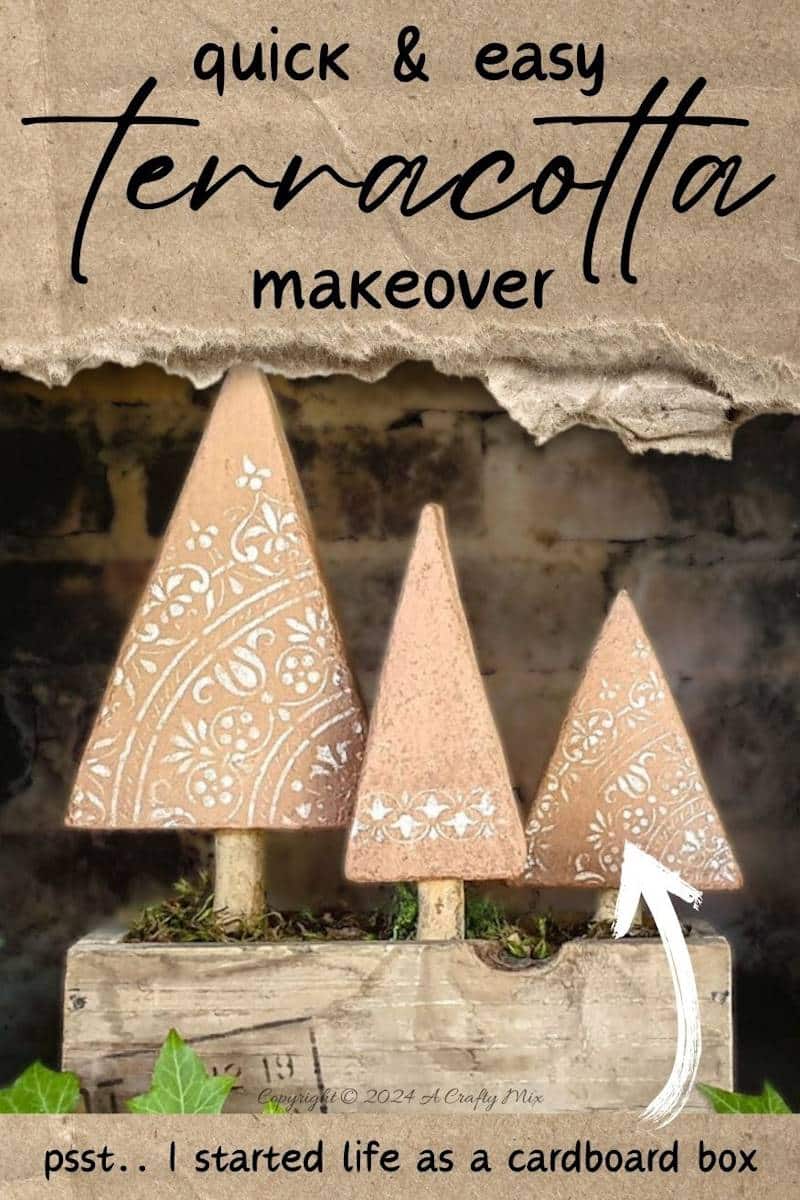
These tawny clay Christmas trees started as a humble cardboard box before their a terracotta makeover.
And I love how real they look. It’s almost like the earth has given a bit of herself to create them.
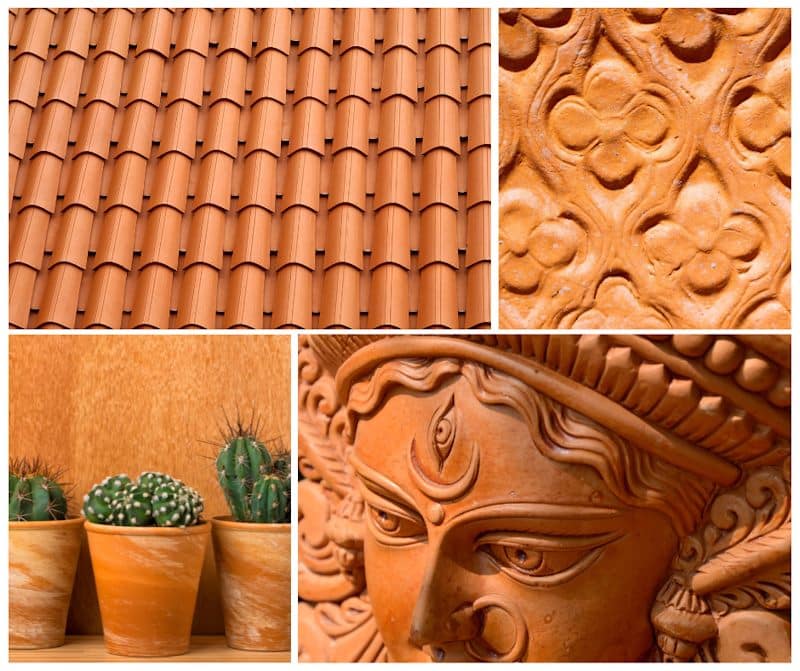
Terracotta is a beautiful, versatile material that’s been around for thousands of years in everything from decorative pieces to functional items like pots and tiles. It’s got a rustic, natural appeal that gives any project a cozy, handmade feel, which I love.
What is terracotta
The word Terracotta, or terra cotta, comes from the Latin word ‘terra cocta’ which literally means cooked (cocta) earth (terra). The distinctive deep orange color happens when the iron in the earth/clay oxidizes during firing. The more iron oxide in the clay the richer the color.
The temperature at which the clay is fired can also influence the color. Firing the clay at a lower temperature gives you a browner, less intense color.

As terracotta ages, the warm orange/red colors become muted as they fade and turn into pastel versions of their younger selves. Efflorescence can also play a role. That’s when soluble salts in the clay are pushed to the surface by moisture and then crystallize once the water evaporates.

My trees are of the aged variety, however you can adapt the tutorial below to create new or muted terracotta effects.
What you need
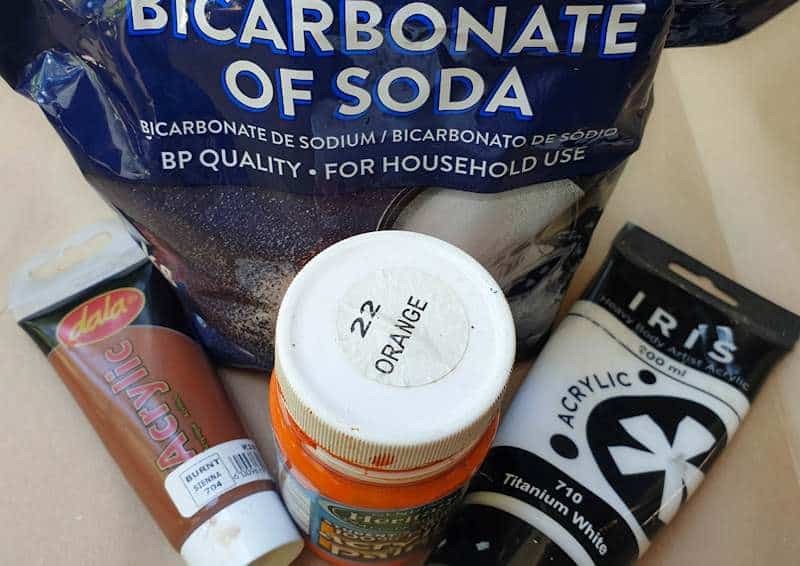
To give something a terracotta makeover, you need inexpensive craft paint. Cheap water-based paints (aka acrylic) work best. You need three colors:
- Orange
- White
- Reddish Brown (Burnt Sienna)
You’ll also need:
- Baking soda (sodium bicarbonate)
- Old paint brushes
- Artist’s fixative (optional to seal)
You can find artist fixative in most craft stores. I always have a can or three floating around. It’s perfect for “setting” my brunaille underdrawings when I’m painting oil portraits. You can also use cheap hairspray, but keep in mind hairspray isn’t as long-lasting or permanent. If it was, we’d see a whole bunch of old people walking around with gravity-defying hairstyles dating from the 80s.
Okay, enough of my babbling. Let me show you how easy it is to use inexpensive craft paint to give almost anything a terracotta makeover. Oh wait, before I forget, please follow us on Facebook, Twitter, Pinterest, or Instagram. And don’t forget to subscribe so you’ll never miss a post!
DIY terracotta makeover with craft paint
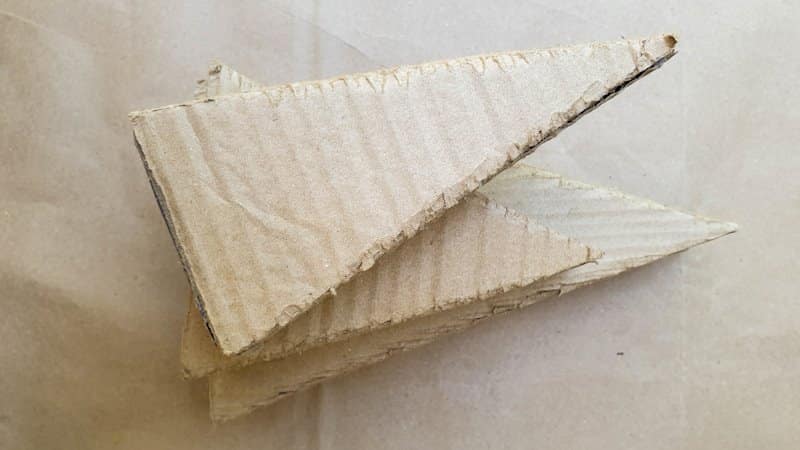
Since Christmas is around the corner, I cobbled together a few cardboard trees (similar tutorial here) to use as a base for my terracotta makeover. You can use the same technique on just about anything that’s not breathing, and paint will stick to.
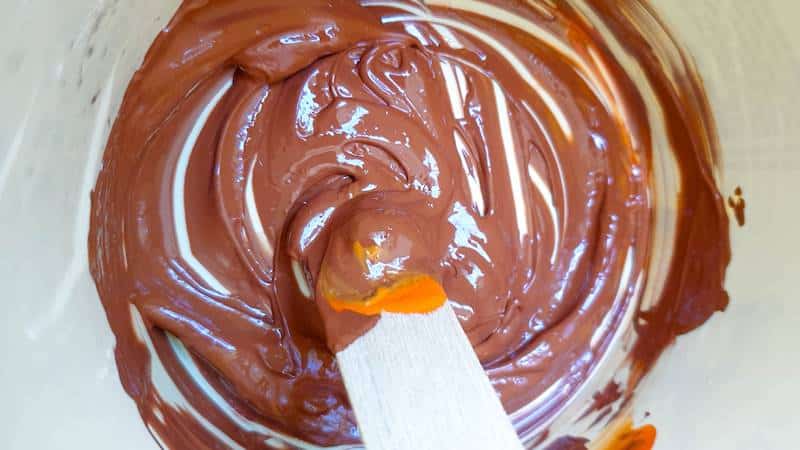
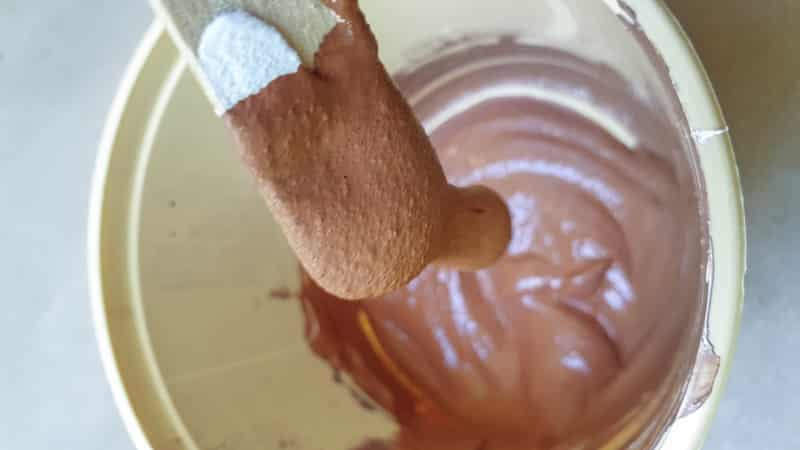
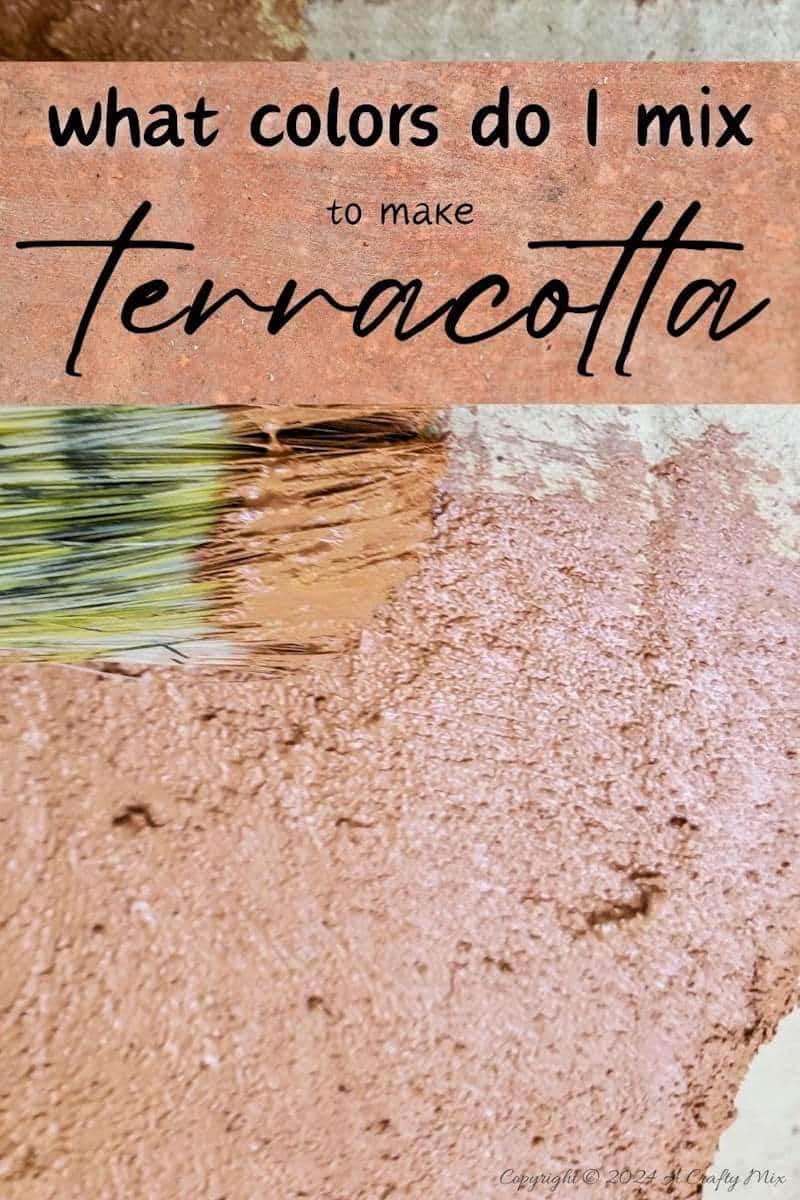
Mix the orange and reddish brown in a small sealable bowl.
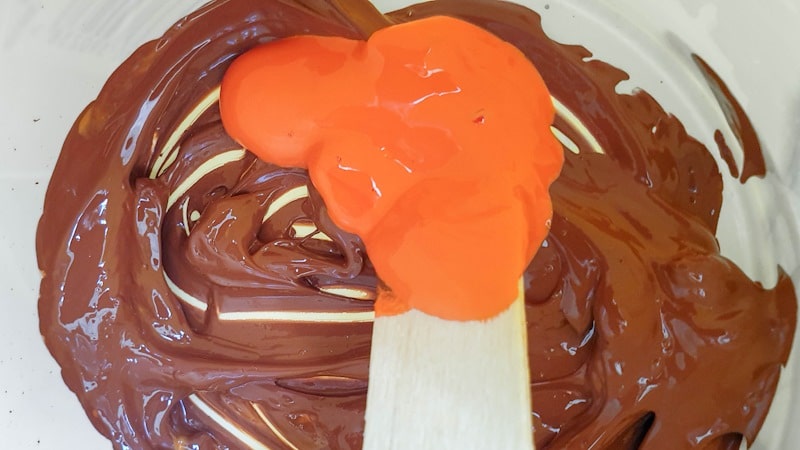
You want about 2 parts brown to 1 part orange for a browner, low fired terracotta. Add more orange for an intense newly fired color.
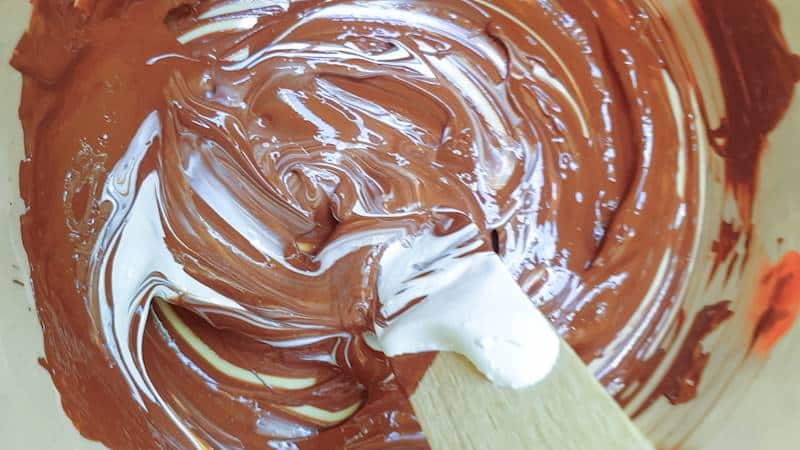
Next, mix in a small amount of white. Not too much, you want to lighten the color slightly. Use very little white if you want that intense, new terracotta look.
Add few tablespoons of baking soda and mix well. If you’re making a larger batch, add more baking soda. You want something that resembles whipped cream without the air if that makes sense.
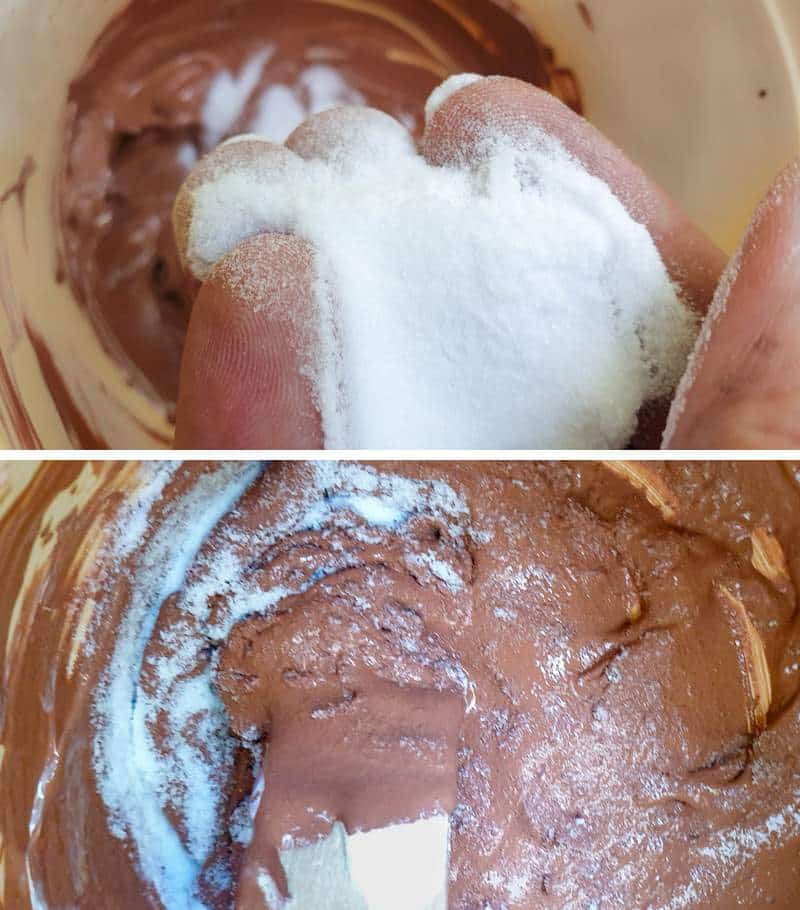
The paint needs to be thick without being gloopy or clotty. How much paint you mix will depend entirely on how big the object you want to turn into terracotta. My Christmas trees are tabletop-size, but since they’re cardboard they need three coats so bear that in mind if you’re making something similar. The paint will last for a few weeks if it’s sealed, so if you want to make a large batch go for it.
Using an old, clean paintbrush, randomly dab the paint all over the object you want to terracotta-ify. Wait for the paint to dry before applying the next coat.
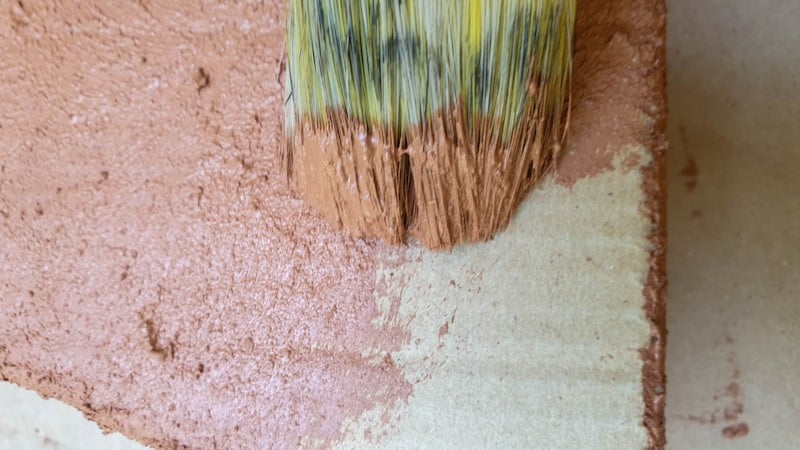
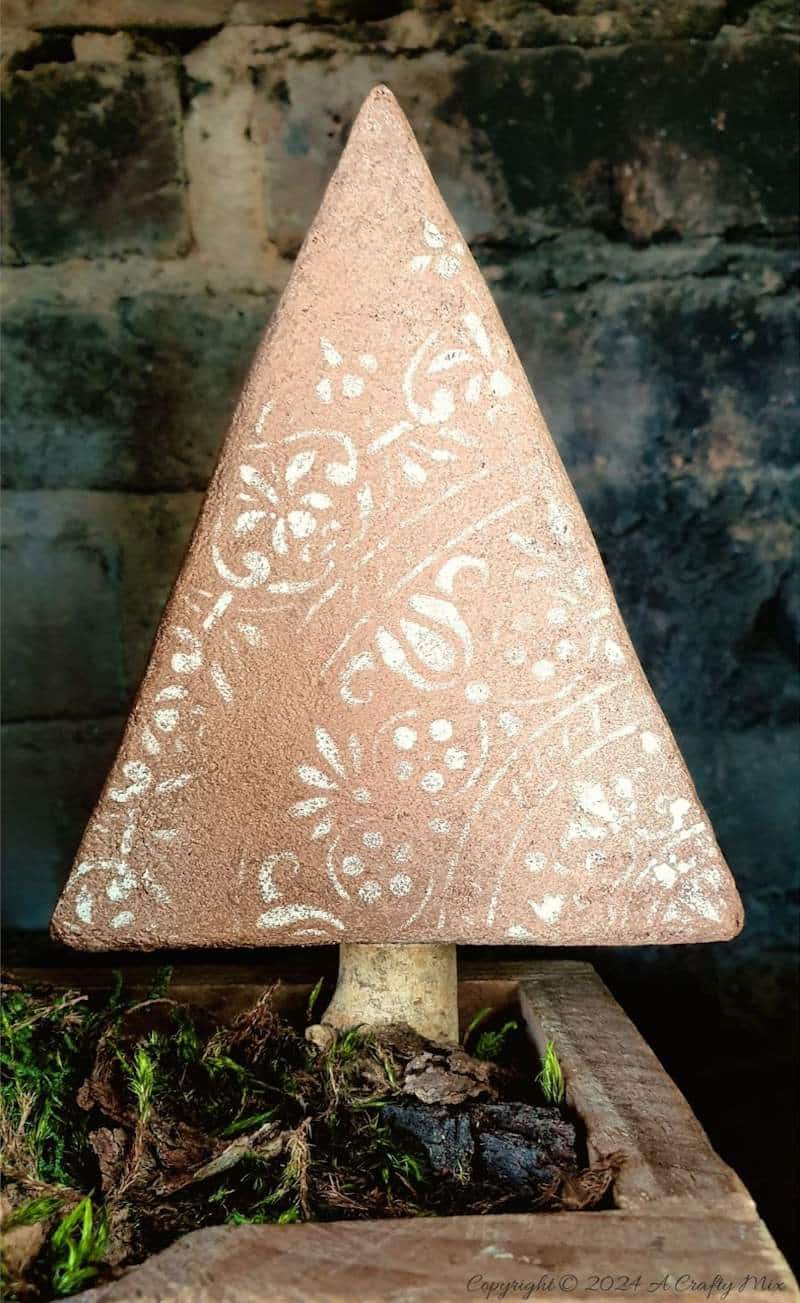
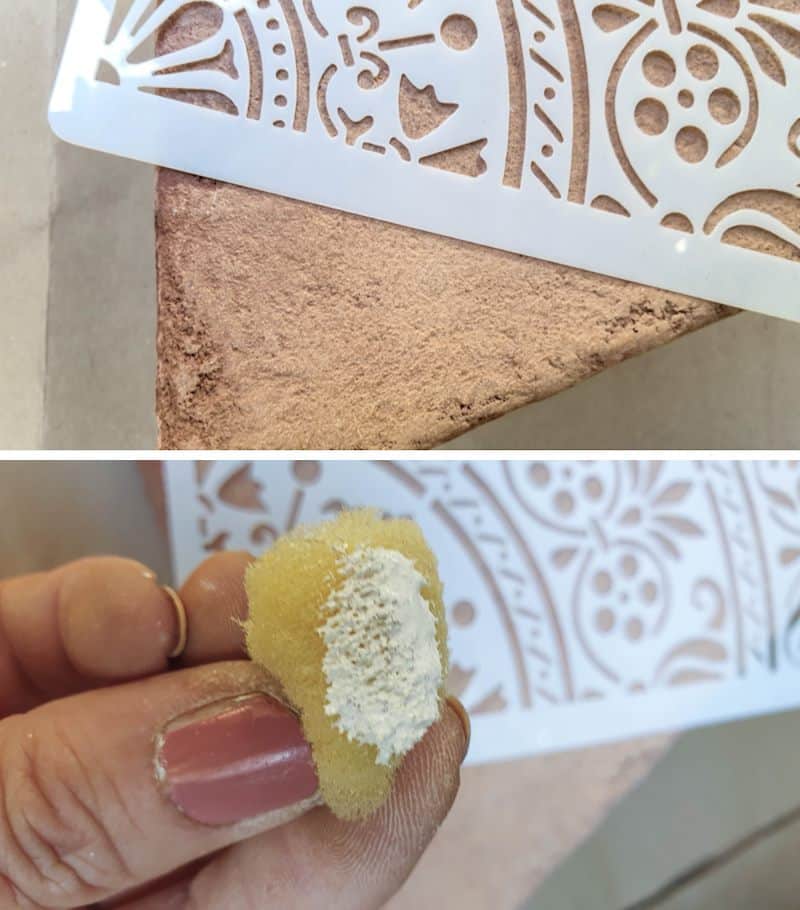
Once you’re happy with the coverage, leave it to dry. To mimic the efflorescence you see on old terracotta objects, sand with 100-grit sandpaper. If you look at the piccy below, you can see the color difference before and after sanding.

How much you sand is up to you, as long as you don’t sand off all the color. Personally I love the warm, muted, slightly aged look so my cardboard terracotta trees got a good sanding. Seal the objects with artist fixative or hairspray. It will darken the colors a little.
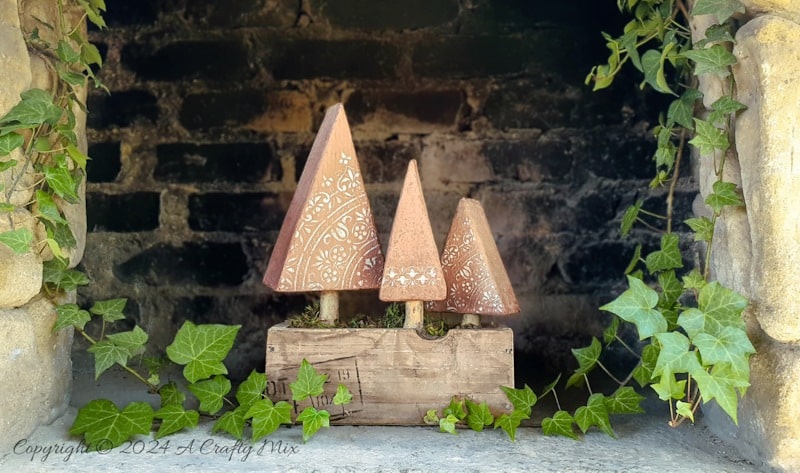
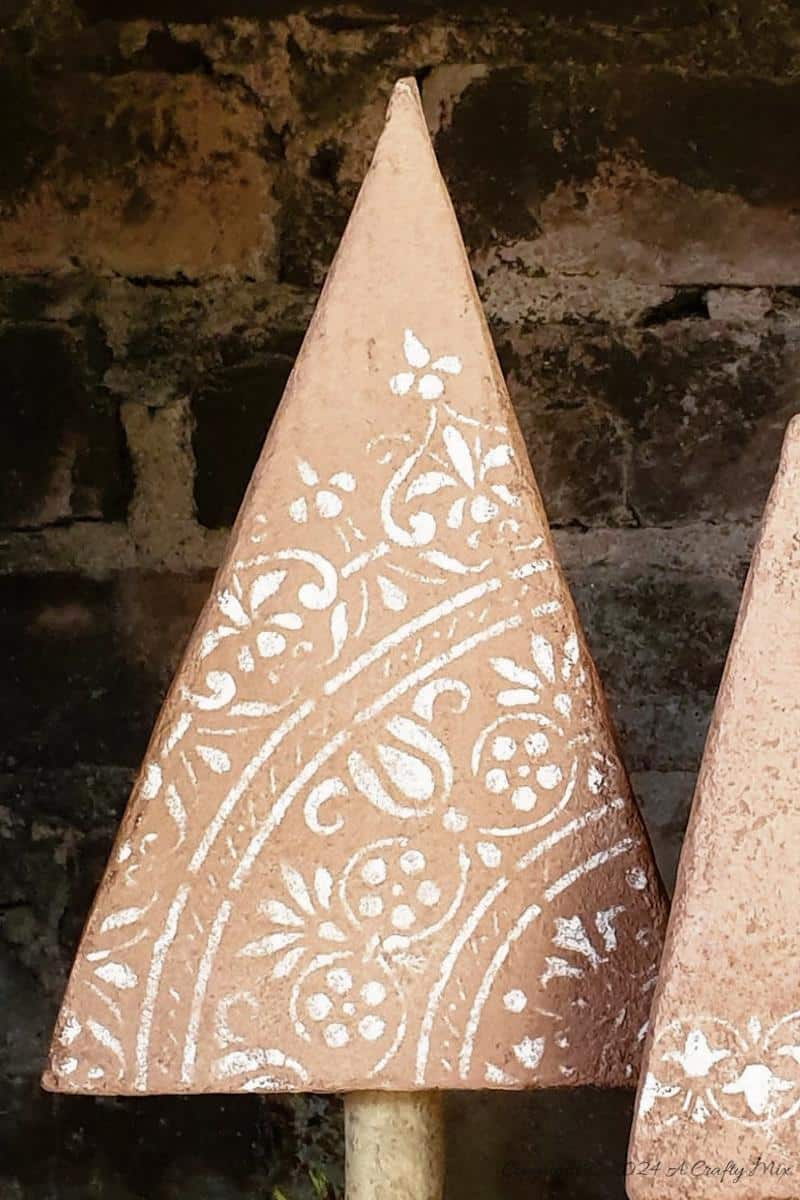
And that’s basically it. Easy right? I dressed my Christmas tress up with a stencil .
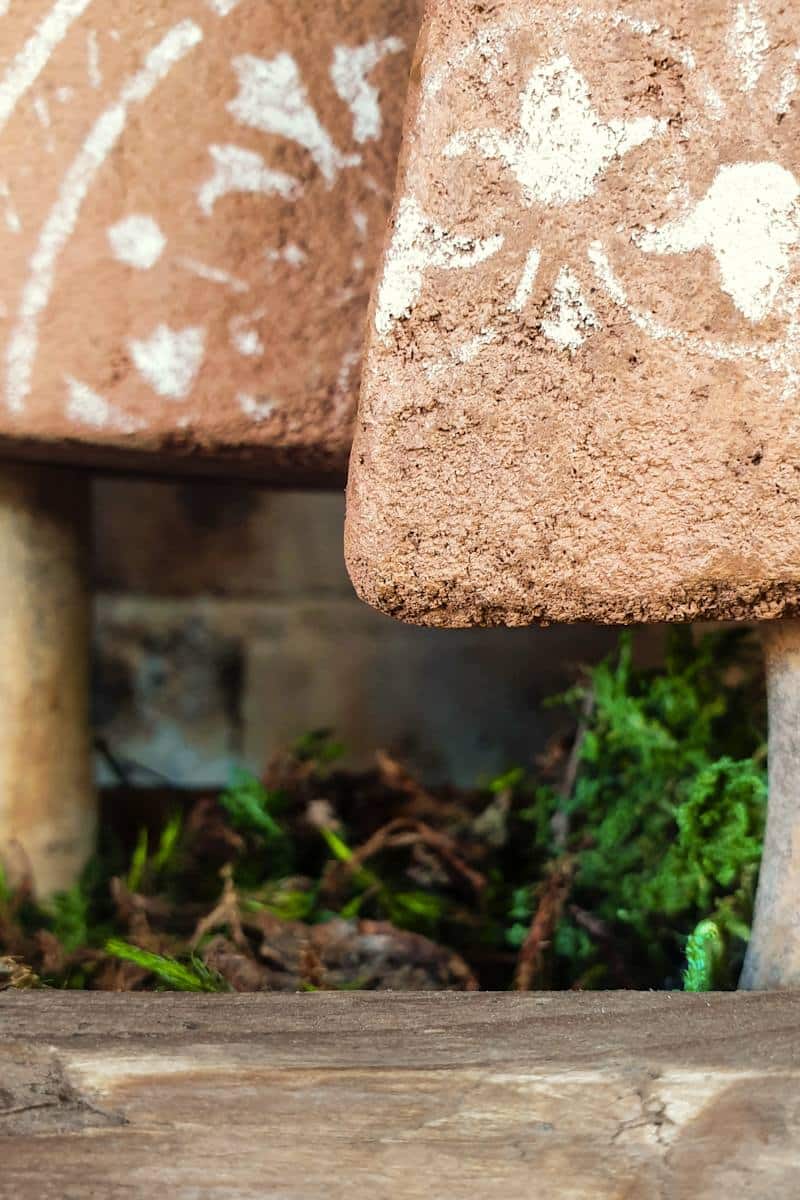
And I glued on a sturdy branch to add height before popping them inside a small crate.
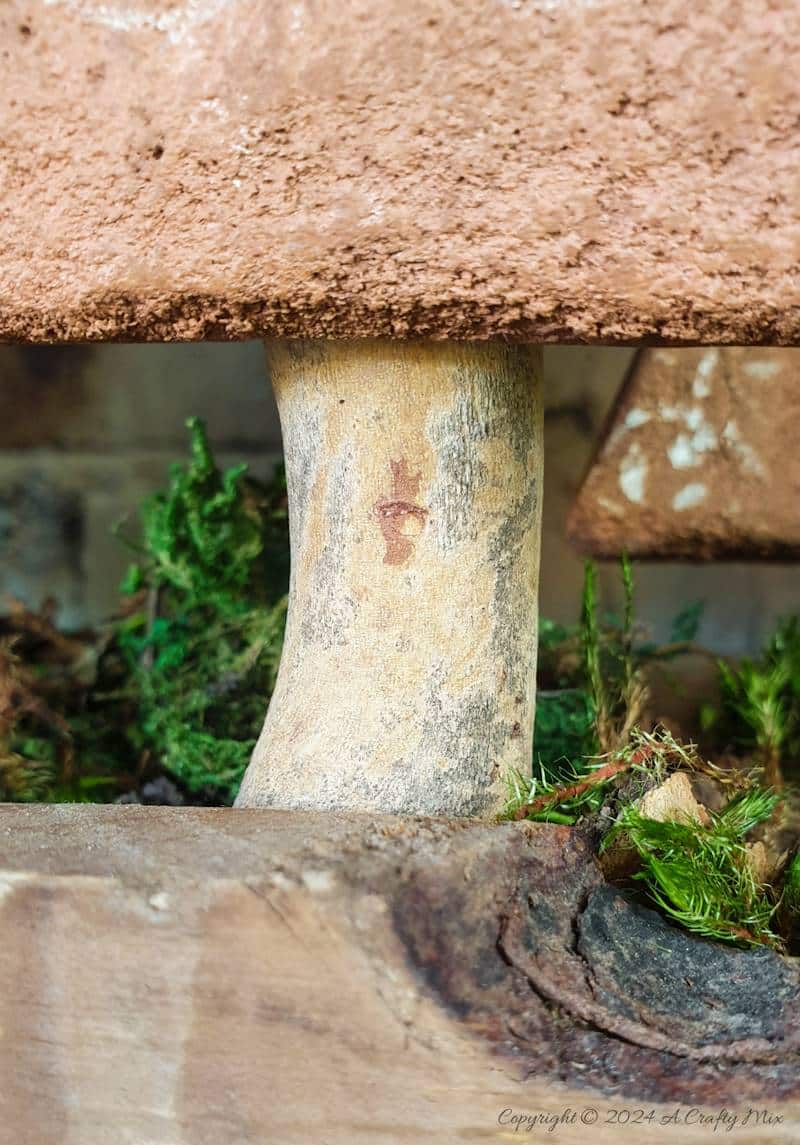
My hubby made this one for me using some pallet scraps and one of my favorite stencils from Funky Junk.

I love the way they turned out and how easy it is to give something a quick terracotta makeover. What do you think?
If you like the idea of using craft paint to give something a terracotta makeover, don’t forget to pin it for later.
Sharing caring
Oh, and if you’re looking for some of the things we used, we’ve got you covered. Disclosure: Clicking on the links below, means we may receive a commission from Amazon. But don’t worry it won’t come out of your pocket, and it helps us make more amazing crafts to share with you.


And if you prefer to buy rather than DIY, then maybe these beauties will appeal.


And as always, wishing you a wonderful, crafty week filled with lots of love. Thank you for popping in for a visit.

Last update on 2026-06-03 / Source Amazon Affiliates