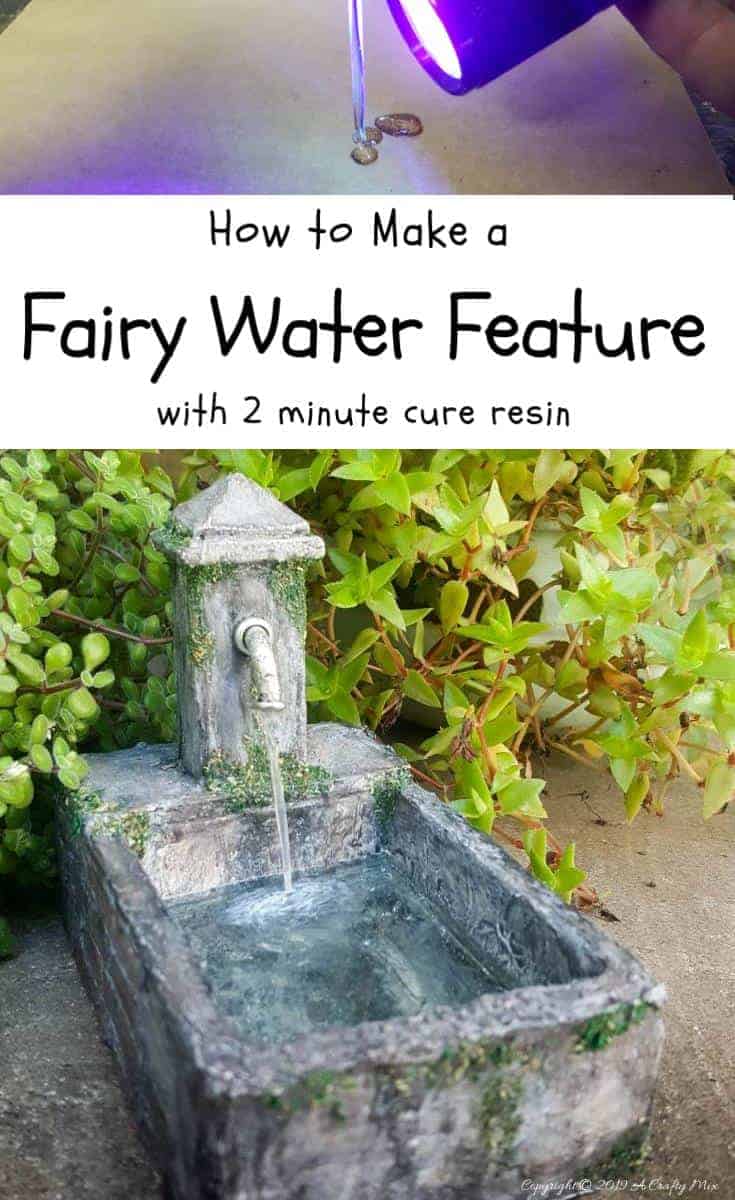
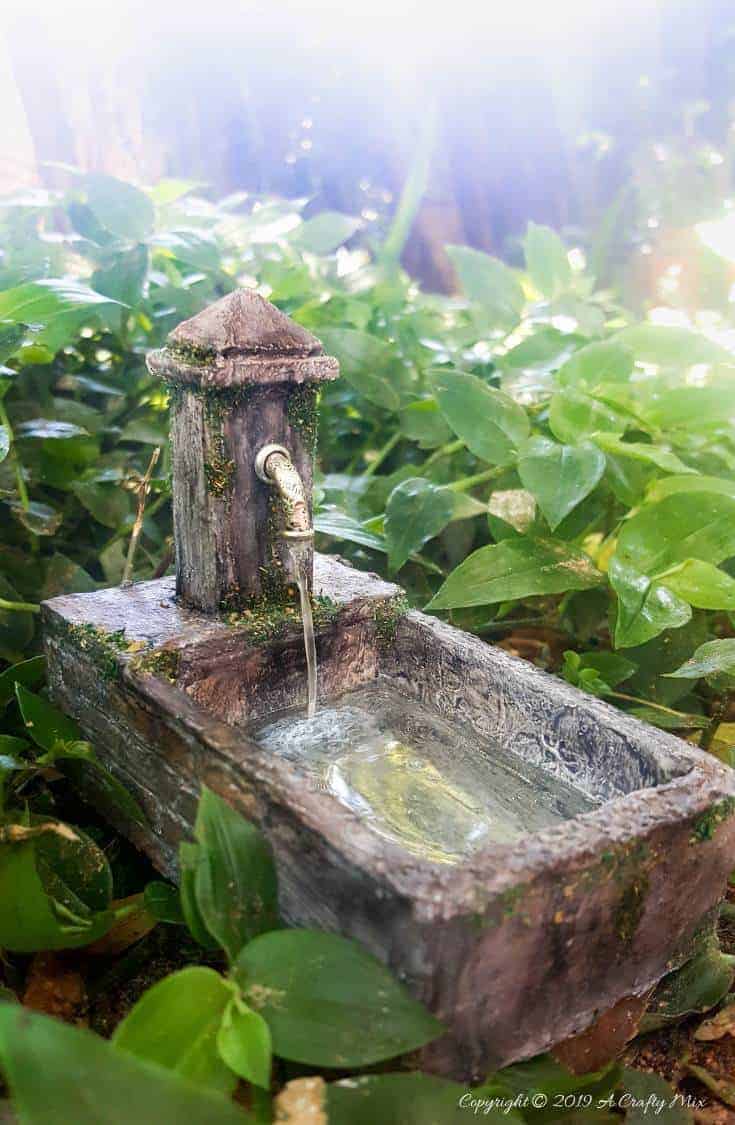
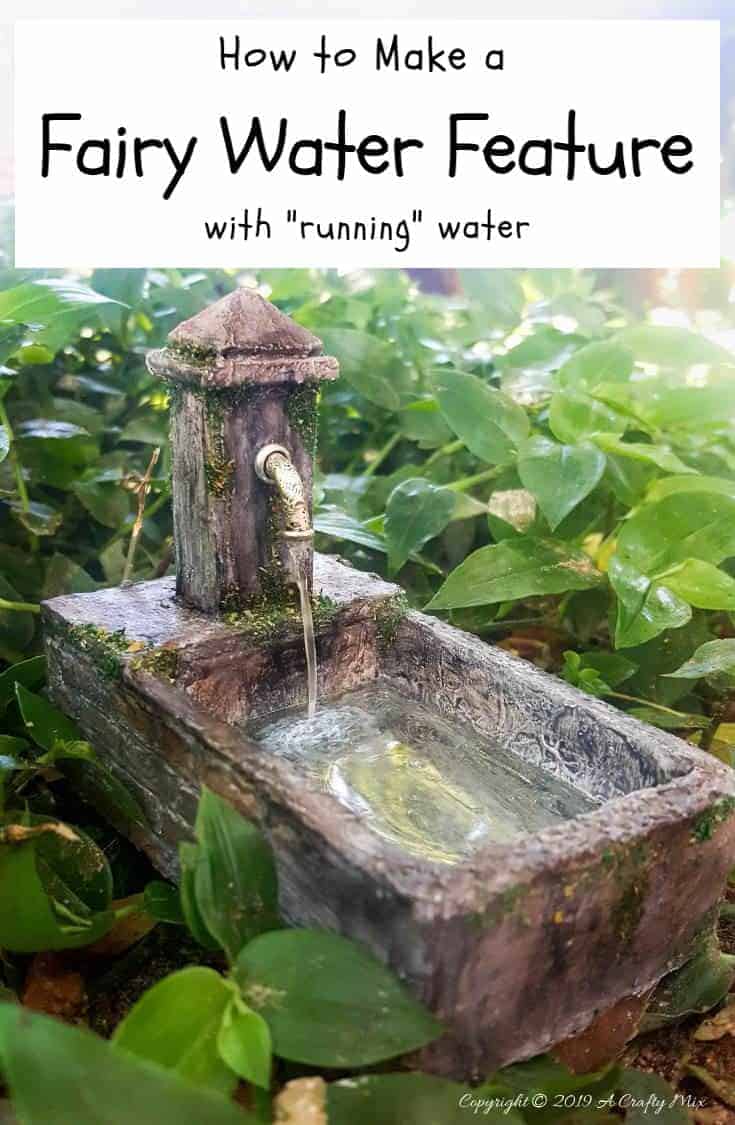
It seems I’m on a mission to make things for our garden fairies before the seasons change. Last week we shared a tutorial for a fantasy fairy daybed complete with a tufted mattress and this week we have another adorable fairy craft for you. A miniature fairy water feature complete with “running” water 😀
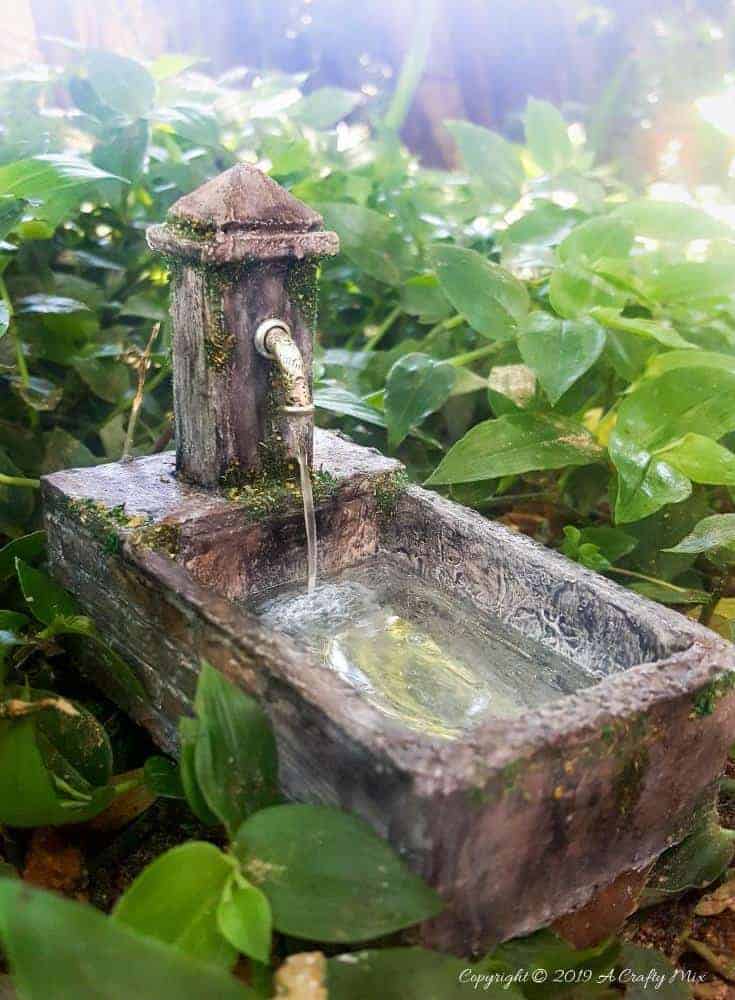
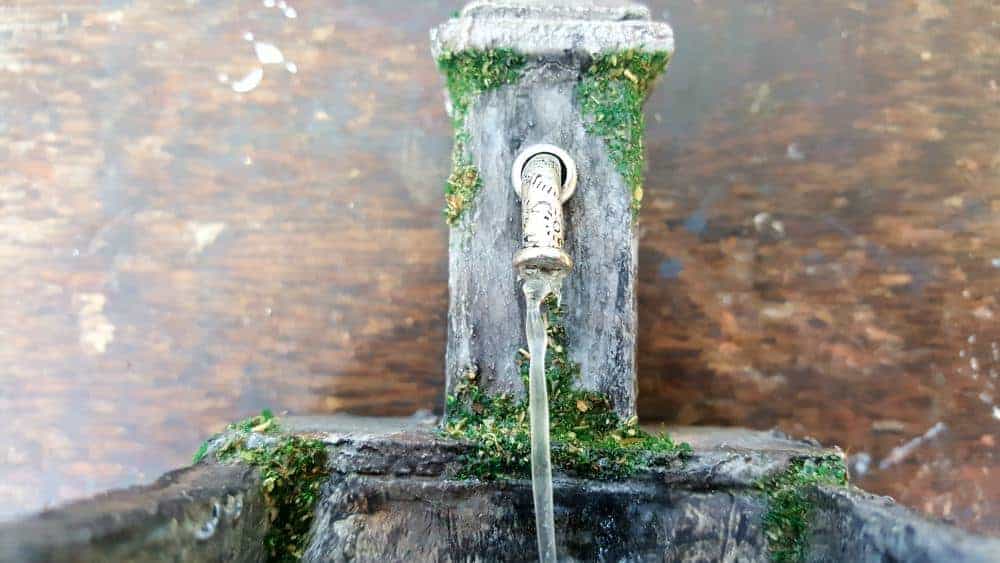
I have to admit, I’m pretty proud of how it turned out, and I got to play with some really cool stuff too. A resin that cures in 2 minutes 😉 Where has this stuff been all my life? And what’s more, you don’t have to measure and mix the resin either. It comes pre-mixed and hardens under UV light or when it’s exposed to sunlight. Best invention EVER and I love the way it looks like real water.
Those sparkles you see. That’s fairy magic
Okay, but before we get to the tutorial, be sure to follow us on Facebook, Twitter, Pinterest, or Instagram. And don’t forget to subscribe so you’ll never miss a post!
Right, let’s make that water feature, shall we 😉
What you need
For this project you’ll need to following:
- Craft knife
- Glue
- Ruler
- Acrylic paint – black, white and burnt umber
- Dried herbs and moss
- Marine sealer (if going outdoors)
- Gesso (you can make your own using this recipe)
- 120 grit Sandpaper
- Fairy water feature template (download here)
- Curved noodle bead or thick wire
- Balsa sheets
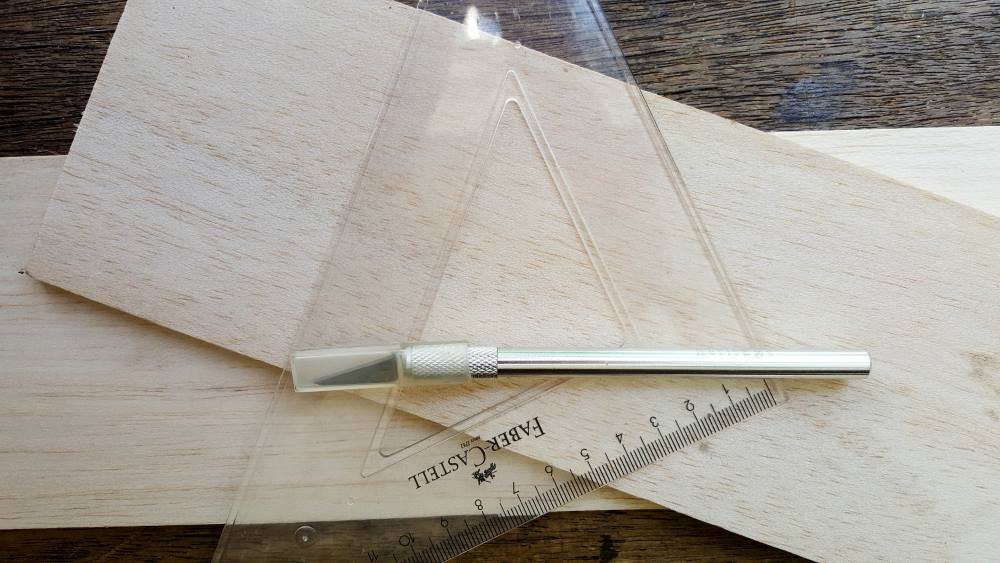
Balsa sheets come in long, thin sheets, and it’s really easy to cut with a craft knife. Common sizes range from 0.75mm (1/32”) thickness to 19mm (3/4”) thickness, by 5cm (2”) to 15cm (6”) wide, and are usually 91cm (36”) long. I use it all the time to make frames. For the fairy water feature, I used 5mm (1/4”) and 3mm (1/8”) balsa sheets. If yours is thicker, you may need to adjust the measurements in the template. If you can’t find balsa wood, you can use sturdy cardboard instead.
To mimic water, you’ll need:
- 2-minute resin (there’s an affiliate link at the bottom of the post)
- Thin wire or fishing line
- UV light
Making the Fairy Water Feature
The Trough
Using the template cut you balsa sheets into the following pieces:
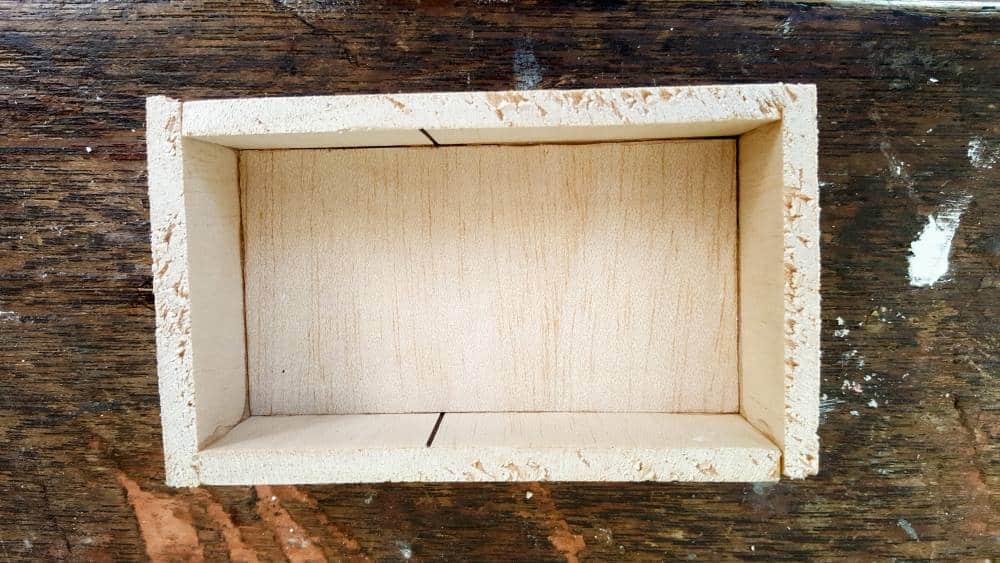
- 1 x base – 10 cm x 5.5 cm (4”x 2 ¼”)
- 2 x long sides – 10 cm x 3 cm (4” x 1 1/8”)
- 2 x short sides – 6.5 cm x 3 cm ( 2 5/8” x 1 1/8”)
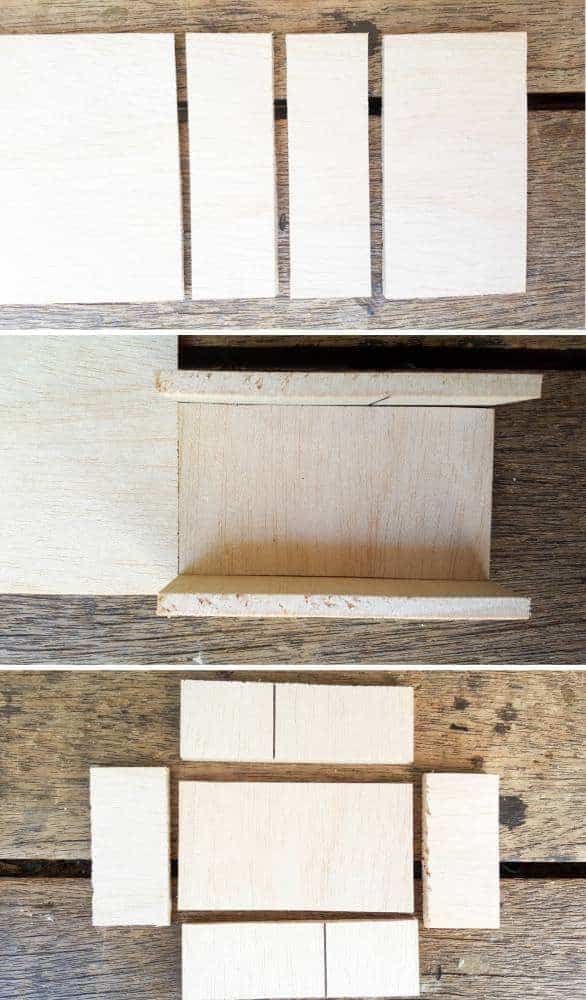
Glue the pieces together to form a rectangular box as shown below.
Cut the platform for the pillar as follows:
- 1 x inside panel – 5 cm x 2.5 cm (2” x 1”)
- 1 x top panel – 6.5cm x 3.5 cm (2 5/8” x 1 3/8”)
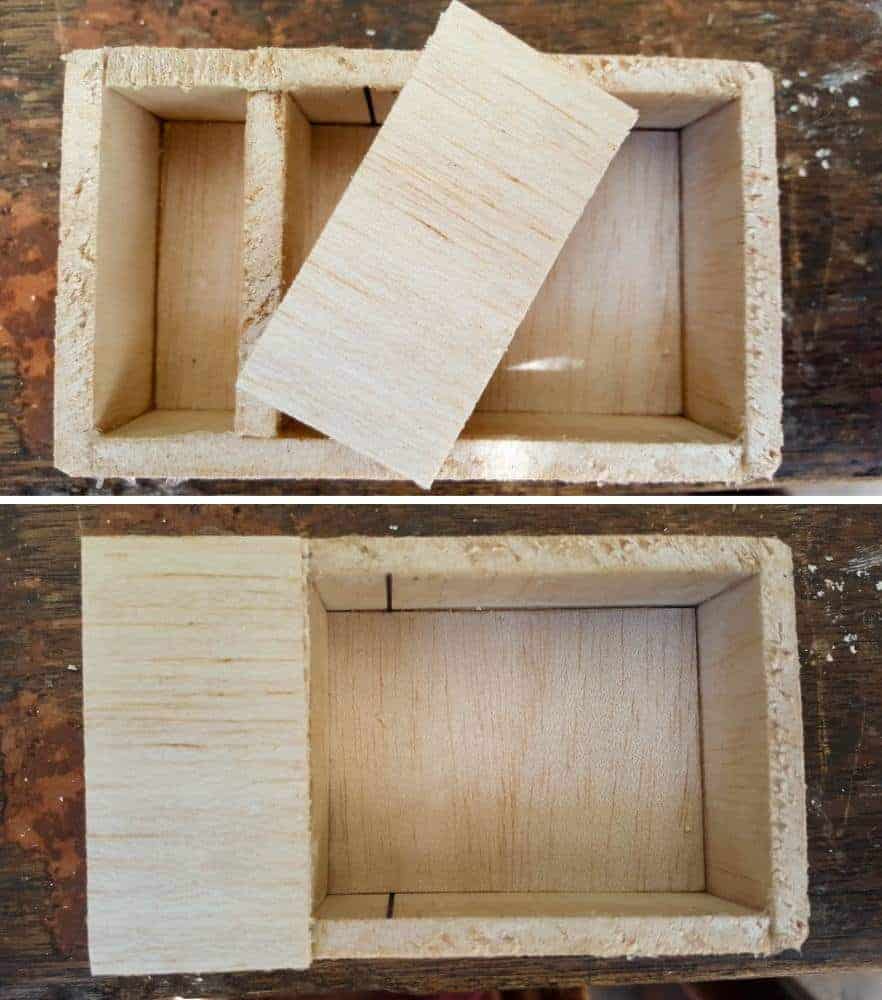
Glue the thinner panel piece inside the rectangular box. Use the wider top panel to measure where to glue the inside panel.
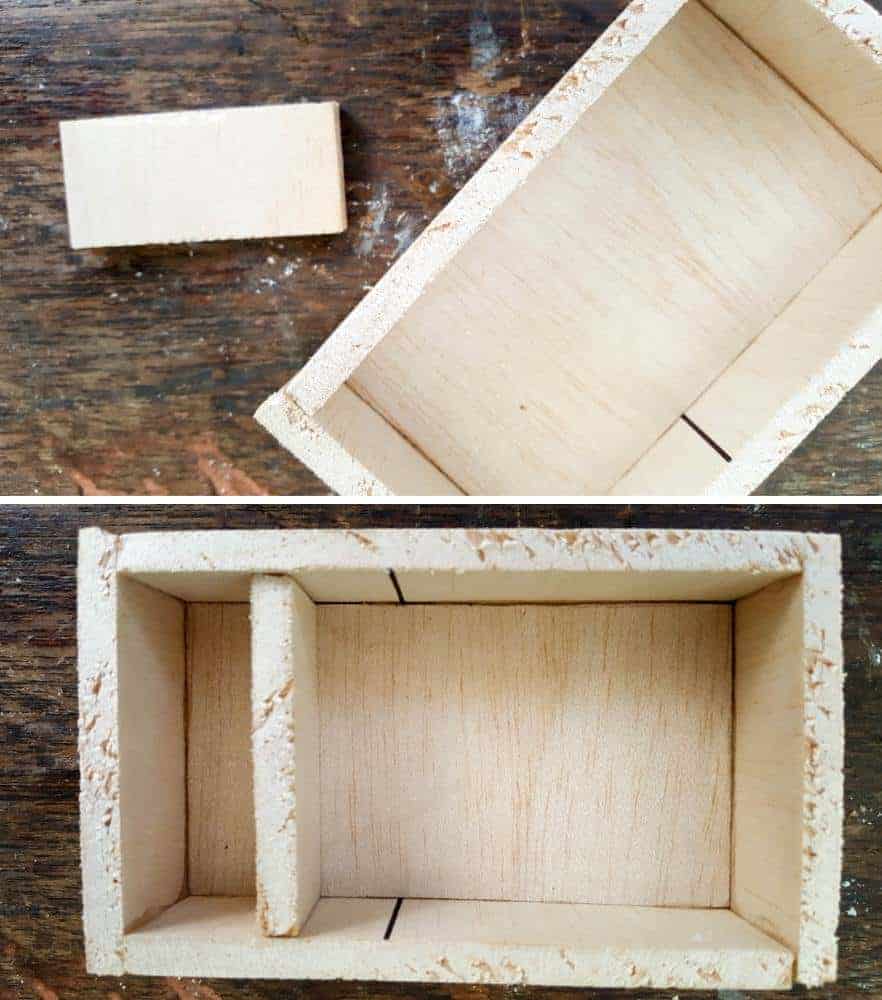
You kinda want the top panel and inside panel to form one seamless whole. I hope that makes sense.
Making the Pillar and Water Spout
To make the pillar where the water spout will go, you will need to cut the following from your balsa sheet:
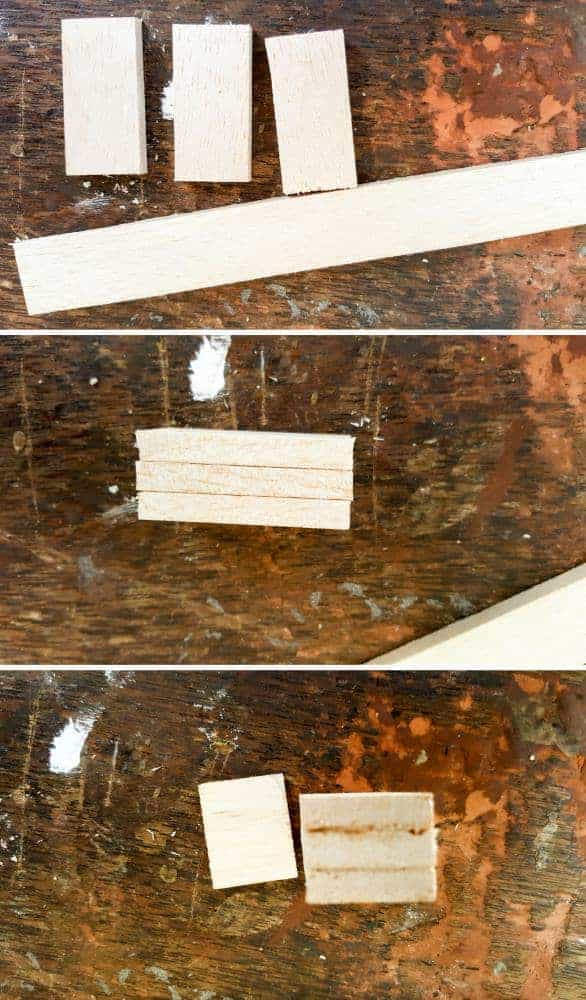
- 3 x pillar pieces – 4 cm x 2 cm (1 5/8” x 7/8”)
- 1 x pillar top – 3 cm x 2.5 cm ( 1 ¼” x 1”)
- 3 x pyramid top – 2.5 cm x 2 cm (1 ¼” x 7/8”)
The pillar is made up of three different bits; a pillar or column, a block of balsa that sits on top of the pillar and then a pyramid shape on top of that. We’ll start by making the pillar by gluing the three pieces together.
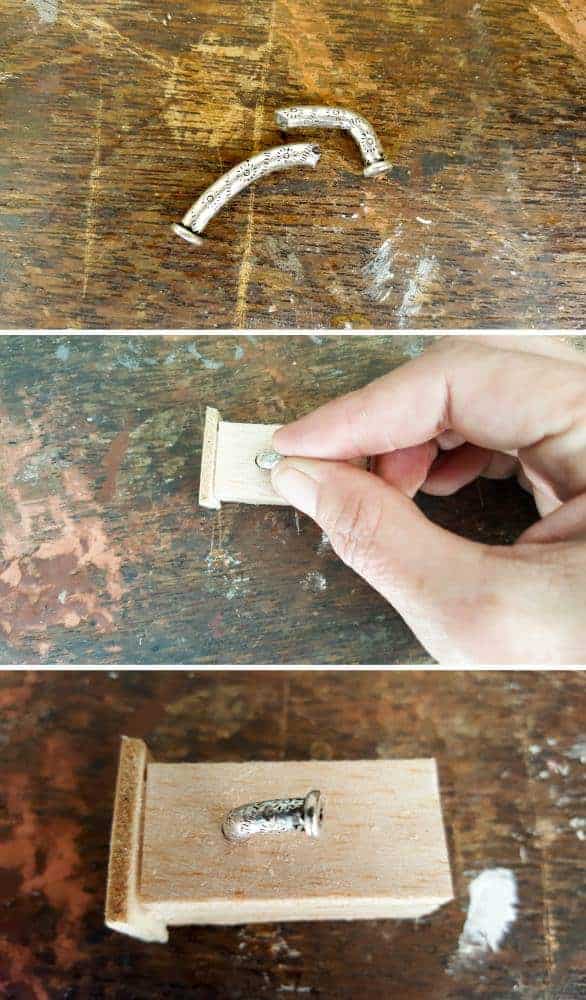
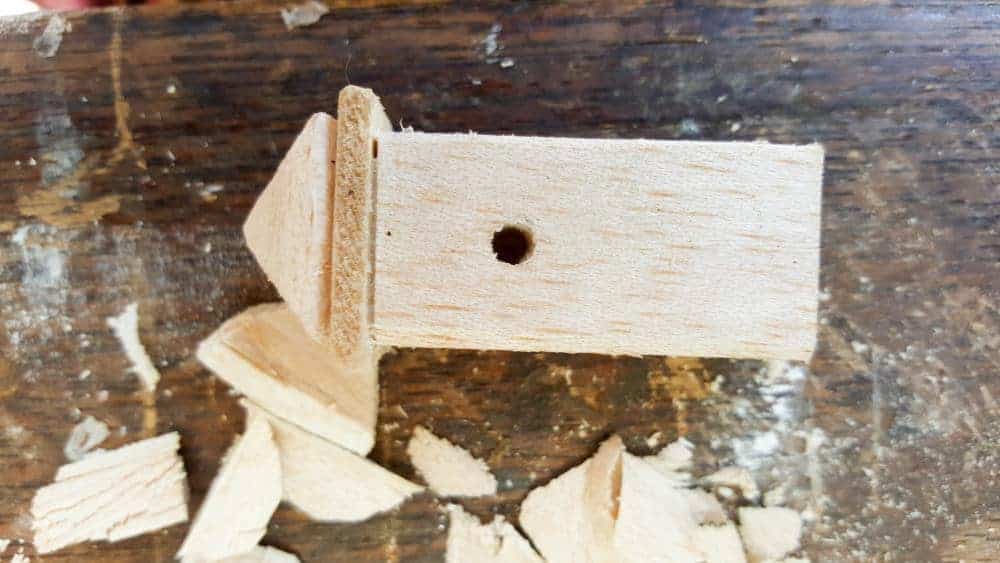
Glue the pillar top onto the pillar. Cut the noodle bead in half to make a water spout. Lightly bend one end to make it more “spout-ish” ;-)If you don’t have any beads a thick piece of wire will also work. Eyeball where you want the spout to go and squish the bead/wire into the pillar to make a hole. Did I mention already that balsa is super soft and easy to work with?
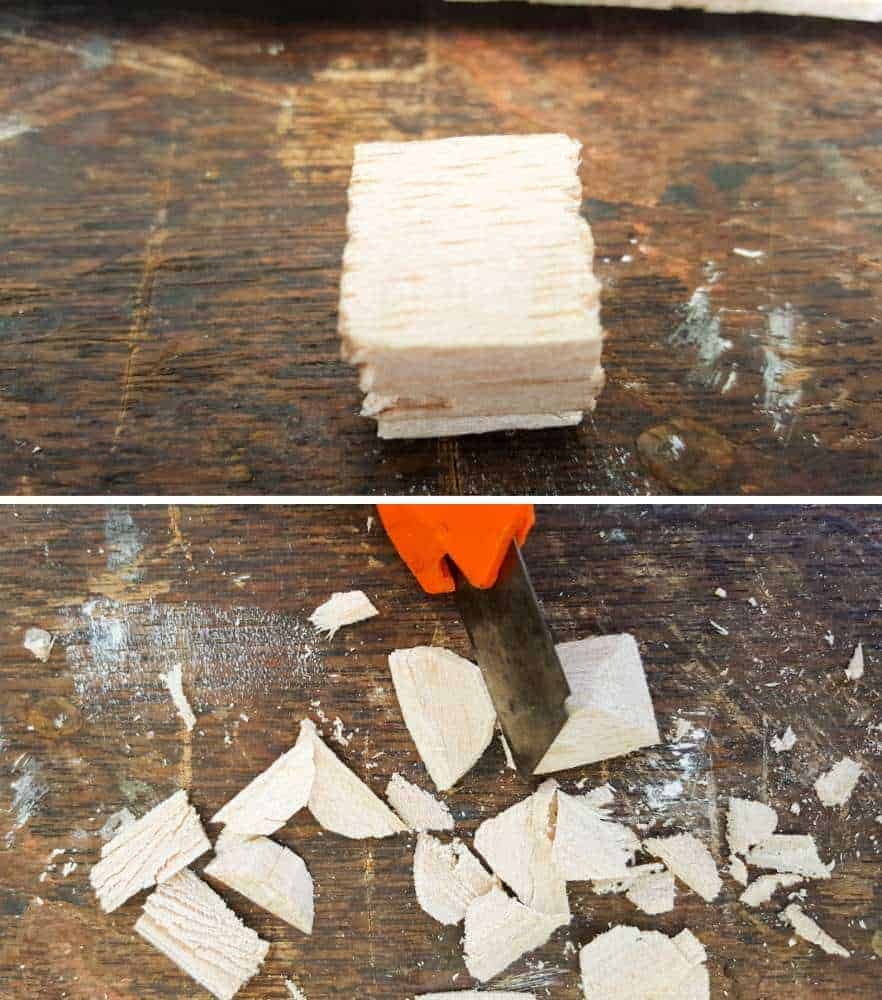
To make the pyramid that goes on top of the pillar, glue the square-ish pillar top pieces together and use a craft knife to cut, or shave away, the sides at an angle. You can also use a bead for the top.
Glue all the bits together.
And sand lightly sand to get rid of any rough edges.
Giving the Fairy Water Feature some Character
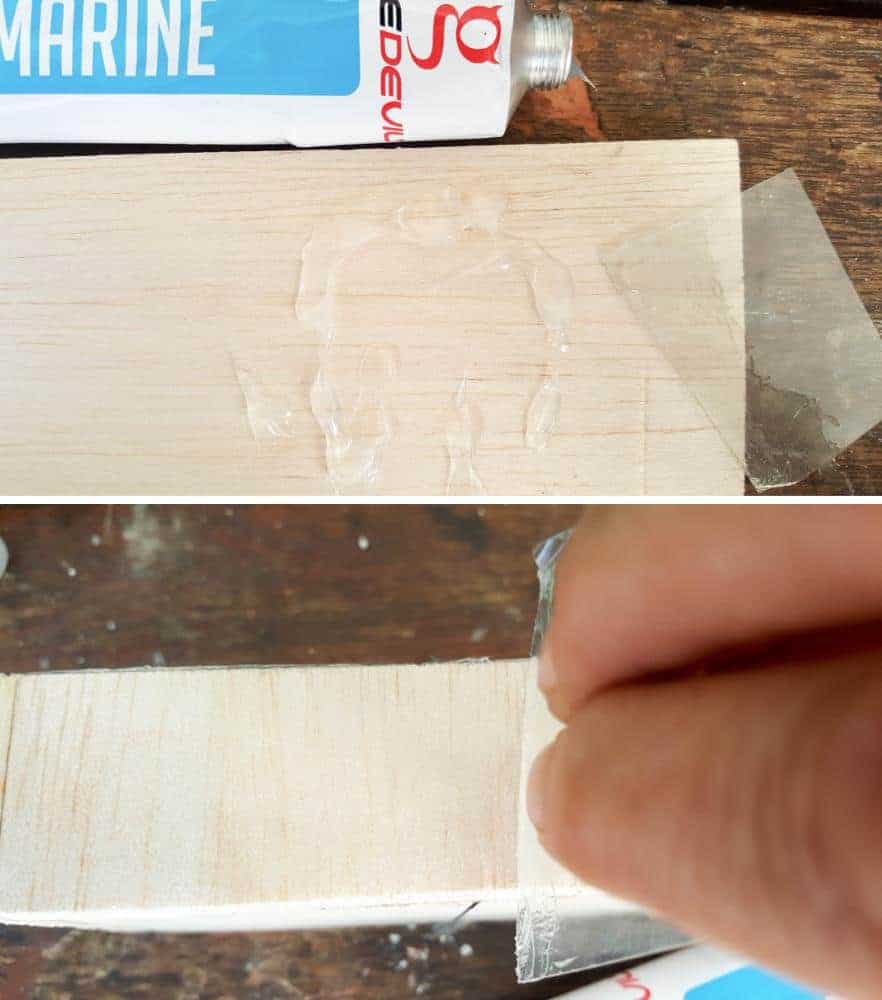
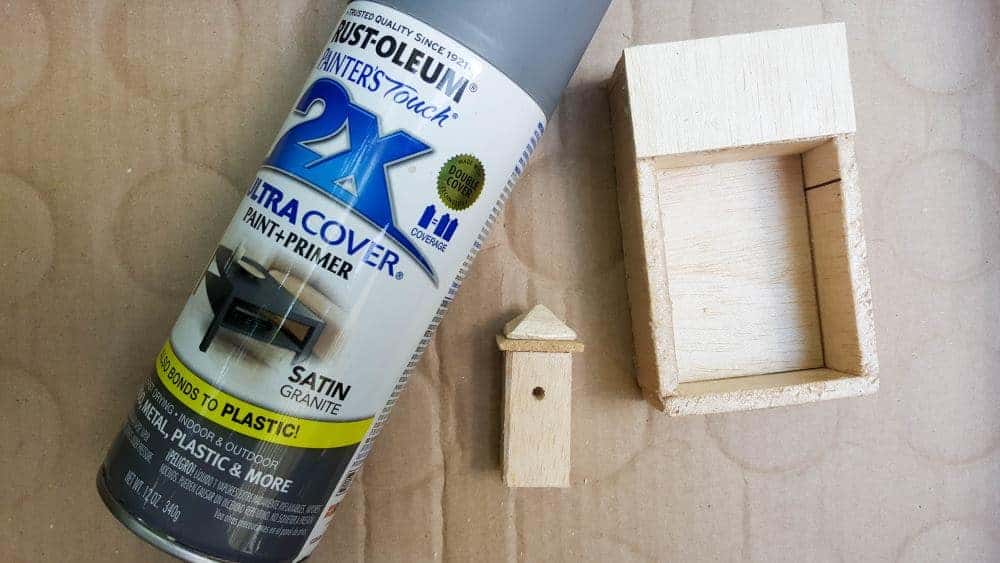
Okay, so now that we’ve built all the bits we need it’s time to start making the fairy water feature look less like it’s made from balsa wood and more like something that’s been around for a while 😀 Since this little one will go outside, I sealed all the bits with marine silicone sealer first.
Once that sealer cures (24 hours) I used spray paint to paint everything grey. The marine silicon should be enough to make it waterproof, but I really wanted this one to last and figured the paint would create another layer of protection. You can skip this step if you like.
Since the paint I used had a satin finish, I gave it a light sanding with 120 grit sandpaper before applying gesso all over the water feature. We make our own so I can control the consistency. For something like this, I added more talcum powder to our homemade mix. If you’re using store-bought gesso, feel free to sprinkle on a little powder to make it thicker.
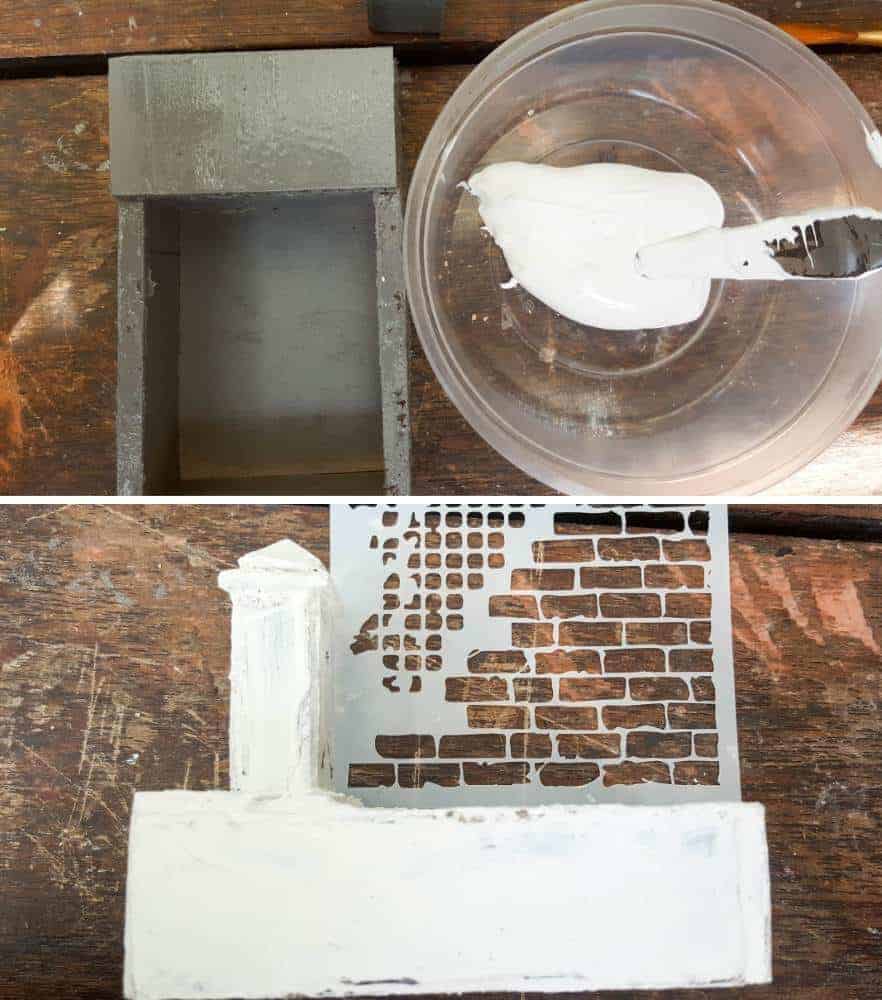
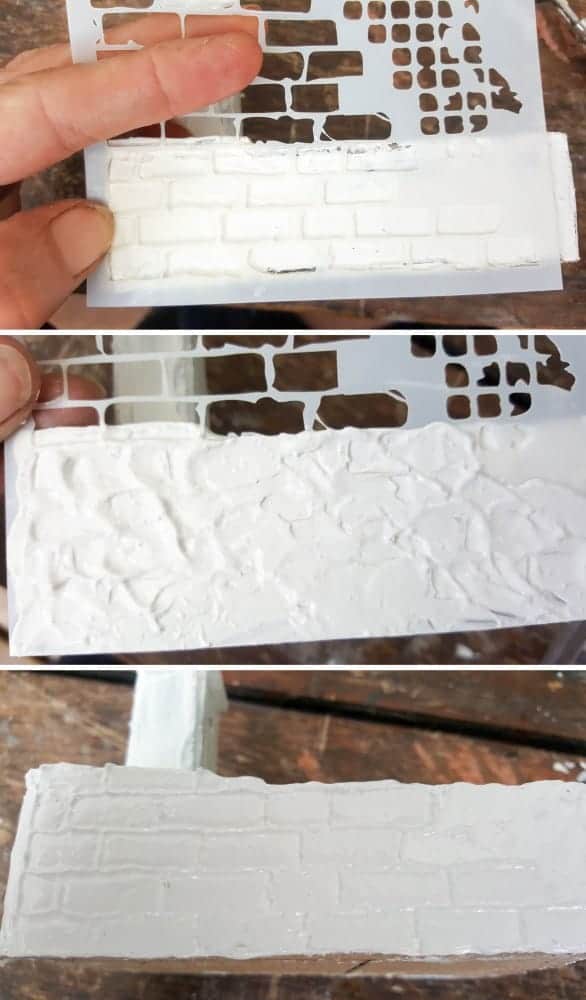
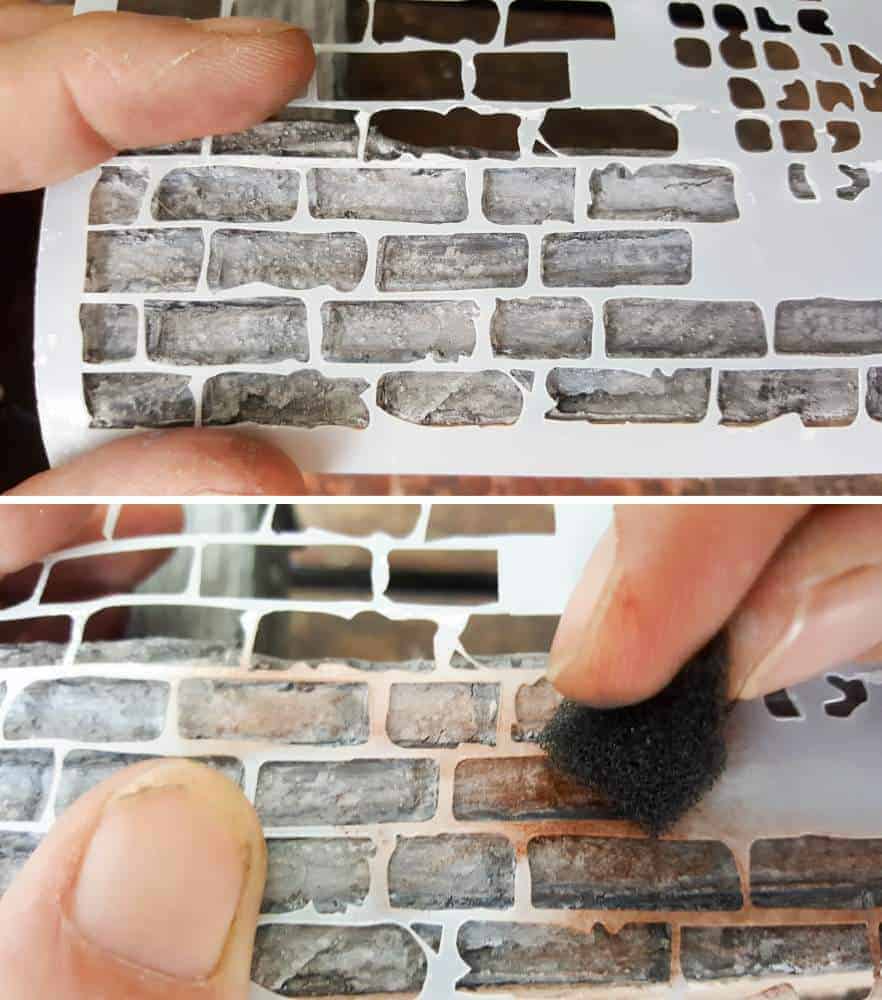
Just for fun, I used a small brick stencil to create faux brickwork along the sides of the trough.
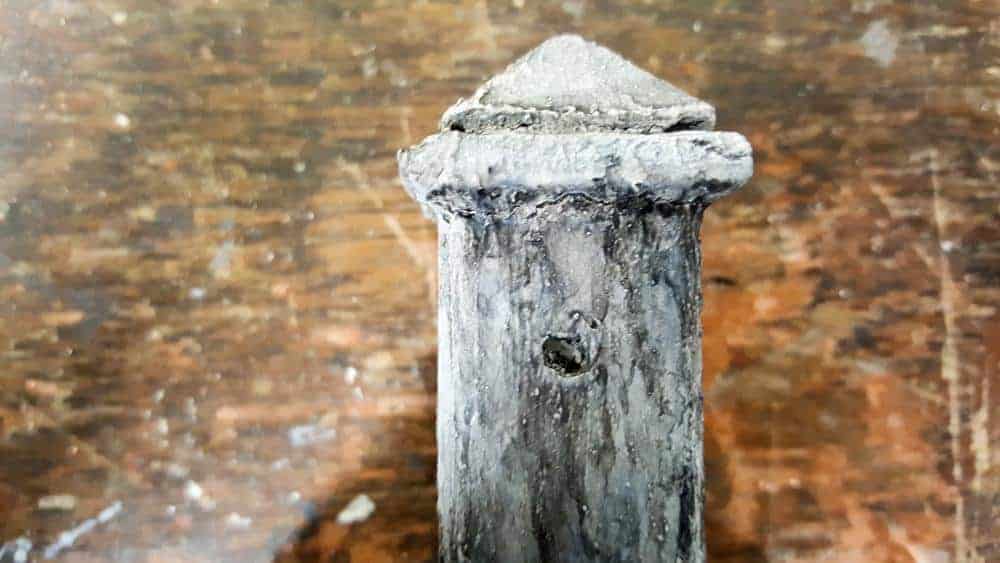
When the gesso dries, paint the whole thing with a wash of pale grey acrylic. I just mixed some white acrylic paint with a tiny hint of black to get the right color. When the pale grey dries, thin down some black paint with lots of water and add it to all the crevices, nooks and crannies on the water feature — all the places where dirt and gunk would normally accumulate over the years 😉
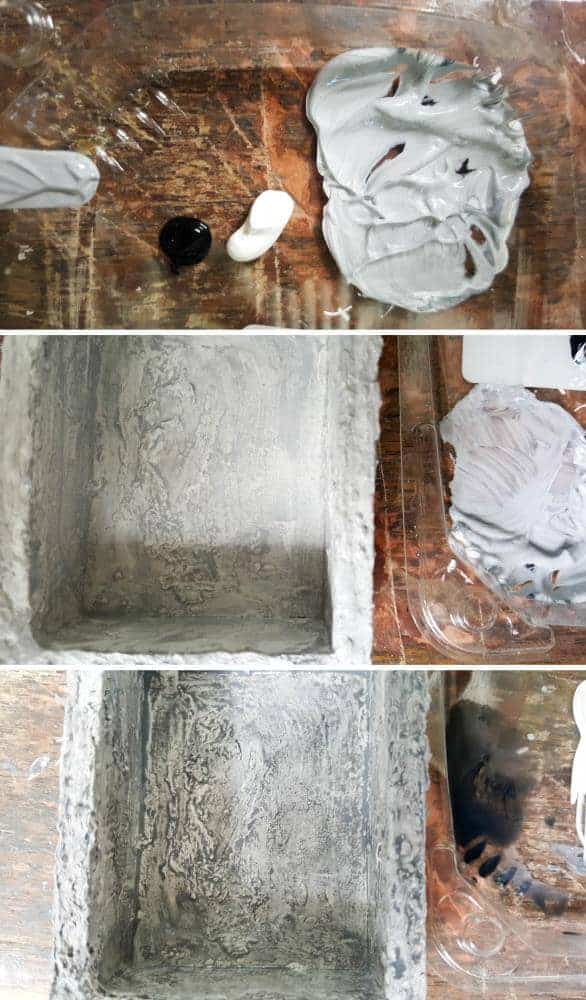
The wash of black gives the water feature so much depth and adds interest. Let your inner creative soul guide you here. There’s no right or wrong, just add more paint until you’re happy with the look.
For the brickwork, I used a sponge, dipped in burnt umber to make the bricks pop against the greys and blacks of the trough.
We’re almost done, I promise. Just a few more steps before your adorable fairy water feature is ready for the garden.
Adding the Mossy Bits to the Fairy Water Feature
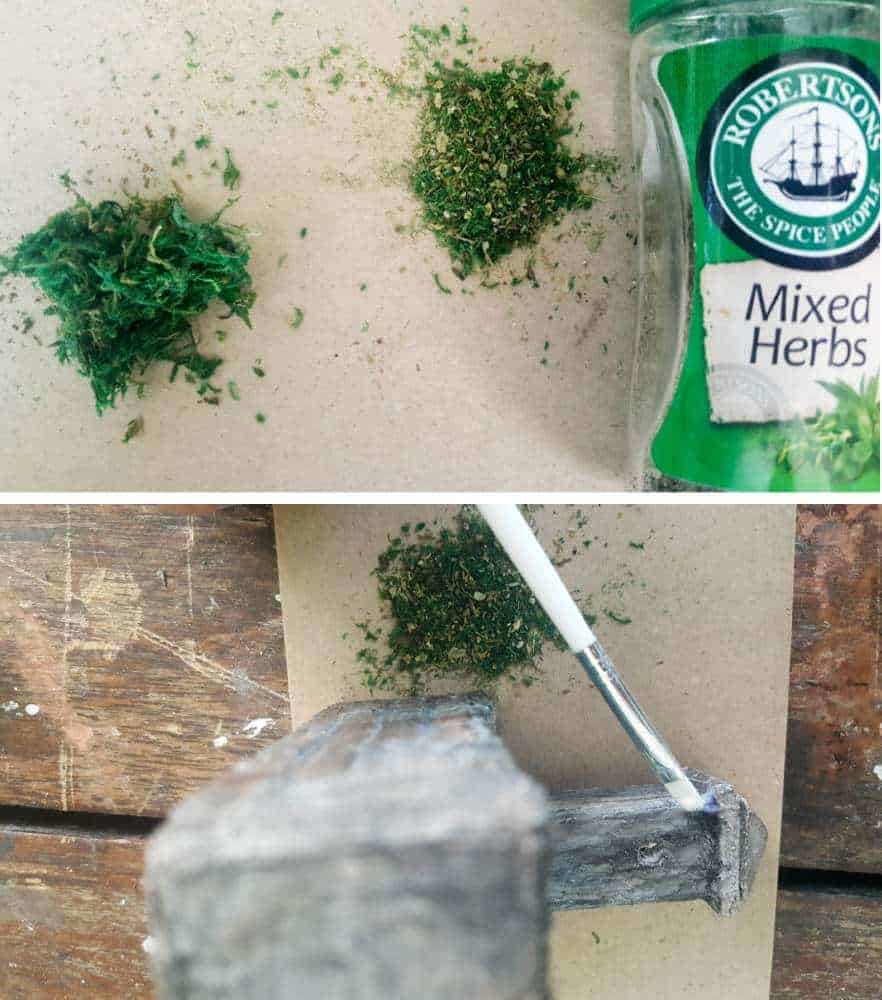
To create the moss and lichen, you would typically see on a water feature; I used dried herbs and actual moss. The moss you buy in craft stores can be a bit coarse, so I put it through a cheese grater to make it finer. I did the same thing when we made our “Spirit of the Forest” wreath. Apply the moss on the water feature with a bit of craft glue and a paintbrush.
Okay, now for the fun bit. Adding “running” water to the spout.
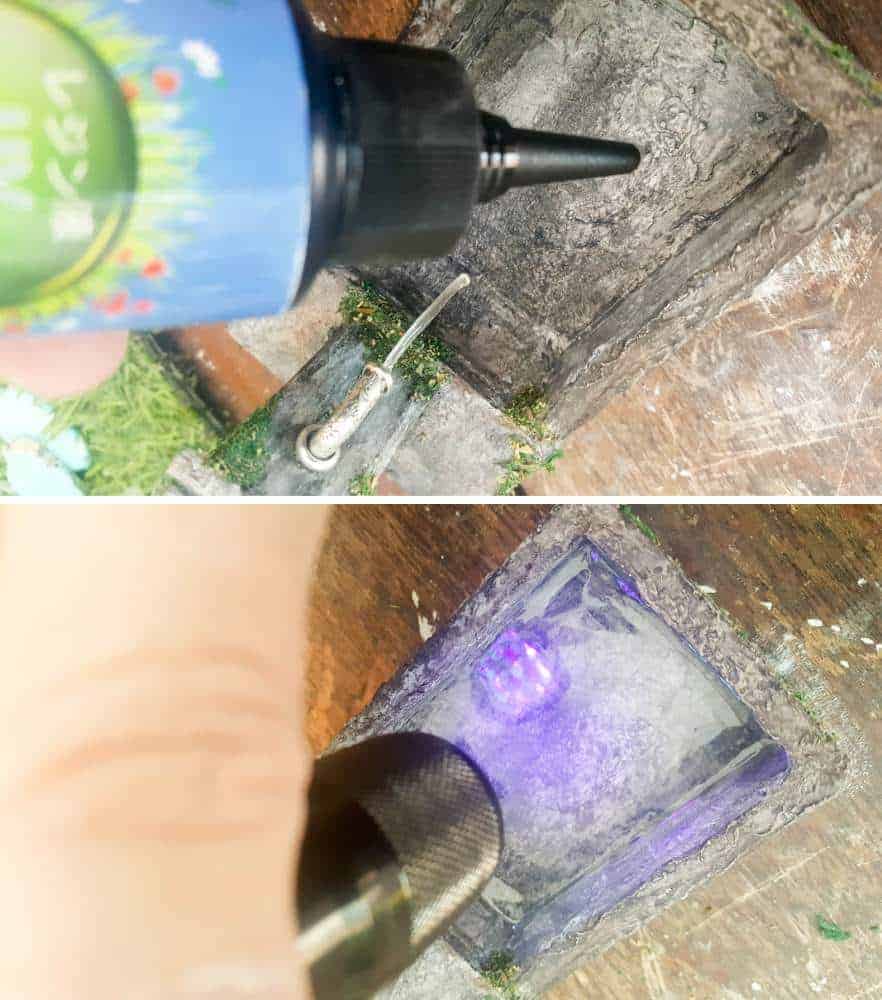
Using 2-Minute Resin to Make Water
Cut a piece of thin wire and dip it into the 2-minute resin. Let the resin run down the wire and use the UV light to cure.
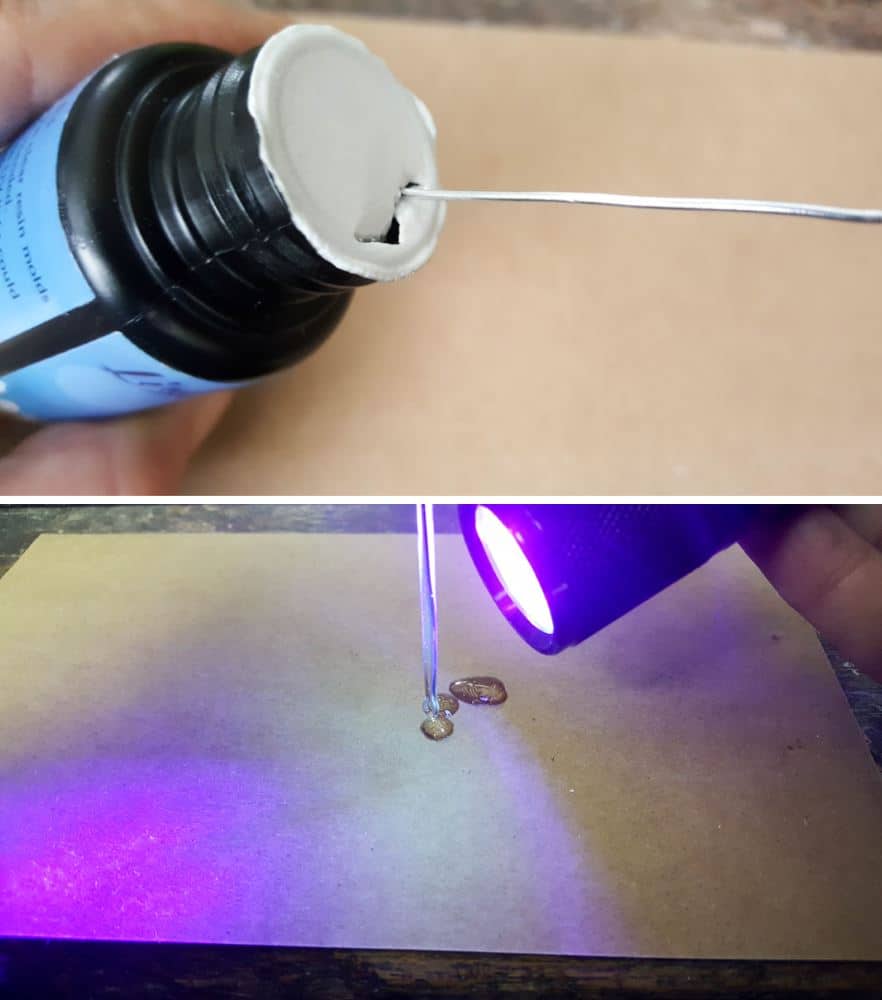
It’s seriously that easy. Love this stuff. We’ve used to make all kinds of stuff, from tabletop Christmas trees to faux glass hearts. Just a word of warning. It’s best to do this outside or somewhere well-ventilated. That stuff stinks like crazy while it’s curing. You can actually see the vapors and you might want to wear a gas mask or something.
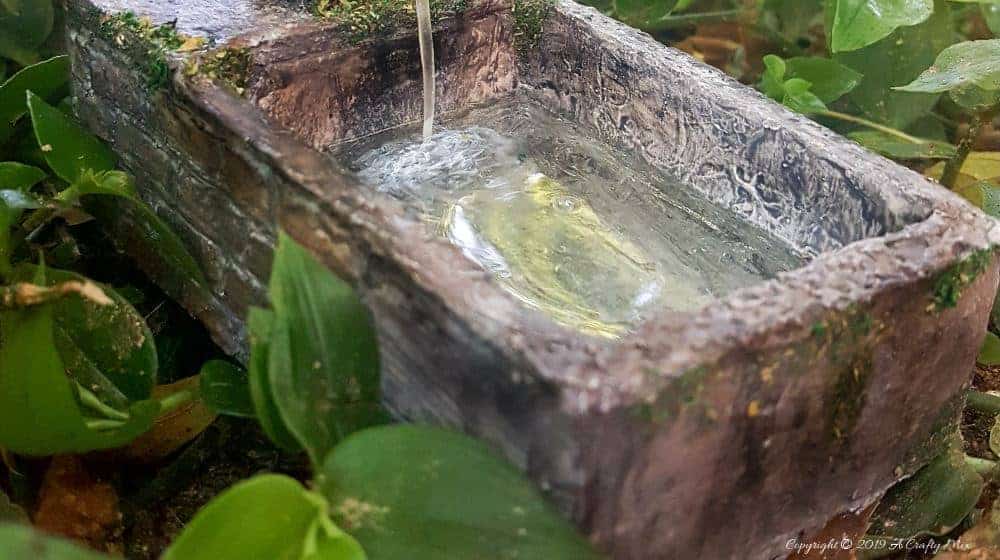
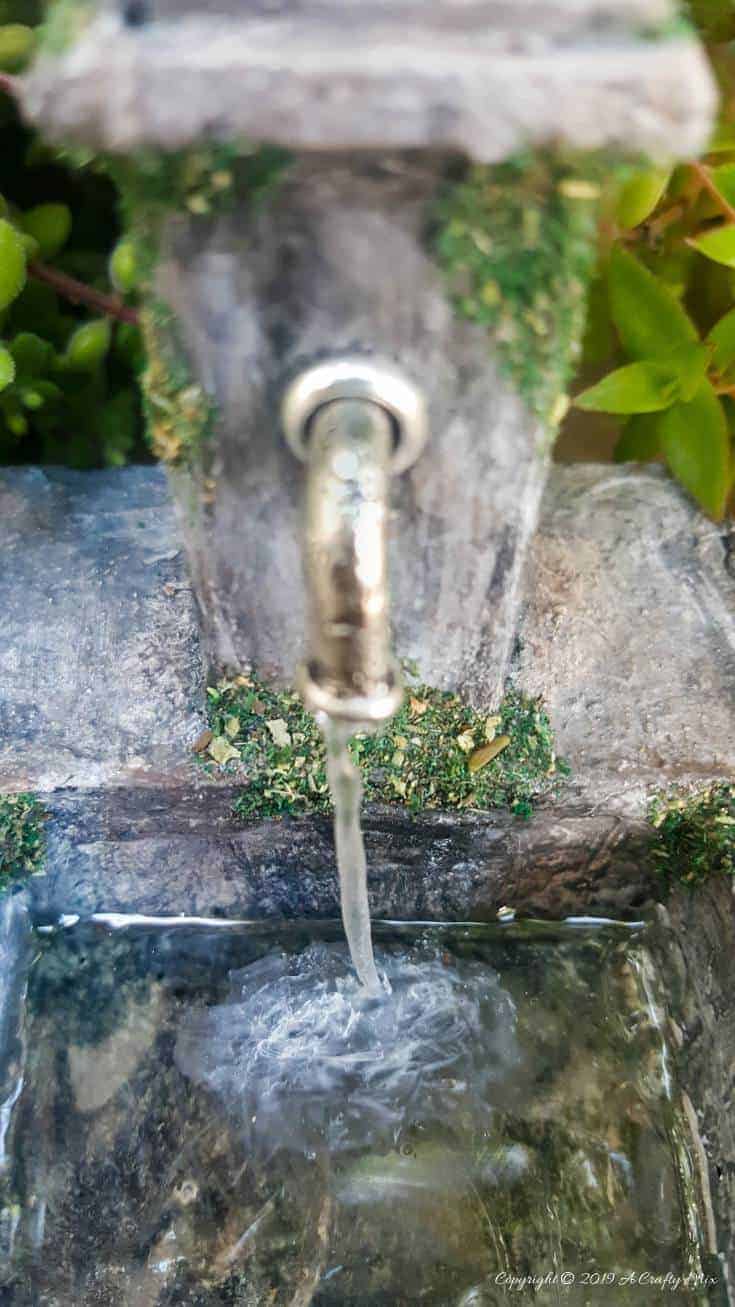
Glue the “running” water to the spout. Next up adding “water” to the trough. Squeeze a liberal amount of the 2-minute resin into the trough and cure it in the same way.
To create the froth and ripples where the water tumbles into the trough, add a small amount of white acrylic paint around the “running” water and add some water to thin it and spread it outwards.

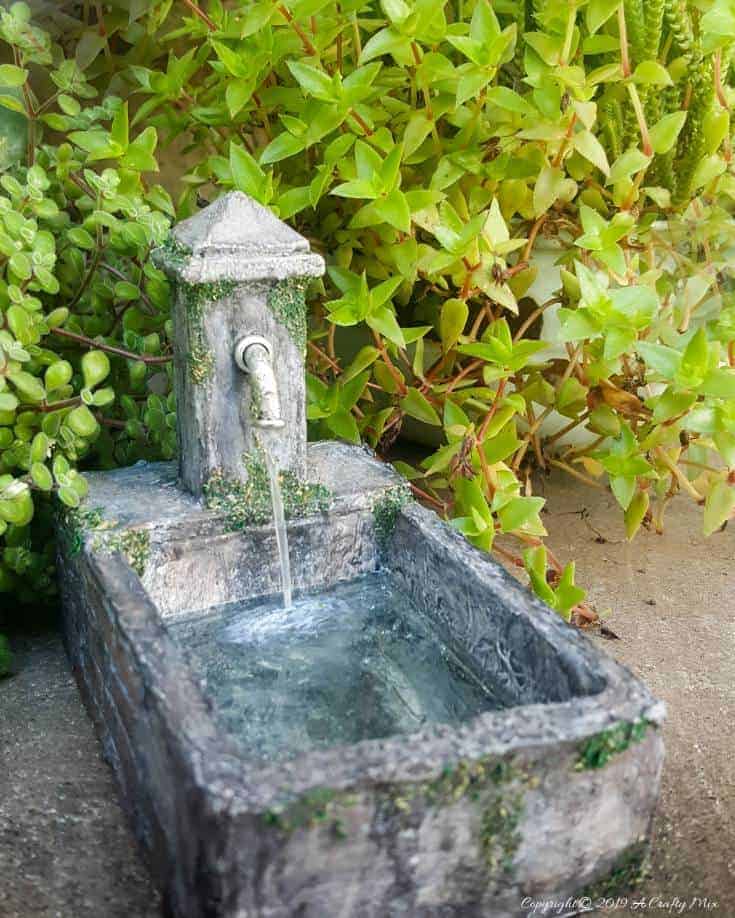
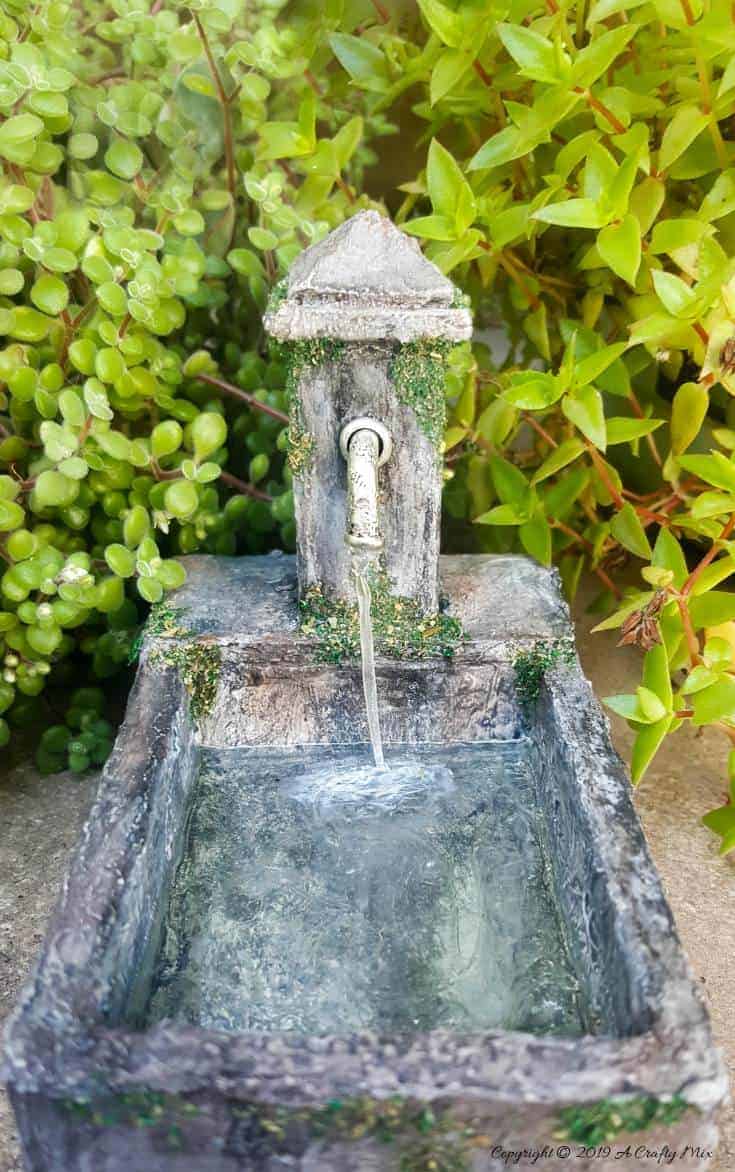
Ta-da, the fairy water feature is ready for the garden.
What do you think?
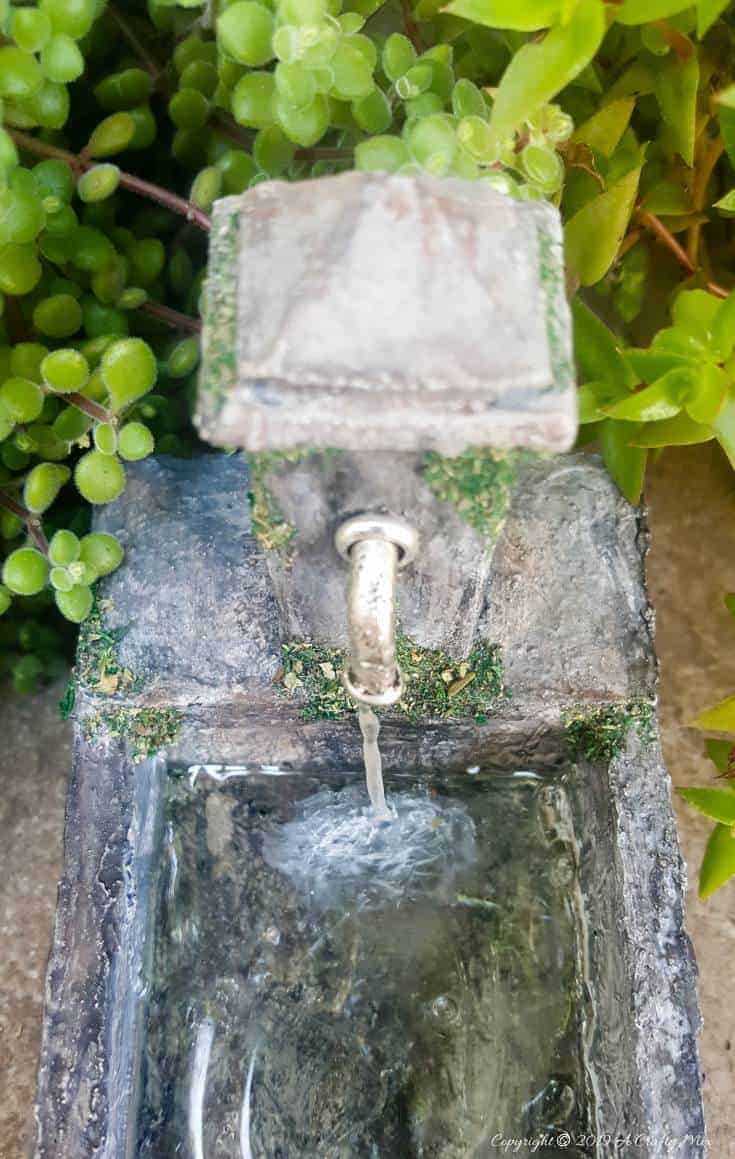
Don’t you just love that frothy/ripple effect?
And all that mossy goodness.
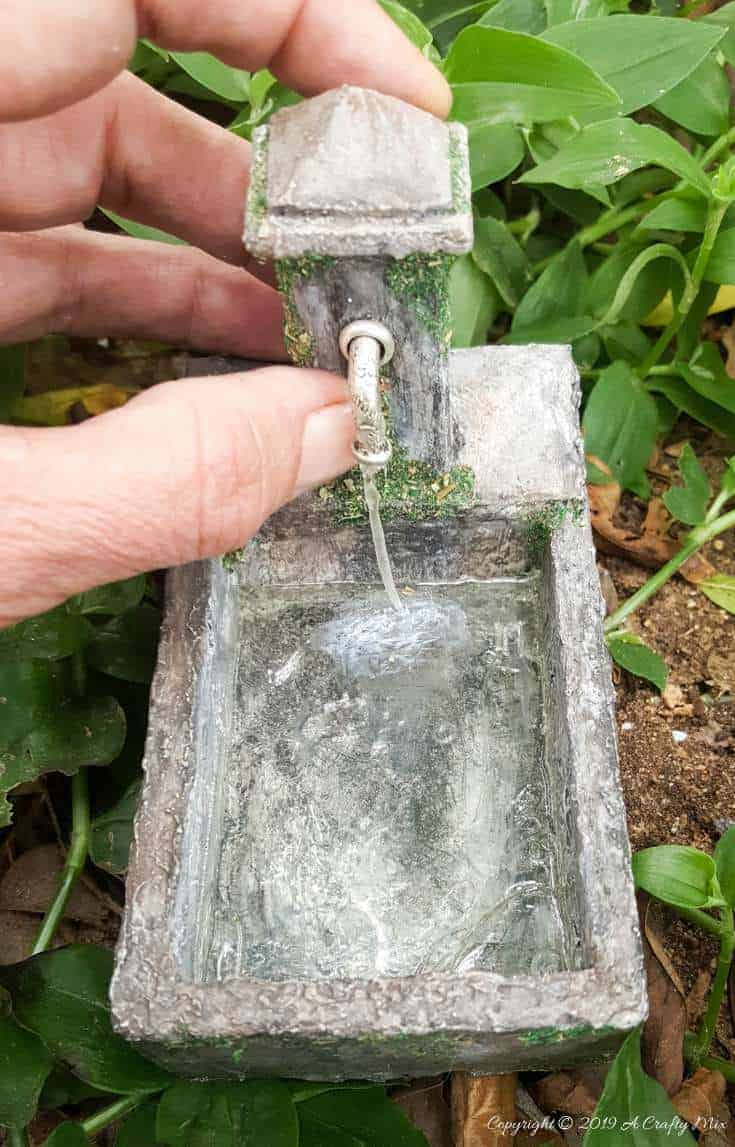
And just to put things in perspective 😉
If you want to make one for your garden, don’t forget to pin it for later
Now I just have to decide if the fairy water feature looks better surrounded by succulents, or in our fairy garden under the trees.
Or maybe I should just make another one 😉
I’m sorry it’s such a long post, but I really wanted to give you as much information as possible so you can make your own. Please let me know in the comments if anything doesn’t make sense. I will respond to all questions and answer them as best as possible. And if you want to make a life-sized version that’s a little different, you might want to check out how we made this antique hand water pump using PVC pipes.
BTW, if you’re looking for some of the things we used, we’ve got you covered Disclosure: Clicking on the links below means we may receive a commission from Amazon. But don’t worry, it won’t come out of your pocket, and it helps us come up with more amazing craft ideas to share with you 😉


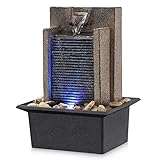
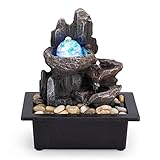
Or if you prefer to buy rather than DIY then you’ll love these

And as always, wishing you a beautiful, love-filled week. Don’t forget to leave a little sparkle wherever you go. Happy crafting, and thank you for popping in for a visit.

Last update on 2026-06-03 / Source Amazon Affiliates