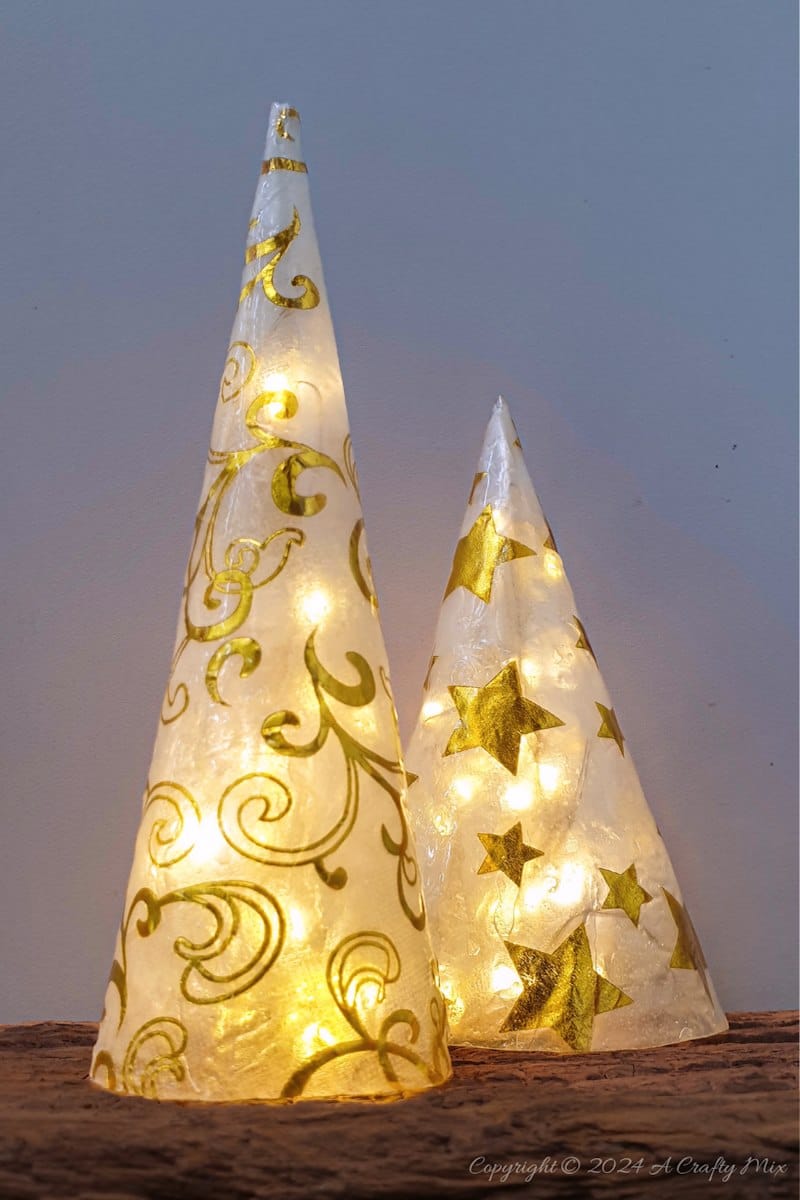
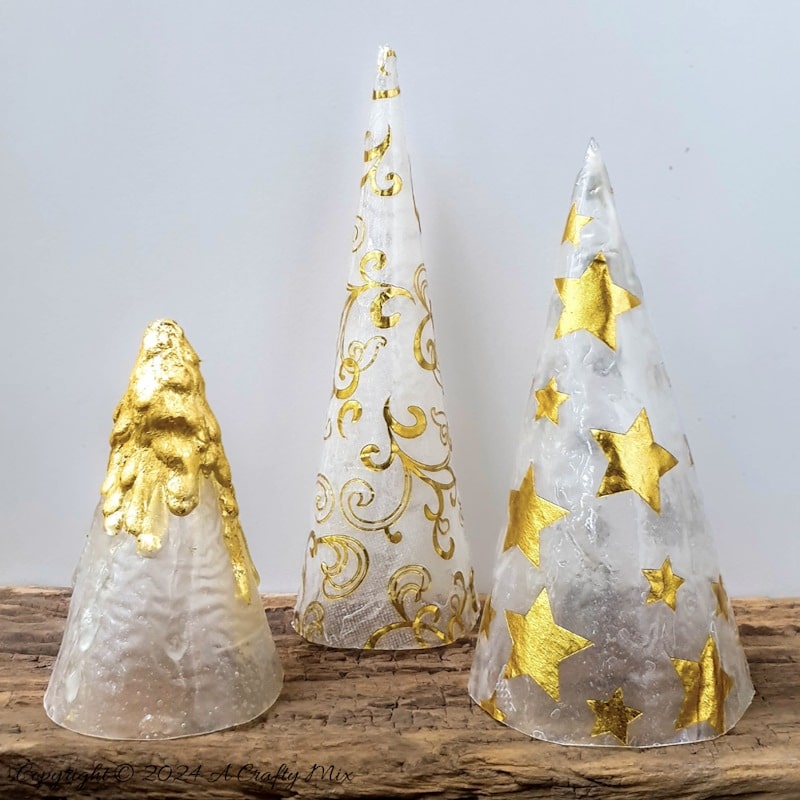
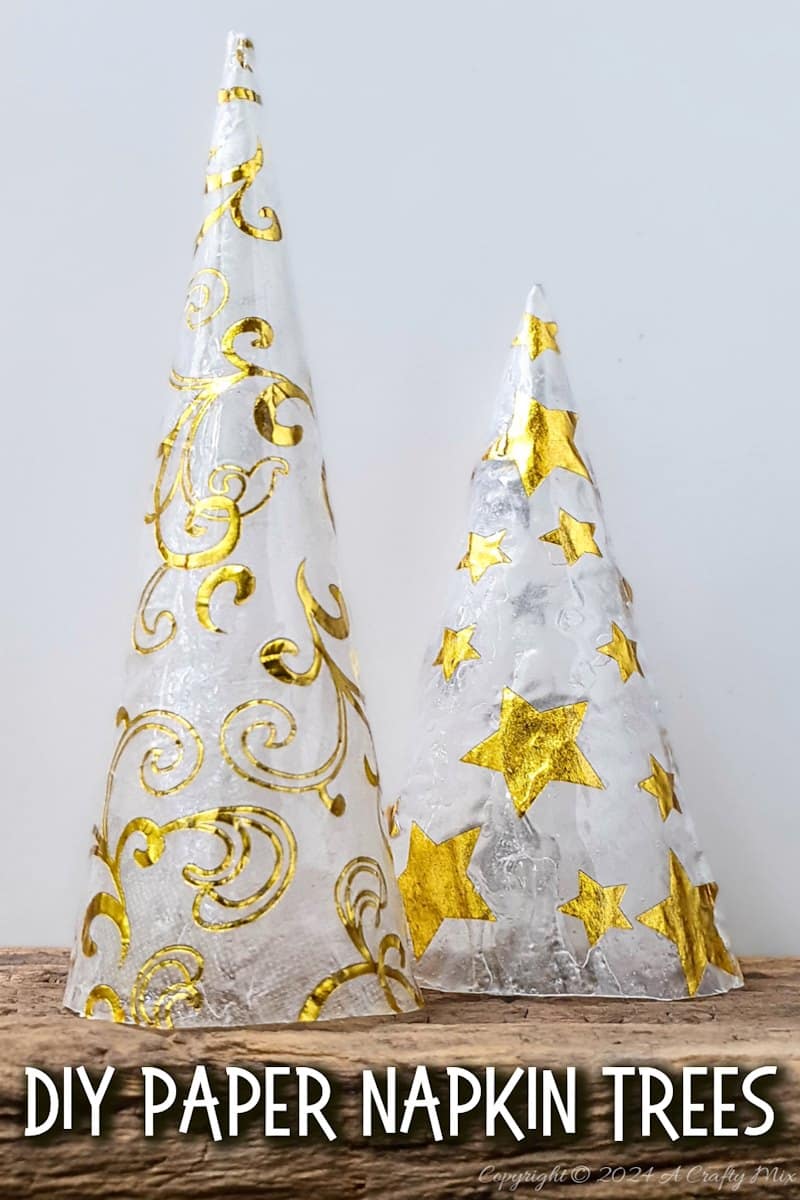
I’ve been experimenting with paper napkins. Those innocuous, disposable, squares of paper have so much crafting potential. If you’ve seen our gnome napkin rings and viral clay bowls, you’ll know what I’m talking about. This time round I went for something a little more sophisticated and made these paper napkin tabletop trees with gorgeous gold accents.
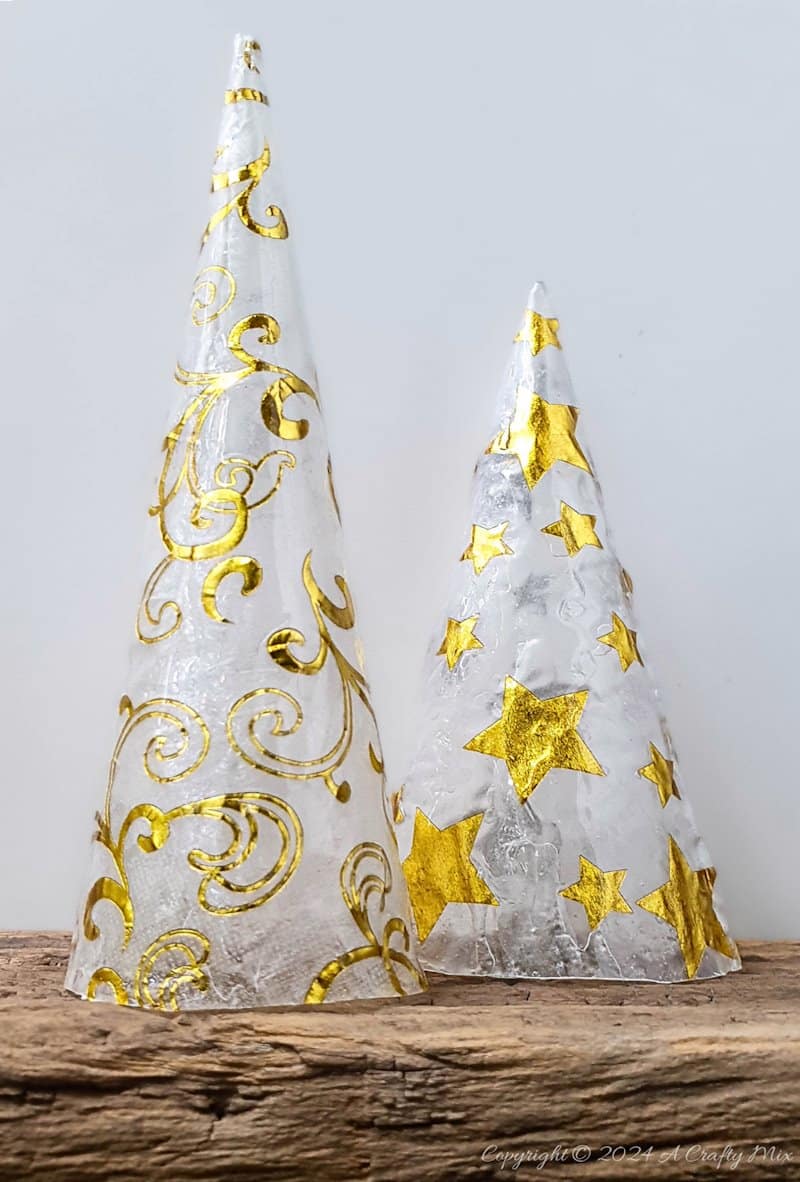
No one would ever guess what they’re made from.
And it all began with me trying to add a little class to our holiday décor.
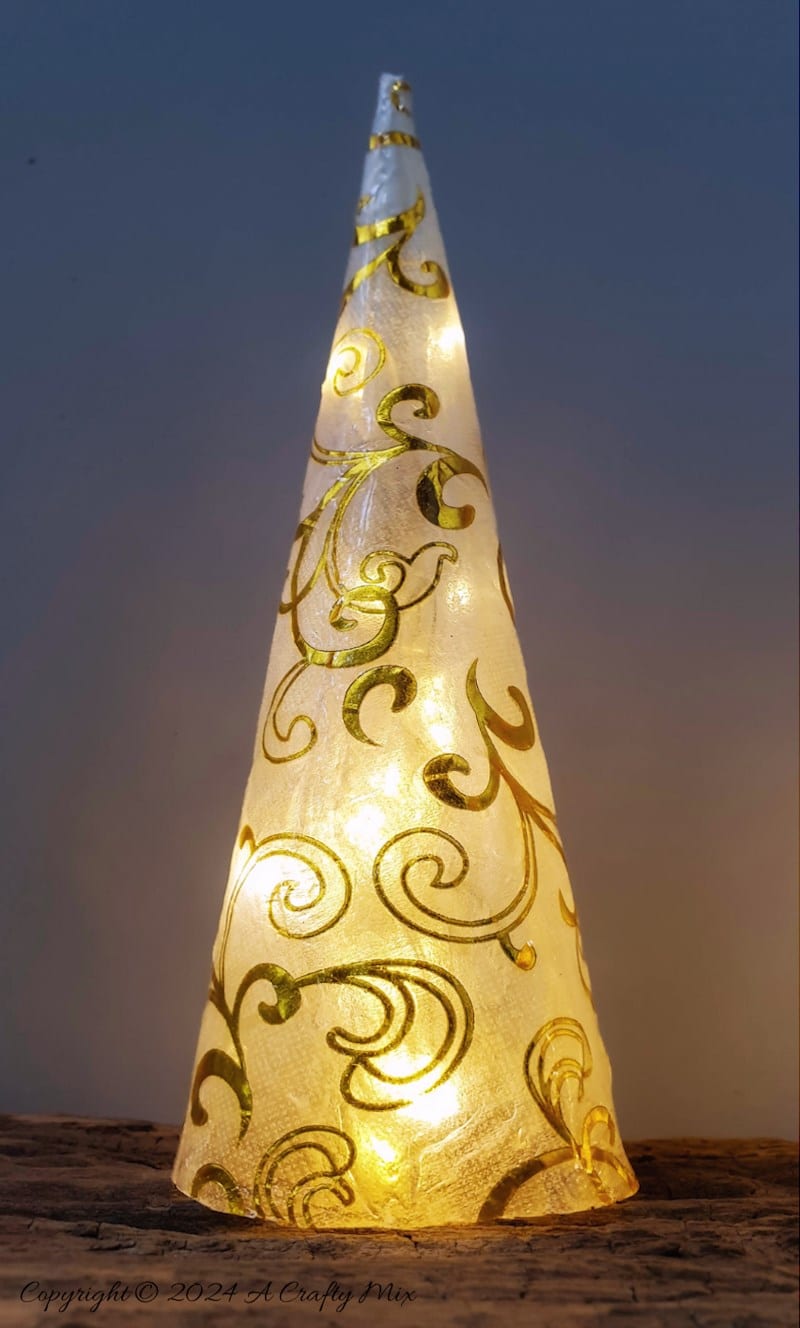
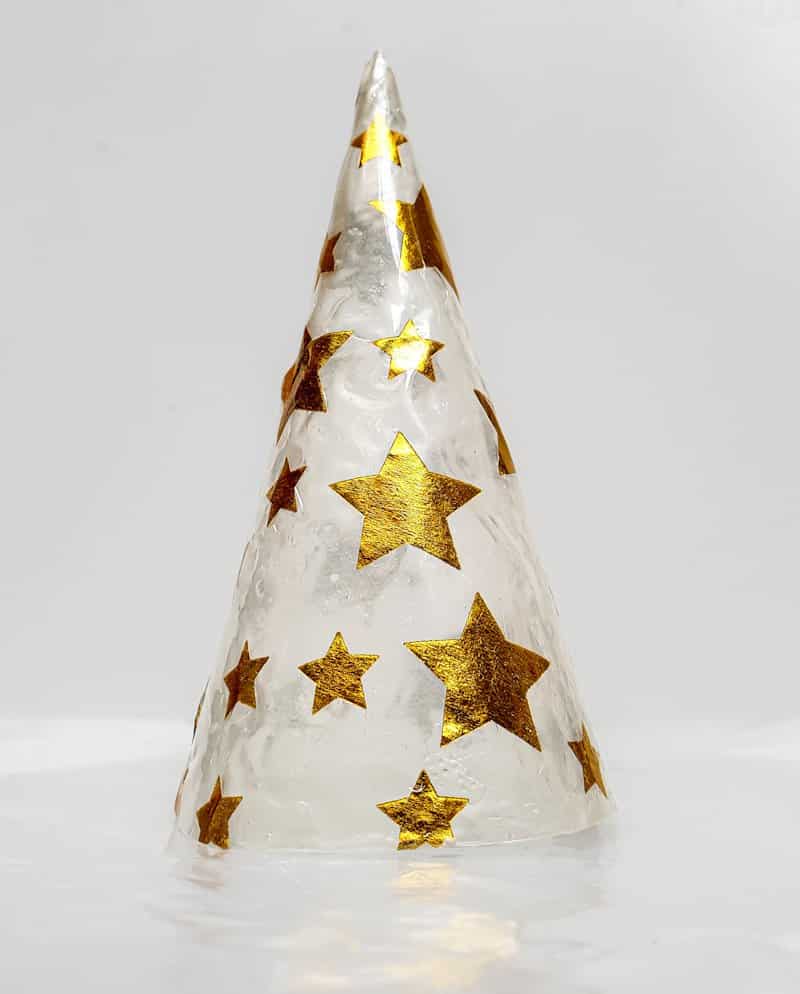
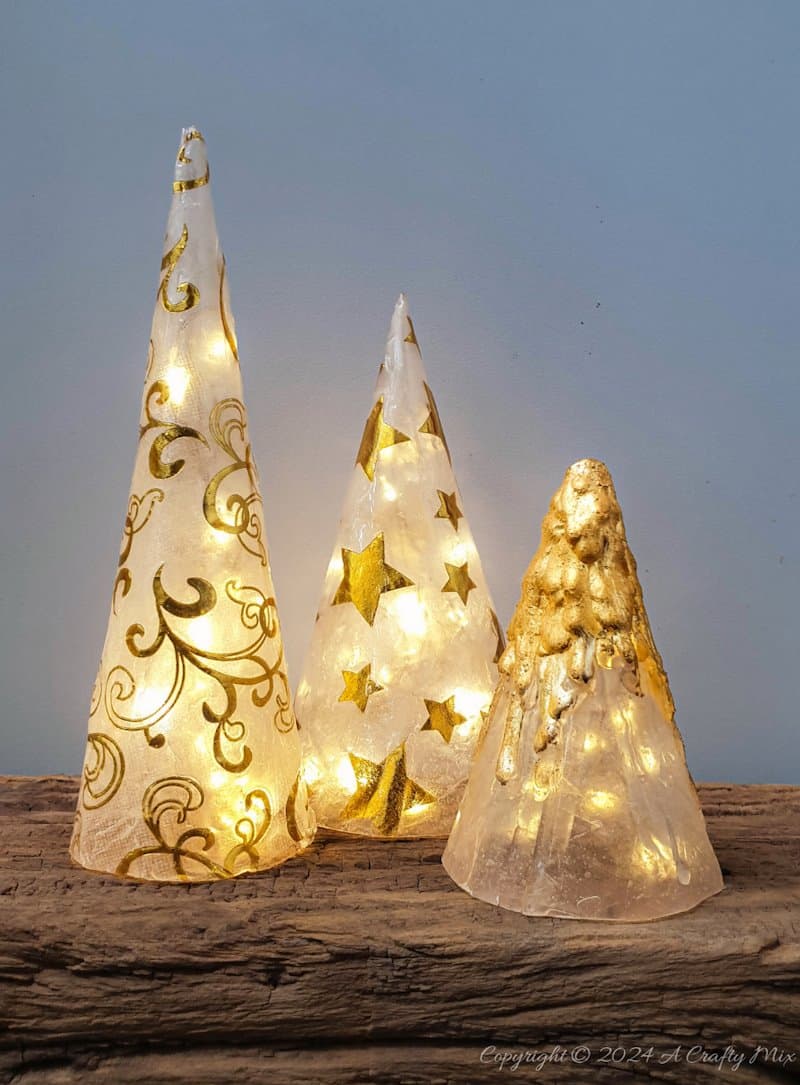
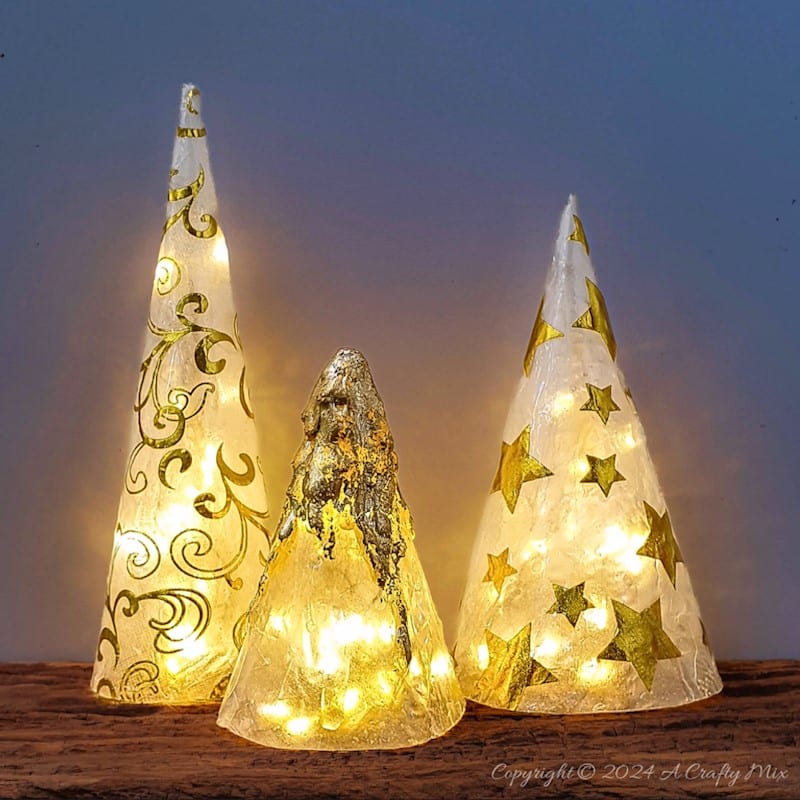
But the magic really happens when you add fairy lights.
Aren’t they lovely? So simple, yet striking.
And they’re super easy to make too. But, before I show you how, do me a favour and follow us on Facebook, Twitter, Pinterest, or Instagram. And don’t forget to subscribe so you’ll never miss a post!
What you need
For this glamorous craft idea, you’ll need:
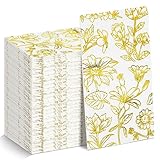
- Paper napkins
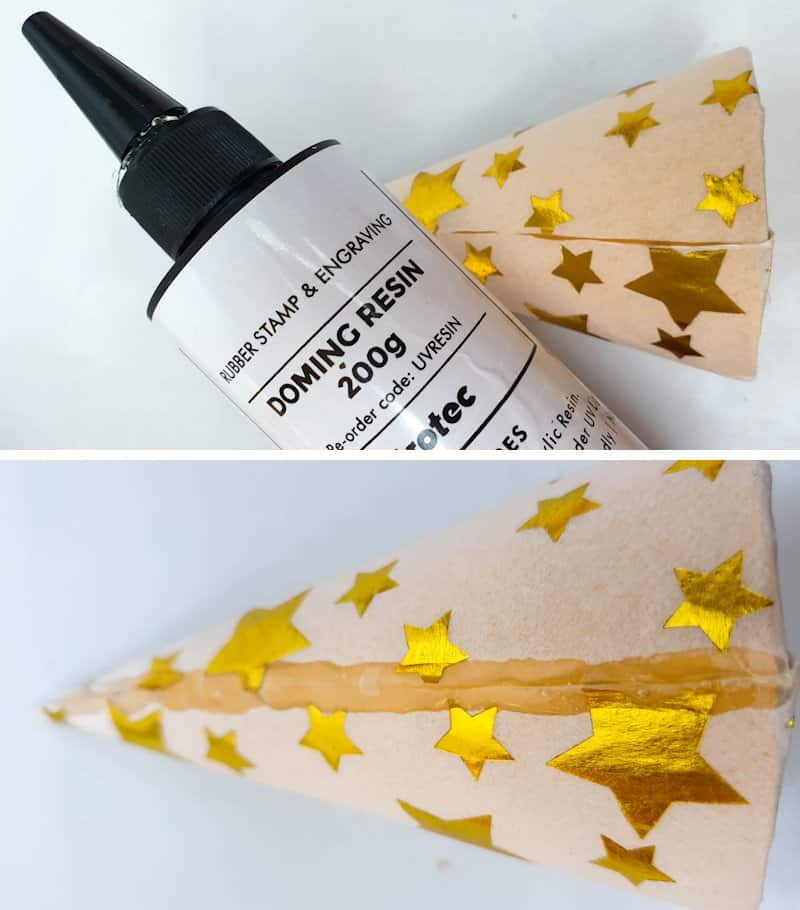
- UV Resin
- UV Light
- Cardstock
- Plastic bag
- Scissors
- Sticky Tape
How to make elegant paper napkin tabletop trees
The first thing we need to do is make a cone mold for the trees.
Making a cone mold
Cut a quarter circle out of paper or cardstock and roll it around itself to form a cone.
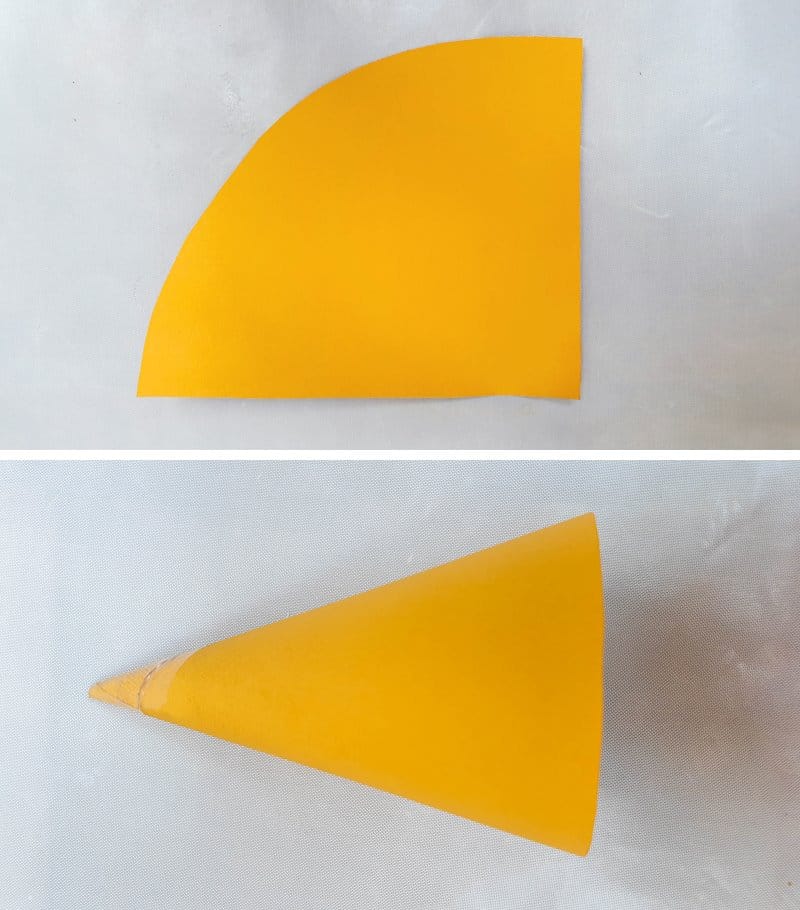
This quick video will show you how to make a cone using a ruler.

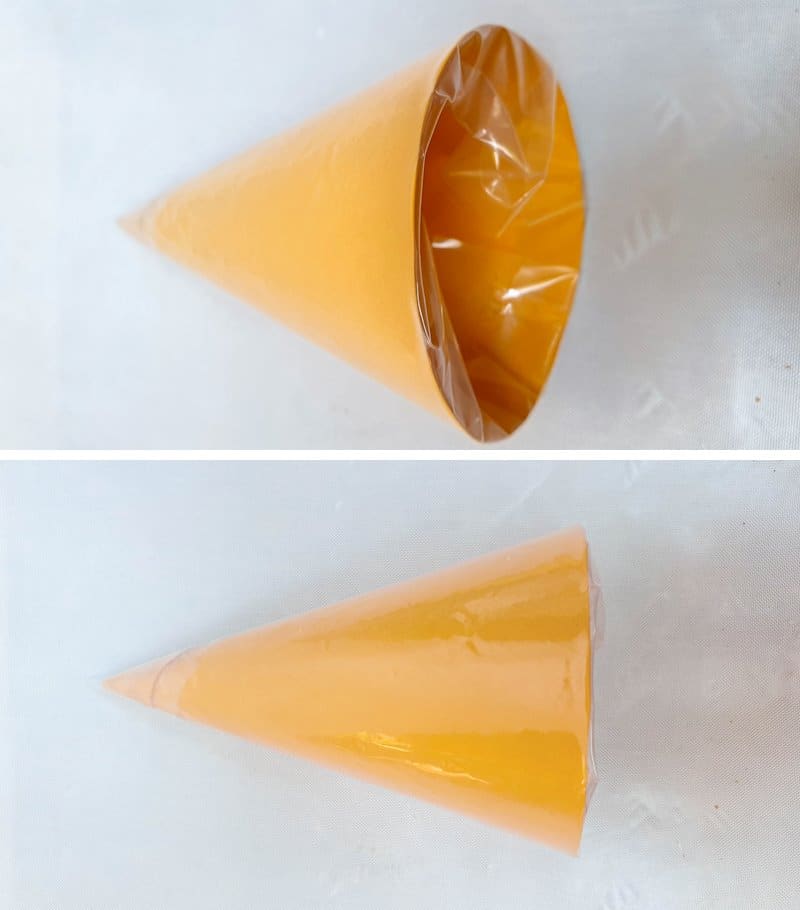
Cover the cone shape in plastic. You can use a plastic bag or zip lock bag. Don’t skip this step. It creates a barrier between the cone and the UV resin which we’ll be applying in a little bit.
Prepping the napkin
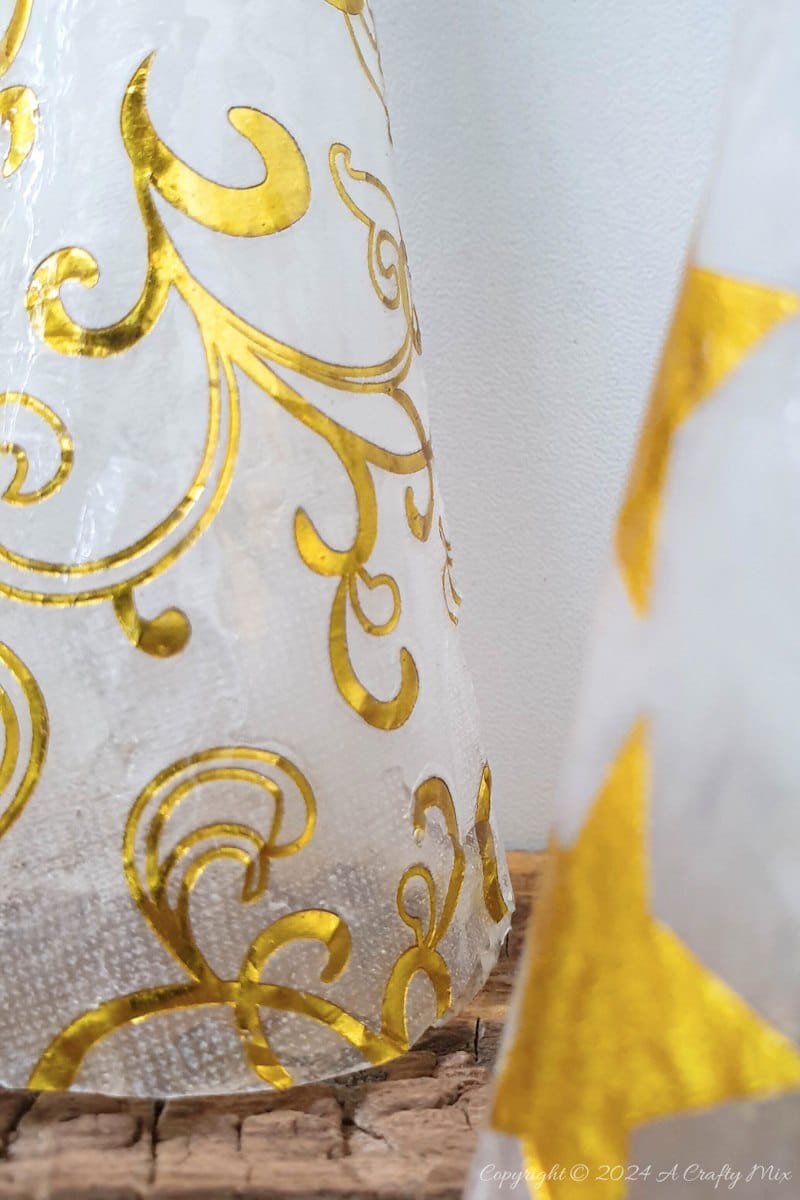
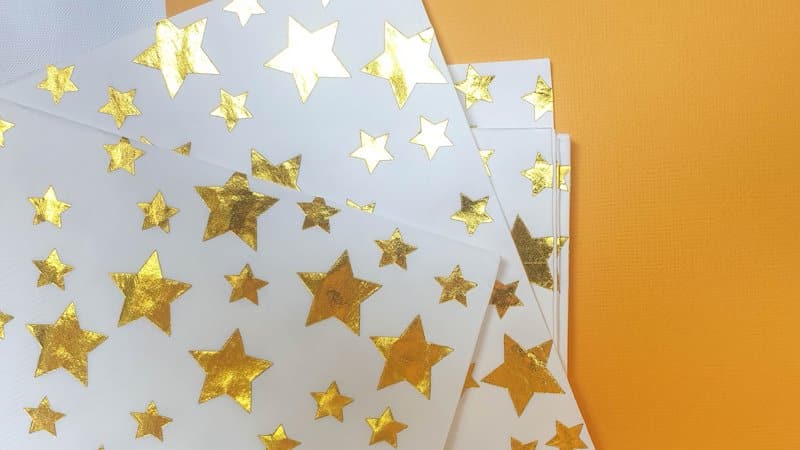
When I bought my golden napkins I was so disappointed that they only had a print on one side. I’m not sure if it’s to keep the costs down, but it does mean that I only have a small area to work with. If you find a full print napkin you can make bigger versions.
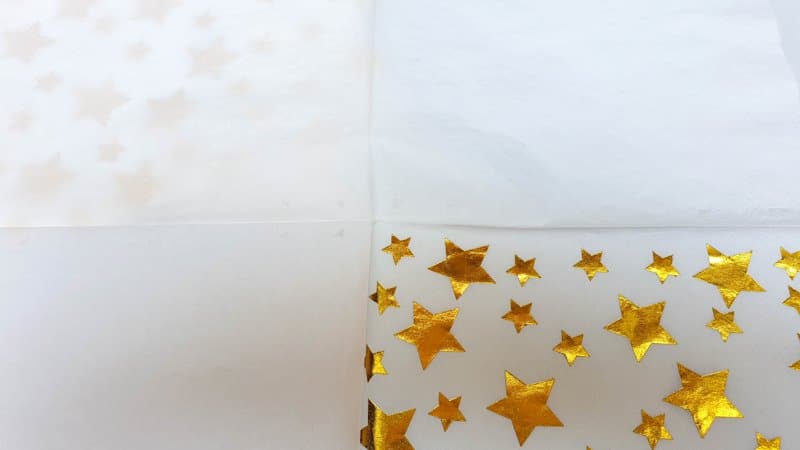
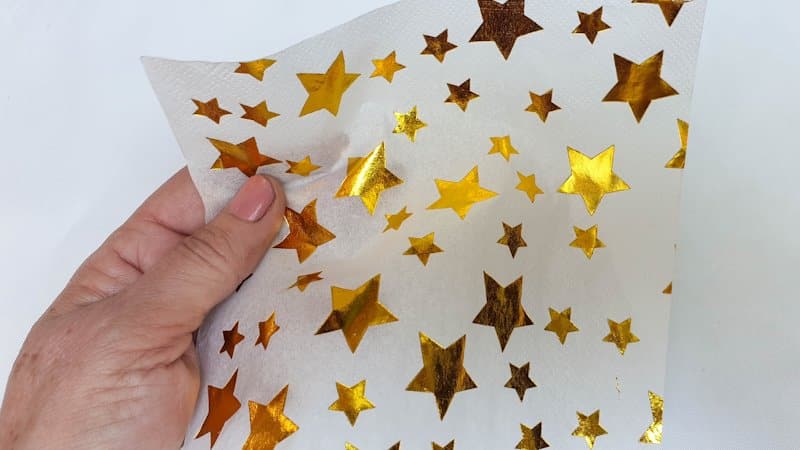
Start by separating the napkin layers. Use a little sticky tape on an unprinted corner if you struggle to pull the layers apart. Cut out the portion with the gold print.
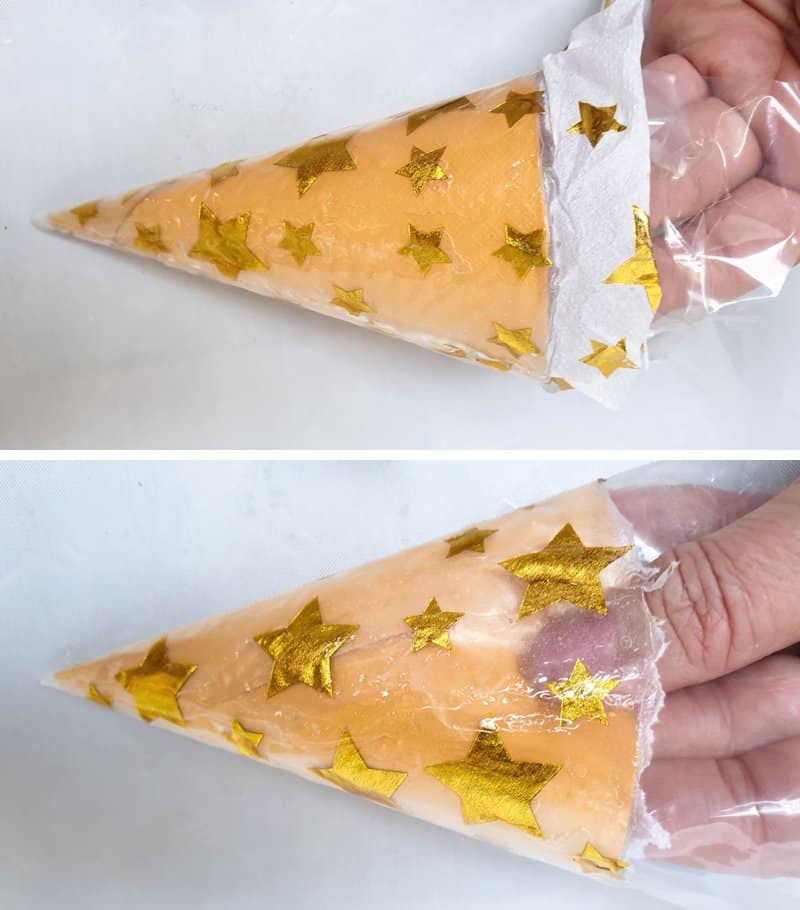
Wrap the paper napkin around the cone and trim away any overlapping bits. Those overlaps won’t become translucent so take your time wrapping and trimming.
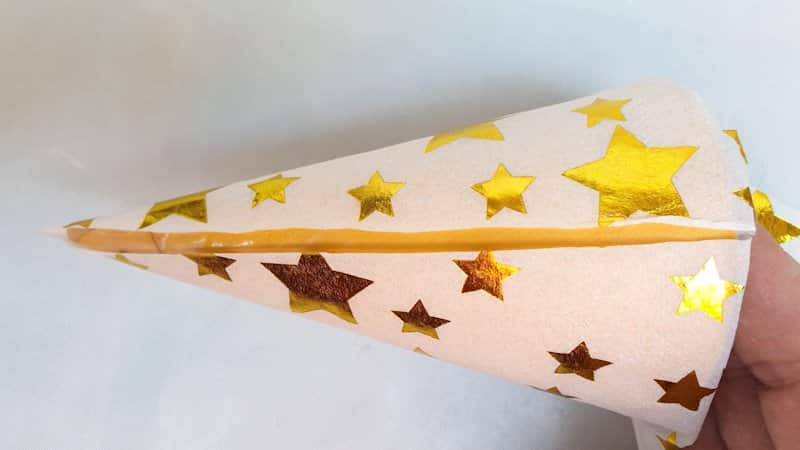
Tuck any excess into the bottom of the cone. You should end up with something like this.
Adding UV Resin
Seal and secure the join with a thin layer of resin.
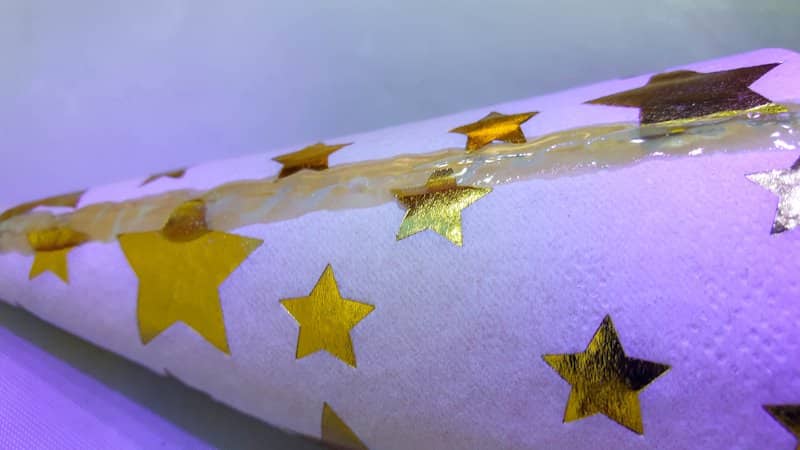
Cure the resin under a UV lamp.
Working in sections apply resin to the rest of the napkin, curing between each application. I drizzled mine on and then smoothed it out with a wooden craft stick.
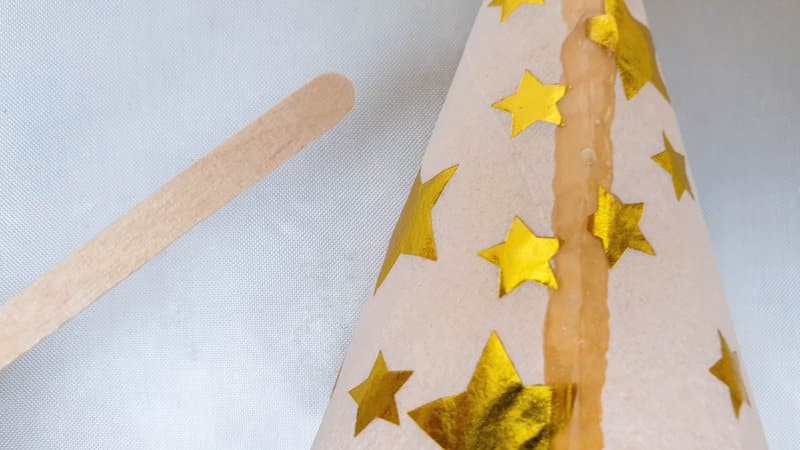
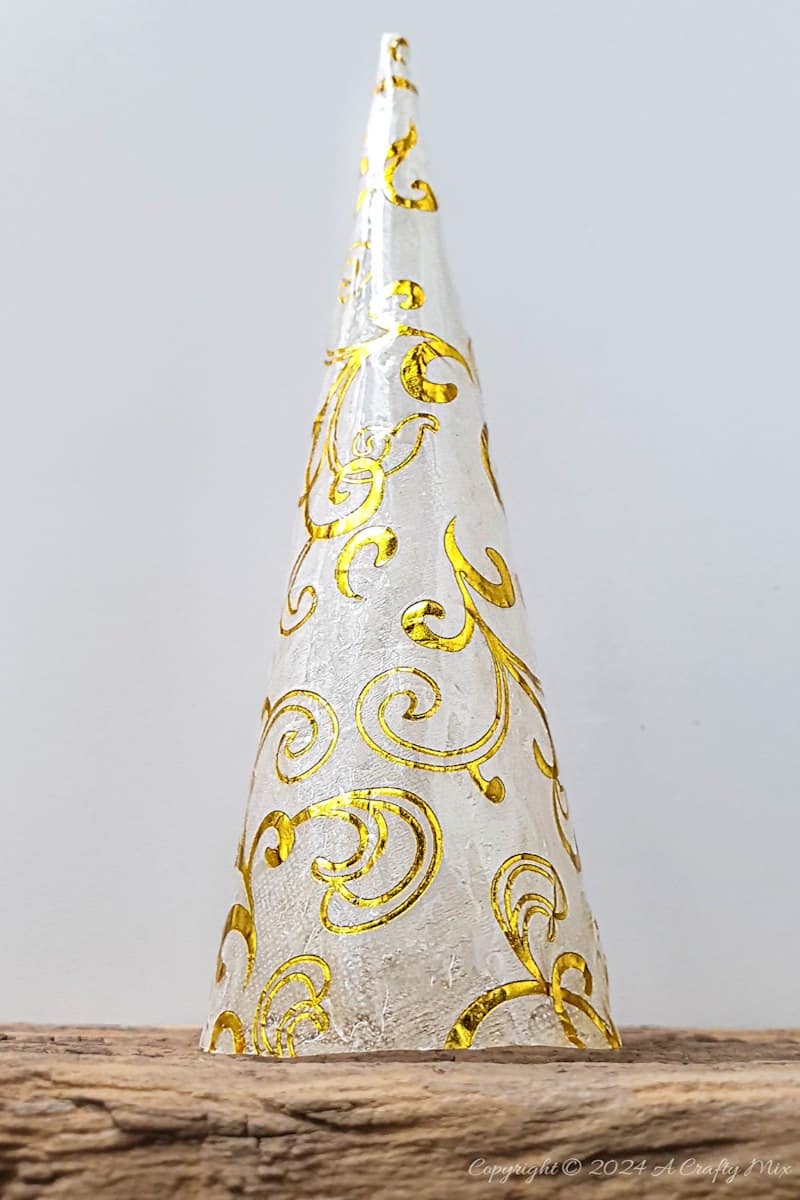
Don’t put too much resin in one go. When it’s too thick it takes longer to cure, and it tends to run. If I remember correctly, I did two layers on the star tree and only one on the damask-styled tree.
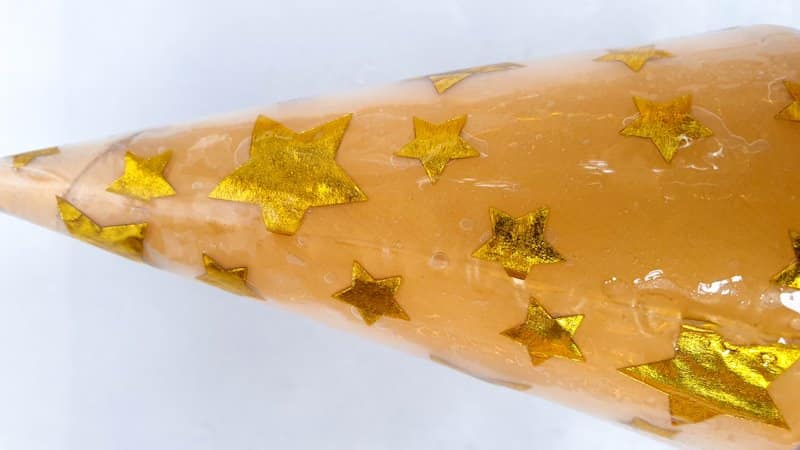
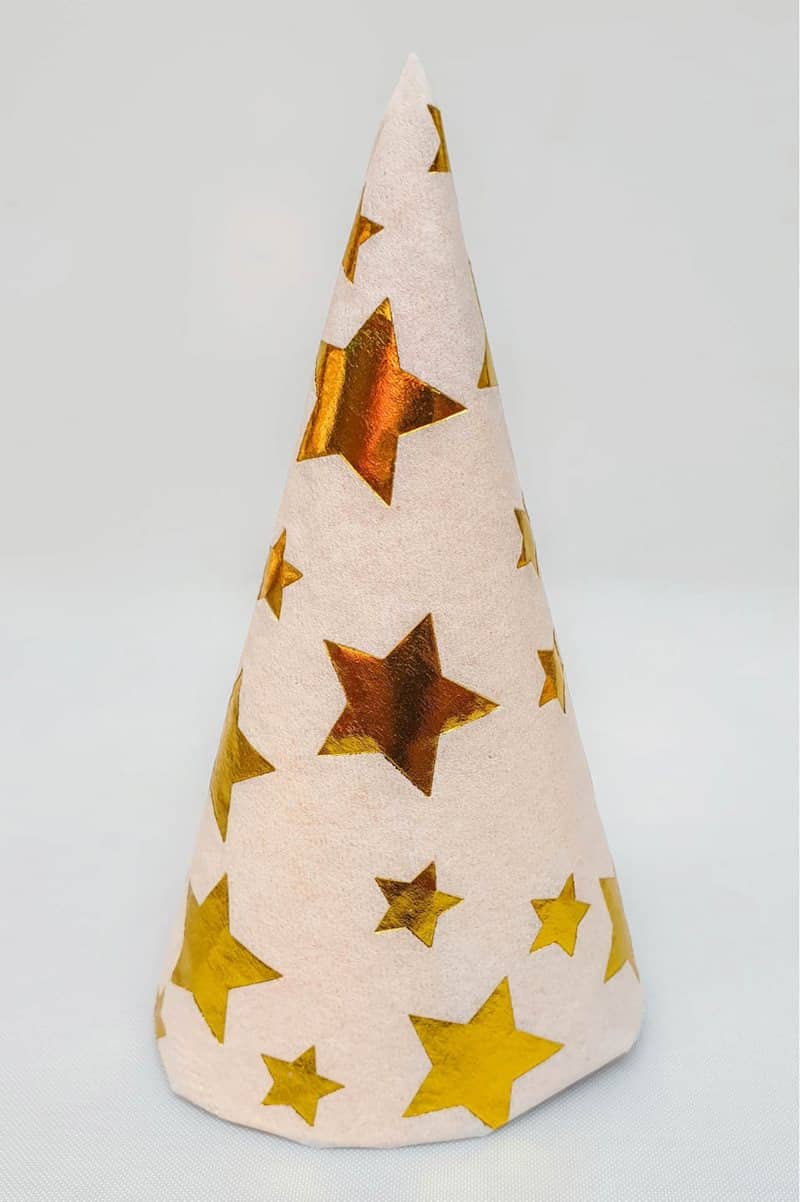
You can apply as many layers as you want as long as you cover the whole napkin and cure each layer before adding the next one. Once you’re happy, remove the cardstock cone and plastic wrapping.
Trim the bottom edge of the tree with scissors to neaten it up.
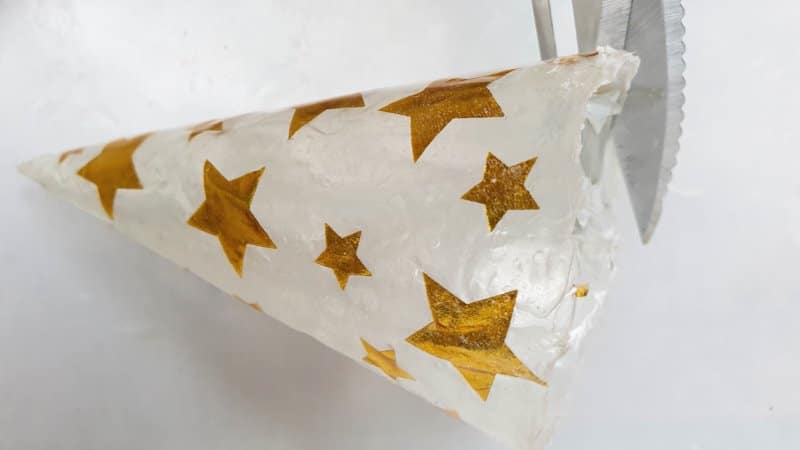
Check that the bottom is still level so you don’t end up with with something that resembles the Leaning Tower of Pisa.
Other options
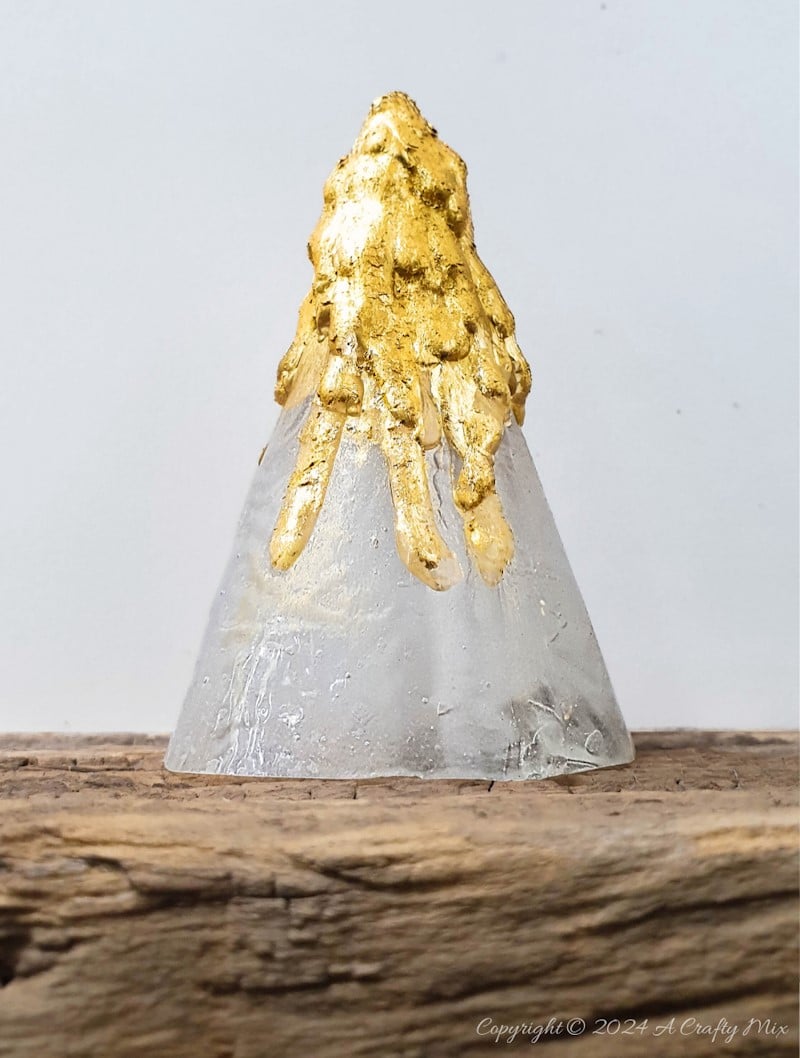
If you can’t find glamorous napkins with a gold inlay, you can use the plain back layer and dress it up with gold leaf for an equally stunning display. I made this little one using the same technique and drizzled extra resin over the top before adding the gold leaf. You can use a hot glue to make the golden snowtop too. I did something similar when I made this cardboard Christmas tree.
You can change things up a little and use the same technique to make faux leaded glass. Because the paper napkin trees are so quick and easy to do, play around and see what you can come up with.
And don’t forget to add some fairy lights.
Have you used paper napkins to add a touch of elegant simplicity to your festive décor?
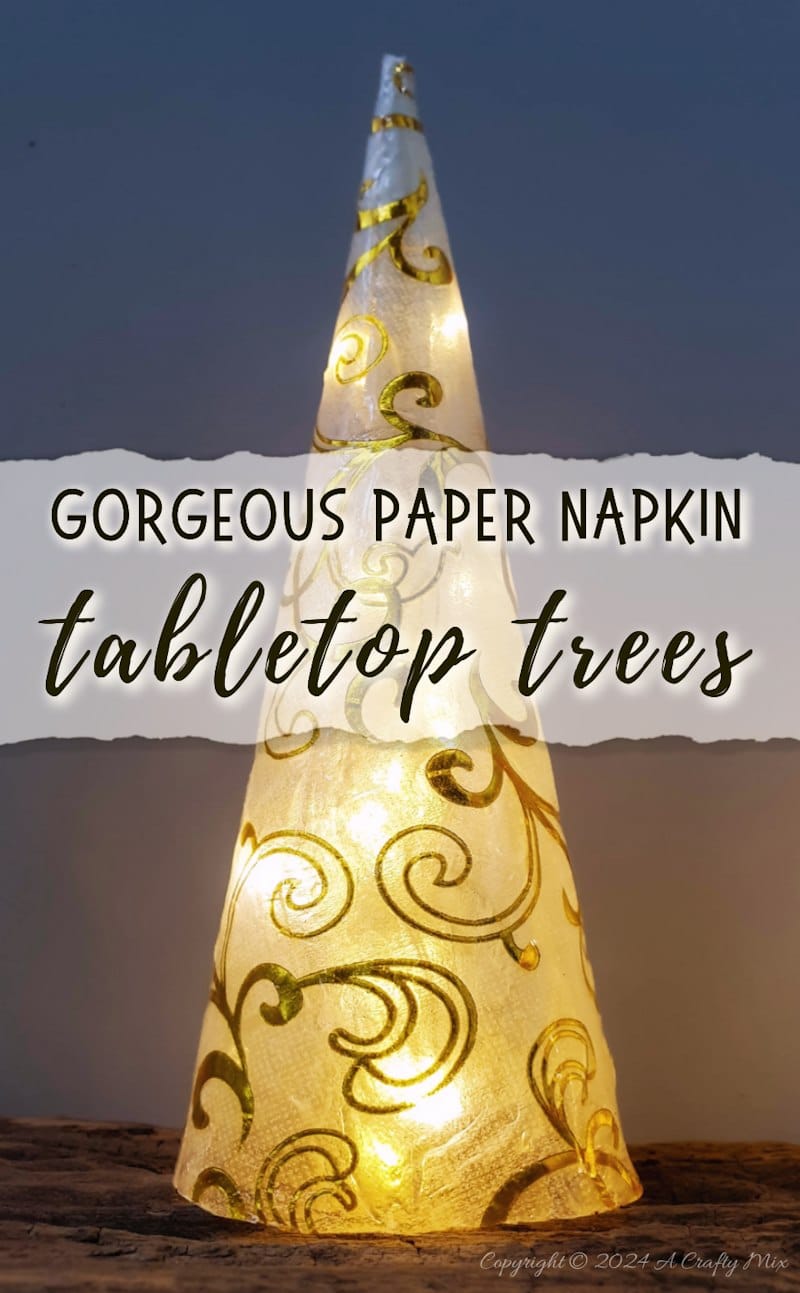
If you like the idea of making paper napkin tabletop trees, don’t forget to pin it for later.
Sharing caring
Oh, and if you’re looking for some of the things we used, we’ve got you covered. Disclosure: Clicking on the links below, means we may receive a commission from Amazon. But don’t worry it won’t come out of your pocket, and it helps us make more amazing crafts to share with you


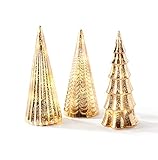
Or if you prefer to buy, perhaps these beauties will appeal.


And as always, wishing you a wonderful, festive season filled with love, laughter and memory making moments. Thank you for popping in for a visit.

Last update on 2026-06-03 / Source Amazon Affiliates