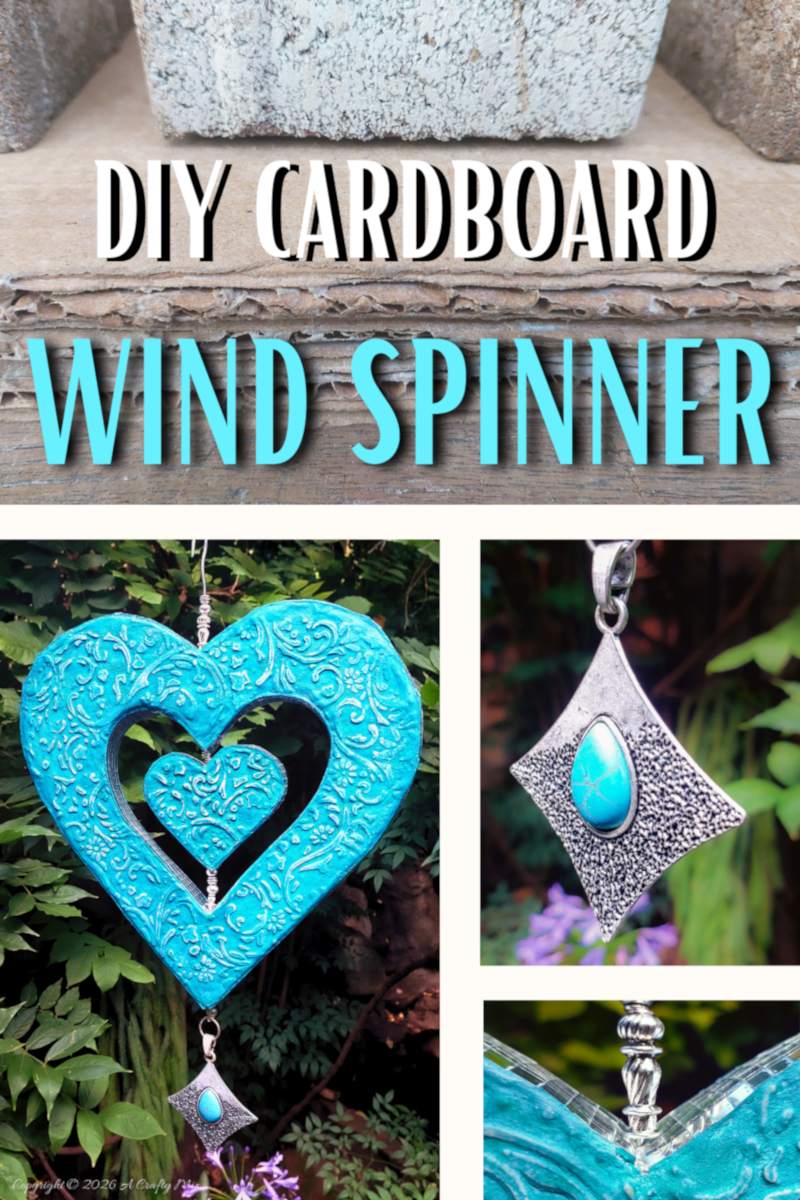
53 Tell me I am not alone in this. Every time a delivery arrives, I am secretly more excited about the box than the thing I ordered. Yes? No? My crafter brain goes into overdrive dreaming of the things I can make. Case in point, this cardboard heart wind spinner. 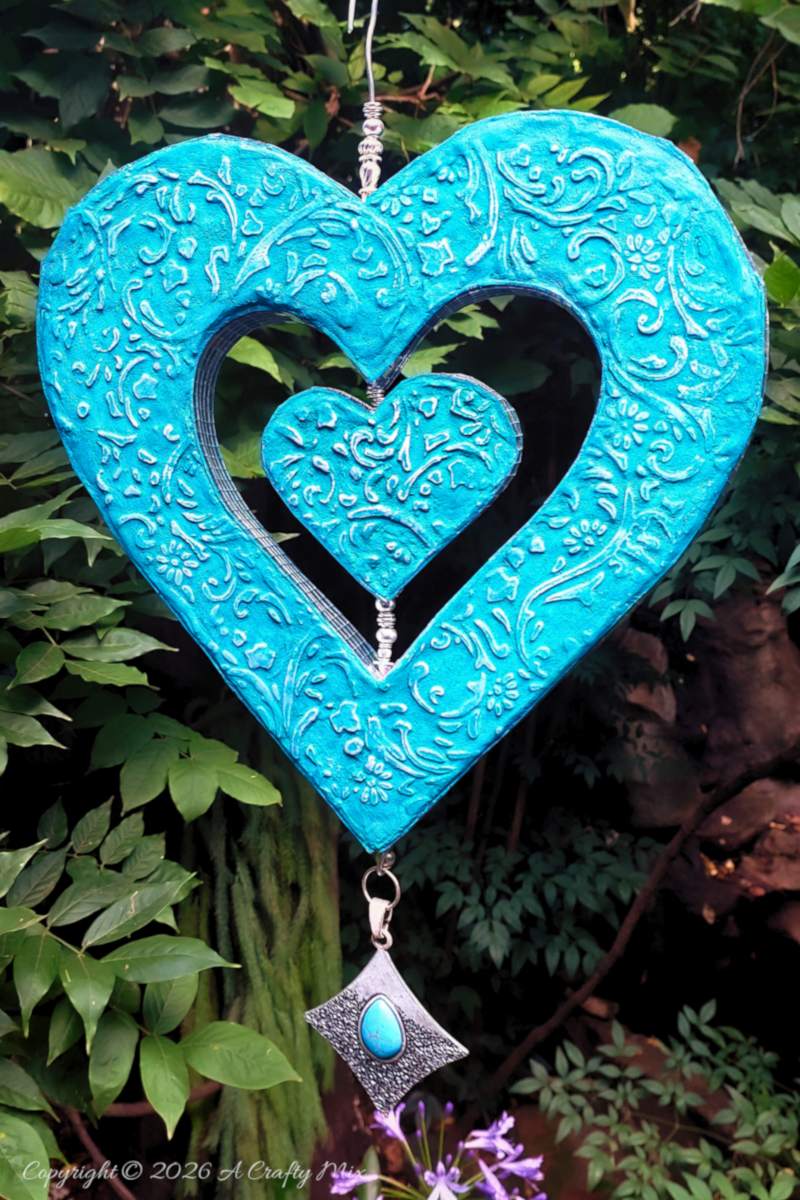 It adds a gorgeous pop of color and whimsy to our patio and I love it.
 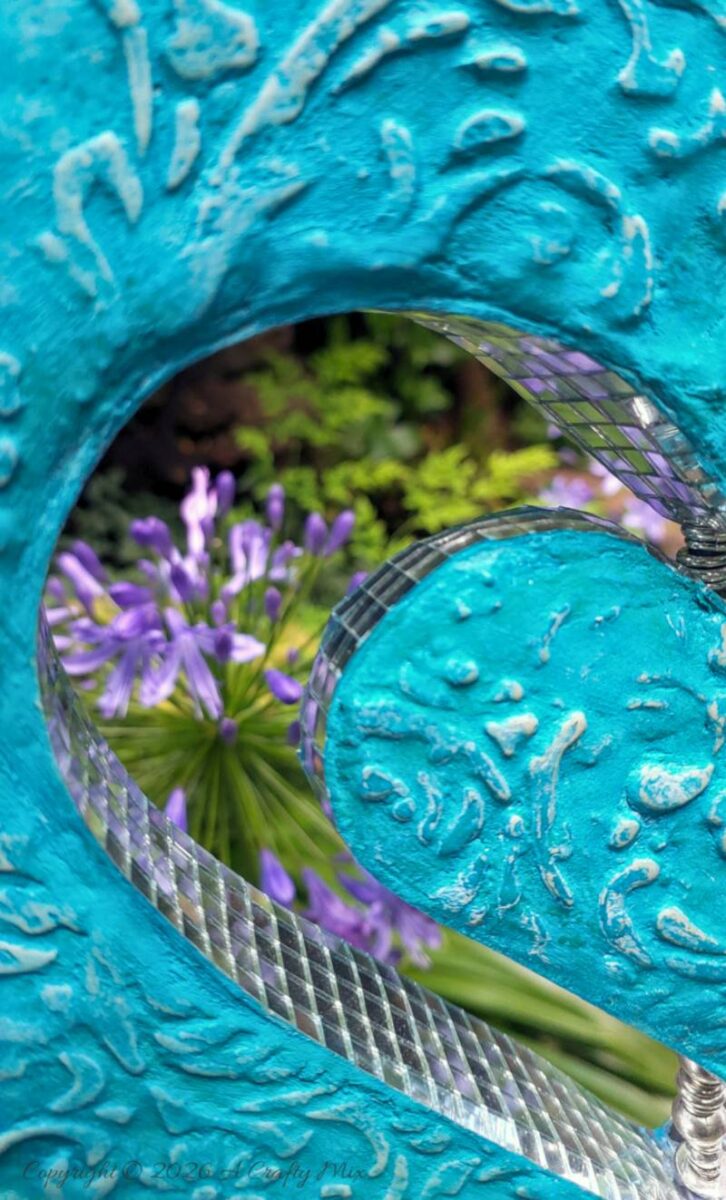 When the wind blows, those mirror tiles cast the most beautiful reflections all over the place.
  It’s like watching the fairies dance.
 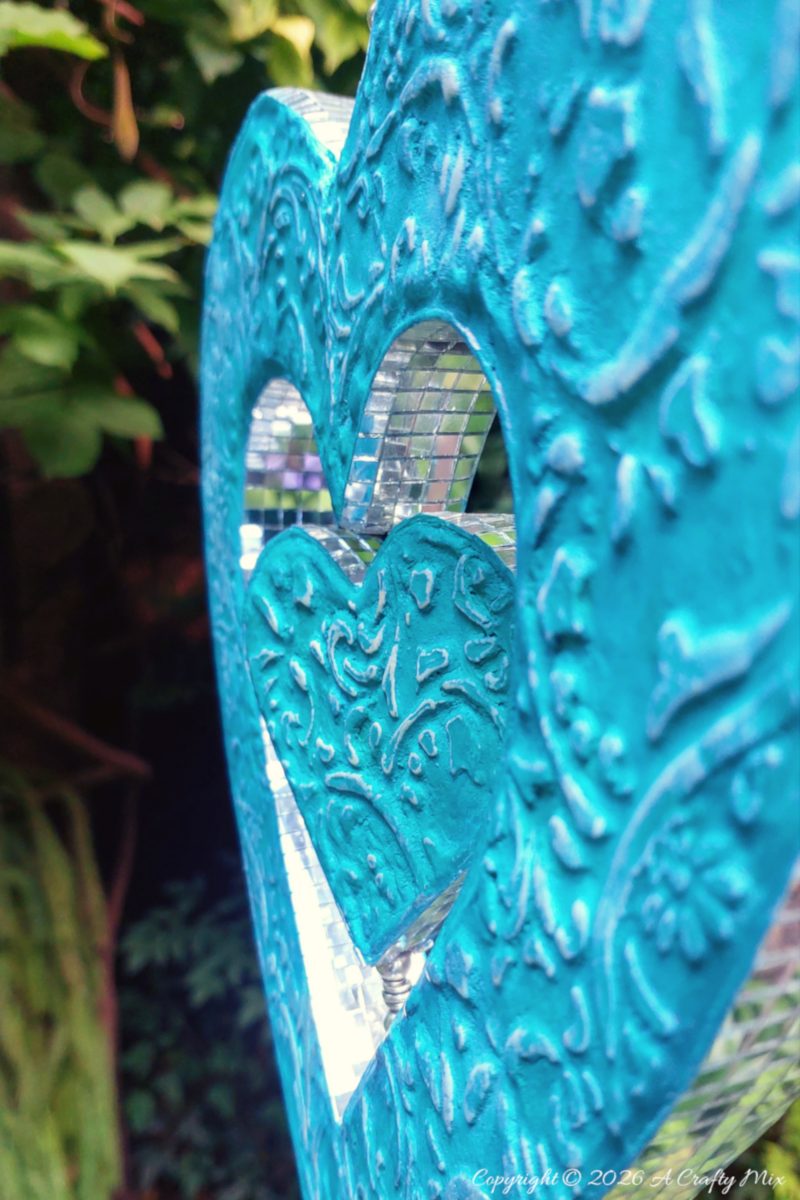 Oh wait, I have a video. Keep your eyes on the background and you’ll see them. In this tutorial I’ll show how to make a wind spinner using a humble cardboard box. But before we get there, do me a favor and follow us on Facebook, Twitter, Pinterest, or Instagram. And don’t forget to subscribe so you’ll never miss a post!
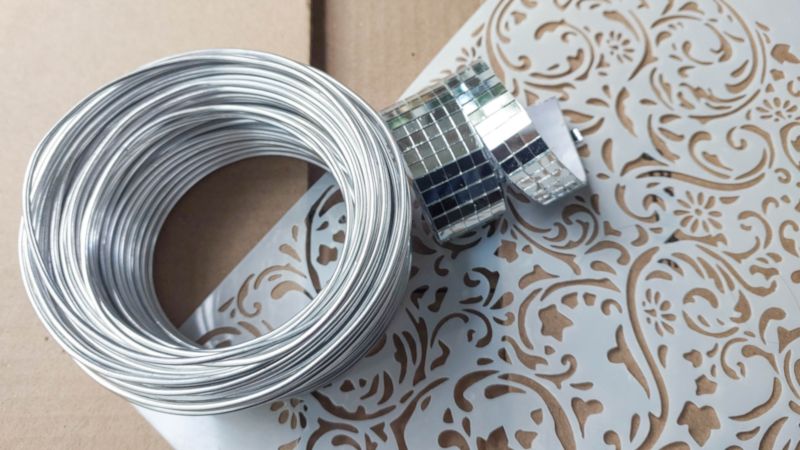
 We’ll be gluing the sheets one on top of the other. Make sure you alternate the grain (the direction of the wiggly, woggly bits inside) with each layer. It will make the cardboard wind spinner stronger.
 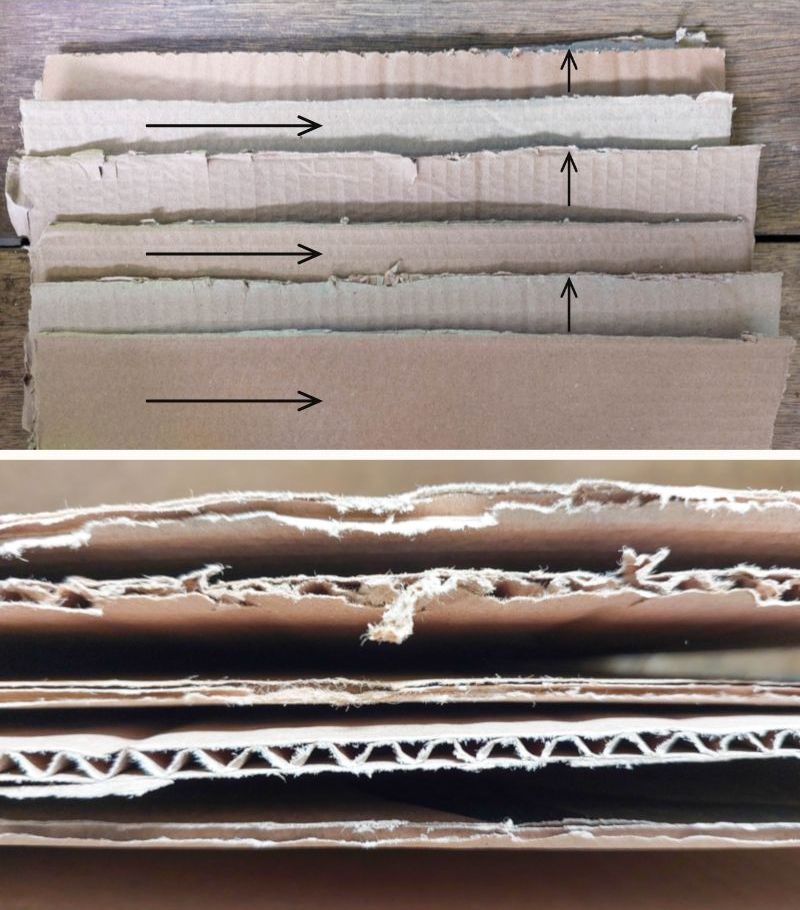 Mix a little water with wood glue. You want something that’s runny enough to paint on, but not so runny that it drips and makes a puddly mess.
 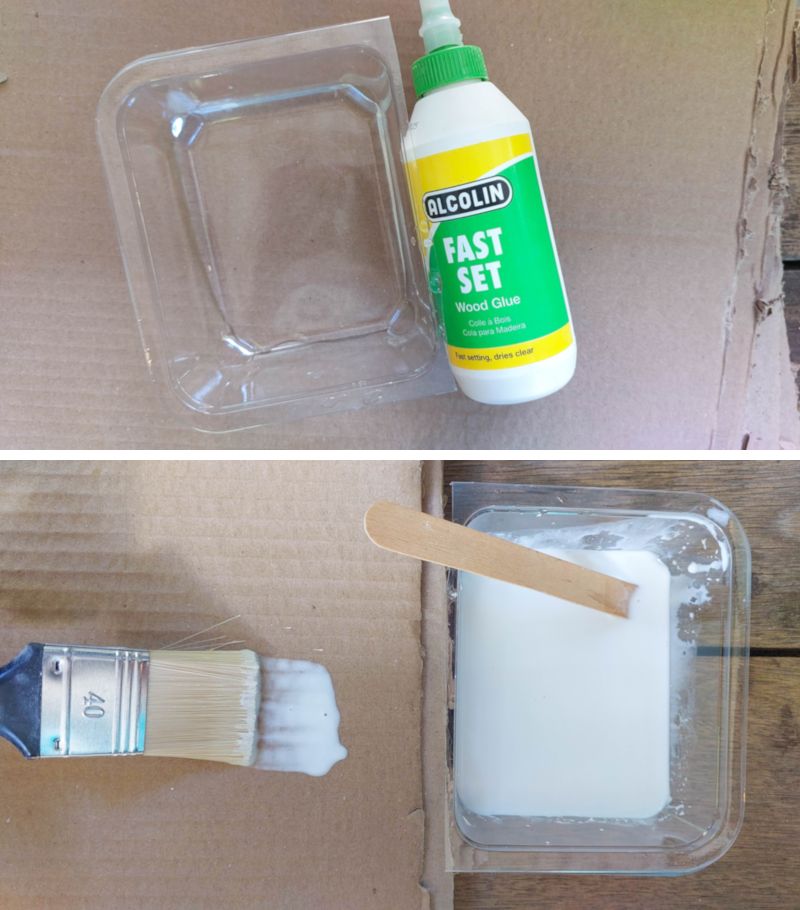 Cover the whole surface with glue and stick the layers together. Place the glued cardboard stack under something heavy while it dries. I left mine overnight.
 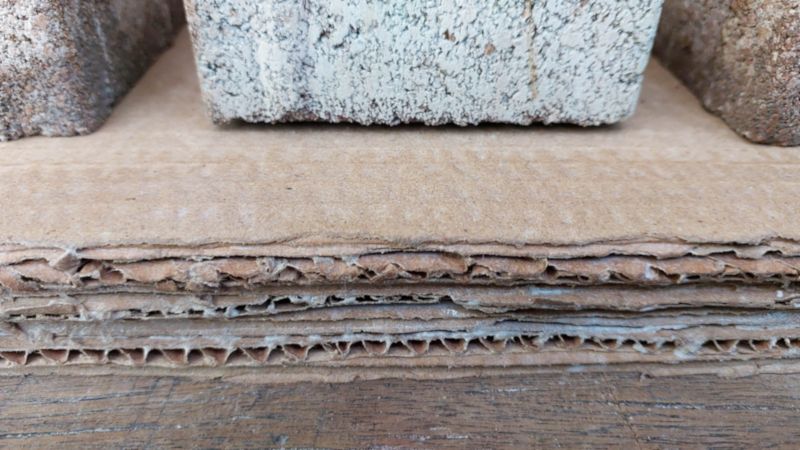 Draw 2 heart shapes, one big and one small, and cut them out with a sharp knife. In fact, you can draw any shape you like. As long as they’re similar and the little shape is at least 3-4 cm (1”- 1.5”) smaller than the big one.
 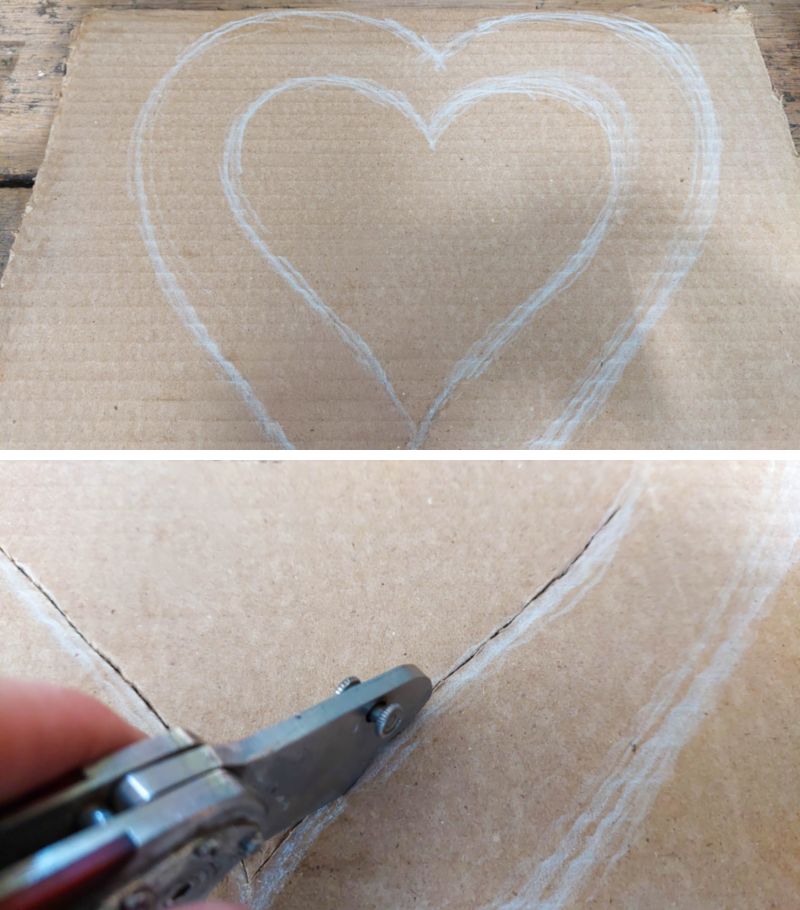 Clearly my craft knife needs some sharpening. Look at those rough edges.
 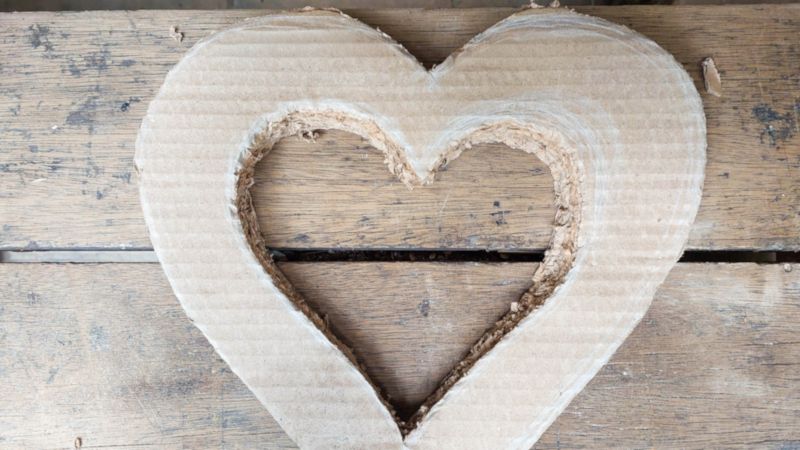 Easy enough to fix with a little sandpaper and some elbow grease.
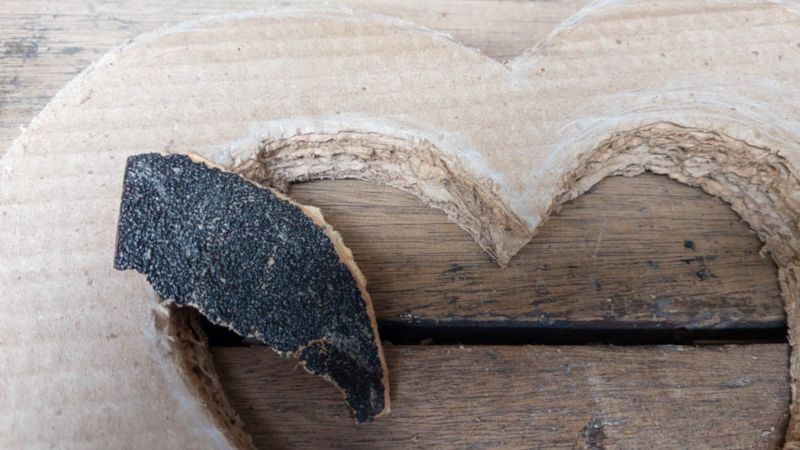
 The other downside is how recognizable cardboard is. If you look at cardboard in a certain light, you always see a wavy texture where the outer paper layers weave around those wiggly woggly insides. Maybe it’s just me? Anyhoos, I didn’t want to see that, and I needed a way to hide the edges. Easy to solve with some paper and watered down glue. You can use any paper for this. I had brown paper bags left over after making our Bali-inspired Christmas trees. Dunk strips of paper in watered down glue and stick them all over the hearts.
  For the round corners, long, thin strips work best.
 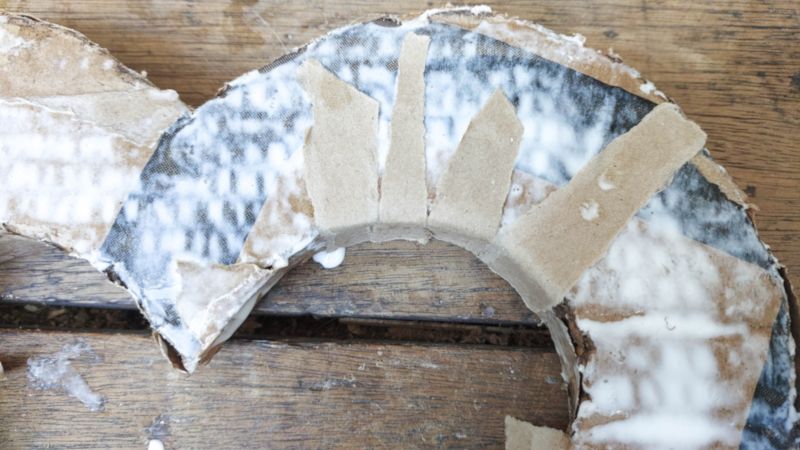 Add as many layers of paper as you want or until the obvious cardboard texture disappears.
 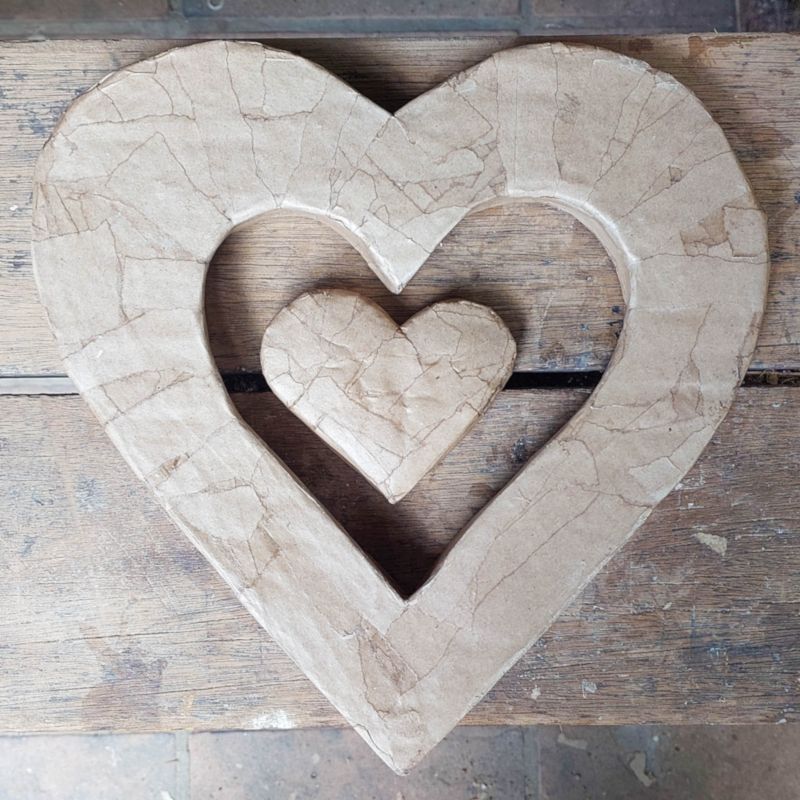 Leave the gluey hearts to dry completely before making a hole through the center of the hearts. I used a long embroidery needle.
 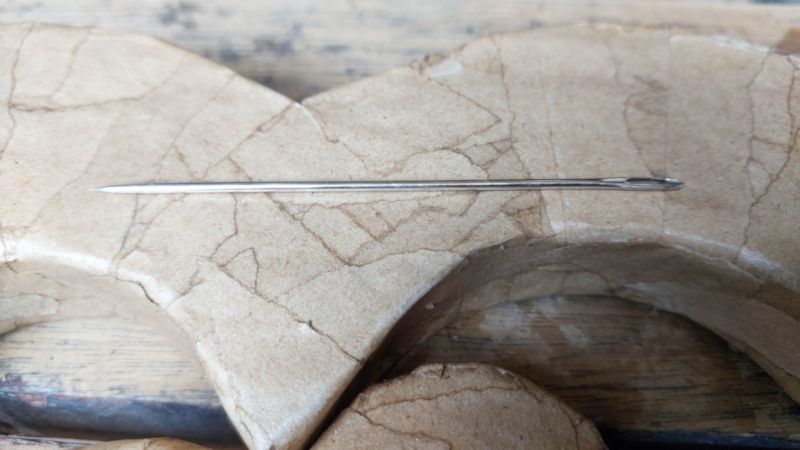 A metal skewer will work too. You can also drill the holes. Cut a length of jewelry wire and stick it all the way through the holes. Make sure the hole is a little bigger, or wider, than the wire. For now it’s just a place holder.
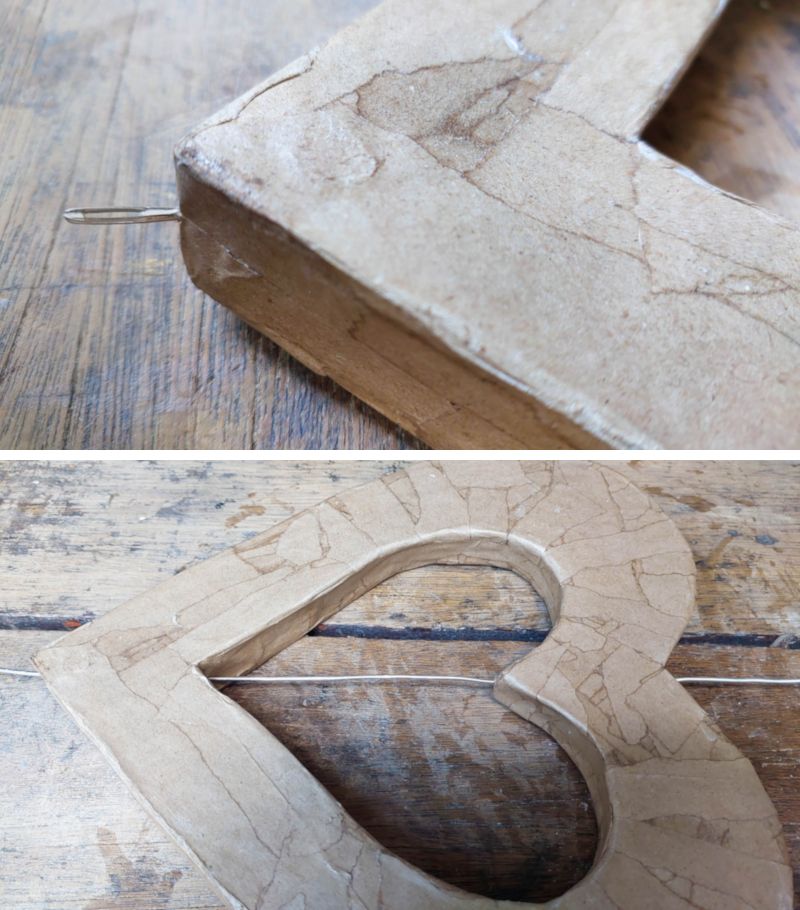
 I did add a 3 D textured stencil though.
 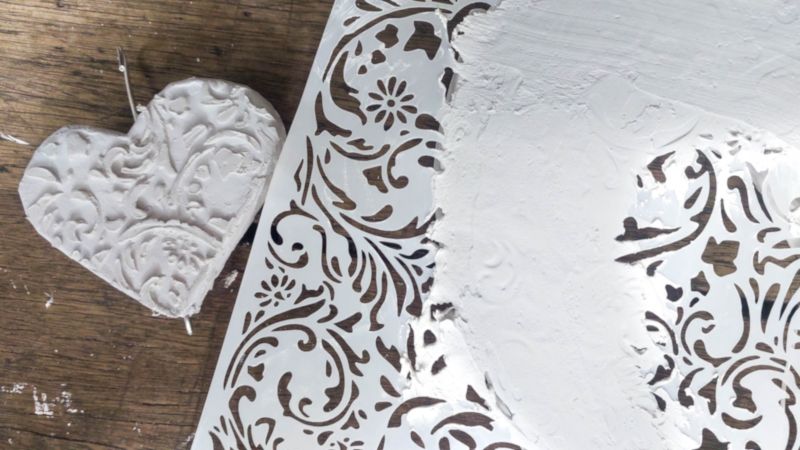 And cut the mirror tile strips so they were the same width as the edge of the spinner.
 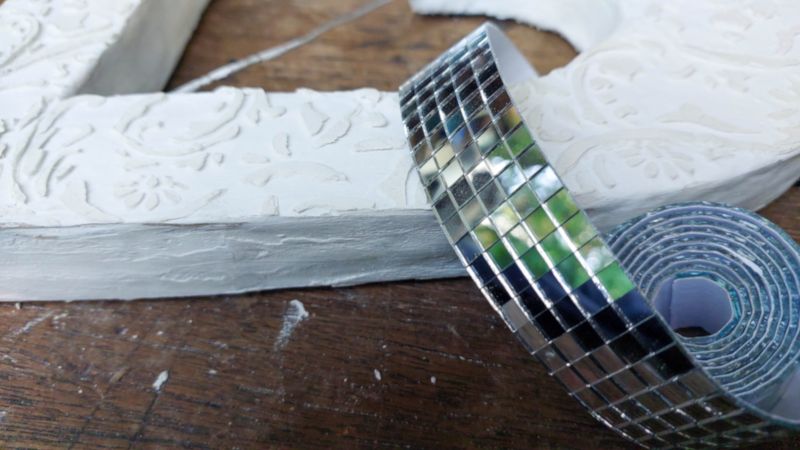 The mirror tiles I used come with a sticky backing, but I wasn’t 100% convinced that they would hold up over time. So, I used white tile adhesive to glue them on. Normal glue will work too.
 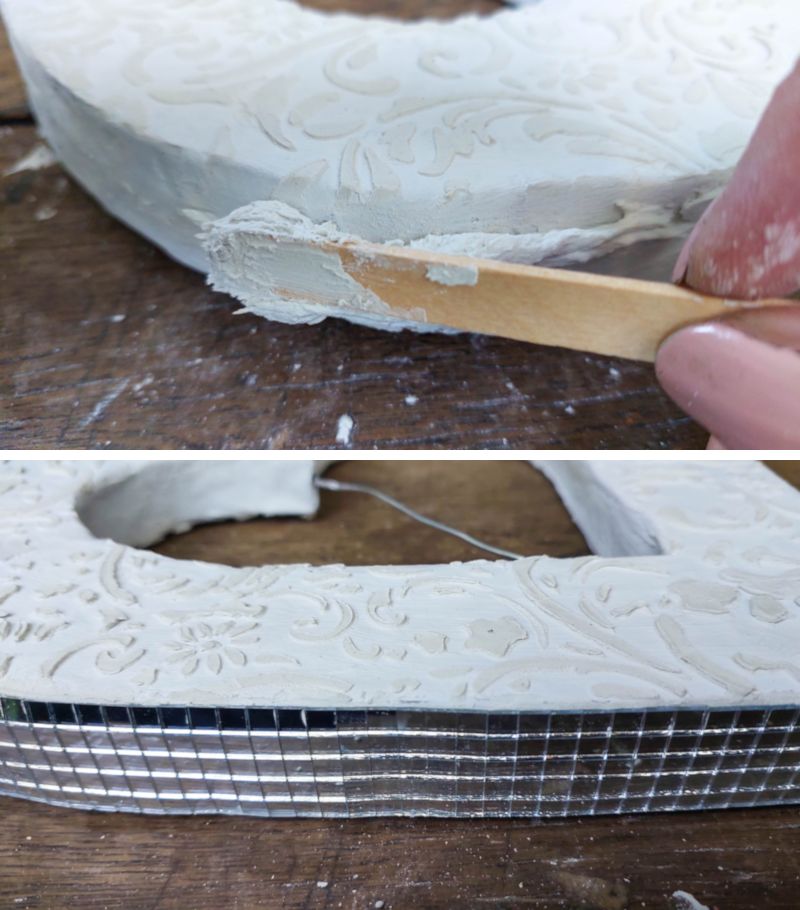 If you’re going to be using mirror tiles you probably need to remove a small tile or two to accommodate the wire placeholder.
  Since the cardboard heart wind spinner will be hanging under our patio roof, I finally decided to paint it a gorgeous turquoise to match the pool. To make sure those 3D textures pop, I used a wet wipe to remove some of the color.
 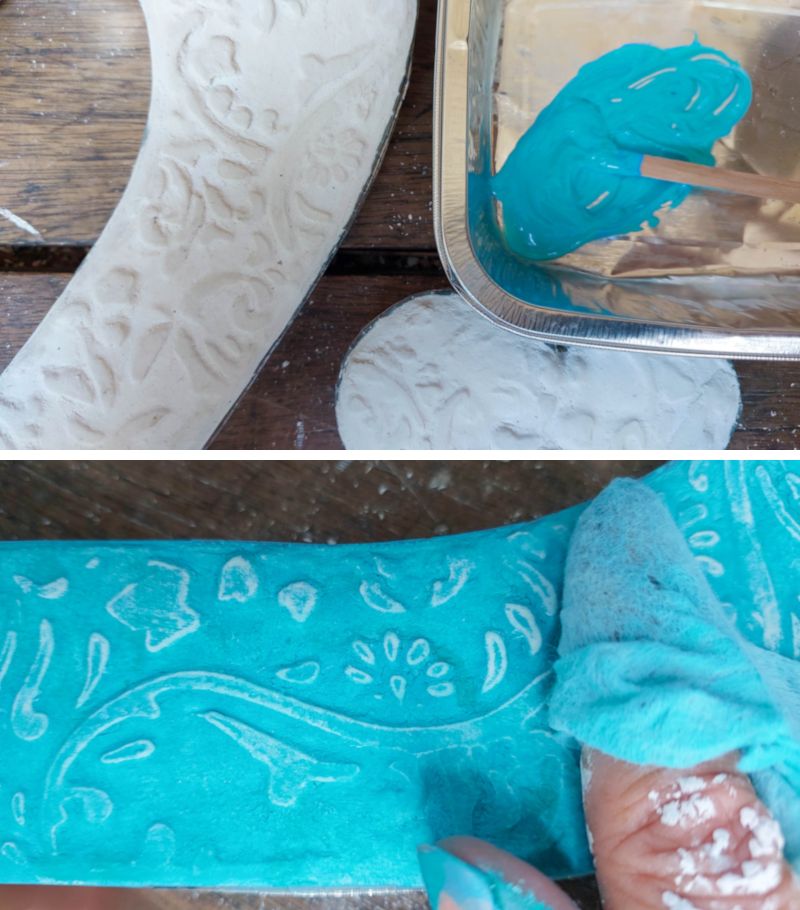 That color is so pretty against the mirror tiles. You can make yours whatever color suits your décor.
 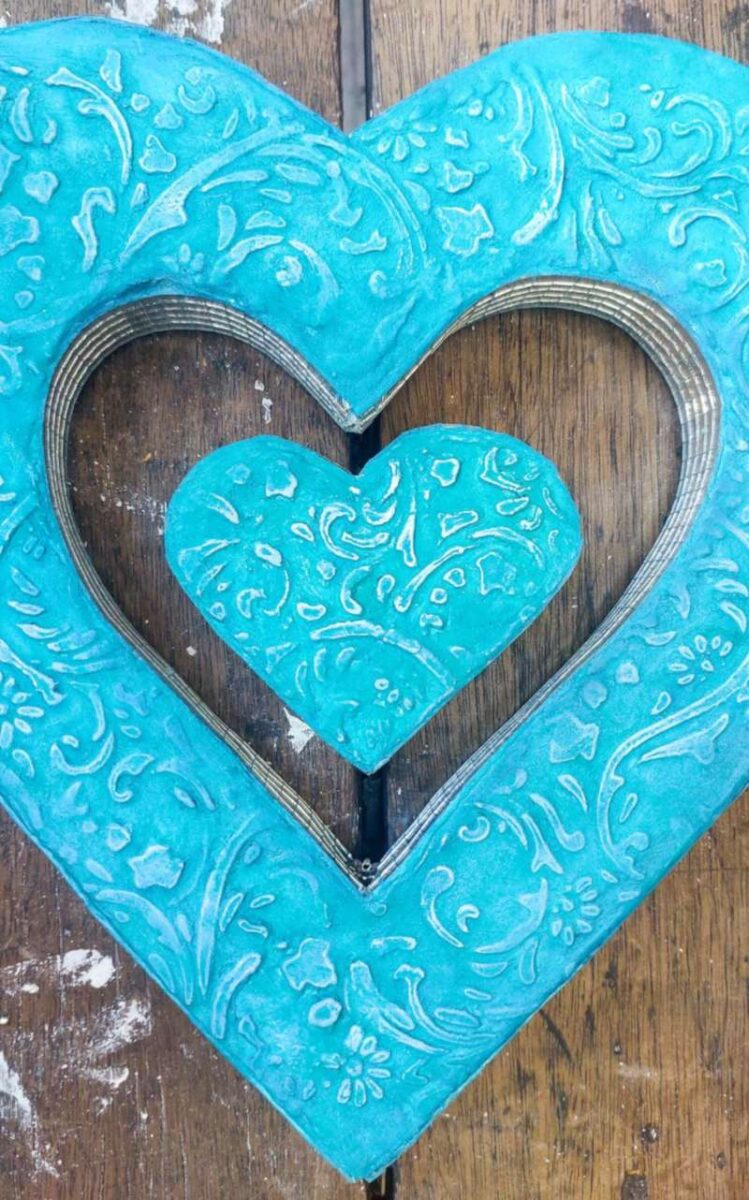 To hang the cardboard spinner, I used jewelry wire (9 gauge) and beads. The wire should just slide into the placeholder holes you made earlier. If it feels stuck, make them a little bigger.
  The beads act as spacers between the little heart and the big heart.
 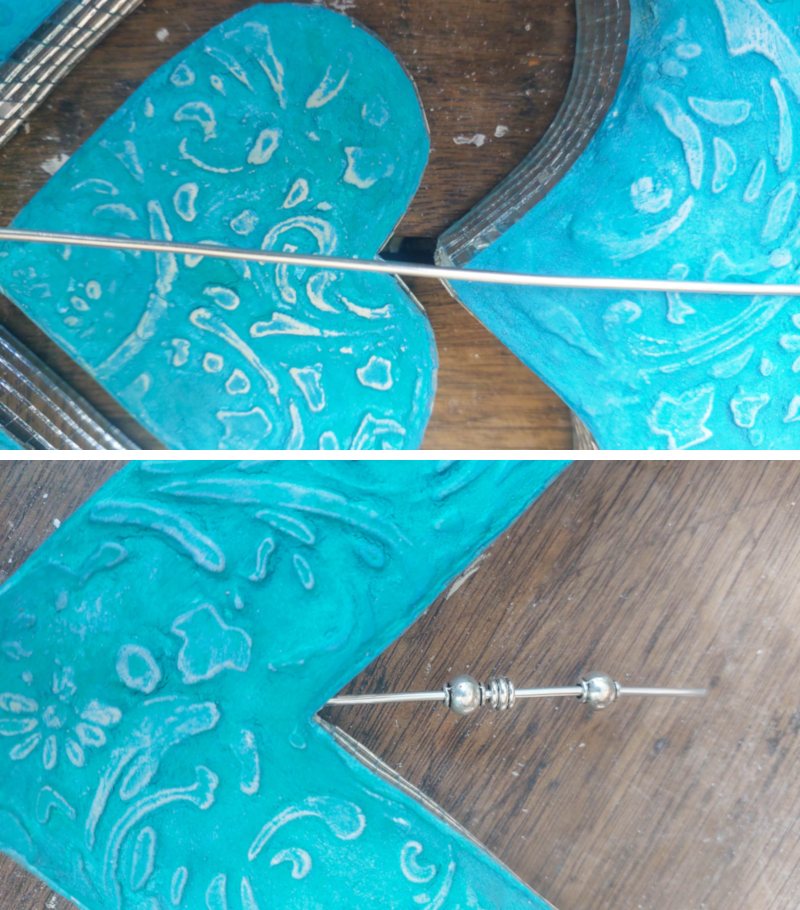 That way they won’t bash into each other as the heart spins in the breeze.
 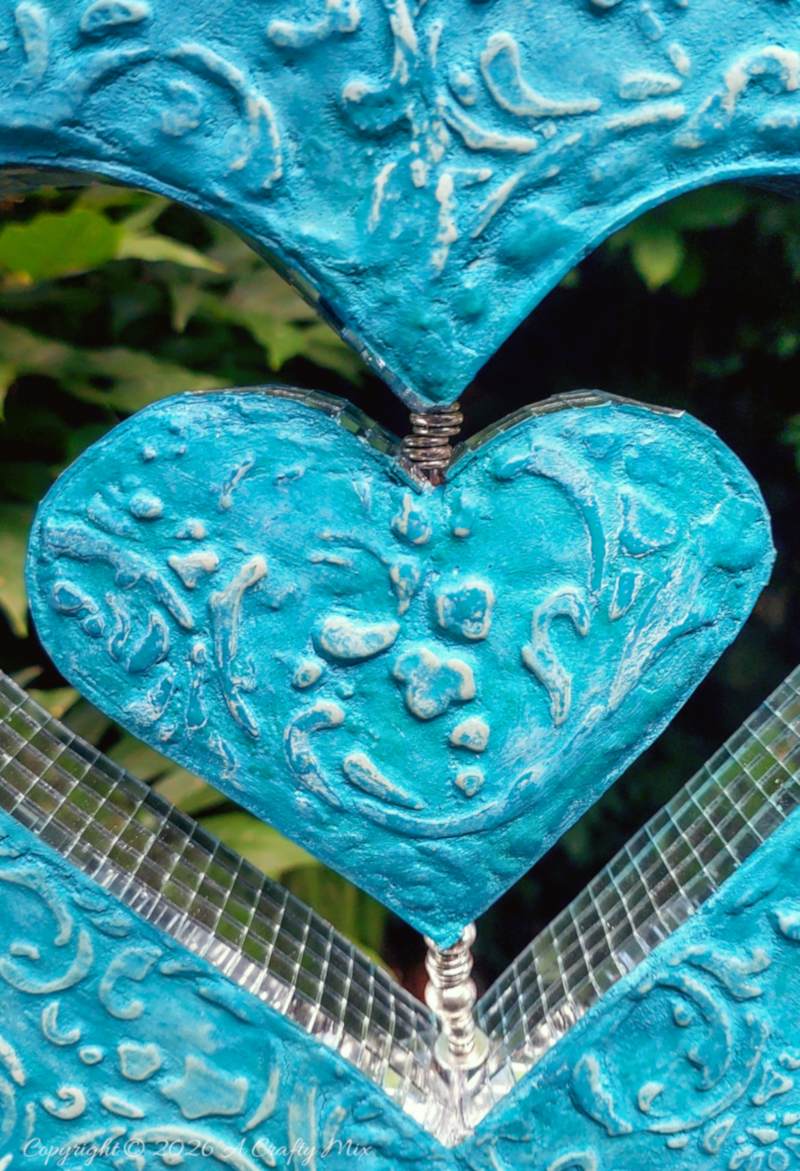 I also added a few beads at the top…
 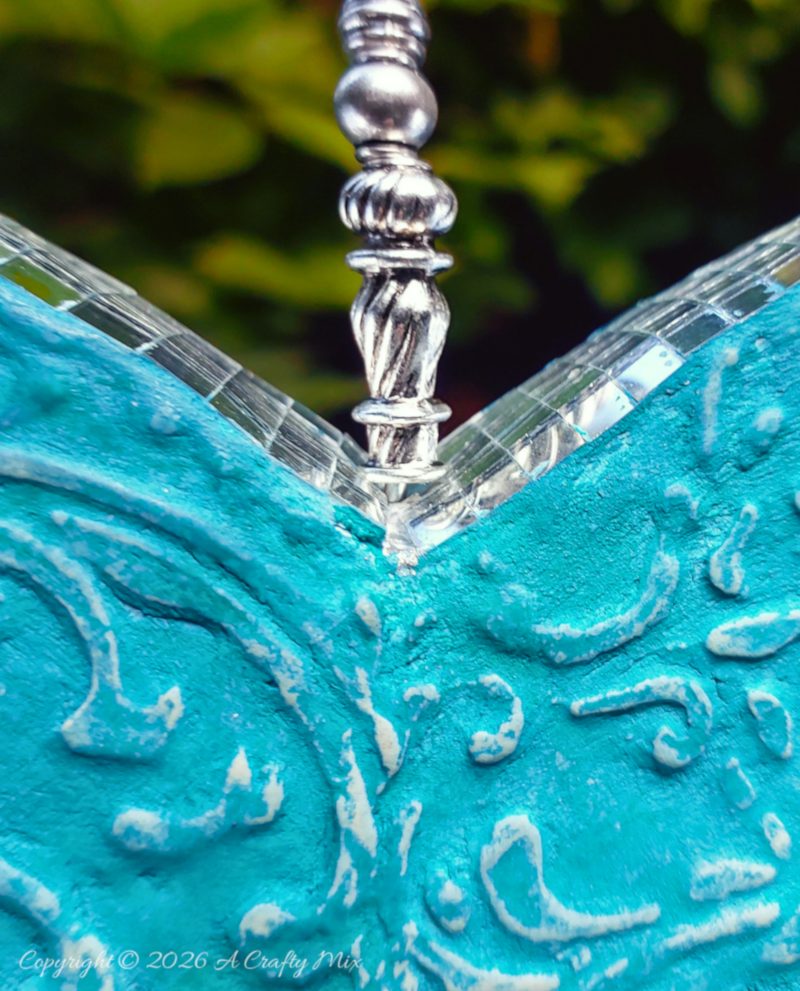 …. and a large pendant at the bottom.
 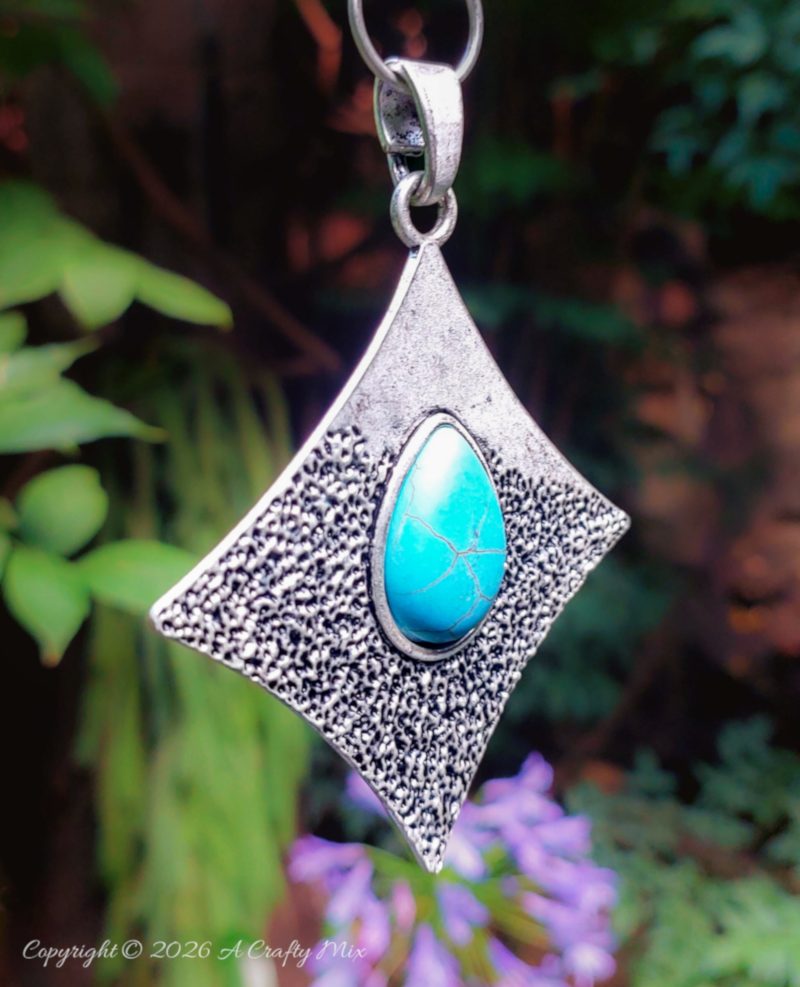 Hang the heart wind spinner …….
 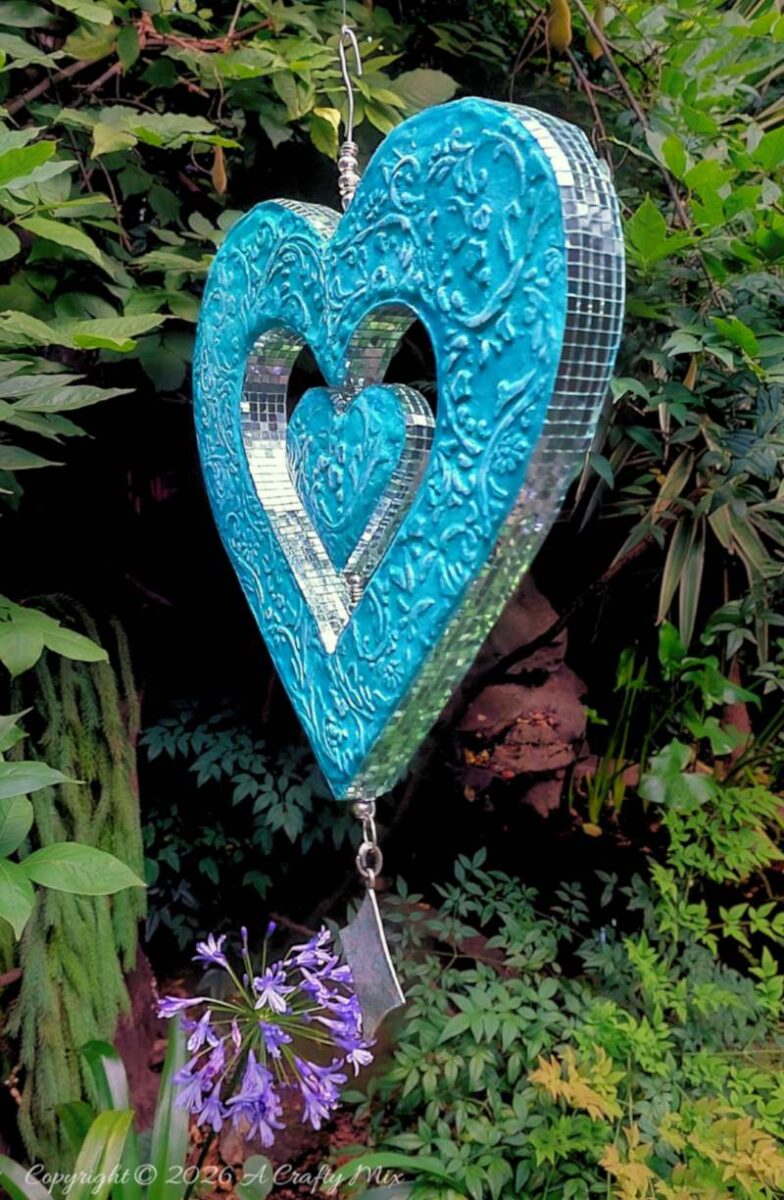 …. and enjoy the show.
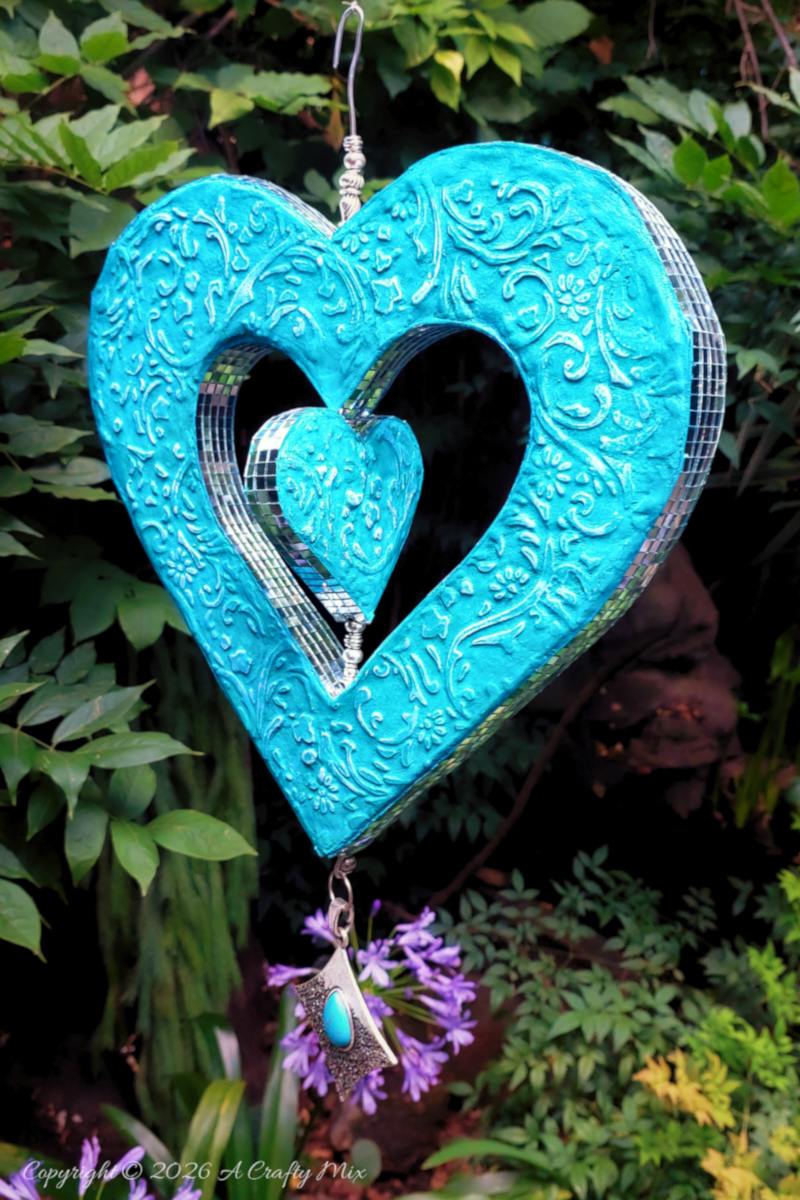
 Sharing is caring
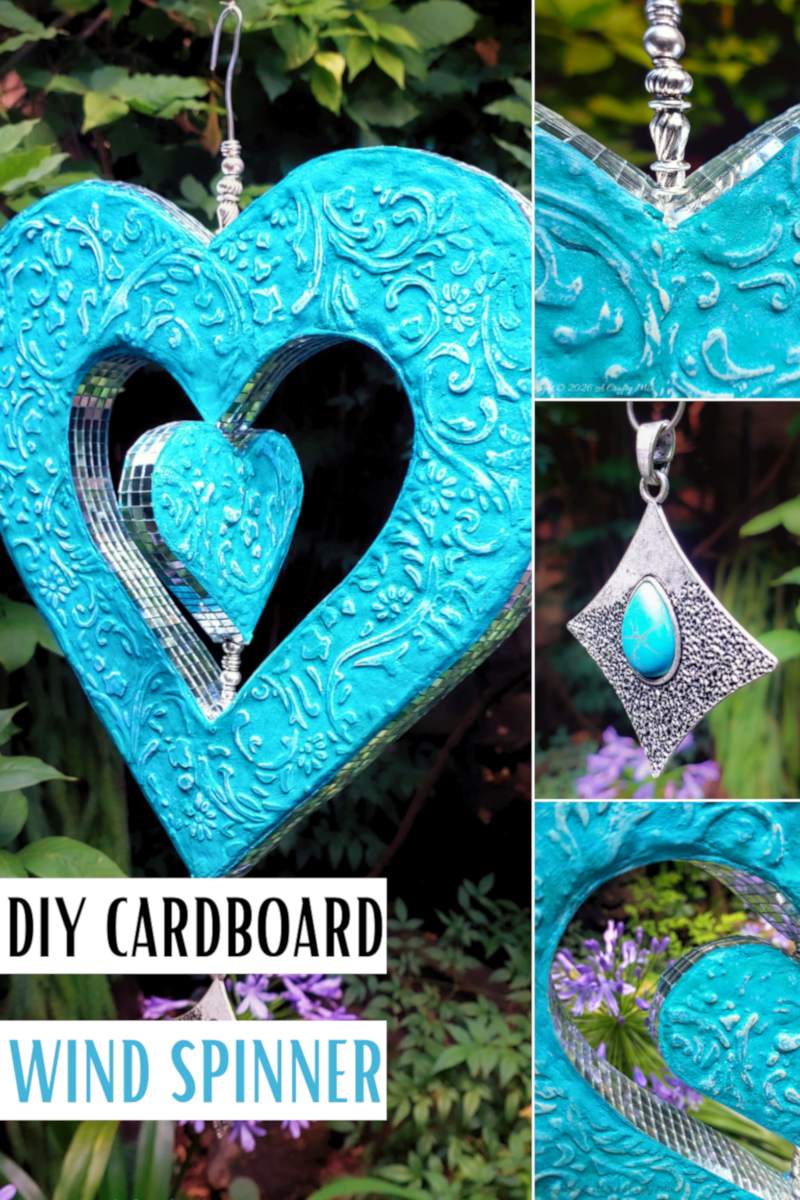
 Oh, and if you’re looking for some of the things we used, we’ve got you covered. Disclosure: Clicking on the links below means we may receive a commission from Amazon. But don’t worry, it won’t come out of your pocket, and it helps us make more amazing crafts to share with you. Or if you prefer to buy rather than DIY. And as always, wishing you a wonderful, crafty week filled with lots of love and laughter. Thank you for popping in for a visit.
It adds a gorgeous pop of color and whimsy to our patio and I love it. When the wind blows, those mirror tiles cast the most beautiful reflections all over the place. It’s like watching the fairies dance. Oh wait, I have a video. Keep your eyes on the background and you’ll see them. In this tutorial I’ll show how to make a wind spinner using a humble cardboard box. But before we get there, do me a favor and follow us on Facebook, Twitter, Pinterest, or Instagram. And don’t forget to subscribe so you’ll never miss a post! What you need
- Cardboard
- Paper (newspaper is fine)
- Wood glue
- Texture paste and stencil (optional)
- Paint
- Mirror tiles
- Craft knife
- Loooooong embroidery needle or skewer
- Beads and jewelry wire to hang
How to make a cardboard heart wind spinner
Prep work
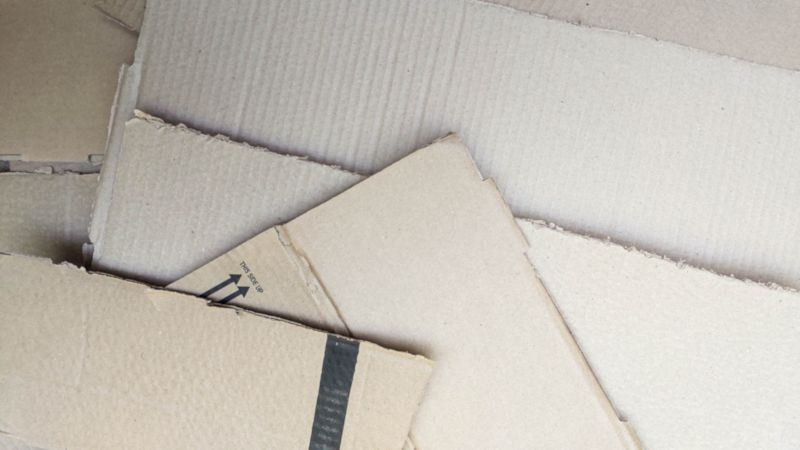
It always surprises me what you can do with cardboard. We’ve used it to make statues, concrete molds , and frames. We’ve even made a faux concrete vase out of a humble cardboard box. Plus, it’s free and easy to work with. For this heart you’ll need 6, equally sized sheets that are roughly 40 cm x 40 cm (16”x 16”). We’ll be gluing the sheets one on top of the other. Make sure you alternate the grain (the direction of the wiggly, woggly bits inside) with each layer. It will make the cardboard wind spinner stronger. Mix a little water with wood glue. You want something that’s runny enough to paint on, but not so runny that it drips and makes a puddly mess. Cover the whole surface with glue and stick the layers together. Place the glued cardboard stack under something heavy while it dries. I left mine overnight. Draw 2 heart shapes, one big and one small, and cut them out with a sharp knife. In fact, you can draw any shape you like. As long as they’re similar and the little shape is at least 3-4 cm (1”- 1.5”) smaller than the big one. Clearly my craft knife needs some sharpening. Look at those rough edges. Easy enough to fix with a little sandpaper and some elbow grease. Disguising the cardboard look
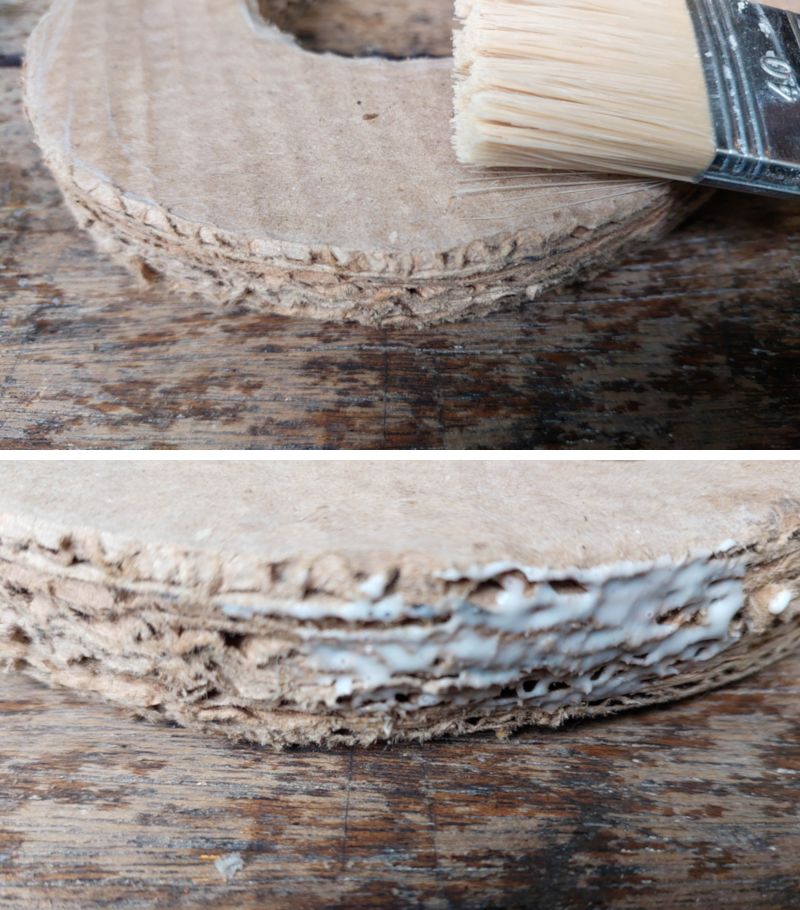
One downside of cardboard is the edges. That’s the first place that shows wear and tear. So just to be on the safe side, I gave them two coats of glue to strengthen and protect them. The other downside is how recognizable cardboard is. If you look at cardboard in a certain light, you always see a wavy texture where the outer paper layers weave around those wiggly woggly insides. Maybe it’s just me? Anyhoos, I didn’t want to see that, and I needed a way to hide the edges. Easy to solve with some paper and watered down glue. You can use any paper for this. I had brown paper bags left over after making our Bali-inspired Christmas trees. Dunk strips of paper in watered down glue and stick them all over the hearts. For the round corners, long, thin strips work best. Add as many layers of paper as you want or until the obvious cardboard texture disappears. Leave the gluey hearts to dry completely before making a hole through the center of the hearts. I used a long embroidery needle. A metal skewer will work too. You can also drill the holes. Cut a length of jewelry wire and stick it all the way through the holes. Make sure the hole is a little bigger, or wider, than the wire. For now it’s just a place holder. Decorating the wind spinner
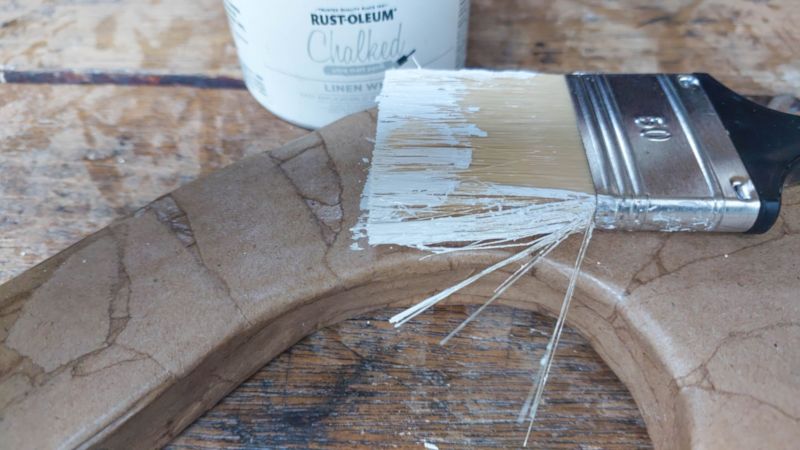
Now for the fun bits. Making the wind spinner pretty. I initially planned on making a white spinner but changed my mind when my hubby mentioned dust and other boring stuff that could make the spinner look dirty. He’s right, but it’s still boring. I did add a 3 D textured stencil though. And cut the mirror tile strips so they were the same width as the edge of the spinner. The mirror tiles I used come with a sticky backing, but I wasn’t 100% convinced that they would hold up over time. So, I used white tile adhesive to glue them on. Normal glue will work too. If you’re going to be using mirror tiles you probably need to remove a small tile or two to accommodate the wire placeholder. Since the cardboard heart wind spinner will be hanging under our patio roof, I finally decided to paint it a gorgeous turquoise to match the pool. To make sure those 3D textures pop, I used a wet wipe to remove some of the color. That color is so pretty against the mirror tiles. You can make yours whatever color suits your décor. To hang the cardboard spinner, I used jewelry wire (9 gauge) and beads. The wire should just slide into the placeholder holes you made earlier. If it feels stuck, make them a little bigger. The beads act as spacers between the little heart and the big heart. That way they won’t bash into each other as the heart spins in the breeze. I also added a few beads at the top… …. and a large pendant at the bottom. Hang the heart wind spinner ……. …. and enjoy the show. If you like the idea of cardboard wind spinner for you patio, don’t forget to pin it for later.
Sharing is caring More unexpected cardboard creations
If you’re have a collection of cardboard boxes waiting for a creative makeover, why not explore some of our other cardboard tutorials. Just click on the web story below for a selection of some of our best how-to-guides that involve cardboard.


4 comments
HOW is this incredible heart spinner cardboard?! The craft magician is in the house! Michelle, this is the most glam cardboard project I’ve ever laid eyes on. Truly mind-blown here!
Glam cardboard projects works for me ;-)
This is just gorgeous, I love the colour you chose and the mirror tiles are great. I would love to adapt this for outside, I may give it a go.
Thanks so much, Anita and I’m looking forward to your adaptions. Knowing you it will be stunning.