In partnership with TileVera
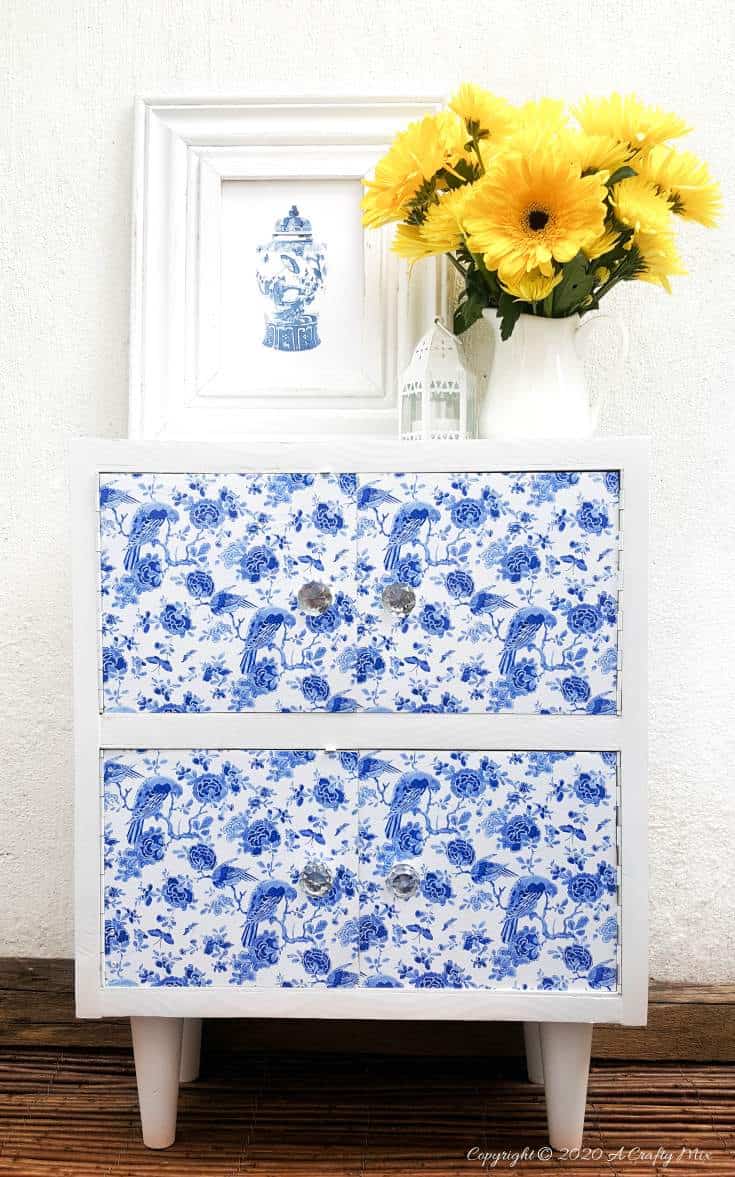
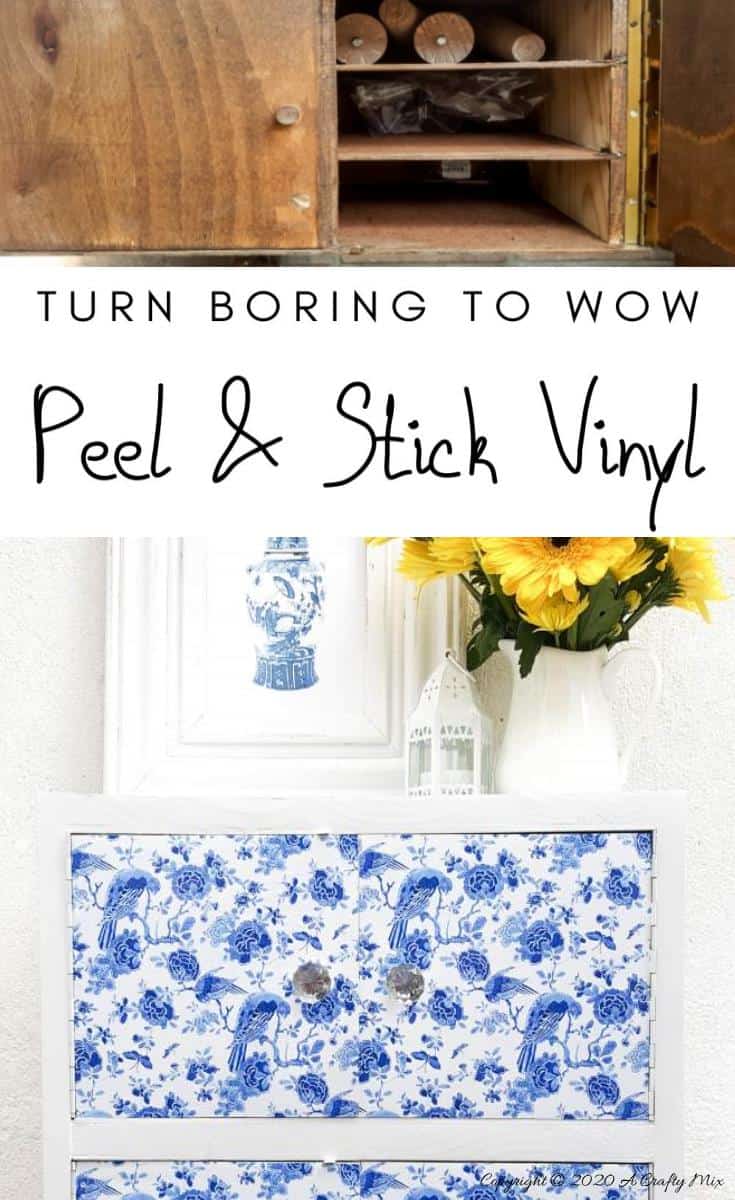
Who says vinyl tiles are only good for walls and floors? A few weeks back I found these beautiful Chinoiserie vinyl tiles online. Now normally when I find something I like, it needs to be shipped here, but this time I hit pay dirt. The company that makes the tiles are based here in South Africa. Happy dance. I popped off an email and within minutes I was virtually chatting to the lovely ladies at TileVera. And they were super helpful. Fast forward a few days and I had some gorgeous peel and stick Chinoiserie vinyl tiles in my grubby paws and I could give an upcycled cabinet this oh so pretty makeover.
Hold on to your seat guys, coz you’re not going to believe what the cabinet looked like before the makeover!!!!
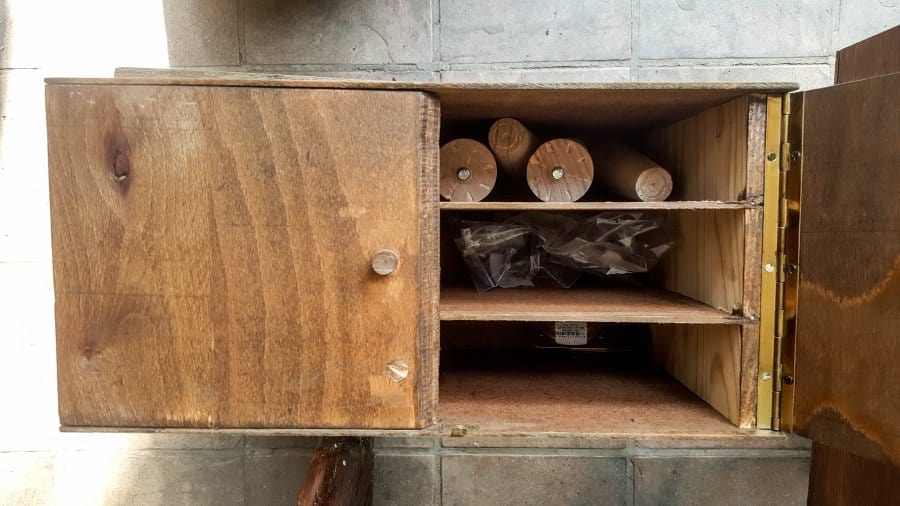
Huge difference right? Okay, so it wasn’t originally a cabinet at all. No siree 😀 I picked up two handmade wooden storage boxes at a local thrift store for R50. That’s about $3 at today’s exchange rate. They’re perfect for storing my Sizzix die cuts, but they reeeaallly needed a makeover. Pressed wood and mason board would never fit into our décor style.
What I used for the Chinoiserie vinyl tile makeover
Here’s what I used to turn those storage boxes into a Chinoiserie cabinet.
To make the Cabinet
- 2 wooden storage boxes
- Legs and legplates
- Drill and saw
- Screws and wood glue
- Scrap wood
For the Chinoiserie makeover
- Crystal doorknobs (for a touch of class)
- White spray paint
- Sandpaper (100, 120 and 180 grit)
- Chinoiserie vinyl tiles

BTW I’m totally blaming this makeover on my friend Maria from Simple Nature Décor 😀 She’s shared so many amazing Chinoiserie craft ideas on her blog, I couldn’t help falling in love with the look. Right, before we get to the tutorial, be sure to follow us on Facebook, Twitter, Pinterest, or Instagram. And don’t forget to subscribe so you’ll never miss a post!
Making and prepping the cabinet
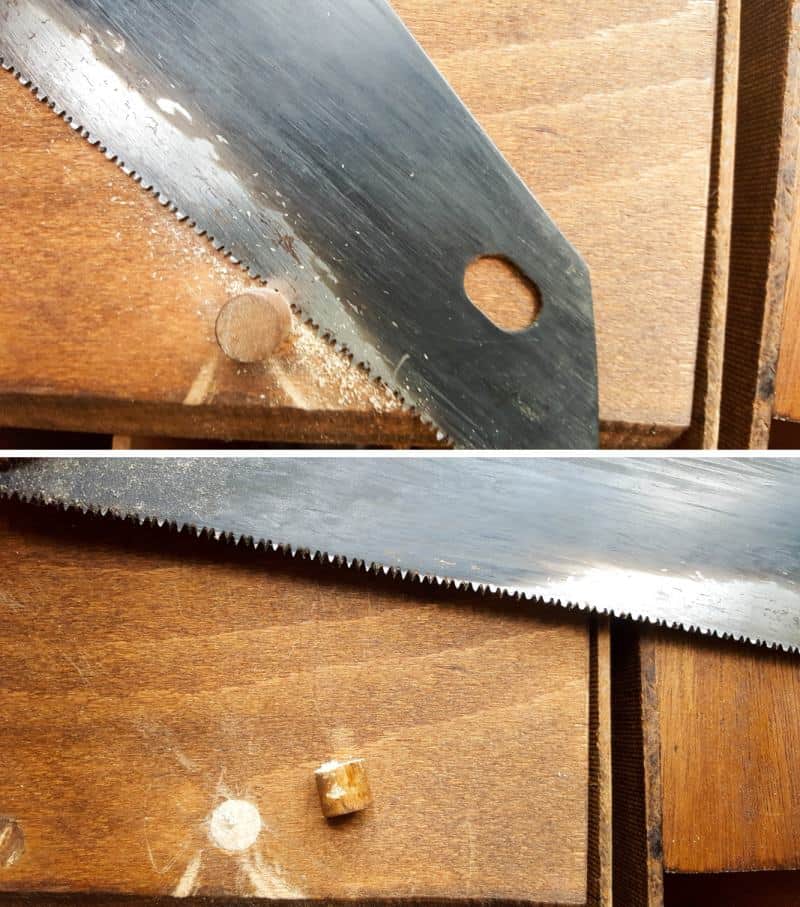
It doesn’t really matter what kind of storage boxes you have, or whether you’re making over something that’s already built, the principle is the same. Remove the doors ……
….. and take off any hardware like hinges and doorknobs.
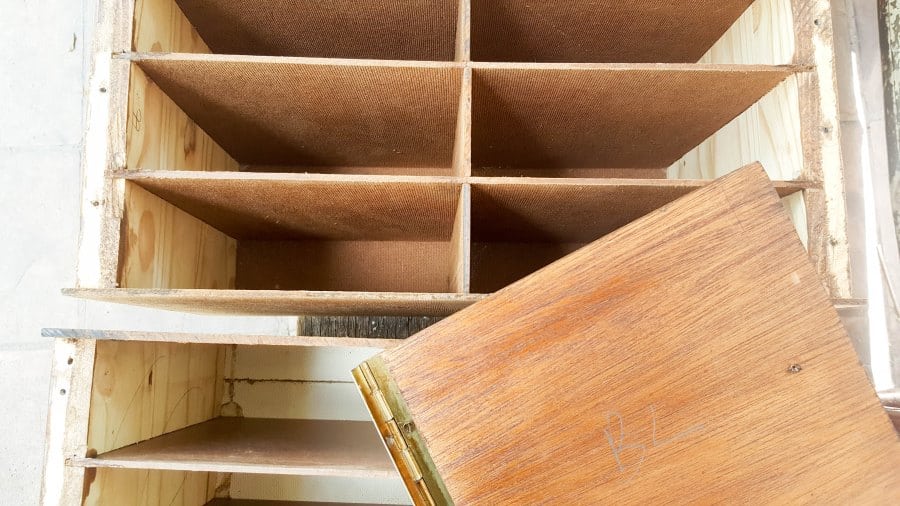
Since I only had two storage boxes to work with, I had to build some kind of frame to turn them into a cabinet first before I could give them their Chinoiserie makeover.
You can totally skip the next steps if you have something that’s already built.
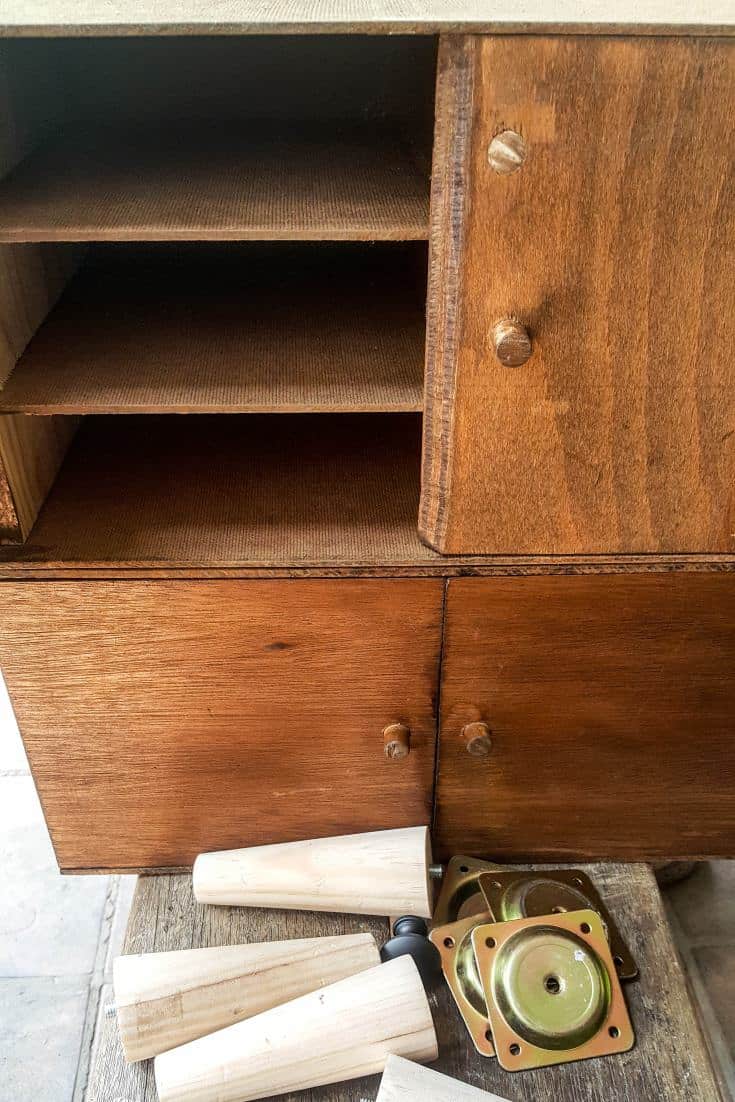
To make the frame I placed the two boxes one on top of the other and measured the height, width, and depth.
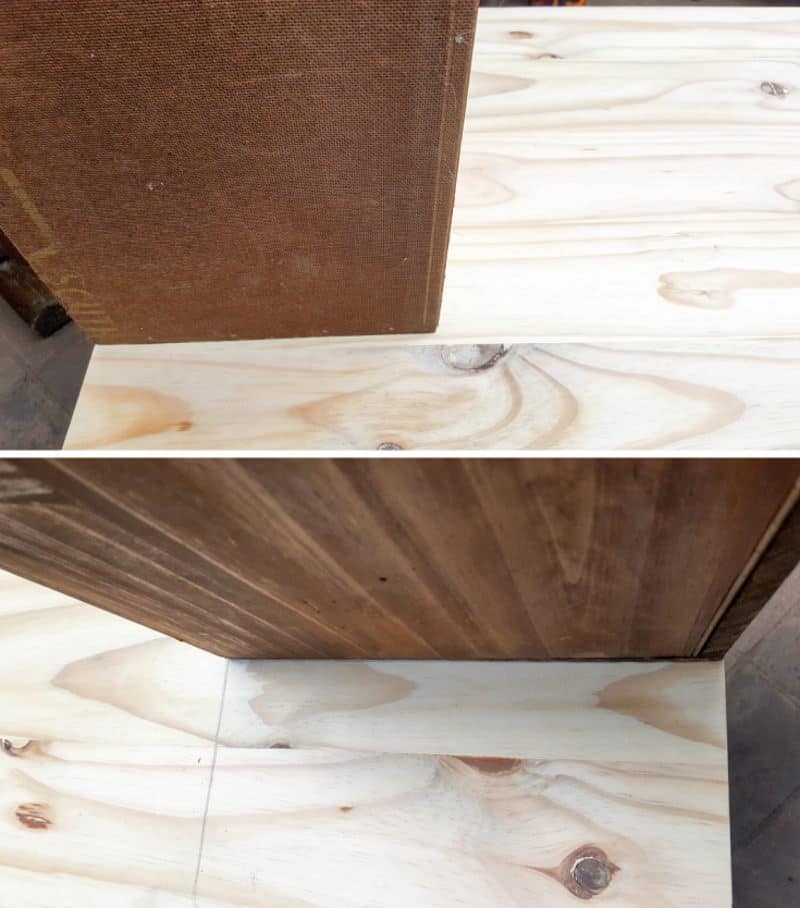
Using those measurements I cut a top, bottom, two sides and another piece that I used to separate the two storage boxes inside their new housing.
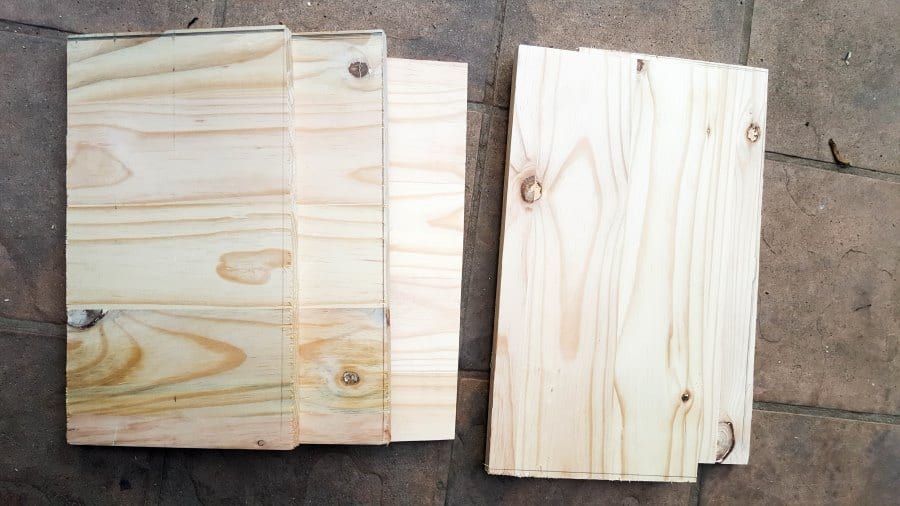
Everything was glued and screwed together to make an outside frame to hold both storage boxes, before sanding the whole thing down. I started with 100 grit, then 120 and finished off with a 180 grit.
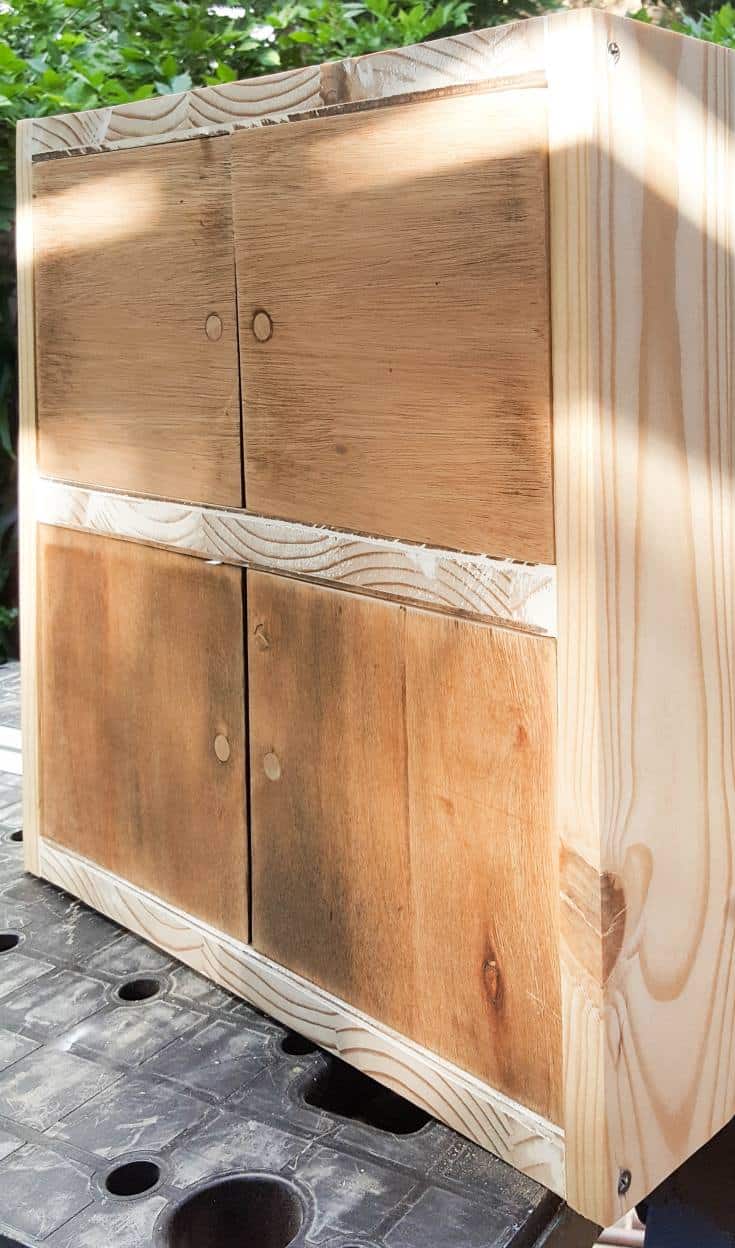
Once everything was super smooth I used Rust-Oleum glossy white to spray her inside and out.
And since those little storage boxes were going to get a makeover I decided to give her some legs to stand on too. It seems I’m in the habit of finding legless things. And no I’m not talking about barbie dolls 😉
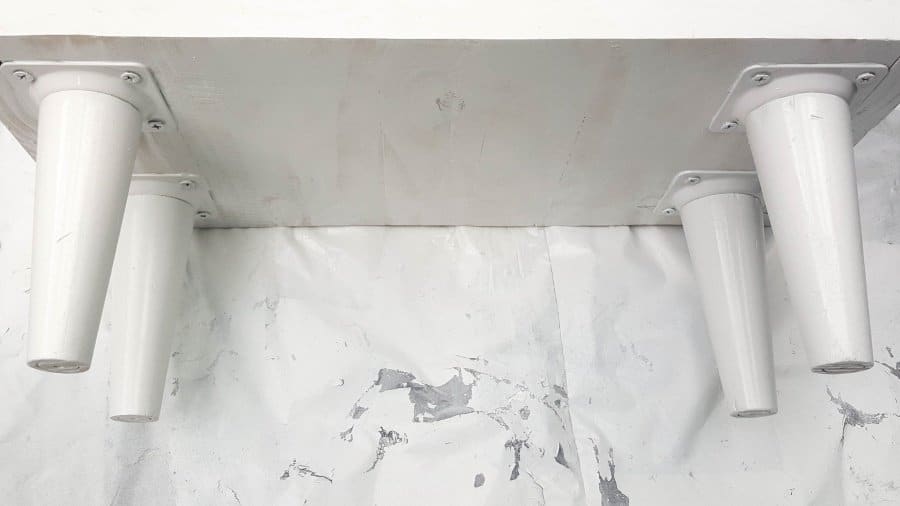
And the repurposed wooden storage boxes cabinet was ready for its Chinoiserie vinyl tile makeover.
Why vinyl tiles are great for making over furniture
Peel and stick vinyl tiles are awesome to take boring pieces and turn them into something that “wows”. Mine came in a pack of 12, with three co-ordinating patterns.
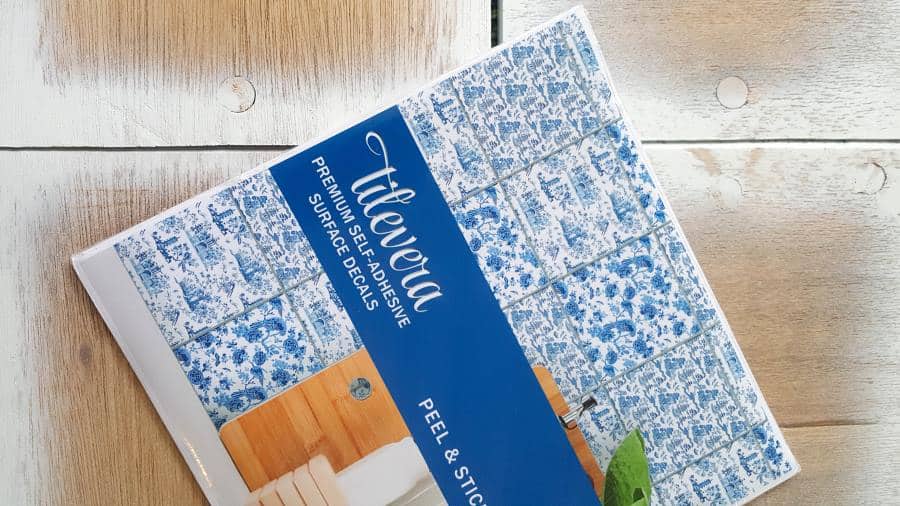
The adhesive-backed vinyl tiles mimic the look of the real thing and they’re extremely easy to install. You don’t have to worry about grouting or fancy tile cutters, or any of that other messy stuff required for traditional tiles.
Peel and stick vinyl tiles are usually made from a lightweight synthetic material so they won’t add extra weight and the adhesive is strong enough to hold them in place for a long time. The perfect choice for DIY beginners.
Adding the peel and stick vinyl tiles
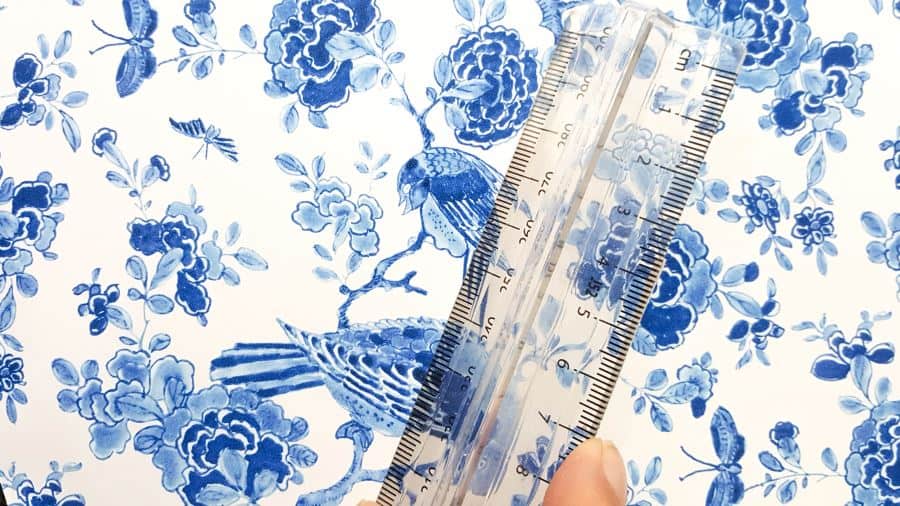
Measure where the tiles will go and use a craft knife or scissors to cut accordingly. Don’t throw the off-cuts away, they can be used to make beautiful groutless mosaics 😉
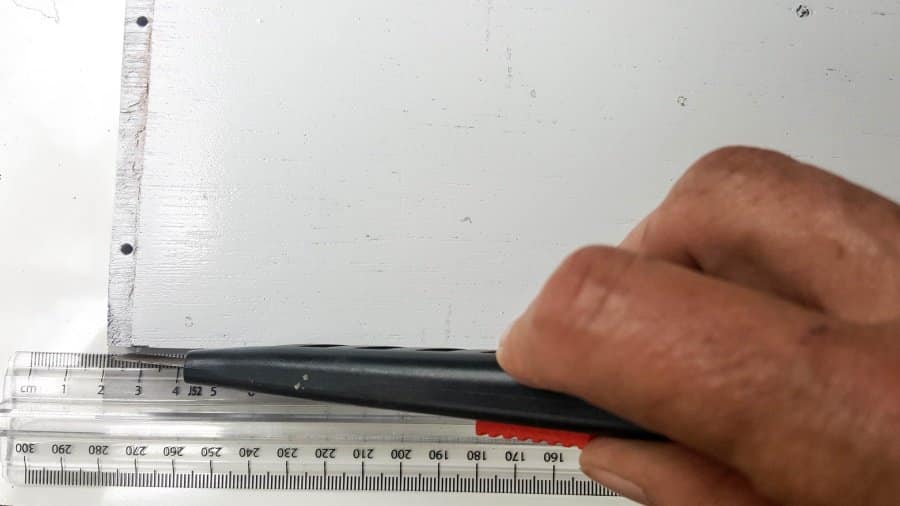
When it comes to peel and stick vinyl tiles it’s super important to prep your surface really well. Peel and stick tiles need a clean and flat surface to stick to so I had to make sure the doors were smooth and bump-free.
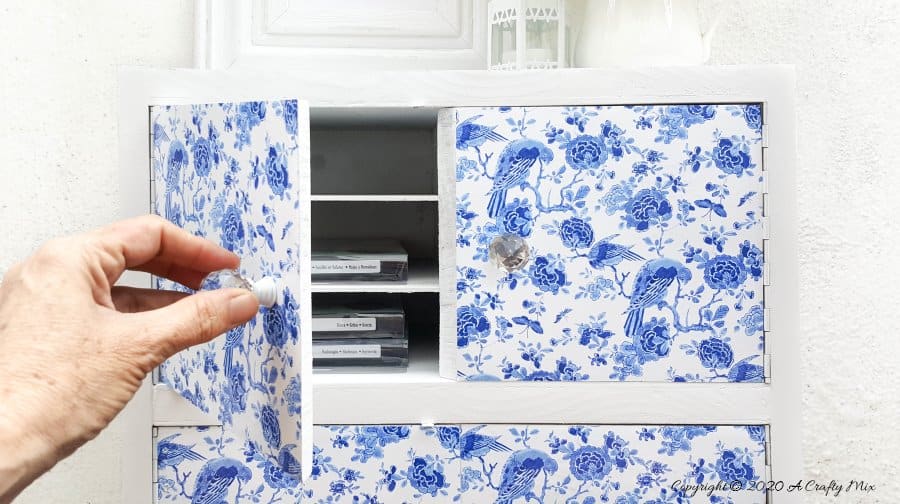
The Chinoiserie vinyl tiles have a pre-applied adhesive so once you’re ready, remove the protective paper backing and stick them down. If you’ve used DC fix before, then peel and stick vinyl tiles will be a breeze 😉 To get rid of any air bubbles use a ruler or a credit card.
The adhesive is like a post-it on steroids 😀 But if you make a mistake they’re pretty easy to remove and stick down again. And if you get bored with the look, simply peel them off and swap them out any time. No big deal or clean up required. To finish the cabinet makeover off I added a few pretty doorknobs.
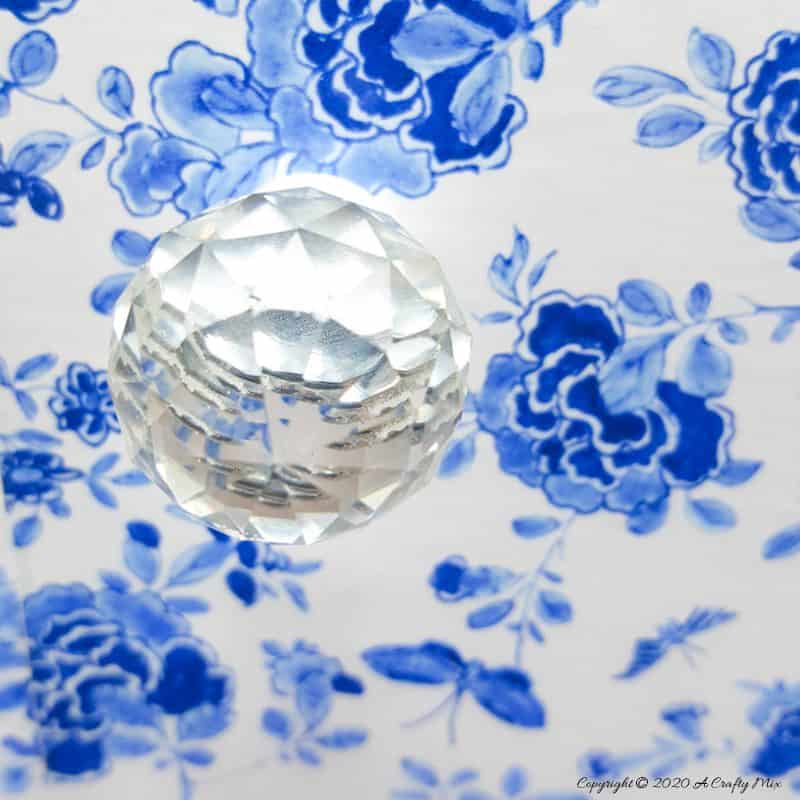
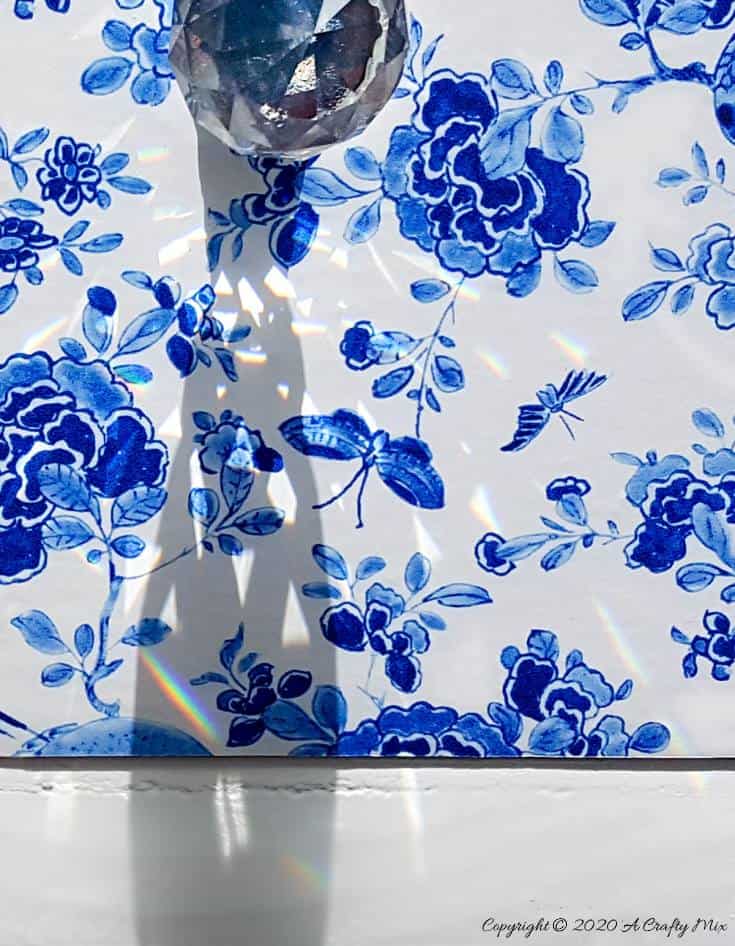
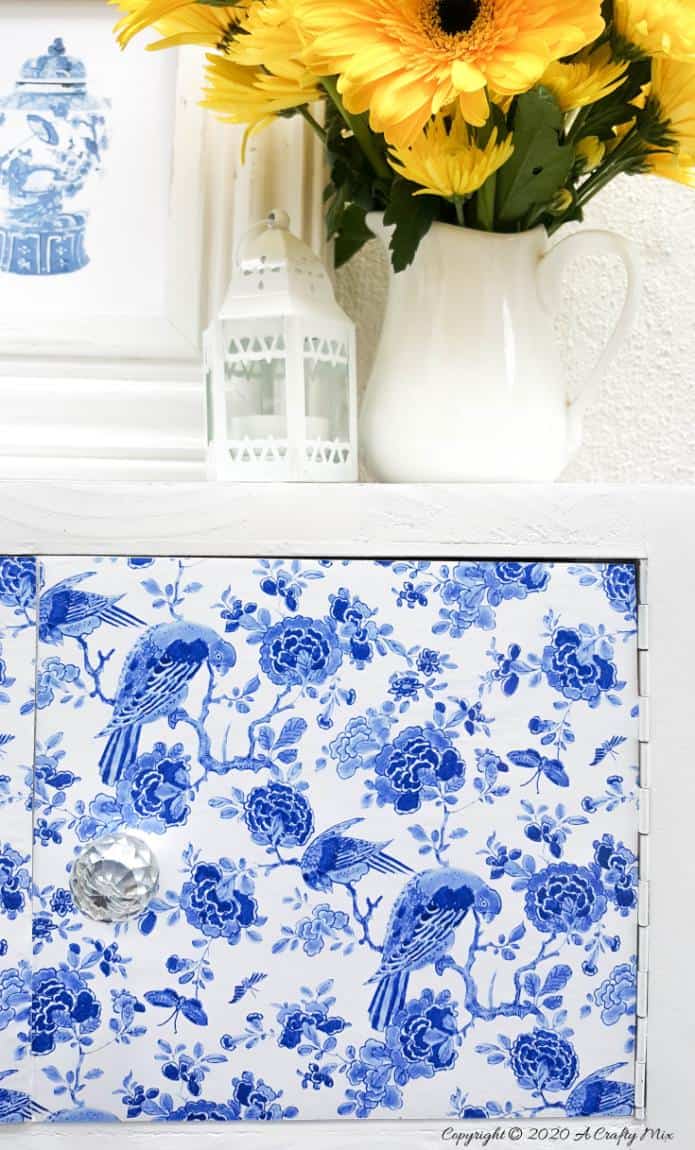
I’m not really a crystal kinda girl. Sawdust and rust is more my thing 😉 but when we repurposed our CD storage into a farmhouse cupboard I fell in love with how the light dances through the multi-faceted surface.
Isn’t it just beautiful? I’m absolutely over the moon with how the little Chinoiserie vinyl tile makeover turned out, but I would love to know what you think.
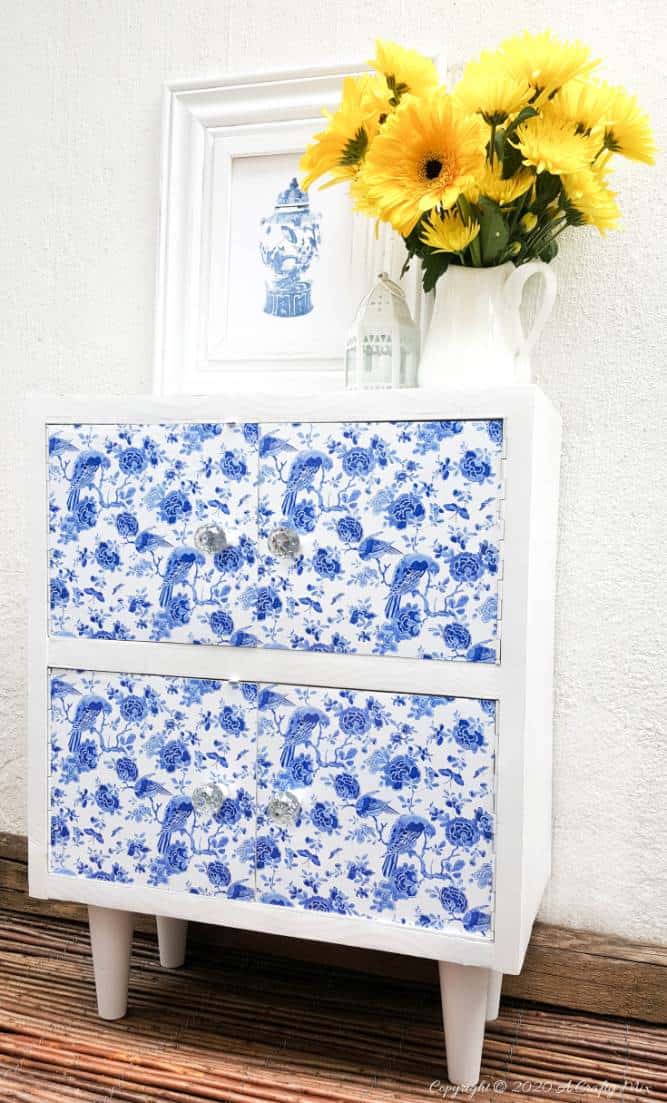
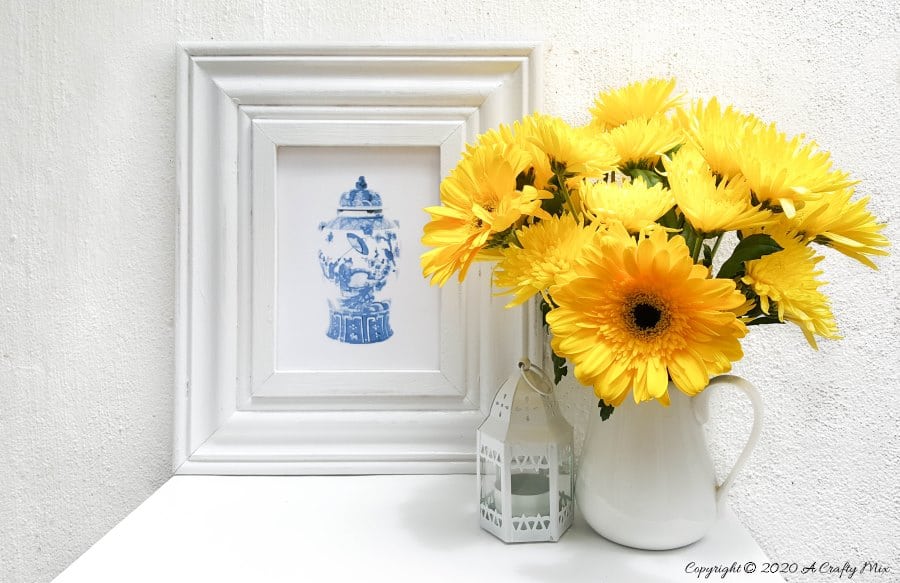
BTW, that gorgeous Chinoiserie printable on top of the cabinet can be downloaded for free at The Painted Hive.
And all my Sizzix dies have a new home that’s pretty rather than boring blah 😀
The best thing about the Chinoiserie makeover though. If my décor style changes, I can simply peel the vinyl tiles off, and stick some new ones on. No mess, no fuss 😉
If you like the idea of using vinyl peel and stick tiles to makeover a piece of furniture, don’t forget to pin it for later.
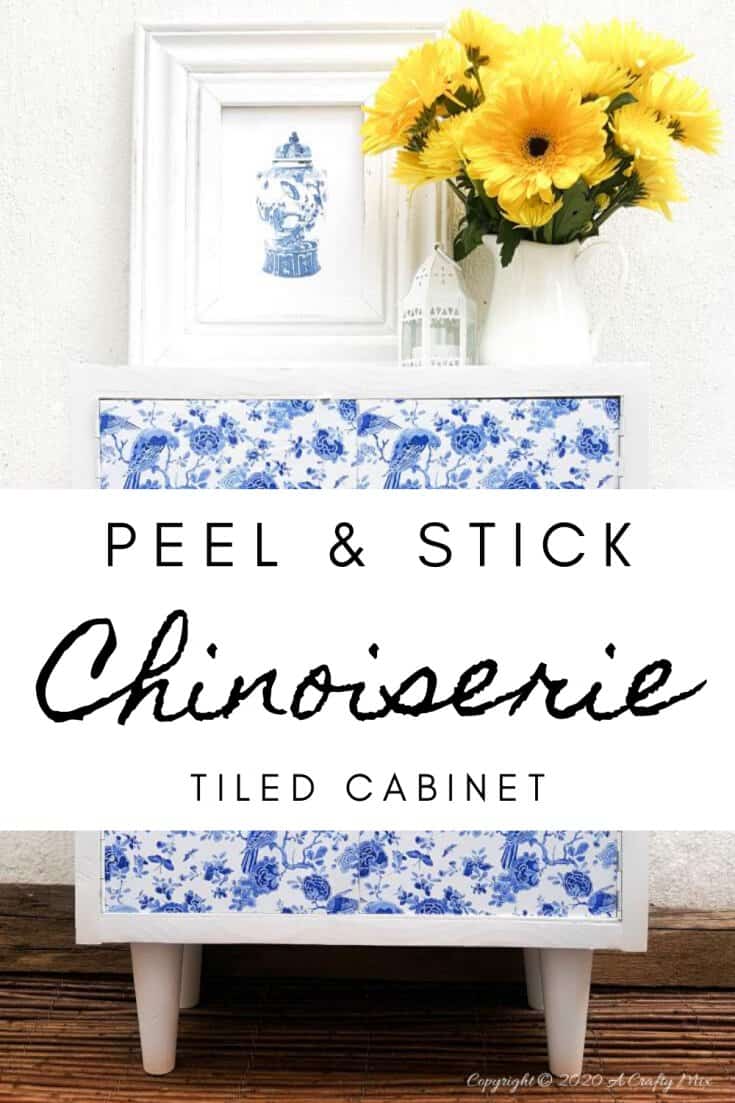
Because they really do turn boring into wow 😉
A few extra tips
Peel and stick vinyl tiles come in so many different colors and patterns, so you’ll need to choose a pattern that fits the space or area where you’ll be sticking them down. The doors on my wooden storage boxes were not exactly square so I needed to trim a tiny bit off the bottom of each tile. If I’d chosen a pattern that was completely symmetrical the tiles would look lopsided.
To clean the peel and stick tiles, dip a sponge in a mixture of dish soap and water, wring most of the water out and wipe the tiles down. Avoid using abrasive household cleaners so you don’t scratch or dull the tiles.
Make sure the surface you’re applying the tiles to is as smooth as a baby’s bottom. The tiles are glossy and bumps and dents will show up.
Oh and if you’re looking for some of the things we used, we’ve got you covered Disclosure: Clicking on the links below, means we may receive a commission from Amazon. But don’t worry it won’t come out of your pocket, and it helps us come up with more amazing craft ideas to share with you 😉


Or if you prefer to buy rather than DIY


BTW if you stay in South Africa, TileVera is still accepting orders during COVID lockdown. If you place an order now you can receive FREE shipping with the code TVSTAYSAFE during checkout. The tiles will be delivered once the lockdown is lifted. And those lovely ladies are all working remotely so they’ll answer any questions you may have too.
Well, that’s about it from my side. Thank you so much for popping round for a visit. Please stay safe during these crazy times and keep on crafting.

Last update on 2026-06-03 / Source Amazon Affiliates