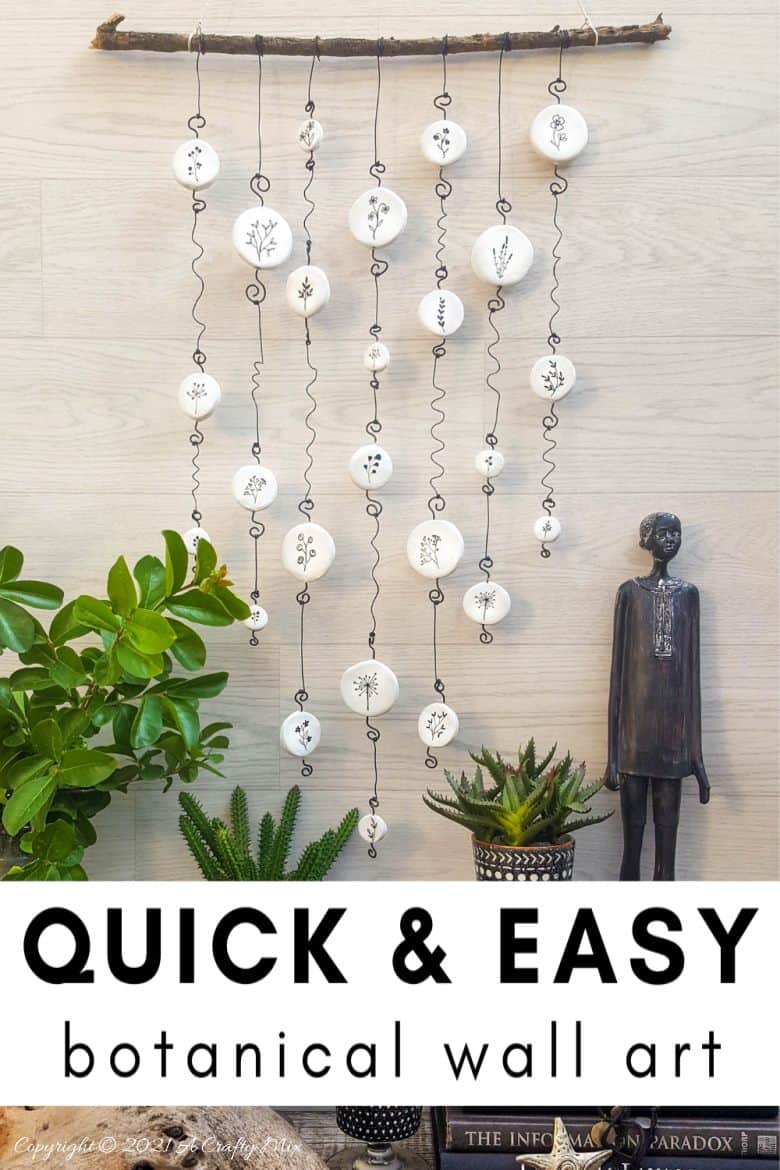
I really enjoy creating unique things for our home. And when they’re easy and fun to make, then it’s a win-win all around. Like this botanical clay wall art with wire detail.
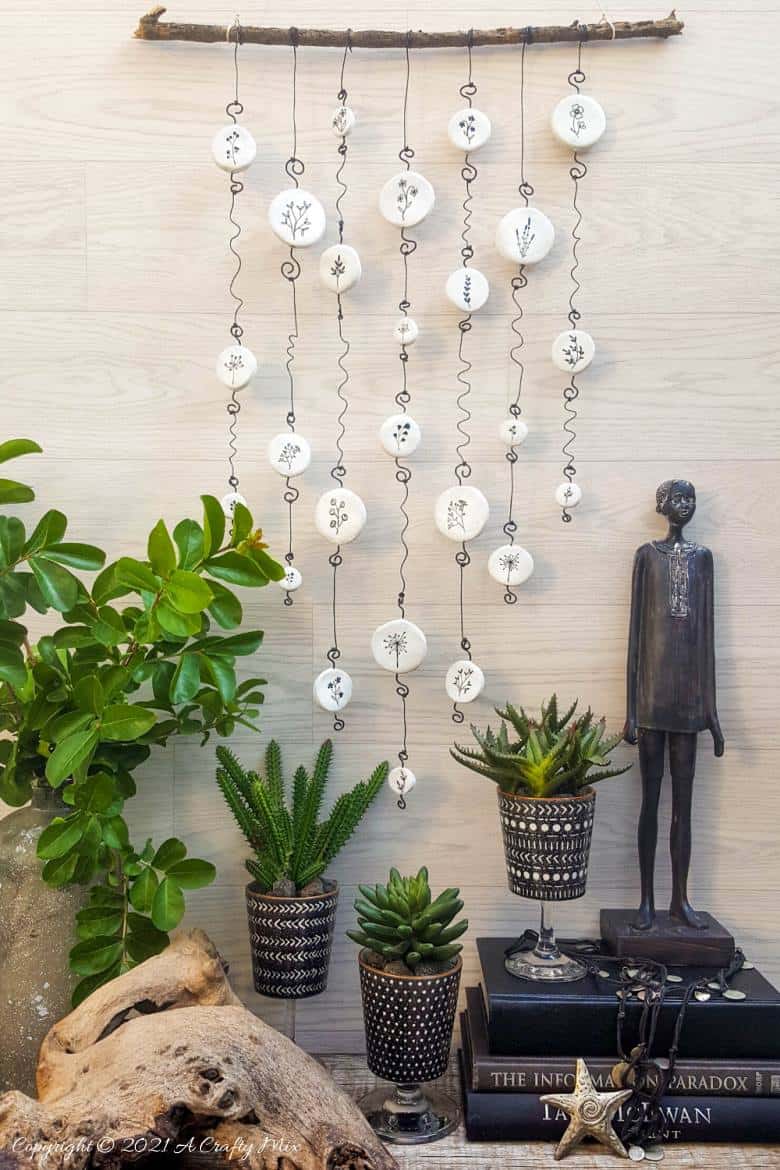
Not only is it quick to make, but you can customise it to suit your décor and style by simply switching out the images.
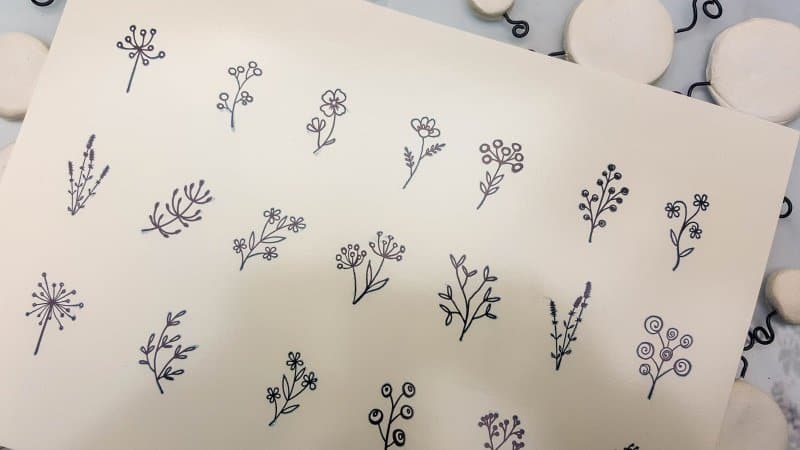
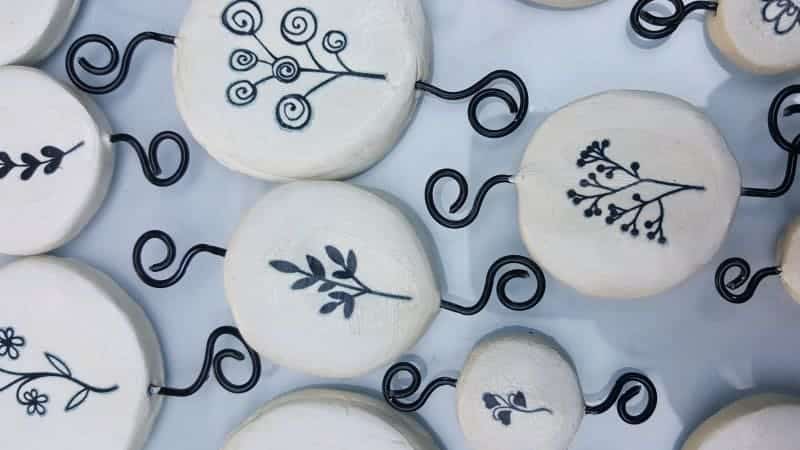
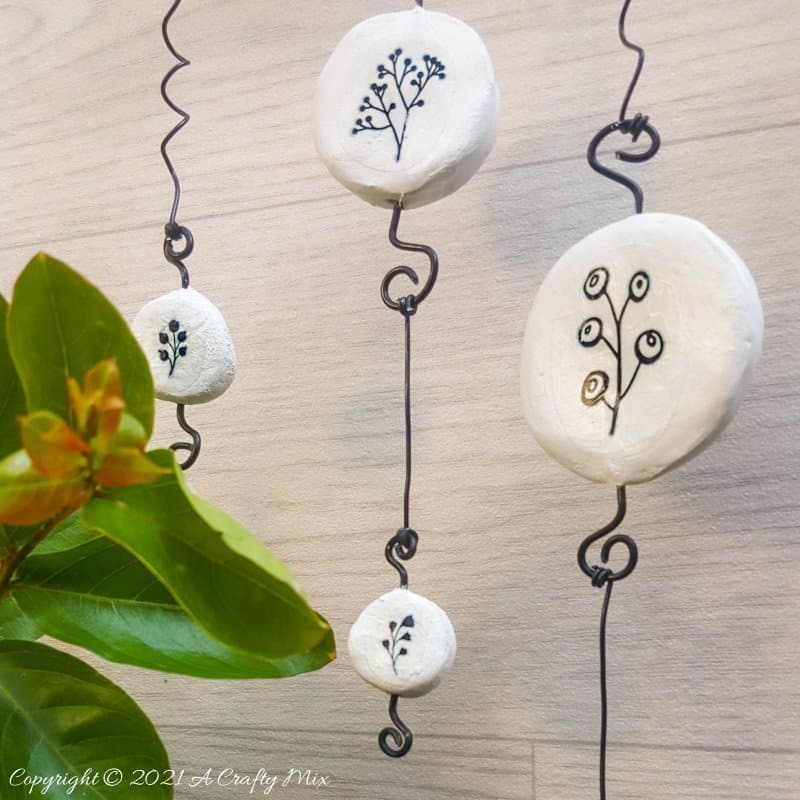
For this clay wall art, I choose botanical doodles.
But real flower imprints or stamps would look just as lovely.
Right, before I share the easy botanical clay wall art, be sure to follow us on Facebook, Twitter, Pinterest, or Instagram. And don’t forget to subscribe so you’ll never miss a post!
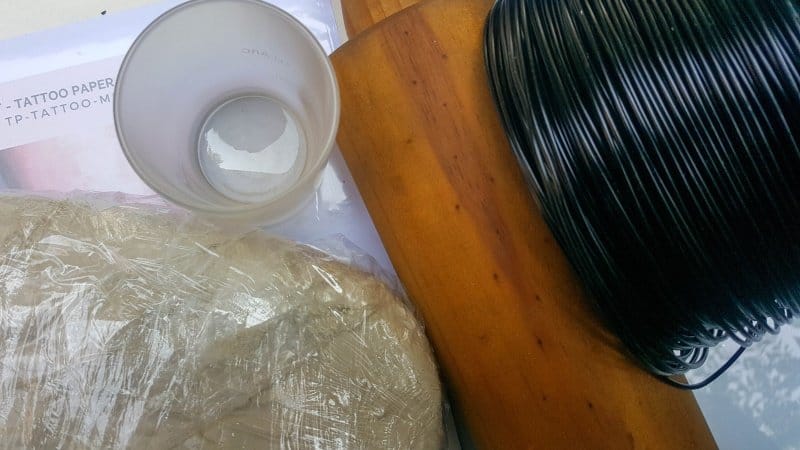
What you need
- Air-dry clay
- Tattoo Paper
- Free doodled botanical prints
- Jewelry Wire
- Fishing line
- Twig, branch, or driftwood
- Shrink Wrap (optional)
Tools
- A rolling pin or bottle
- Glasses in various sizes
- Long-nosed pliers
- Your hands 😉
How to make the botanical clay wall art
The hanging disks are all made with air-dry clay. I love working with the stuff. It’s inexpensive and easy enough for both adults and kids to use. And there’s no baking needed. The sun does all the work. And if there’s no sun, pop them into an air fryer to cure.
Open up your air-dry clay and knead it a little until it’s smooth and soft. Kneading the clay makes it pliable and easier to shape. To stop the clay from sticking to your hands, you can apply a little lotion before the time.
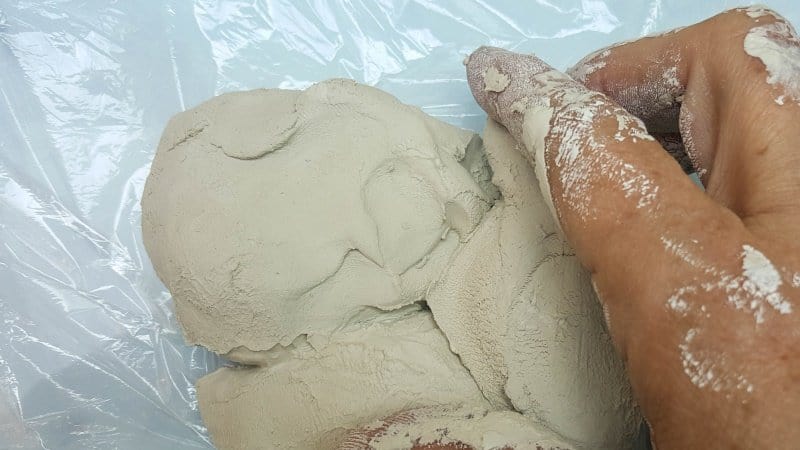
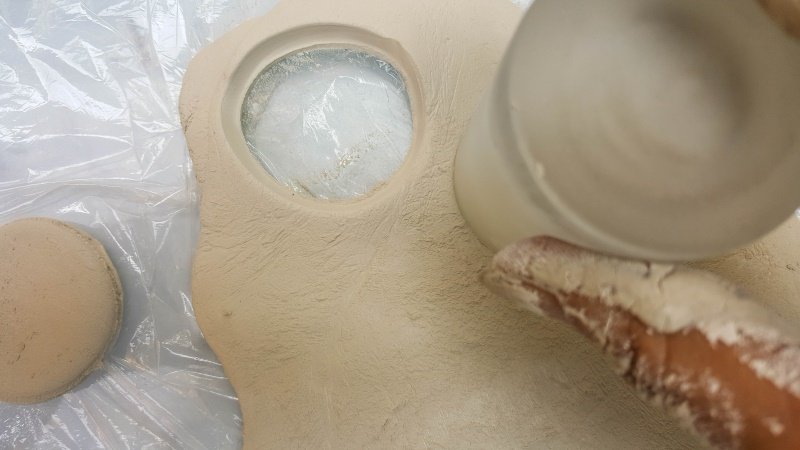
Once the clay is workable, grab a handful and place it on a clean, non-stick work surface. I used a glass cutting board. If you’re using a wooden rolling pin, wrap some cling film around it and roll the clay out.
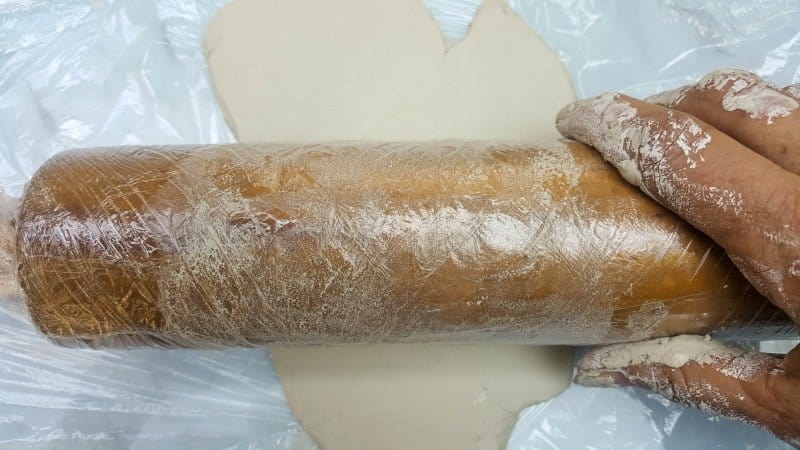
Don’t roll the clay out too thin. About ½ cm or 1/4” is good.
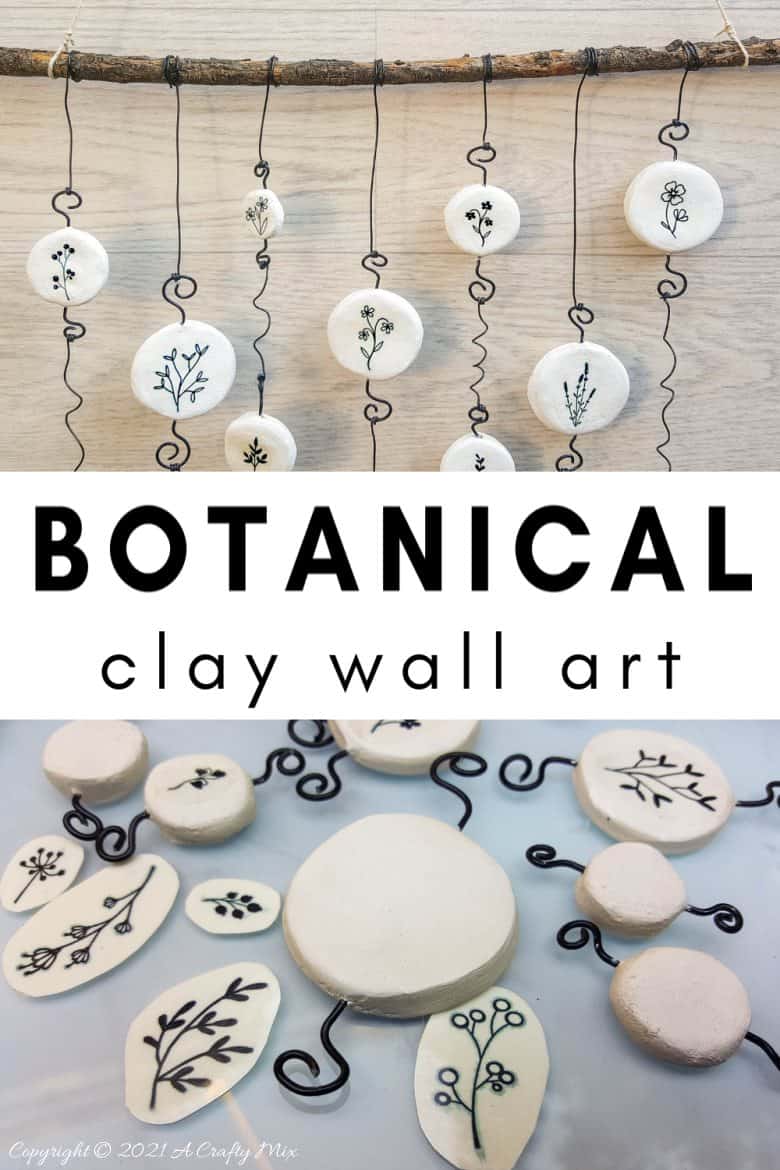
Use different-sized glasses or plastic bottles to “cut” the clay into round discs. BTW, cut a few extra clay circles while you’re at it so you can make these cutting propagation discs.
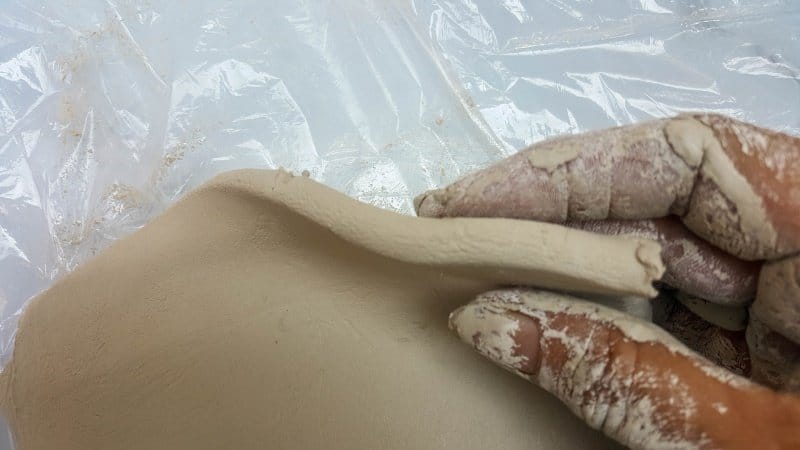
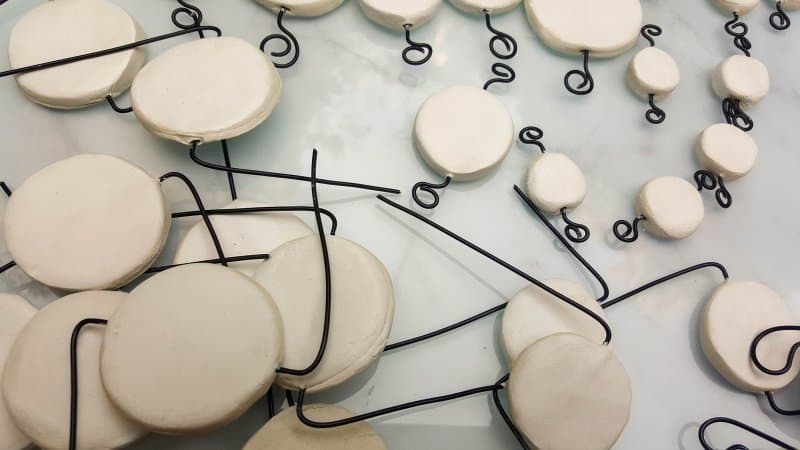
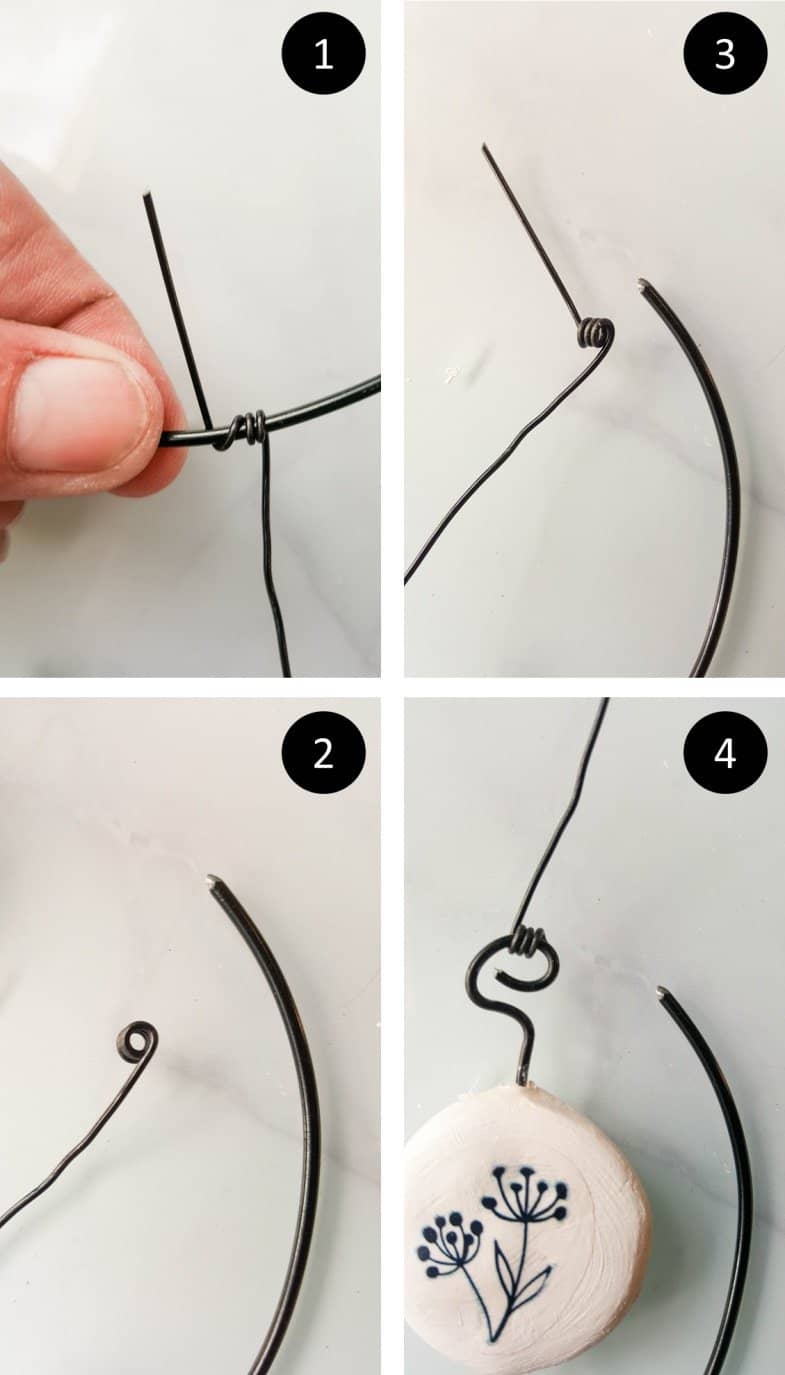
Cut a piece of jewelry wire and insert it into the discs as shown below. We’ll be shaping the jewelry wire in a little bit to make the botanical clay wall hanging.
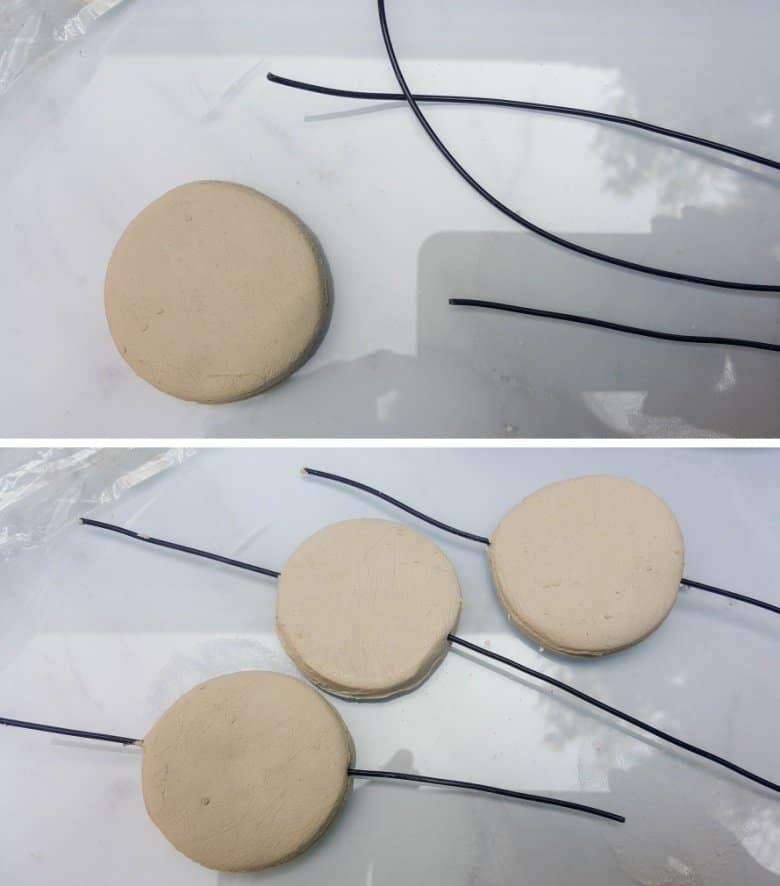
Smooth out any imperfections with a teeny, tiny bit of water and give the metal inserts a quick wipe.
Leave the discs to air dry. Air-dry clay takes a while to dry completely depending on the temperature. I left mine overnight. Make sure to flip the circles over to ensure both sides dry evenly.
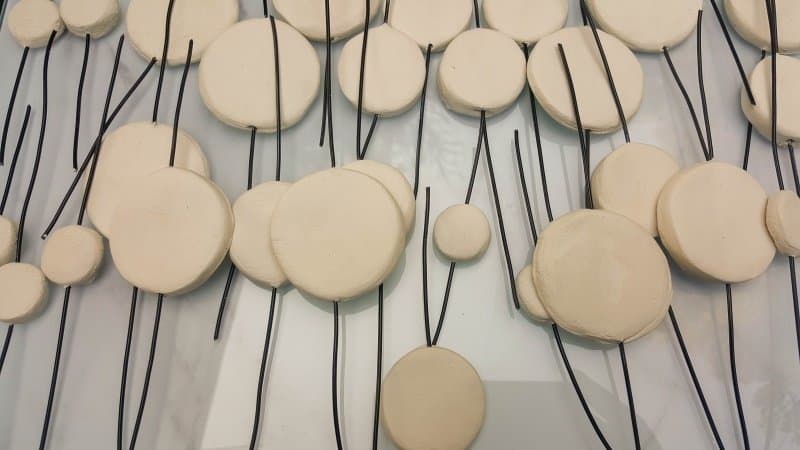
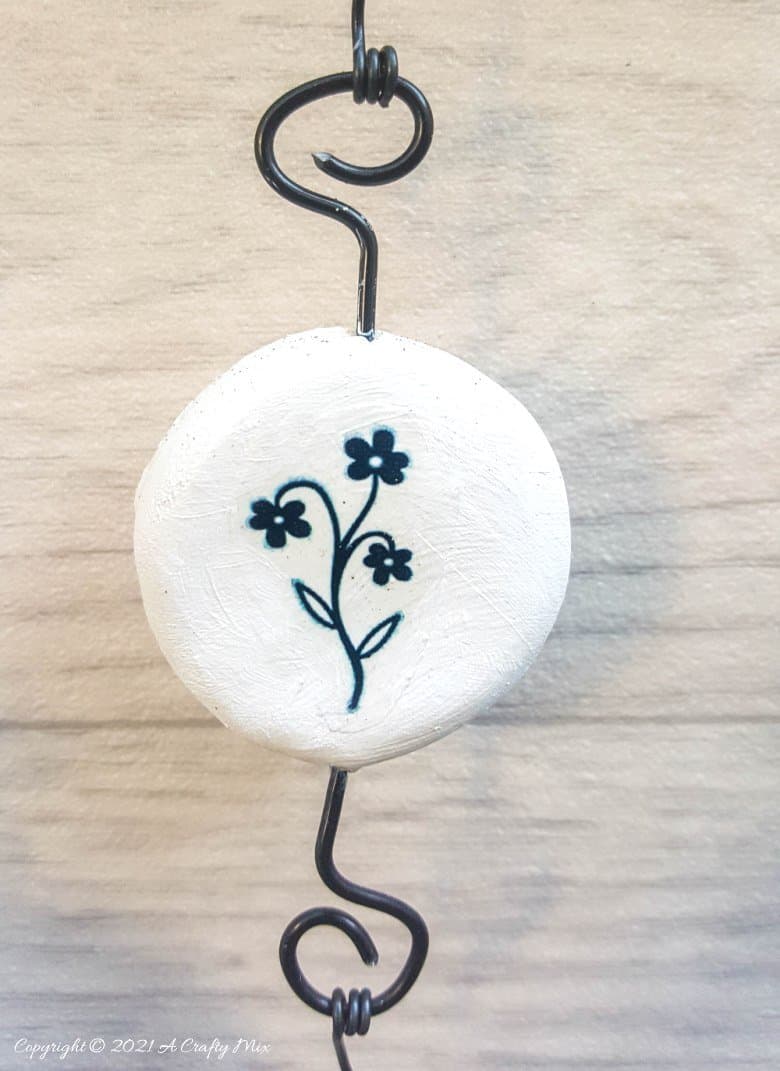
And don’t worry if small cracks appear while they dry. You can fill them later with a mixture of water and clay. Once the clay has cured completely, twist the jewelry wire into twirly wurley shapes as shown below. Trim any excess.
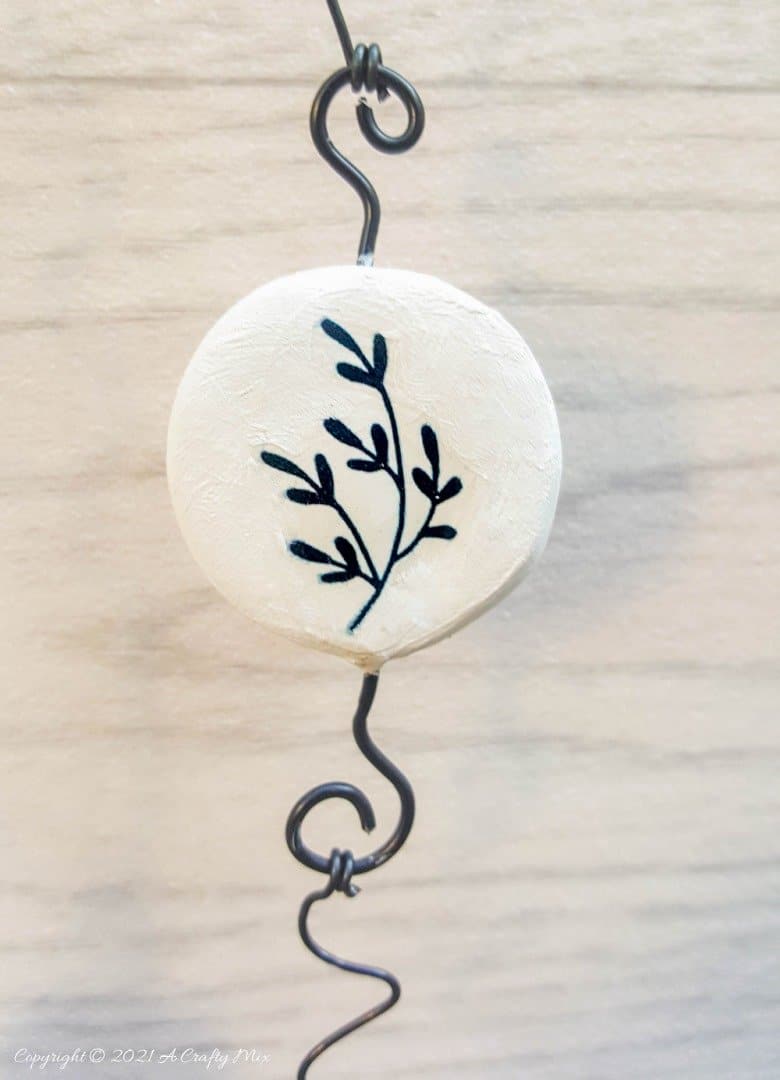
Adding the botanical doodles
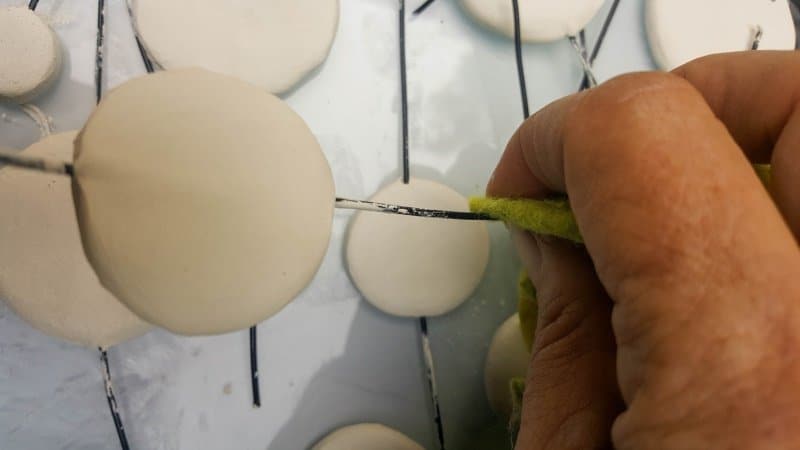
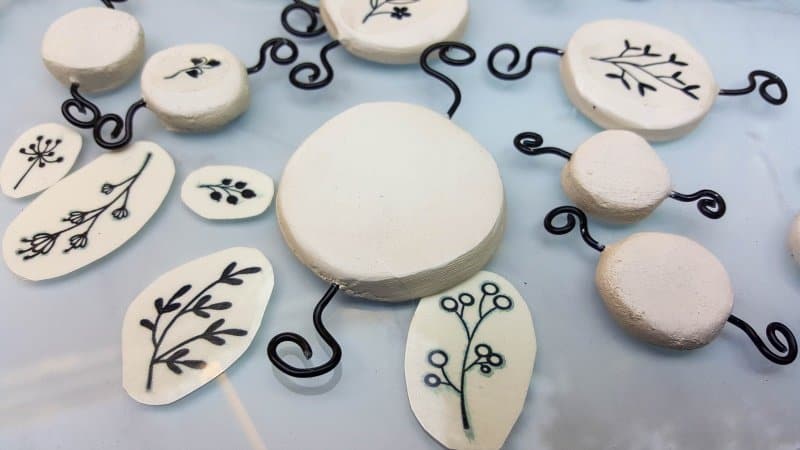
Paint the front of the circles with white acrylic paint. The paint makes the clay a little more waterproof for the next step. While you wait for the paint to dry, print the free doodled botanical images onto tattoo paper. The printable contains 45 different doodles in various sizes for you to use.
Cut the doodles out, being careful not to cut into the tattoo.
Peel off the clear backing sheet and place the image face down on the clay circles.
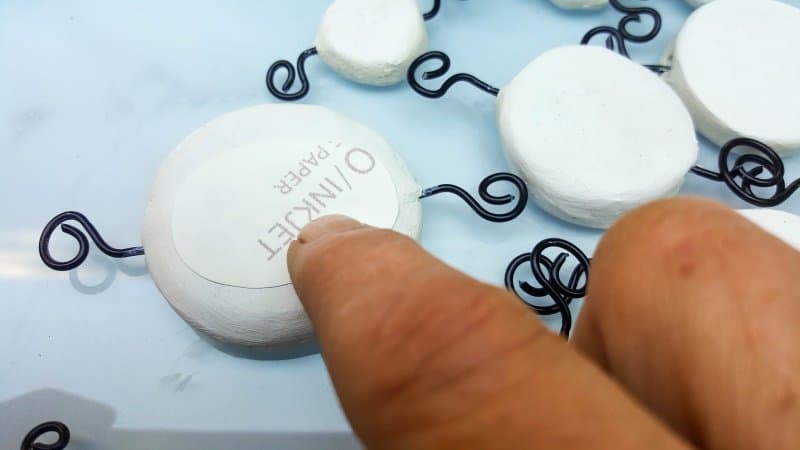
Gently press a damp cloth over the tattoo paper and hold for about 1 minute.
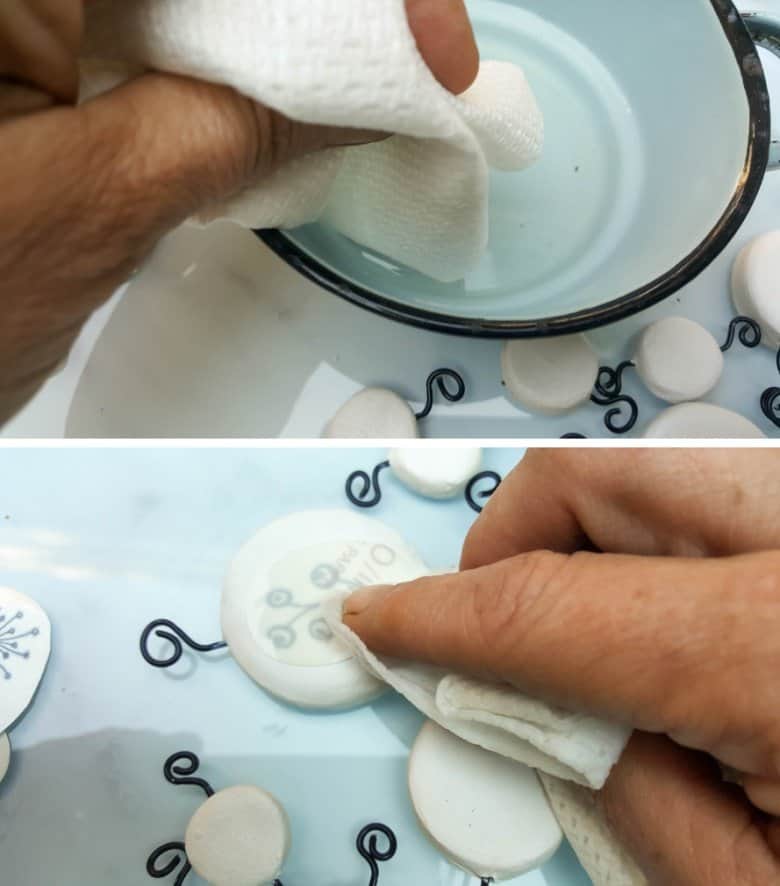
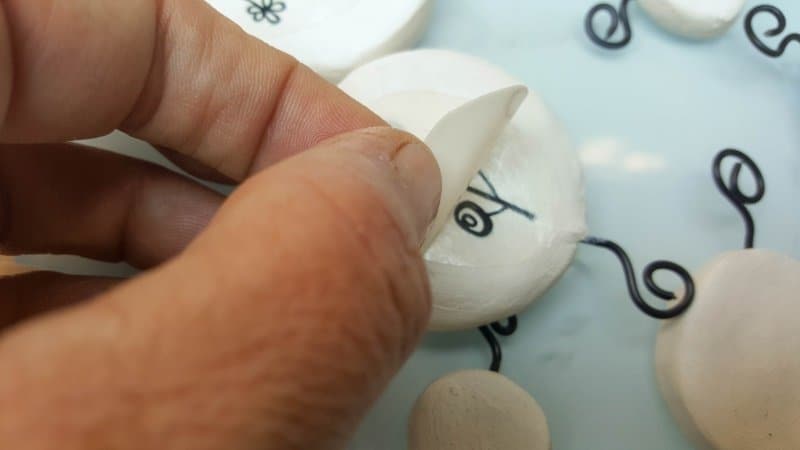
Carefully lift one corner to check if the tattoo has transferred onto the circles. If the image isn’t stuck down properly, place the damp cloth over the paper for a few more seconds. If all looks good, peel the paper off completely.
You may notice a small glossy outline around the botanical doodles which annoyed me terribly. It’s easy enough to fix though. Just use a little bit of acrylic paint to soften the glossy edges. If it doesn’t bug you, skip this step.
Making the wall art
Time to have some fun with those tattooed clay circles and turn them into botanical wall art. Tie a piece of string onto a cut branch or sturdy twig and hang it somewhere. Wrap some jewelry wire around the branch and hang the tattooed clay discs.
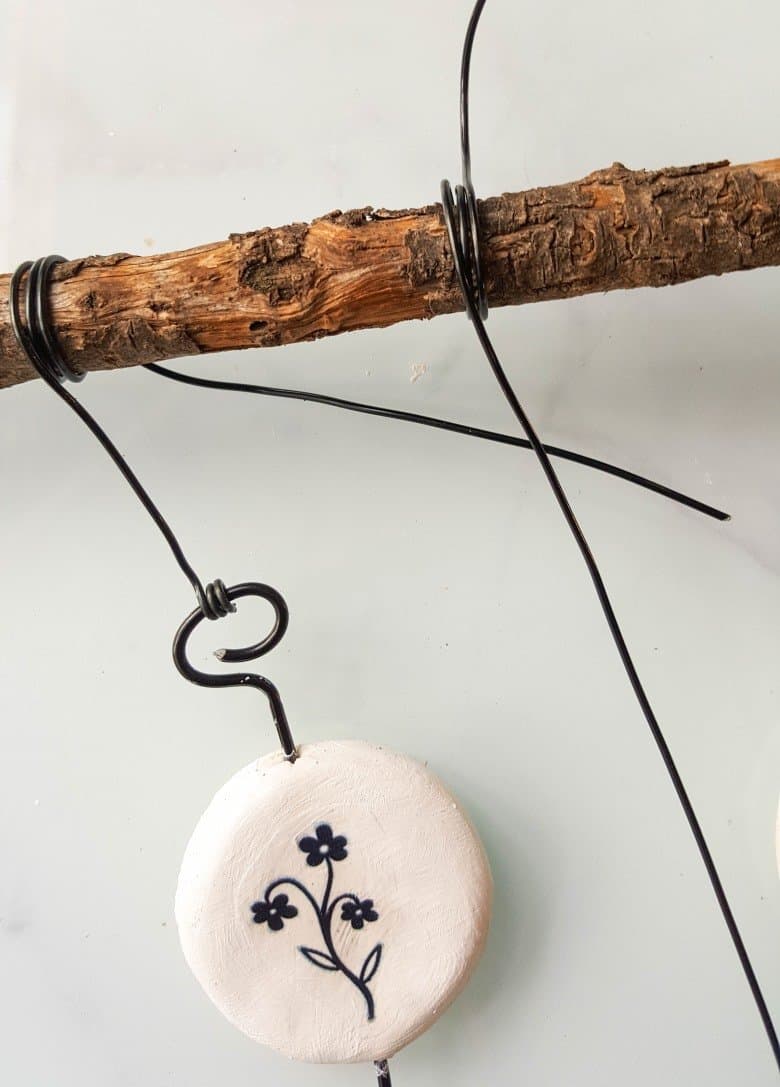
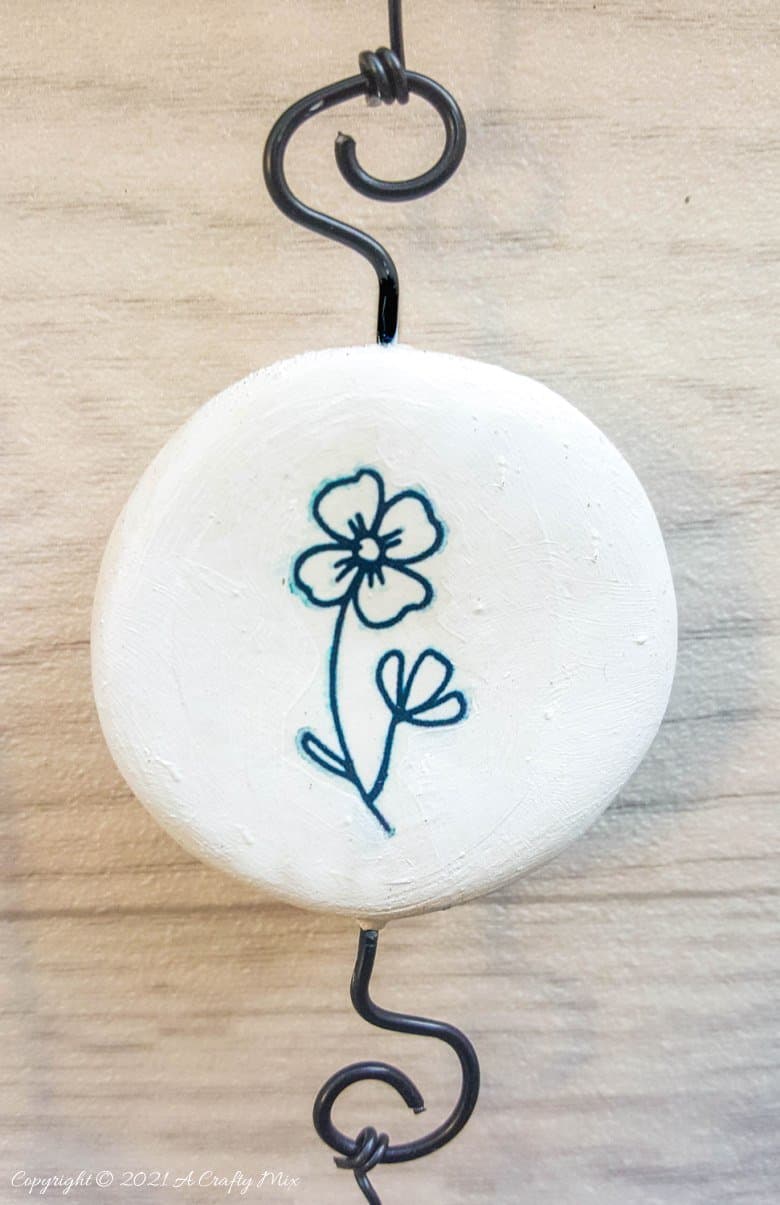
To hang the circles, simply twist the wire around another piece of wire a few times, and then slip the curly wurley bits into the twisted wire.
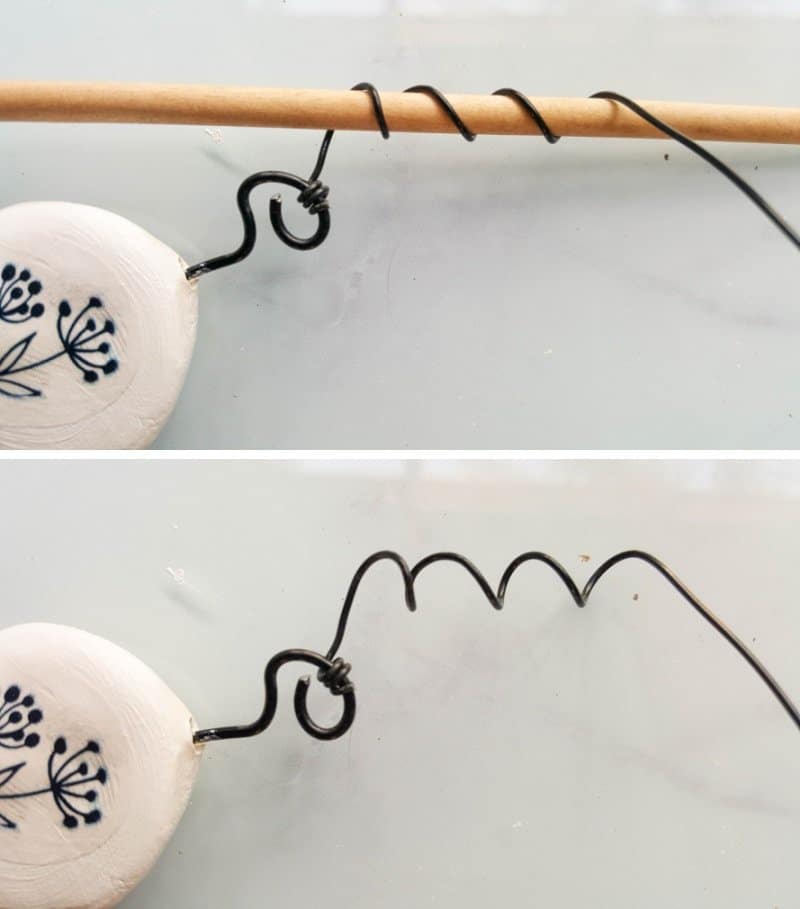
For variety and interest, bend the wire that joins the circles into zig zags or twist the wire around a skewer.
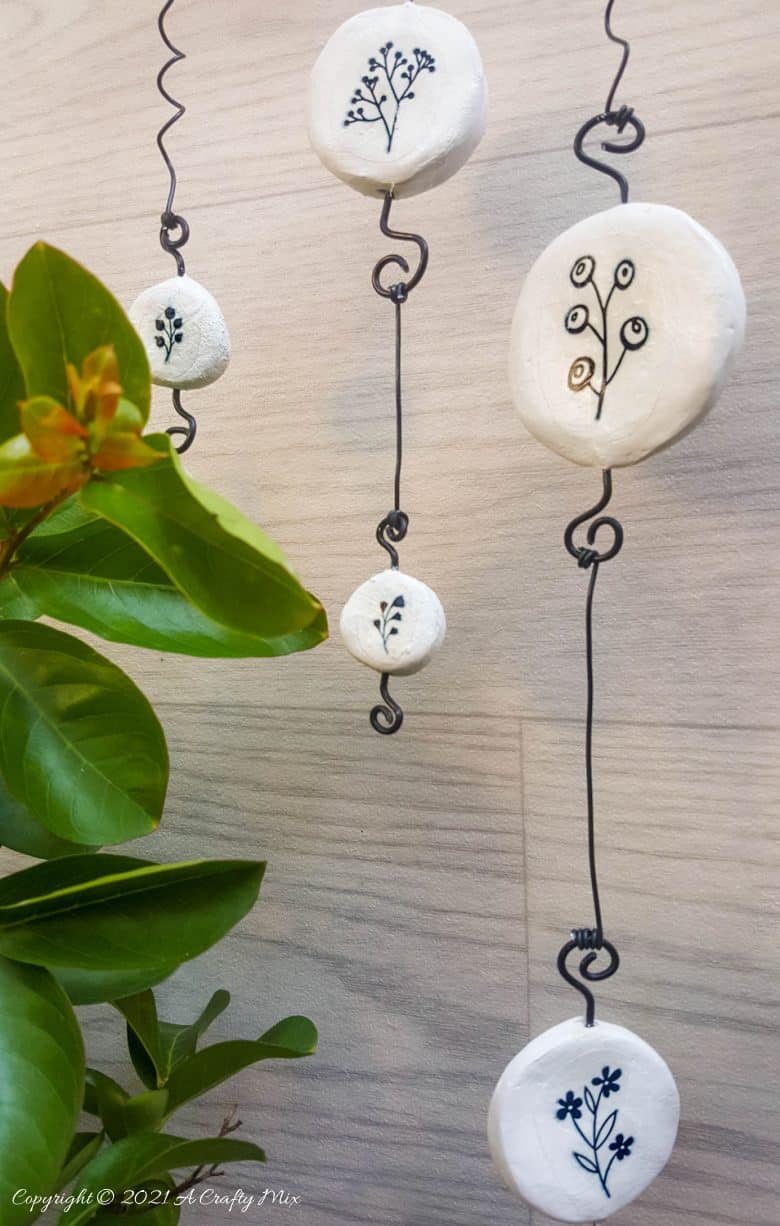
Add more clay discs until you’re happy, and that’s it. Your botanical clay wall art is all done.
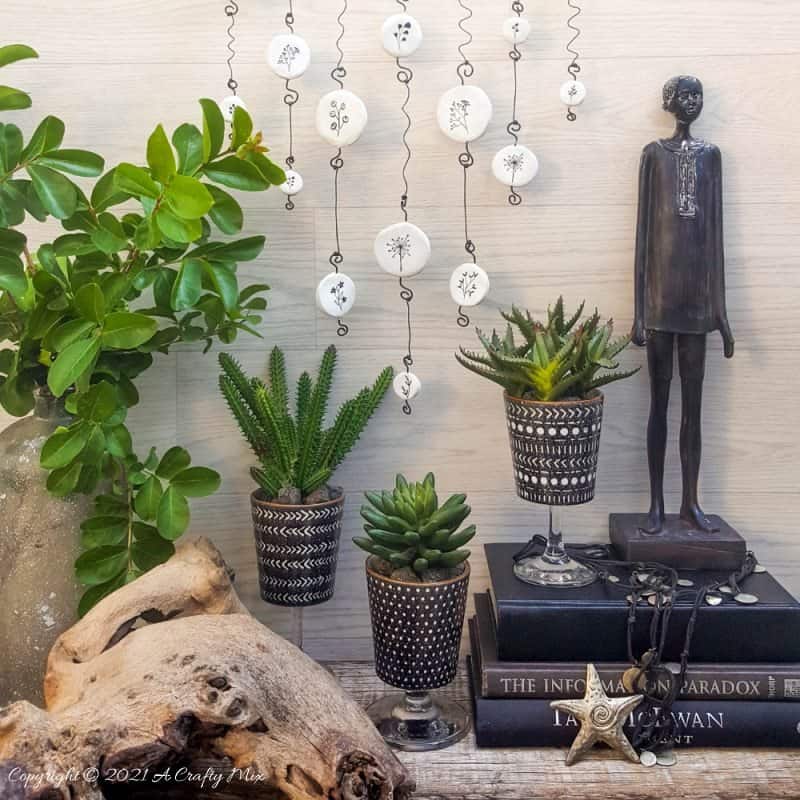
Hang and enjoy.
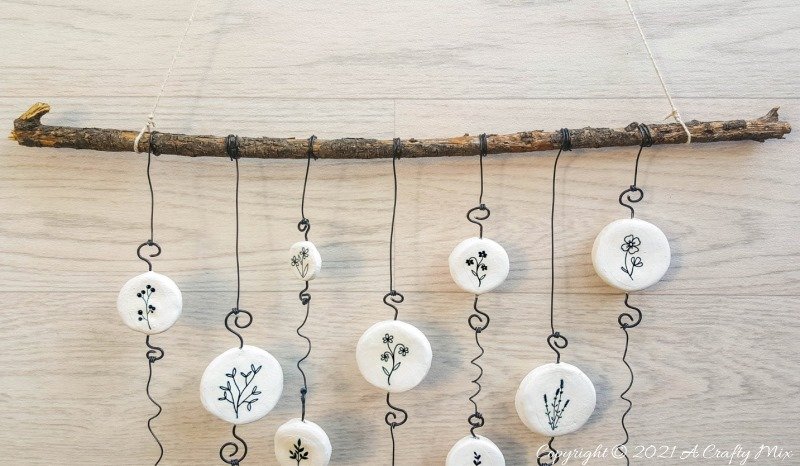
Because the clay discs are joined together with wire, it’s really easy to adjust the spacing between them.

And I love the way the curls and twists add another layer of interest and quirkiness.
I styled the botanical wall art with our repurposed wine glass stem planters, and it’s like they were meant for each other. What do you think?
If you like the idea of creating your own botanical clay wall art, don’t forget to pin it for later.
Sharing is caring
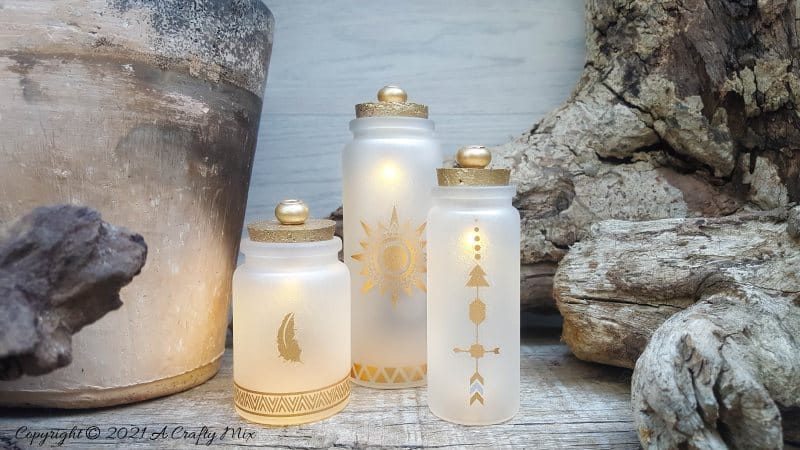
BTW, if you’re not keen to print your own tattoos, we made these beautiful tattooed bottle lights in 20 minutes, using store-bought tattoos.
Oh, and if you’re looking for some of the things we used, we’ve got you covered. Disclosure: Clicking on the links below, means we may receive a commission from Amazon. But don’t worry it won’t come out of your pocket, and it helps us make more amazing crafts to share with you 😉
Botanical Clay Wall Art


Or if you prefer to buy rather than DIY, then maybe these beauties will appeal.

And as always, wishing you a wonderful, crafty week filled with lots of love. Thank you for popping in for a visit.

Last update on 2026-06-03 / Source Amazon Affiliates