I’m always racking my brain for creative ways to reuse throw-away stuff. And I’m happy to report that I found a really fun way to upcycle some of the plastic bottles I’ve been saving. With the help of a few simple craft store supplies, they can be turned into these festive bells.

Everyone does a double take when I tell them what they’re made from. I love them.
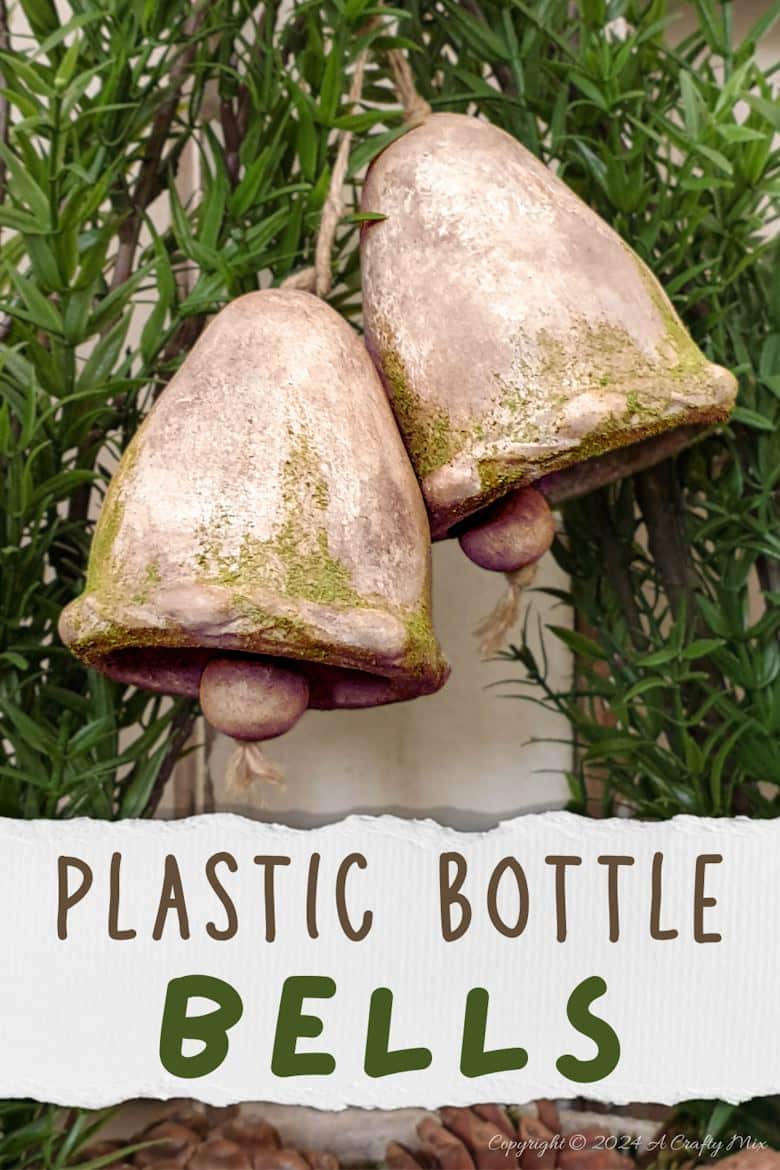
My plastic bottle bells make such a charming, inexpensive addition to our festive décor. The only thing they don’t do is go ting-ting. It’s more like a gedunk-gedunk. But I’m okay with that.

I may make a few more (I’ve got more bottles saved up) and use this tutorial to give them a metallic look. We’ll see. Anyways, in this easy craft tutorial, I’ll show you how to upcycle plastic bottles into festive bells. But, before we get there, do me a favour and follow us on Facebook, Twitter, Pinterest, or Instagram so you never miss a post! And don’t forget to subscribe to our monthly newsletter.
What you need
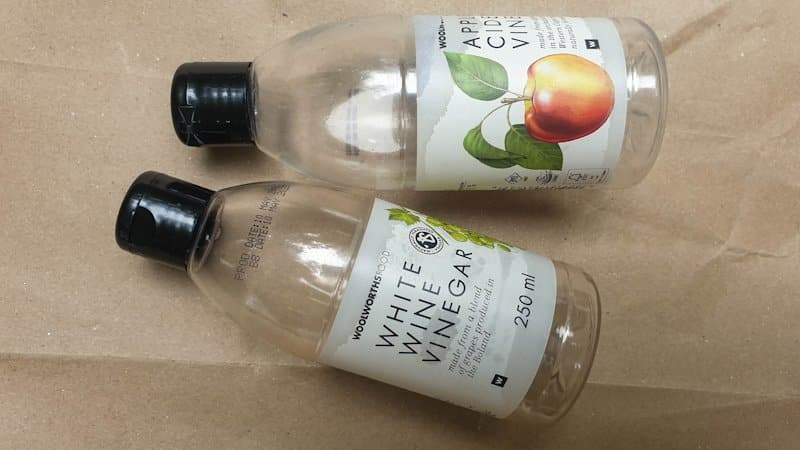
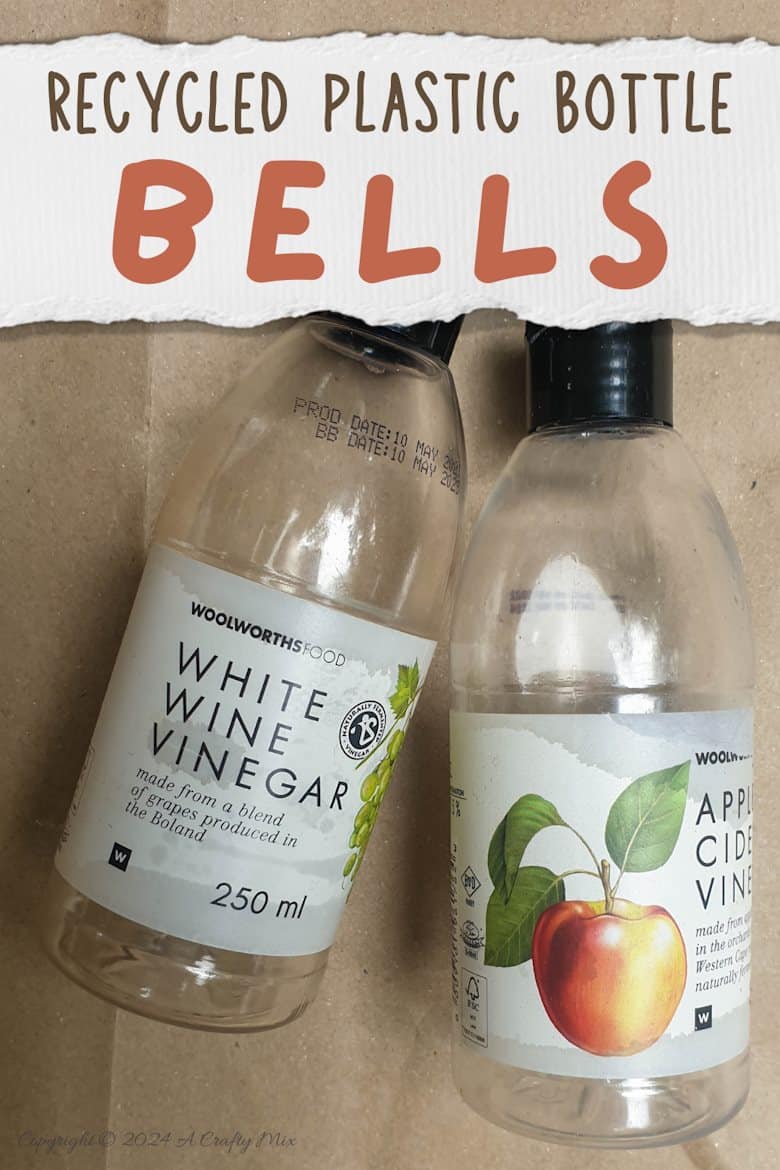
The main ingredients for this project are plastic bottles. I used small vinegar bottles, but any plastic container with a elongated, rounded shape should work. Think shampoo bottles, conditioner, or soda bottles.
You’ll also need:
- Air dry and/or foam clay
- Texture paste (homemade recipe here)
- Paint
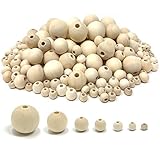
- Round wooden beads
- Polystyrene (Styrofoam) eggs or balls
- Twine
- Hacksaw or sharp craft knife
- 80 – 100 grit Sandpaper
- Silicone trim mold (optional)
How to upcycle plastic bottles into festive bells
Wash the bottles in warm soapy water and remove any labels. Leave to dry.
Shaping the bottles into bells
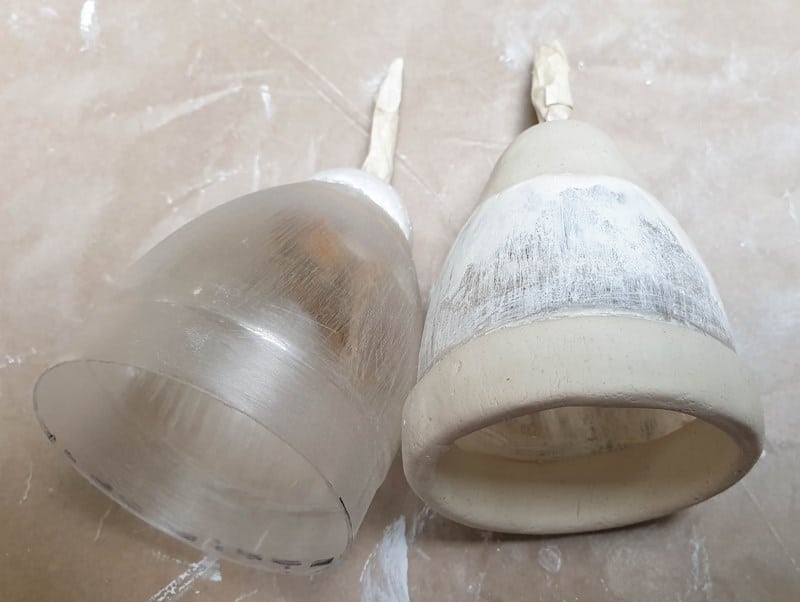
The first thing we need to do is turn the bottle shapes into bell shapes. Remove the top part where the cap screws on with a hacksaw or sharp craft knife. Use the shape of the bottle as a guide to mark and cut the body. My bottles are short, so I cut them roughly in half.
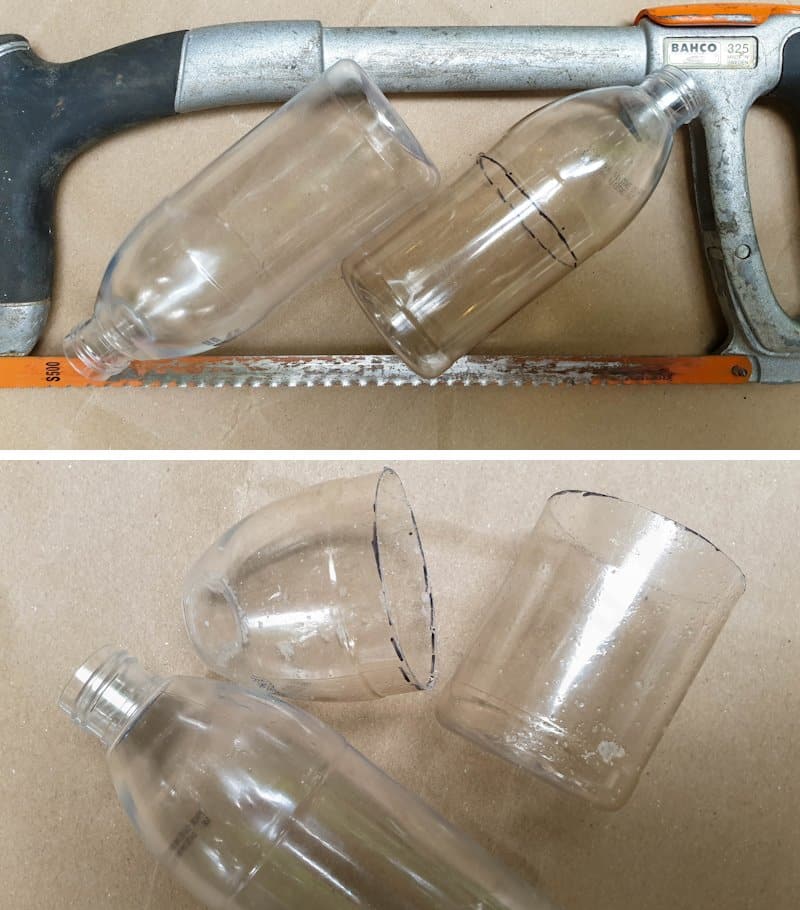
Don’t throw the off-cuts away. They make great clay cutters and paint-mixing jars. Smooth out the cut edges and roughen up the bell shapes with sandpaper.

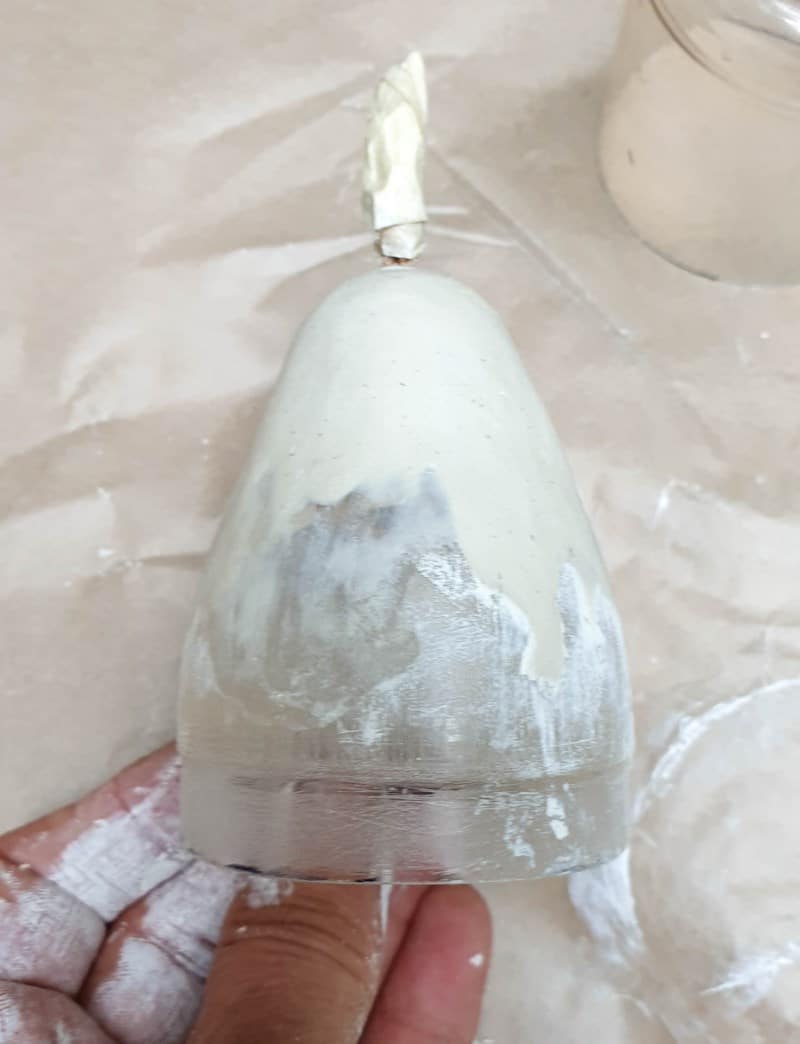
I used a small polystyrene (Styrofoam) egg to create a dome shape at the top of the bottle.
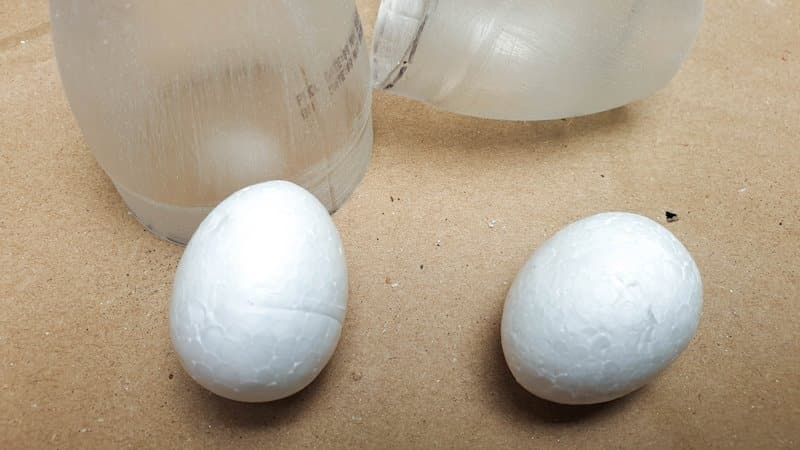
Polystyrene balls would work too; just cut them in half. If you can’t find eggs or balls, you can use clay to make a domed top for the plastic bottle bell.

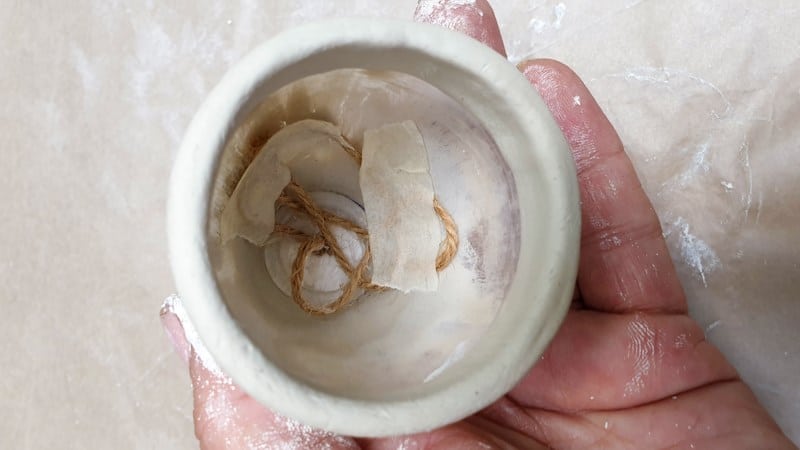
Poke a hole in the middle of the cut polystyrene and thread a length of twine through the hole as shown below.
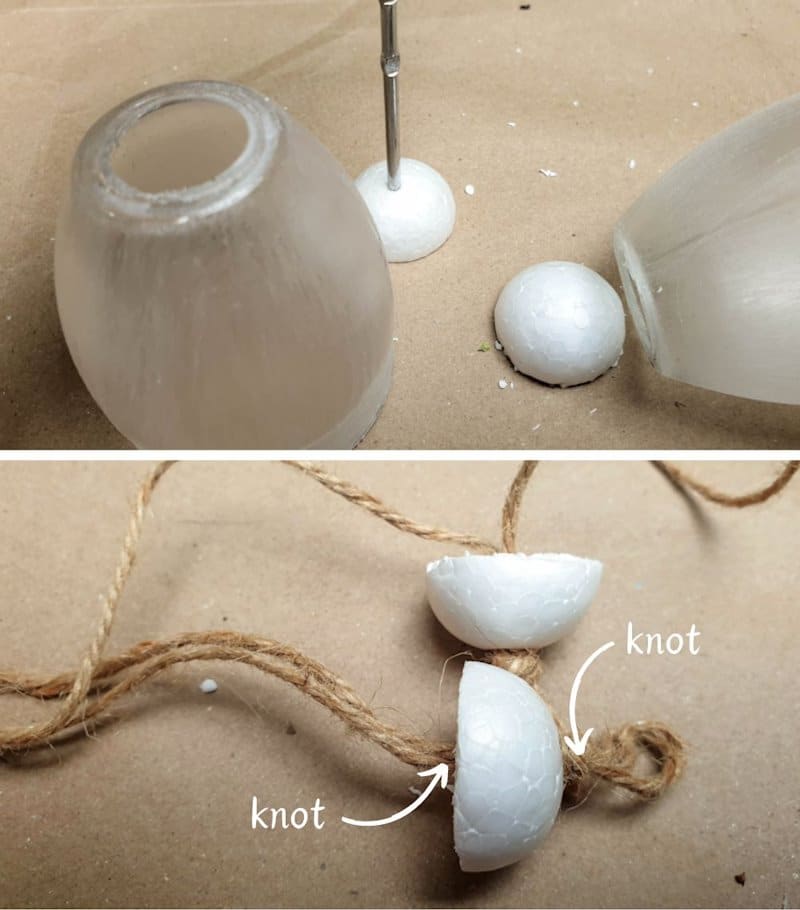
Glue the polystyrene shapes to the top of the bottles and tuck the twine safely inside the bell shape. That way it won’t get all yucky when we move onto the next step.

Disguising the plastic bottles
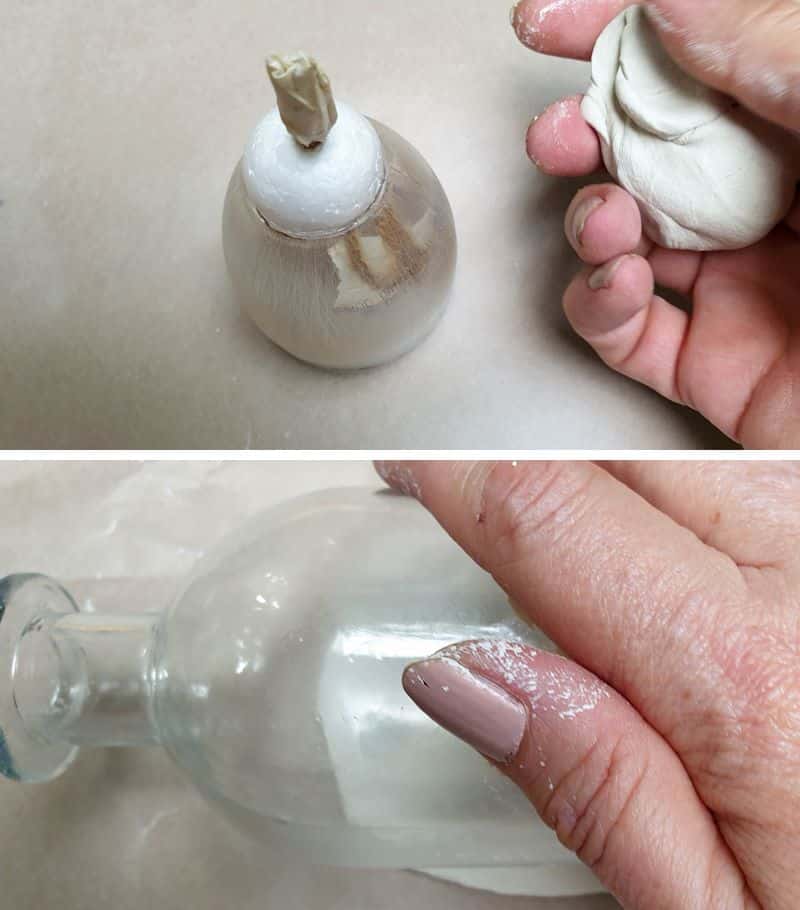
To disguise both the plastic and the polystyrene, I covered my recycled bells in air dry clay.
Knead the clay and roll it out.
Cut a circle using the leftover bottom of the plastic bottle.

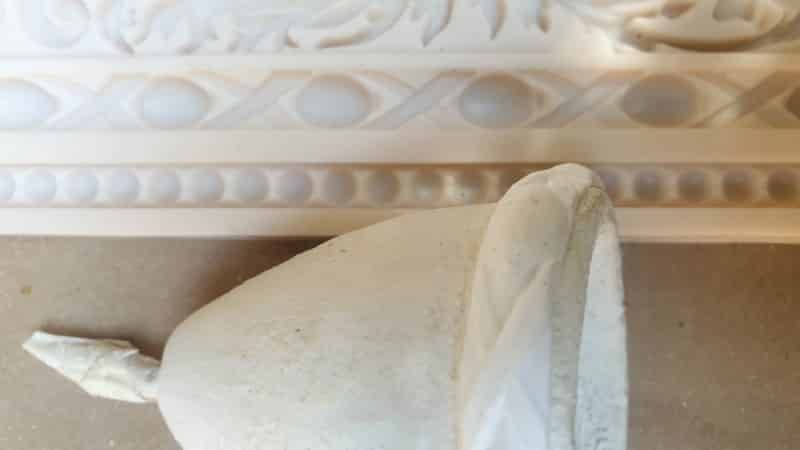
Make a slit in the clay circle and wrap it around the top of the bell shape.
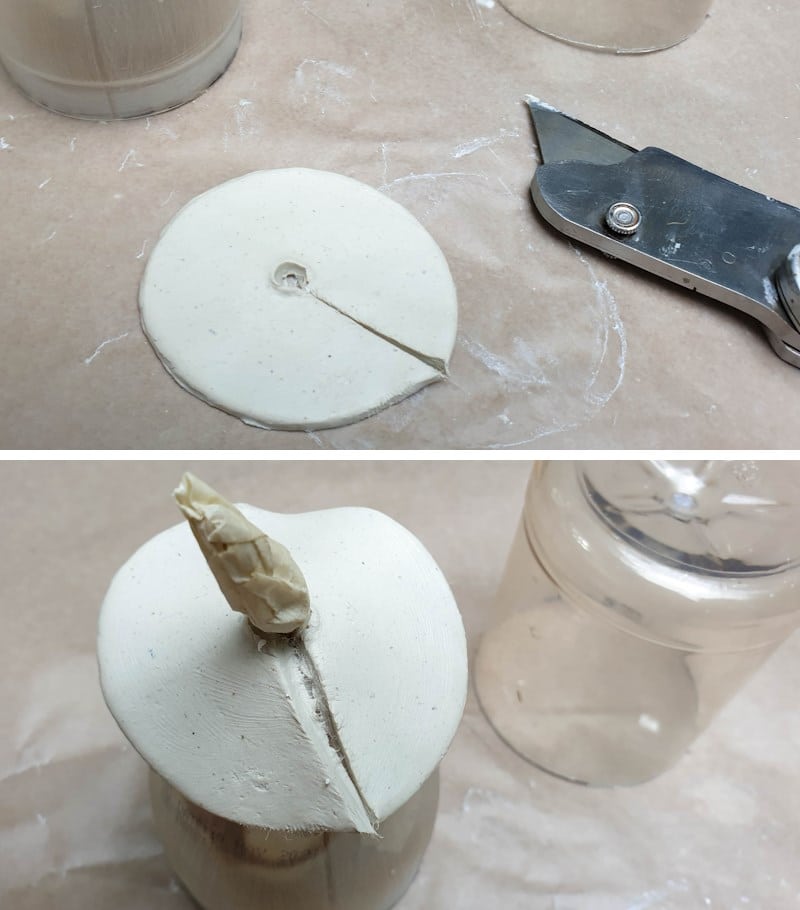
Overlap the cut edges and remove any excess. Smoosh the clay around the top of the bell shape.
Wrap a rolled-out strip of clay around the bottom edge to bulk it up a little.
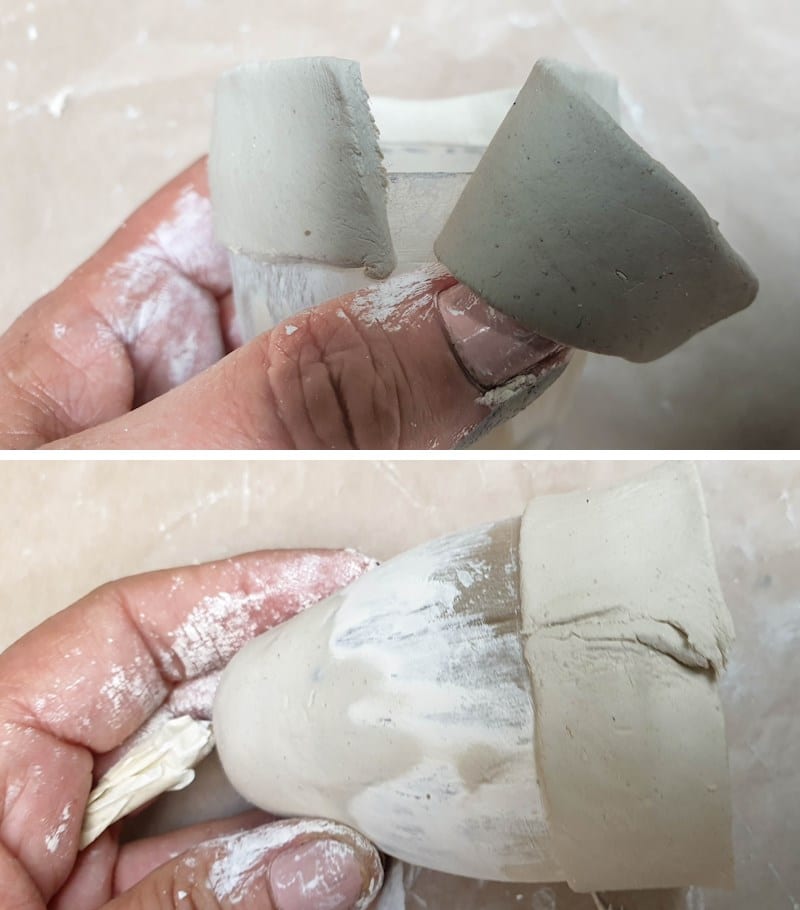
Fold the strip around the edge.

Smooth out the join with a little water and leave to dry.
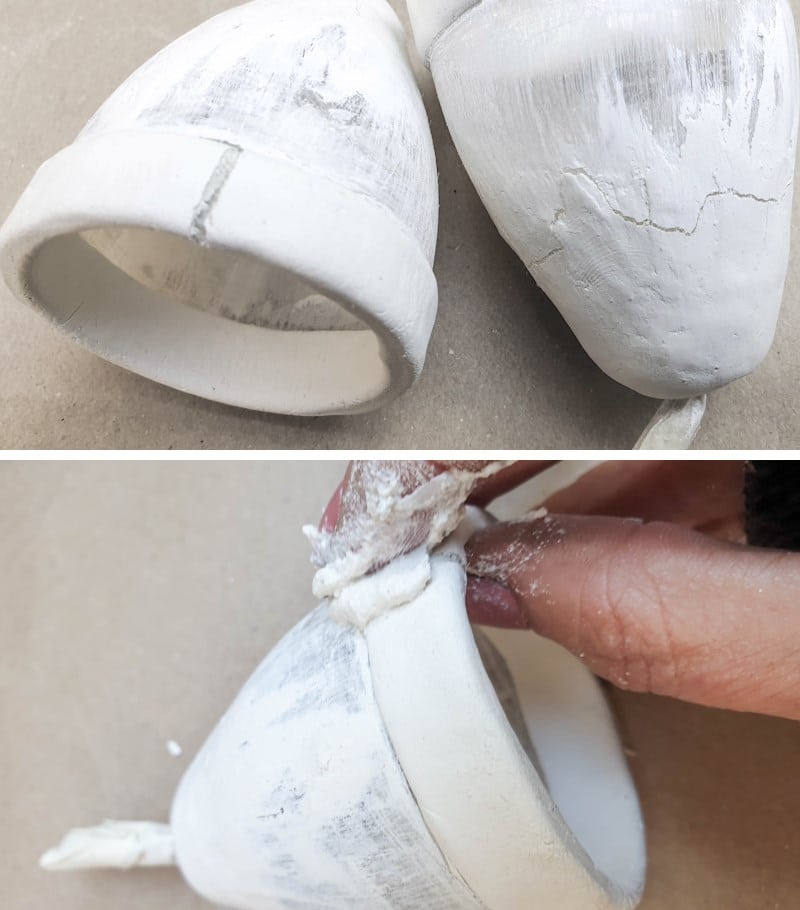
Air dry clay tends to shrink while it dries so there’ll probably be some cracks. They’re easy enough to fix. Just grab a small ball of clay and smoosh it into the cracks.
Embellishing the plastic bottle bells
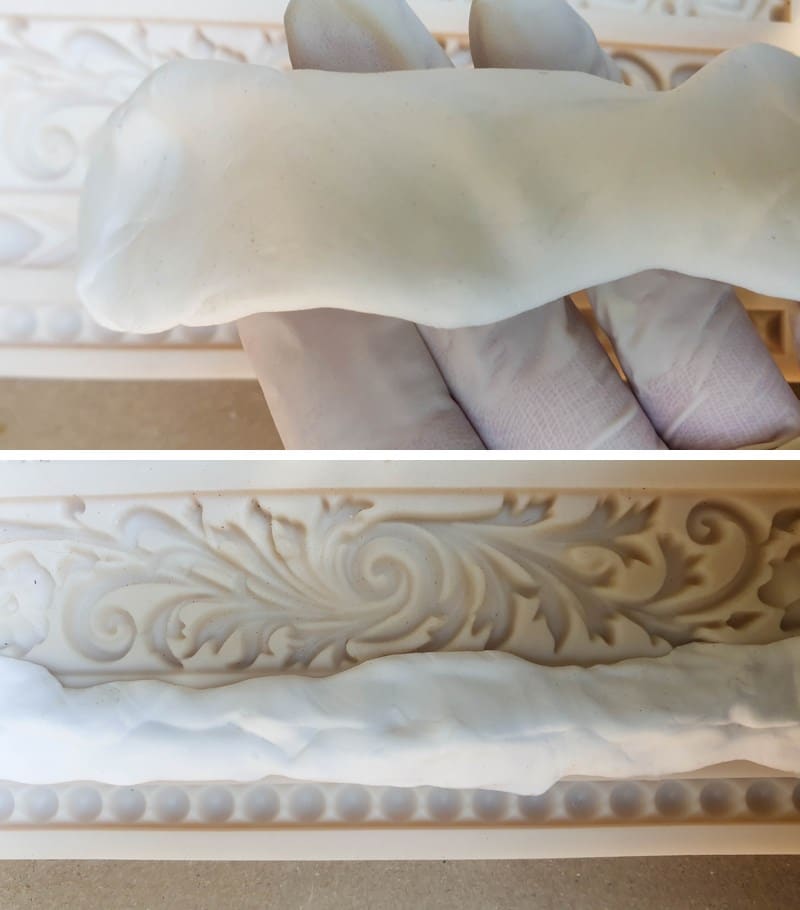
This part is optional, but it does add a little something special to the end result. If you have one of those silicone cake molds you can use foam clay to embellish the plastic bells. I added a trim to mine.
Knead the clay and roll it into a long worm. Squish the worm into the silicone mold.
Use a sharp knife to trim away the excess. The easiest way to do that is to cut and roll as you go.
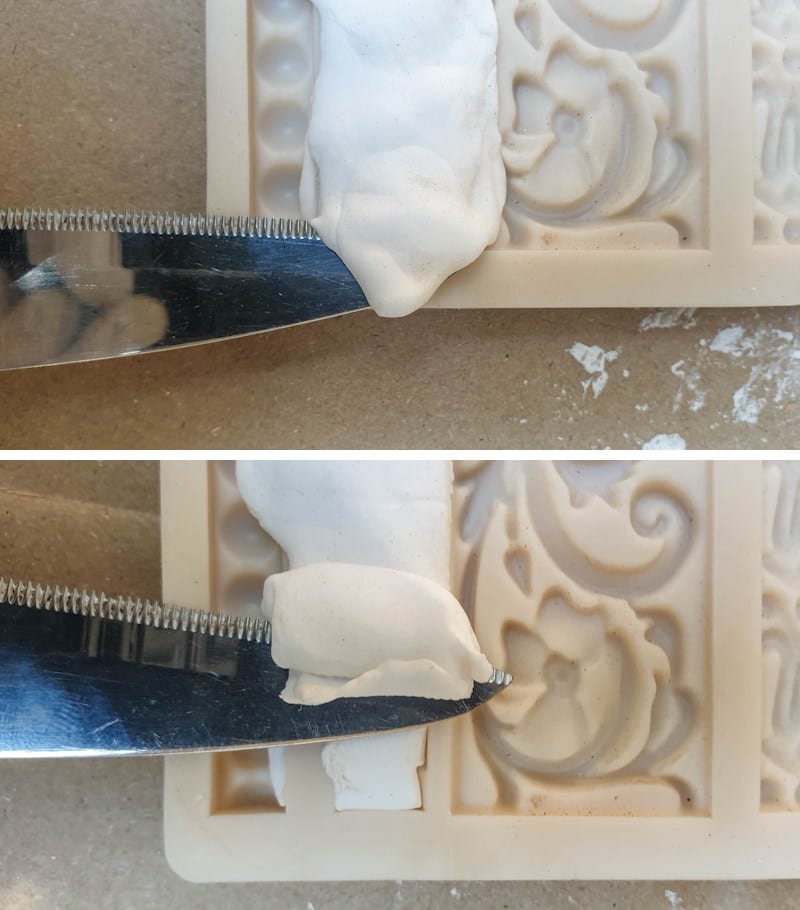
Does that make sense? I hope so. Foam clay is very forgiving so if it does lift out of the mold, you can just smack it back down again.
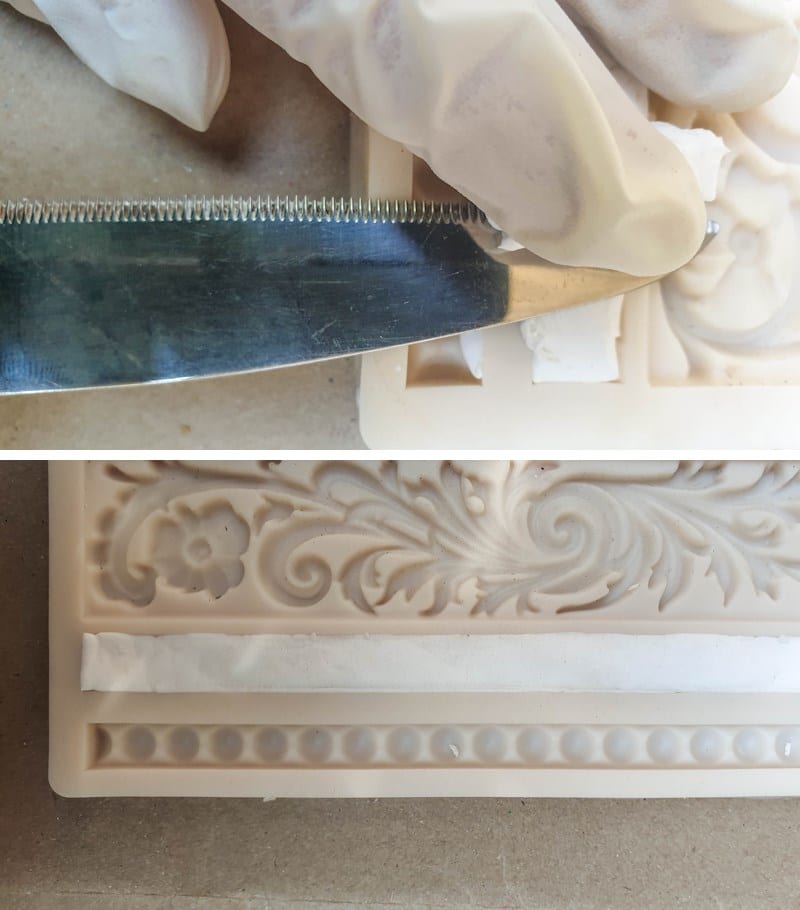
While the clay is still wet, remove it from the mold.
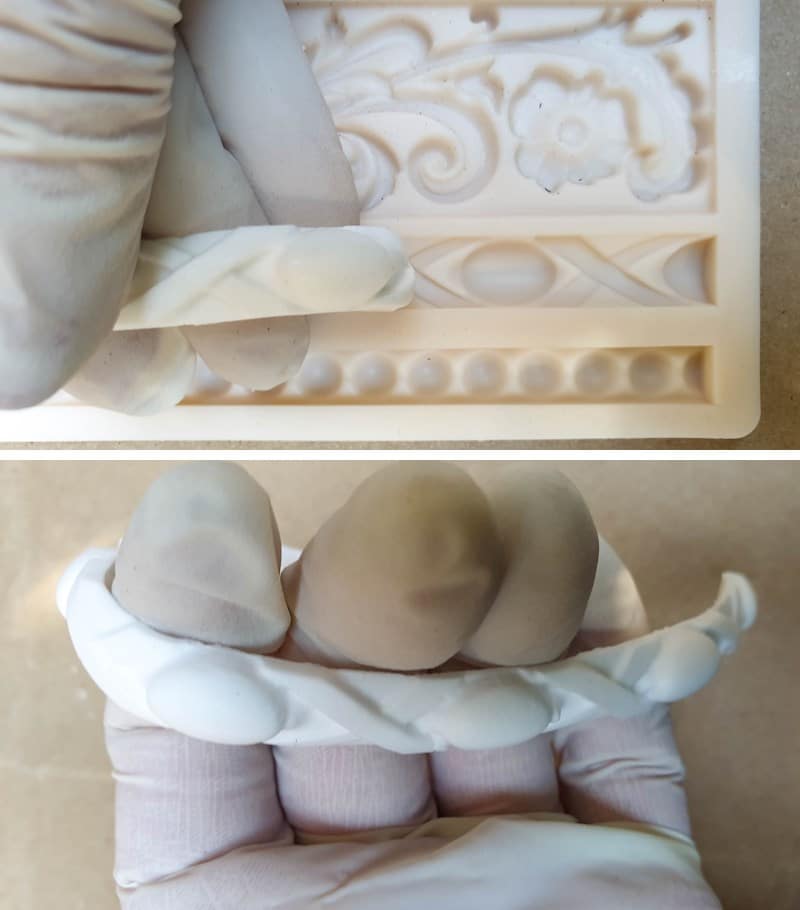
Wrap the trim around the bottom of the recycled bottle bell.

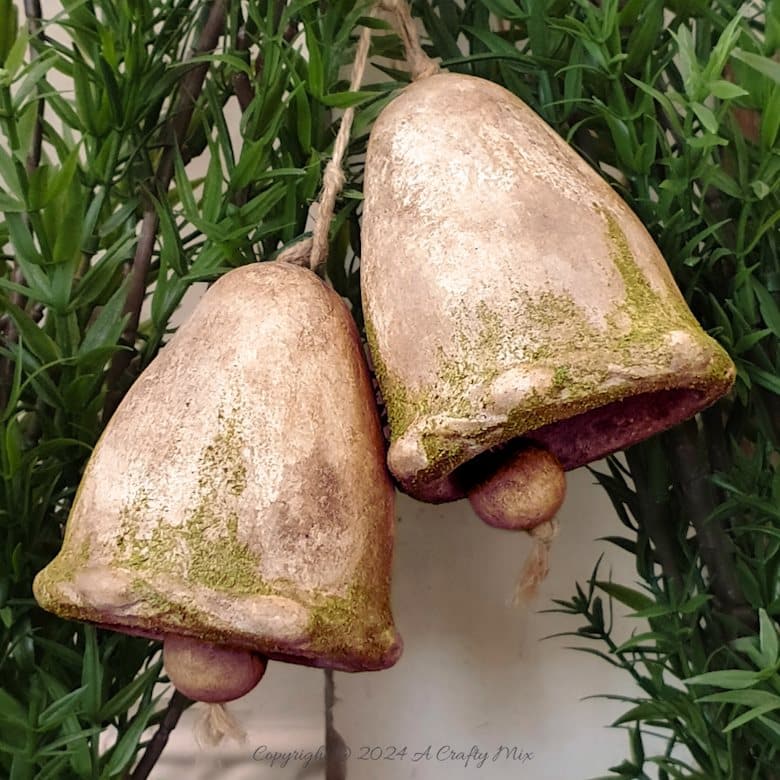
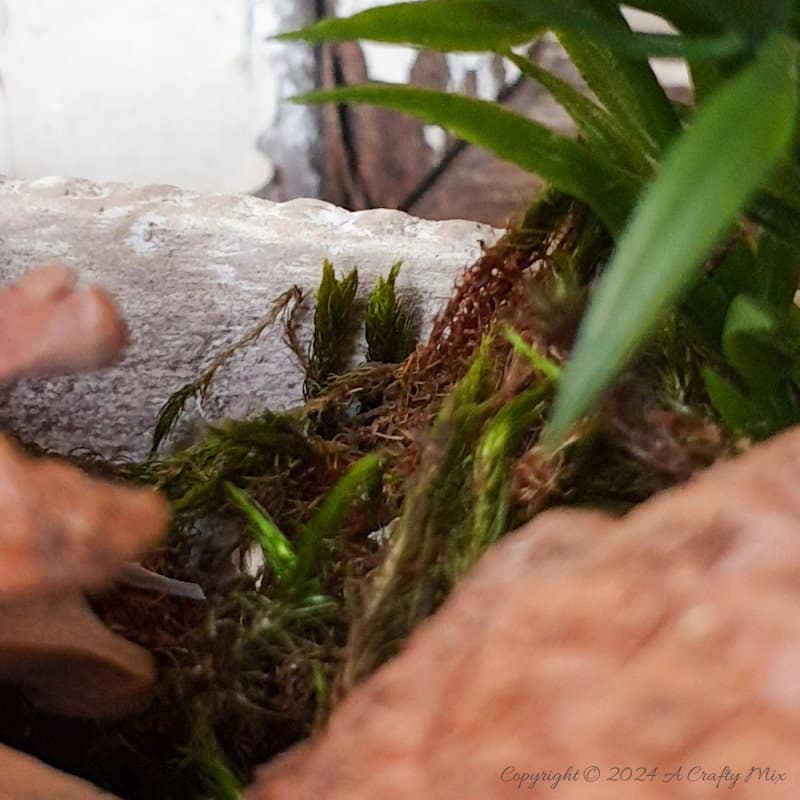
Paint the bells to suit your décor. I used some of our homemade texture paste mixed with garden soil to dress mine up. You can see how it’s done in this stone planter tutorial. Or you can use this terracotta paint technique if you want something a little more warm and earthy. Oh, and I added a little grated green florist foam around the bottom for a mossy look. If you don’t have any florist foam, you can use finely grated green herbs instead. Hang a wooden bead or clay ball inside the bell, and you’re done.

I’m so happy with how my upcycled ding dongs turned out. They look lovely grouped together, and no one would ever guess that they started as plastic bottles.
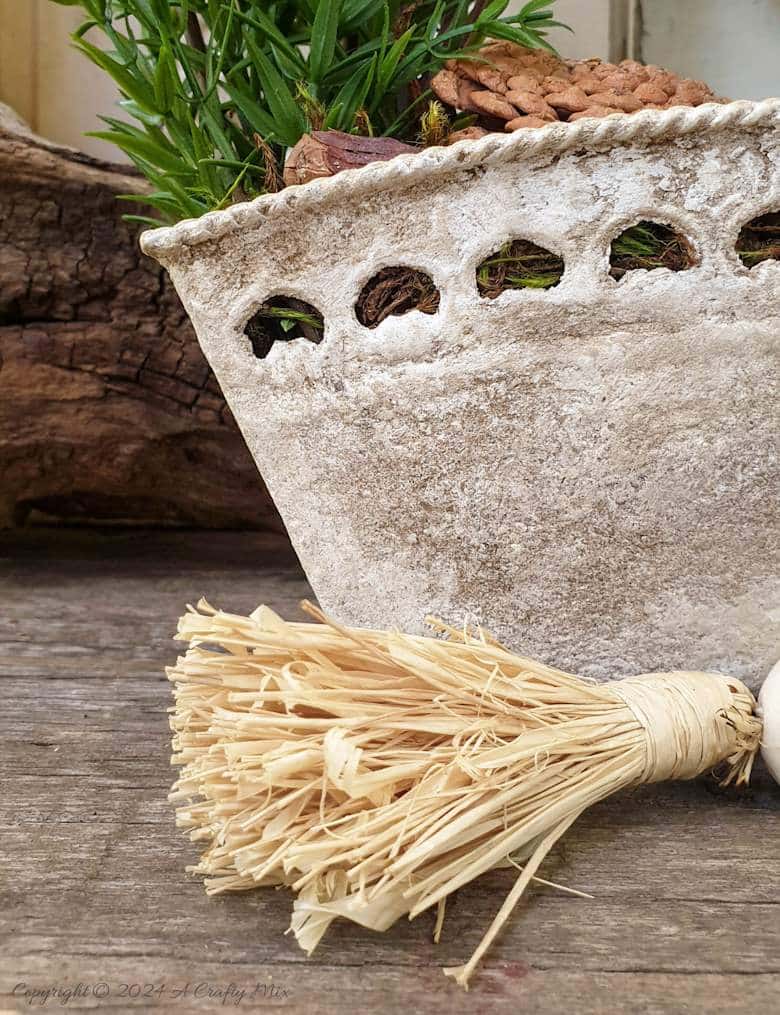
I hung mine from a bunch of branches that we tied together to resemble a Christmas tree and popped everything into an old planter with a rusty bottom.
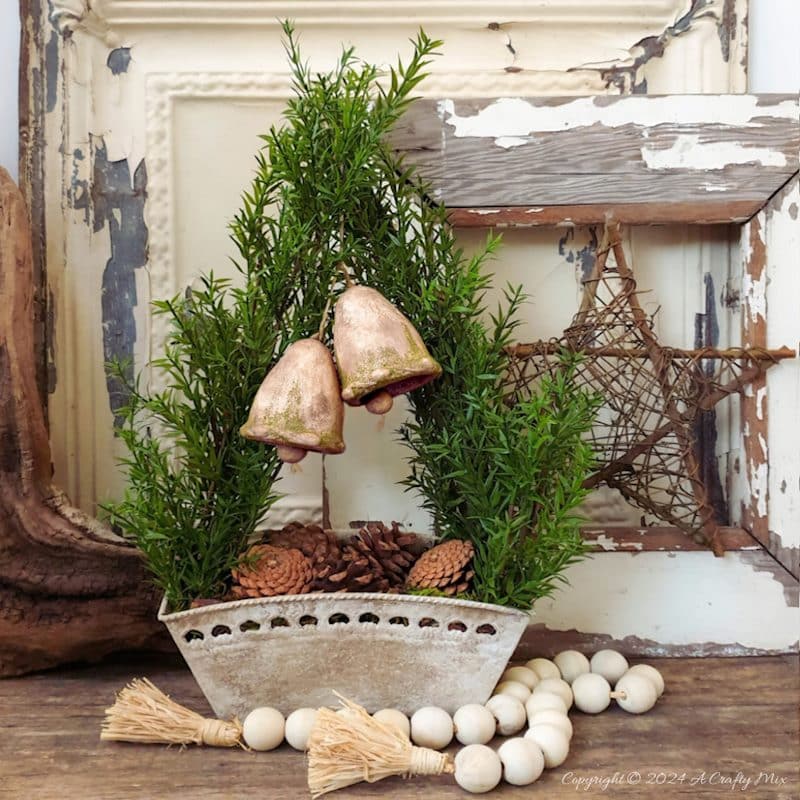
The planter has been dolled up with leftover, soil-enhanced texture paste to give it a new lease on life.
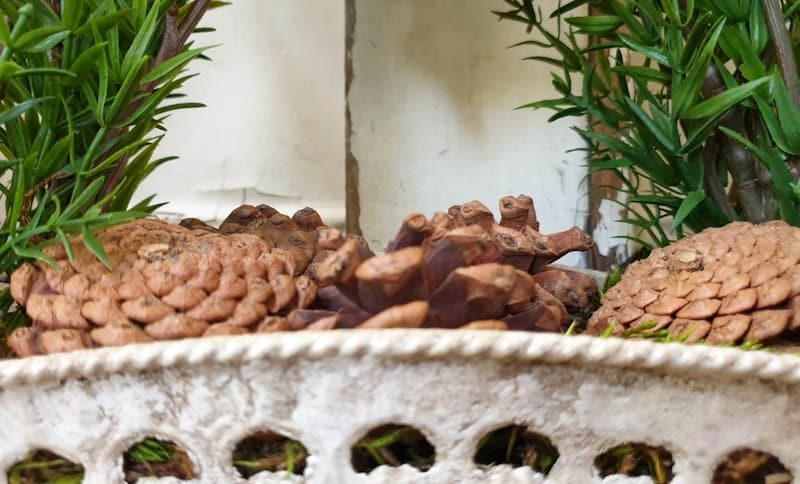
And filled it with pinecones and moss.
Simple, easy, and inexpensive. Just the way I like it. What do you think? Do you recycle your plastic waste into something festive for your home?
If you like the idea of upcycling plastic bottles to make bells, don’t forget to pin the tutorial for later
Sharing is caring
Pssst, did you know you can use plastic bottles to make an adorable gothic witch for Halloween? Oh, and if you’re looking for some of the things we used, we’ve got you covered. Disclosure: Clicking on the links below means we may receive a commission from Amazon. But don’t worry it won’t come out of your pocket, and it helps us make more amazing crafts to share with you 😉


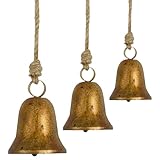
And if you prefer to buy rather than DIY.


And as always, wishing you a wonderful, crafty week filled with lots of love. Thank you for popping in for a visit.

Last update on 2026-06-03 / Source Amazon Affiliates