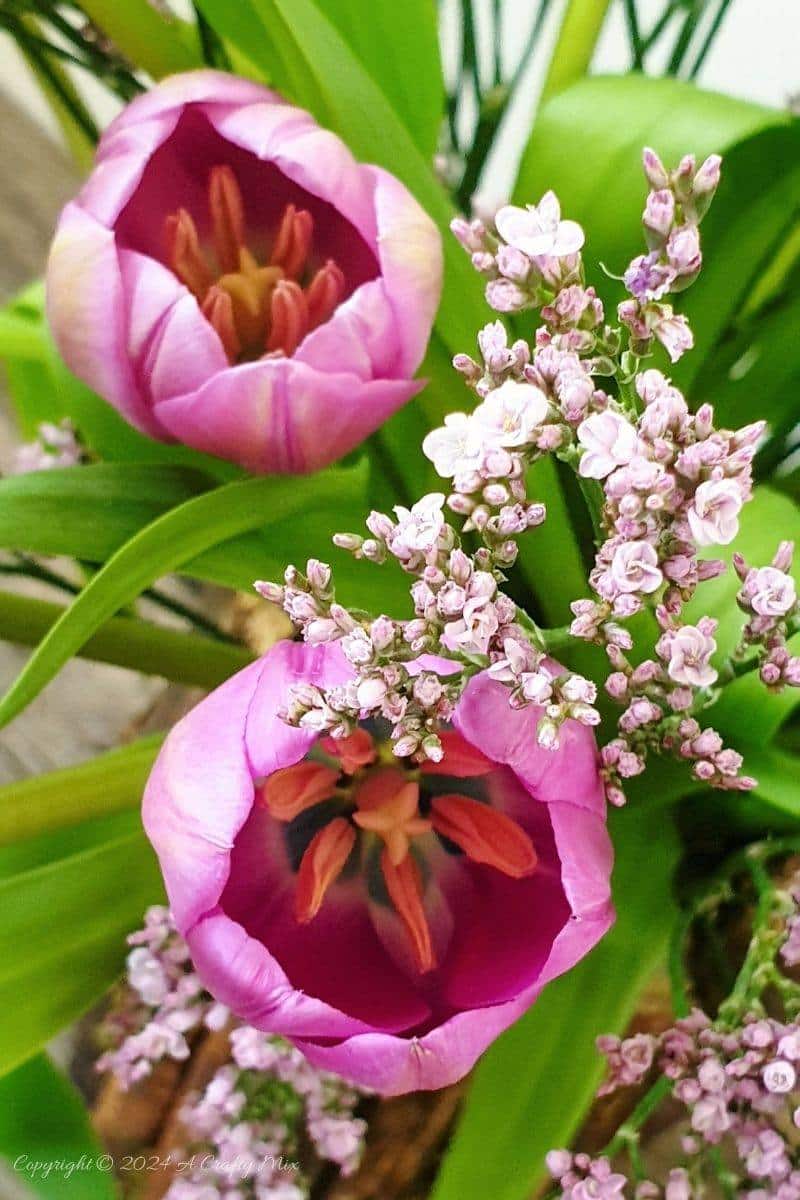
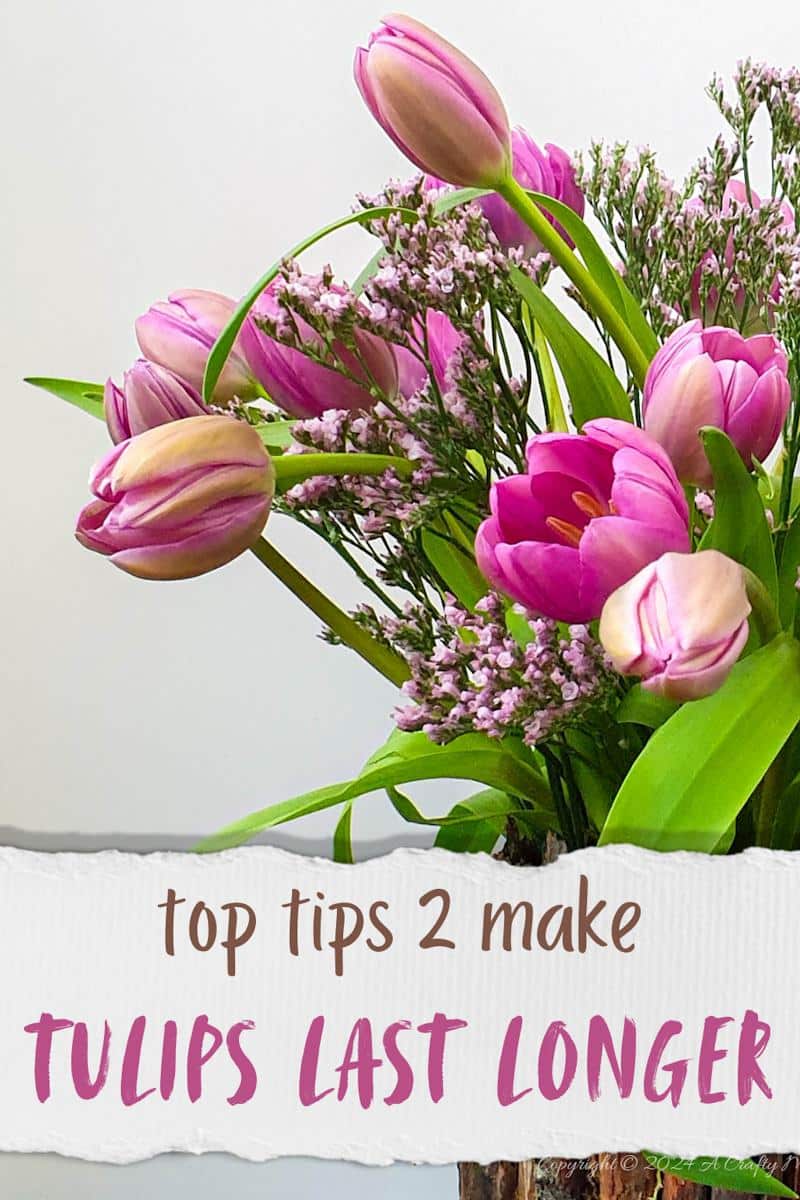
Tulips are one of my favorite flowers. Their bright, cheerful colors are a sure sign that spring is just around the corner. As cut flowers, they’re fussy little things and can go from elegantly graceful to droopy and sad within a day. If you struggle to keep tulips fresh and perky, here are 7 easy tips I learned while working at a florist many moons ago.
I’ll also share a quick tutorial to make a rustic twig vase to put those lovely blooms on display.

But, before we get there, follow us on Facebook, Twitter, Pinterest, or Instagram. And don’t forget to subscribe so you’ll never miss a post!
Top tips for keeping tulips fresh
1. Tulips on Thursday
Thursdays are a good day to buy tulips or any other cut flowers. Most florists and grocery stores will go to the flower market on a Thursday, to stock up for the weekend trade.
2. Pick the right bunch
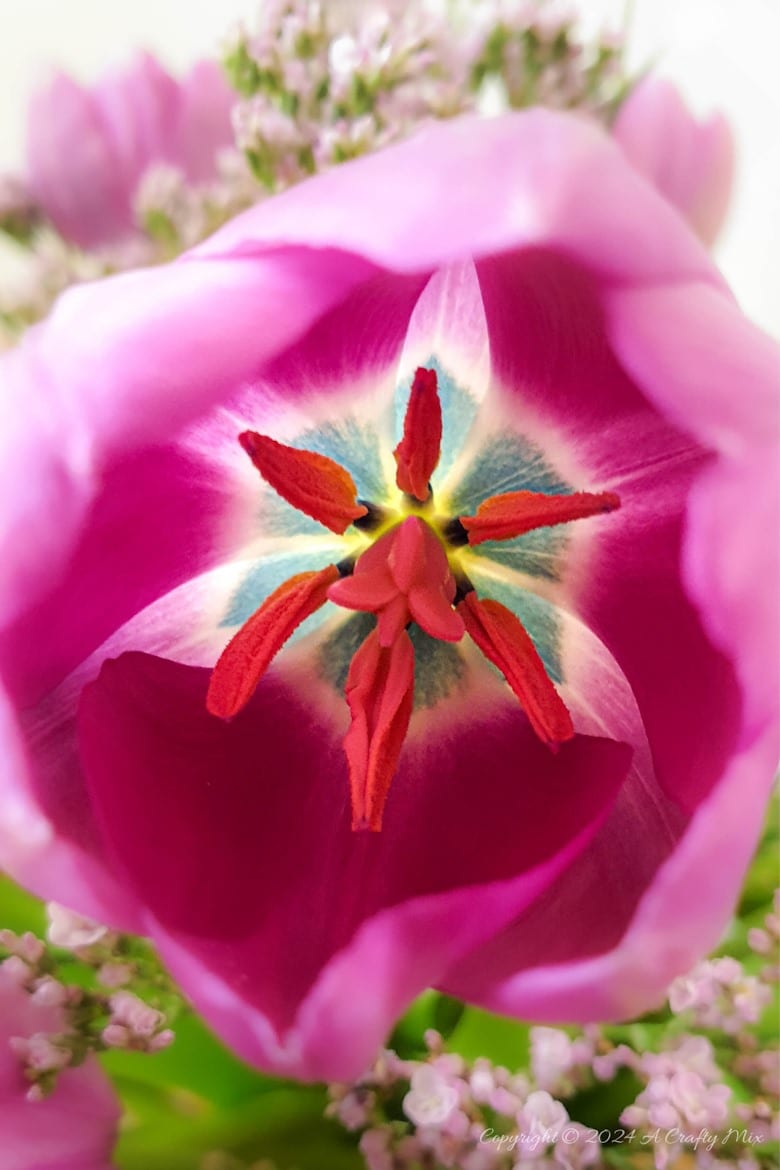
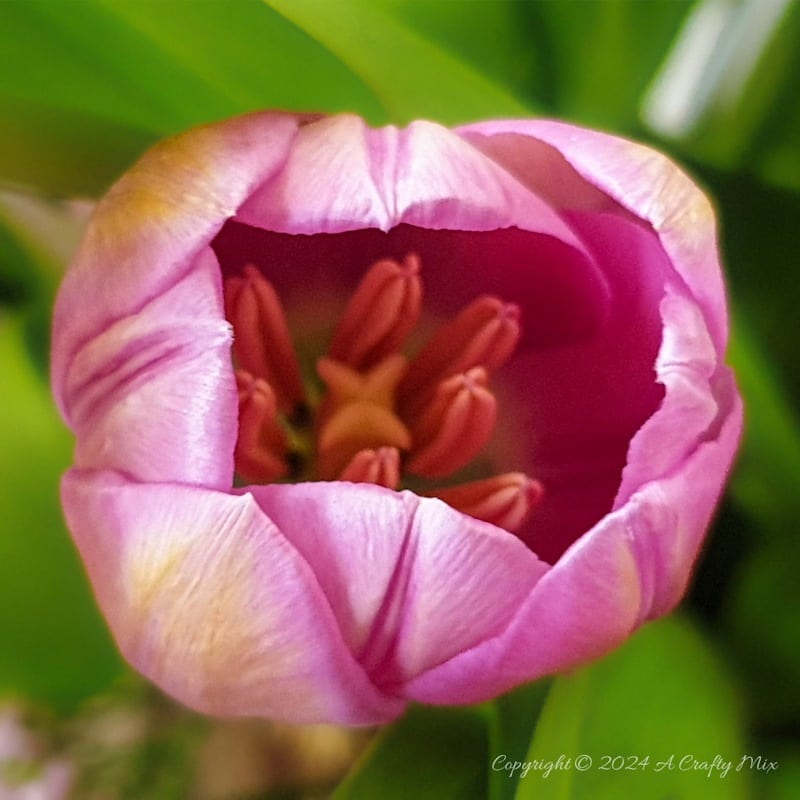
Pick tulips that are still closed and just beginning to show some color. That way you can enjoy watching them open over several days.

3. Start with a clean slate vase
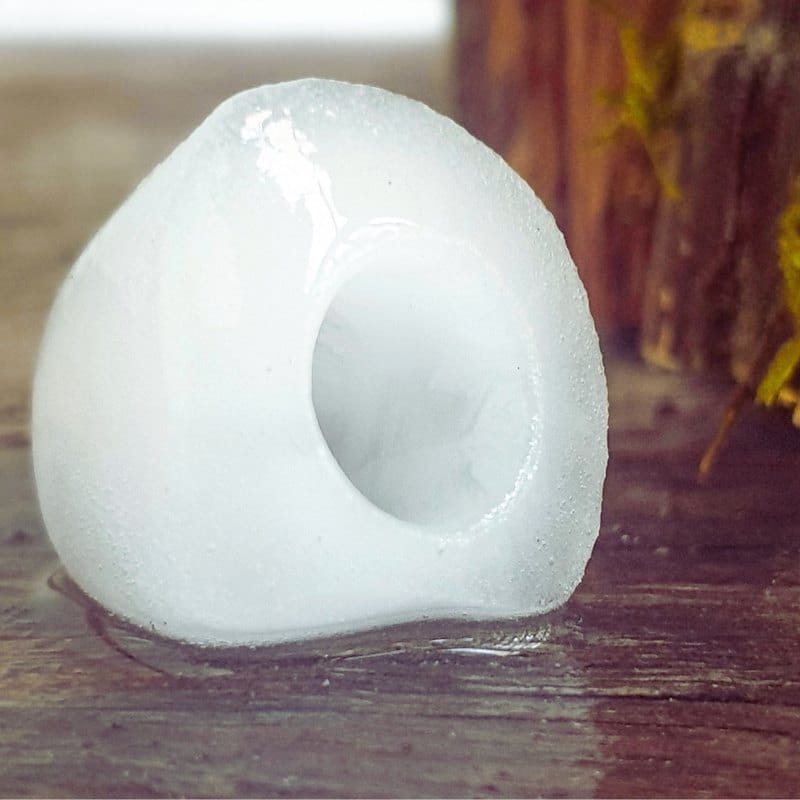
As soon as you get home, grab a clean vase and fill it with cold water. Tulips love icy water, so I always pop a few ice cubes inside the vase and add a teaspoon (or two) of sugar and a tablespoon of vinegar. Flowers and bacteria both love sugar, so adding vinegar keeps bacterial growth under control while preserving all the nutritional sugary benefits.
4. Perform stem surgery
Don’t just plonk your tulips in the vase. Cut at least 2cm or an inch off the stems at an angle with sharp scissors or a knife. We used a knife at the florist. Scissors can crush the stem, damaging the xylem. That’s the big word for little drinking straws inside the stem that suck up water and nutrients. Cutting the stem allows the water to flow again.
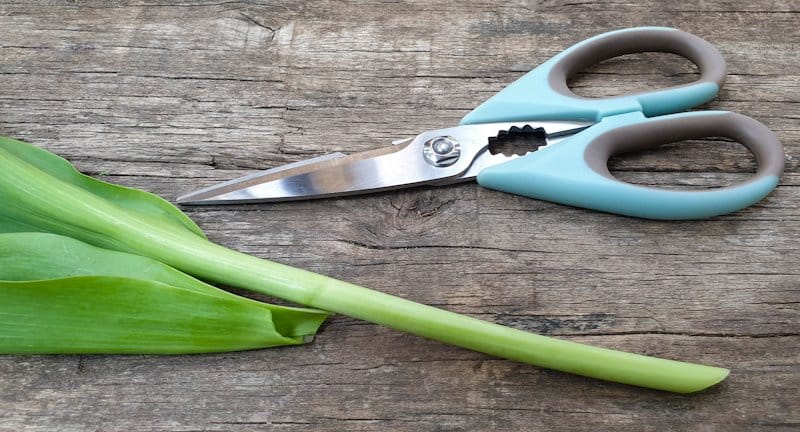
To keep your tulips in tip-top condition and prevent rotting, remove any leaves under the water line. After surgery, rinse the stems under cold water and pop them inside the vase.
5. Give them space
Tulips don’t like being squished together, and overcrowding them can damage those delicate stems. They also need enough space to open up and show off their gorgeous blooms. So leave enough room for them to shine.
6. Change the water, often
To keep your tulips fresh and happy, change the water every day or at least every second day. And remember to add ice cubes, sugar, and vinegar. With each water change, trim the stems again. As soon as you remove tulips from water, those little stem straws will start closing to preserve as much water as possible. A quick trim gives them the best chance to drink as much water as possible. BTW, did you know that tulips will carry on growing in the vase? So, you probably won’t even notice if you cut the stems shorter.
7. Location, location, location
Tulips are phototropic, which means they bend and twist towards the light. But light doesn’t translate to direct sunlight. They’ll droop in no time, and those waxy petals will fade before they’ve had a chance to shine. Put them in a spot where they’ll get enough natural light and rotate the vase every day.
Oh, and keep them away from fruits that give off ethylene gas (apples, bananas, pears, peaches,, and mangos). It stunts their growth and leads to premature aging. Okay, so those are my top tips to keep tulips fresh for longer and have a blooming marvelous display for a week or more.
Before you go, let me quickly share how I repurposed a tin can and scraps from our highveld garden to make a rustic twig vase.
Quick twig vase tutorial
What you need
To make the vase, you need twigs or branches. Look for straight, dry twigs/branches that don’t have too many bumps, knobs, or creepy crawlies hiding inside. The bigger your tin can, the more you’ll need. I always save our clippings, so I used those. If you struggle to find them, ask your local florist or garden center for any off-cuts. Most craft shops sell them too. For this project, you want a variety of thick and thin twigs that are taller than your tin can. You’ll also need:
- A clean, empty tin can
- Hot glue gun and glue/E6000
- Something to cut the twigs with
- Black craft paint (optional)
- Moss (optional)
How to make a twig vase
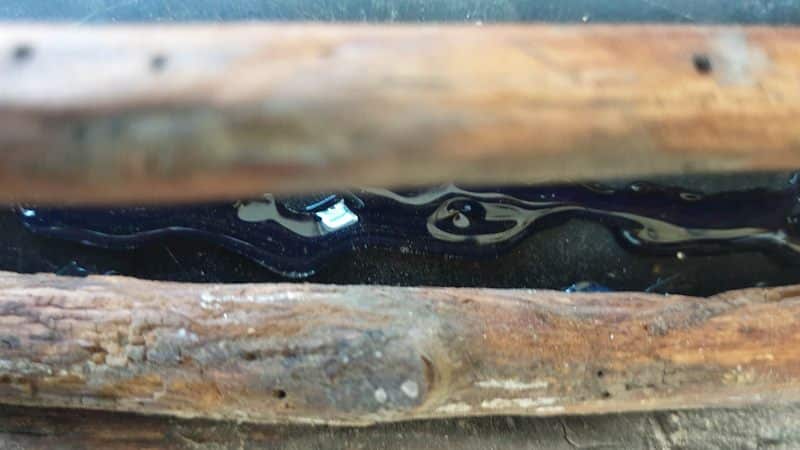
This craft couldn’t be easier or more budget friendly. Wash your tin can in hot, soapy water and leave to dry. Paint the outside of the can a dark neutral color. You can use spray paint or craft paint. This step isn’t necessary, but I did find that it helps hide any gaps between the twigs. Nobody wants to see bright, shiny metal glinting through the twigs.
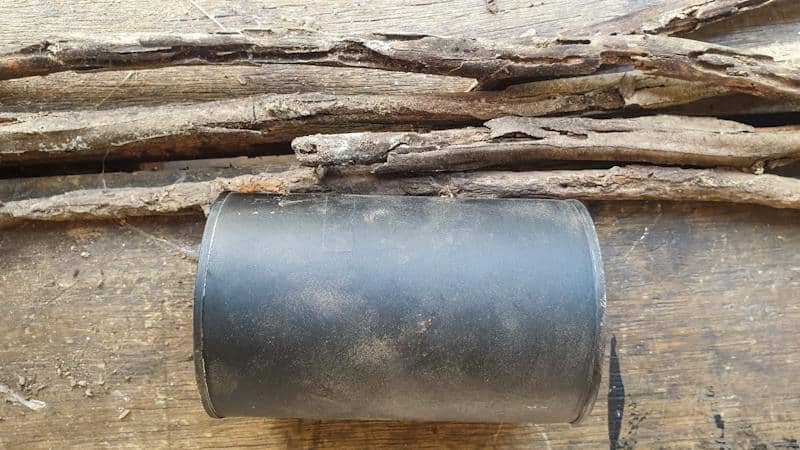
Give the twigs or branches a good scrub with a brush and remove any loose bits of bark.

Cut the twigs so they’re a few centimeters (inches) higher than the vase.
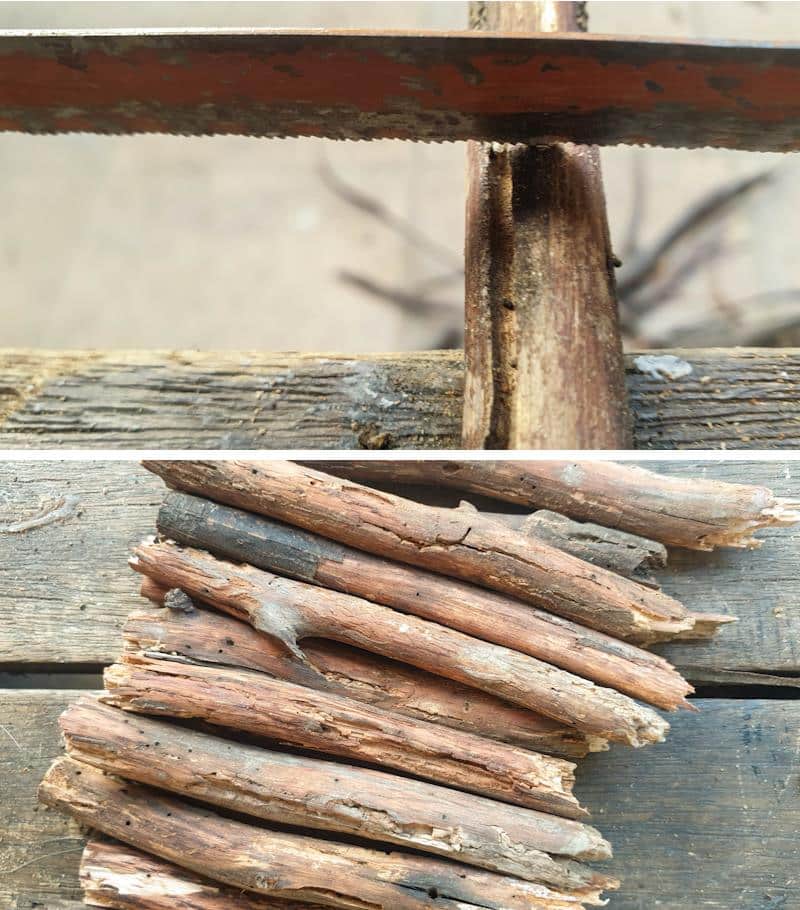
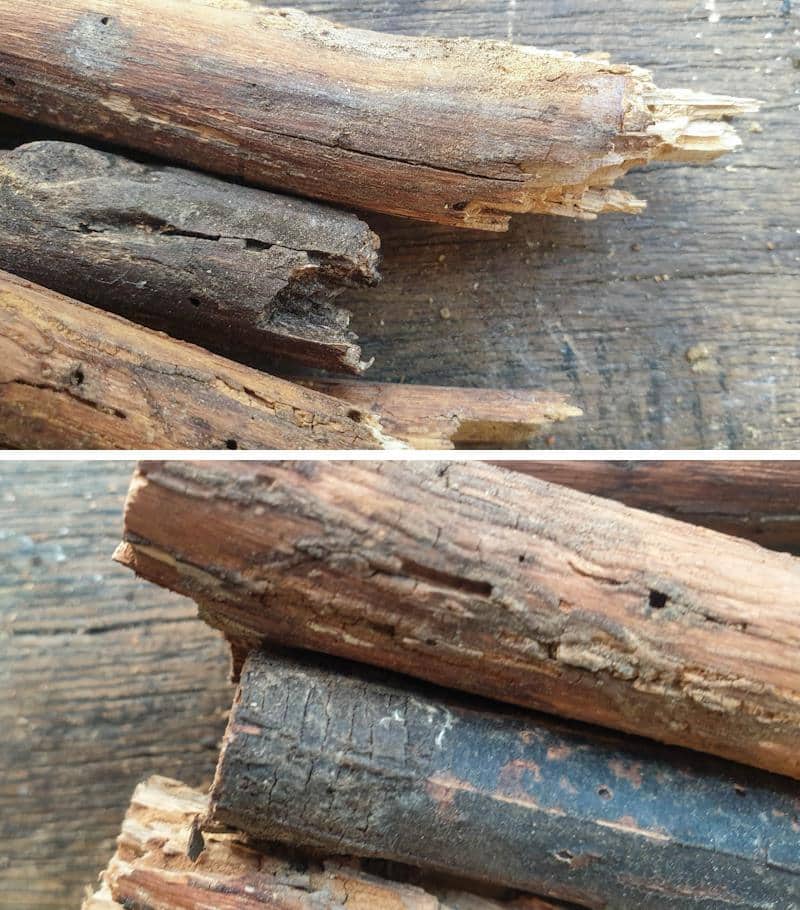
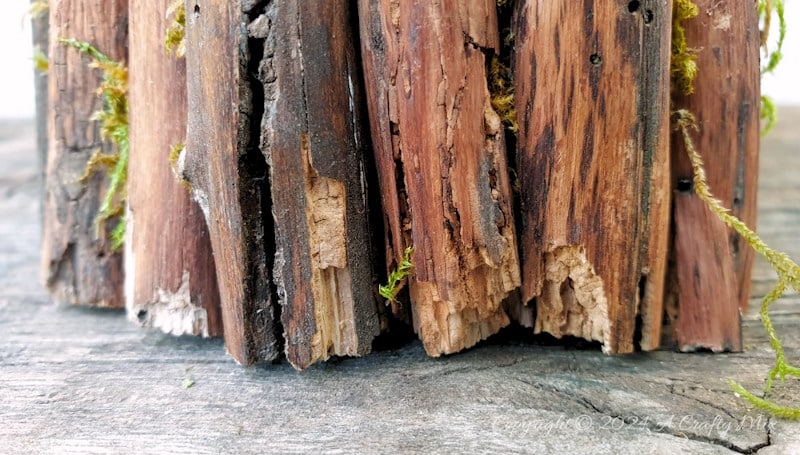
For a natural rustic effect, I cut one end of the twig and broke the other.
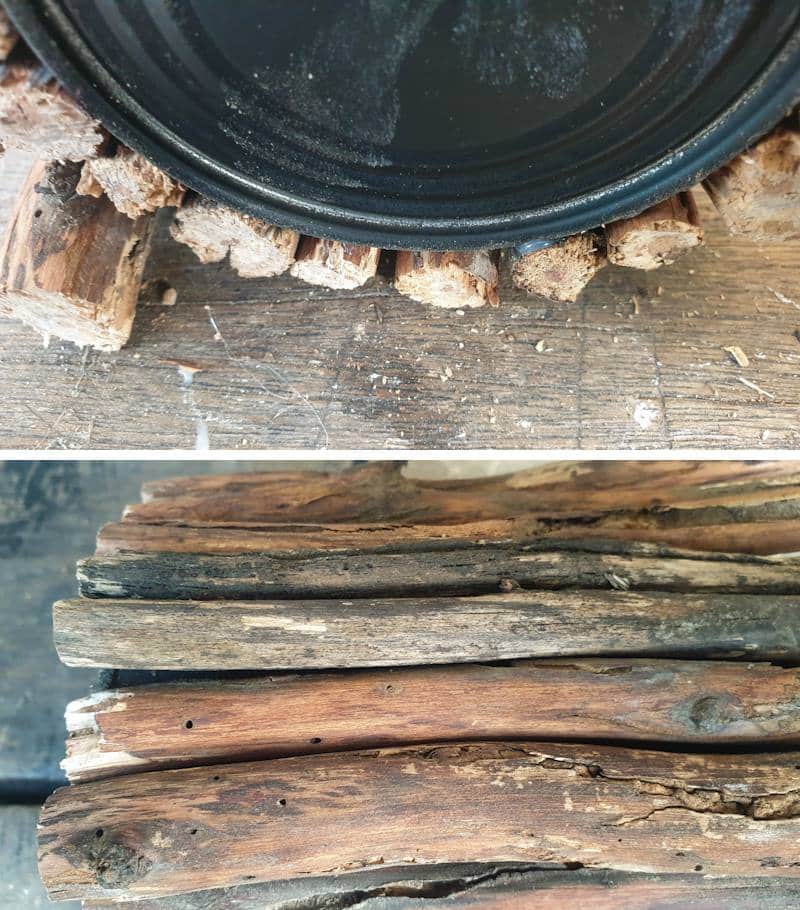
Glue the twigs to the outside of the tin can, making sure the straight cut ends are at the bottom and the jagged broken ends are at the top.
You can put the glue on the tin can or the twig.
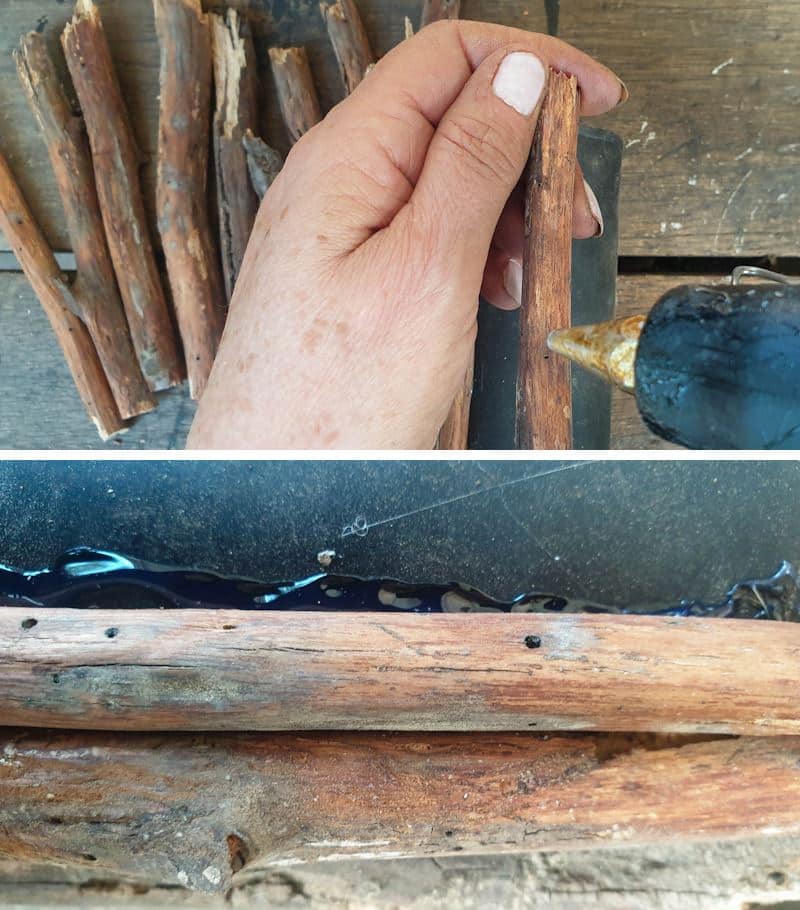
I found it easier to just put a good dollop of glue on the can and then press the twig down. If you want your vase to last a long time, use E6000 instead of hot glue. It’s more durable.
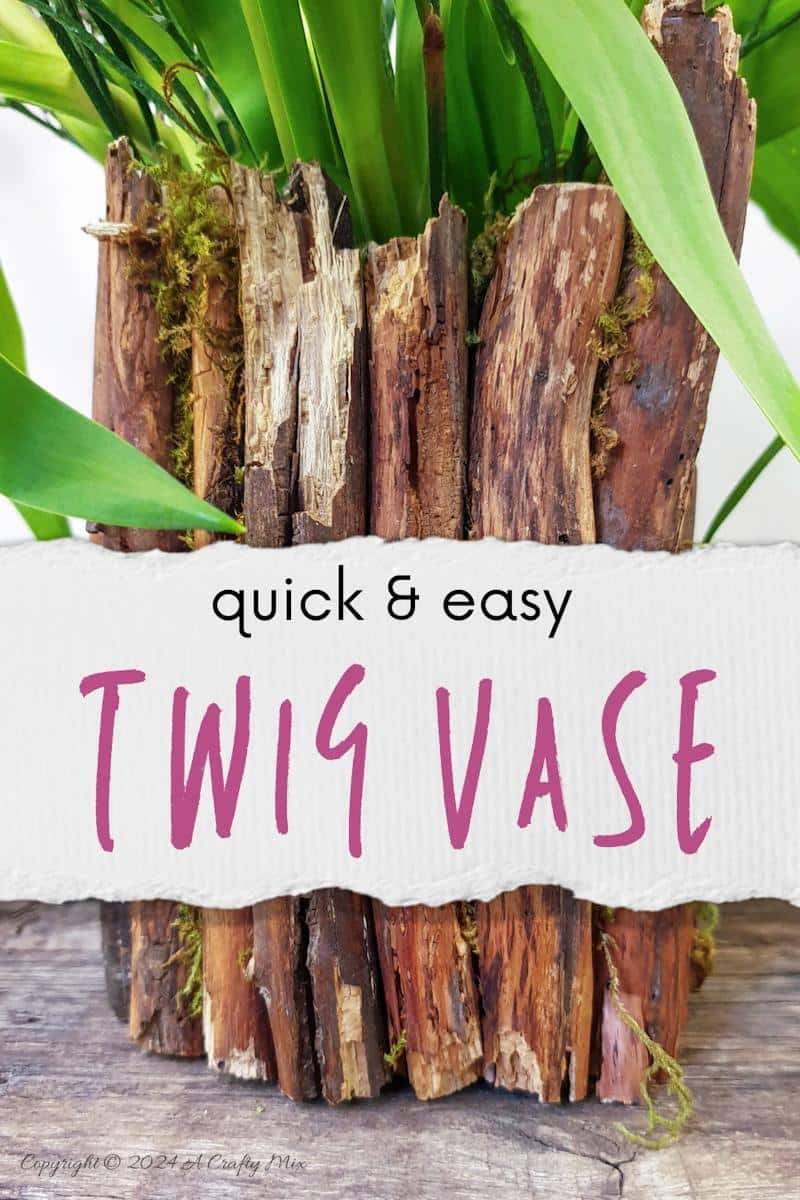
Glue the twigs all the way around the tin can. If there are any obvious gaps (my twigs aren’t straight), you can push a little moss between the twigs.
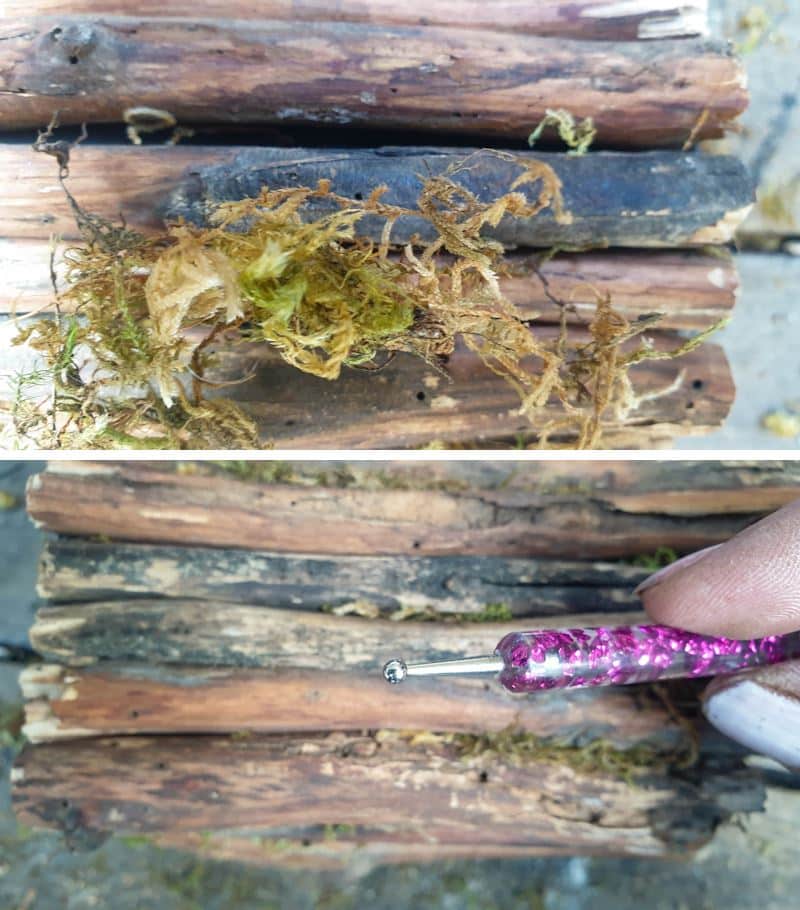
And even if there aren’t any gaps, I would still add moss. It creates contrast and enhances the whole look. BTW, if you can’t find any moss, this tutorial will show you how to make some using a bath sponge.
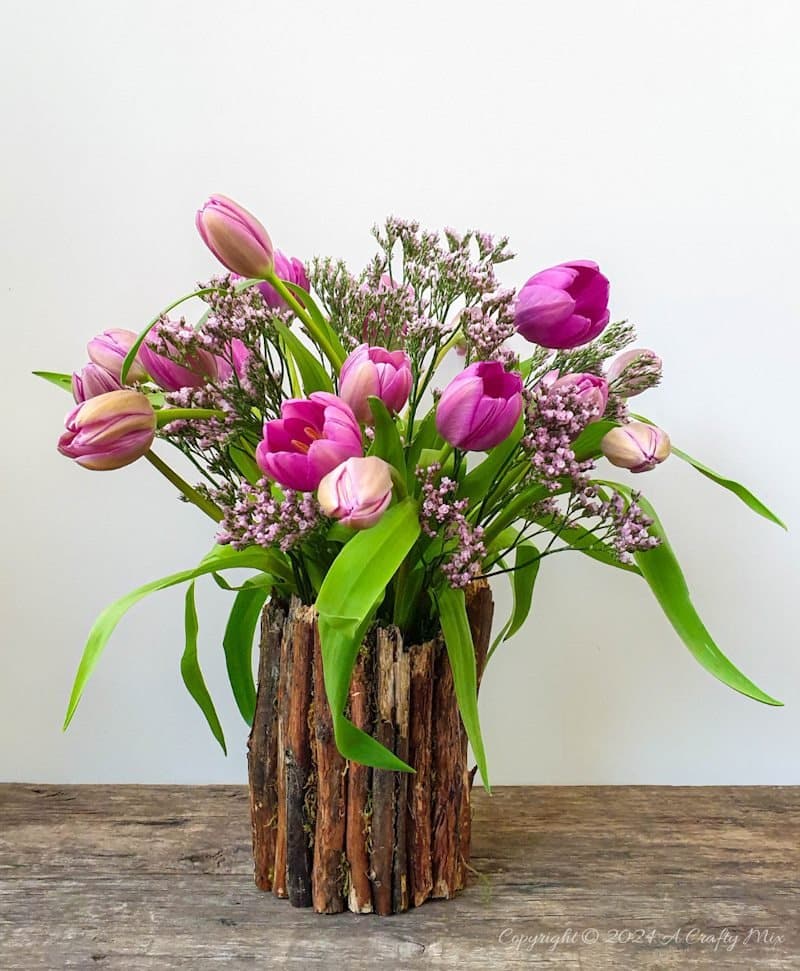
And that’s it. A simple way to upcycle a tin can into a nature-inspired vase.

Fill the can with water and pop your tulips or favorite flowers inside.
Other variations
- Paint the twigs white for a frosty, winter-themed take on this idea. Fill with beautiful, branches of fresh (or faux) berries and pine springs.
- Glue small pinecones in amongst the twigs and branches and add vibrant autumn foliage.
- Wrap twine, ribbon, or raffia around the twig vase. It adds another layer of interest and contrast.
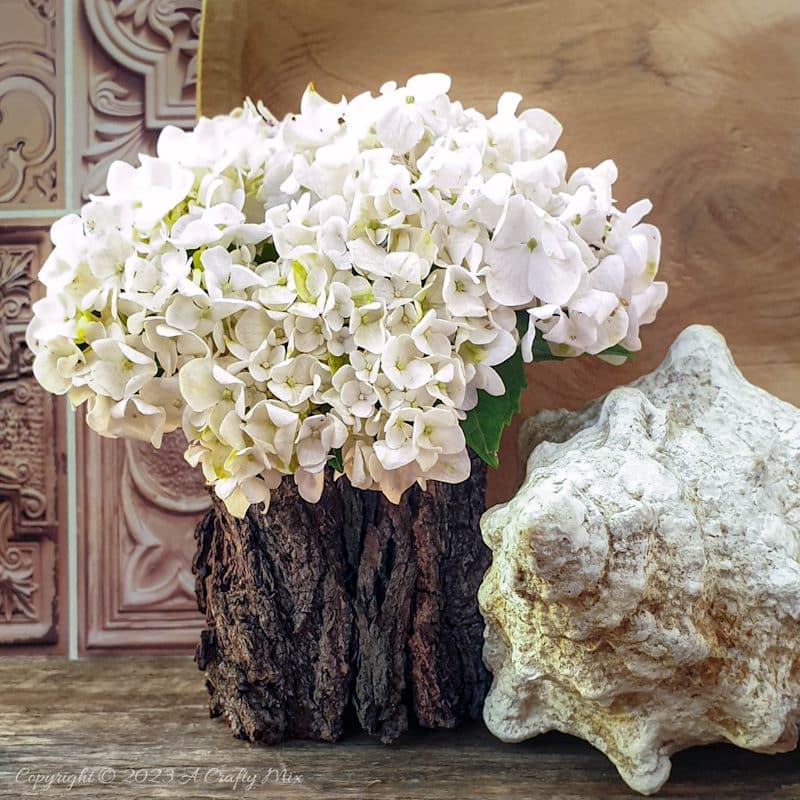
- Use strips of bark instead of twigs and branches to create something with loads of texture. I made this one 2 years ago and used a soda can. They’re great for making rope planters too.
If you like the idea of upcycling a tin can and making a twig vase, don’t forget to pin it for later.
Oh, and if you’re looking for some of the things we used, we’ve got you covered. Disclosure: Clicking on the links below, means we may receive a commission from Amazon. But don’t worry, it won’t come out of your pocket, and it helps us make more amazing crafts to share with you.


And if you prefer to buy rather than DIY, then maybe these beauties will appeal.


And as always, wishing you a wonderful, crafty week filled with lots of love. Thank you for popping in for a visit.

Last update on 2026-06-03 / Source Amazon Affiliates