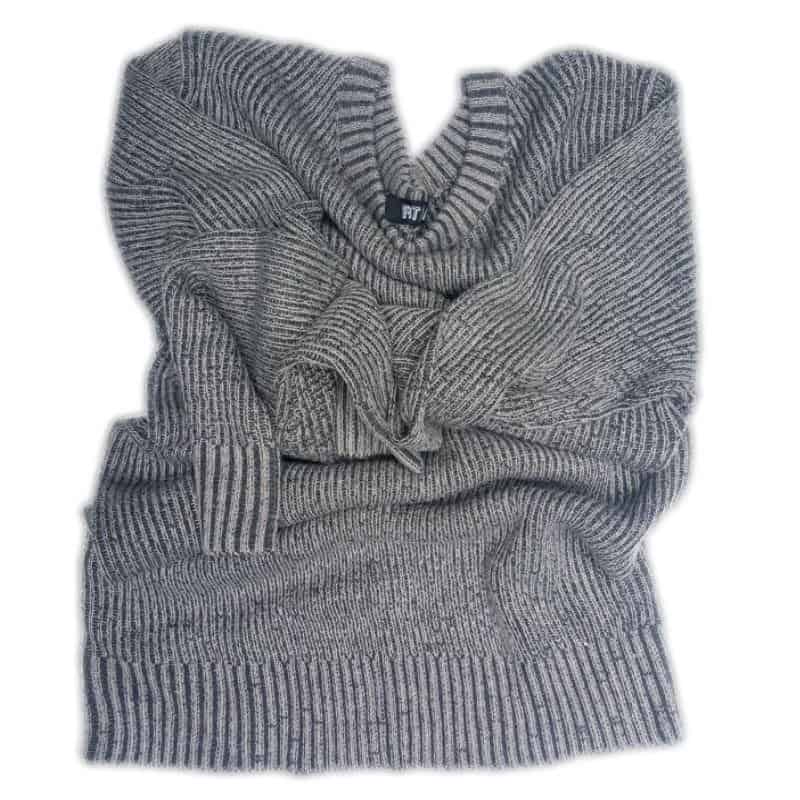
Confession time. I don’t treat my handbags very well. For me, they’re just something that makes it easy to carry things around. You know, like the kitchen sink, paintbrushes, and screwdrivers. So when the ladies from the IBC challenged each other to make something using a sweater, I knew exactly what I was going to do. I would turn a well-loved sweater into a handbag.

I wanted to make that sweater handbag for two reasons. One of them is the IBC “Don’t Sweater the Small Stuff” challenge, but the other, which is the most important reason, is my daughter. She has just bought herself a sewing machine. YES!!!! Sadly, she stays halfway around the world, so I can’t show her how to sew. My heart’s a little sore. But what I can do is come up with beginner patterns that she can play around with.

And this handbag sweater is definitely easy. Almost as easy as making Momsters 🙂 Plus, my daughter loves her thrift stores, so she shouldn’t have any problem finding an old sweater to use.
Or she can do what I did, and raid her brother’s cupboard for one of his old sweaters.
Okay, before I show you just how easy it is to turn a sweater into a handbag, please follow us on Facebook, Twitter, Pinterest, or Instagram. And don’t forget to subscribe so you’ll never miss a post!
What you need to make a sweater handbag
- Old special sweater
- Long-sleeve T-shirt or co-ordinating fabric
- Buttons
- Yarn (wool)
- Fusible Interfacing
- Scissors and sewing machine
- Handbag strap anchors
How to turn a well-loved sweater into a handbag
Cutting the sweater
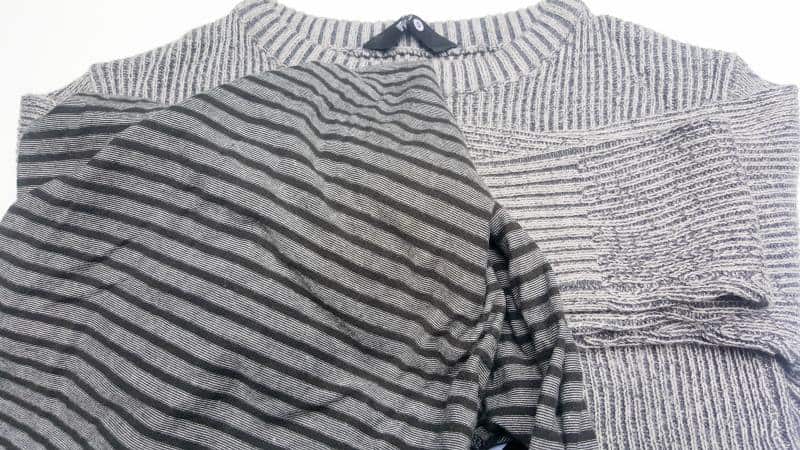
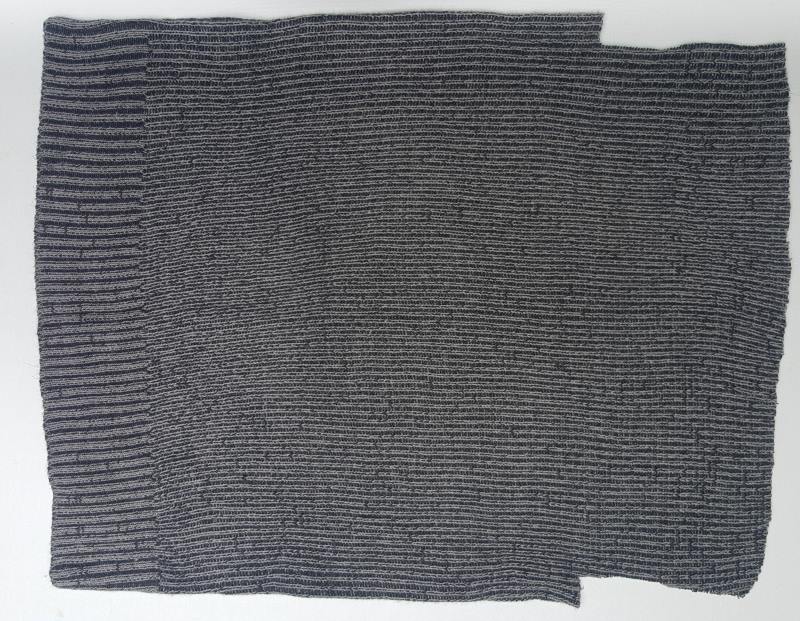
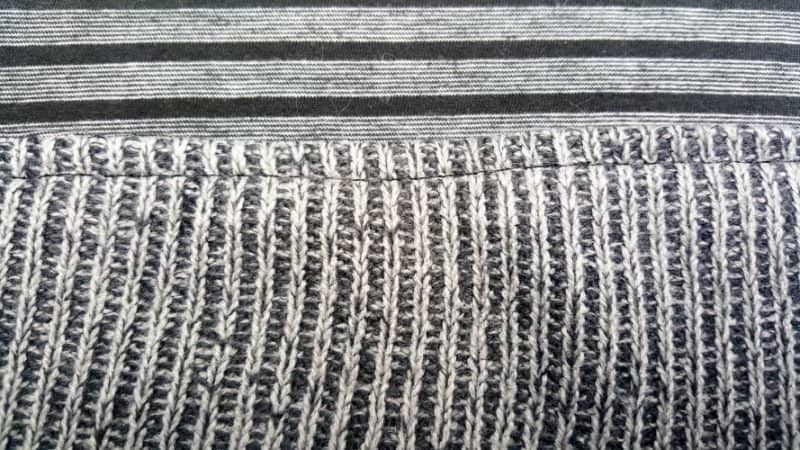
For the bag portion of the sweater handbag, we’ll be using the body of the sweater. Fold the sweater in half lengthwise. Depending on how long your sweater is, measure 10-15 cm “(4″-5 7/8″) down from the underarm and 5 cm(2”) in from the side seams. Cut as shown below.
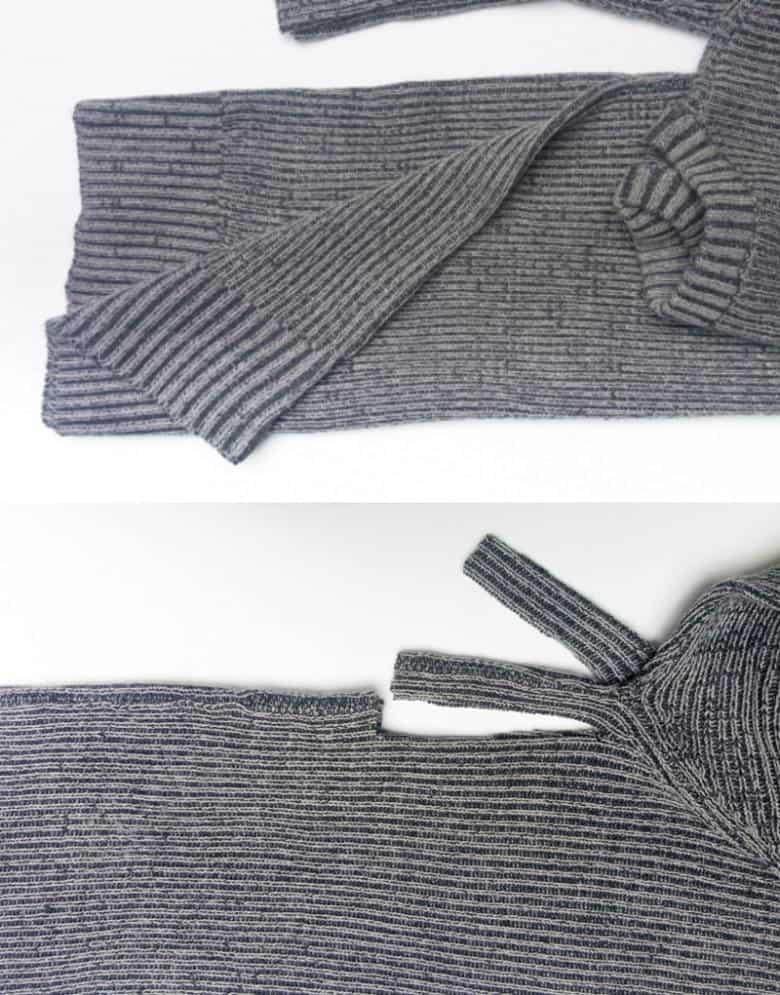
Unfold the sweater, and you should end up with something like this.
That little side cut will determine how wide your finished handbag will be. If you’re going to put everything, including the kitchen sink, inside, you can make it wider.
Now fold down the top cut layer of your sweater.

Cut straight across. Save the offcut to make the button detail.

If you’re going to add pockets to your sweater handbag, cut the bottom of the sleeves of the sweater off. About 10–15 cm from the cuff.

If any of the cutting instructions didn’t make sense, then perhaps this video will help.

Use the cut sweater pieces as a pattern to cut an inner for the bag from the long-sleeve t-shirt. Save the sleeves to make the strap. My son’s old sweater is a polyacrylic knit fabric and quite floppy, so to firm it up a little, I also cut fusible interfacing using the sweater as a guide.
How to Apply Interfacing
Figure out which side of the interfacing should face down. It normally has a slightly knobbly, raised appearance, and it will probably be a little shinier.

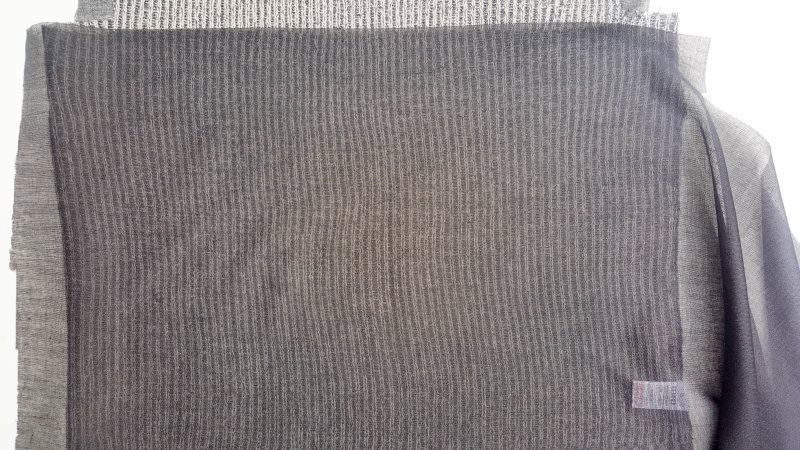
Place the sweater wrong side up on the ironing board, then put the fusible interfacing on top of the sweater. Make sure that the knobbly, shiny side is facing down.
Remember to match the grain of the fusible interfacing with the grain or, in my case, the stitches of your sweater. Line the sweater and interfacing up and cover it with a damp cloth. With your iron set on the “wool” setting, press down for about 15 seconds.
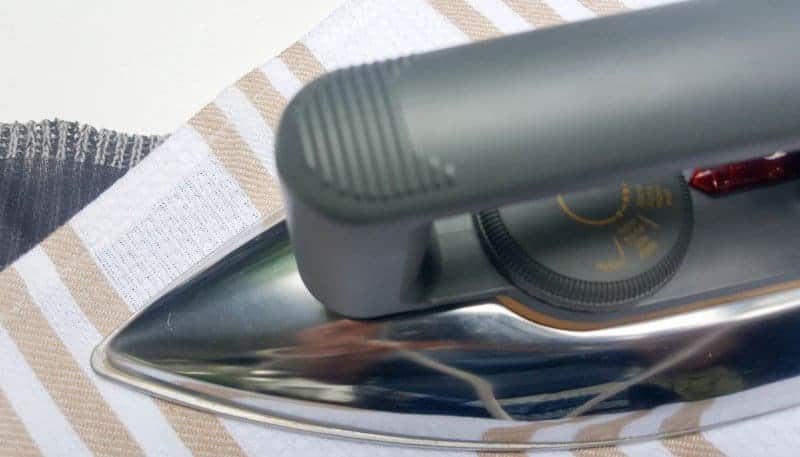
Don’t glide the iron. You could shift the interfacing, and you could end up with scrunched-up bits. Once the 15 seconds are up, lift the iron and move it to the next spot. Repeat until you’ve covered the entire area. The heat and steam from the damp cloth will melt the adhesive and glue the interfacing to the sweater, making it stiffer.

Sewing the sweater handbag
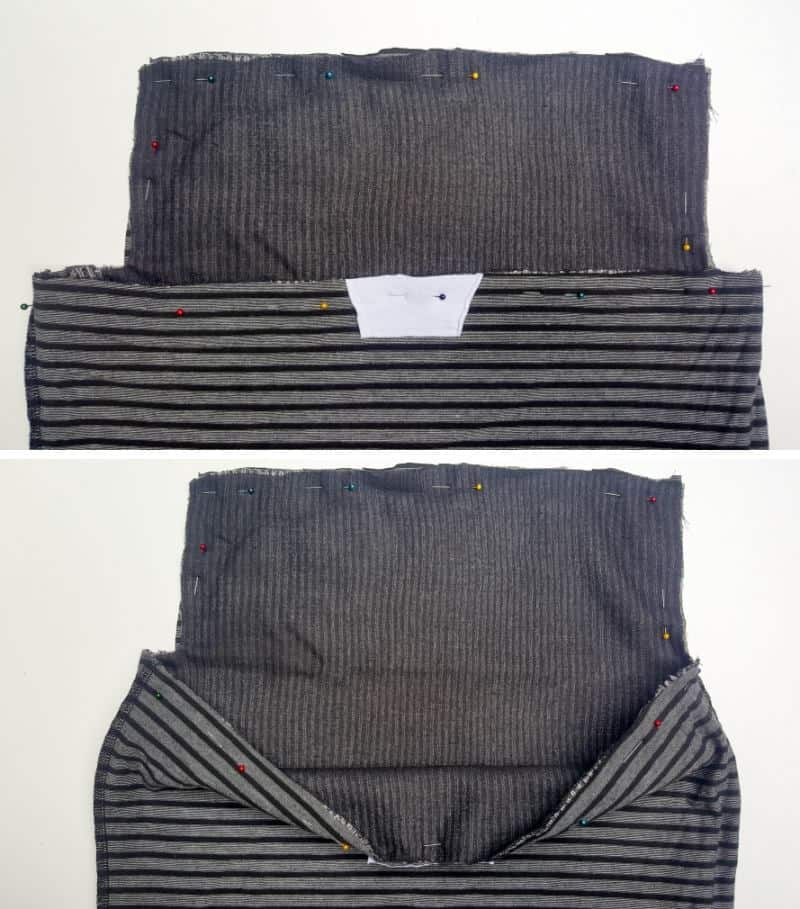
Right now that we have all the bag pieces cut and stiffened, we can sew this baby up. Flip the t-shirt’s inner side out. Place the sweater inside the t-shirt, lining the tops up neatly. The two RIGHT sides should be facing inwards towards each other.

Pin around the top and sew closed.
Cut the corners. It makes for a neater corner when everything is flipped RIGHT side out again.
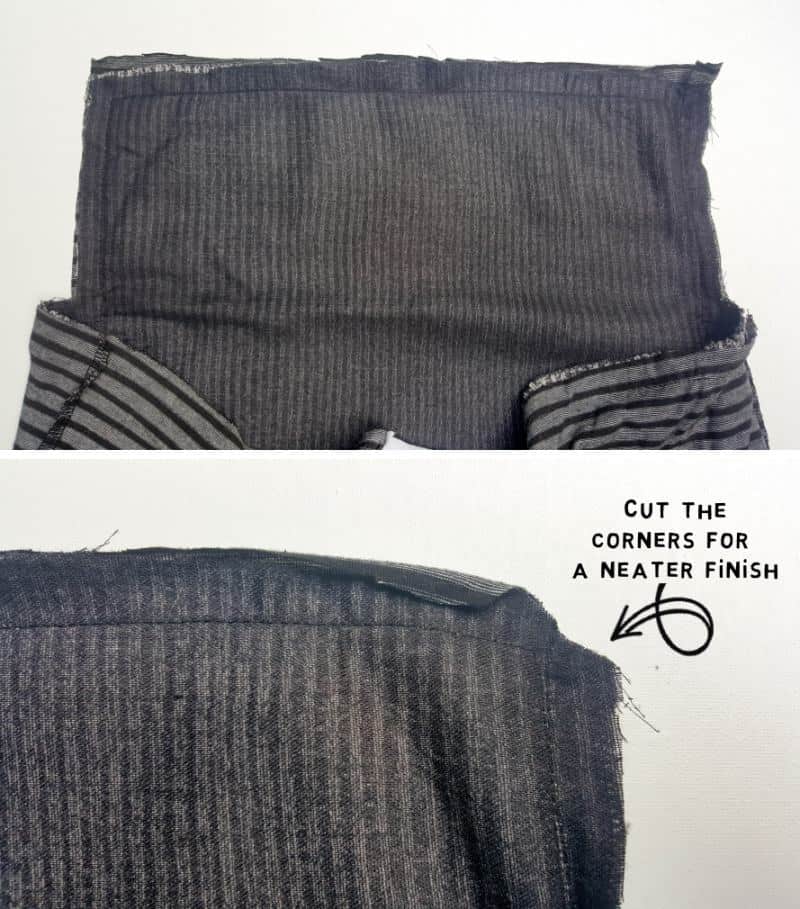
Flip the sweater bag RIGHT-side out and press the seams flat.
Sew all along the top of the sweater bag, about 1 cm (1/2″) from the edge.
Giving the bag a flat bottom
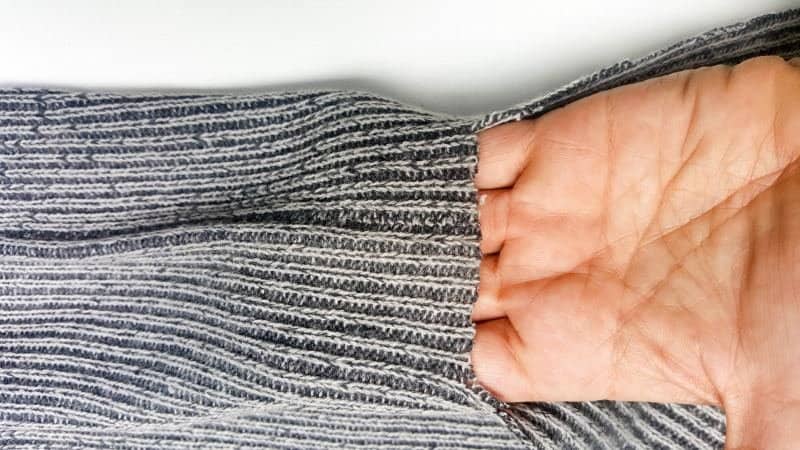
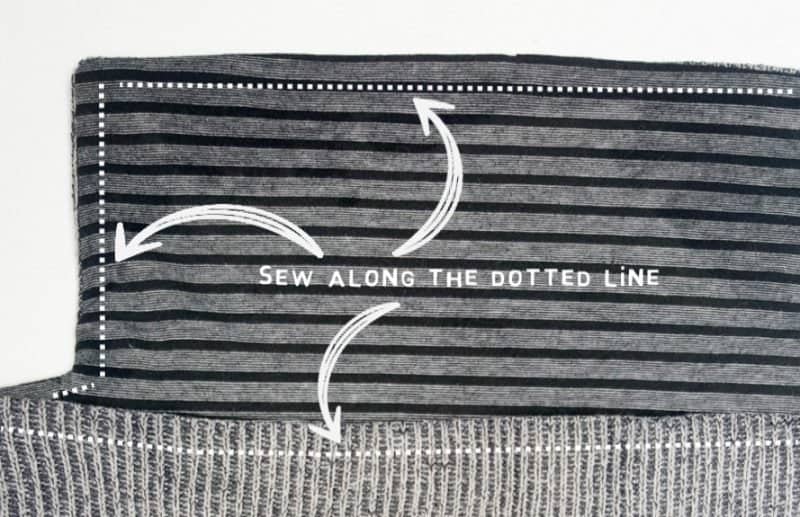
There are two ways to sew the bottom of the sweater bag: sew straight across from one side to the other or give it some volume and a nicer shape by creating a box bottom. I choose the second option. Whichever option you choose, flip the sweater so the RIGHT sides face inwards. Line the sides and bottom of the bag up and stitch all the way across the bottom. If you’re doing a box bottom, put your hand inside the sweater bag and find the bottom corner seam. Flatten the seam corner out as shown below. Move your measuring tape up and down the corner until it measures 10cm (4″) and pin. Sew along the pins and cut the extra corner away.

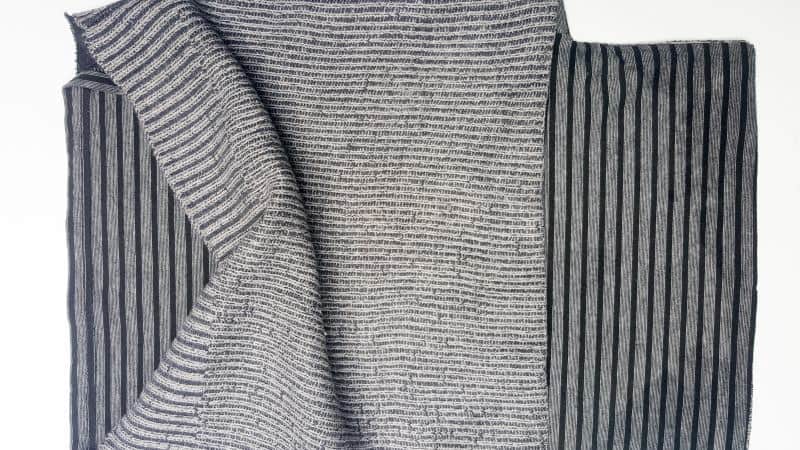
Flip the bag right side out, and you should end up with something like this.

Okay, let’s give this bag a little sweater personality and add pockets and buttons.
Making the pockets and sewing them on
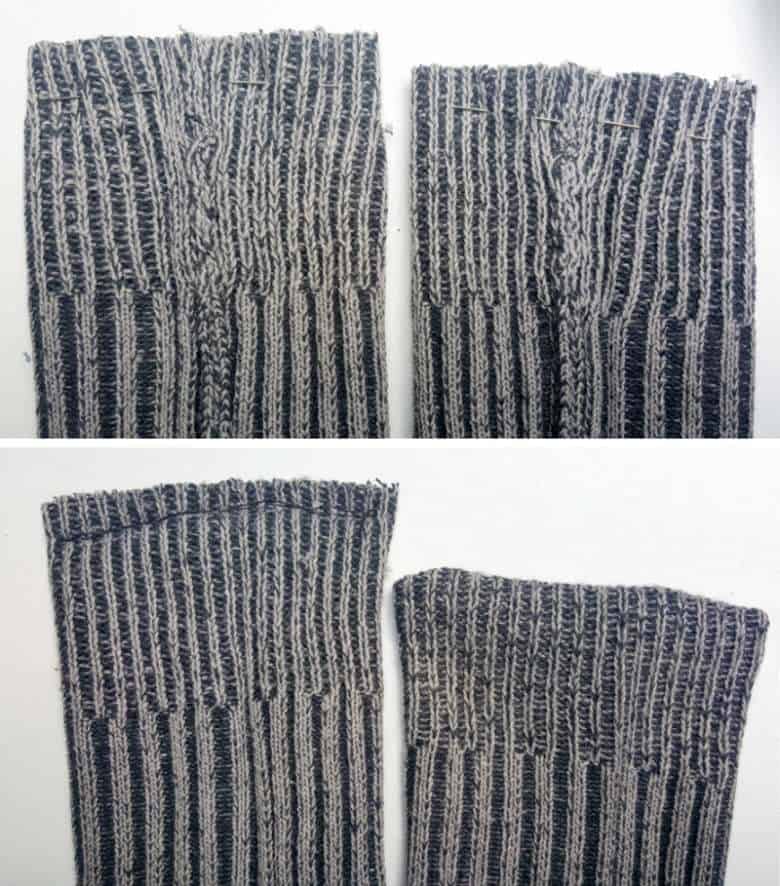
The pockets are both made from sweater cuffs. Fold the cuffs inside out. Pin the bottom 2 cm (½”) of the pocket and sew closed.
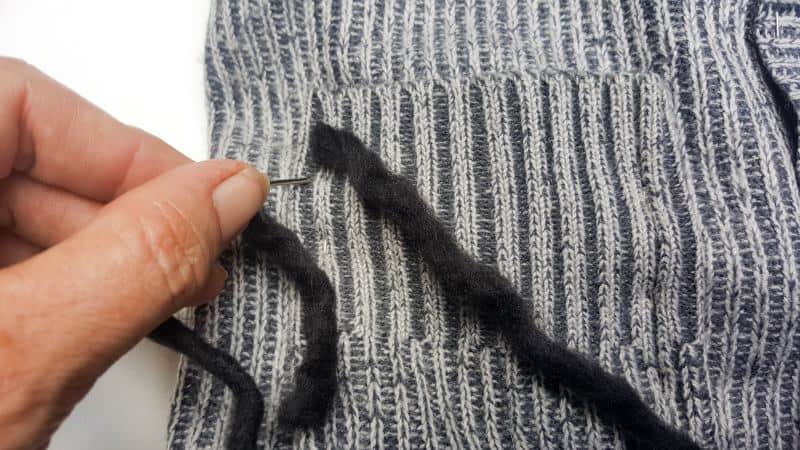
To attach the pockets to the bag and add some interest, I used thick wool to hand sew the pockets on. You can machine stitch them on too.
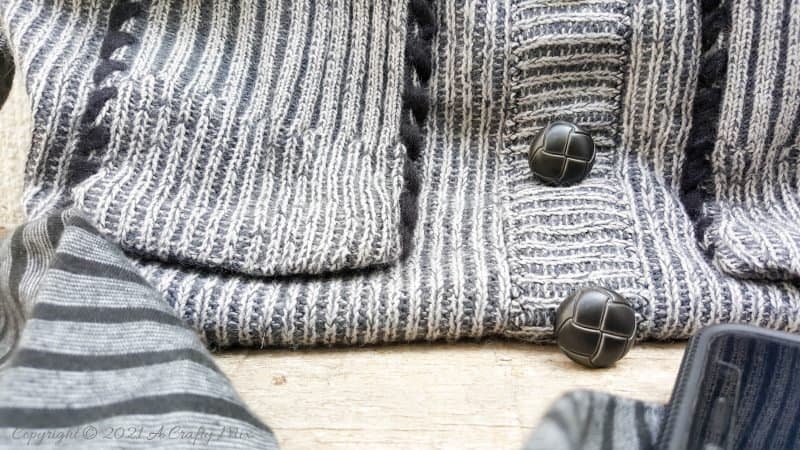
Adding buttons and detail
Using the button detail off cut, iron the interfacing on to strengthen it, and then fold it over to form one long strip that’s a bit wider than the buttons.

Pin the strip to the front of the handbag and use the zig-zag function on the sewing machine to stitch all the way around the strip to secure.

The top button serves a dual purpose. It closes the sweater handbag and looks pretty. So, getting that one’s position right is important before spacing the other buttons on the strip. Use a permanent marker to indicate where to make the buttonhole in the flap.

If you’re not comfortable making buttonholes, sew the top button onto the handbag flap and use Velcro strips to close the sweater handbag instead.
Cutting and Making the Handbag Strap
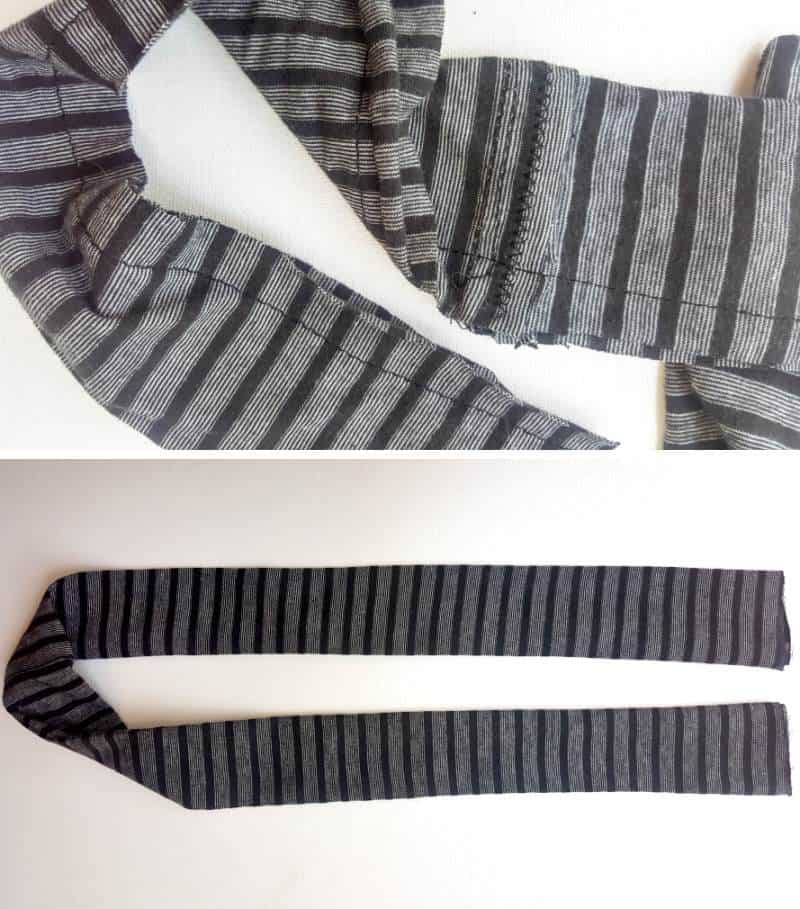
I would have loved to add real handbag straps to this one, but I repurposed my last one to make a picnic caddy, so I had to make another plan involving the leftover arm scraps from the t-shirt inner. Just remove the cuffs and cut a long strip from each arm.
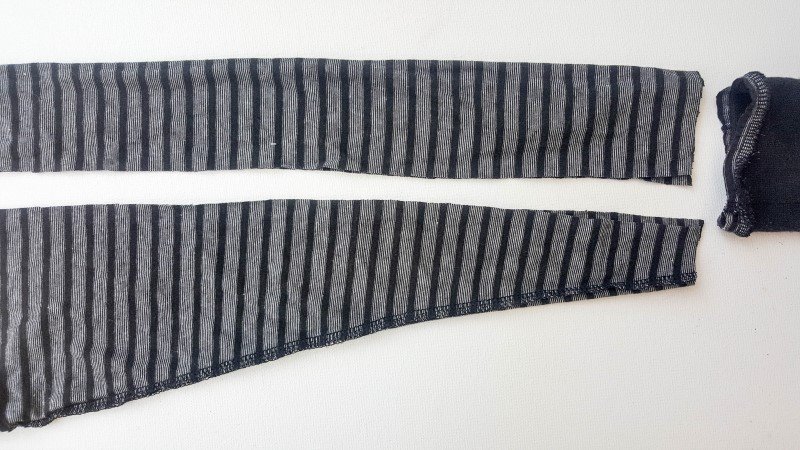
Sew the two strips together to form one long strip. Fold the strip over (RIGHT sides facing each other) and sew the edges together. Turn the strip RIGHT side out and iron it flat.
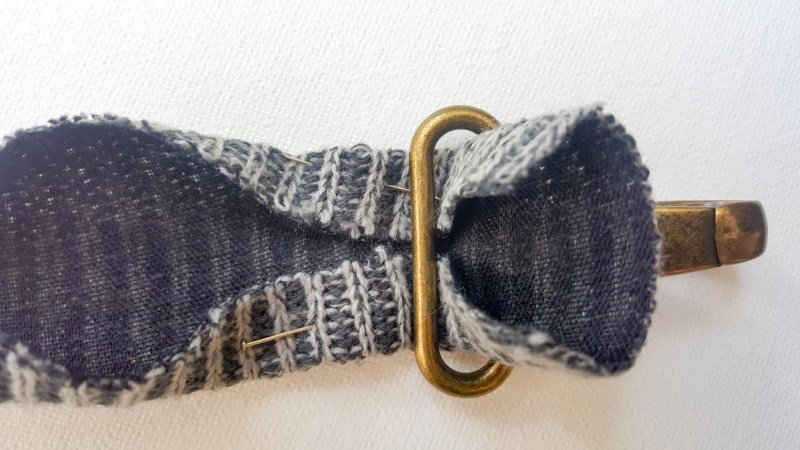
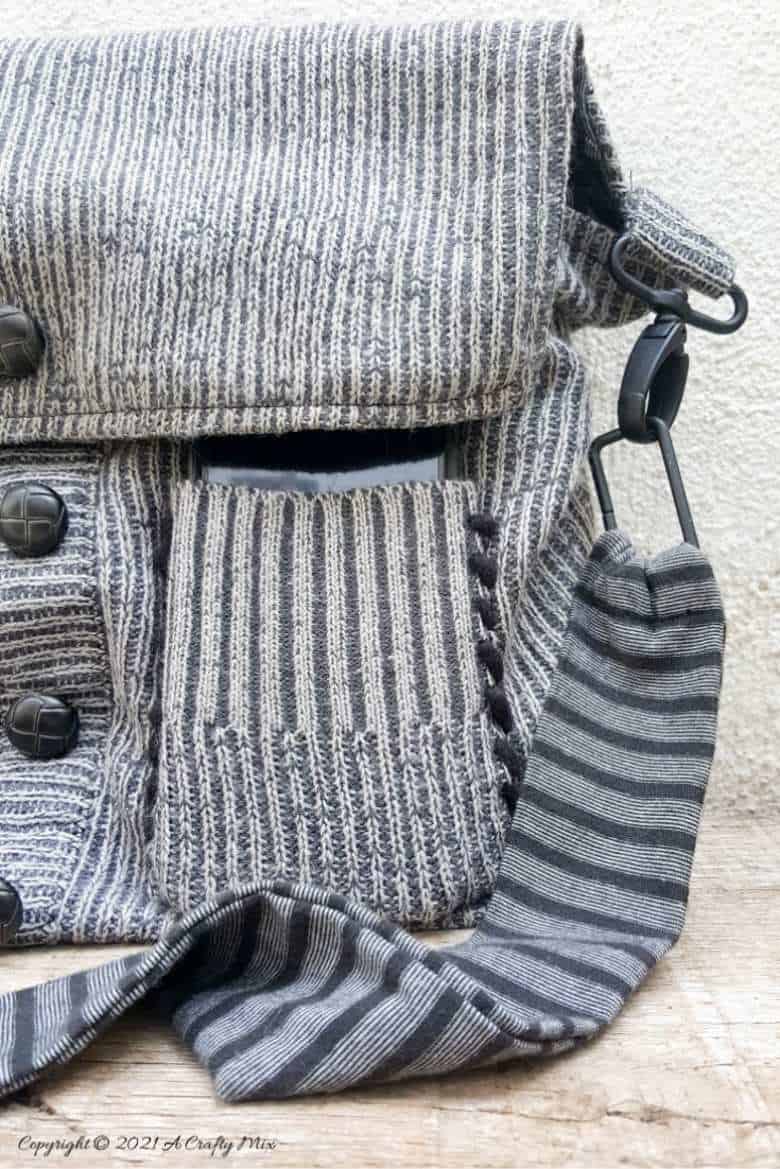
Place your handbag hardware on either end of the strap and fold, pin, and sew down.

Adding the straps to the handbag
There are different ways to do this. Handbag anchors would be the easiest, but I couldn’t find any I liked. So I did the next best thing. I made my own. Cut two rectangles from the sweater and add interfacing to strengthen it. Using your handbag hardware as a guide, fold the edges of the rectangles over. Iron flat.
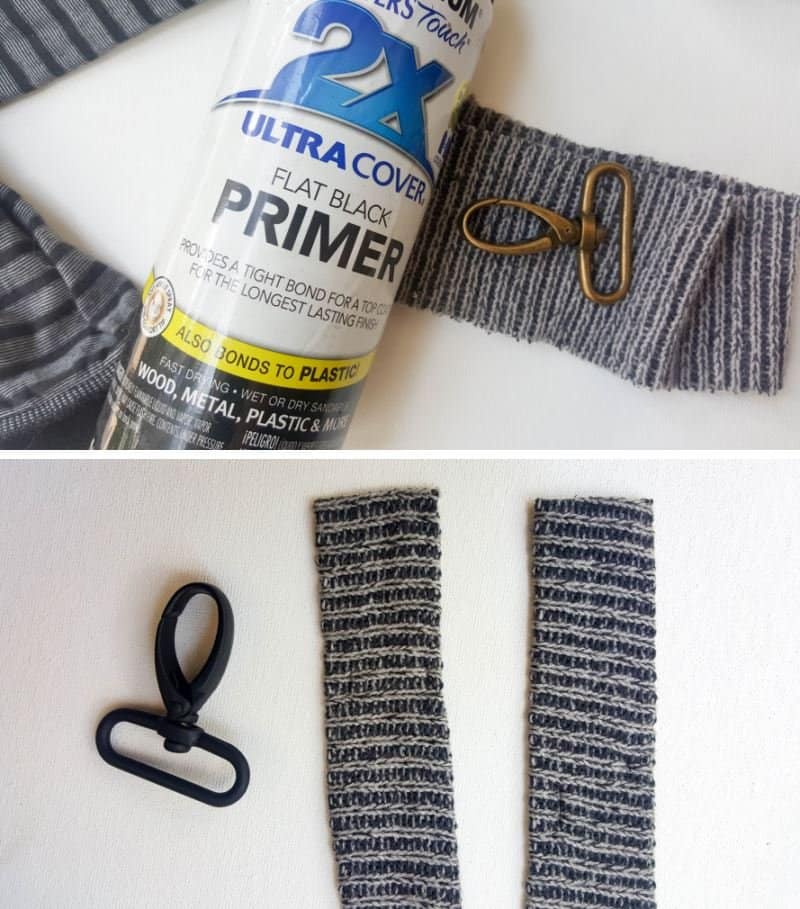
My connector things are also the wrong color, but spray paint fixes anything, right?
Fold the rectangular strips in half and pin them in place on the sweater handbag. Sew in place on either side of the handbag.
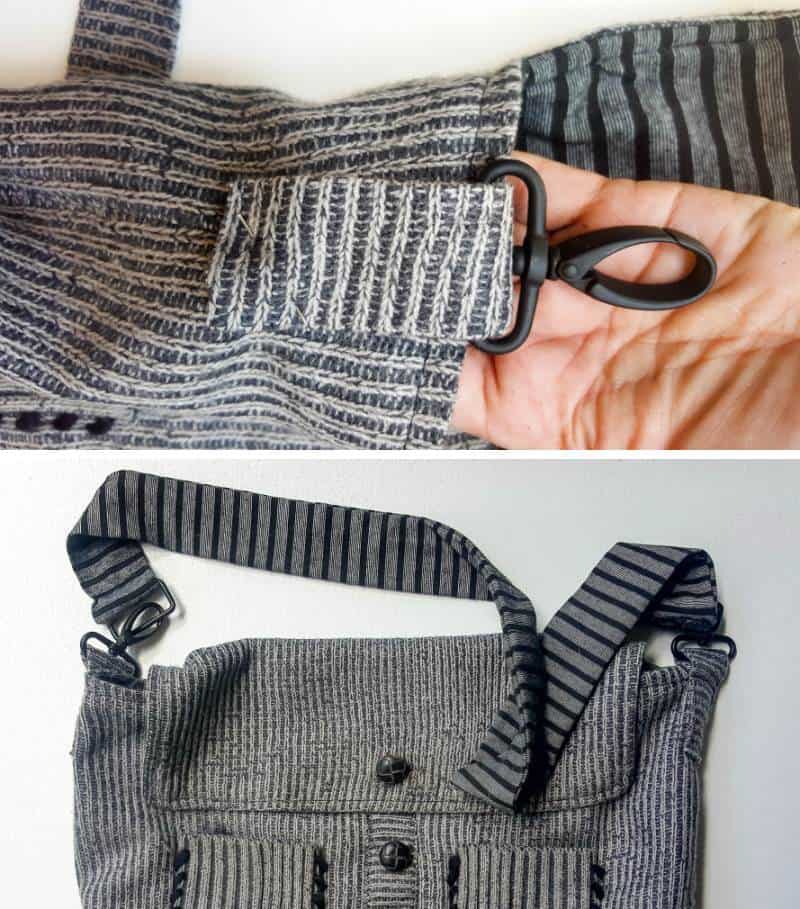
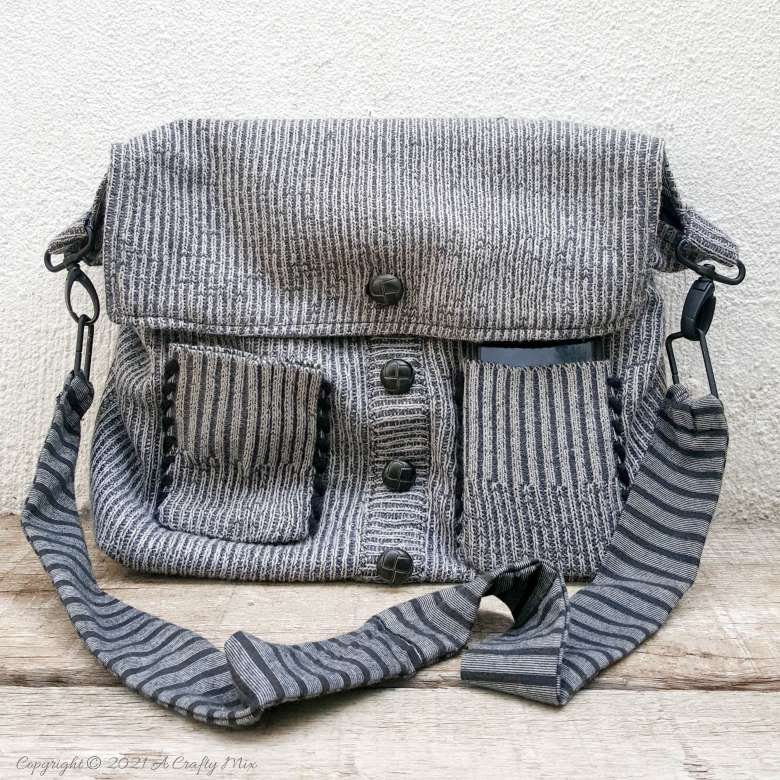
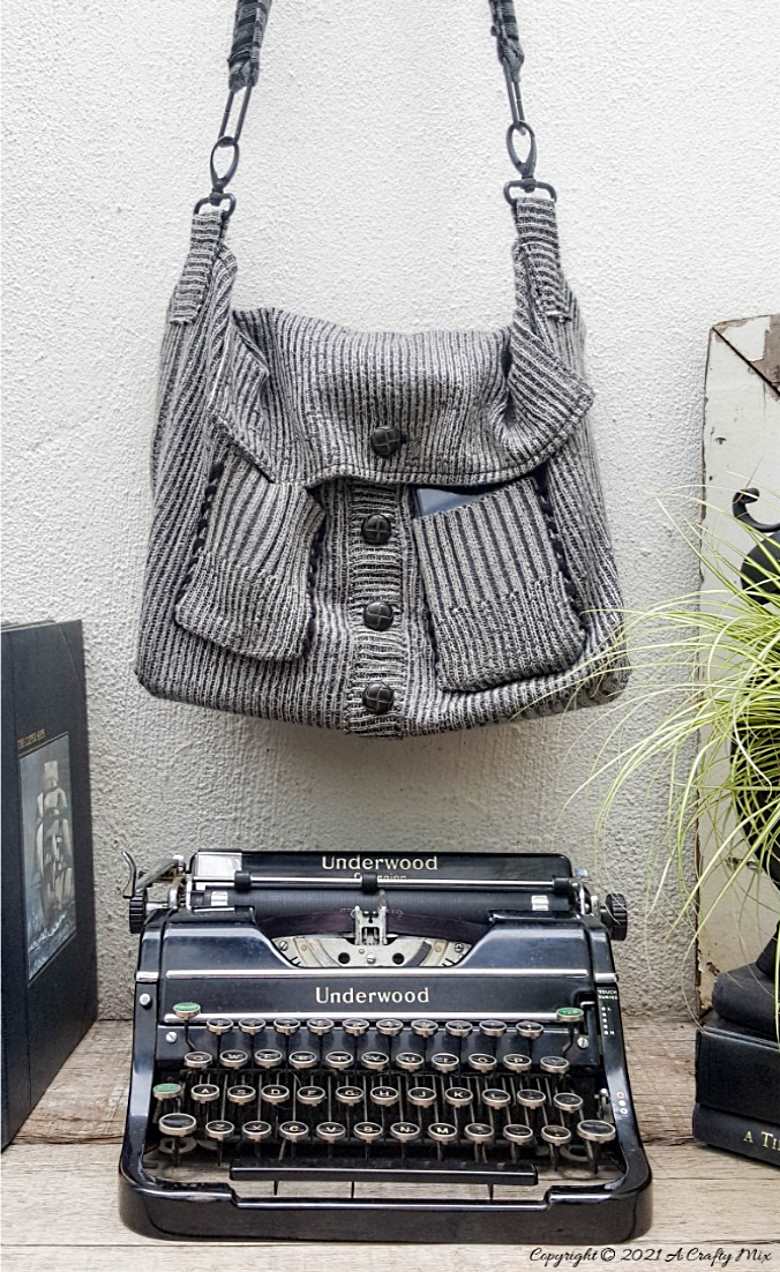
And that’s it; the handbag is done.
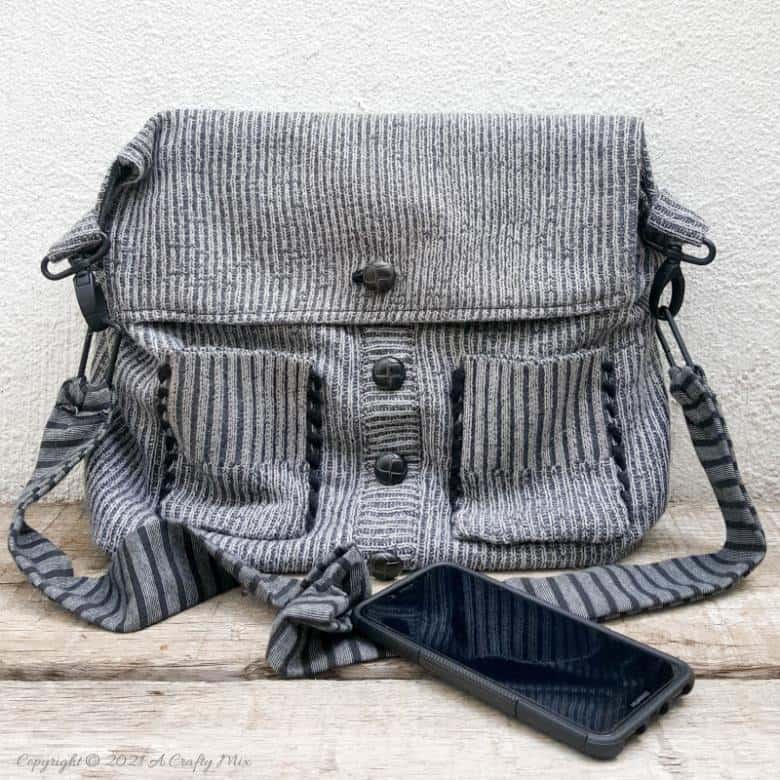
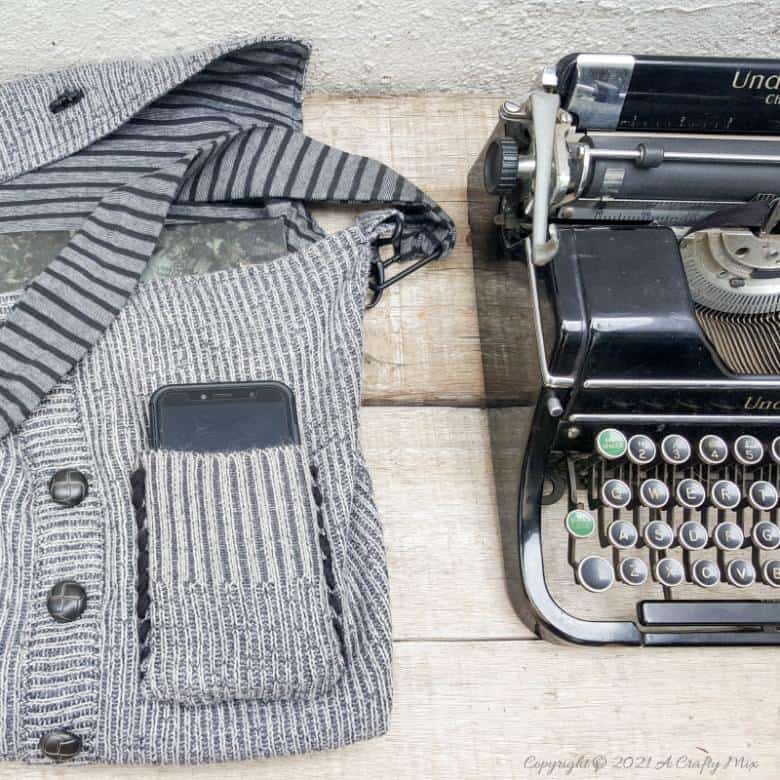
The pockets hold a mobile phone comfortably.
And I’m loving those old-style buttons. I managed to save two of them to use as eyes for this childlike plushie.
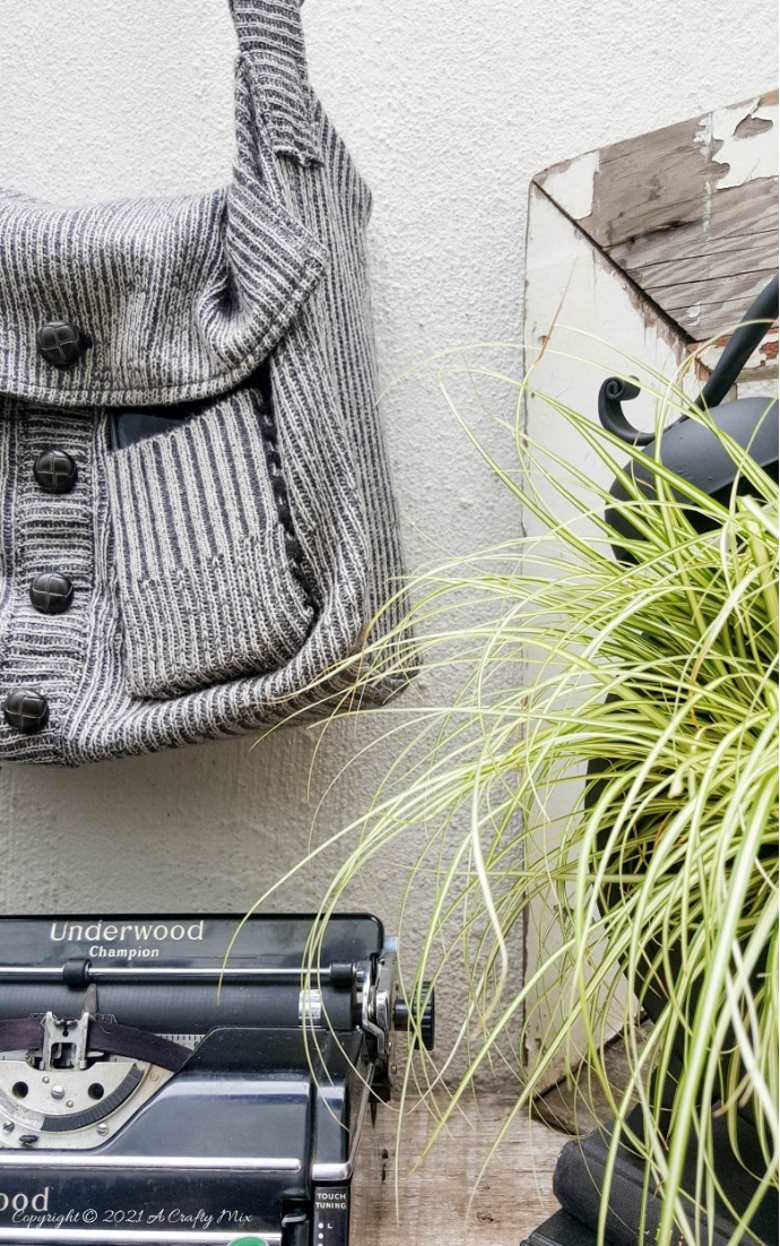
The bag is both wide and deep enough to carry a laptop or several books.


Plus, it only cost me some time, and now I have a special handbag that reminds me of my son every time I use it.
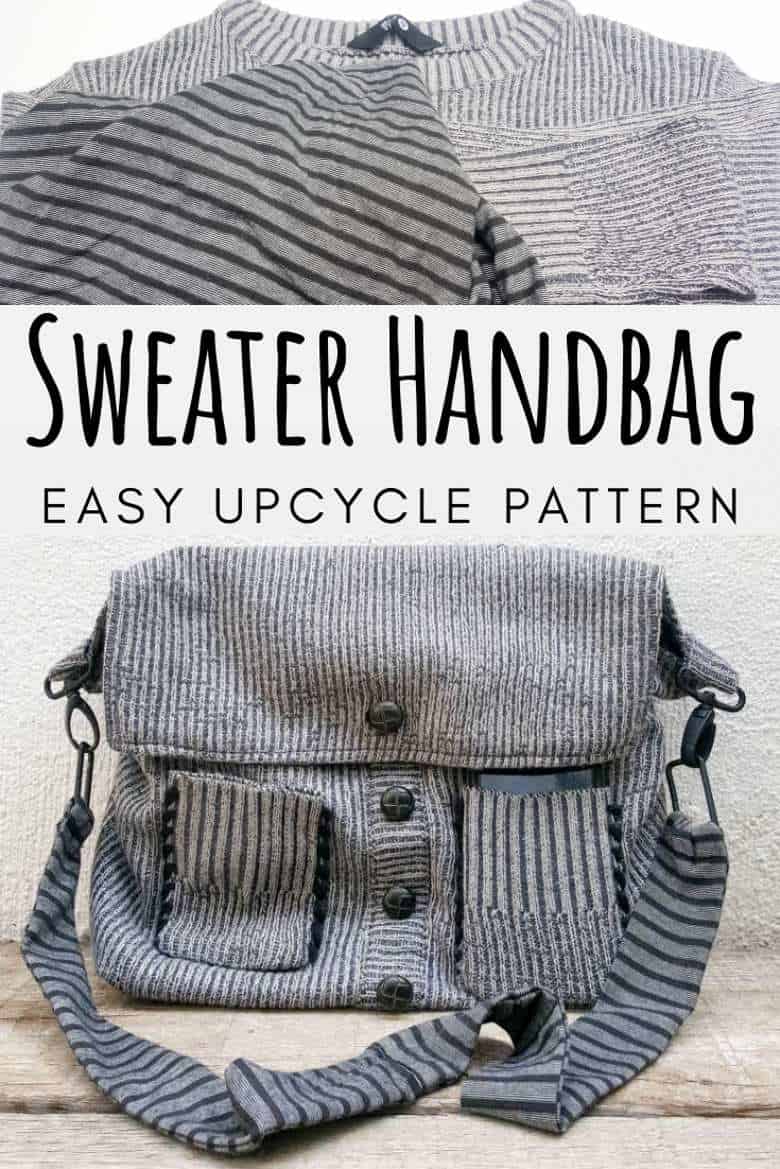
If you like the idea of turning a special sweater into a handbag, don’t forget to pin it for later.
Sharing is caring .

And don’t forget to go have a looksee at all the other sweater creations from the other IBC members.

- Marie from Interior Frugalista wowed with this oversized Easter Egg sweater wreath. Aren’t those colors just perfect for Spring?
- Repurposing a sweater to make a handbag with fun pocket and button detail by yours truly.
- The first car I ever worked on was a Beetle so this adorable little one made by Sara from Birdz of a Feather brought back so many good memories.
- The cutest Steampunk doorstop by Anita. This one deserves a close-up to see all the details.
- A gorgeous sweater and drop cloth tote with beautiful trim made by Meegan.
Oh, and if you’re looking for some of the things we used, we’ve got you covered. Disclosure: Clicking on the links below means we may receive a commission from Amazon. But don’t worry, it won’t come out of your pocket, and it helps us make more amazing crafts to share with you 😉


And if you prefer to buy rather than DIY, these beauties may appeal.


And as always, wishing you a wonderful, crafty week filled with lots of love. Thank you for popping in for a visit.

Last update on 2026-06-03 / Source Amazon Affiliates