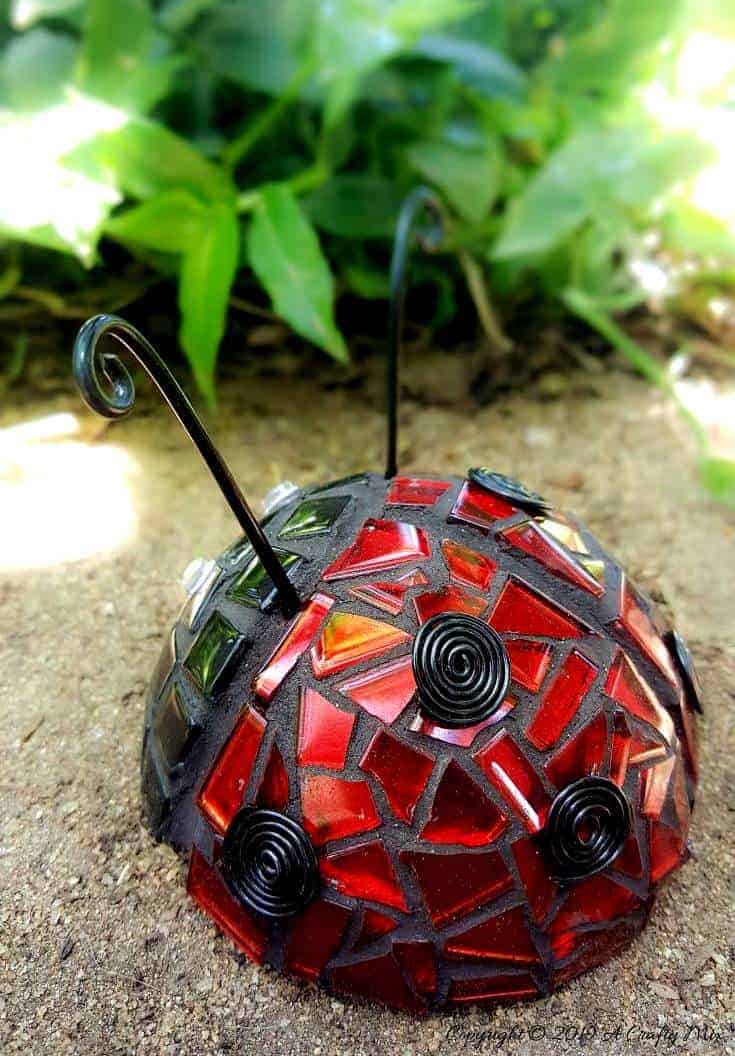
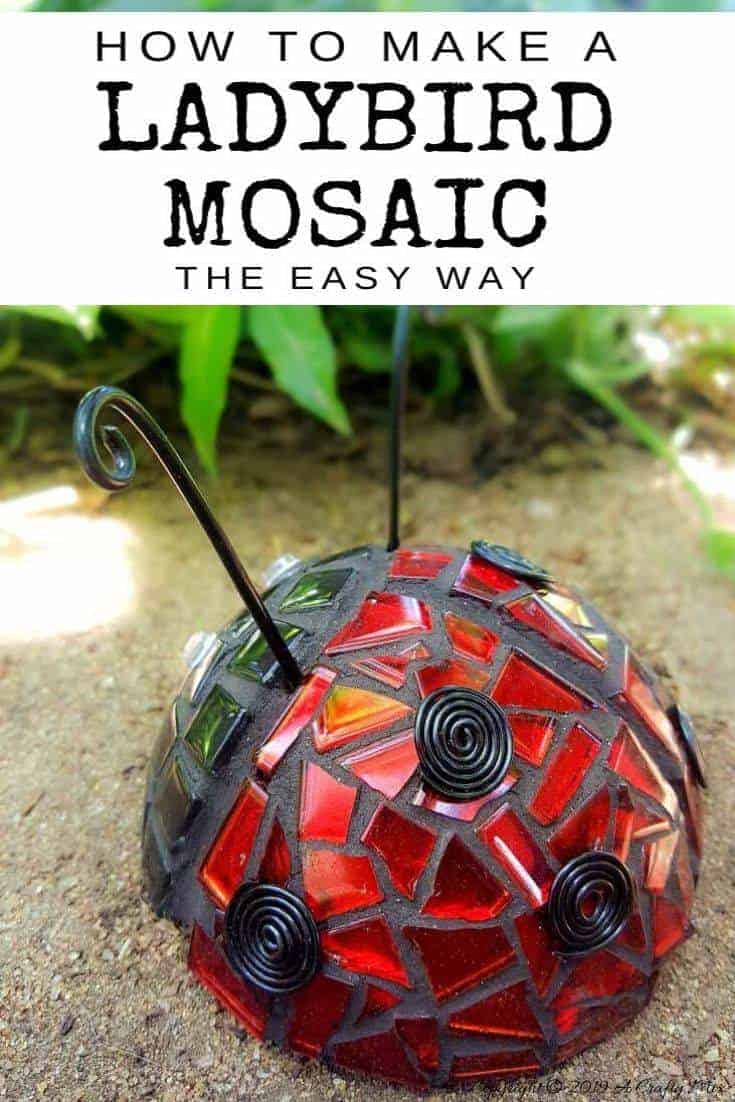
Do you like ladybugs? I do. So when Melissa from Sincerely Saturday invited me to take part in THE GREAT LADYBUG CHALLENGE, I was really excited to see what we could come up with. And then life got busy. You know how it goes, right!? Fast forward a few months and I finally got my act together and managed to turn a sponge ball to into this ladybug mosaic 😉
Is it a ladybug or a ladybird?
Here in South Africa, we call ladybugs “ladybirds”, coz technically they’re not actually bugs. They’re beetles. Bugs suck and beetles chew 😉 Beetles have four wings. Two hard, leathery ones on the outside that protect the two soft ones inside when they’re not flying. Bugs are normally vegans, while beetles like adding a little meat to their diet. Especially aphids and other plant damaging insects, which means they’re really good to have around.
Have you ever wondered why they’re called ladybugs ladybirds? Legend has it that in the Middle Ages, swarms of aphids were destroying crops in Europe. Farmers prayed to the Virgin Mary begging for help. And she obliged by sending a whole bunch of ladybirds, who promptly organized an aphid feast and saved the day. The happy farmers named the beetles “Our Lady’s bird” a name which stuck. Weird fact (well for me anyway) some people don’t like ladybirds!!! Are you one of those people? Please tell me no. Or if you are, please chase them away naturally. Yucky chemicals are bad for all of us.
Did you know: ladybird larvae look like tiny black alligators
Anyhows, enough of my yapping. You didn’t come for a lesson in Entomology 😀 Let’s get back to THE GREAT LADYBUG CHALLENGE. It was originally inspired by Our Little Red House and the rules are simple…..

What you need:
- A sponge ball
- Red and black tiles or tesserae
- Wood glue and water
- Sandpaper
- E6000 glue
- Black grout (my personal favorite)
- Black jewelry wire (12 Gauge and 18 gauge)
- Tile cutters or nippers
Right, before we get to the ladybug mosaic tutorial, be sure to follow us on Facebook, Twitter, Pinterest, or Instagram. And don’t forget to subscribe so you’ll never miss a post!
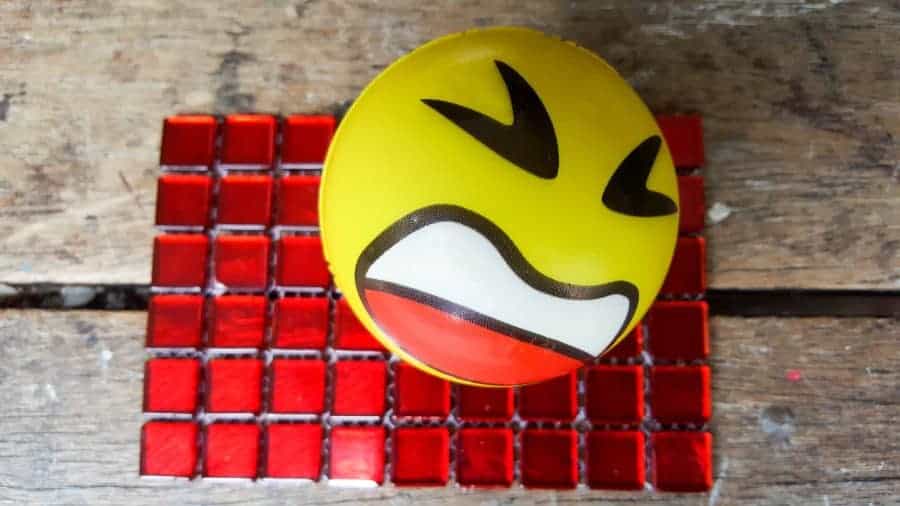
How to use a sponge ball to make a ladybug mosaic
I know it sounds a little weird but a sponge ball is a great base for making a 3D ladybug mosaic. The balls are cheap, easy to work work with and they’re firm enough to support the mosaics too. For the ladybug, you’ll only need half a ball, so you can make two for the price of one 😉 Or you can save the other half and use it to make this unique hourglass.
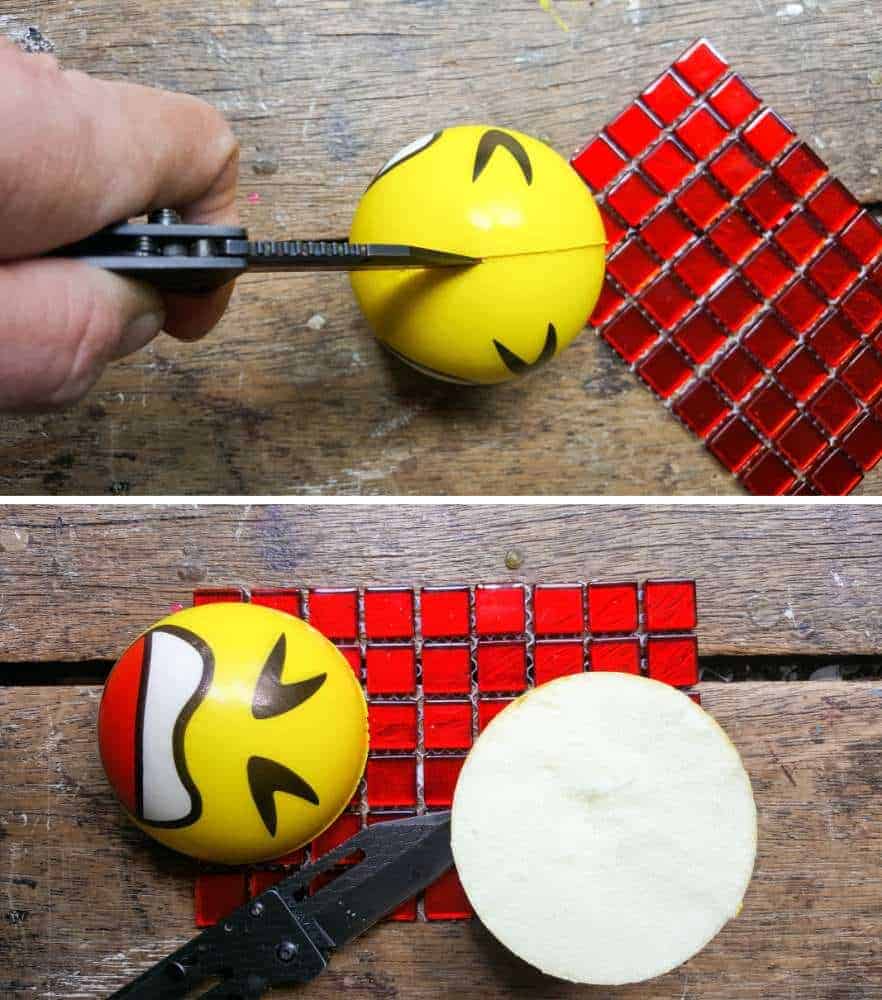
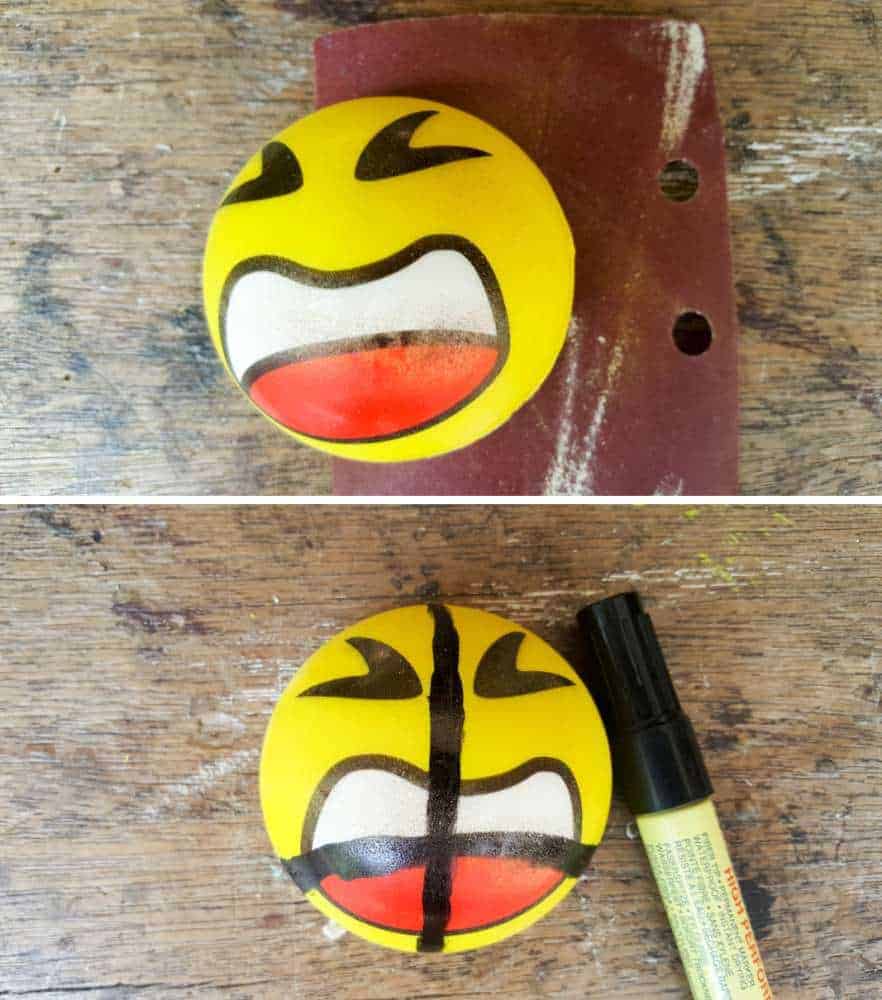
Mix up some water and wood glue and drench the spongey inside of the ball to harden it up a little. The sponge ball I used had a smooth shiny exterior, so I roughened it up with 100 grit sandpaper before using a permanent marker to indicate where to add the tiles.
Cut a whole bunch of red and black tiles in random shapes using tile cutters.

And glue the tiles on using E6000.
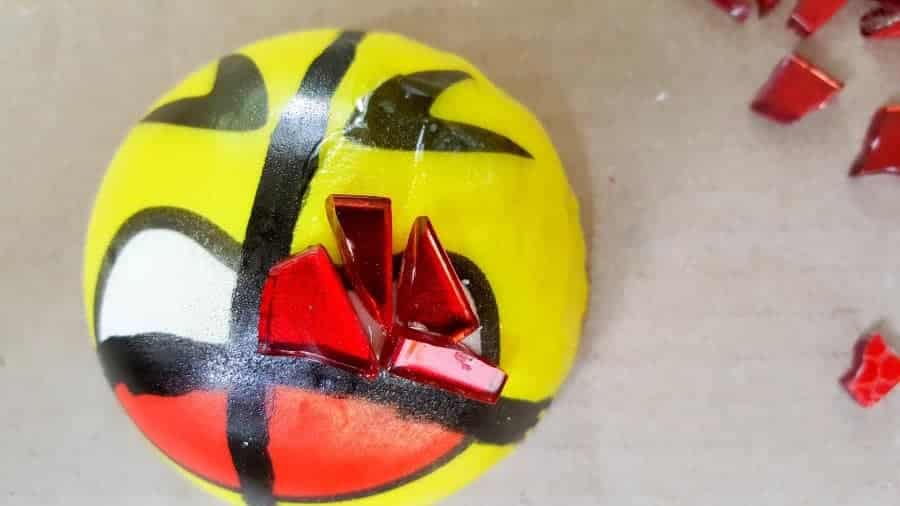
Don’t worry about the ladybug spots for now. We’ll add them later 😉
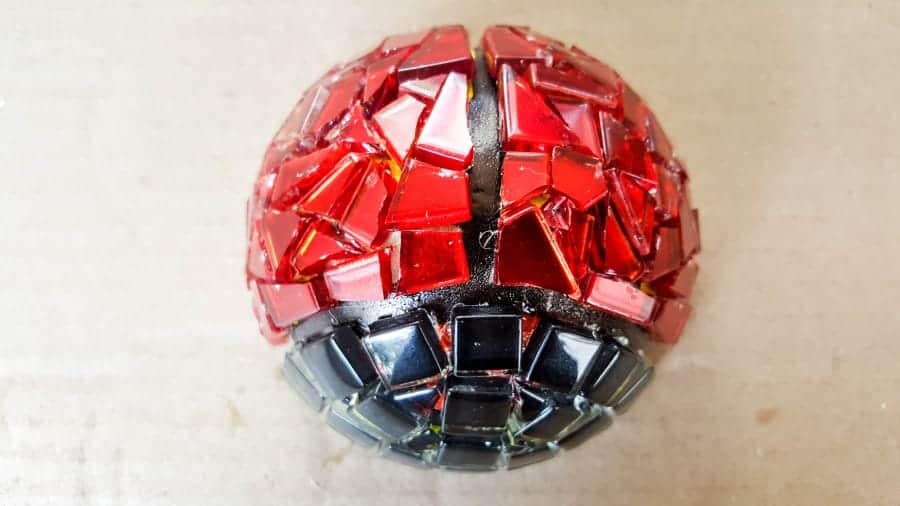
Wait for the glue to dry completely before mixing up some grout according to the manufacturer’s instructions. I always use black grout in my mosaics. It makes the colors pop so beautifully.

Give the grout a few minutes to harden a little and wipe away the excess with a damp cloth or sponge. You can find more grouting tips here.
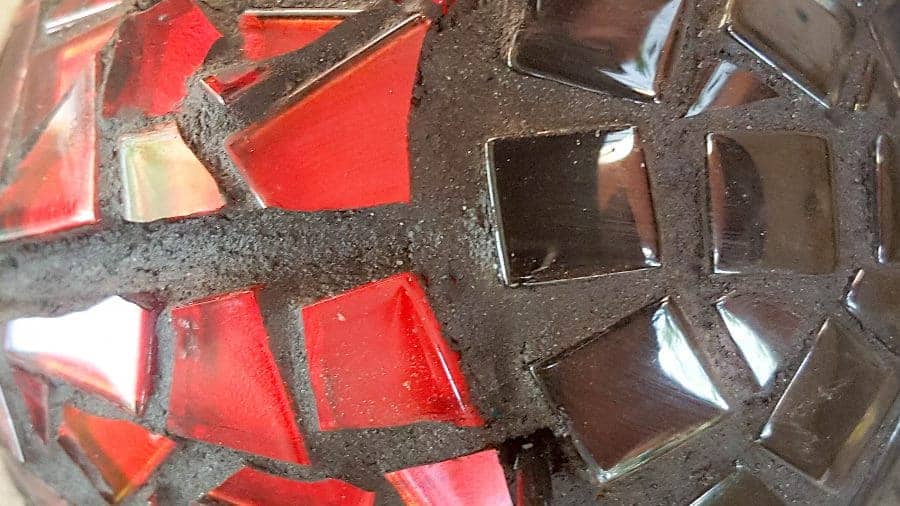
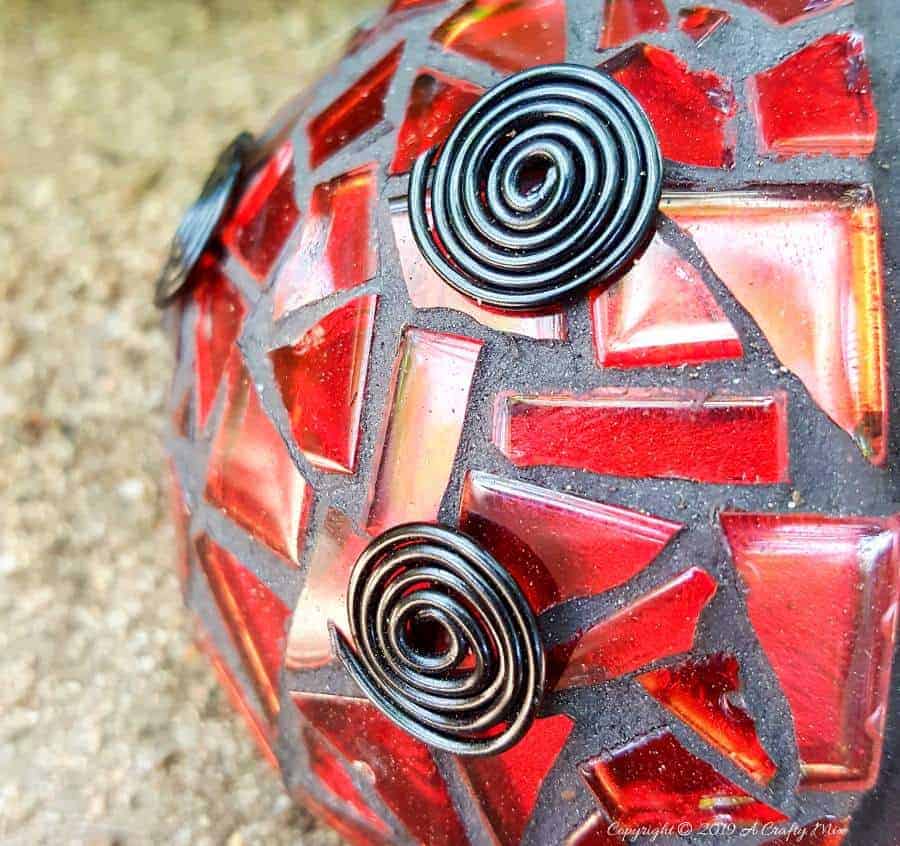
Don’t you just love how vibrant that red looks against the black grout? Right, let’s add some spots.
Making the ladybug spots
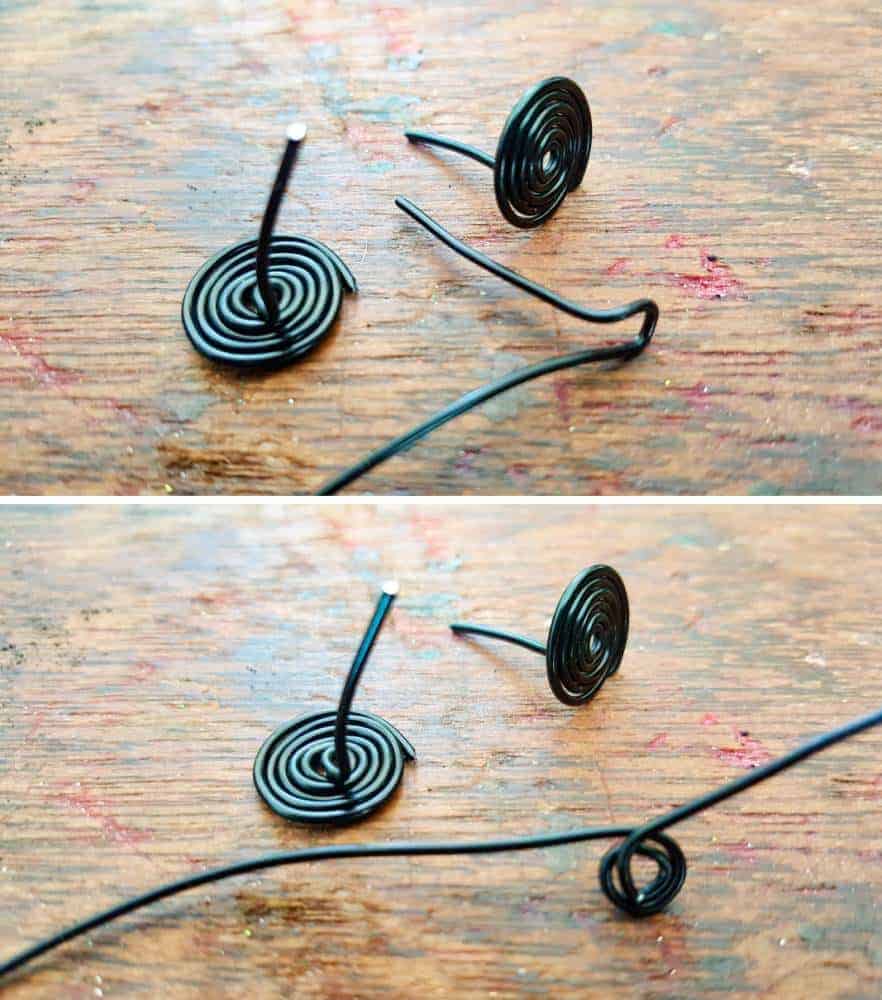
Cutting tiles into round little shapes is almost impossible. If your sponge ball is large enough you can use glass beads to make the spots. My ball was quite small so I chose to make spots with 18 gauge jewelry wire. Make a small loop in your jewelry wire, about 1 cm (1/2″) in from the end, and then twist the wire around the loop to form a spiral.
Use a sharp yarn sewing needle to make a hole in the cured grout and insert the jewelry wire spots.

Make two small antennae using the 12 gauge jewelry wire and insert them in the same way.
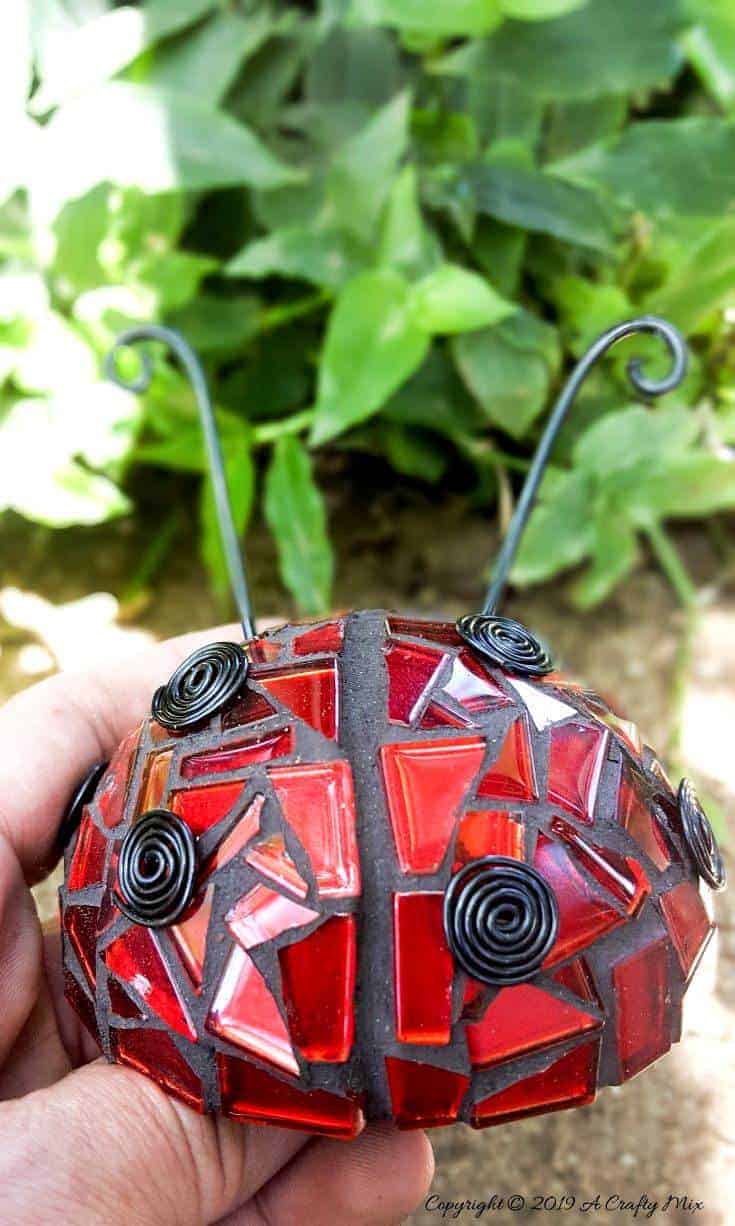
And that’s it, your sponge ball ladybug mosaic is all done.

If you’re not keen on using a sponge ball for your ladybug mosaic, you can use this easy tutorial to make a mold and fill it with concrete instead.
If you like the idea of using a rubber ball as a mold for a ladybug mosaic, don’t forget to save it for later.

Sharing caring.
Now there’s only one thing left to do, invite a few of my fellow bloggers to take part in THE GREAT LADYBIRD CHALLENGE. So here goes. I would love to see what these creative bloggers do:
- Linda from Mixed Kreations
- Mel from Decor Craft Design
- Dorothy from Kim kimenink.com
Oh and if you’re looking for some of the things we used, we’ve got you covered Disclosure: Clicking on the links below, means we may receive a commission from Amazon. But don’t worry it won’t come out of your pocket, and it helps us come up with more amazing craft ideas to share with you 😉


And if you prefer to buy rather than DIY.


And as always, wishing you a wonderful, crafty week filled with lots of love. Thank you for popping in for a visit.

Last update on 2026-06-03 / Source Amazon Affiliates