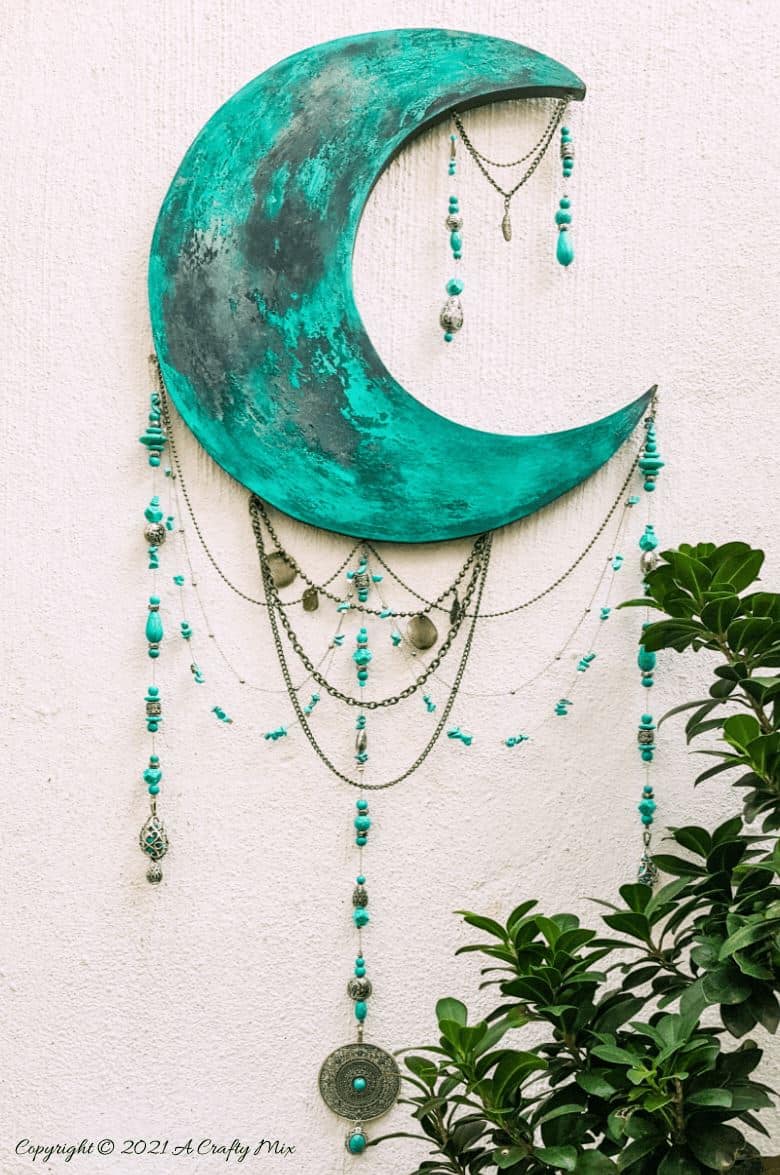
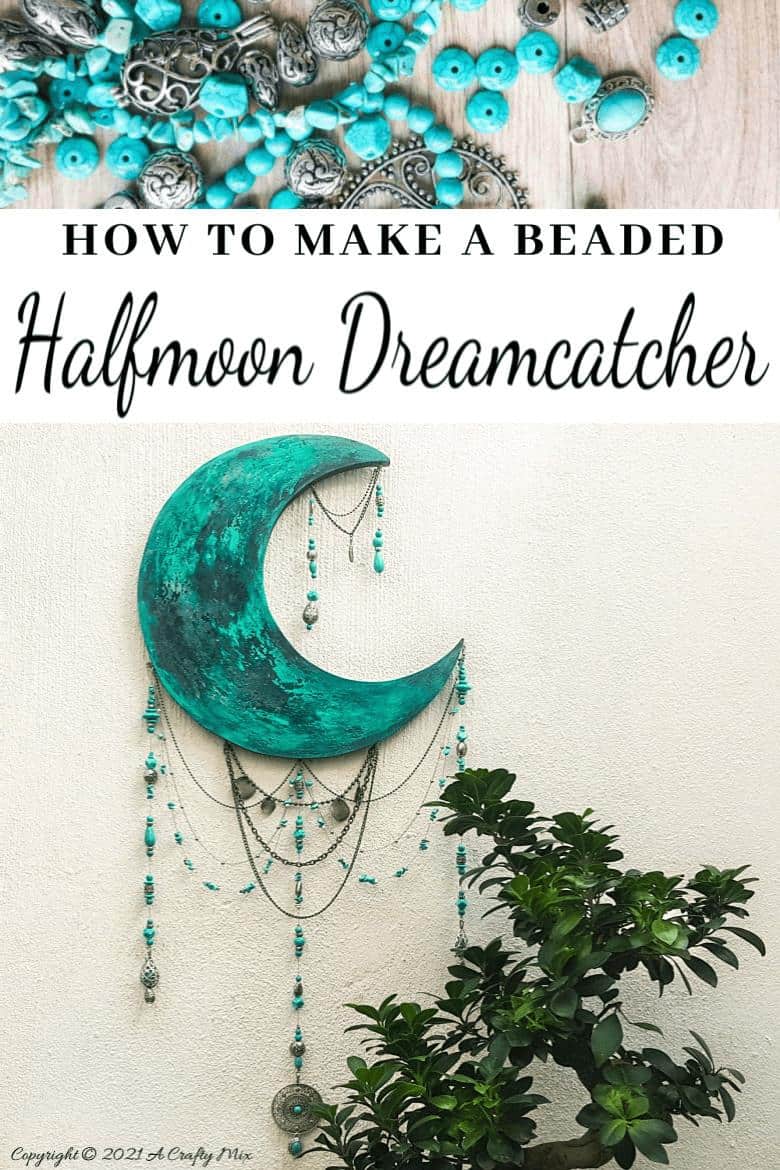
Some people collect buttons, but for me, it’s beads. It doesn’t matter if they’re rescued from a broken necklace or passed on from friends that no longer need them; I’ll find space for those little beauties somewhere in my craft cupboard. And don’t ever leave me alone in a bead shop. I’m like a kid in a candy store with a credit card that will be maxed out before you finally drag me out of there, kicking and screaming 😀 So when the ladies at the IBC suggested “Beads Galore” as a theme for this month’s challenge, I was over the moon; literally. You see, I’ve been meaning to make myself a half-moon dream catcher with bead detail for the longest time.

Nothing like a challenge to make you use up your craft stash, right?!!! The half-moon dream catcher adds a distinctly bohemian flair to our décor, and it can be hung anywhere.
Plus, this month’s IBC “Beads Galore” challenge lets me showcase all those baubles I’ve collected over the years.
Let me quickly tell you a little more about the IBC. We’re a group of bloggers from all over the world who challenge each other every month to make something using a common theme. Our previous challenge was all about spindles, and we made a tabletop water feature using a CD spindle. It always surprises me how everyone puts their own unique spin on the theme. You can see all the other beady projects at the end of the tutrorial.
Right, before I show you how I made this beaded half-moon dream catcher, do me a favour and follow us on Facebook, Twitter, Pinterest, or Instagram. And don’t forget to subscribe so you’ll never miss a post!
What you need
- Scrap wood. I used melamine
- Two round objects to use as a template to draw the half moon
- Craft paint
- Bead crimps
- Ball chain
- Jewellery wire
- Small eye hooks
- Jig saw for cutting the moon
- Old sheet or canvas
- A collection of beads. I used:
- Turquoise beads
- Tibetan bead spacers
- Antique silver pendants

How to make a half-moon dream catcher with bead detail
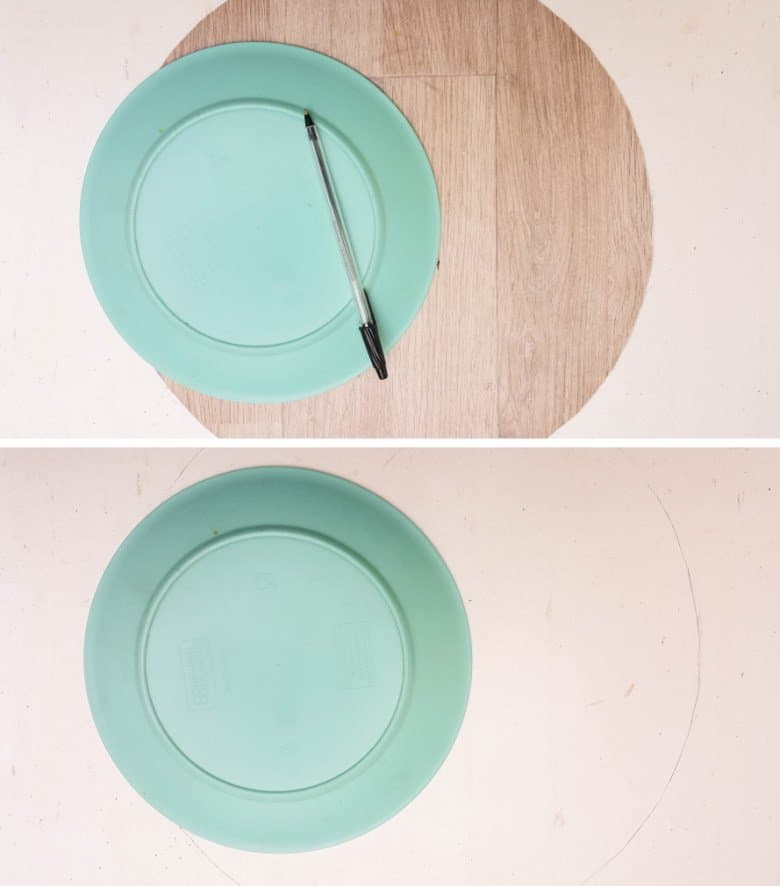
To draw the half-moon, you can either download and print this template or use two round objects, one large and one about ½ the size of the larger object. Place the larger round object on your piece of wood and trace it all the way around. Place the second “round object” just off-center on the larger circle and trace.
Cut the half-moon out with a jigsaw.
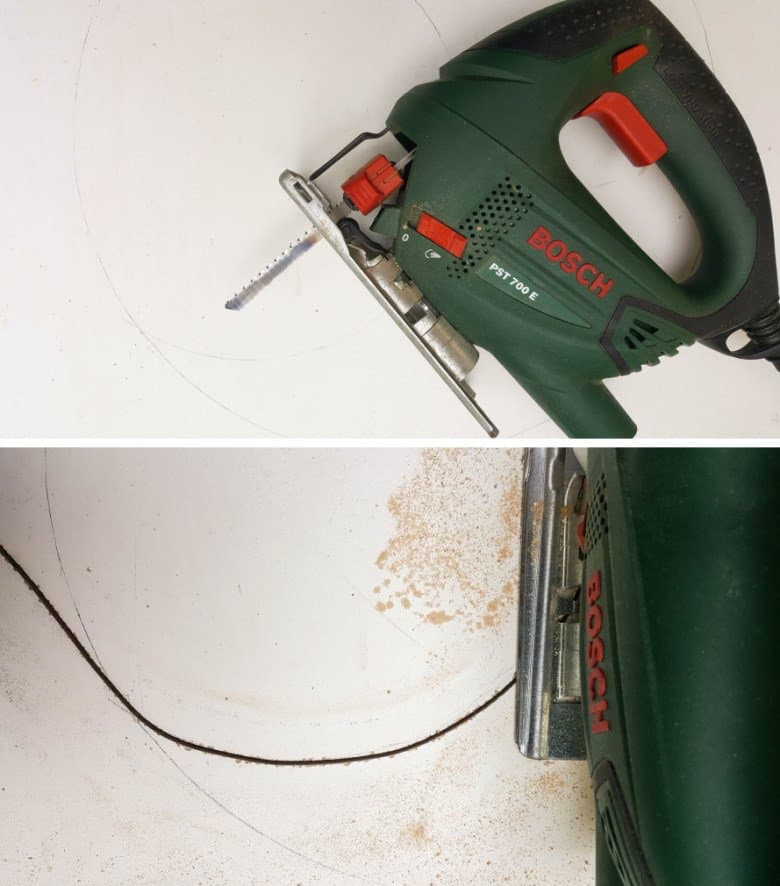
If the thought of using a jigsaw puts you off, this guide will help you conquer any misgivings you may have. You can also use an already cut form. Most craft shops sell them.
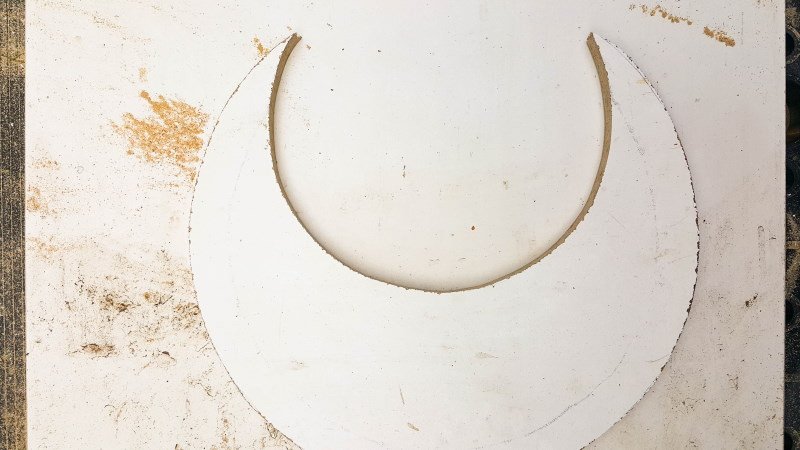
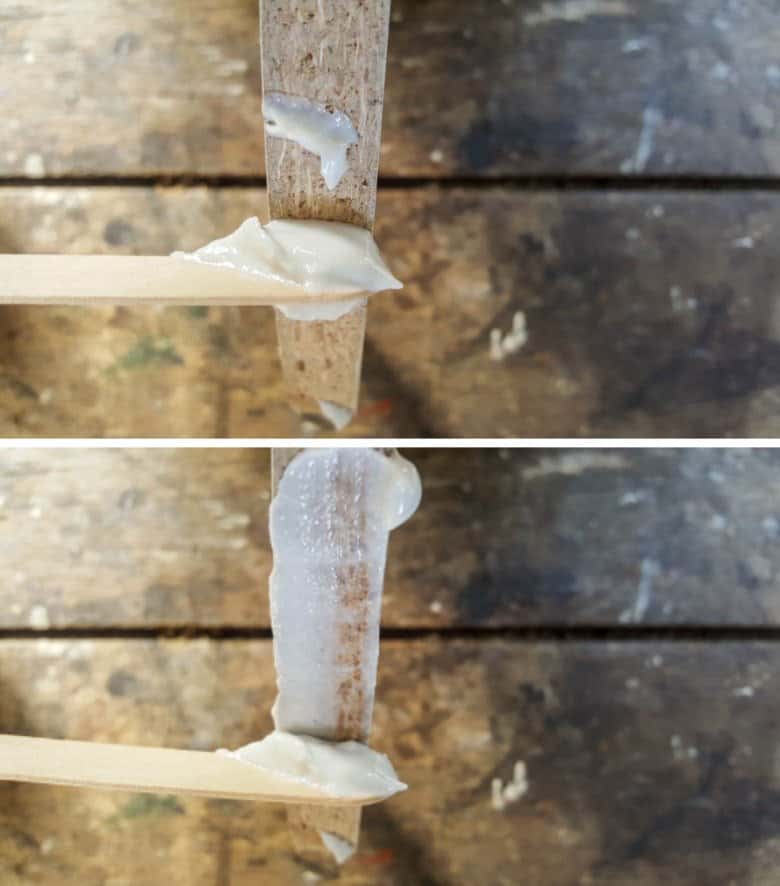
If you’re using cheap pressed wood, seal the cut edges with gesso, so it’s easier to paint.
Clean and sand the half-moon before painting. Sanding is especially important if you’re using melamine.

Paint the half-moon in a color that matches your beads. I used Unicorn SPiT midnight black and turquoise acrylic paints.
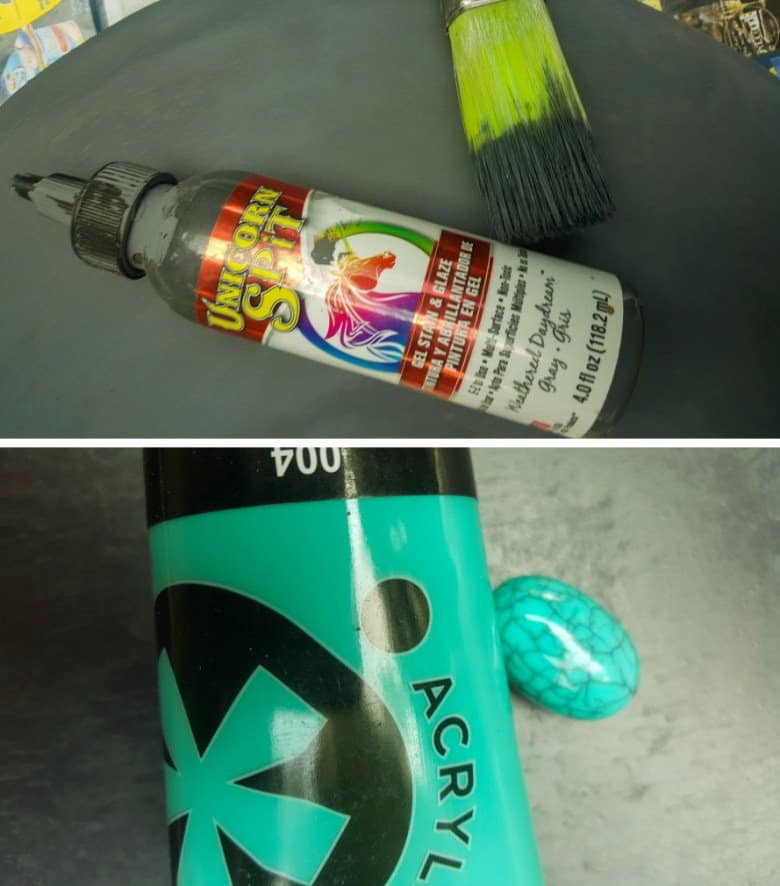
I tried to match the paint colors to the beads to create a cohesive look.
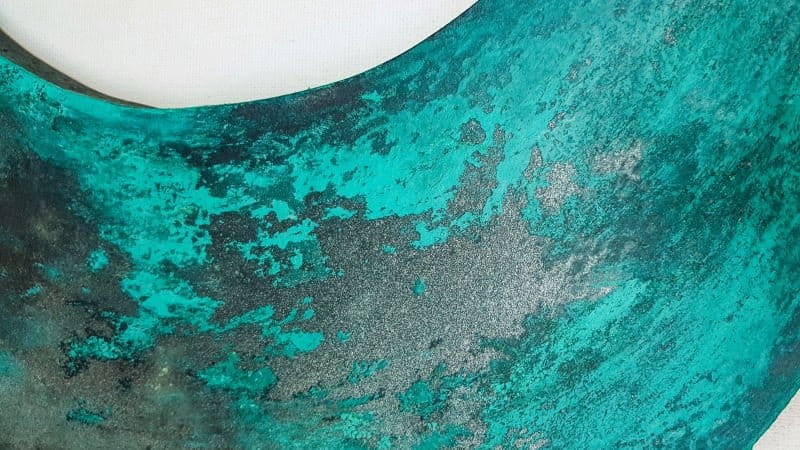
To achieve that slightly mottled effect I adapted this tutorial that shows you how to age a skull and gave the moon a light sanding afterwards to expose the black. Wait for the paint to dry before attaching a zig zag hook to the back of the half-moon.

Prepping your work area
To make it easier to hang the beads on the dream catcher, I hung some fabric over a door. The fabric acts as a canvas and lets you play around with the bead detail before doing all the hard work of adding the actual beads. If you have a large blackboard that will work too.
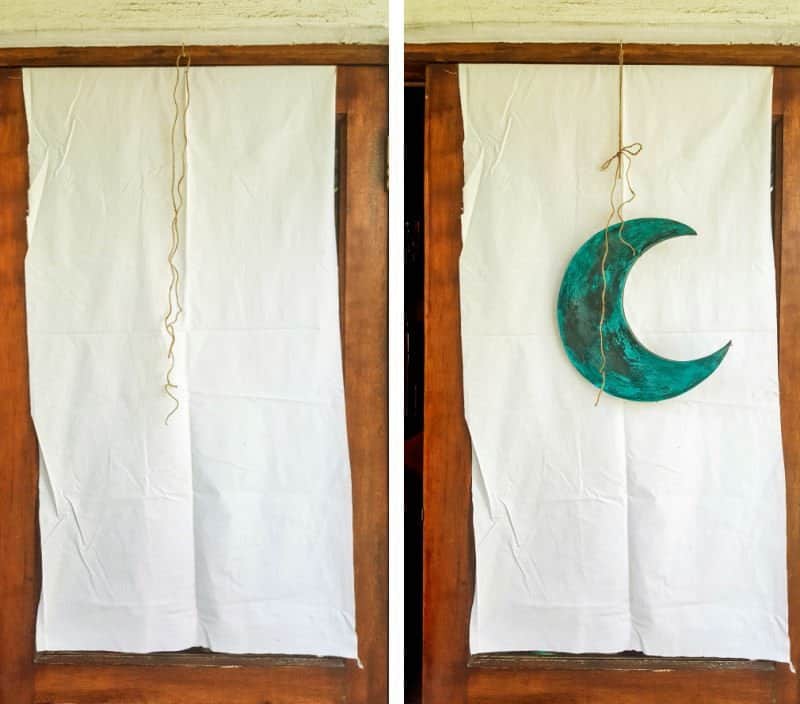
Use a pencil to make a rough sketch of where you’ll be hanging your beads on your half-moon dream catcher.
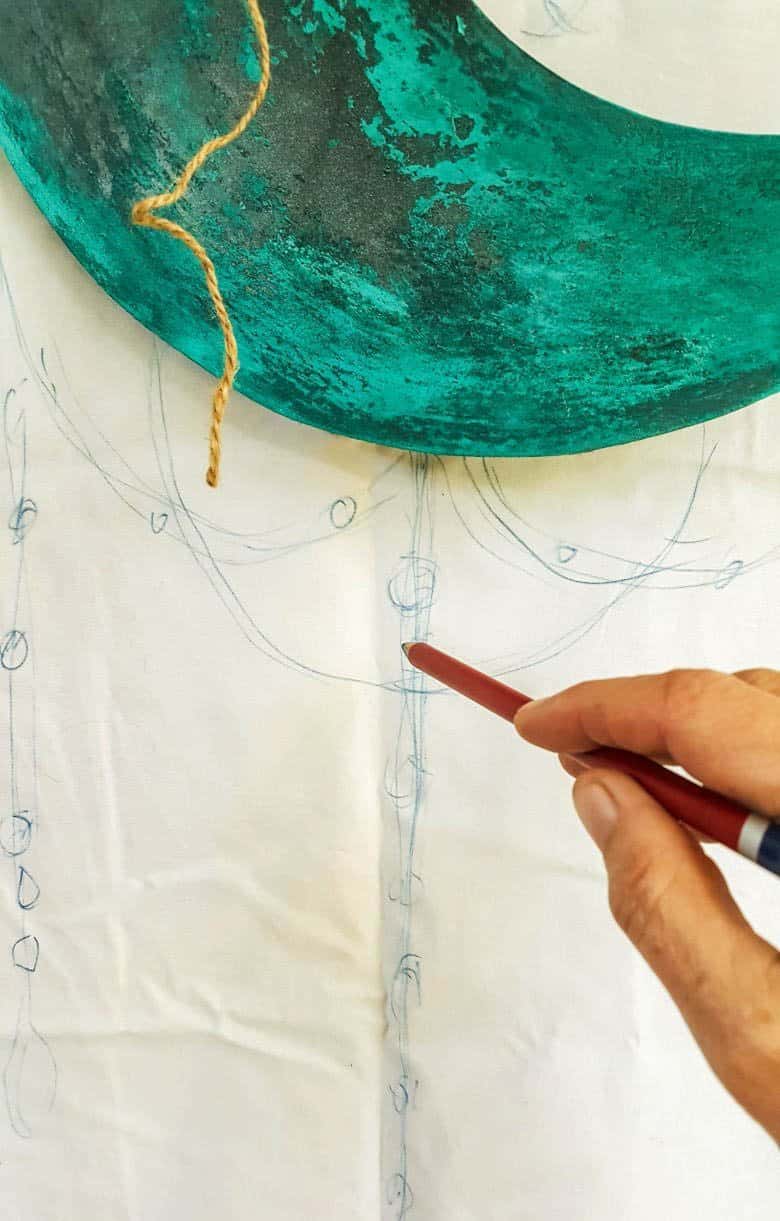
Play around and experiment with the layout and design until you’re happy. Remove the half-moon from the door and insert small eye hooks at the points where the beads will be attached to the moon.
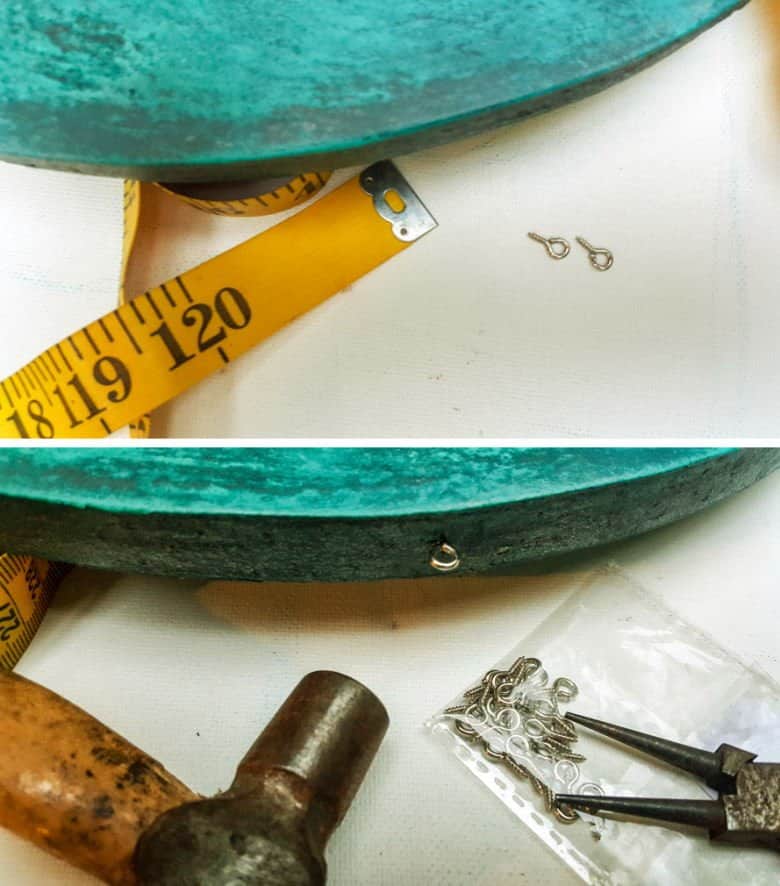
Hang the moon back on the door and start adding the beads using the sheet as a guide.
Adding the beads
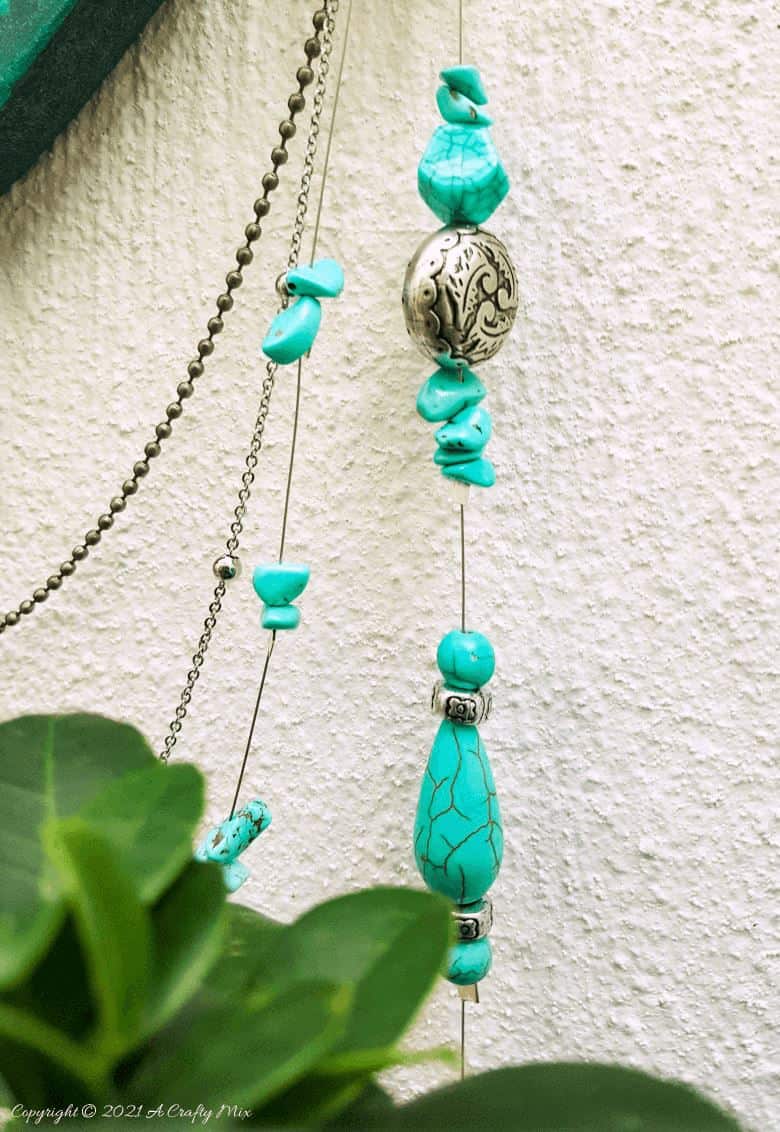
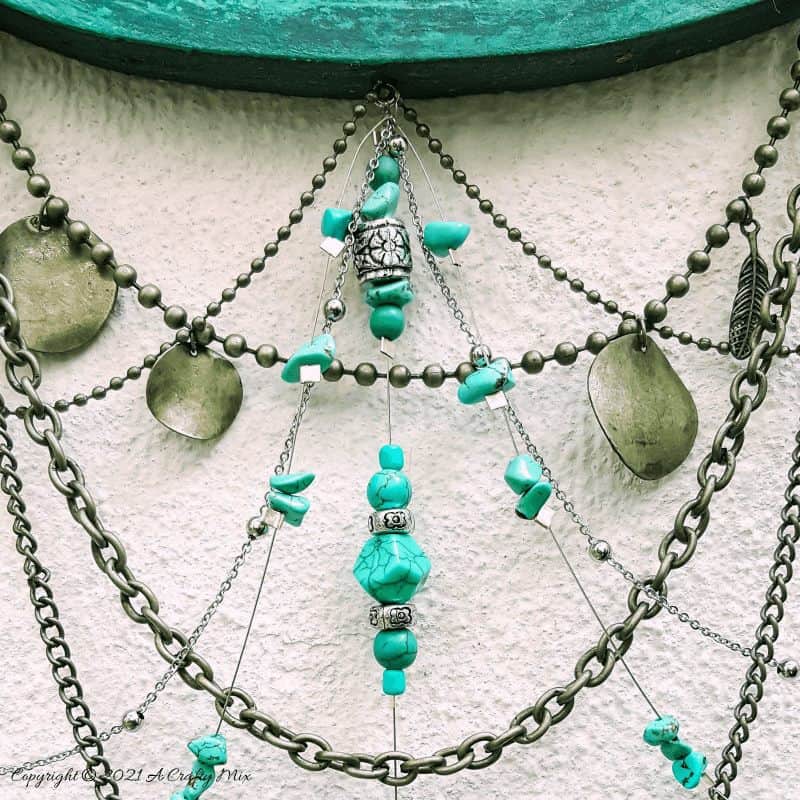
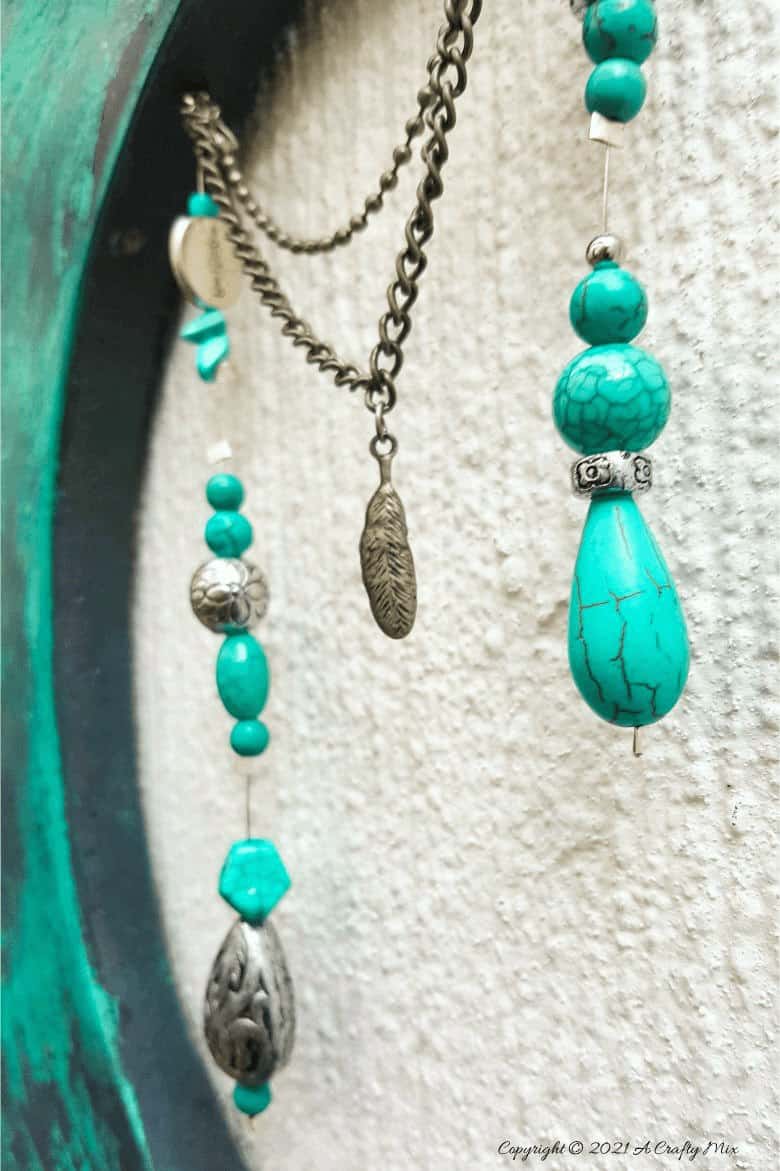
For my half-moon dream catcher, I used a whole bunch of turquoise and antique silver beads strung onto thin jewelry wire. To add visual interest, the wired beads are interspersed with chains. Since you’ll be creating your own unique version, I thought I’d share a few tips and how I went about hanging the beads.
What’s a good starting point
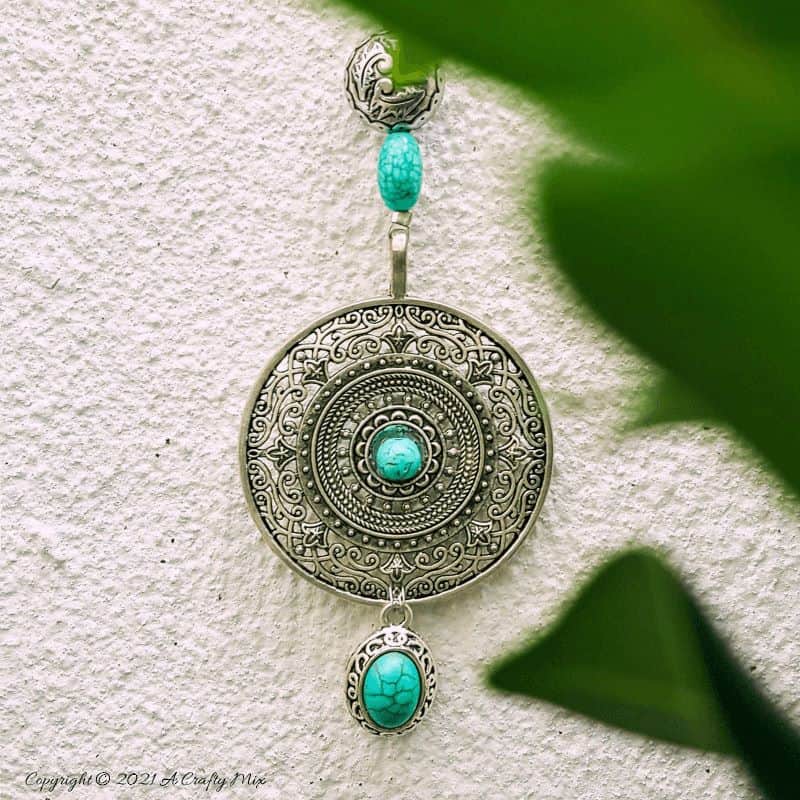
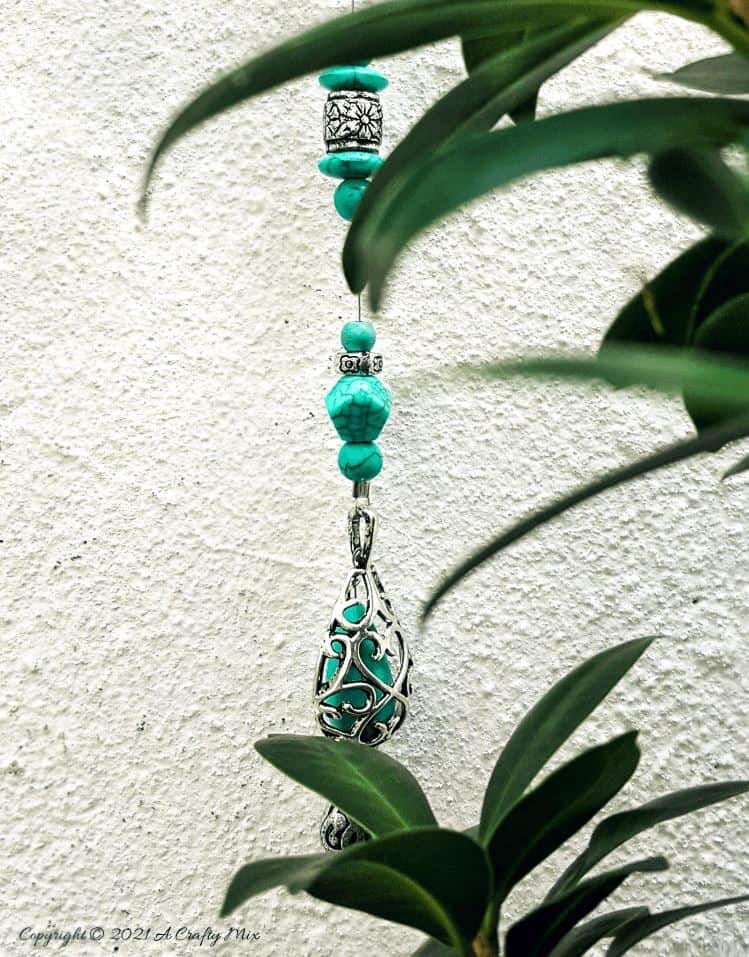
When putting something like this together, I always look for the focal or anchor point and work my way outwards from there. For this half-moon dream catcher, the long strand hanging from the bottom middle of the half-moon “anchors” the other beads and chains around it.
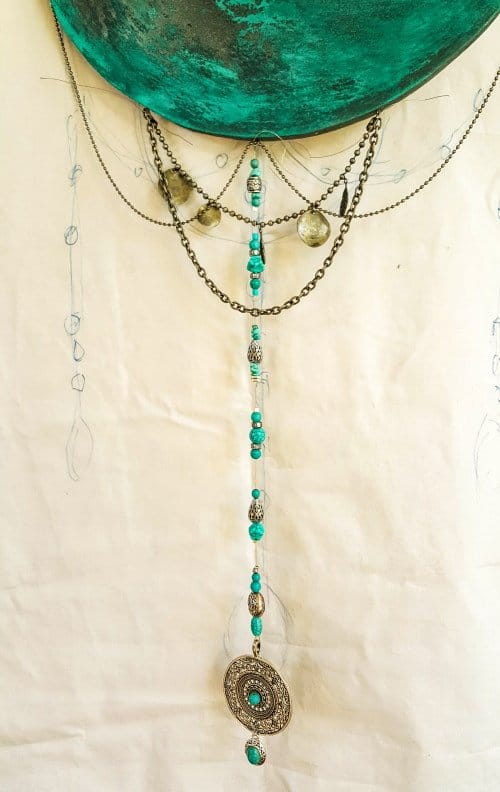
The large pendant at the bottom is secured to the jewelry wire with a small crimping bead before the turquoise and silver beads are added.
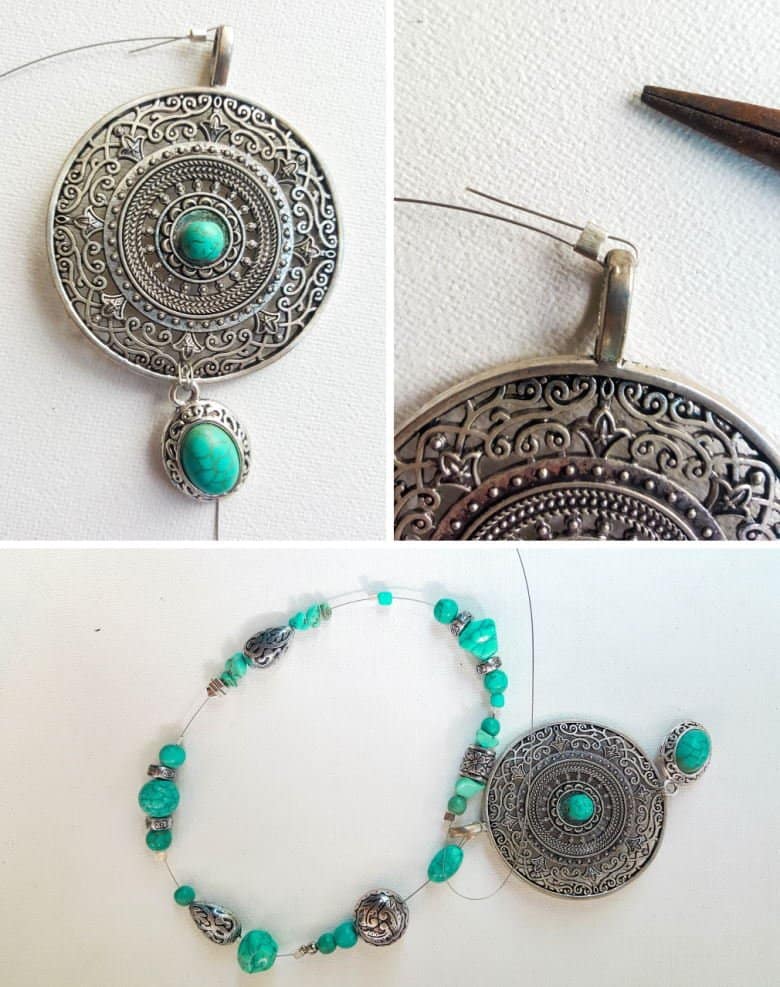
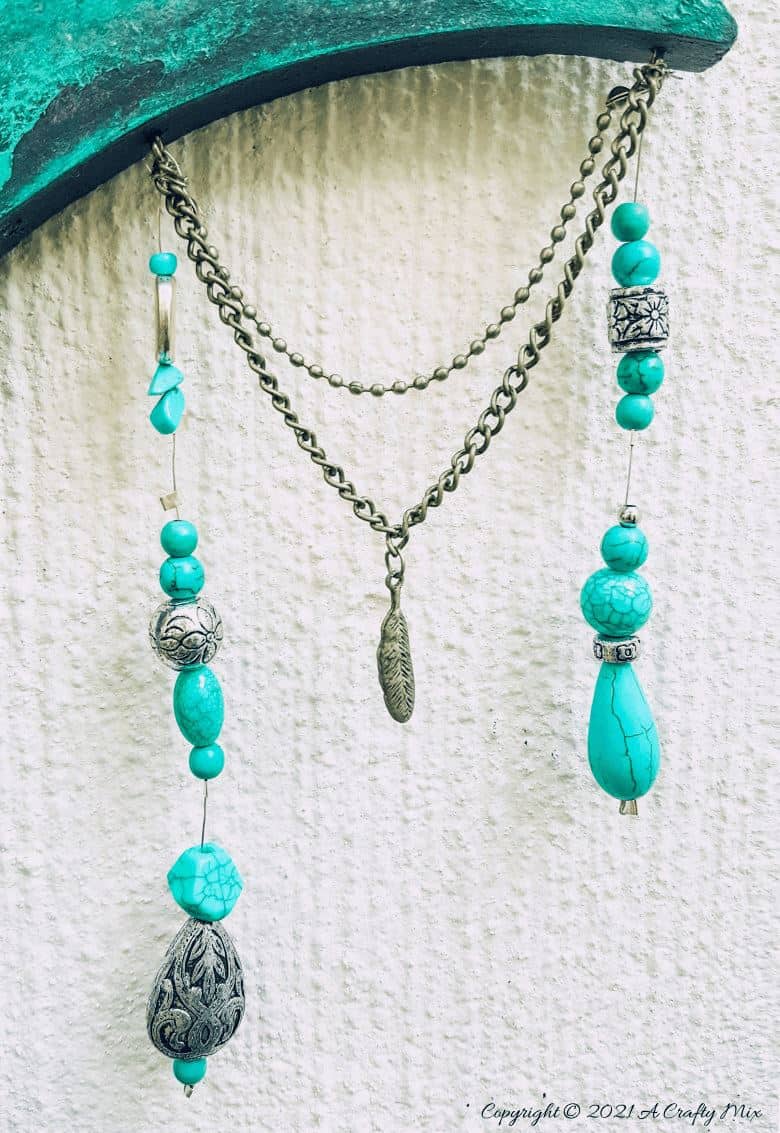
How to space beads
Bead crimps are great for creating space between groups of beads and preventing a bead from slipping off. Bead crimps are made from soft metal and can be squished closed with long-nosed pliers.

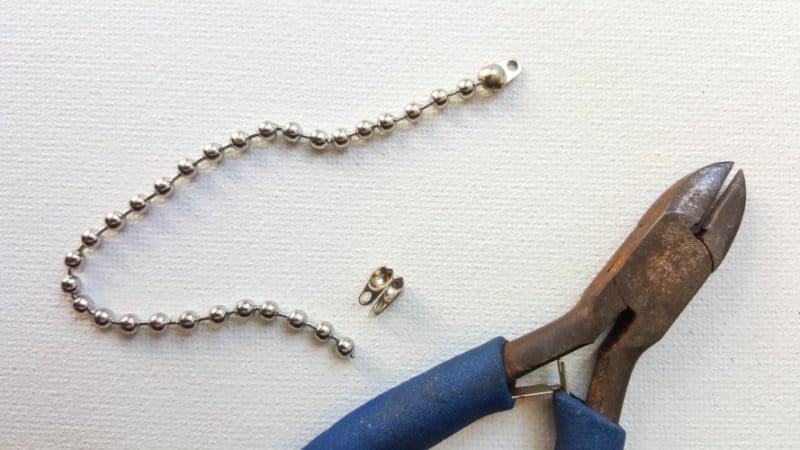
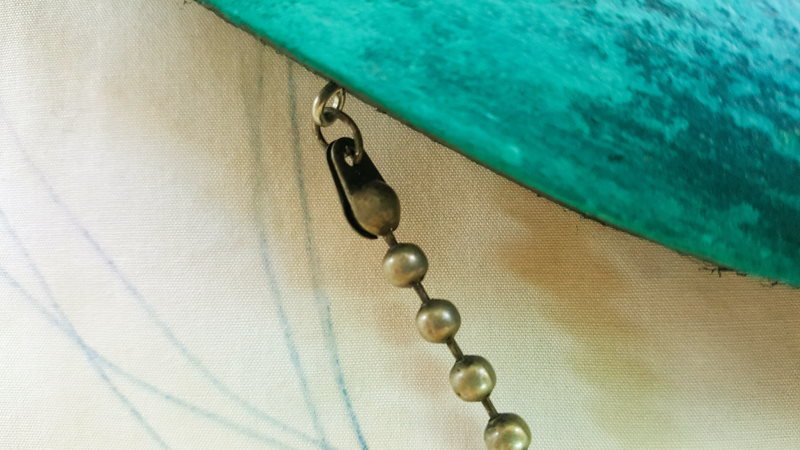
Ball Chain
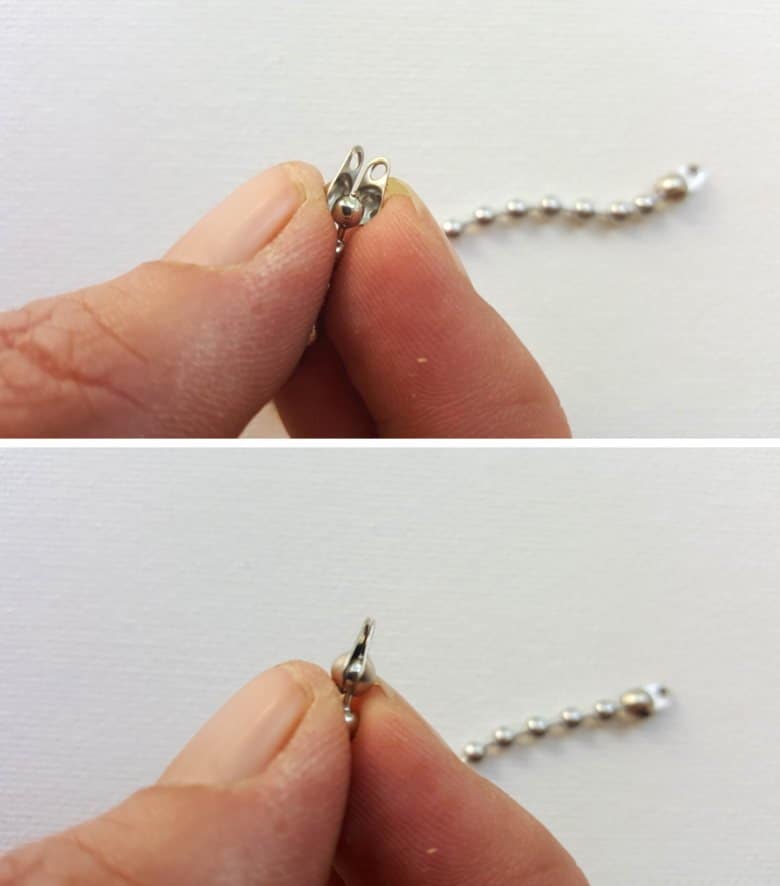
To hang ball chains, use a ball chain connector. Cut the ball chain to the desired length and place a ball chain connector on the last ball. Squish it closed with your fingers.
Repeat on the other side.
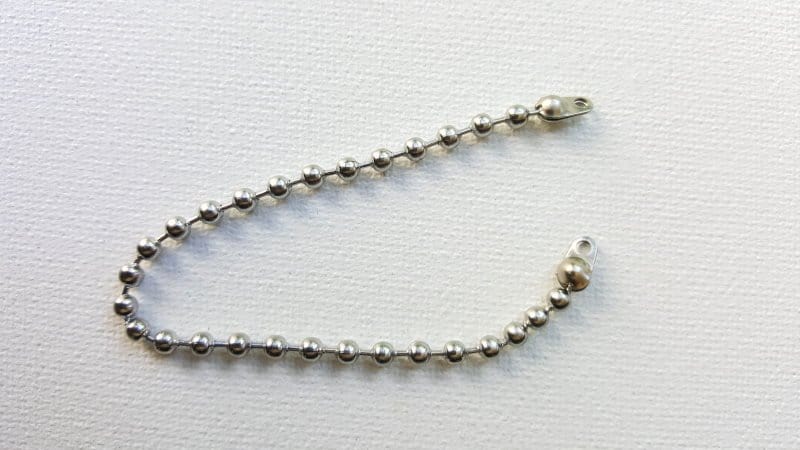
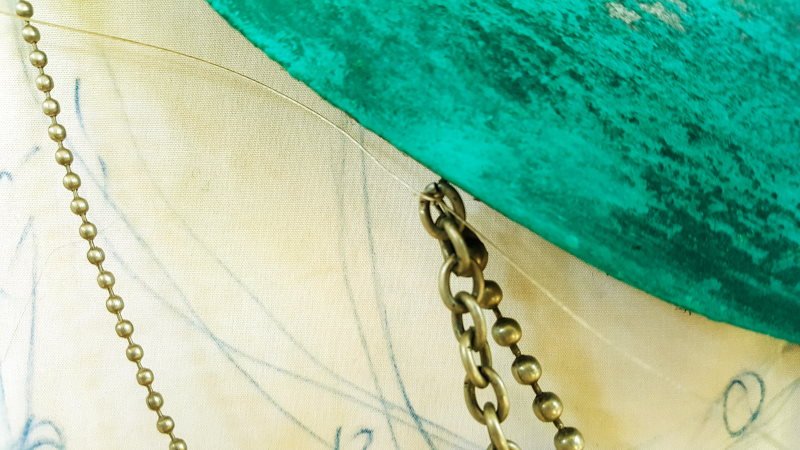
Hanging the chains and beads
The chains can be hung on the eye hooks with a small jump ring.
Or you can use 20-gauge jewelry wire to tie the chains to the eye hooks and each other.
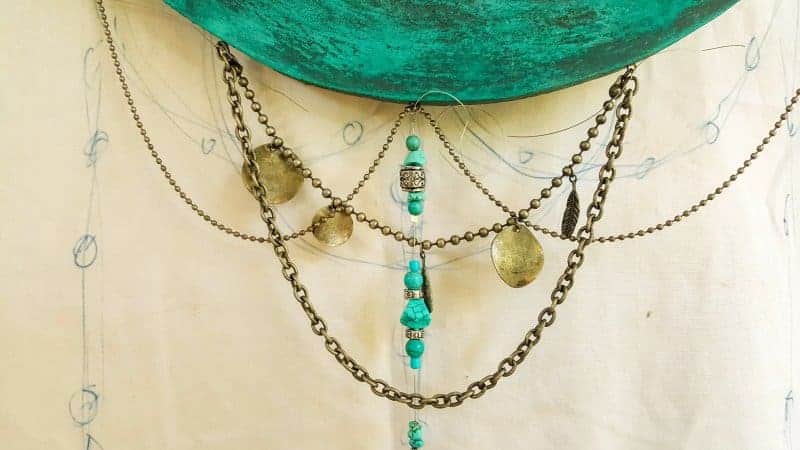
Once the bottom beads were done, I moved on to the top of the half-moon and hung beads and chains from eye hooks in the same way.

Play around with the bead combinations and layout until you’re happy.
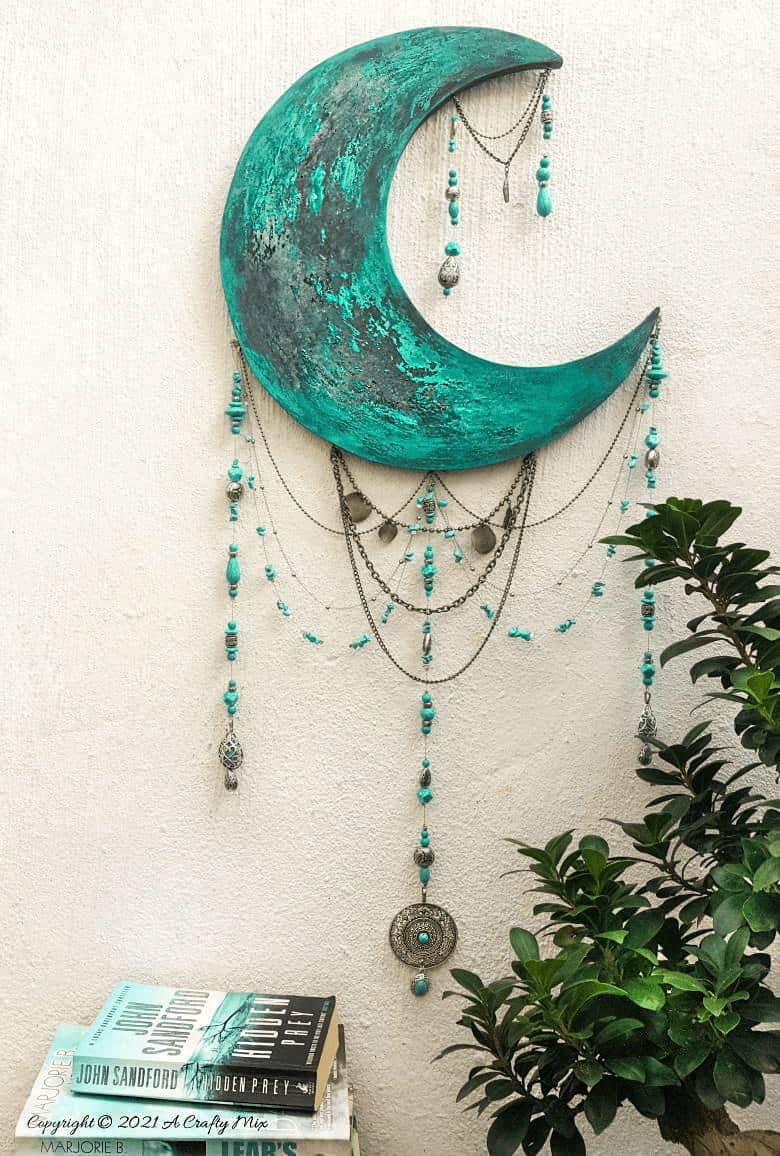
Don’t you just love those colors?
And the boho vibes oozing out of the dreamcatcher.
I may need to go to the bead store to get more beads. But don’t tell my hubby; he’ll cut up my credit card.
But it’s sooooooo pretty.
What do you think? Would you make a half-moon dream catcher for your home?
If you like the idea of making a half-moon dream catcher with bead detail, don’t forget to pin it for later.

Sharing caring
Want to see what my IBC friends came up with for the “Beads Galore” challenge?
- A fun beaded pumpkin wreath tutorial by Marie from Interior Frugalista.
- Unique Creations by Anita totally faked this macrame wall hanging with bead detail.
- Gorgeous crystal ornaments from What Meegan Makes.
- Half-moon dream catcher from yours truly.
- Sara from Birdz of a Feather combined wooden beads and lace to make this lovely dream catcher.

Oh, and if you’re looking for some of the things we used to make this spun pet hair heart, we’ve got you covered. Disclosure: Clicking on the links below means we may receive a commission from Amazon. But don’t worry, it won’t come out of your pocket, and it helps us make more amazing crafts to share with you.
Bead Collection


Jewellery wire and chains

And if you prefer to buy rather than DIY, these beauties may appeal.


And as always, wishing you a wonderful, crafty week filled with lots of love. Thank you for popping in for a visit.

Last update on 2026-06-03 / Source Amazon Affiliates