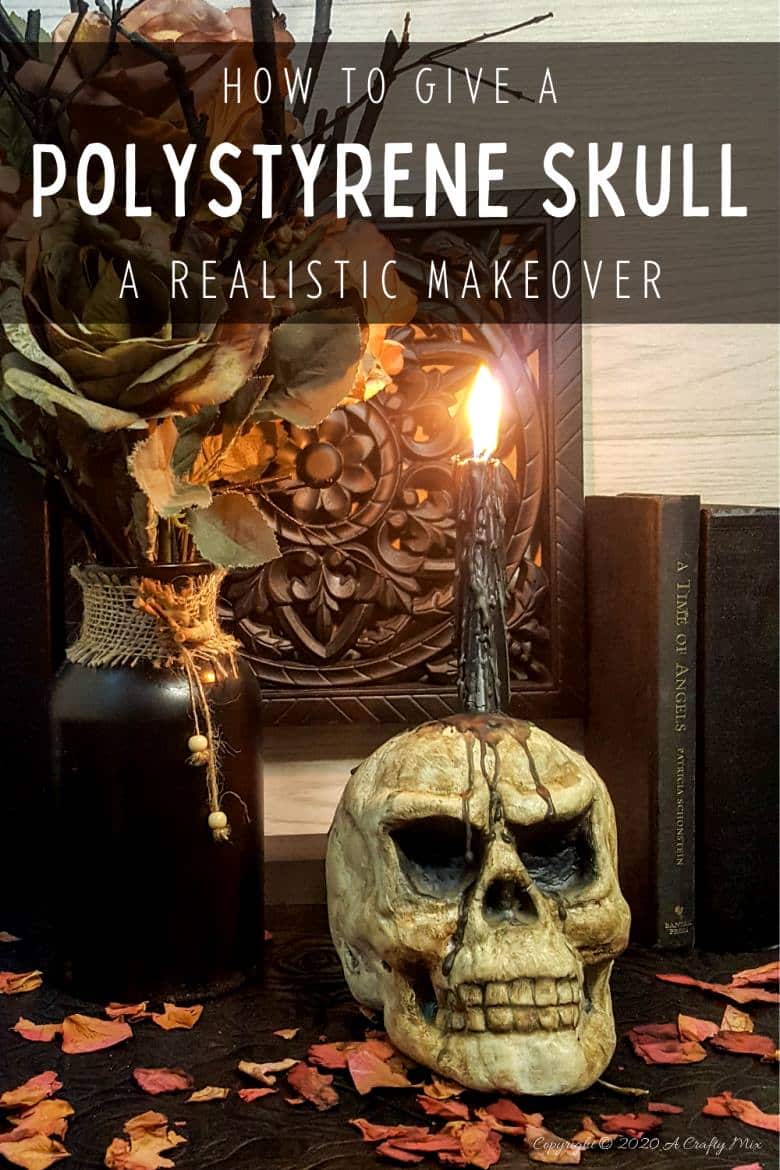
Do you want to add some budget-friendly scariness to your Halloween décor? Well, then we’ve got just the thing for you 😀 This boootiful spooktacular skull candle holder is really easy to make (or makeover in this case), and it’s guaranteed to send shivers down your spine.

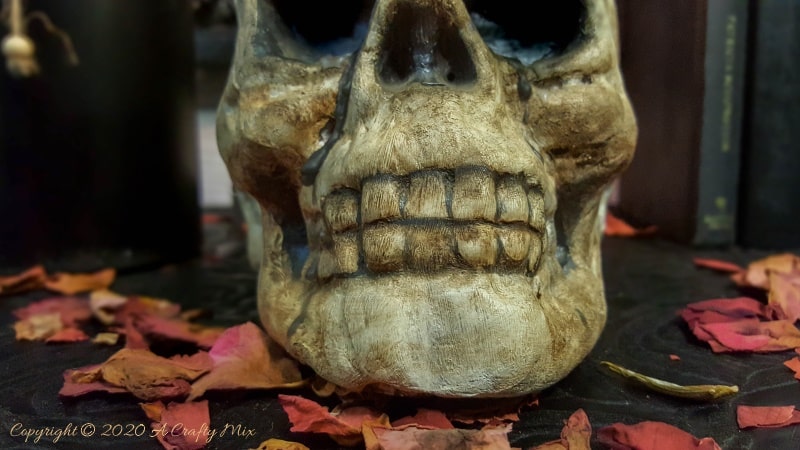
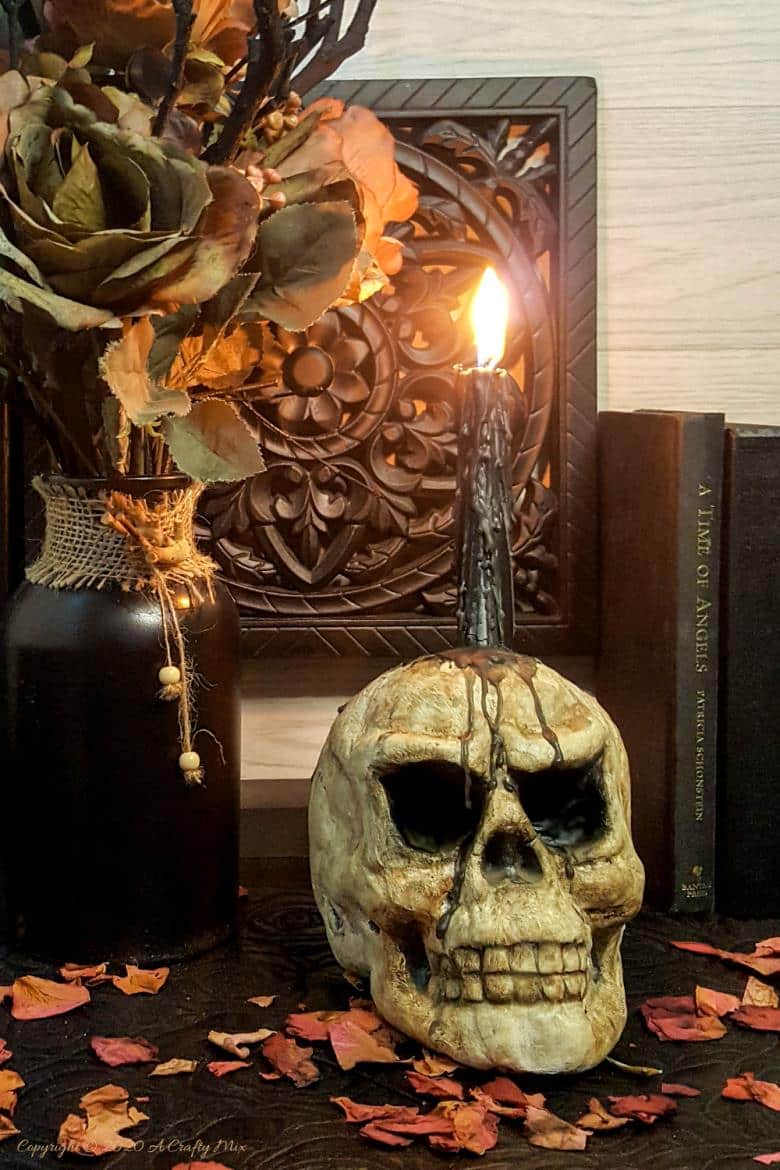
Doesn’t it look so real and old and ….. well, creepy 😀
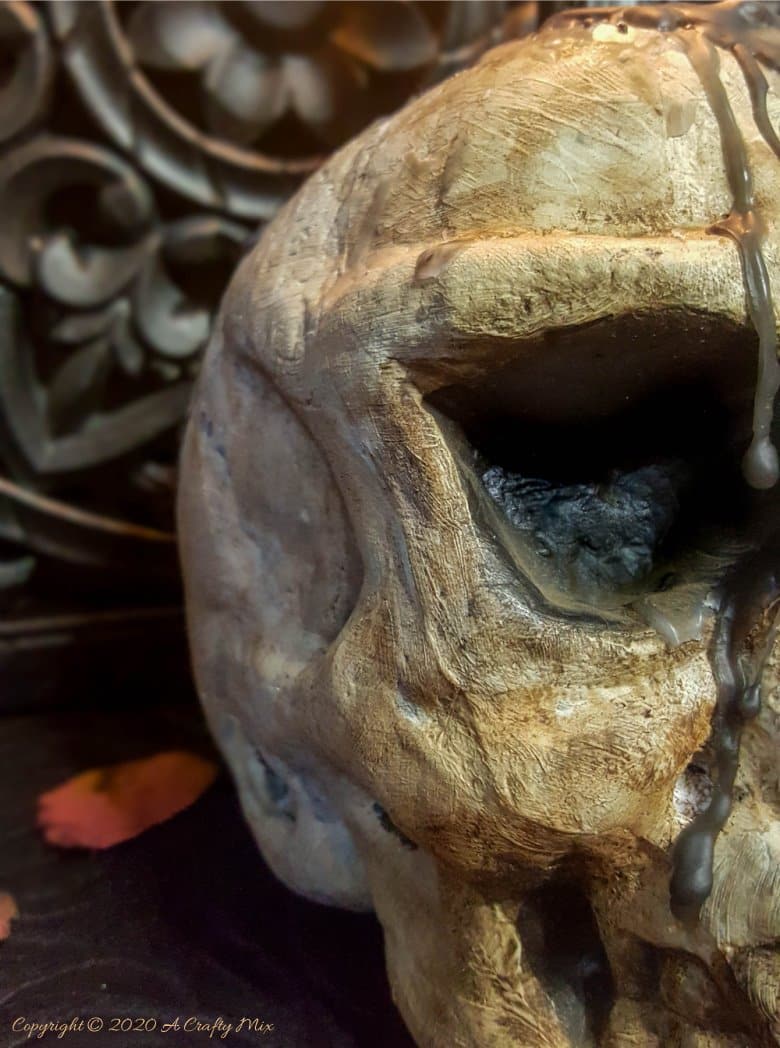
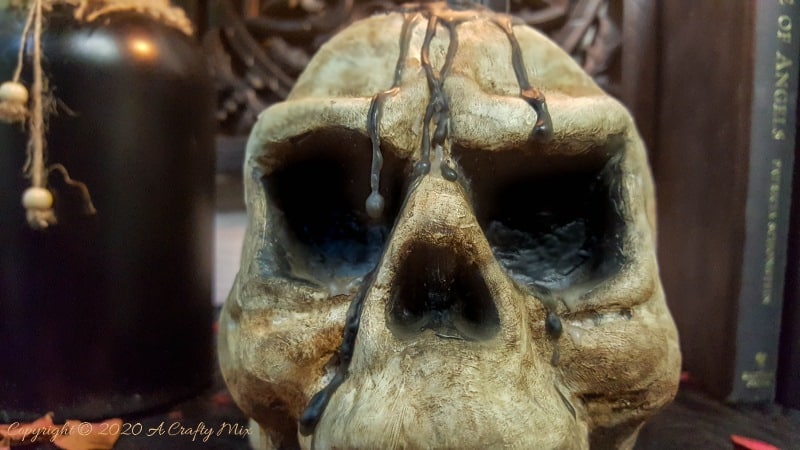
Look at all that gorgeous, old, worn texture.
And the makeover takes less than an hour to do.

Okay, before we get to the spooktacular skull makeover tutorial, be sure to follow us on Facebook, Twitter, Pinterest, or Instagram. And don’t forget to subscribe so you’ll never miss a post!
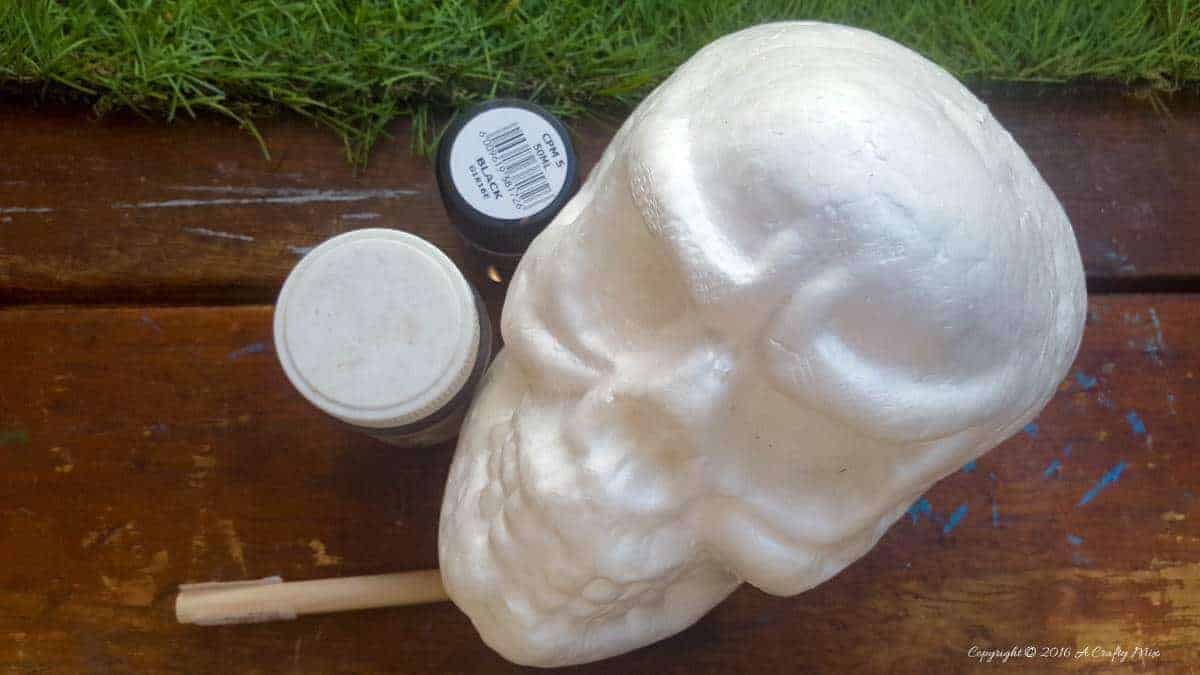
What you Need
To age the skull and give it a spooktacular makeover
- Black and white Acrylic paint
- PVA glue
- Burnt Umber Oil paint
- Paintbrushes
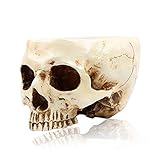
- Polystyrene (Styrofoam) skull
If you can’t find a polystyrene skull, a cheap Dollar Store skull will work too.
To turn the skull into a candle holder
- Pop soda top
- Craft knife
- Small nail
- Hammer
How to age a skull and give it a spooktacular makeover
Did I already mention this is a very easy craft tutorial? And you can use the same technique to age a plastic skull. Start by painting the entire skull with black Acrylic paint. Leave to dry.
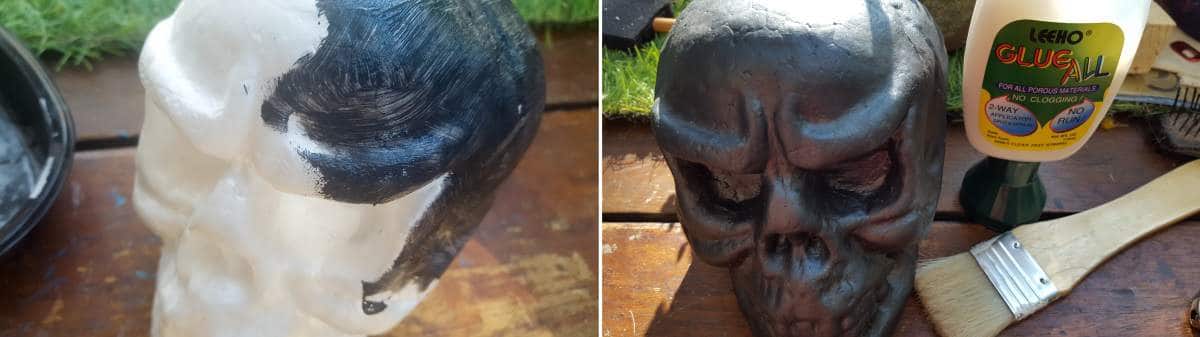
Then brush a layer of PVA or wood glue over the black paint. The glue seals the skull and is the best way I’ve found to create realistic-looking cracks, and spooky skulls need cracks, right?
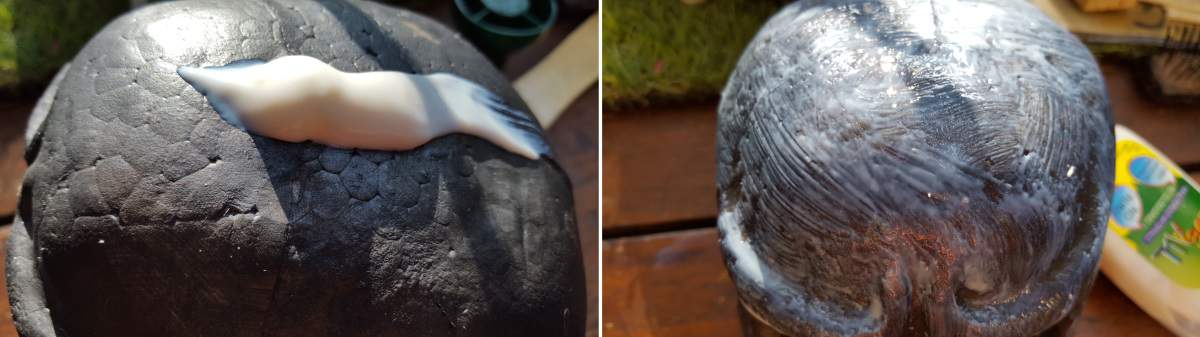
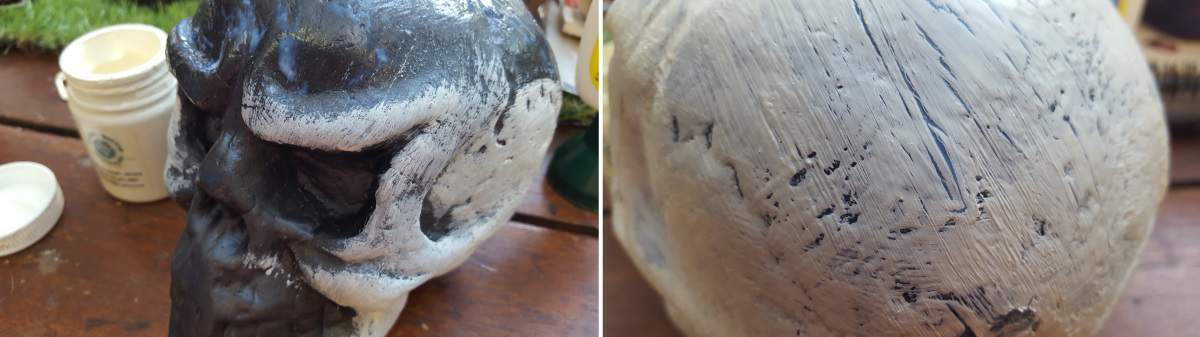
I wanted large cracks on the top of the skull with finer cracks everywhere else, so I applied a really thick layer on top. The thicker the glue, the larger the cracks in the skull will be. While the glue is still tacky, brush on the white Acrylic paint, avoiding the eye sockets and nose area. Now sit back and watch those cracks form.
Wait for the painted glue to dry completely before mixing a dollop of burnt umber oil paint with a good dose of turpentine. Rub or drizzle it all over the skull using an old t-shirt or a rag.
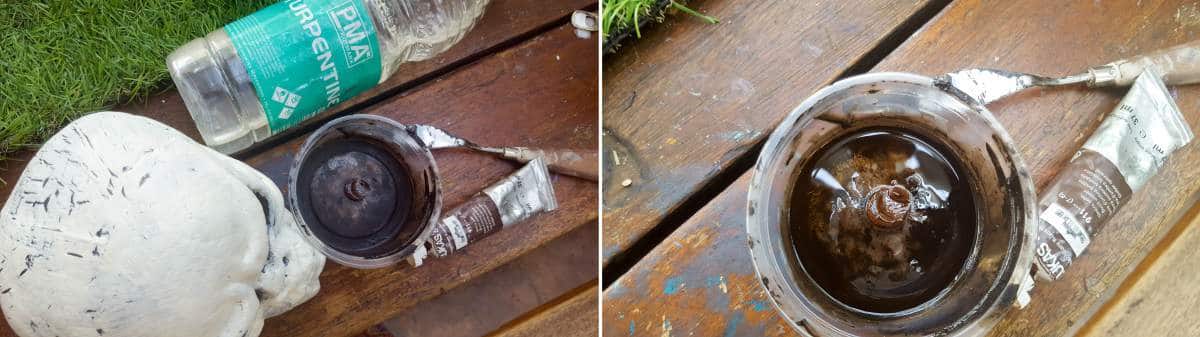
We use the “thinned down burnt umber” technique in so many of our craft projects. It’s one of the easiest ways to get that aged look.
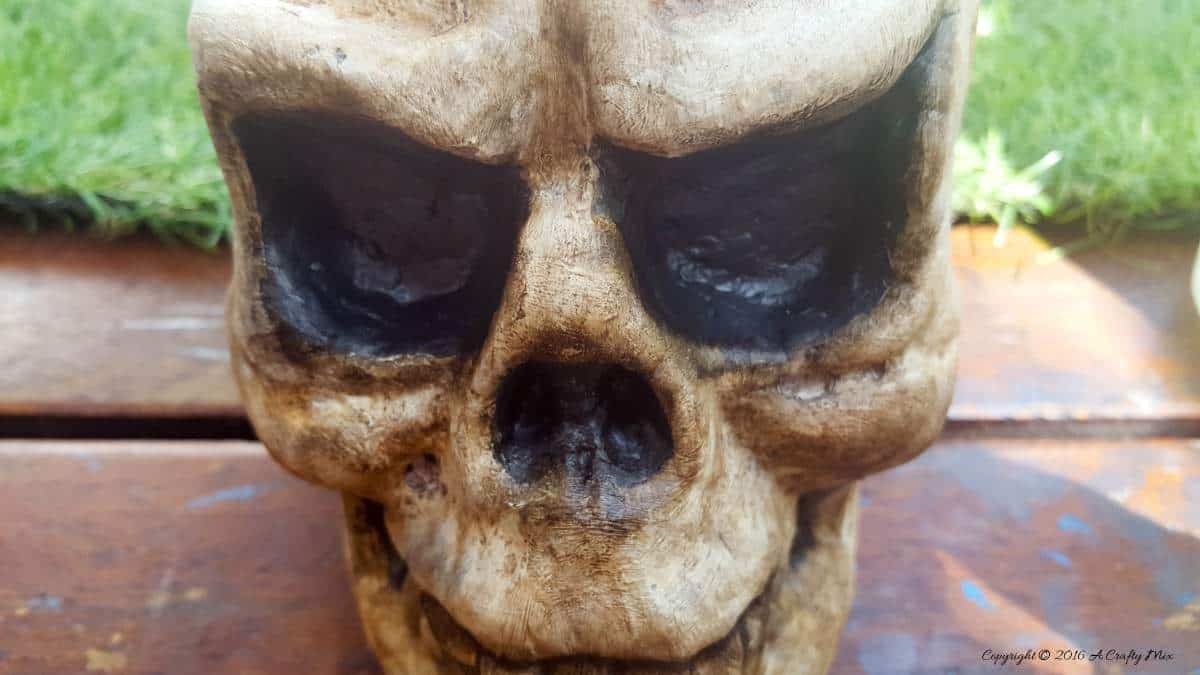
Oil paint mixed with turps dries very quickly, so you won’t have to wait forever for it to dry. My kind of craft 😉 Once you’re happy with the aged effect, you can call it done. Or take the spooktacular makeover to another level and turn the skull into a candle holder.
How to turn a polystyrene skull into a candle holder
Mark the top of the head and use a sharp craft knife to cut a hole. Remove some of the polystyrene to create an indent.
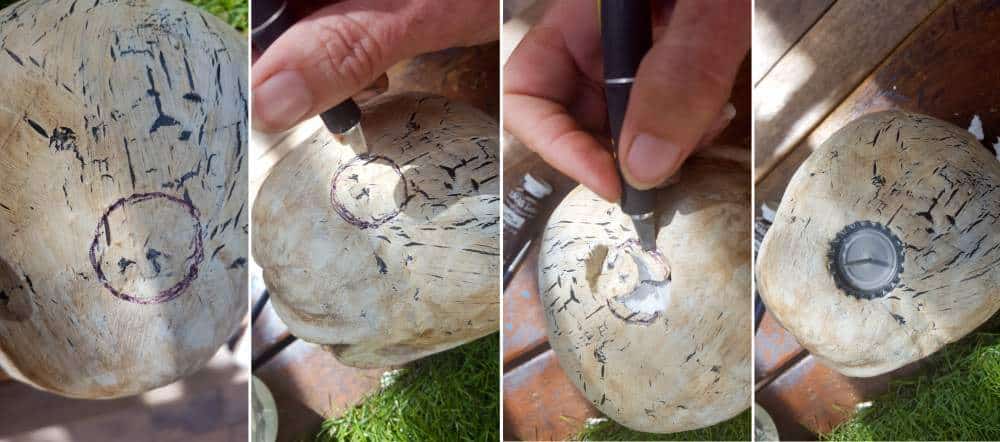
Since the skull is polystyrene (Styrofoam) we need to add a protective barrier between the candle and the actual skull. The best thing I could come up with was to use one of those metal pop-off tops you find on soda bottles. And to make sure the candle didn’t fall over, I hammered a small nail in the center of the lid first.

Add a good dollop of craft glue inside the hole in the skull and place the pop-off bottle top inside.

Make sure the bottle top is level. Wait for the glue to dry completely before using the skull as a candle holder.
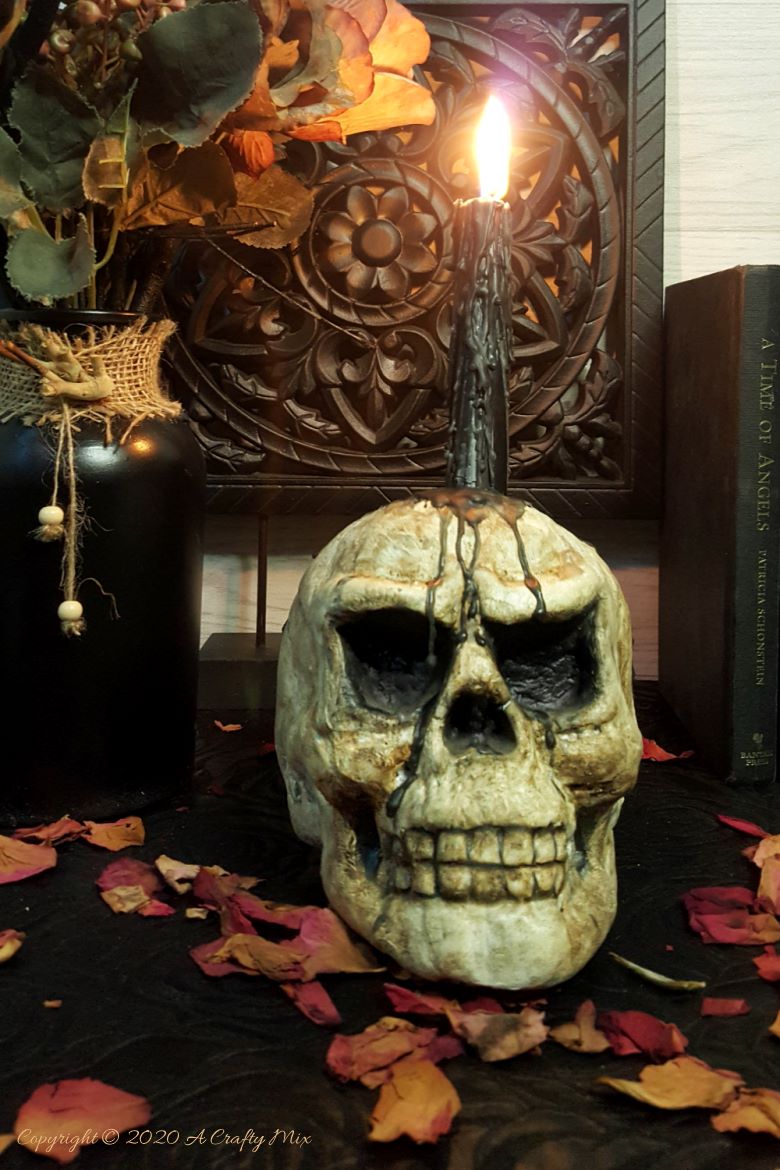
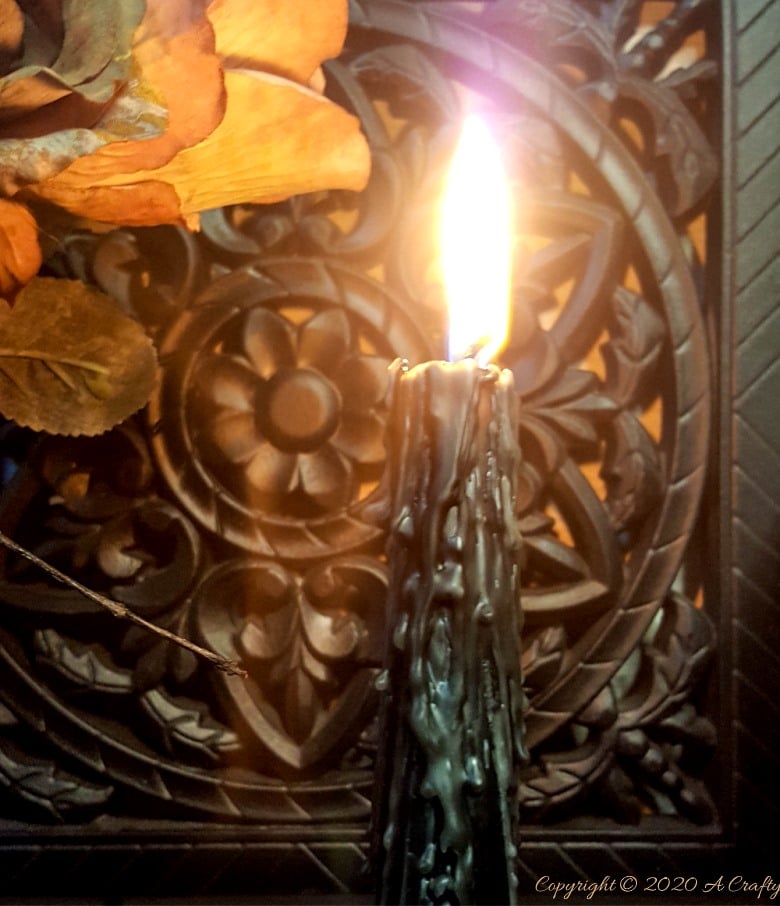
I love the way the candle wax runs down the skull. It gives it such a creepy effect.
Please be careful, candles can be dangerous. NEVER leave them unattended or put them where they pose a fire risk.
And if you’re worried, a battery-operated candle will work beautifully too.
Let me know what you think in the comments. I’d love to hear from you.
If you like the idea of making a spooktacular skull for Halloween, don’t forget to pin the tutorial for later.

Sharing is caring 😉
Will you be upping the scare factor for Halloween? I’d love to hear what you have planned, so stop for a spell 😉 and leave a comment. And if you’re looking for more quick and creepy Halloween crafts, then you’ll love these ideas:
- Uncanny floating bottle and skull planter
- Realistic of eyeballs with free printables
- Matilda the spider and her wire web
- 5-minute vampire wings
- Super easy skull and crossbones place card holders
- A magical floating tin can filled with ghost breath
- Loving skeleton couple and the ghost in the mirror
- Working skeleton hands ice tongs for that extra creep factor
- Fairy graveyard with spooky gravestones
- Miniature witch legs in a cauldron
- Crazy sprouting seed skull
Oh, and for your convenience, I’ve added some affiliate links below in case you want to make something similar. Disclosure: If you click on them, we may receive a commission from Amazon. But don’t worry, it won’t come out of your pocket, and it helps us come up with more crafty ideas to share with you 😉


Or if you prefer to buy rather than DIY 😉

And as always, wishing you a wonderful, crafty week filled with lots of love. Thank you for popping in for a visit.

Last update on 2026-06-03 / Source Amazon Affiliates