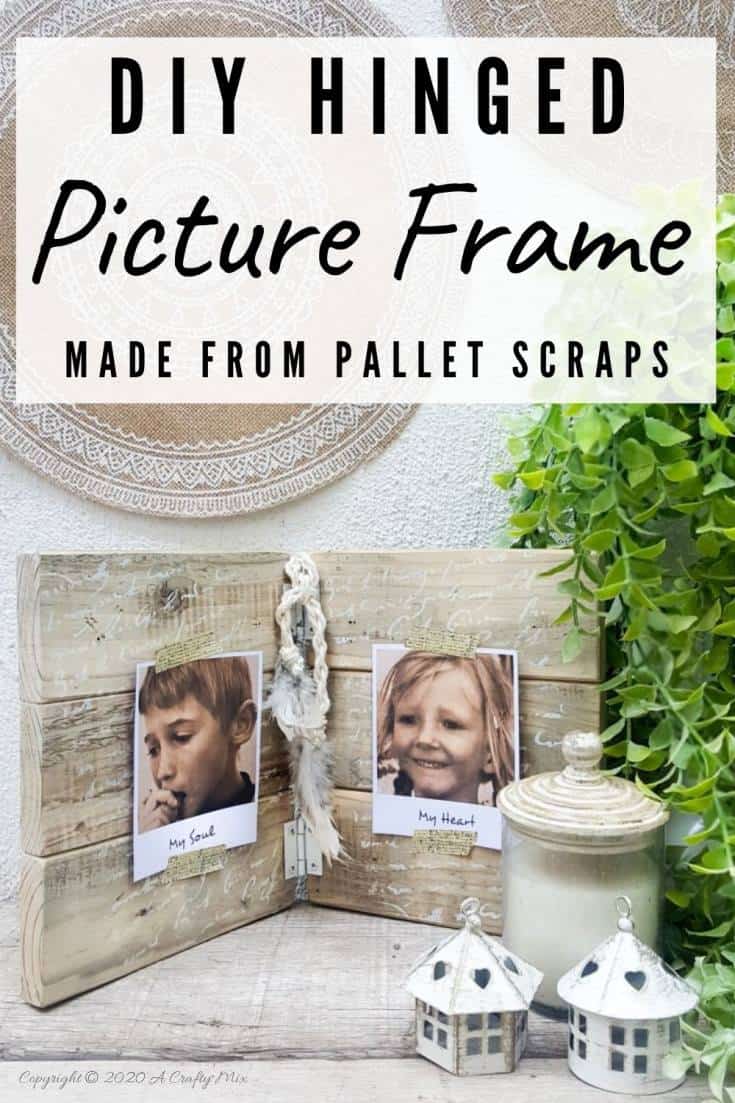
I love finding unique ways to showcase some of our photos, like these unusual curly whirly jewelry wire frames or easy this yardstick photo display. But I’m over the moon with how our hinged picture frame turned out.
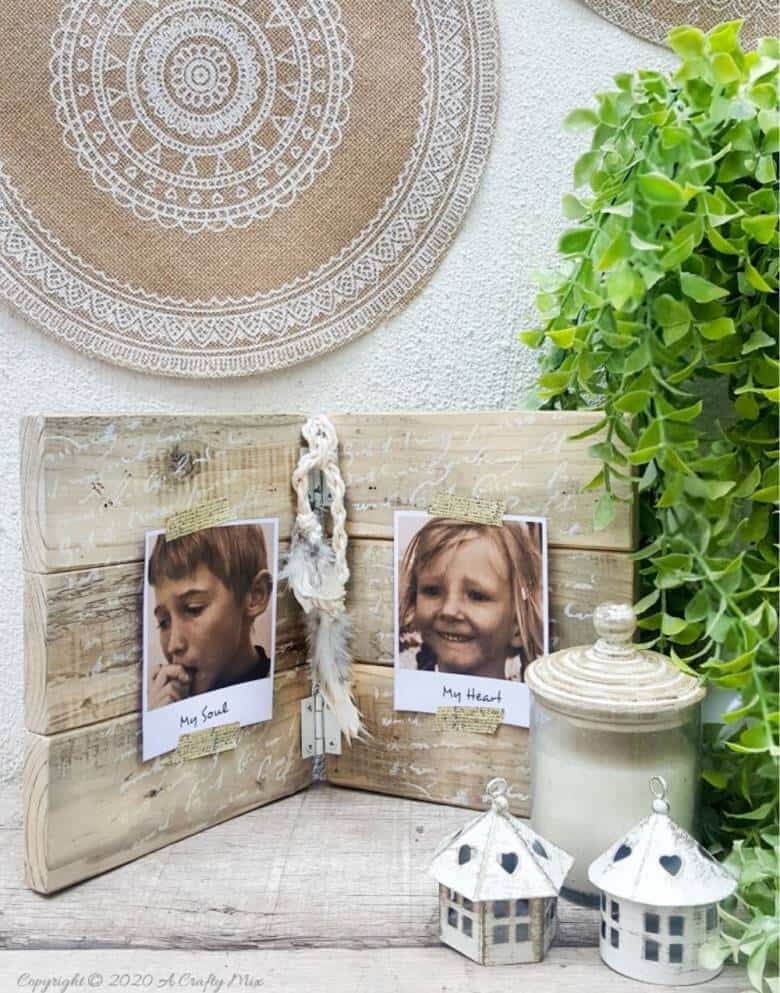
It looks so pretty on the shelf and folds open and closed
The tabletop frame only took about 30 minutes to put together. I think I’ll make a few more as Christmas gifts for the special people in our lives? Right, before we get to the good stuff, be sure to follow us on Facebook, Twitter, Pinterest, or Instagram. And don’t forget to subscribe so you’ll never miss a post!
What you need to make the scrap wood picture frame
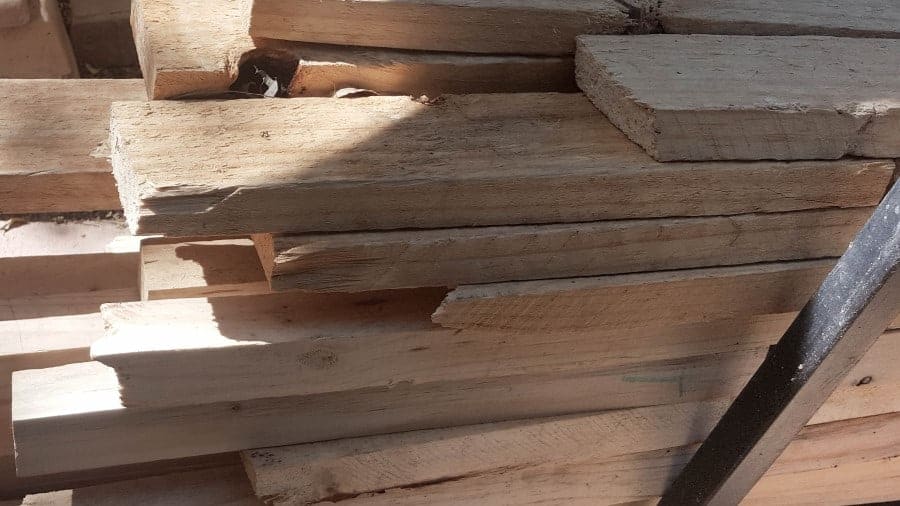
For this project, you’ll need scrap bits of wood roughly the same thickness. Lucky for us we have a big pile of pallet wood that we salvaged so I just dug through that. Don’t you just love how versatile pallets are? If you don’t have any scrap wood lying around, you can make this hinged frame using cardboard and clothespins.
You’ll also need:
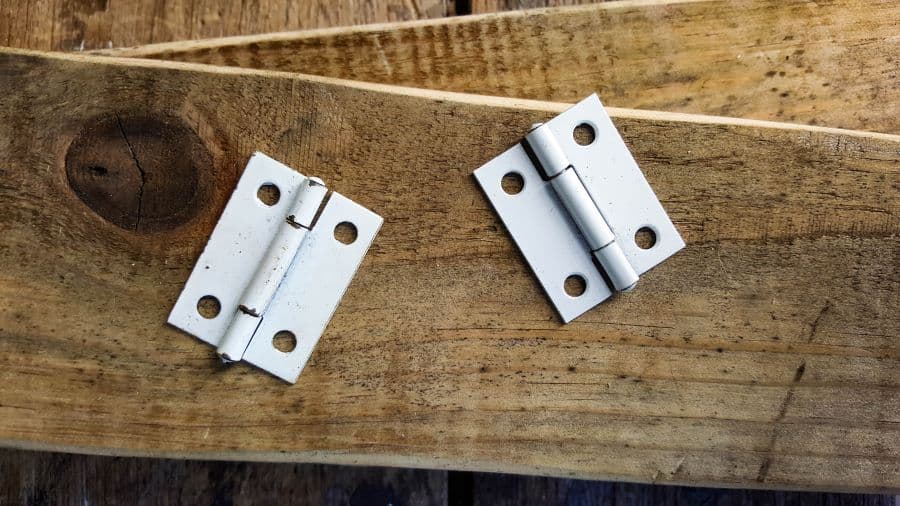
- 2 small hinges and wood screws
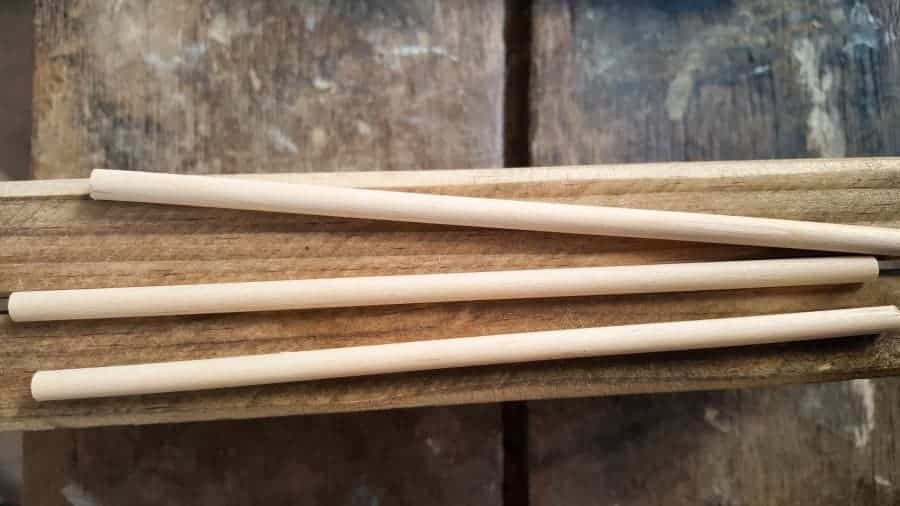
- Wooden skewers or dowels
- Drill and saw
- Sandpaper – 80 grit, 100 grit, and 120 grit
- Wood glue
- Craft paint and stencils (optional)
How to make a hinged picture frame from scrap wood
Figure out how big you want each hinged panel of your picture frame to be. The two panels that make up our “frames” measures 24 cm x 20 cm (about 9.5” x 8”). From my experience, most pallets tend to be full of splinters and they’re rough sawn and filled with dings and dangs. It’s one of the downsides of using free wood, so I had to sand them first, before cutting them to size.
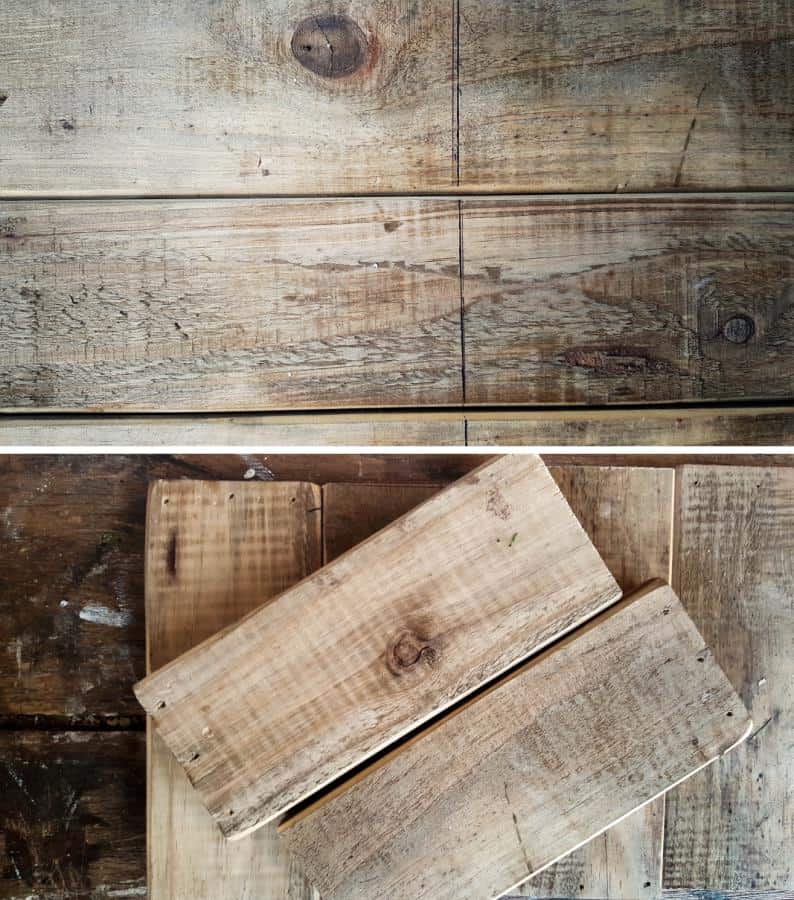
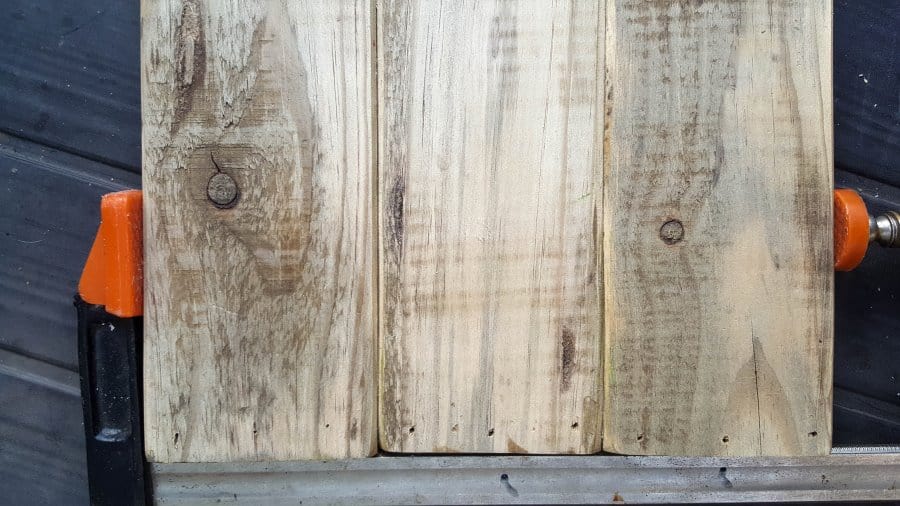
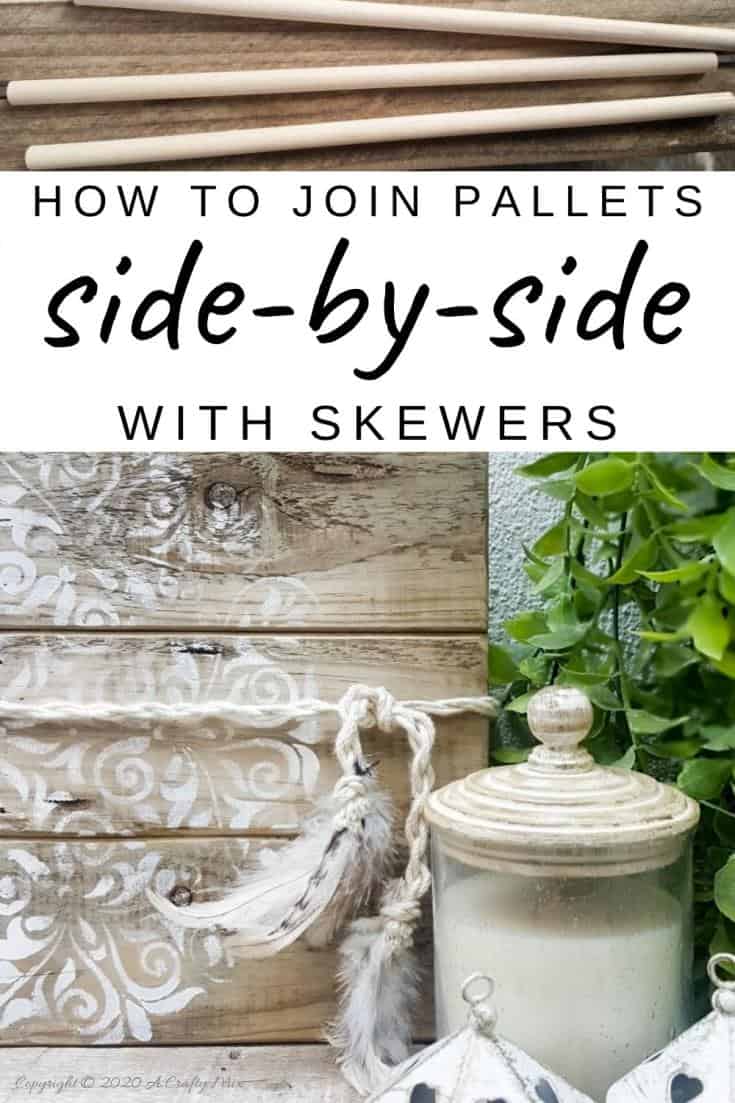
The other problem with pallet wood is that the planks are usually only around 9cm wide (3 ½”) so you need to join them side-by-side to form the panels that make up the frame. And since I wanted the hinged picture frame to look good inside and out, I had to use butt joints.
Butt joints are probably the weakest kind of joins, so I reinforced the join with dowels. Well actually they’re skewers with their tips chopped off, but hey who cares, they still work.
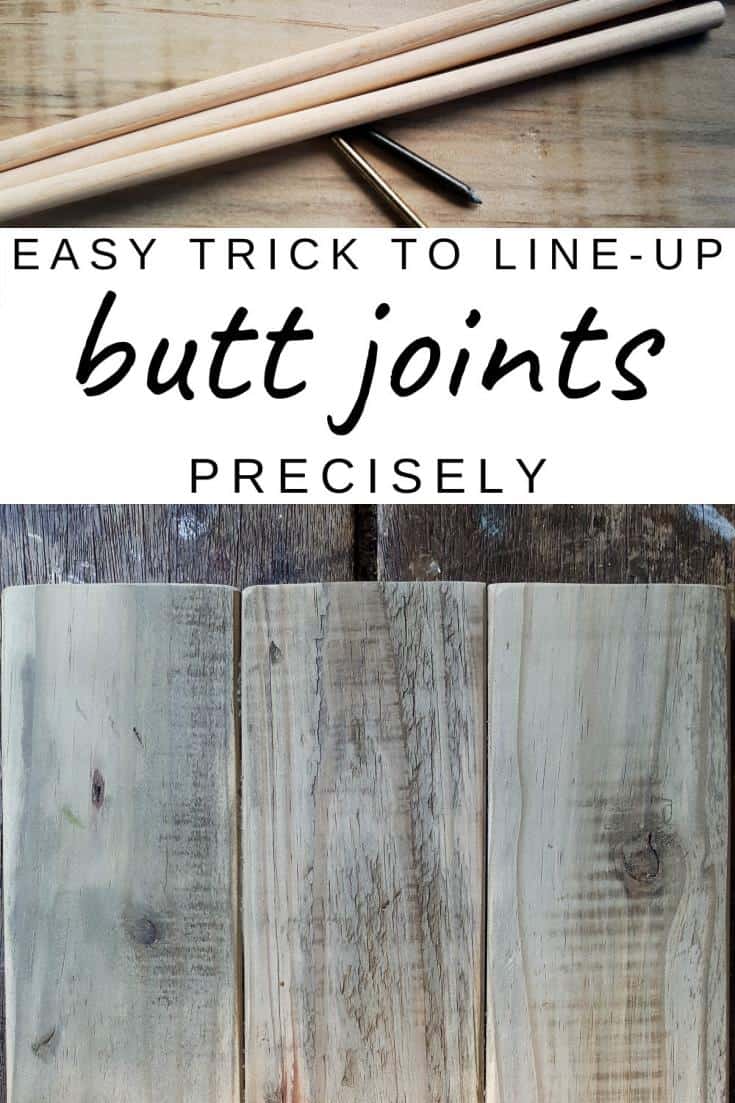
How to make a butt joint without a jig
When reinforcing butt joints the key to success is making sure that the drilled holes in the side-by-side pieces link up precisely. I don’t have jigs or any of that fancy stuff so I used this easy trick to make sure those holes are in exactly the right place.
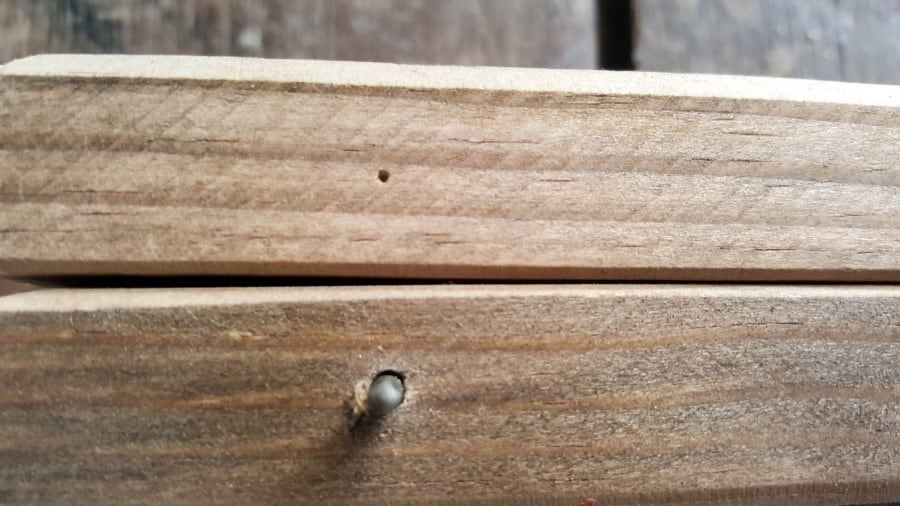
Drill two small holes and insert nails. Hilti nails are great since they don’t have a head. If you don’t have any Hilti’s, just cut the head off an ordinary nail with side cutters.
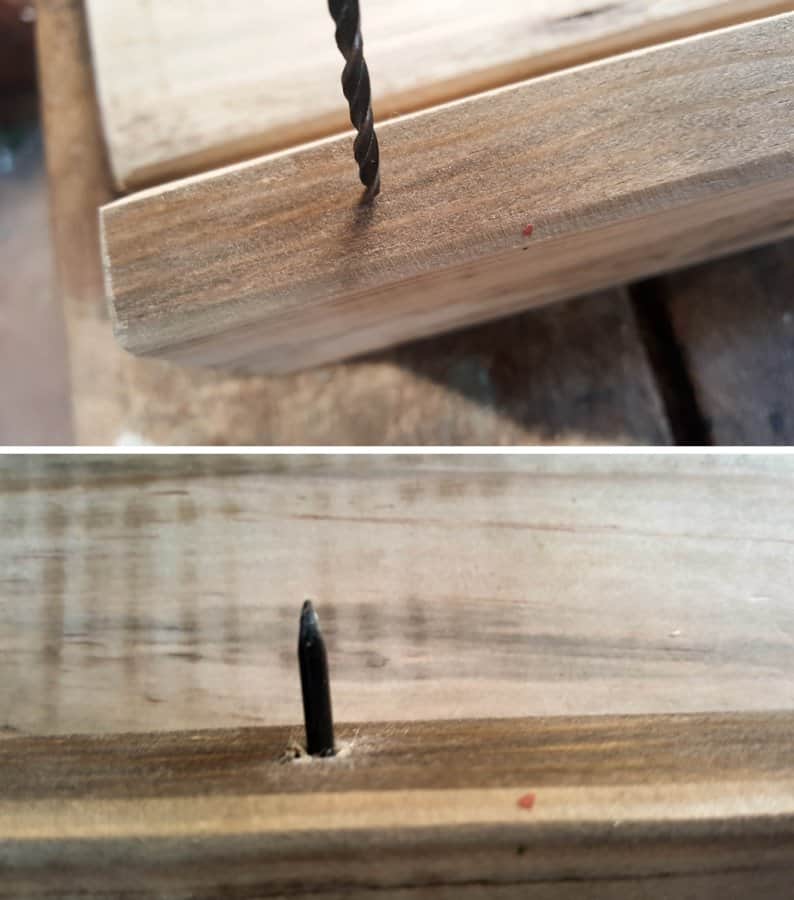
Line up the pieces you’d like to join and press them together firmly.
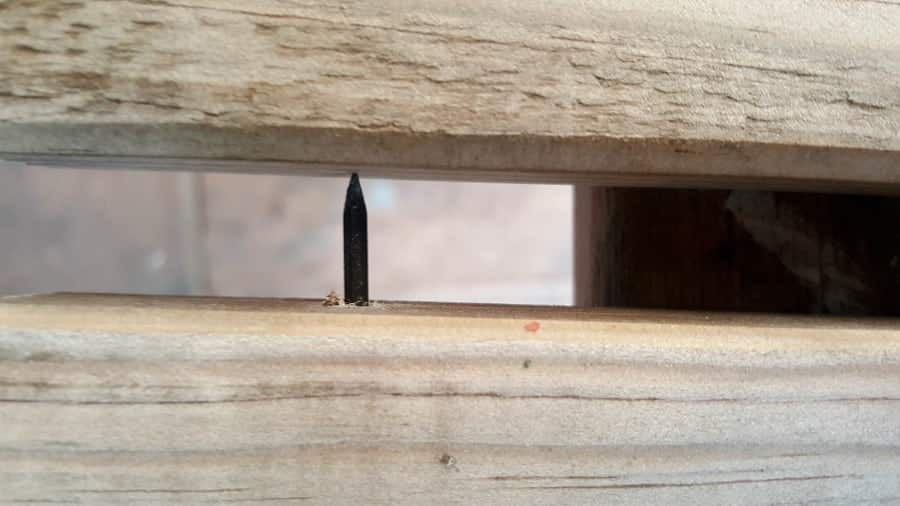
The nails make small indents that show you exactly where to drill 😉
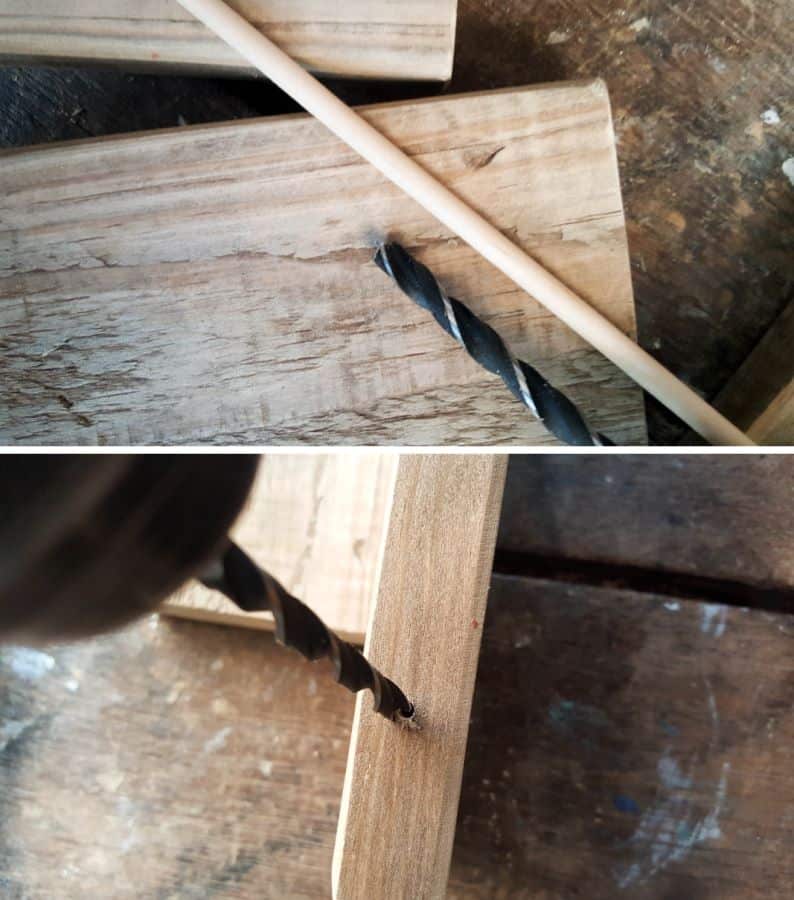
Use a drill bit that’s the same size as your dowels and drill a hole on the mark made by the nail head. .
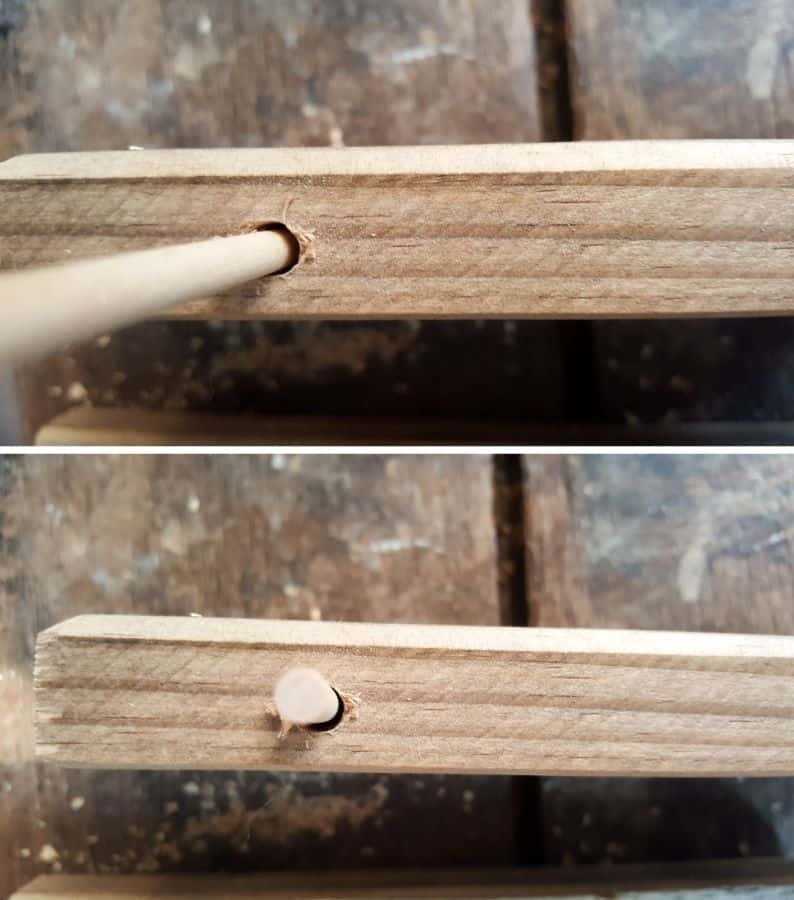
Insert the skewer and trim to fit.
Add a little glue in the holes, insert the dowels, and join the two pieces together.
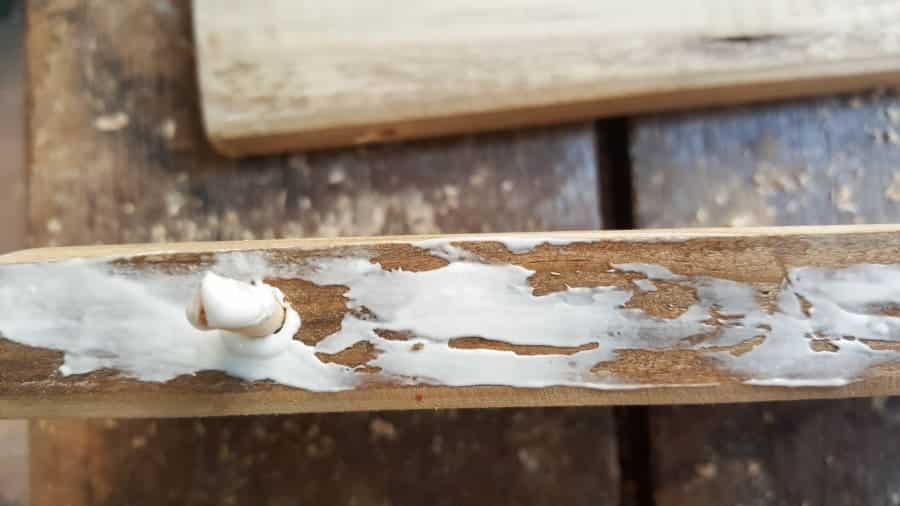
Clamp and wait for the glue to dry.
And that’s it. Easy right!?
Finishing off the hinged picture frame
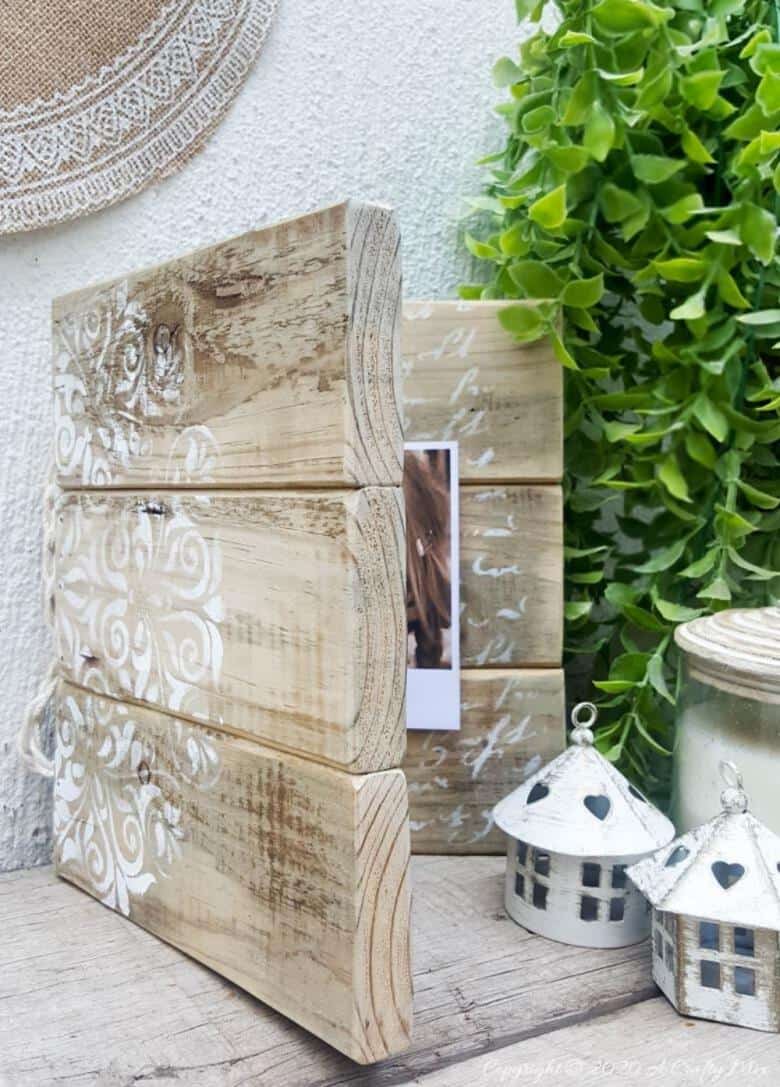
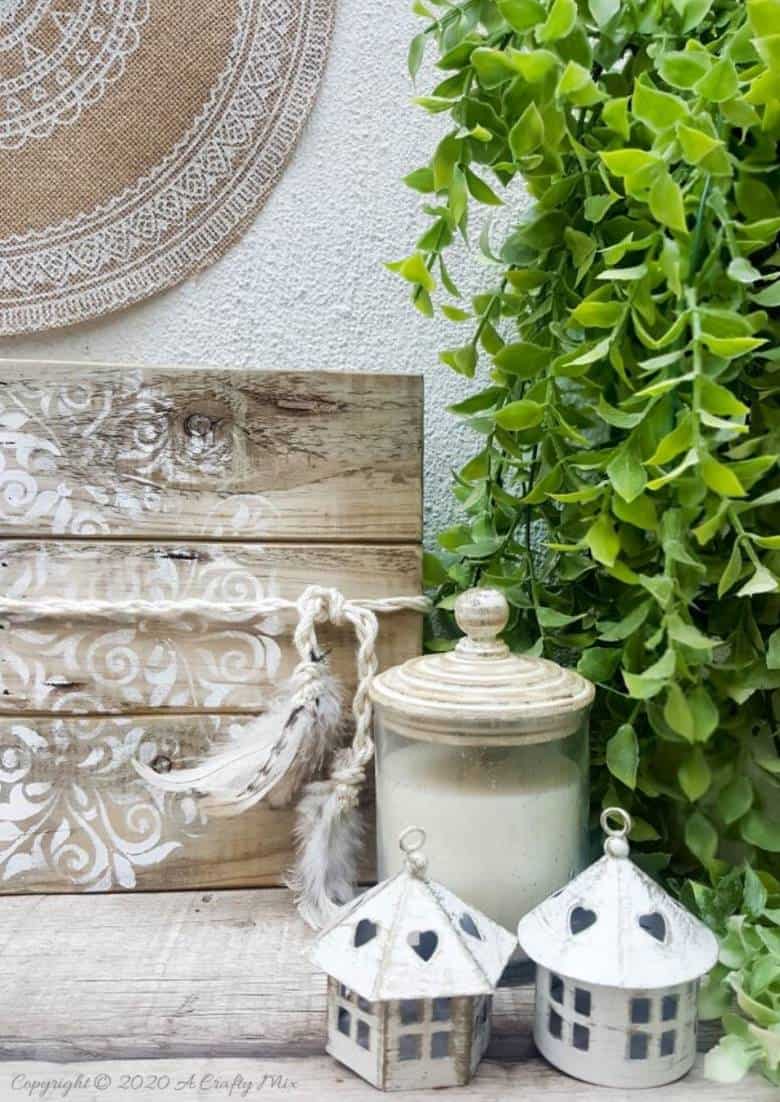
Almost done 😉 Once the glue is completely dry we can screw on the hinges between the two panels and decorate the inside and outside of the frame. I used a mandala stencil for the outside and a squiggly text for the inside.

Add a special quote or your favorite photos and you’re done.
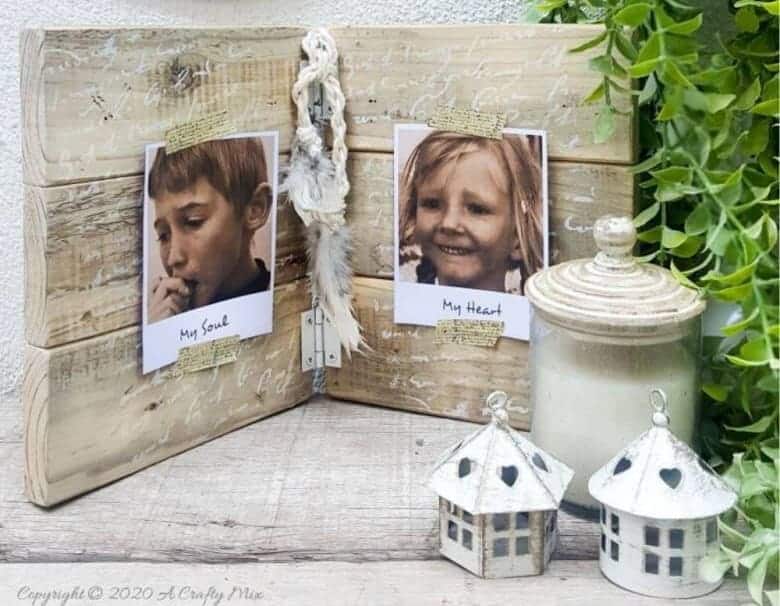
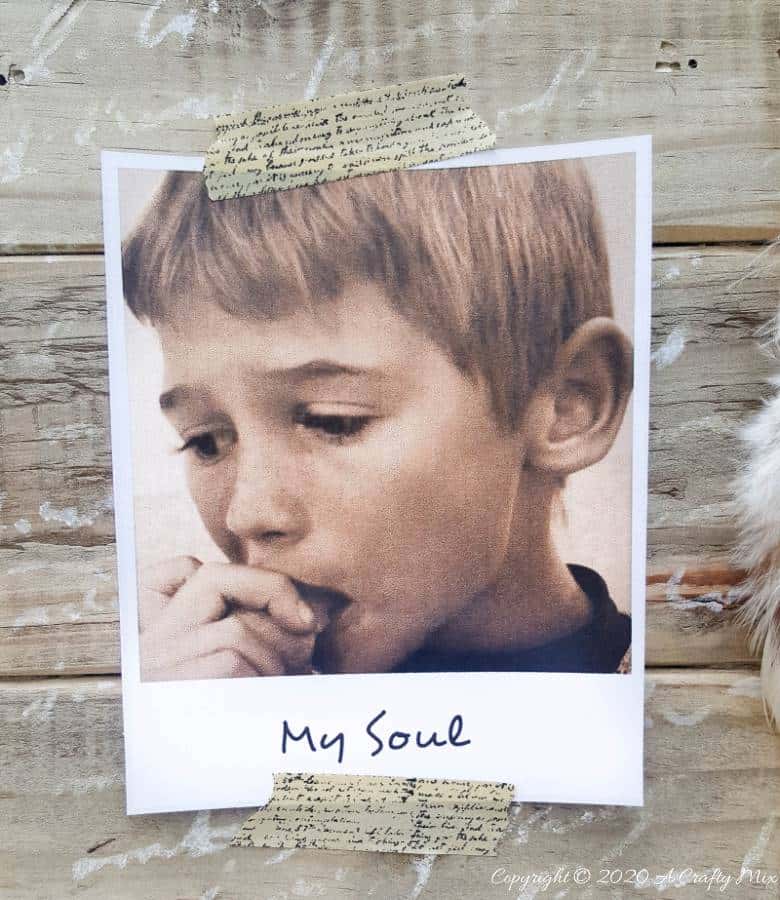
To attach two of my favorite pics of our kids on either side of the frame, I just used washi tape.
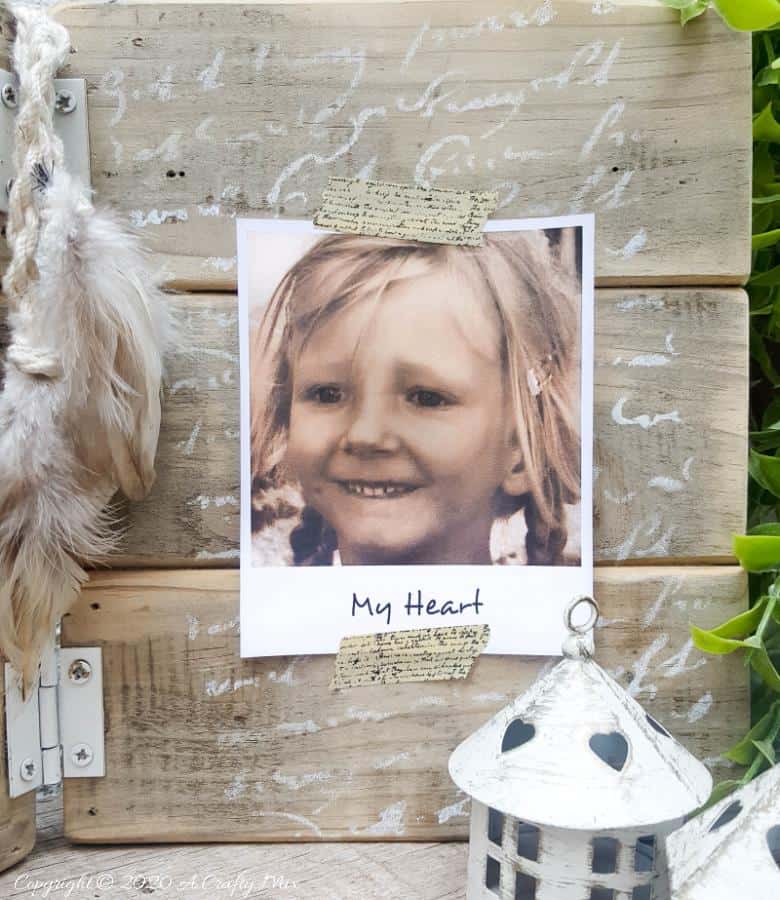
If taping pictures down isn’t your thing, you can add a piece of string on each panel, and peg your pics on instead. And when the frame is not being used, I can just fold it up and still use it in our decor.
The scrap wood picture frame would make a lovely gift too. And you don’t even need to wrap it. Just tie a pretty ribbon or strings around it and you’re good to go.
If you like the idea of making a hinged picture frame, don’t forget to pin it for later.
Sharing is caring 😀
Oh and if you’re looking for some of the things we used, we’ve got you covered. Disclosure: Clicking on the links below, means we may receive a commission from Amazon. But don’t worry it won’t come out of your pocket, and it helps us make more amazing crafts to share with you 😉


And if you prefer to buy rather than DIY, then maybe these beauties will appeal.


And as always, wishing you a wonderful, crafty week filled with lots of love. Thank you for popping in for a visit.

Last update on 2026-06-03 / Source Amazon Affiliates