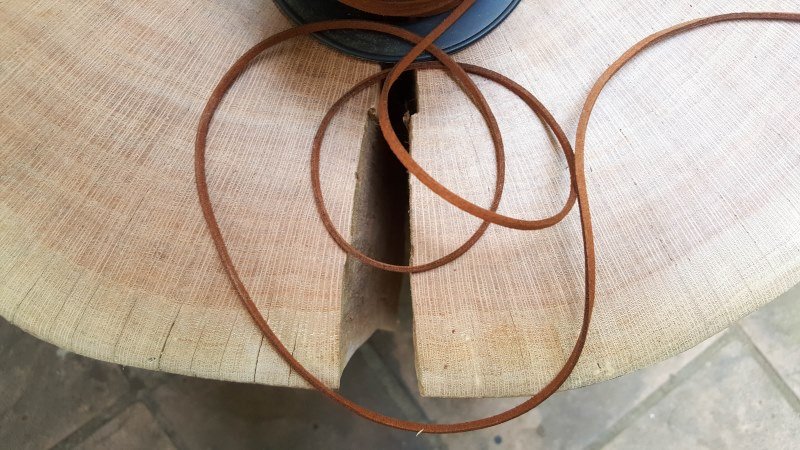
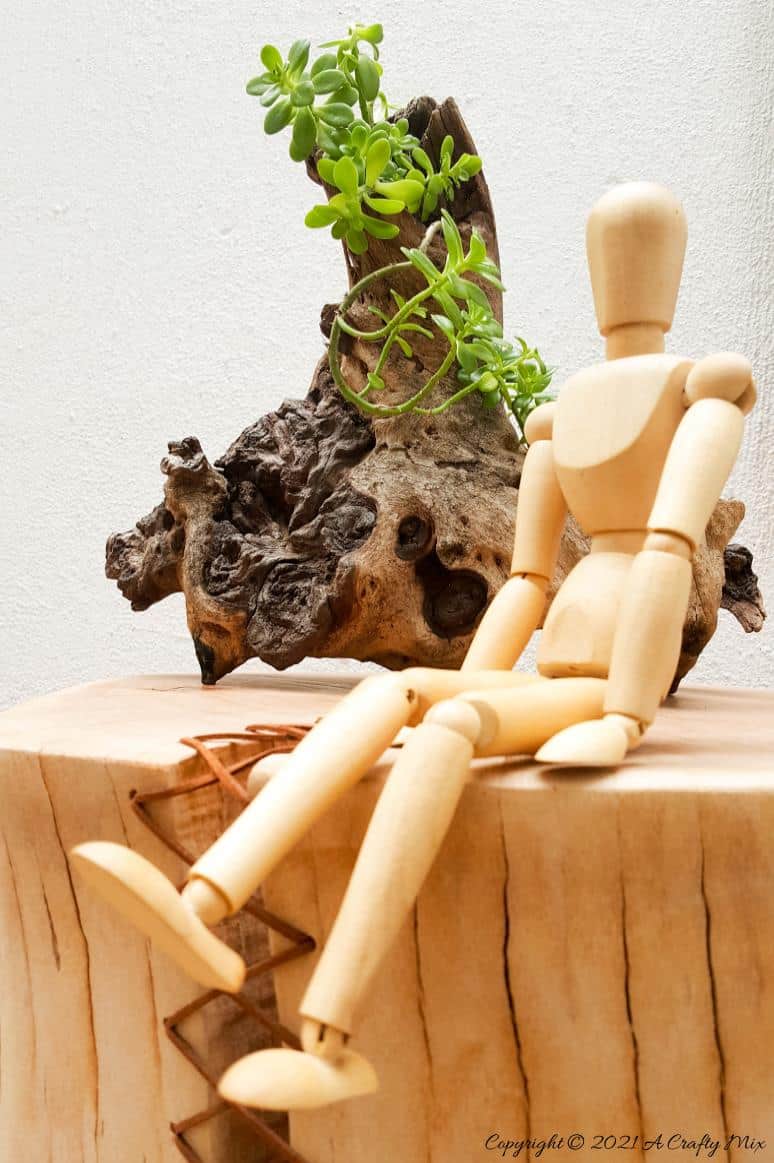
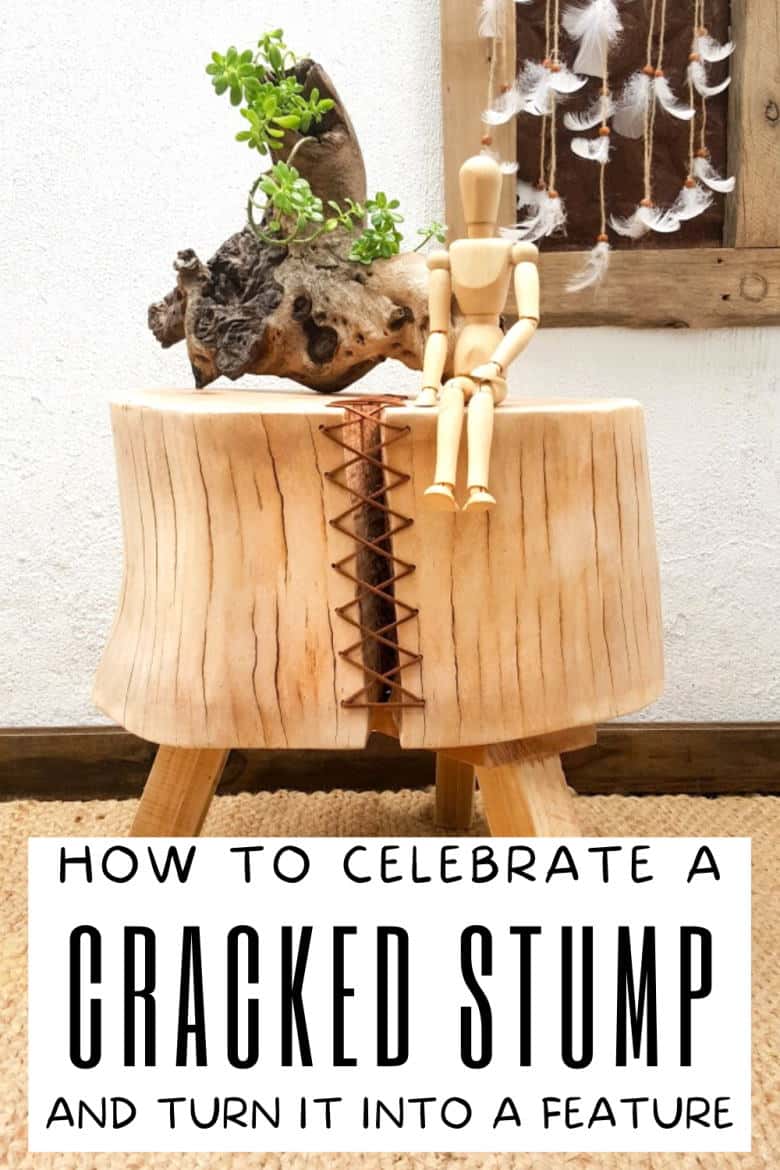
Do you have a gorgeous chunk of wood that’s developed this huge crack? It may have started out as a hairline fracture and then, bam overnight it’s this big gaping wound that destroys the piece. It happens to us quite often and instead of throwing our wooden creations out, I decided to embrace the flaw and apply the ancient Japanese art of Kintsugi. But instead of using gold, I went all rustic and used leather cord to turn a cracked wooden stump into a décor worthy feature.
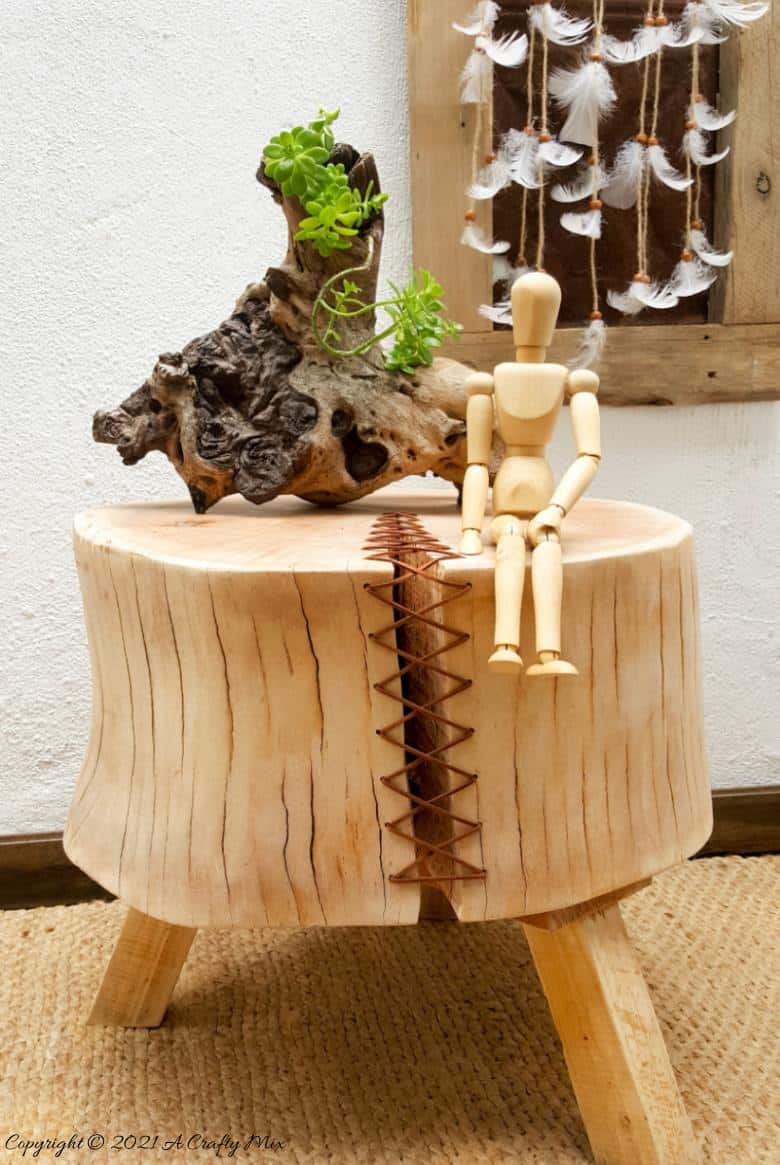
Doesn’t it look like it was always meant to be that way?
I’m really passionate about wood. It doesn’t matter if it’s still in its raw state or if a unicorn spat on it, I love it.
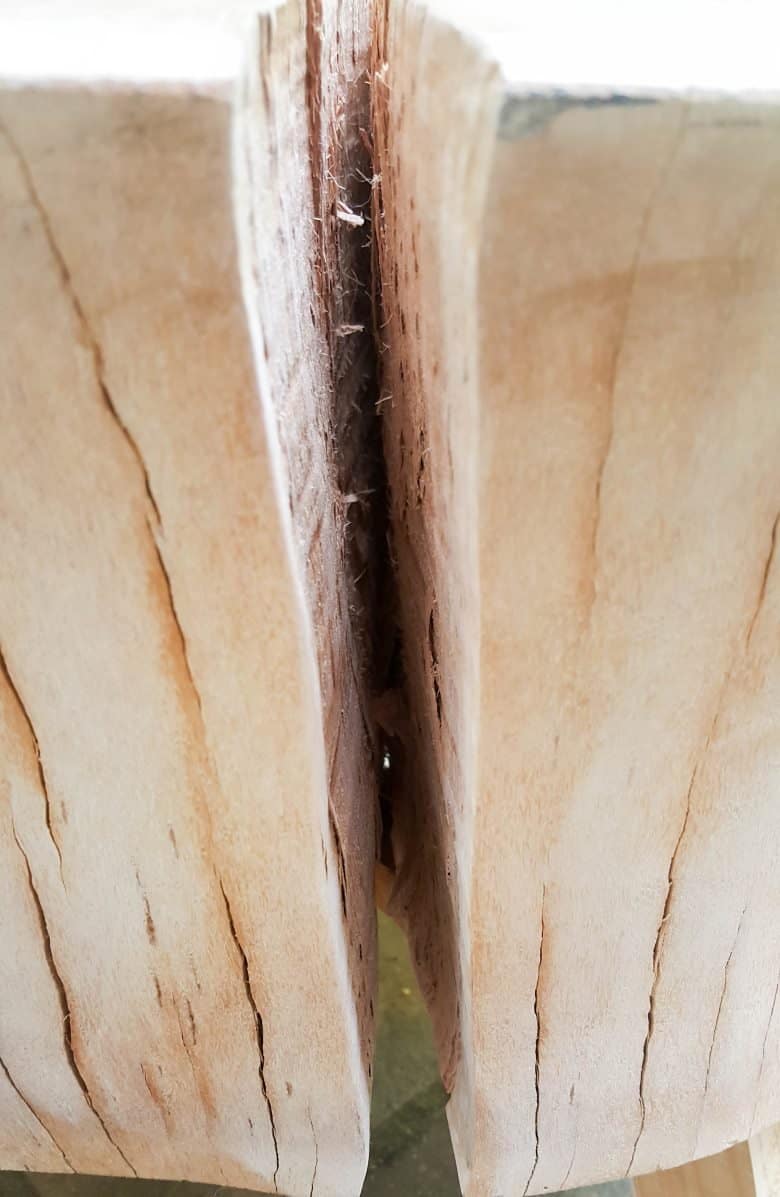
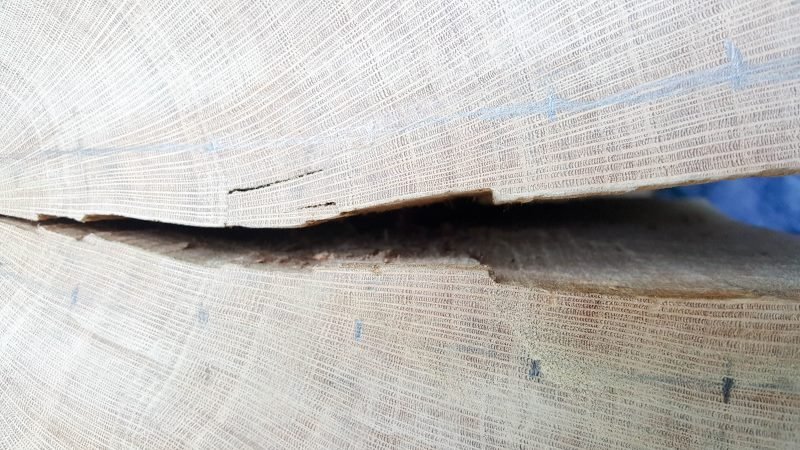
Each piece tells a different story, but it’s so frustrating when a gorgeous piece starts cracking……
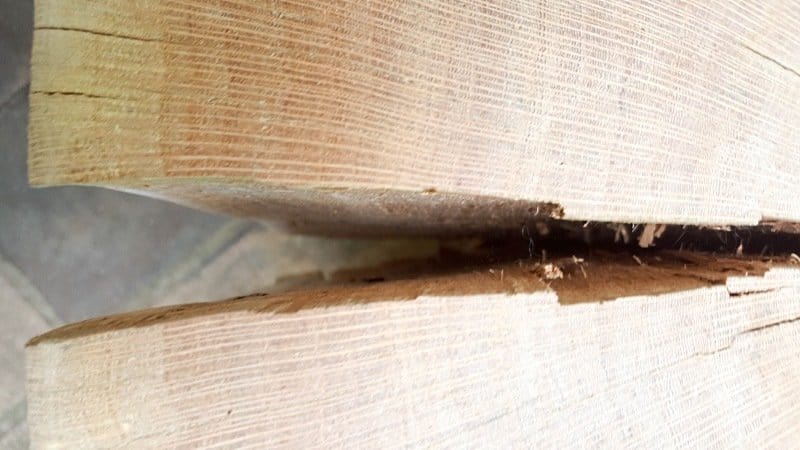
and this crack in our wooden stump ran deep 🙁
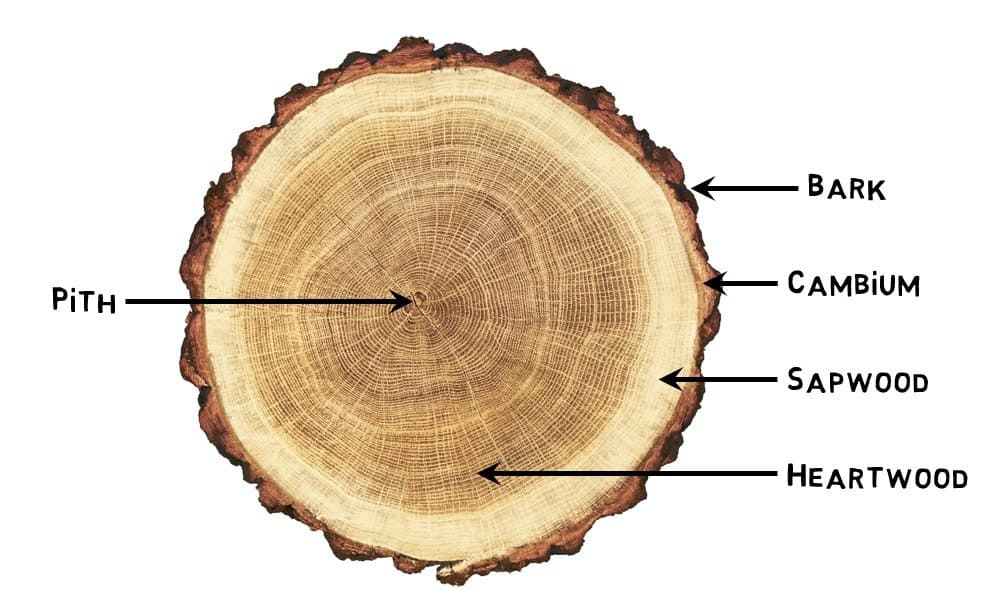
So why does wood crack?
Wood is a living breathing organism and even after it’s been cut down it still reacts with the environment around it, which is how those awful cracks form. To understand why wood cracks we need to look deep inside the tree. Right at the center, we have the pith. That’s the tree’s original essence. It’s what remains of that tentative, flexible little sapling that grew extremely quickly, drank lots of water, and could bend with the wind. As the sapling matures it starts adding layers of real wood around itself. These layers are called sapwood which contains cells (xylem) that move water and other nutrients up the tree. Think of them as the tree’s drinking straws. As more and more layers form, the sapwood turns to heartwood and the pith starts decaying and dying. It becomes soft and porous.
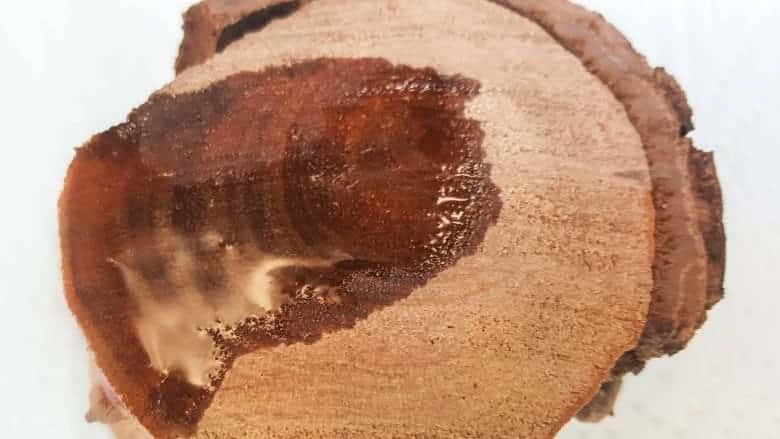
And that’s where the problem starts. While the tree is growing, it’s constantly shrinking and expanding to regulate its water intact. As soon as you chop a branch off or cut the tree down, it immediately starts shrinking and losing water. And it loses the most water towards the outside where the sapwood is. Coz that’s where all those drinking straws are. And not only does the water evaporate out of the sapwood drinking straws, but that very porous, sponge-like pith in the middle also goes into overdrive and sucks water from the heartwood and sapwood layers too. It’s a double whammy, and you end up with a piece of wood that pulls itself apart as the water get’s sucked out.
How to prevent cracks
There are a few things you can do to try to minimize cracks. As soon as you cut the wood, seal the ends with oil paint, hot wax, or boiled linseed oil. Since most of the moisture is lost through the end grain, sealing the cut ends helps prevent cracks from forming.
If you don’t want ugly painted ends or shudder at the thought of pouring hot wax or oil over a tree stump, a friend of ours always mixes wood glue with hot water and paints that on. There are also commercial alternatives that work beautifully although they can be pricey. Two of the best are probably Anchorseal and Pentacryl.
If your branch or tree stump is small enough, or you have a really looooong drill bit, you can also drill the pith out. To find the pith take a toothpick and prick the wood, working your way from the outside inwards. When you hit the pith, the toothpick will make a small indent. Unfortunately drilling the pith out isn’t always a viable option, especially when the crack has already started forming or you don’t have a drill bit that’s long enough. But this tutorial will show you how to turn a cracked wooden stump into a beautiful feature that celebrates that crack.
Right, before we get to the tutorial, be sure to follow us on Facebook, Twitter, Pinterest, or Instagram. And don’t forget to subscribe so you’ll never miss a post!
What you need
- A cracked wooden stump
- Drill and wooden drill bits
- Leather cord
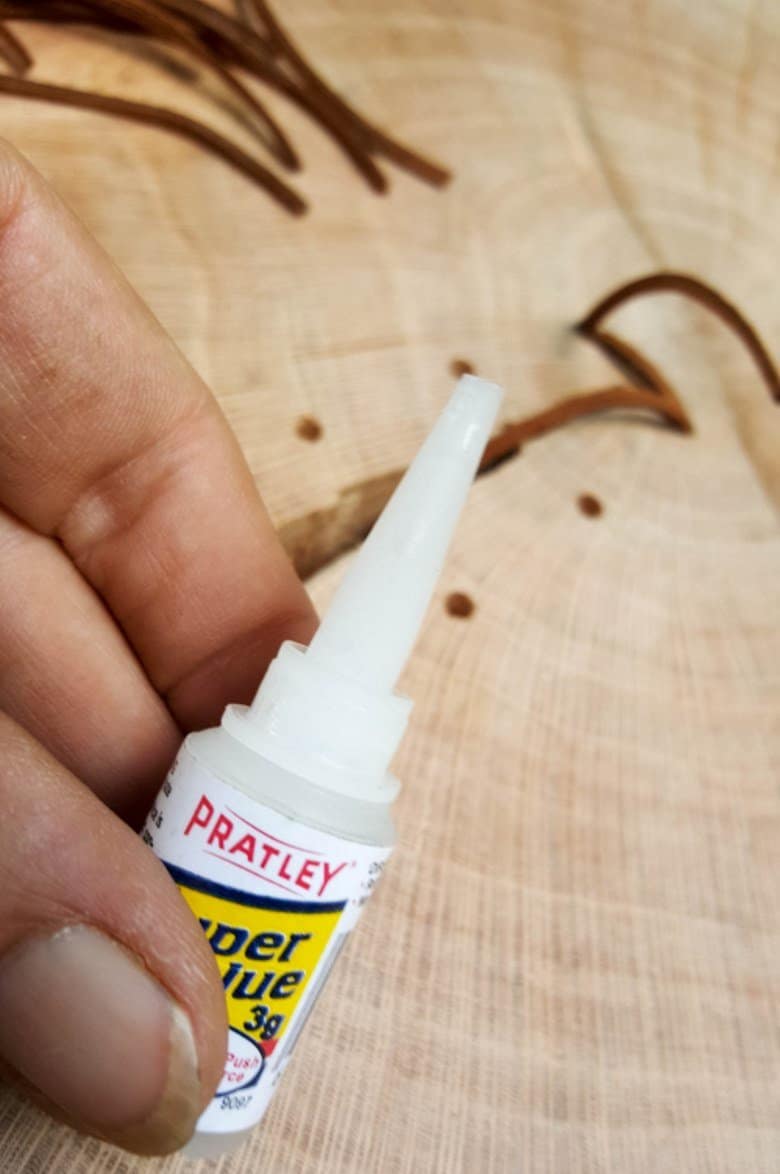
- Super glue with precision applicator tip
How to turn a cracked wooden stump into a feature
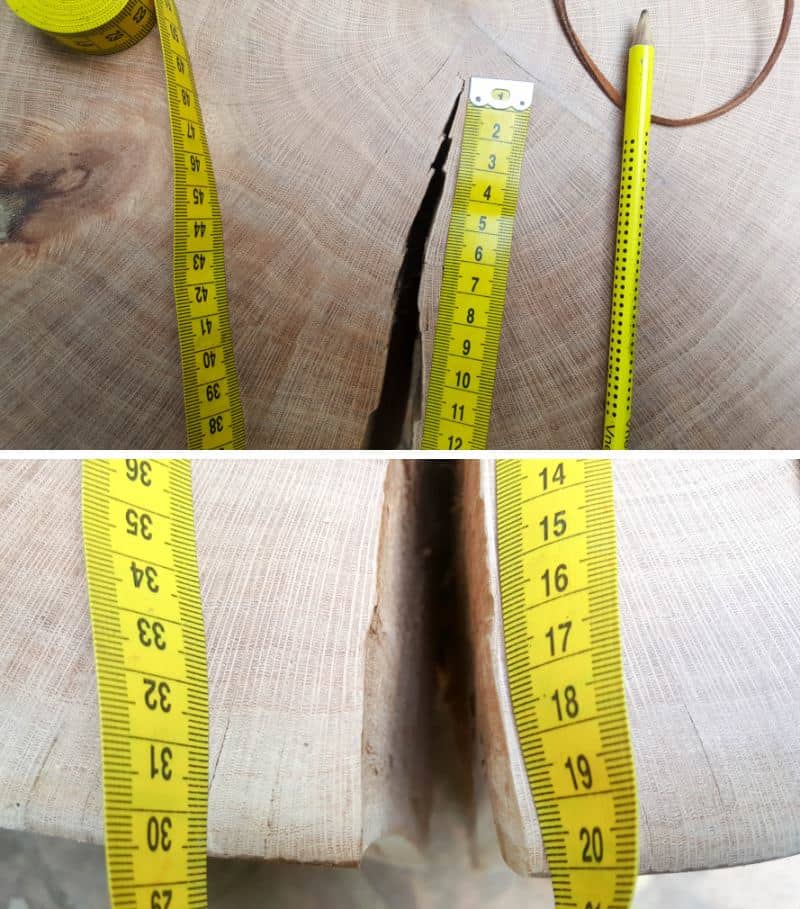
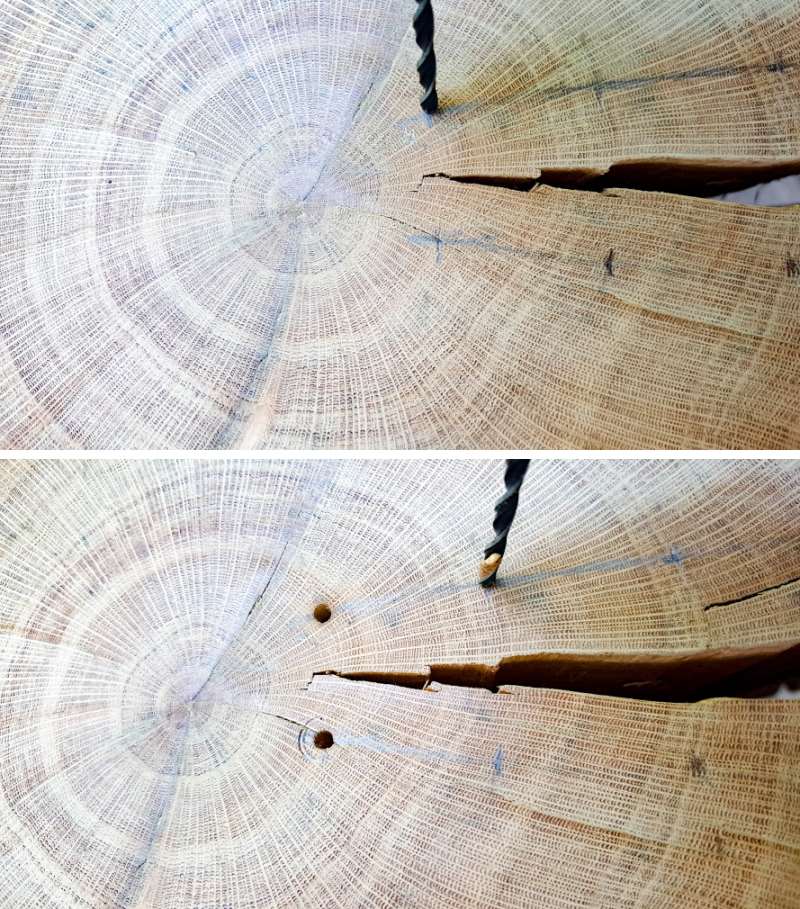
This is such a quick and easy fix that takes less than an hour to complete. Start by measuring the length of the crack in your wooden stump. From the starting point, usually the pith, all the way down. Our crack is 42 cm in length.
Divide the measurement into equal sections that are between 2 – 5 cm (1-2”) and mark with a pencil.
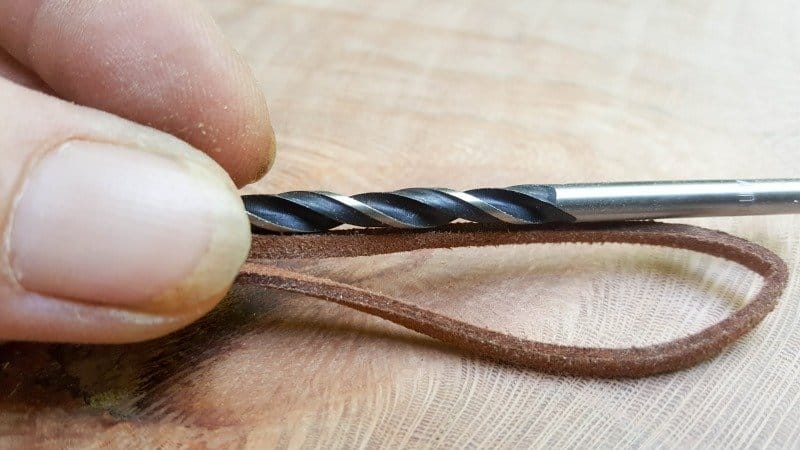
I marked my crack every 3 cm on either side. (that sounds sooooo wrong 😀 ). Using the width of two pieces of leather cord determine what wood drill bit to use.
And drill on the marks.
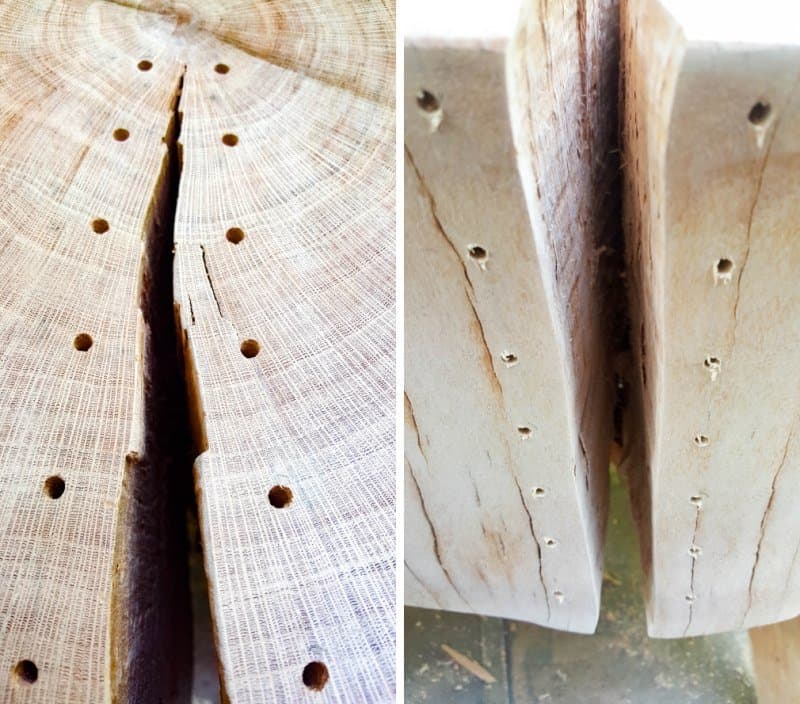
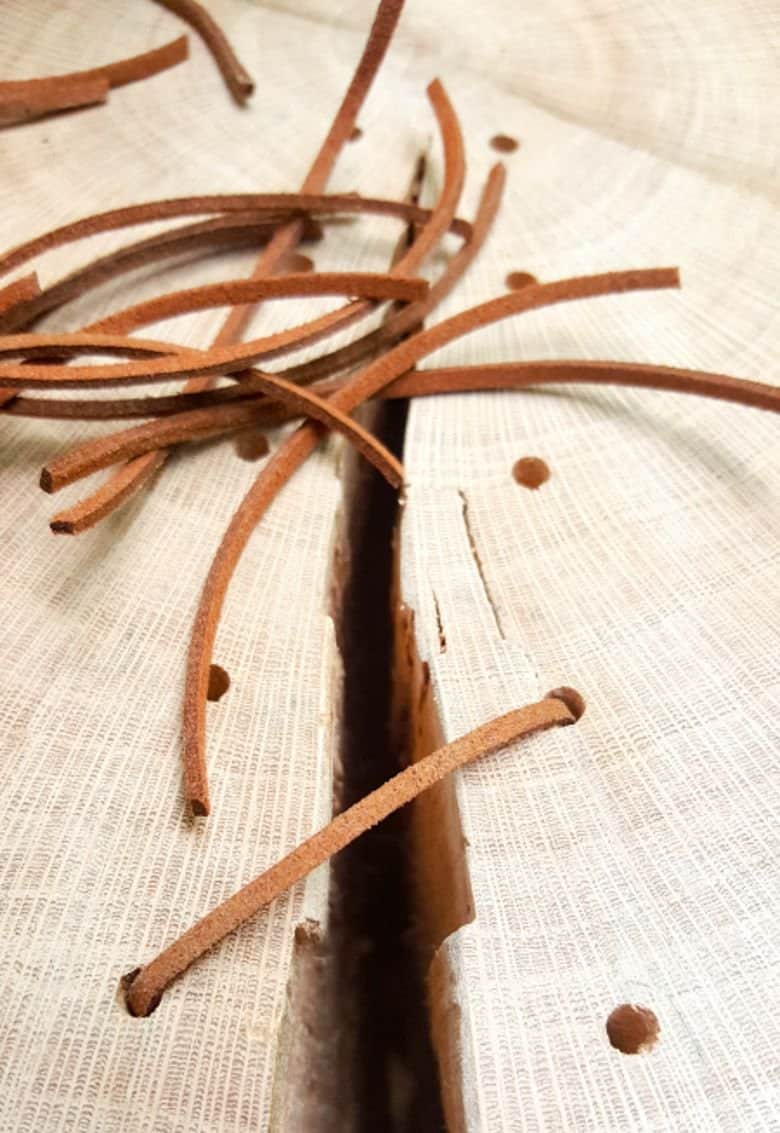
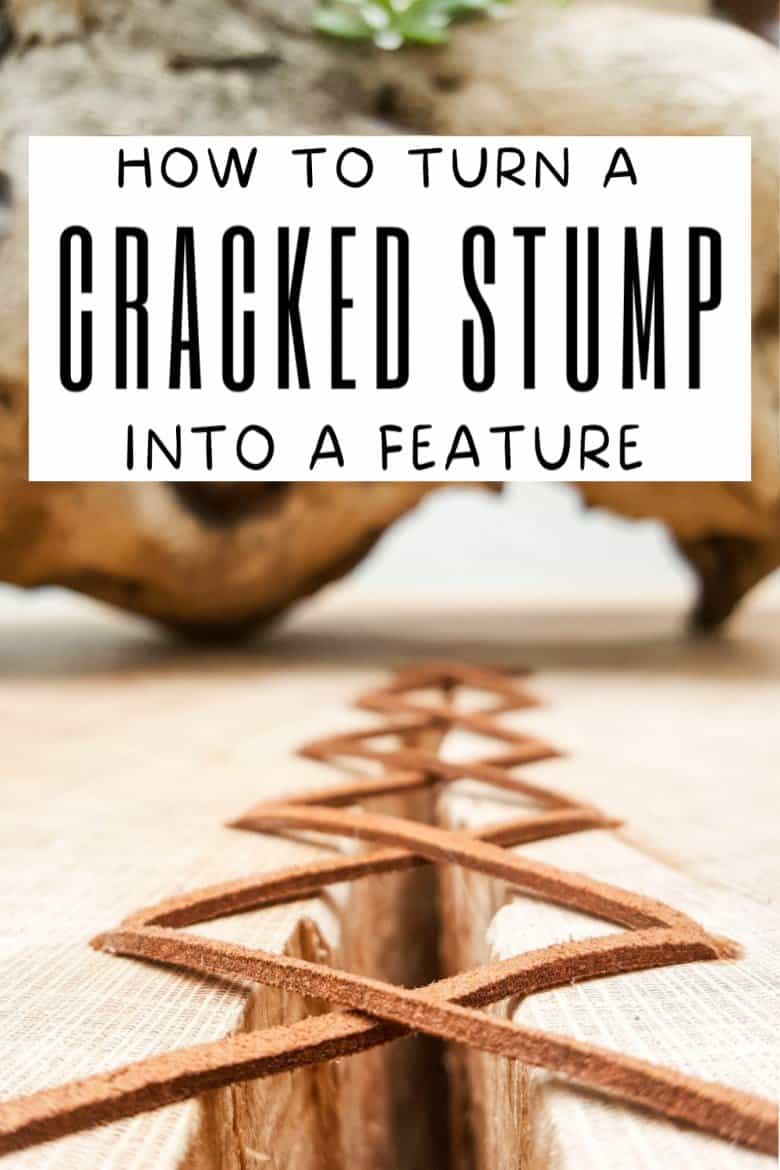
Using the holes as a guide cut pieces of leather cord or twine so they fit in the hole and diagonally across to the opposite hole as shown below.
Add a few small drops of glue in the first hole on the left and place two cords inside.
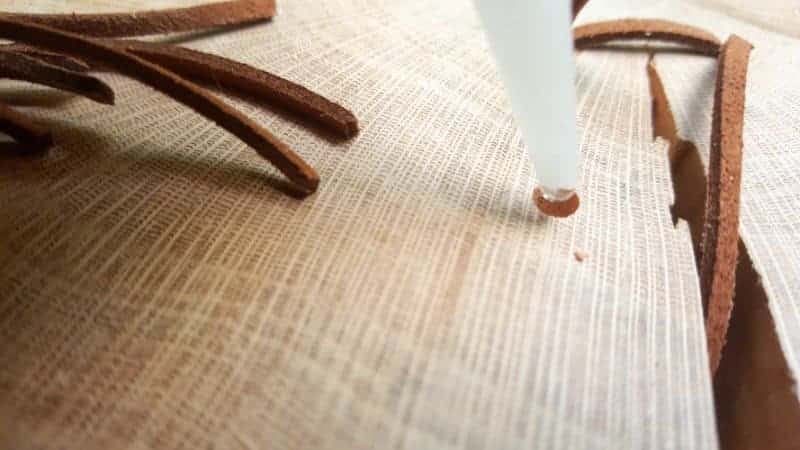
It makes life much easier if the superglue has a thin applicator to get the glue just where it should be.
Take one of the cords and insert it into the hole directly across on the right-hand side. Take the second cord and insert it diagonally into the next hole down on the right.
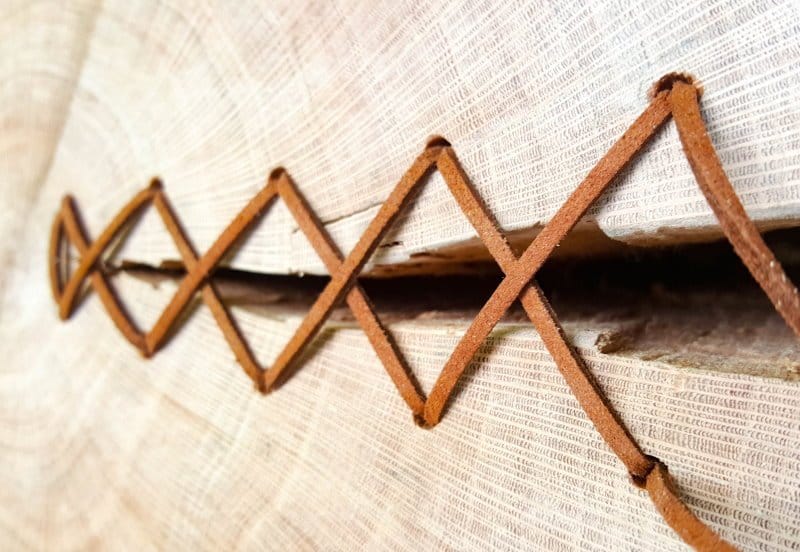
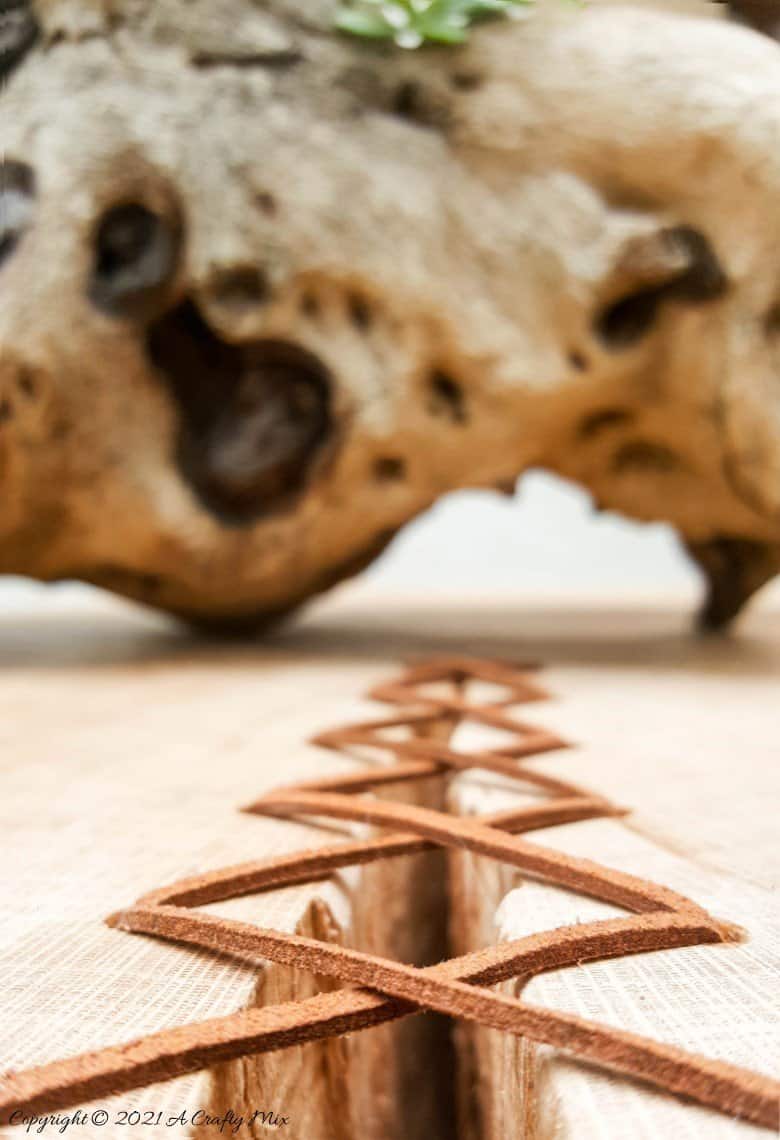
Repeat until you’ve laced up the whole entire cracked wooden stump, crisscrossing the leather cord as you go. Finish off by adding one last cord as shown below.
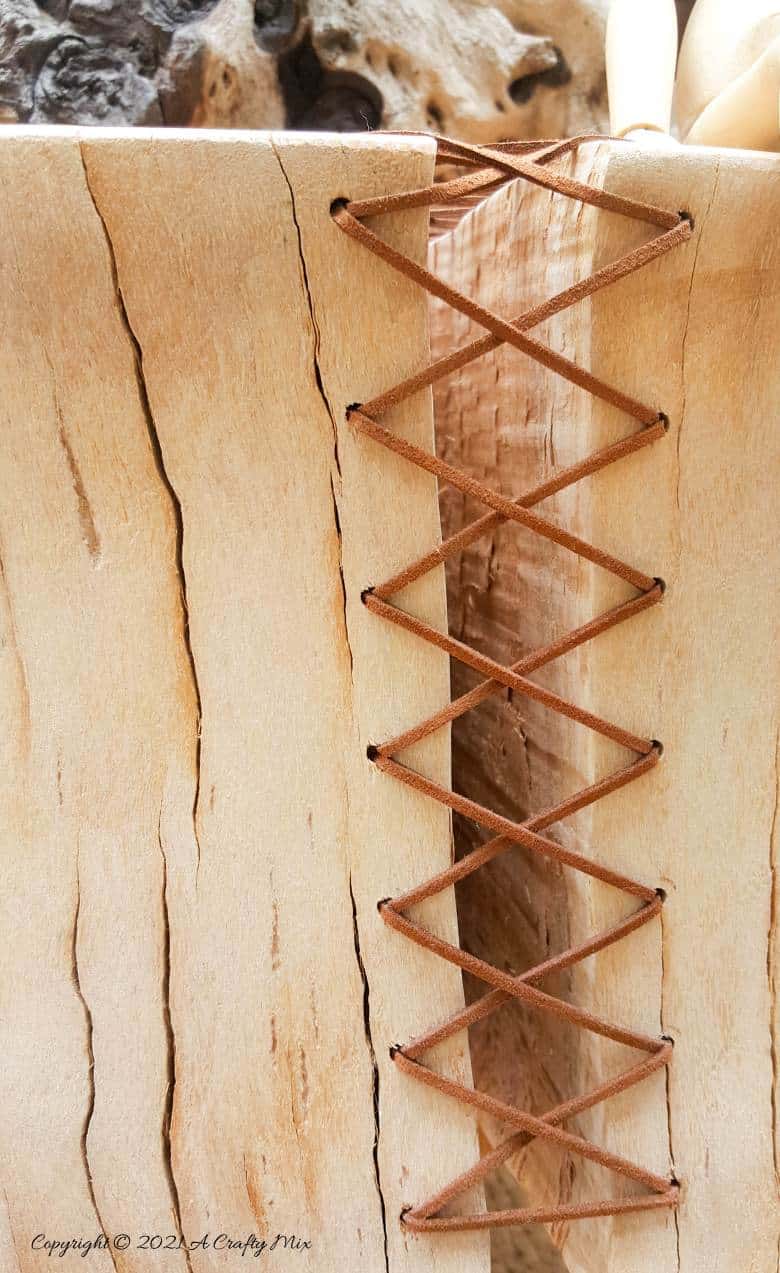
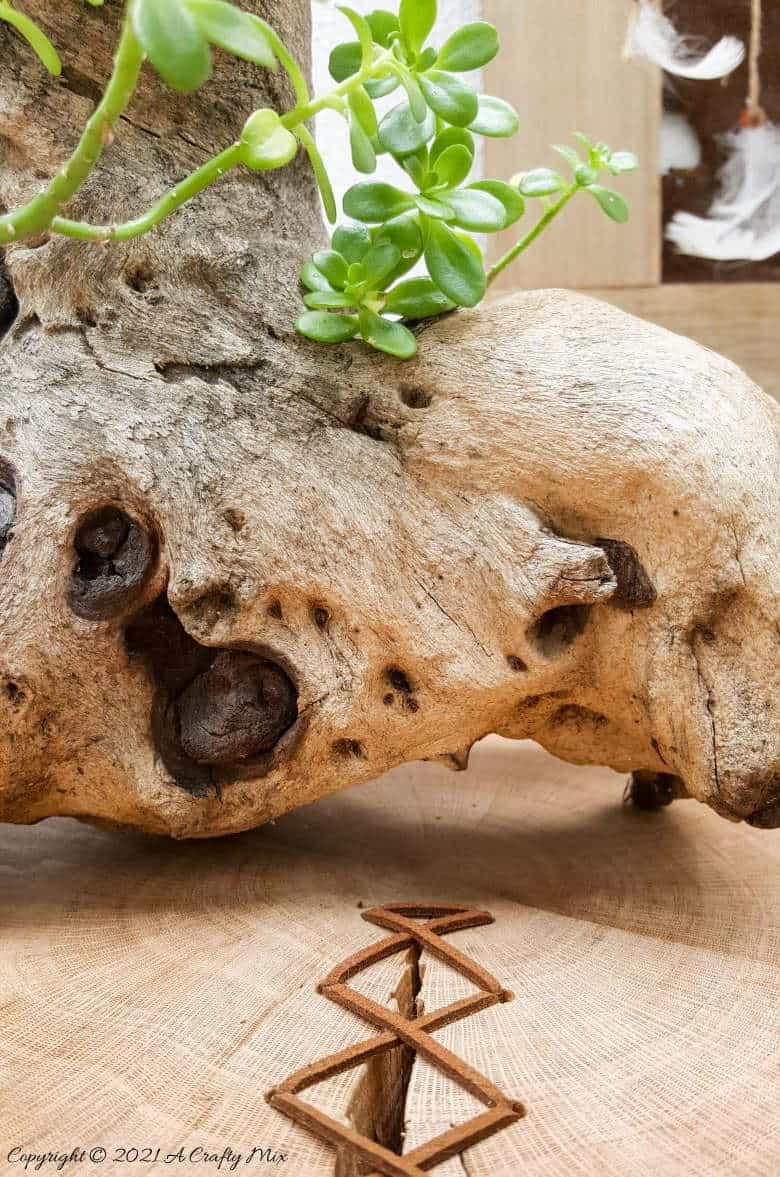
And that’s all there is to it.

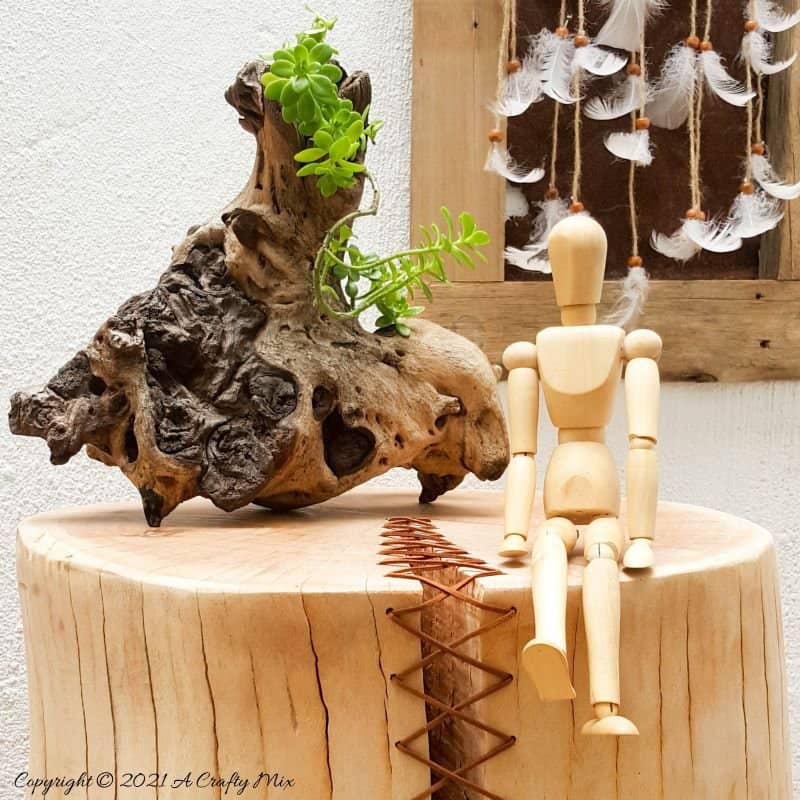
A quick and easy way to turn a cracked wooden stump into a gorgeous feature.
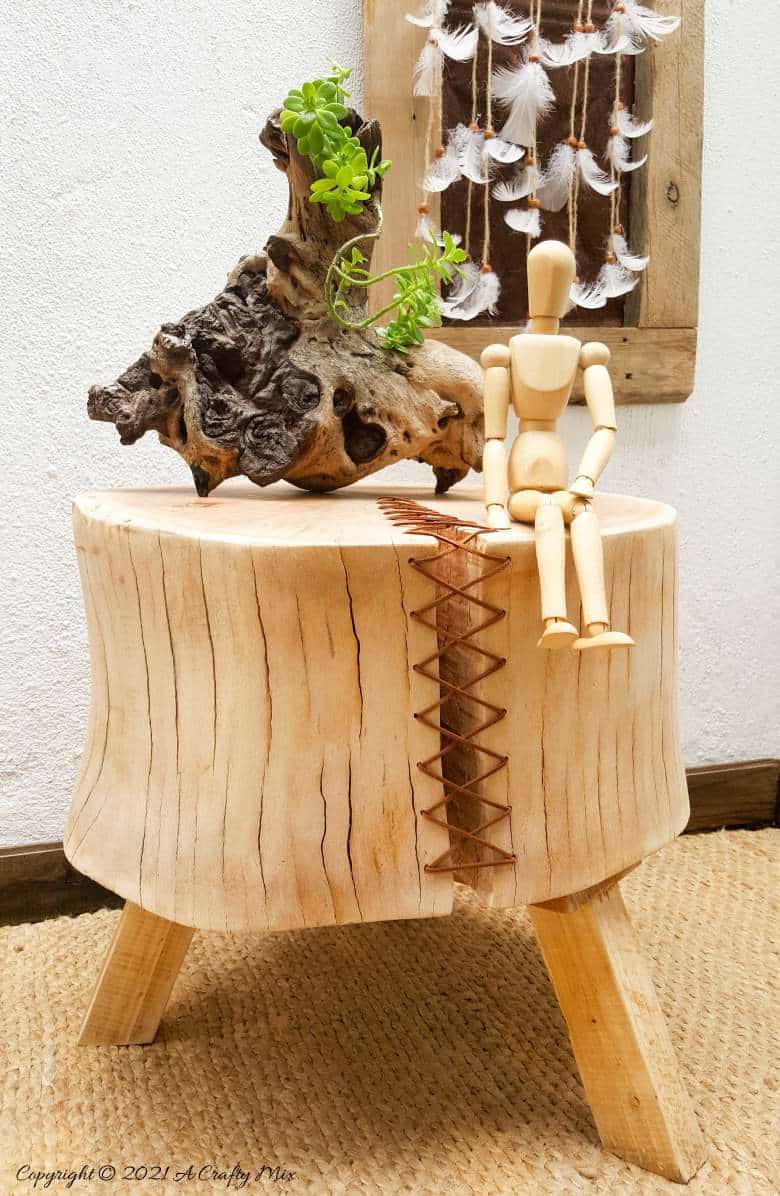
This technique works no matter the size of your stump. Ours is really big, but for smaller pieces or branches you can use the same process.
What do you think? Would you lace up a crack in a wooden stump and turn it into a feature?
If you like the idea of turning a cracked wooden stump into a feature, don’t forget to pin the tutorial for later.
Sharing is caring ?
Oh and if you’re looking for some of the things we used to fix the crack in our wooden stump, we’ve got you covered. Disclosure: Clicking on the links below, means we may receive a commission from Amazon. But don’t worry it won’t come out of your pocket, and it helps us come up with more amazing craft ideas to share with you 😉


To stop cracks from forming I highly recommend these products


And if you prefer to buy rather than DIY then perhaps, you’ll enjoy these.

And as always, wishing you a wonderful, crafty week filled with lots of love. Thank you for popping in for a visit.

Last update on 2026-06-03 / Source Amazon Affiliates