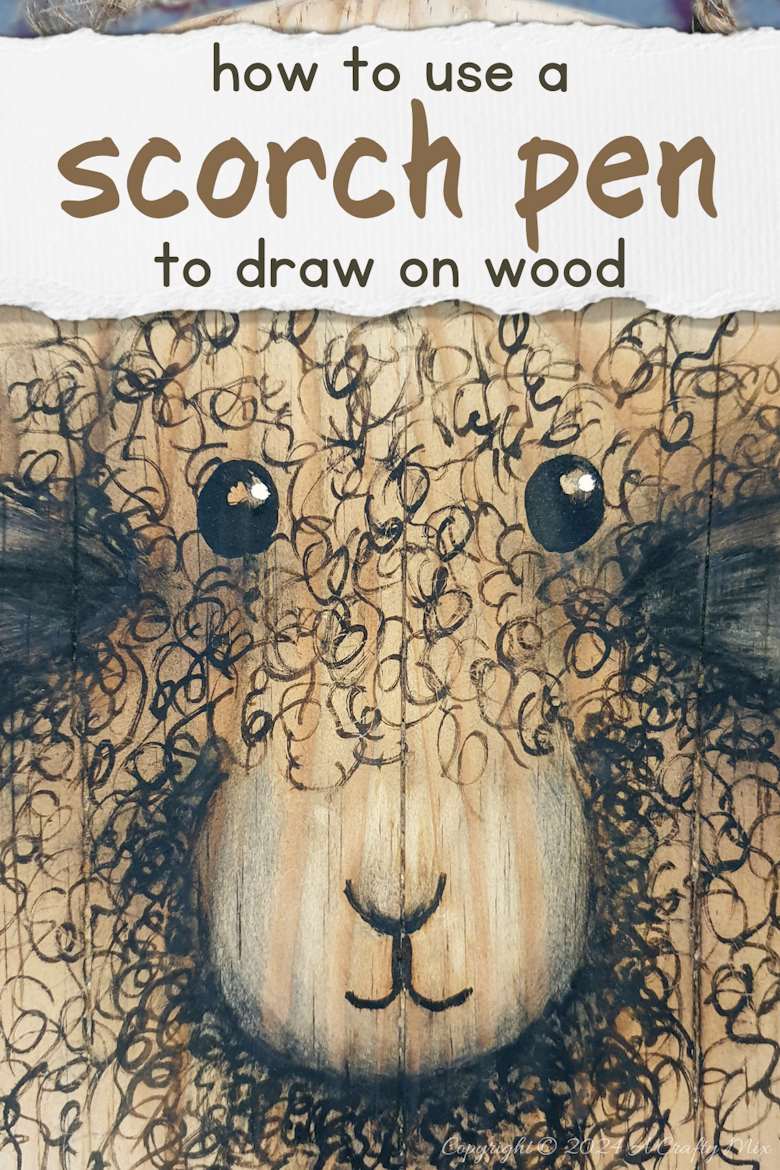
When I shared some beginner-friendly tips for using wood-burning paste a few weeks back, I mentioned that I wanted to try the scorch pen marker (aka pyrography marker). Well, I finally managed to order one and I had so much fun playing around. As an experiment, I did a quick sketch of curly haired lamb on an old, well used, breadboard.
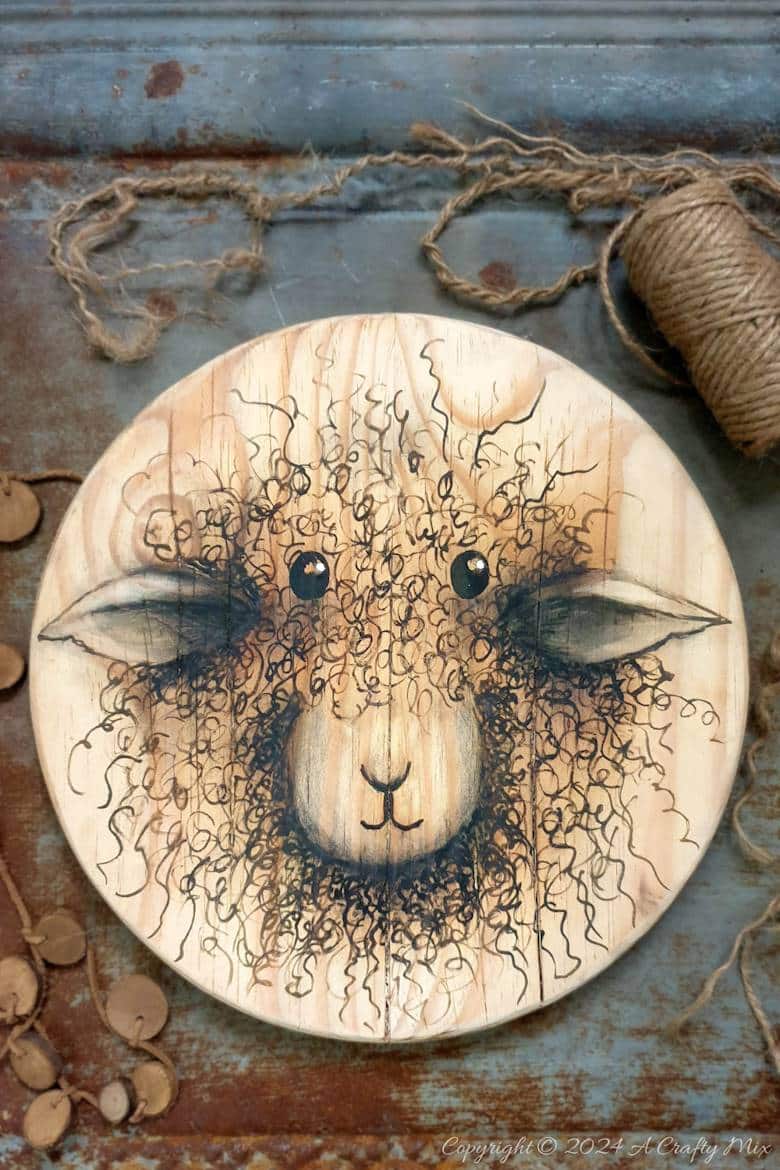
I’m so impressed with how it turned out. Isn’t she cool?

The scorch pen marker contains chemicals that are activated once you apply heat and it can be used on wood, cardboard, fabric, and leather. I have a few scraps of leather left over from making this Lord of the Rings Journal so I’ll be playing around with that next.

Or, maybe I’ll combine the paste and the pen and do a portrait or something a little more complicated. In the meantime, I thought I’d share some of my top tips for using the scorch pen marker. But before we get there, be sure to follow us on Facebook, Twitter, Pinterest, and Instagram. And don’t forget to click the subscribe button so you’ll never miss a post!
Scorch Pen Marker: Top Tips
Tip 1: Blank Smooth Canvas
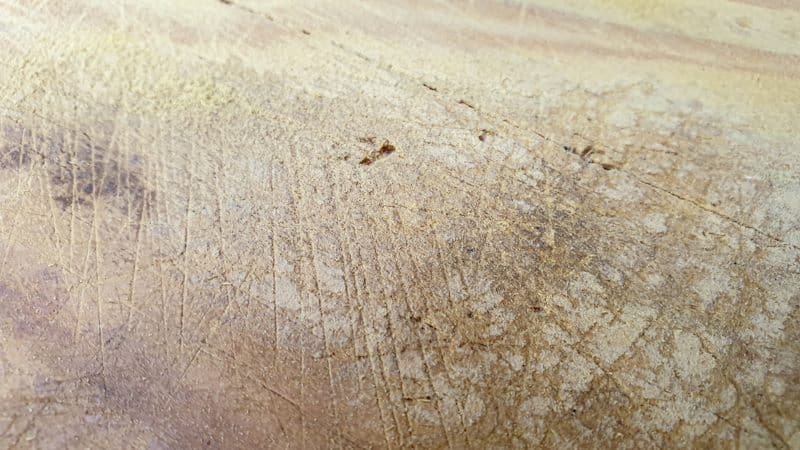
For the best result, you want your wood to be really smooth. When I tried the wood-burning paste, I did a test run first using different grits and it didn’t make much difference. I think it’s because the paste spreads making it ideal for stenciling. The pen, on the other hand, was a whole different story. On a rough wooden surface, you can damage the nib or the chemical infused “ink” doesn’t get into all the grooves, and you end up with a blotchy drawing. My breadboard had a lot of those after years of abuse.
A smooth surface makes it easier to draw (or write). You want the pen to “glide” over the surface so sanding is a must. Work your way up from 80-grit to at least 220-grit.
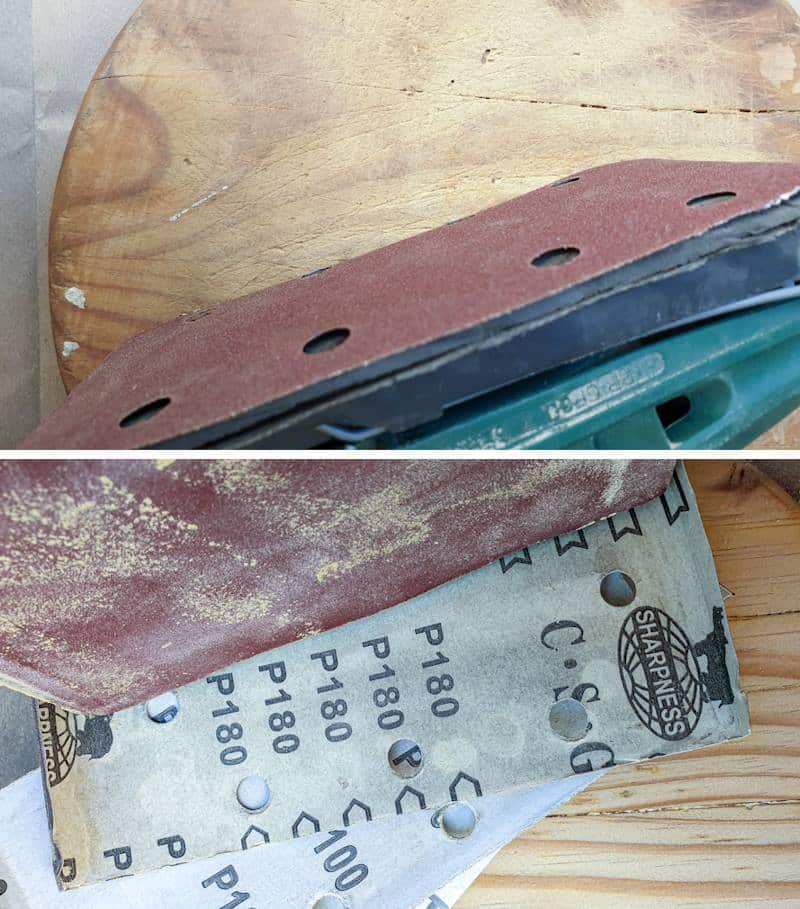
Remember to wipe the wood down with a damp cloth after sanding to get rid of any dust that could clog up the pen.

Tip 2: Rough Sketch
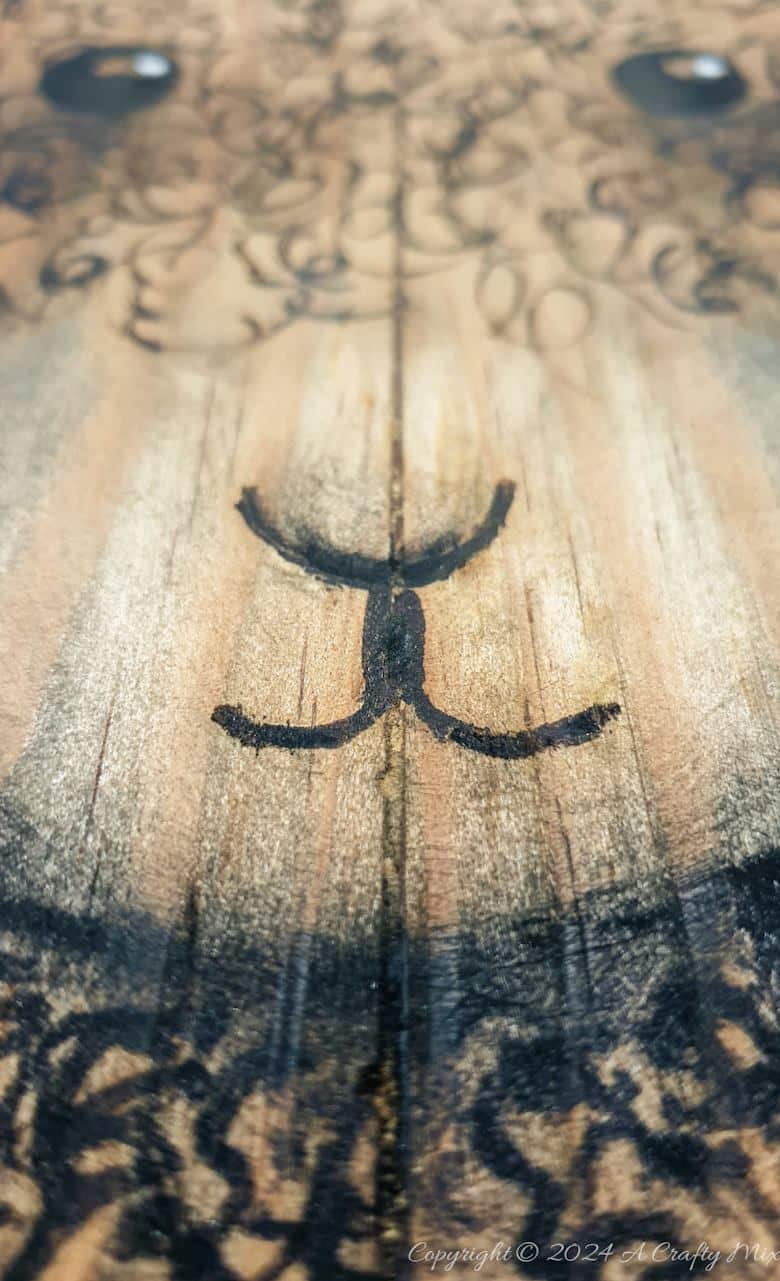
Before using the scorch pen marker, I did a rough sketch of the lamb using a soft pencil. Just so I could get the proportions right. Once I was happy, I lightly redrew the image on my breadboard.

For something a little more complicated, you can use tracing paper or a stencil to transfer the image to your wooden canvas.
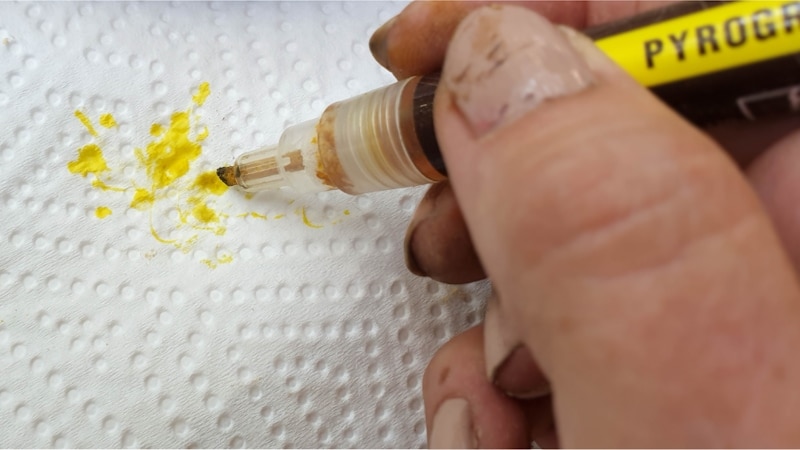
Tip 3: Inking the Nib
To start, give the scorch pen a good shake (or 7) and dab it lightly, up and down, on a paper kitchen towel to get the chemicals to flow into the nib. To avoid blurry lines and bleeding, don’t oversaturate the nib.
The pen I bought has two soft felt-like nibs. A flat one and a round one. You have to pull the nib out and flip it around to get to the round one. I used tweezers to pull the nib out. You can also use a pair of blunt scissors. Squeeze hard enough to grab the nib without cutting it.
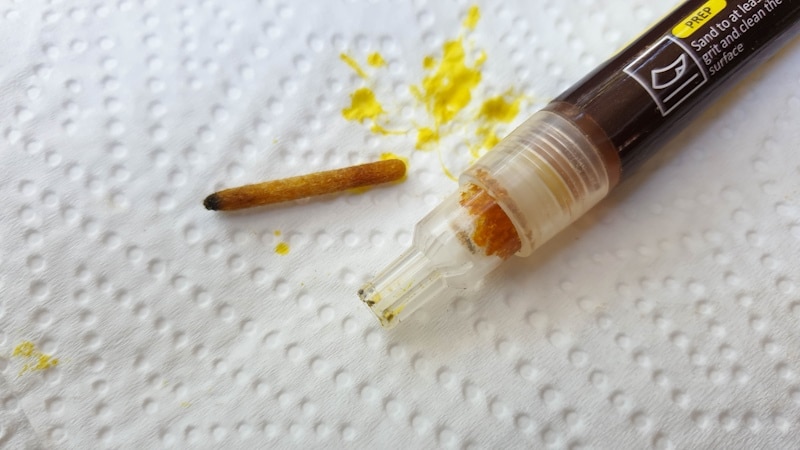
The nibs make it easy to draw with either the tip or the side of the nib. If you can write or draw using a regular marker, you’ll love the scorch pen marker. I did see other pens that have different nibs on either end with the ink in the middle.
Tip 4: Drawing with the Scorch Marker
If you’ve ever used a felt tip pen or regular permanent marker, you’ll have no problem with the scorch pen. It works in exactly the same way. Simply press the tip down on the wood and sketch away. Go lightly to avoid damaging the nib or oversaturating the wood. Applying too much pressure can lead to bleeding or really dark, harsh lines.
Tip 5: Keep It Simple
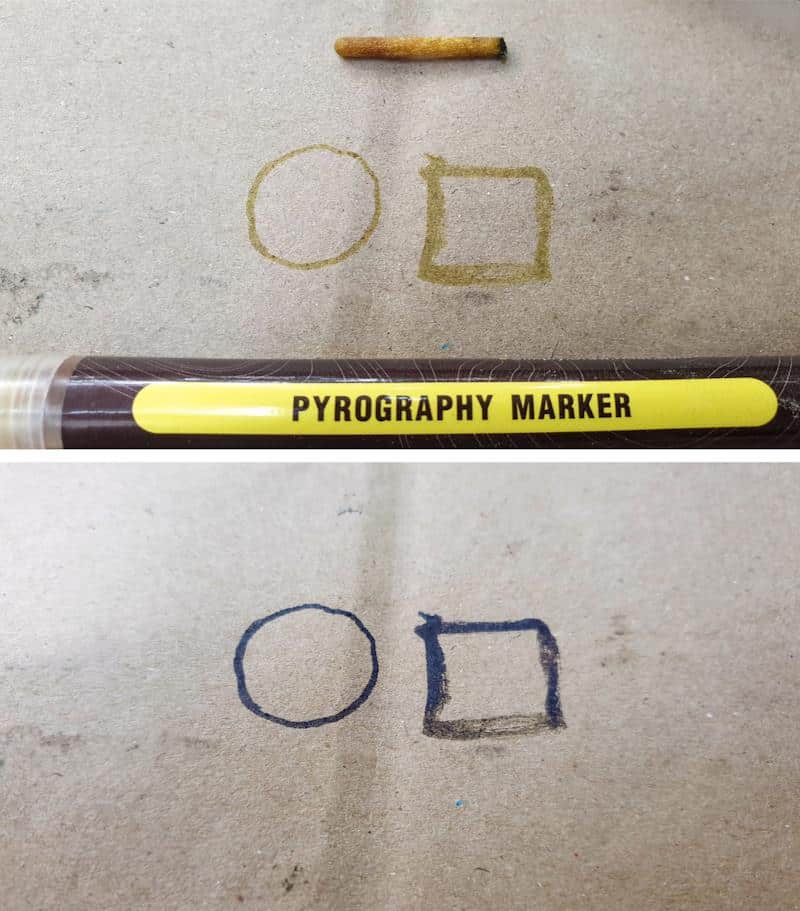
The scorch pen doesn’t do color variations well. It’s either a greeny-orange before burning or brown-ish-black after.

A good rule of thumb is to keep things simple and let the dramatic burnt color do all the talking. I tried to play around with the heat to see if I could get different tones or colors variations but didn’t have any luck. My heat gun only has one setting – hellfire hot, which you can see it in action in the short video below.

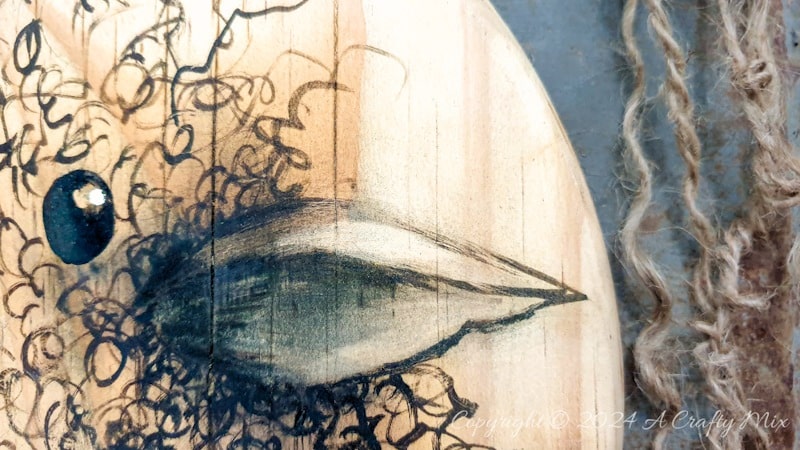
What did work was layering pen strokes over already burnt areas and smudging other areas with my finger.
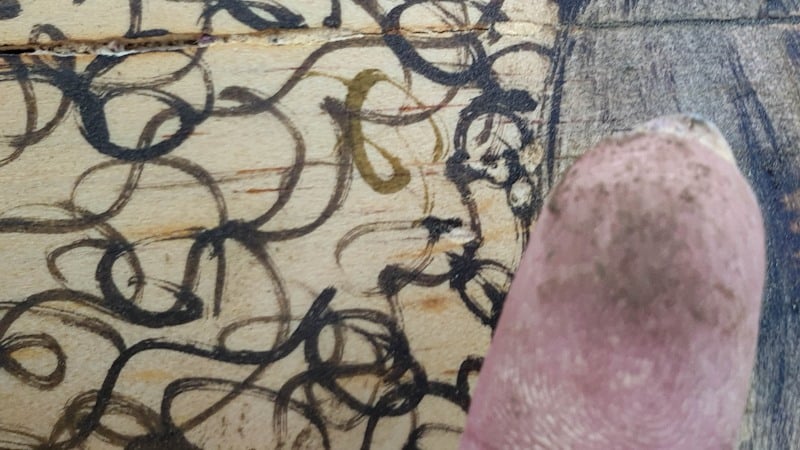
If you’re not a fan of sooty fingers you can use a kitchen towel.

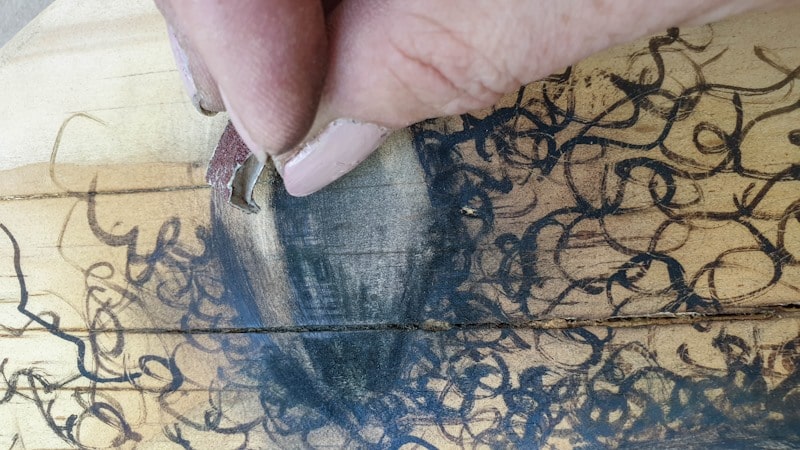
Because the ink dries quickly, I couldn’t do a finger smudge before burning. I did find that sanding the ink with 180 or 220 grit sandpaper had a similar effect though.

Talking about sandpaper, if you make an oopsie, you can erase it with sandpaper to lift the color slightly after burning.
Tip 6: Other Drawing Techniques
To add shadows and tones you can combine layering and smudging with cross-hatching or dotting.
Cross Hatching
Cross-hatching involves making short strokes in one direction followed by overlapping strokes in another direction.
Dotting
I’m not a big fan of I suck at dotting. I always get bored, and my dots end up going where they shouldn’t. The closer the dots, the deeper the shadows.
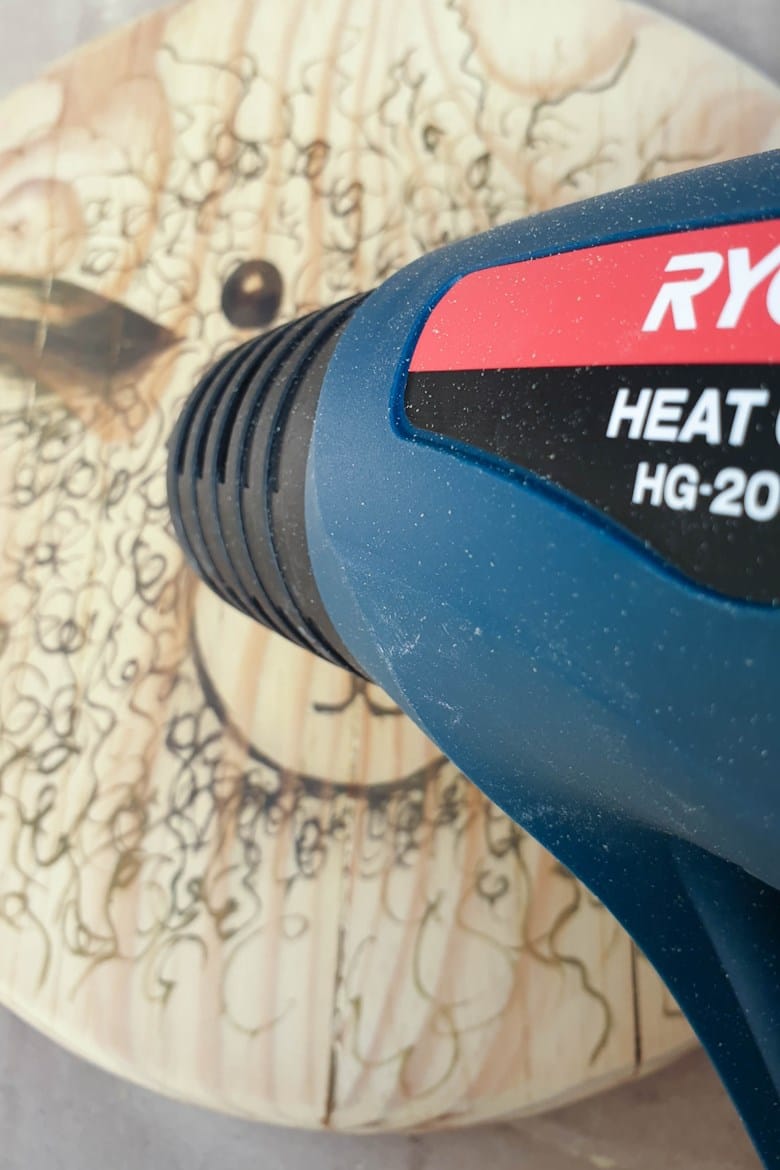
Tip 7: Applying Heat
Just like scorching paste, you do need a heat gun, or a lighter if your sketch is small enough. A hairdryer won’t work. It doesn’t get hot enough. However, unlike the paste, where the burn effect appeared gradually, my pen marks went from that greeny-orange color to scorched in seconds.
The pen also works on paper.
Conclusions
I so enjoyed playing around with the scorch pen marker. It’s easier to use than a wood burning iron and probably safer too. I can’t tell you how many times I burnt my fingers when I first started doing a pyrography. Let’s just say if I ever commit a crime, they’re going to struggle with some of my non-existent fingerprints.
The scorch pen feels and acts like a permanent marker which meant my line were “cleaner” and less shaky. Probably because I didn’t have to worry about burning myself on a hot metal nib.
With the scorch pen you only apply heat after you’re done, so you can take your time and come back to the drawing anytime.

The only downside is that a wood burning iron, or pyrography pen, gives you more control over shading and tone variations. Oh, and they normally come with different metal nibs. This marker only has two. Then again, it’s a pain in the butt to clean the nibs on pyrography pens when carbon builds up, and they can be expensive.

Have you used a scorch marker before? Do you have any other tips to share?
If you like the idea of drawing on wood with a scorch pen marker, pin the tips and tricks for later.

Sharing is caring.
Oh, and if you’re looking for some of the things we used, we’ve got you covered. Disclosure: Clicking on the links below, means we may receive a commission from Amazon. But don’t worry it won’t come out of your pocket, and it helps us make more amazing crafts to share with you 😉


And if you prefer to buy rather than DIY, then maybe these beauties will appeal.


And as always, wishing you a wonderful, crafty week filled with lots of love. Thank you for popping in for a visit.

Last update on 2026-06-03 / Source Amazon Affiliates