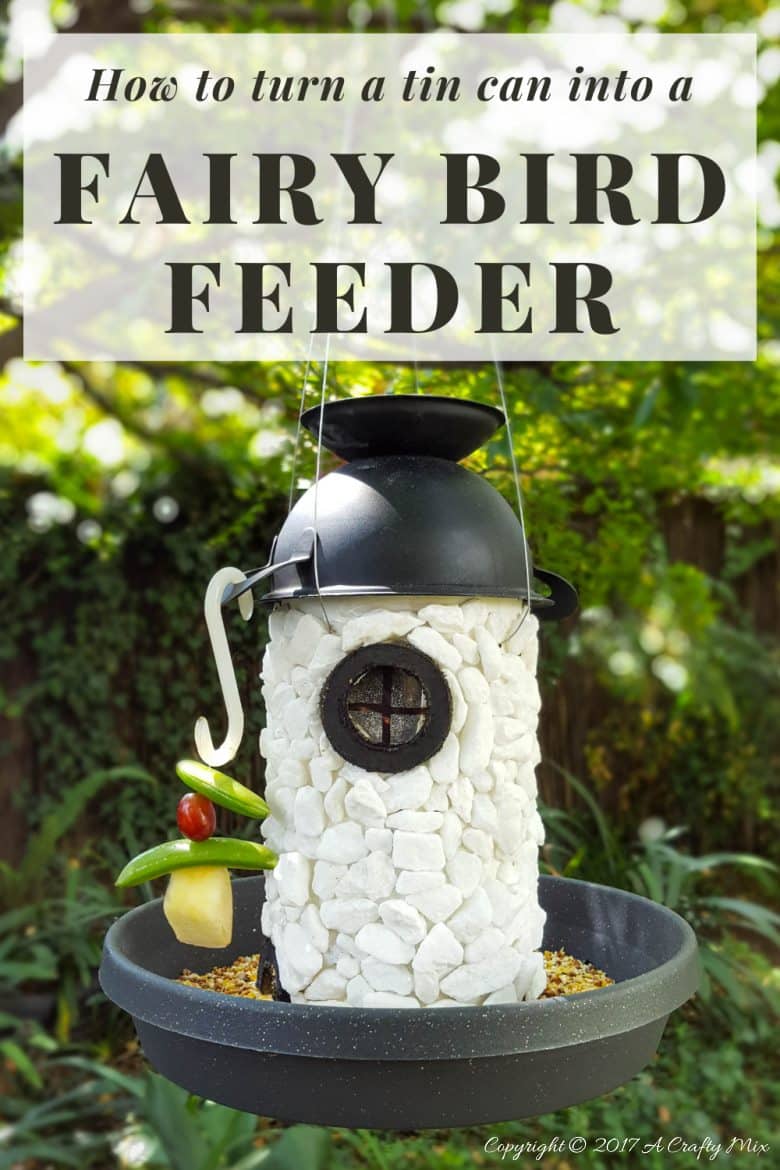
It’s the last Monday of the month which means it’s time for another International Blogger’s Club Challenge. Last month we all had to make something for our outdoor space. This month it’s all about recycling or upcycling a tin can. If you’ve been following our blog for a while, you’ll know that we love making things for our garden fairies. The tin can challenge made me realize that we haven’t made anything for them in a while. This was the perfect opportunity to fix that and make a fairy lighthouse that doubles up as a bird feeder ;-).
Legend has it that fairies will often disguise themselves as birds or butterflies to avoid detection. Only a few humans are able to see these delightful creatures for who they really are. It often takes lots of time and patience. I’m hoping the bird feeder will help them show their true colors 😉
RightyO, before we get to the tutorial, be sure to follow us on Facebook, Twitter, Pinterest, or Instagram. And don’t forget to subscribe so you’ll never miss a post!
What you need
To make the tin can bird feeder you’ll need:
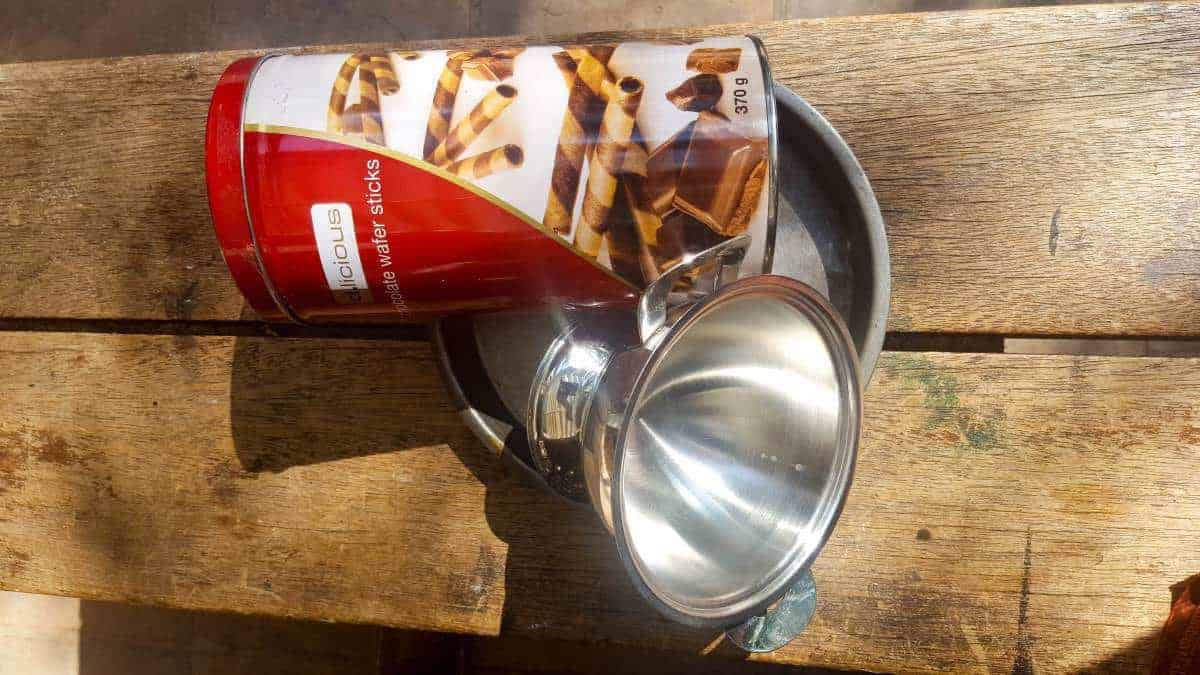
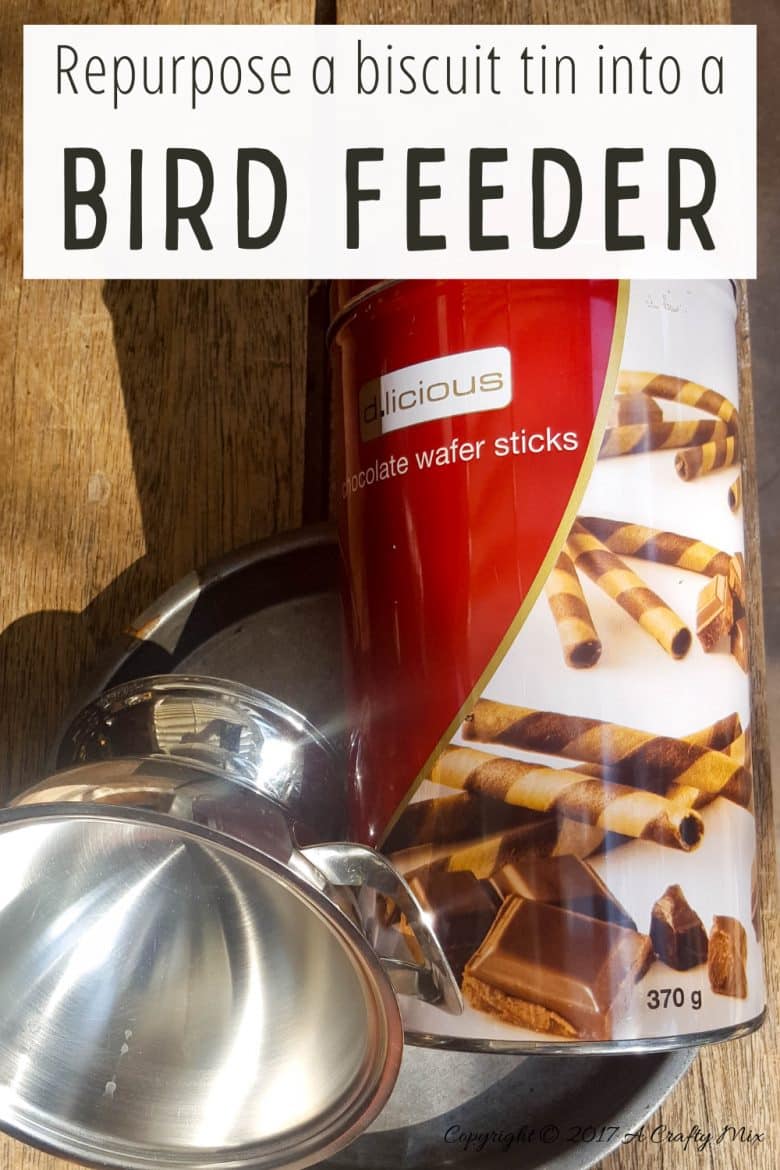
- A large tall tin can.
- Drip tray that’s twice the diameter of the tin can
- A half round object for the roof. I used a stainless steal sugar bowl.
- Small stones
- Galvanized wire to hang
Tools:
- Drill
- Pliers
- Outdoor glue (E6000 or silicone works really well)
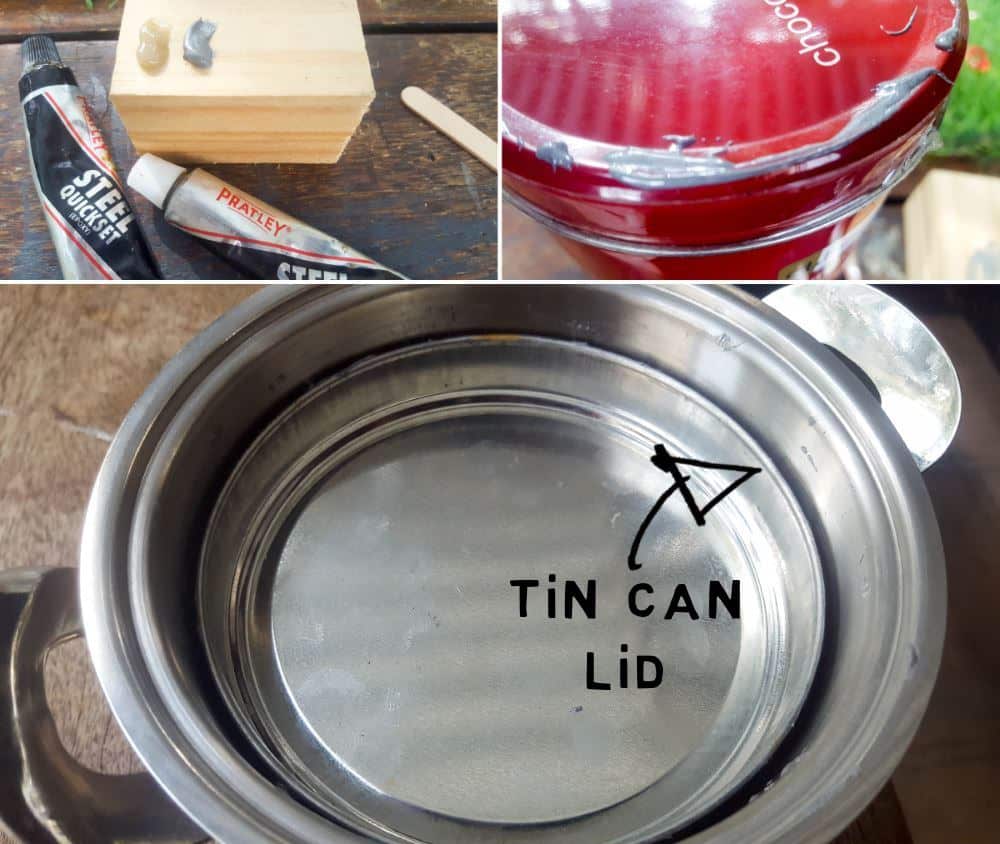
- Steel epoxy glue Optional)
Making the fairy lighthouse bird feeder
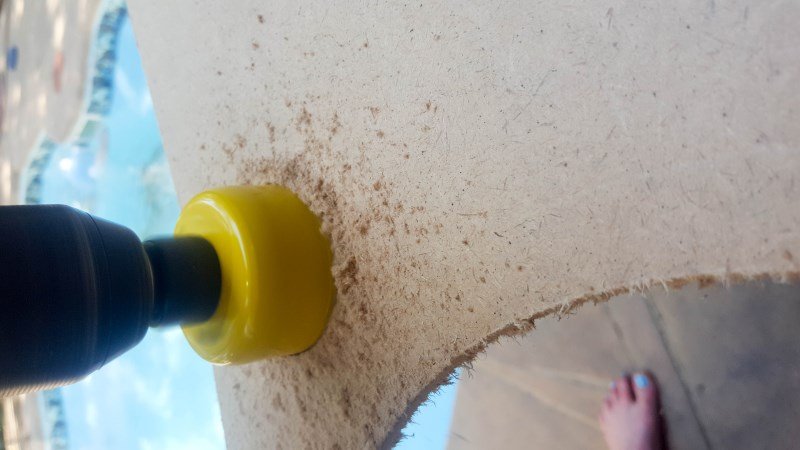
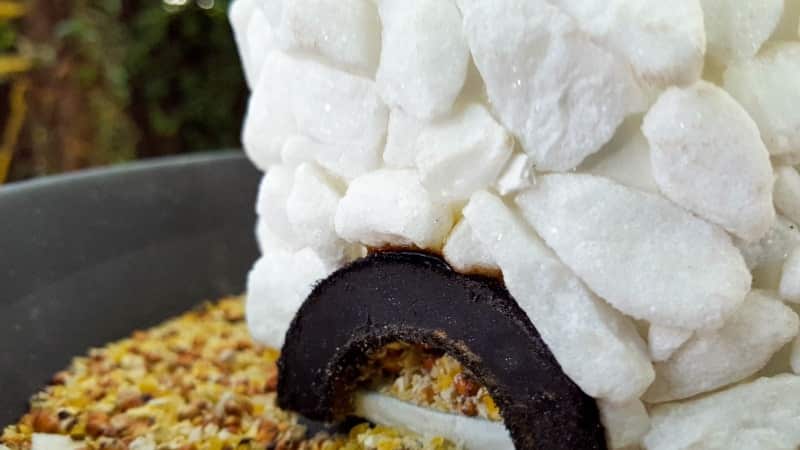
First things first, we needed some holes at the bottom of the tin can for the bird food to flow out of. The easiest way I found was to drill a few small holes quite close together and then use pliers to cut between the holes. The size of the holes will determine how much food is released.

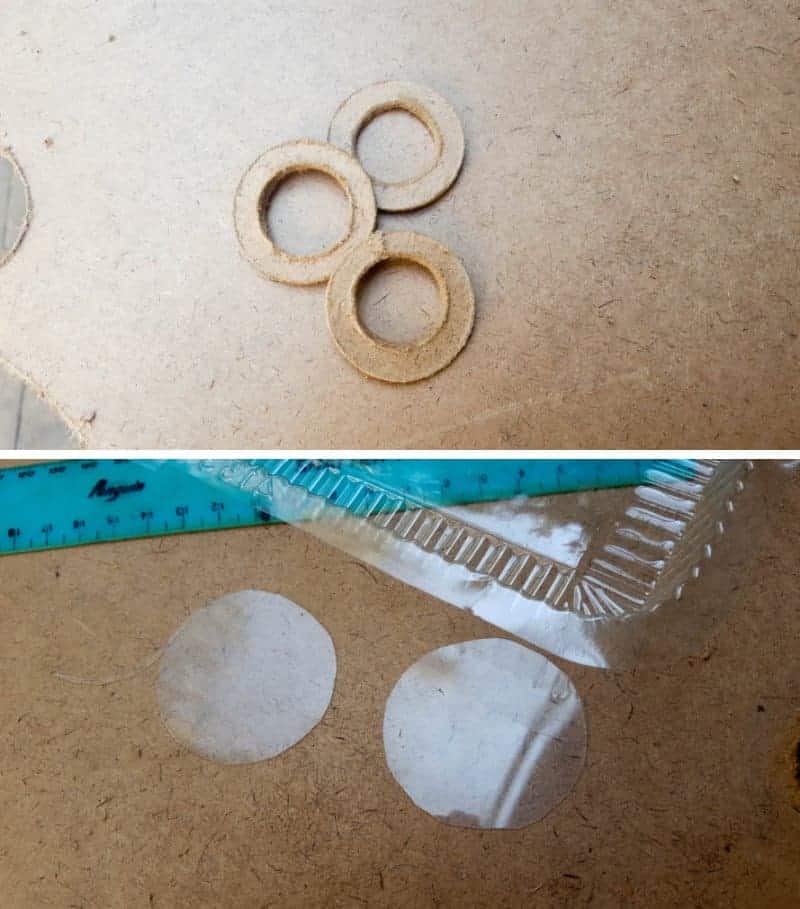
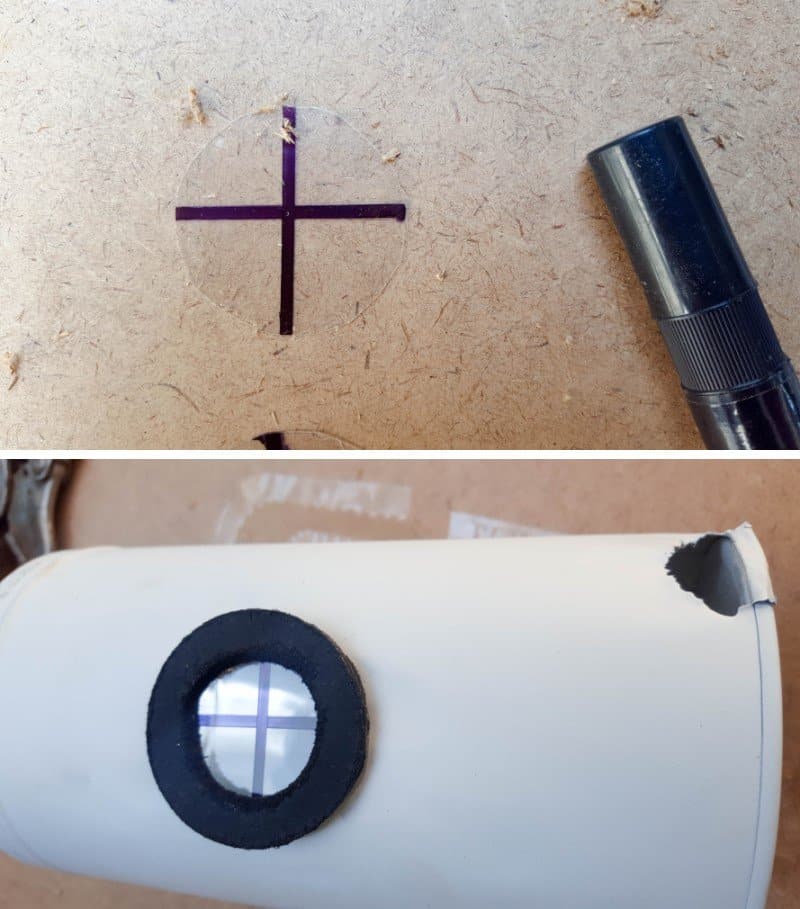
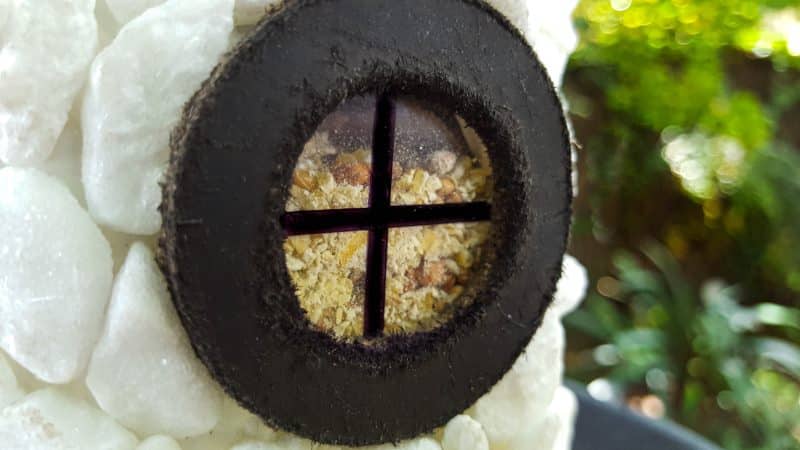
I used the same technique to make two holes higher up to create little windows for the fairy lighthouse. That way I can see how full the feeder is 😉 To hide the rough edges of the holes, I cut some rings out of the hardboard. We don’t want our fairies or feathered friends to get hurt when they come for a nibble 😉
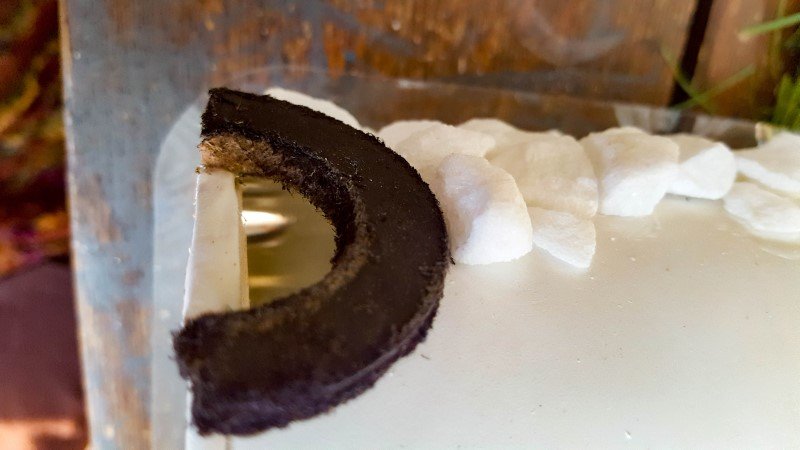
Using the hardboard rings as a guide cut two plastic circles to cover the windows so the seeds wouldn’t spill out. One of the hardboard rings was cut in half to form an arch over the feeder holes at the bottom of the tin.
The biscuit tin and the hardboard rings got a quick coat of spray paint and I used a sharpie to draw a cross on the plastic circles, before gluing the window rings to the tin can.
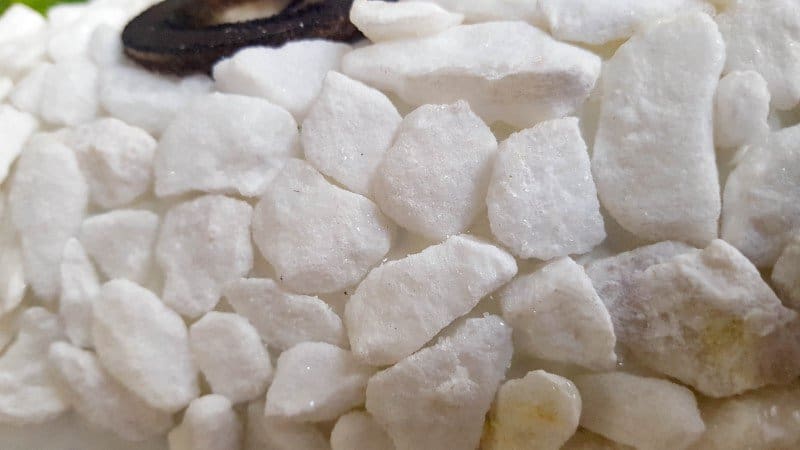
Now for the fun bit, gluing small stones to the biscuit tin using an outdoor silicon adhesive or E6000.
There’s really no quick way of doing it, just grab a cup of coffee and glue those babies on, one at a time. 😀
The world is full of magical things, patiently waiting for our senses to grow sharper
Turning a sugar bowl into a roof
As luck would have it the sugar bowl fit perfectly on top of the tin can. Maybe the fairies were trying to tell me something 😉 If you don’t have a sugar bowl lying see what you can find in your craft cupboard that fits. A funnel or small plastic bowl will work too. To make the roof of the fairy lighthouse, I used steel epoxy to glue the lid of the biscuit tin to the upside-down sugar bowl. Gluing the lid inside the bowl serves two purposes; it gives the bird feeder a lighthouse shape and I can remove it when I want to refill the seeds.
Once the epoxy sets, the “roof” got a few coats of black spray paint. To finish off, glue the fairy lighthouse bird feeder to the drip tray and drill 4 equally spaced holes towards the top of the feeder.
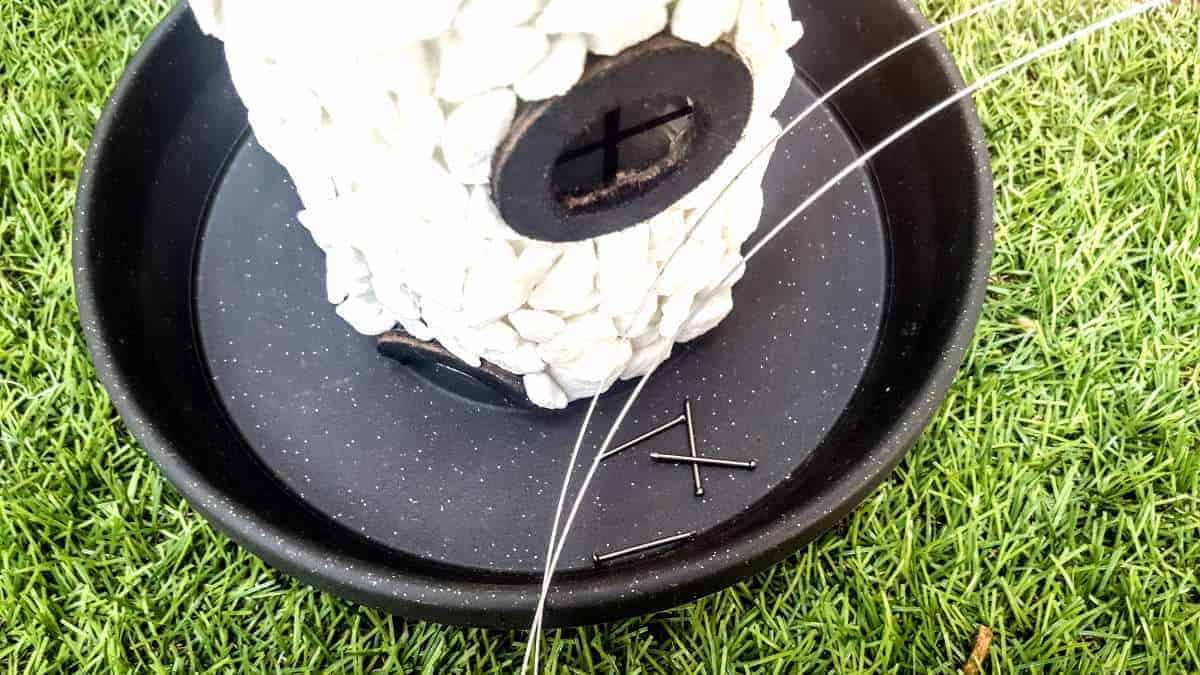
Cut some wire into four equal lengths and wrap each piece around a nail. Thread the wire into the holes from the inside of the tin can.
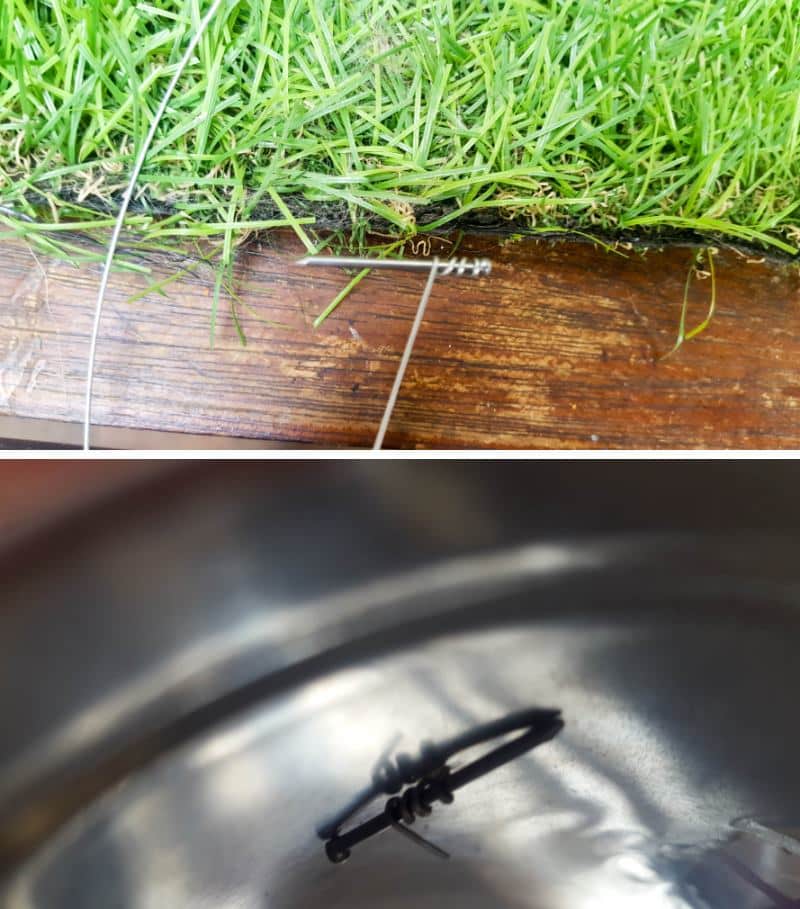
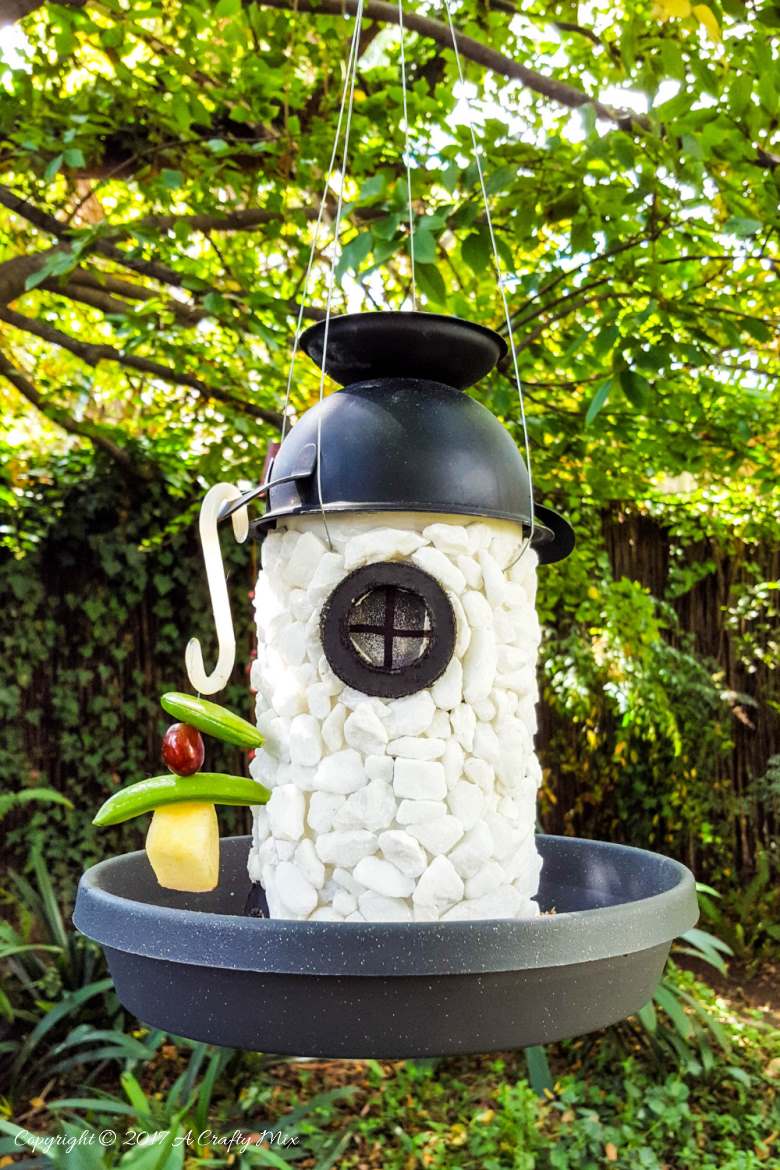
Fill the tin can with birdseed, and put the lid back on before hanging the feeder in a safe spot.
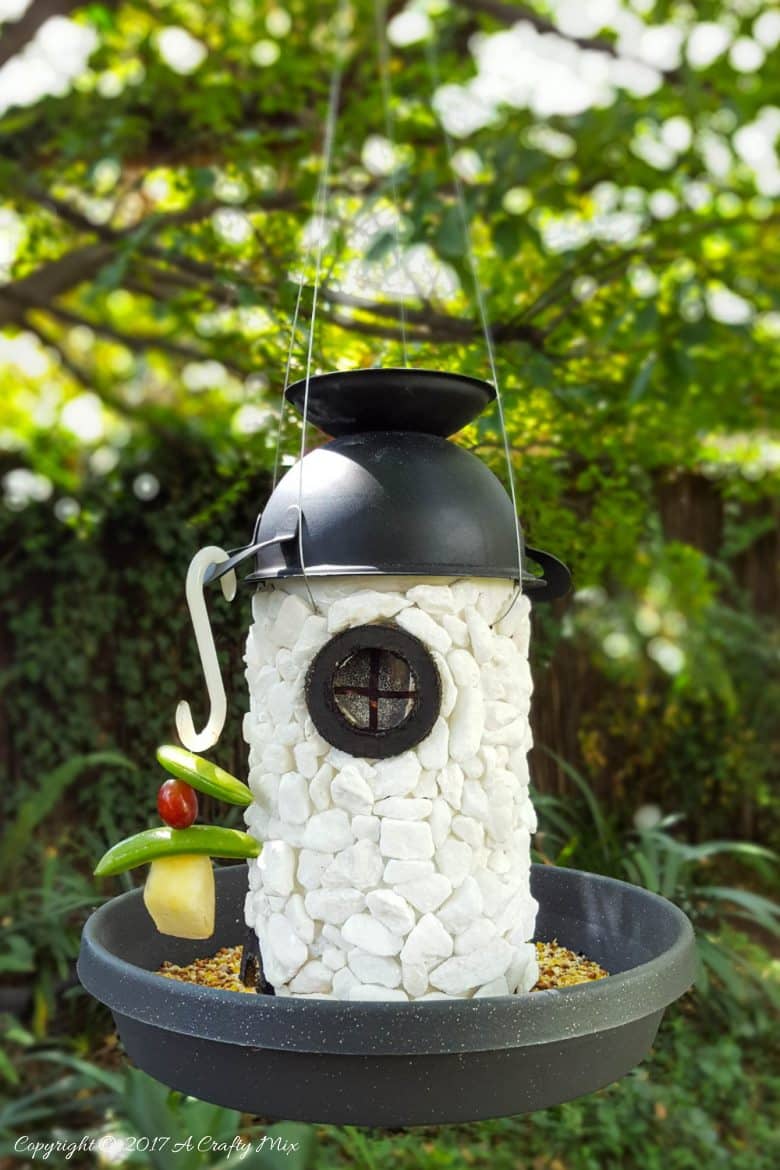
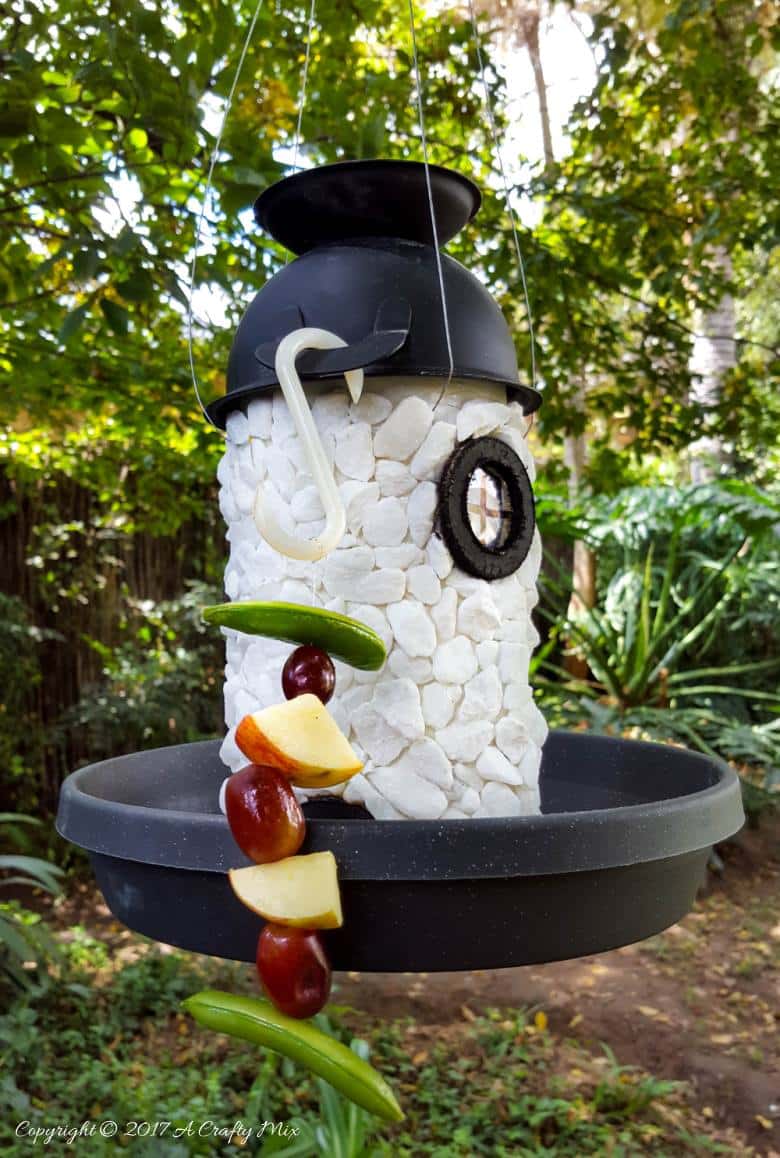
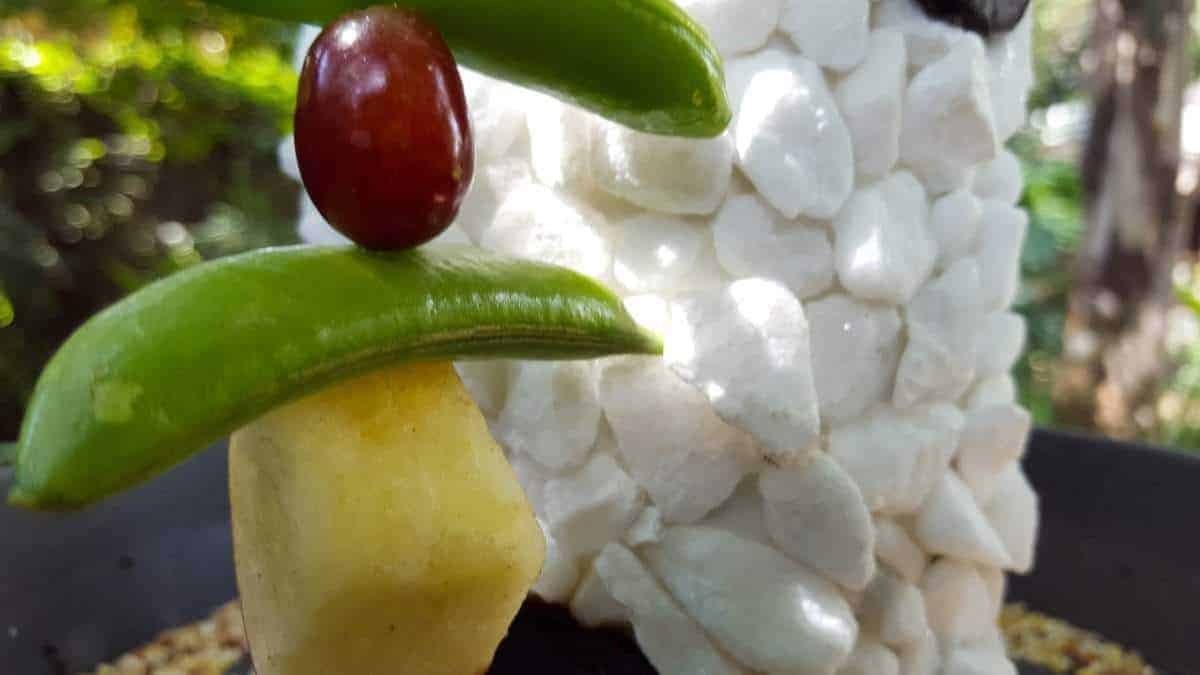
The sugar bowl handles are perfect for hanging fruity treats.
And those little windows help me see when the seeds are getting low.
I’m really happy with how it turned out. The holes at the bottom let just enough seed spill into the drip tray.
Plus the birds, ummmm I mean fairies seem to like it too. You never know in what guise a fairy will appear right 😉 What do you think? Would you turn a tin can into a bird feeder?
If you like the idea, don’t forget to pin it for later.
Have you recycled any tin cans lately? I’d love to hear what you did with them?
And if you don’t have a tin can that will work, we’ve also used enamel plates and scrap wood to make bird feeders. Both are easy to make from recycled bits and pieces and your feathered friends will be ever so grateful, especially during the cold winter months.
BTW, if you’re looking for some of the things we used or prefer to buy, we’ve got you covered Disclosure: Clicking on the links below, means we may receive a commission from Amazon. But don’t worry it won’t come out of your pocket, and it helps us come up with more amazing craft ideas to share with you 😉


Until next time, wishing you a beautiful and love-filled week.

Last update on 2026-06-03 / Source Amazon Affiliates