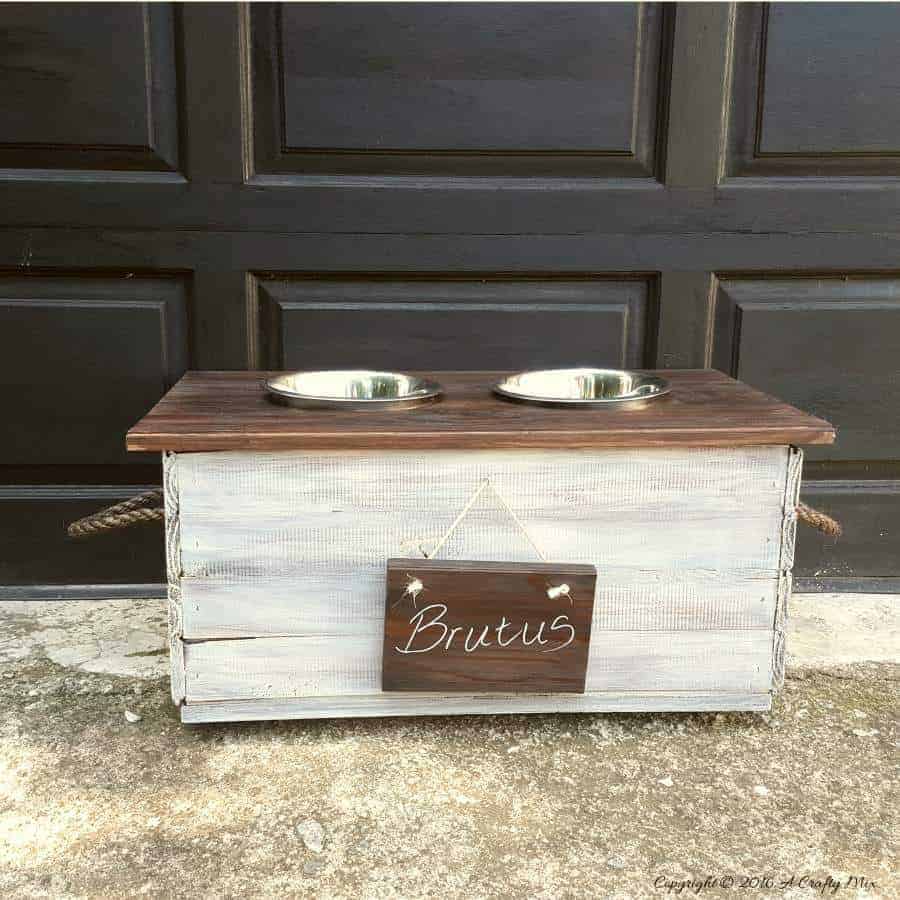
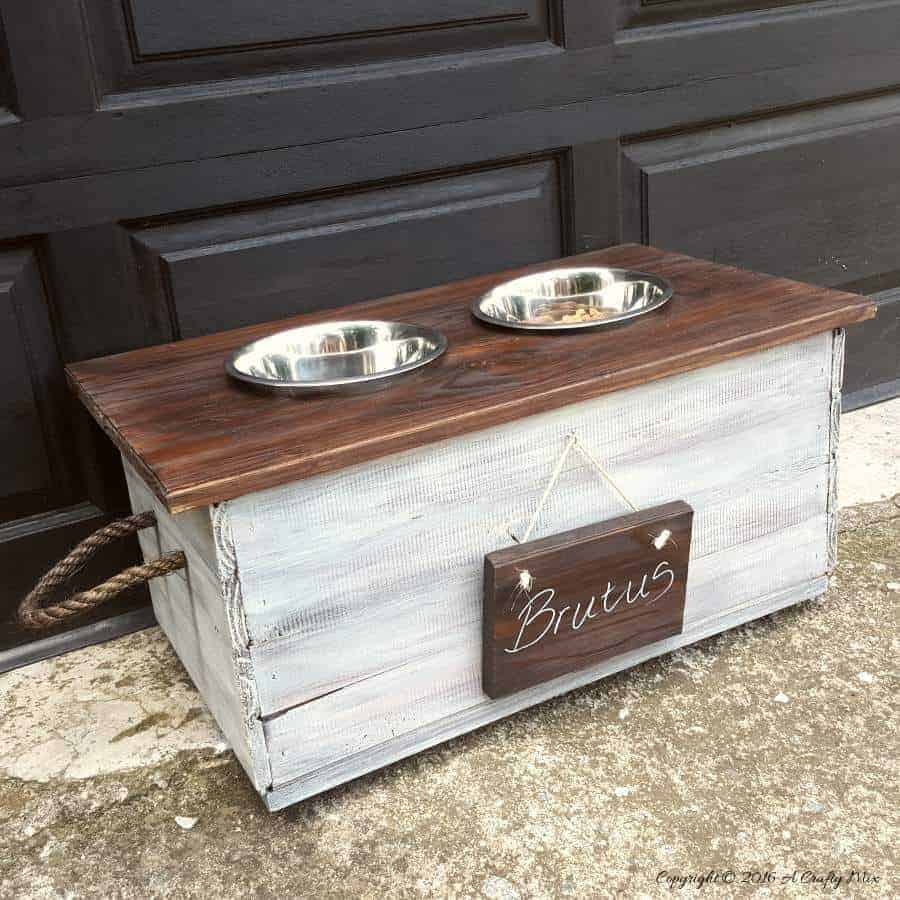
A friend of ours needed a raised feeder for her gorgeous Great Dane called Brutus. She was worried about his back and didn’t want him to strain every time he ate but all the feeders were either too expensive or impractical so she asked us to make her one. Here’s how we made this one for Brutus.
What we used
- Tongue and groove boards
- 2 x 2 planks
- Pine board
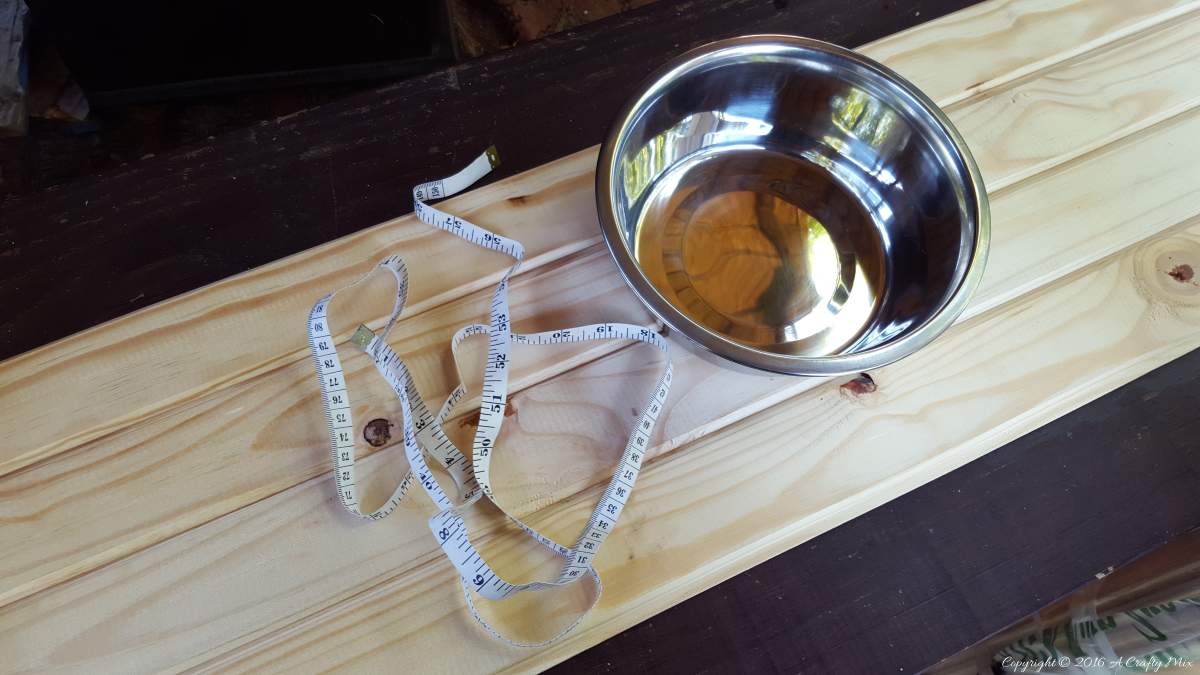
- Metal feeding bowls
- Dremel circle cutter and straight-edge guide
- 2 x large piano hinges
- Chalk paint and clear wax
- Wood sealer
- Sisal rope
- Nail gun
How to make a raised feeder
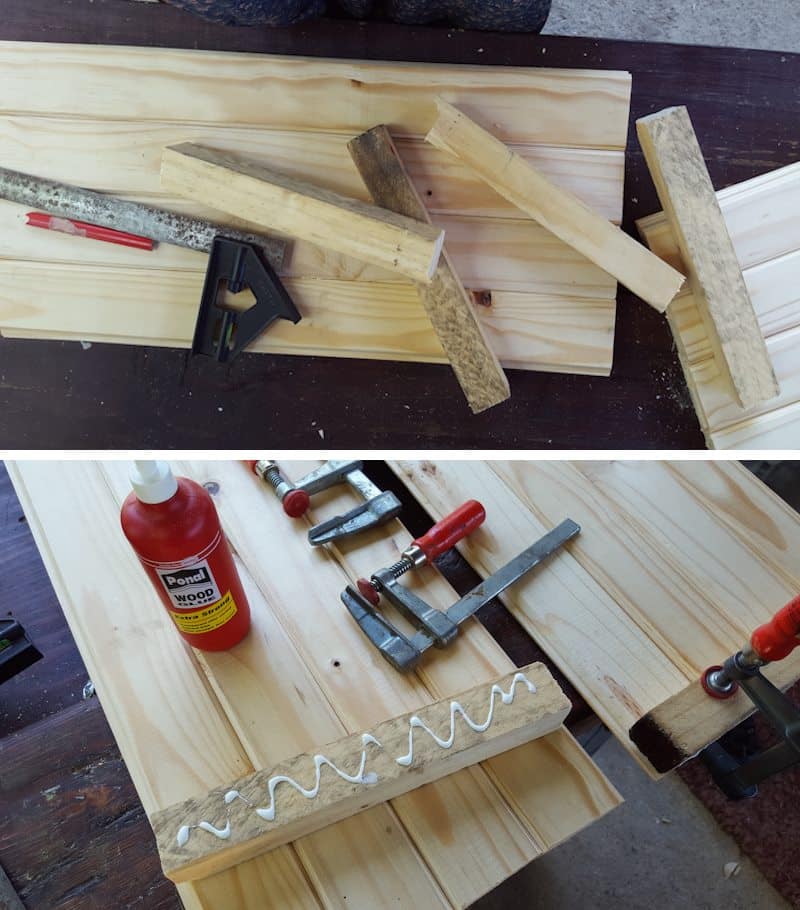
Measure and cut the tongue and groove boards into 8 x 43 cm (17 inches) strips and 8 x 75 cm (29.5 inches) strips. Join 4 of the long pieces together to form the two long sides and 4 of the short pieces together to form the two short sides. Tongue and groove boards are similar to Shiplap and easy to work with. The tongue of one side of a board slots into the groove of another board, almost like a basic puzzle.

To put the basic feeder box together, measure the height of the sides and cut the 2 x 2s to size. Glue and screw the 2 x 2s to the sides. The 2×2 make it easier to create 90 degree angle where the sides join, something I always seems to struggle with. Once the glue is dry attach the short sides to the long sides to form a box.
To make the bottom, measured the interior of the box and cut pine board accordingly. Glue and screw the bottom of the feeder to the 2×2 support in each corner.
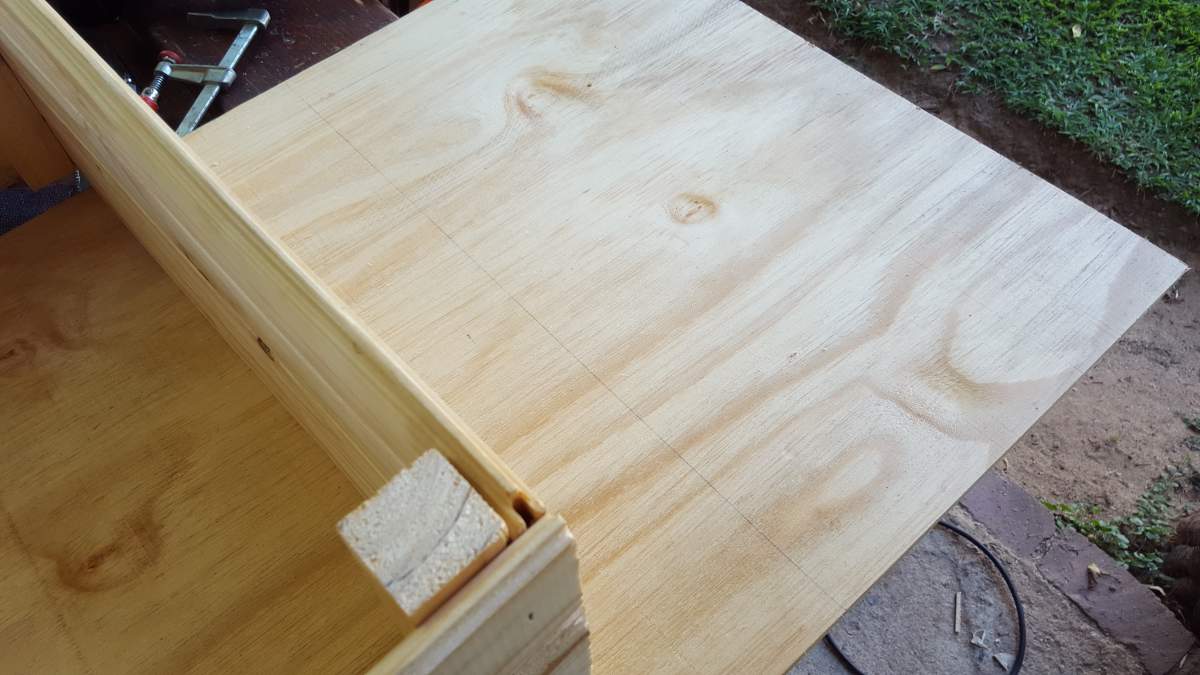
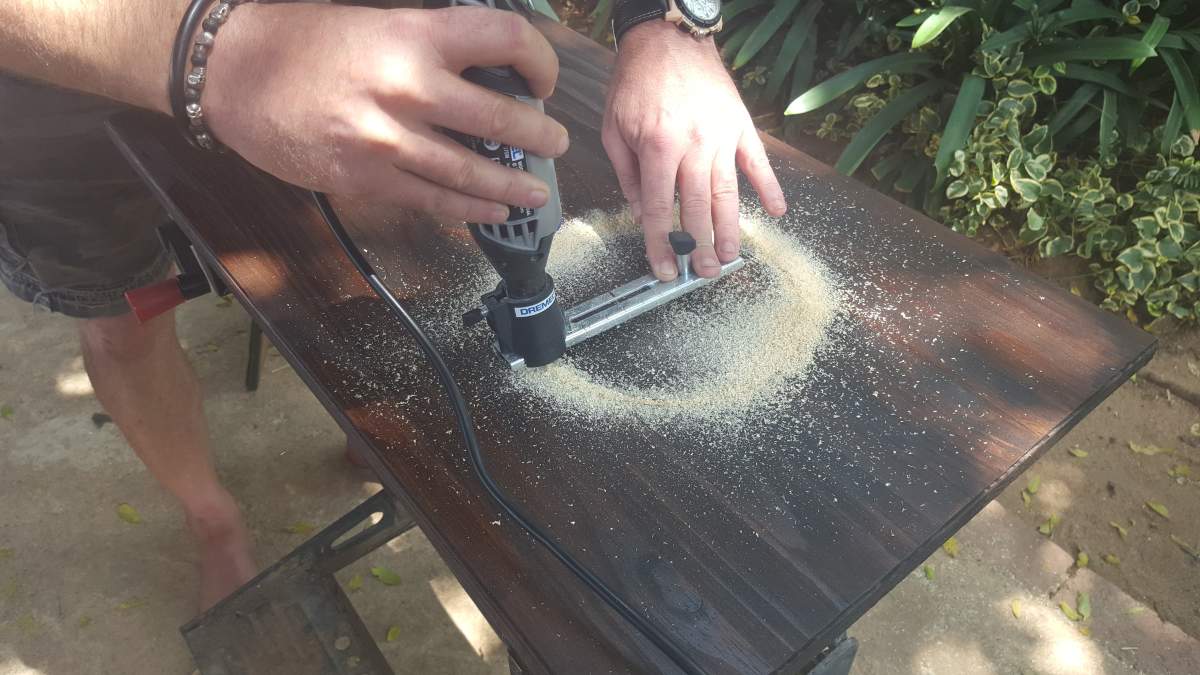
For the top, use the bottom measurement and add an extra 5 cm (2 inches) all round. We wanted the top to be a bit wider. Stain the top to seal and protect from any feeding slobber. To cut holes in the top for the feeding bowls we used a Dremel circle cutter and straight-edge guide.
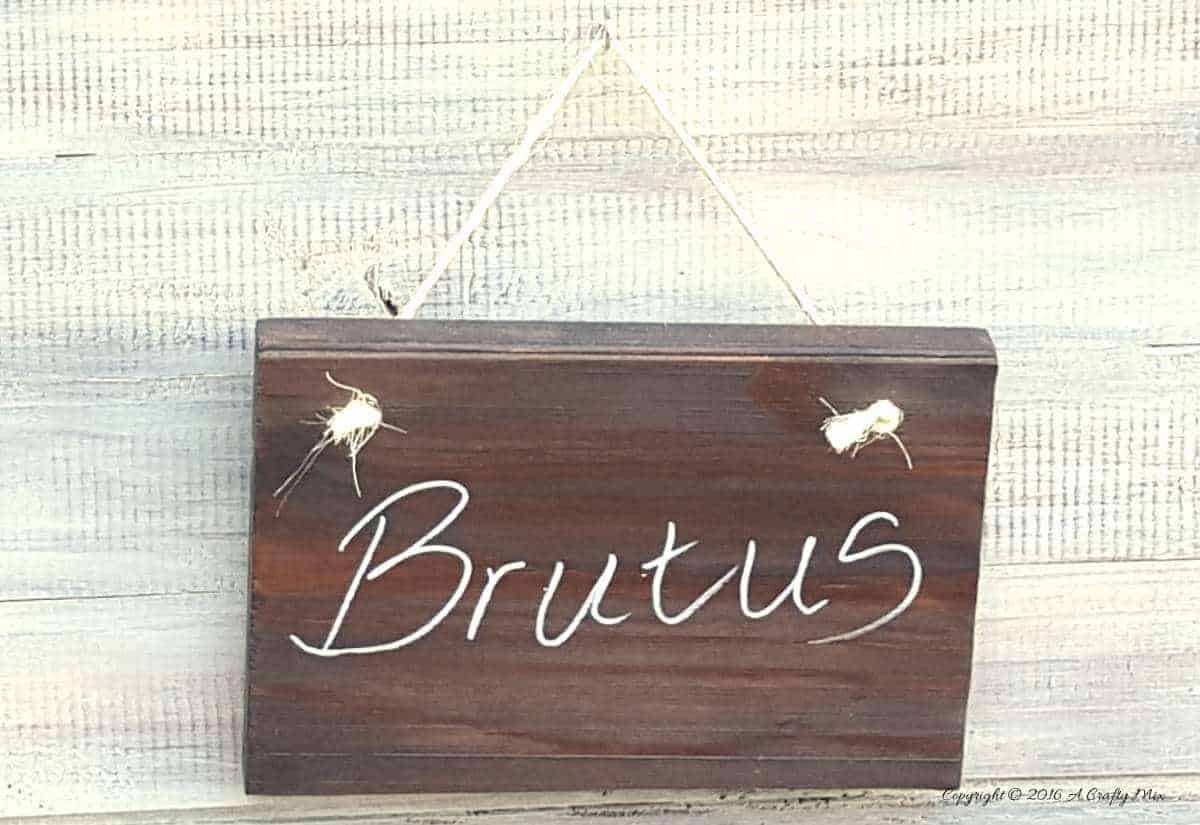
Stain, paint and seal the entire feeder to suit your decor. We dry brushed on some white chalk paint and sealed it with clear wax to create contrast between the lid and the box. Attached the lid with piano hinges, add sisal rope handles and make a sign so everyone knows who the feeder belongs to.
Now Brutus can eat in comfort and there’s extra storage for his food and special doggie treats.
Do you use a raised feeder for your fur babies?
