
It seems every time I attempt to tidy my craft room; I spot something that makes me go, “wait, what if…?”. Every. Single. Flippin. Time. One second, I’m acting all grown up and organised, and the next I’m chasing an idea instead of dust bunnies. The latest distraction turned into a full-blown experiment, which is how these easy resin keepsakes were born.
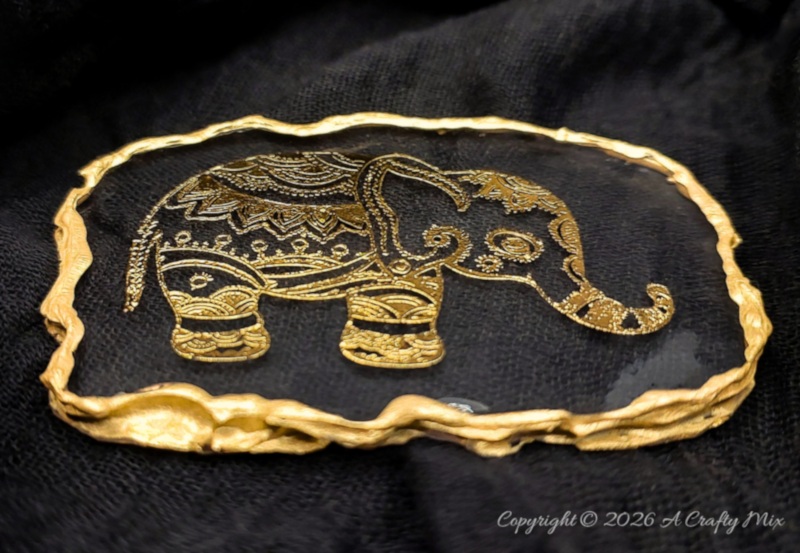
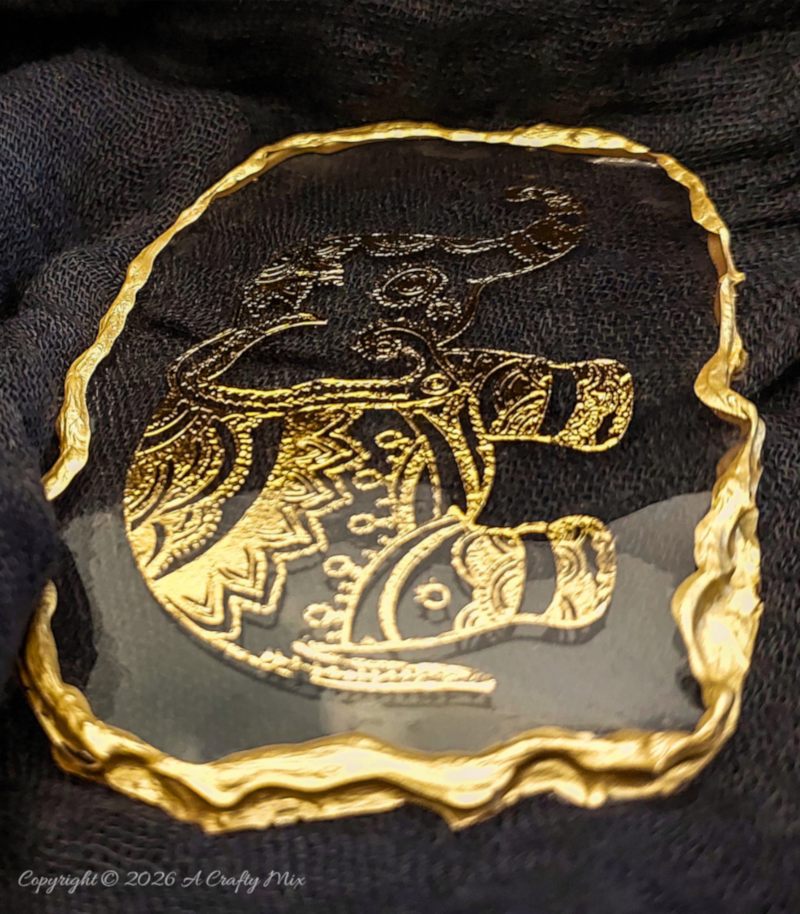
Aren’t they gorgeous?
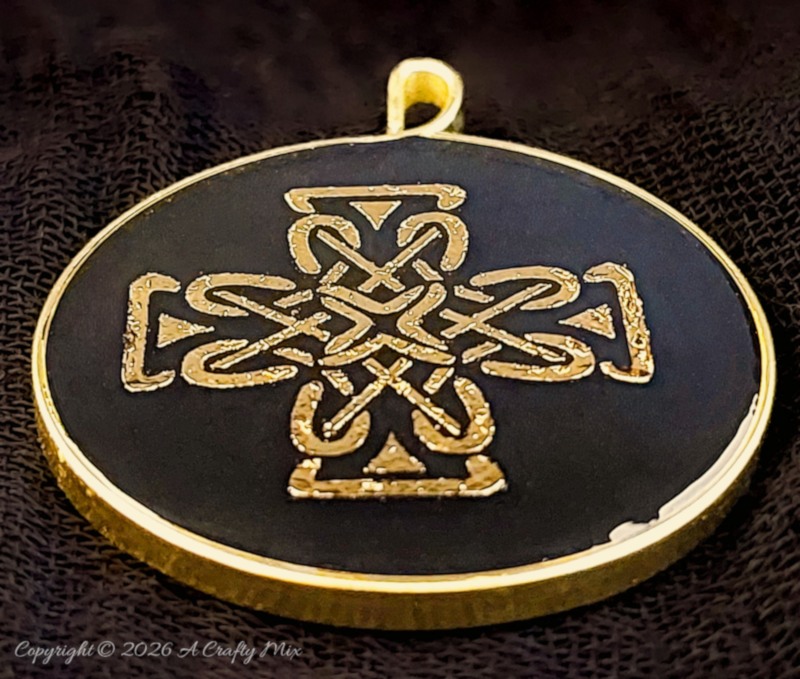
They look like tiny treasures unearthed from some long-lost bazaar. And they’re so, so easy to make too.
In this quick post, I’ll share my little “what if” project and show you how to turn sheets of forgotten “skin art” into resin charms that look surprisingly high‑end.
But, before we get there, do me a favor and follow us on Facebook, Pinterest, or Instagram. And don’t forget to subscribe so you’ll never miss a post!
What you need
The secret ingredient for this resin experiment is skin art, better known as temporary tattoos. I had these one’s leftover from making these glass bottle lights. Any temporary tattoo should work. You can even print your own using tattoo paper like I did when I made this botanical wall hanging.
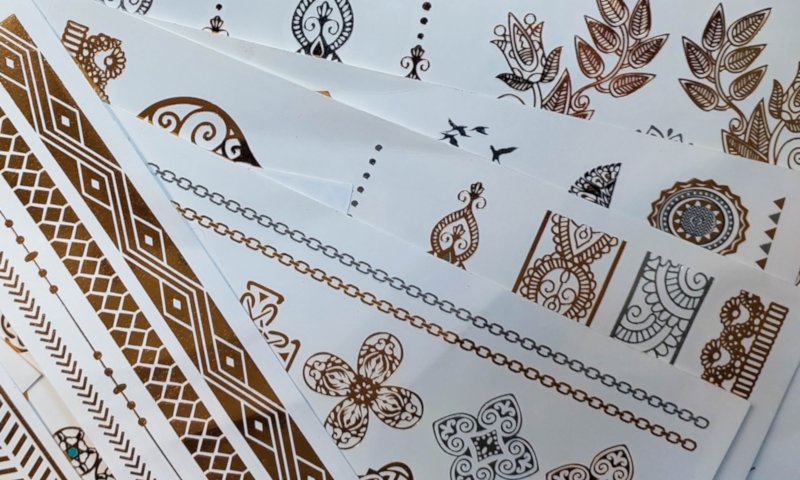
You’ll also need:
- UV Resin
- UV Light
- Silicone mat or clear tape
- Lint free cloth
Optional extras
- Gold permanent marker (elephant keepsake)
- Flat Gold aluminum wire (Celtic knot keepsake)
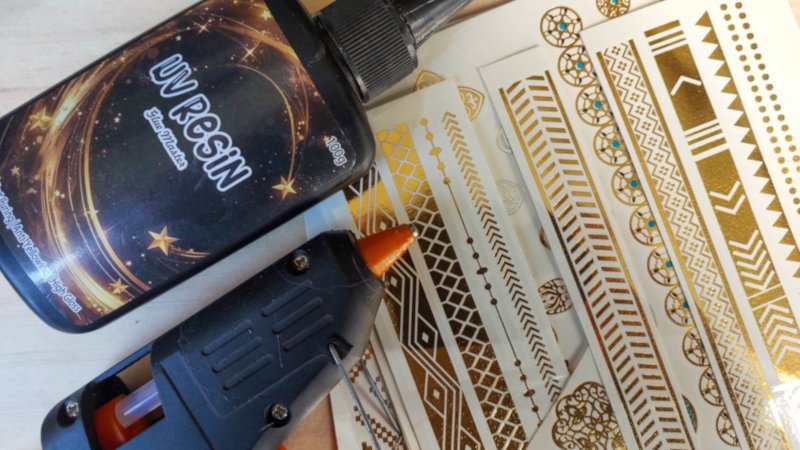
If you have a keyring or pendant mold for resin, that will come in handy. I don’t, so I made my own using hot glue for the elephant charm and gold wire for the Celtic knot. I’ll share both options in the “how to” instructions below.
How to make resin keepsakes
Right, let’s get to the tutorial because I still need to tidy up my craft room. We’ll do the elephant first and then move onto the Celtic knot. Both keepsakes use the same resin embedding technique; the only real difference is the image and “mold” I used for each one.
Making the elephant keepsake
Start by cutting out the image and placing it under a transparent-ish silicone mat.
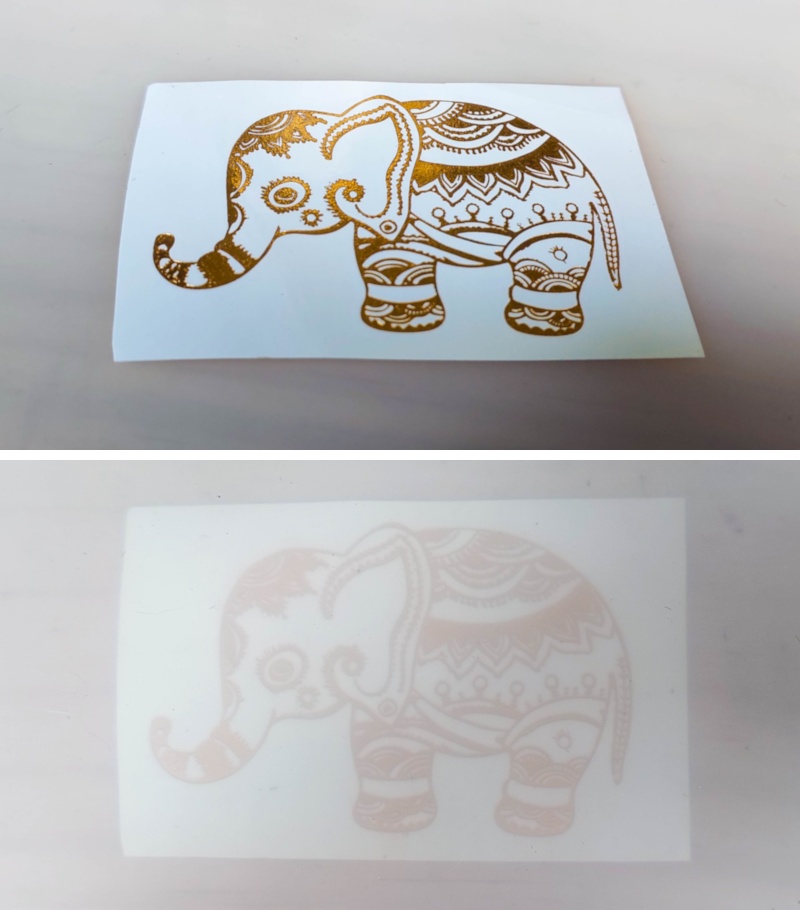
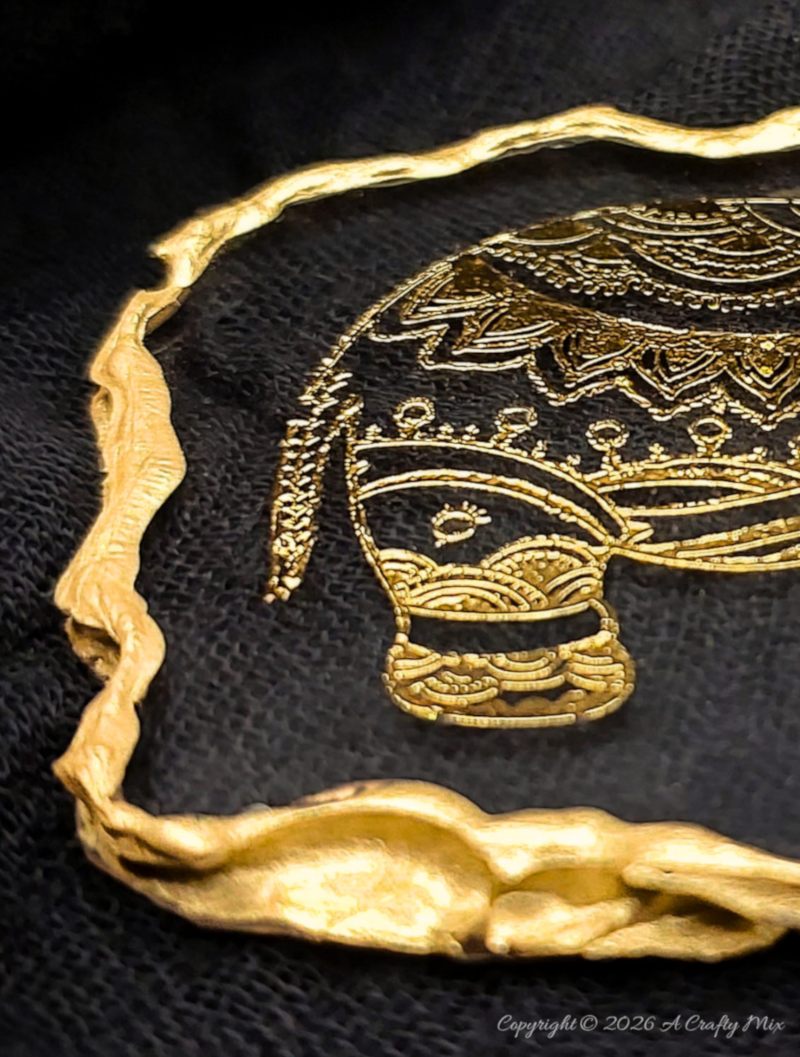
Use a hot glue gun to create a reservoir or well around the image.
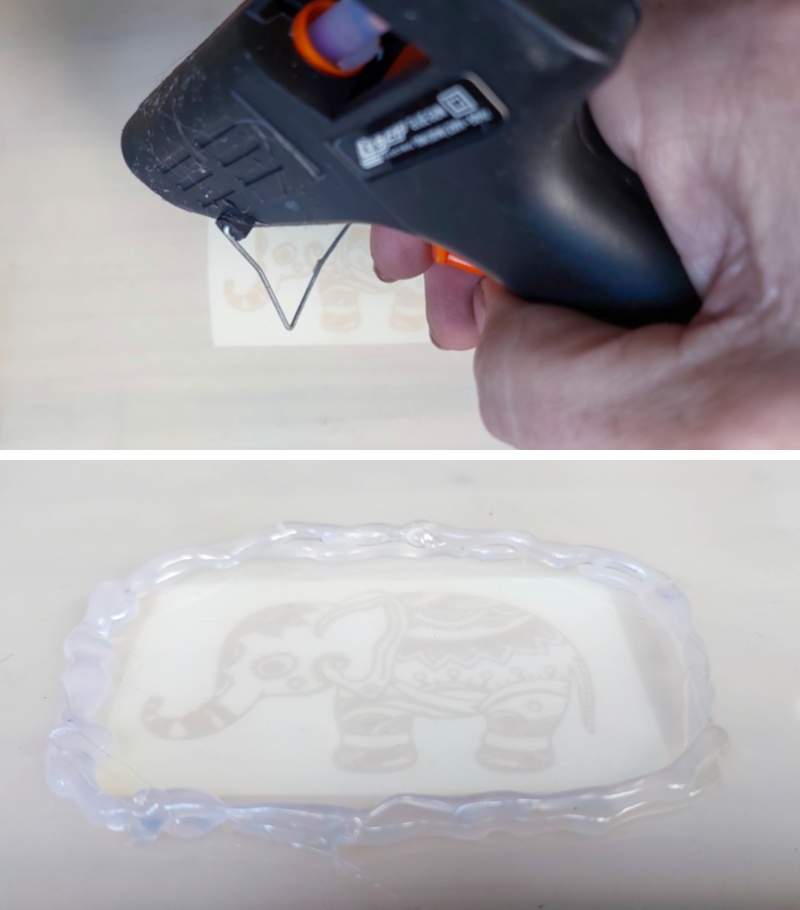
The hot glue well should be about 7 mm or ¼” deep.
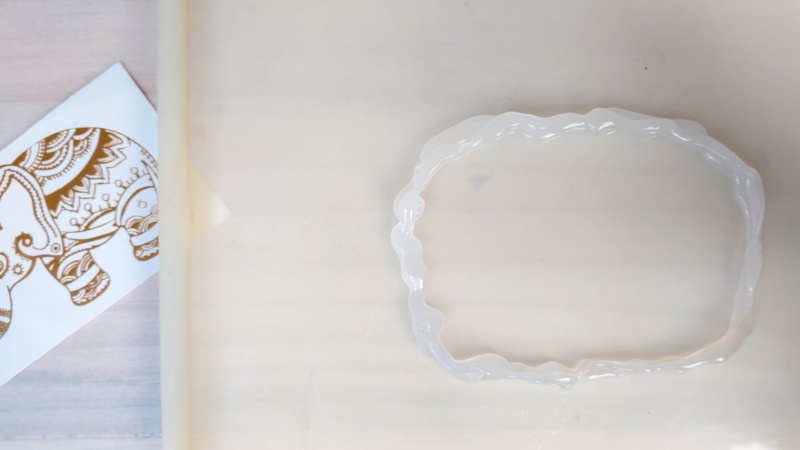
Fill the well halfway with resin and cure under a UV light.
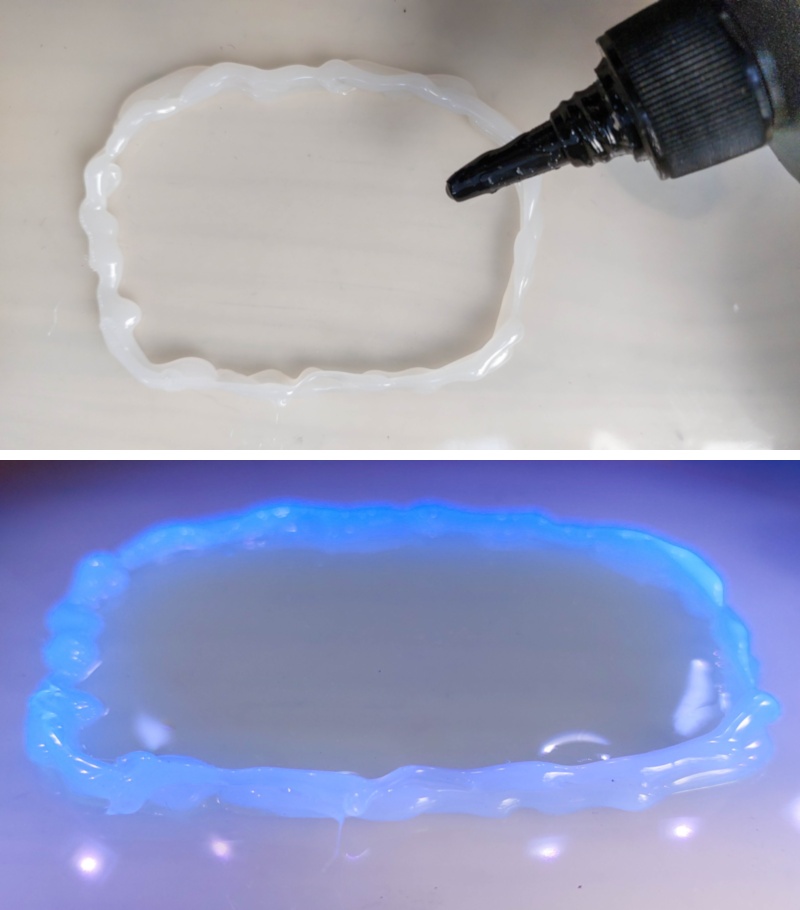
Grab your tattoo and trim around the shape. Make sure that the tattoo fits comfortably inside the glue well. Pace the tattoo face down on the cured resin.
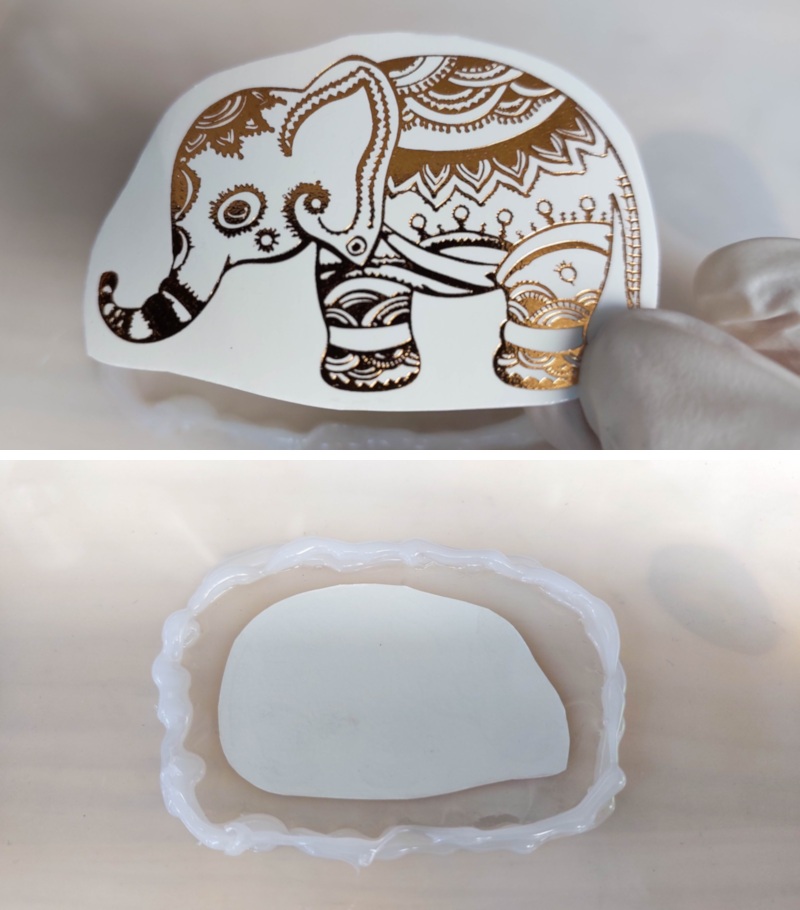
Use a damp cloth or sponge and pat the backing paper for a few seconds. Keep patting until the backing paper slides off.
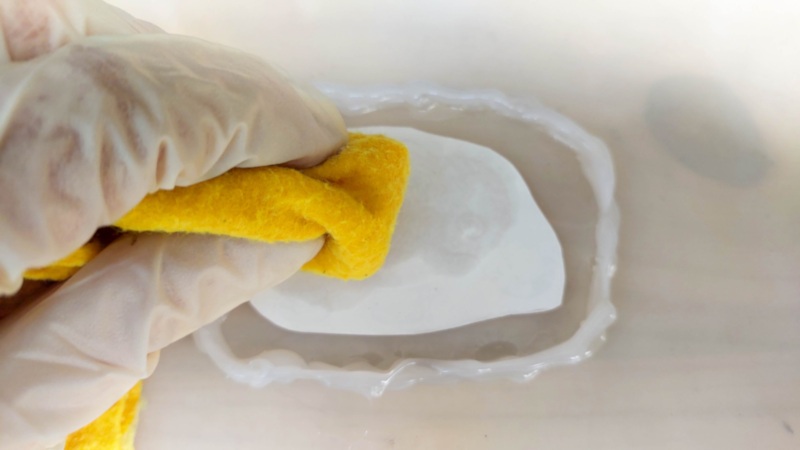
Double check that the tattoo is completely dry. If it’s still damp, it could mess up the next layer of resin. If you’re not sure, use a hairdryer on low or gently pat it dry with a microfiber cloth. Don’t wipe the tattoo, it will probably come off.
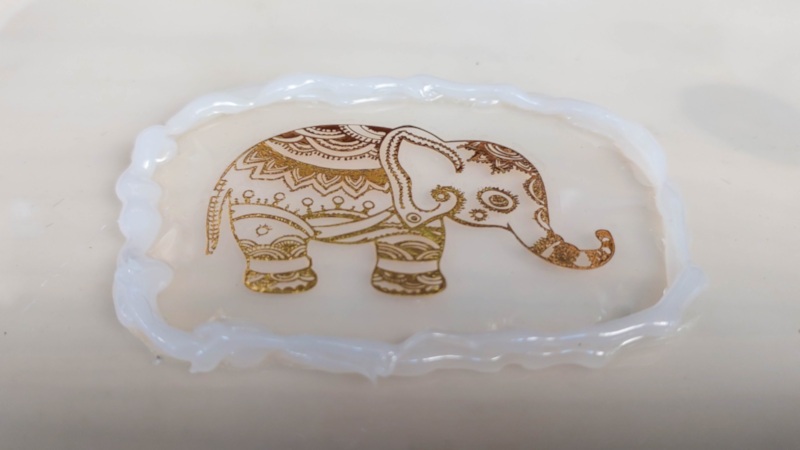
Top up the hot glue reservoir with more resin and remove any air bubbles. I like using a long-necked lighter. Just make sure you move the lighter back and forth and not too close. You don’t want to melt the hot glue.
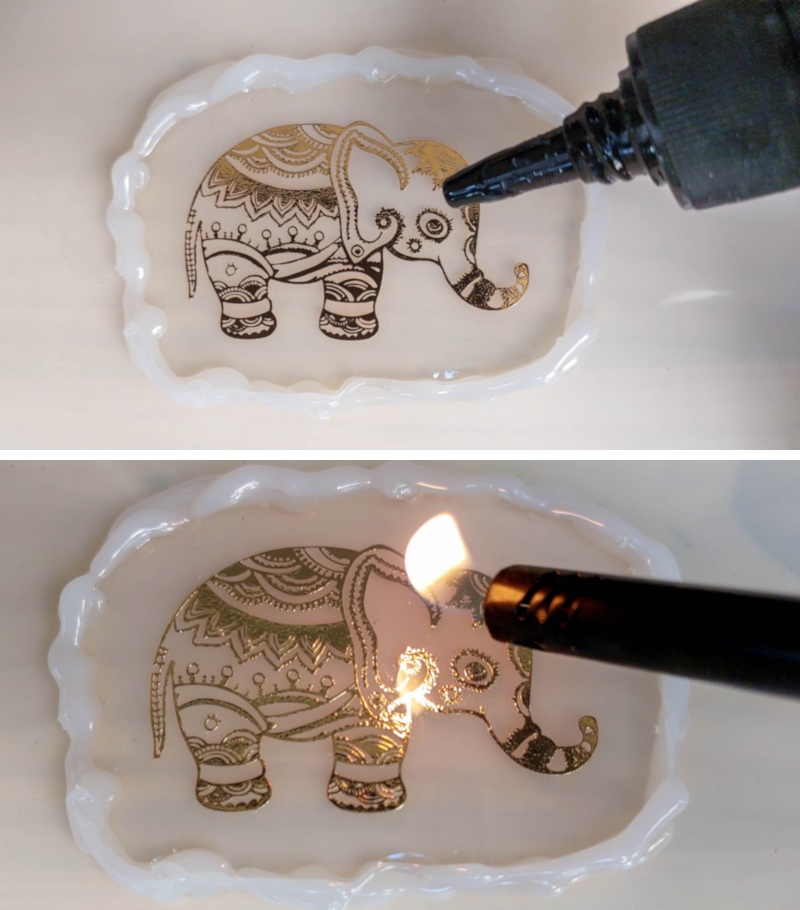
Cure the 2nd resin layer, remove the keepsake from the silicone mat, and peel the hot glue off.
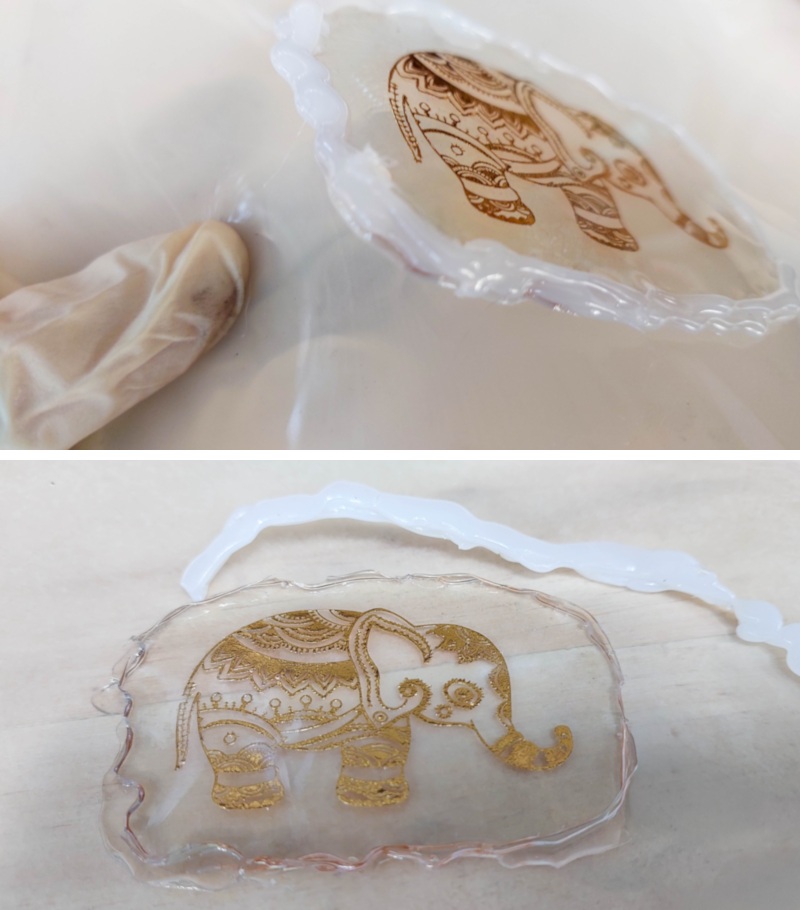
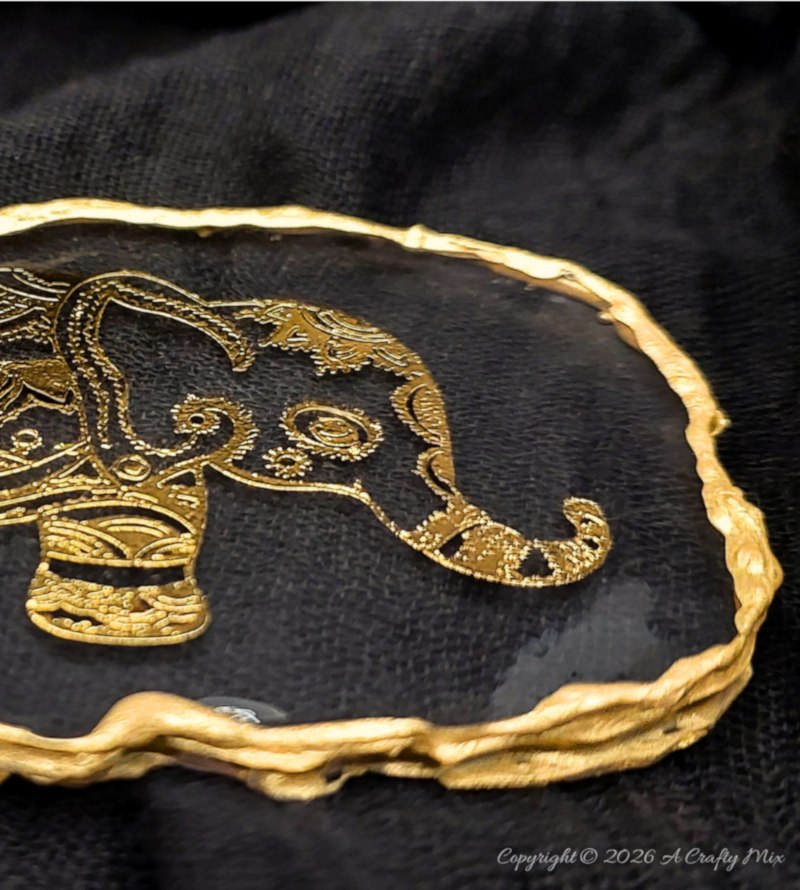
And that’s it!!! If you want to get fancy, you can use a gold pen to colour around the outside edges.
Making the Celtic knot resin keepsake
The Celtic knot is made in the same way; except I used flat gold aluminum wire to make the reservoir.
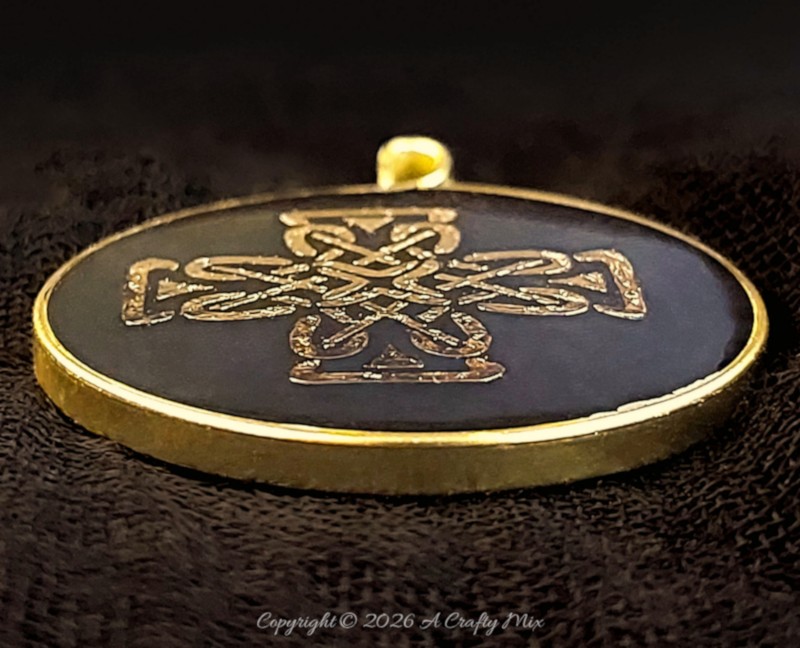
I had some leftover from making this faux cloisonne pomegranate. Using the temporary tattoo as a size guide, wrap the wire around a can or bottle and make a small loop at one end.
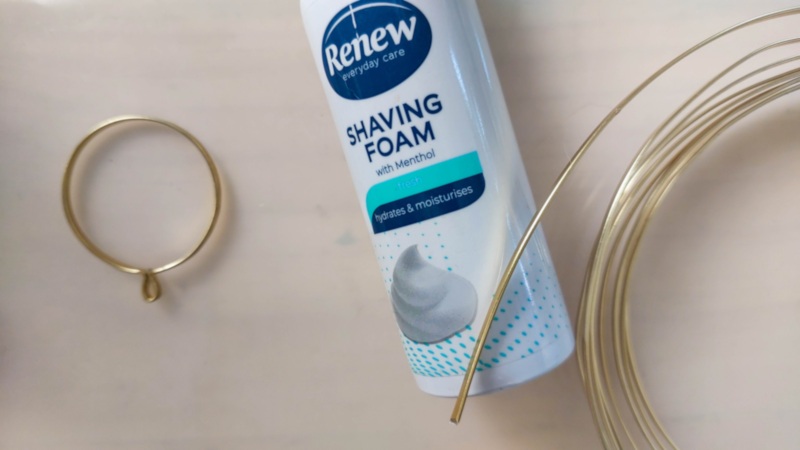
Seal the ends with a small dollop if glue.
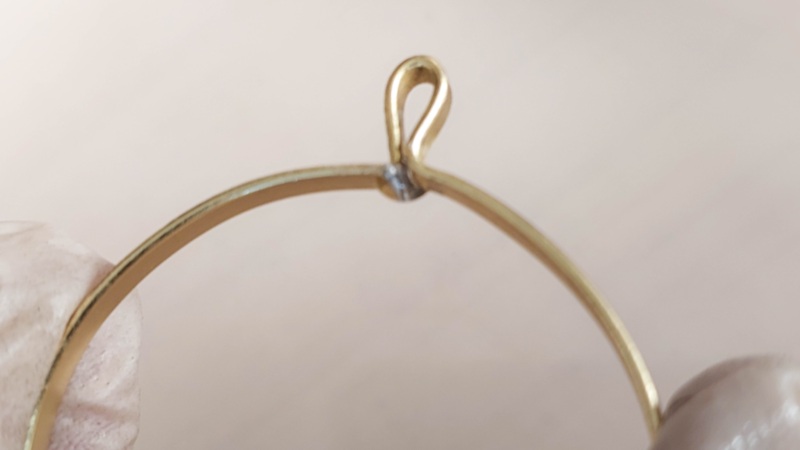
To stop the ring from moving, I stuck it onto the sticky side of some duct tape.
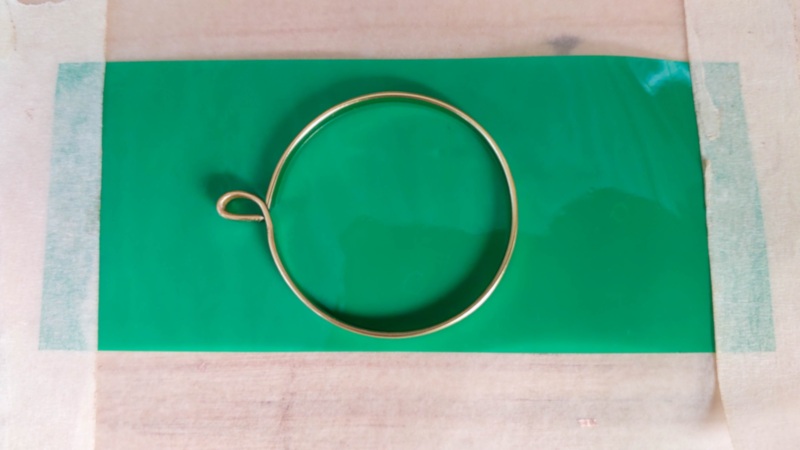
And then I repeated the steps: add a little resin, let it cure, add the tattoo, check that it’s dry, add more resin, and cure again. When that final layer set and I painted the back black, this slightly off‑center keepsake went from “What if?” to “Ooooo, that’s pretty.” My hubby liked it so much he promptly called dibs.
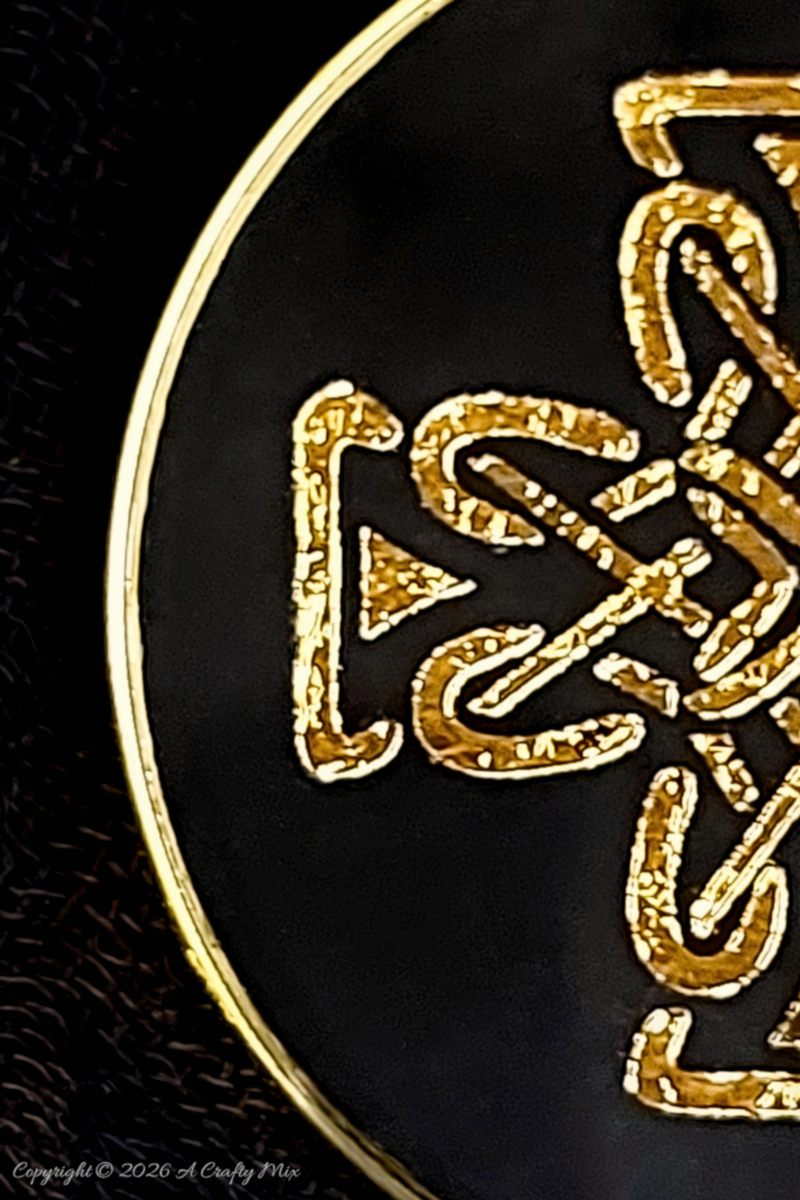
What started as a quick tidy turned into a charm‑ing experiment (see what I did there?). Zero regrets, BTW. These resin keepsakes feel boho, a bit mystical, and just a tiny bit fancy.
I’m already plotting the next batch. Mmmmm, I wonder if glow‑in‑the‑dark tattoos will work… … I’ll let you know once I’ve tackled those dust bunnies.
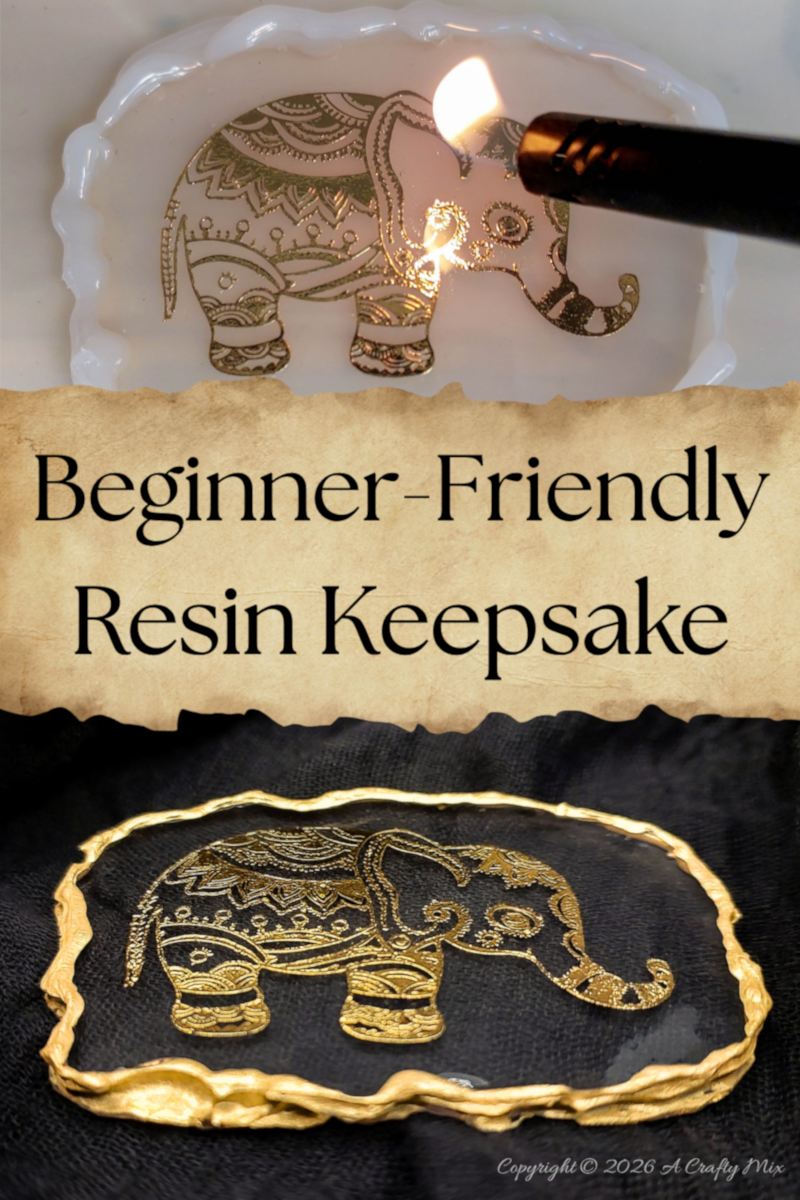
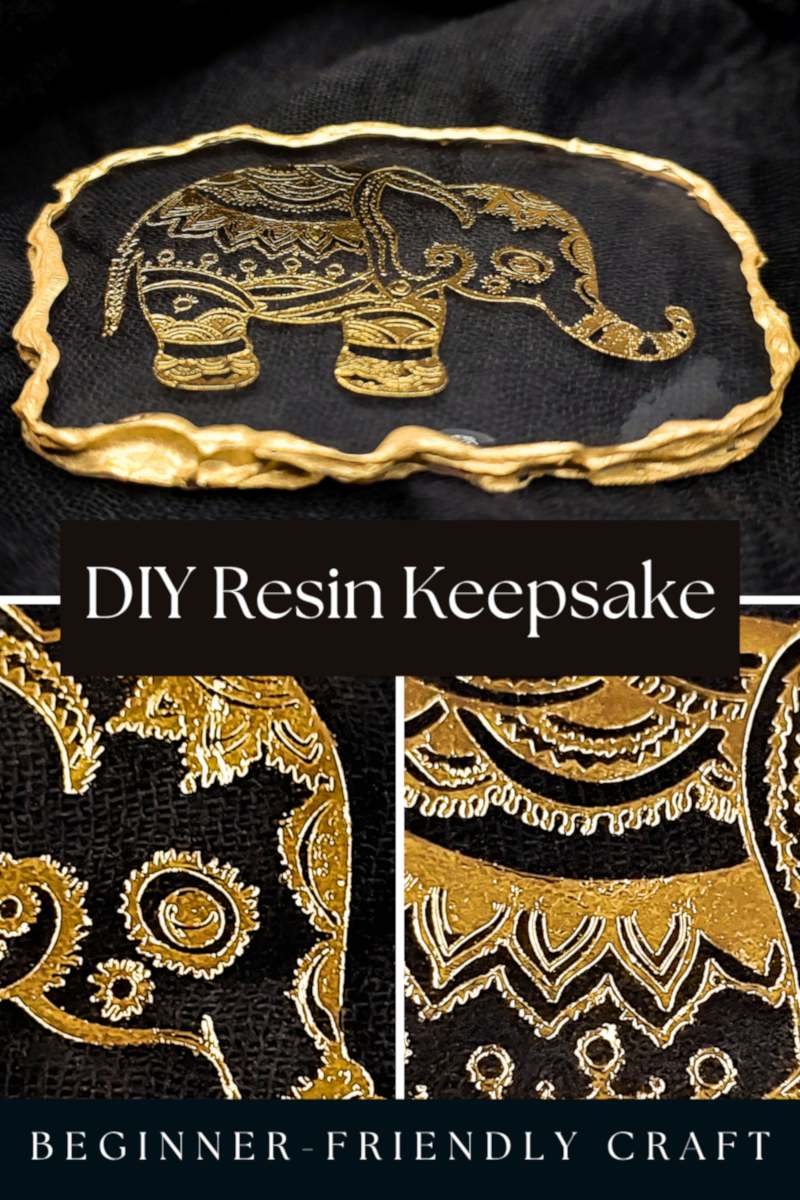
If you enjoyed these easy resin keepsakes, don’t forget to pin the tutorial for later.
Sharing is caring.
Oh, and if you’re looking for some of the things we used, we’ve got you covered. Disclosure: Clicking on the links below means we may receive a commission from Amazon. But don’t worry, it won’t come out of your pocket, and it helps us make more amazing crafts to share with you.


And if you prefer to buy trinkets and keepsakes instead of making them yourself, have a look a these beauties.


And as always, wishing you a wonderful, crafty week filled with lots of love and laughter. Thank you for popping in for a visit.

Last update on 2026-10-26 / Source Amazon Affiliates