Wasn’t it Christmas just the other day? Either I’m not paying attention, or the days are whizzing past super-fast. Talk about fast; today’s tutorial is all about making a faux concrete bunny vase.
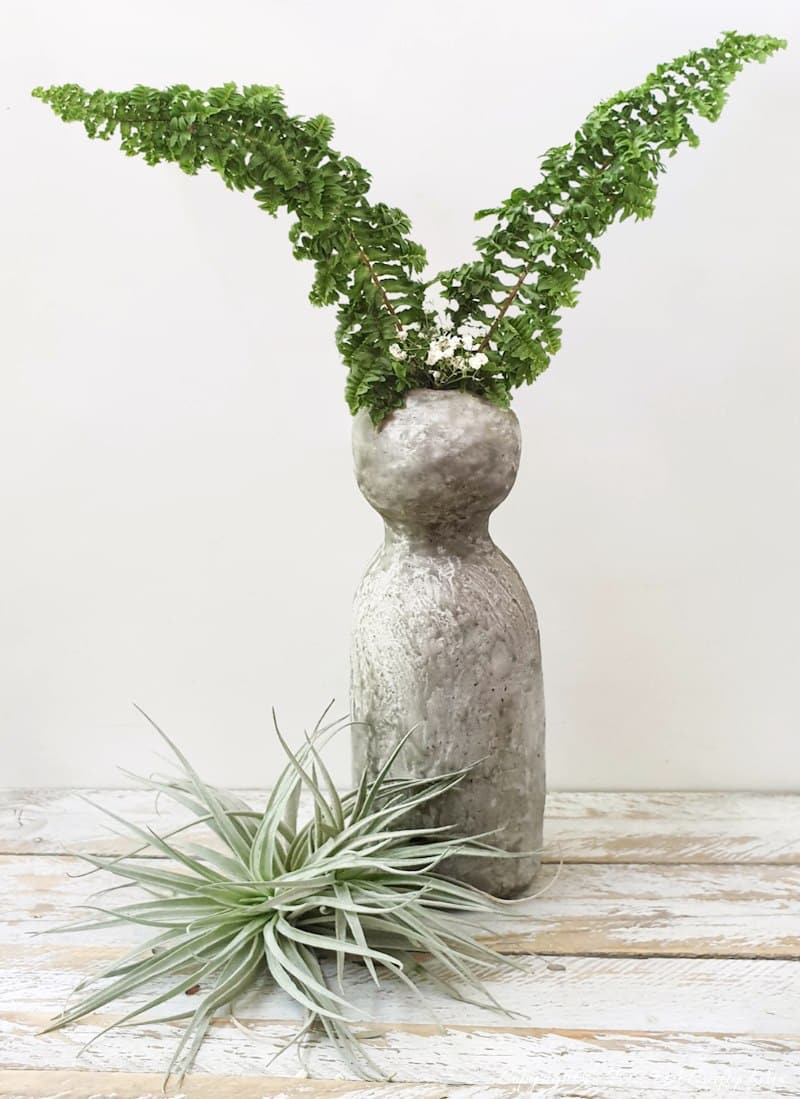
You can whip one of these up in less than an hour using a few staples from your craft cupboard and/or kitchen. The vase is perfect for displaying long strap-like leaves to mimic bunny ears. Just in time for Easter.

And the faux concrete texture adds a touch of rustic elegance to the look, which I love.
If you’re not a fan of concrete, you can simply paint the vase or leave it au-naturelle. But, before we get there, follow us on Facebook, Twitter, Pinterest, or Instagram. And don’t forget to subscribe so you’ll never miss a post!
What you need
- Aluminium foil (tin foil)
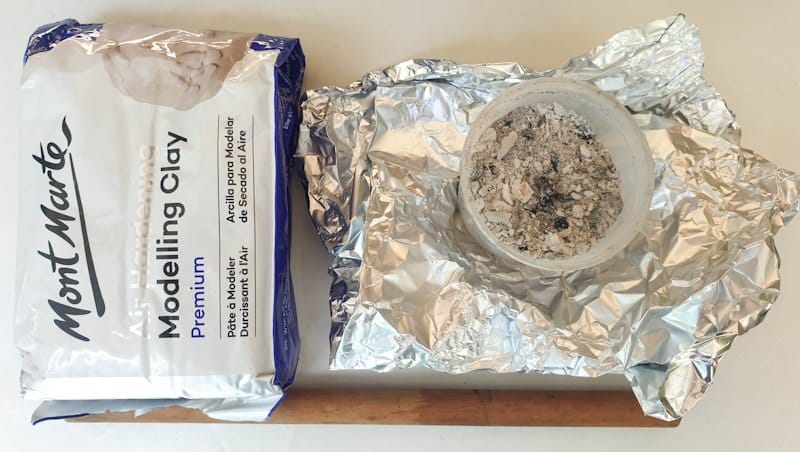
- Air dry clay
- Glue gun
- Hot Glue
- Dowel or long rod-shaped object
- Wood burnt ash (optional)
How to make a faux concrete bunny vase
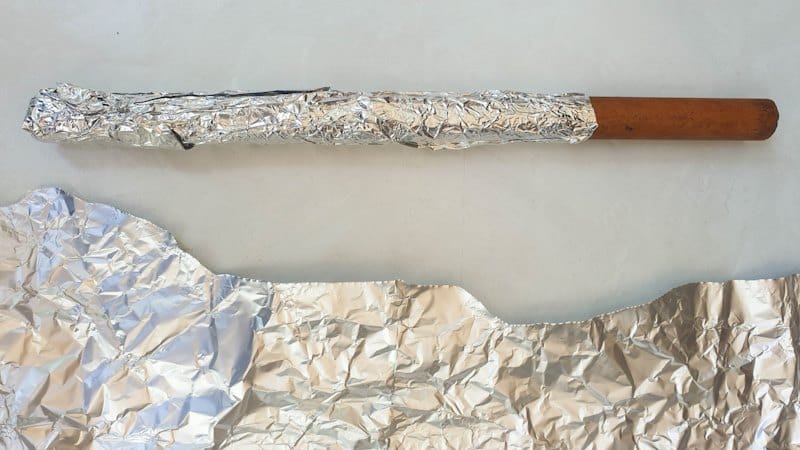
Wrap a thick dowel (or a straight branch!) snugly in foil, using hot glue to secure any overlapping pieces. The rod goes inside the vase while it’s being formed, and its width will determine how wide the hole in the vase is. The higher up you wrap the foil, the taller your bunny vase will be. Mine is about 20 cm tall. That’s 7 ¾” for my American friends. Add hot glue on the foil to seal and secure.
Next, tear off foil strips and lightly scrunch them into a “foil worm.” Wrap the worm around the dowel, forming a ball-shaped base.

Add more glue to secure the ball in place.

Build up layers of foil worms to form the bunny’s body and head.

While you’re forming the bunny, keep the foil layers “loose.” You don’t want to squish and compact the foil until you’re happy with the overall shape. You should end up with something like this.

Add one final smooth layer of foil around the body.
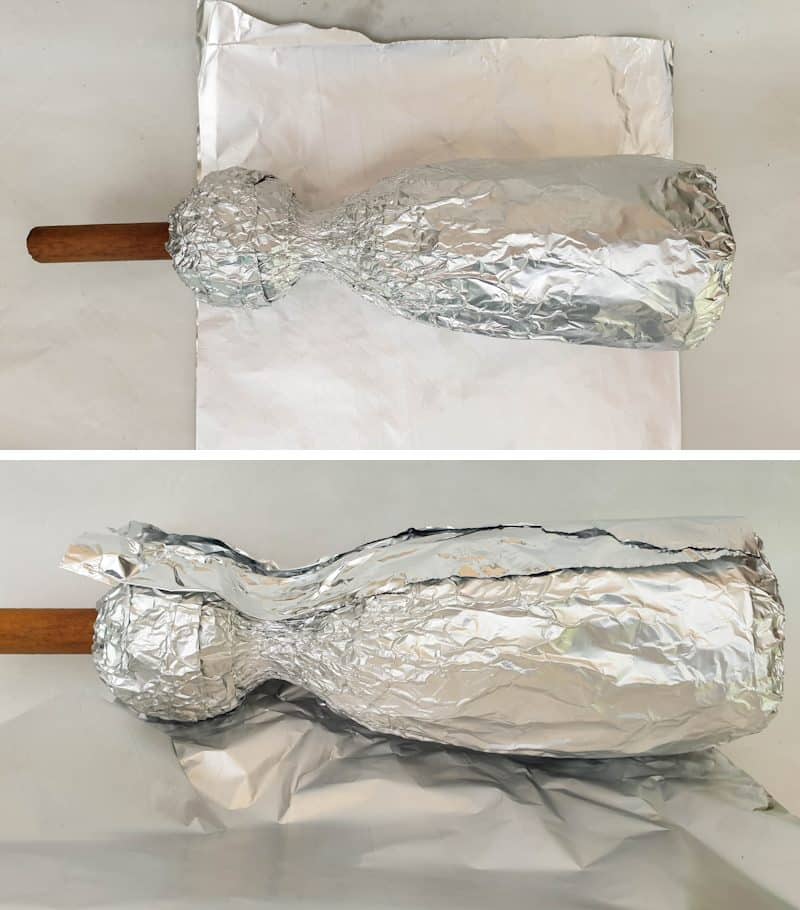
Remember to keep the bunny’s bottom flat. You don’t want the vase toppling over once it’s done. To flatten the bottom, give it a few hard smacks on a level surface.

Next up: adding clay around the foil form.
Adding clay to the bunny vase
Condition the clay between your fingers before rolling it out. It needs to be about ½ cm thick (1/4”).
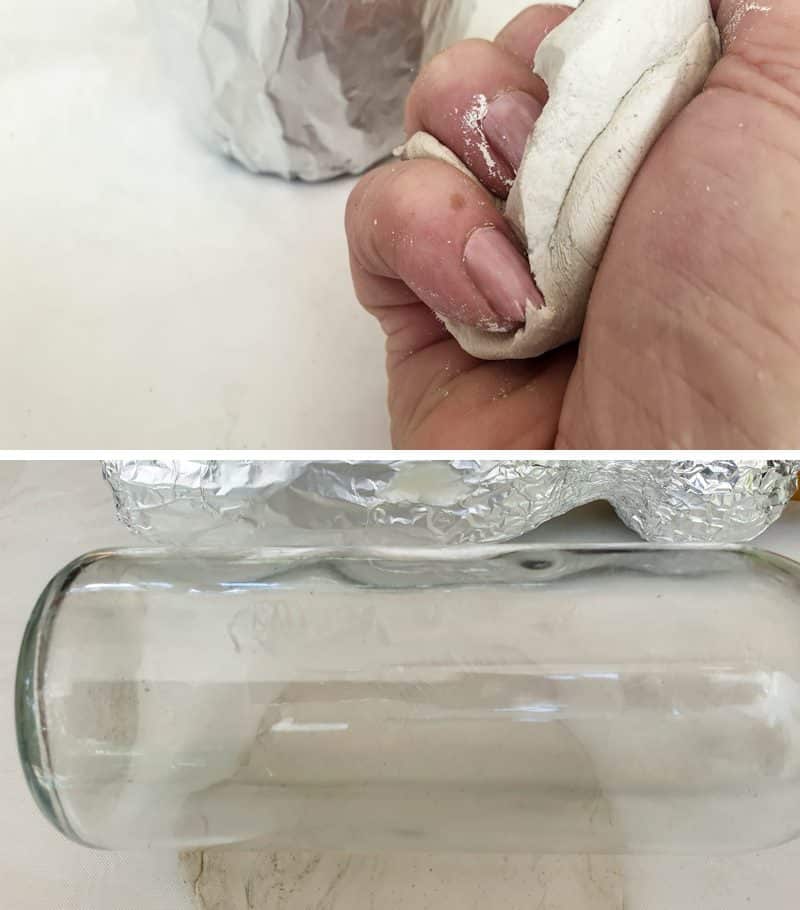
We’ll be adding clay all around the bunny vase starting at the bottom.
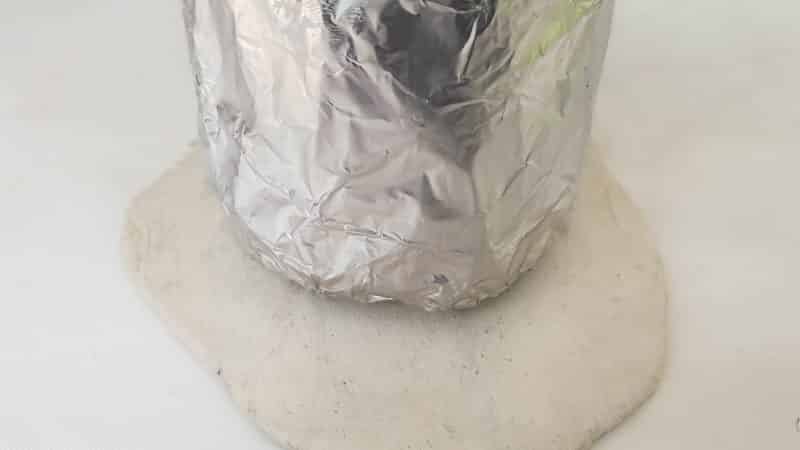
Place the vase on top of the clay and cut about 1cm (1/2”) around the bottom. Fold the excess clay up over the vase.
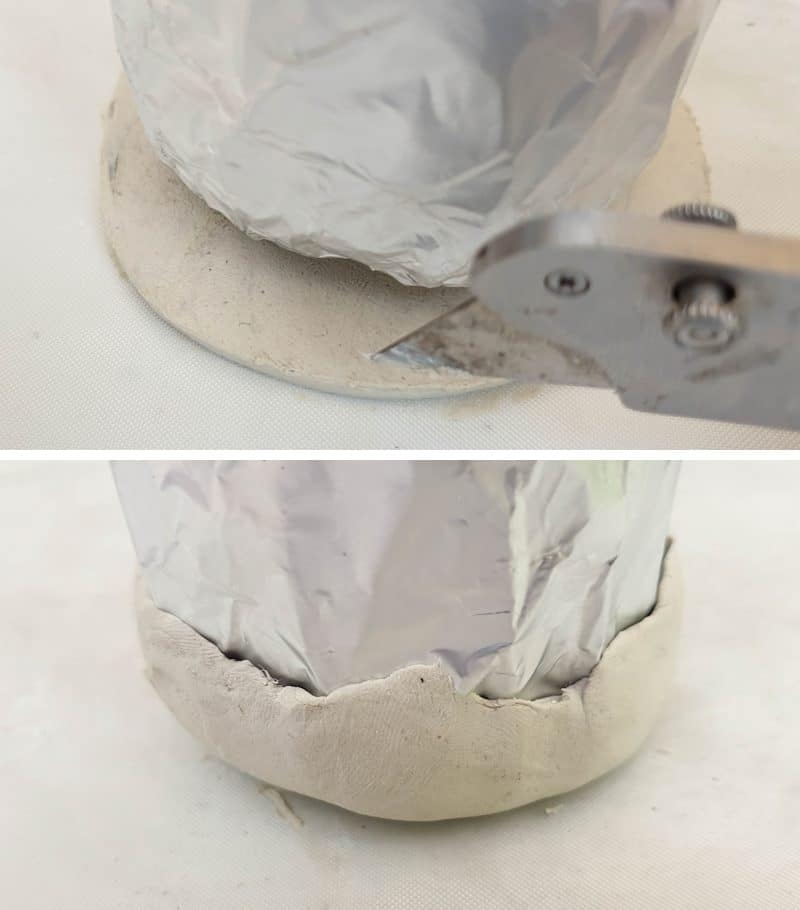
Add more rolled-out clay around the vase, smoothing as you go.

To create a seamless join, dip your finger in water and smoosh the edges together.

The shape of the vase also lends itself to rolling, which helps a lot if you want a smooth finish.
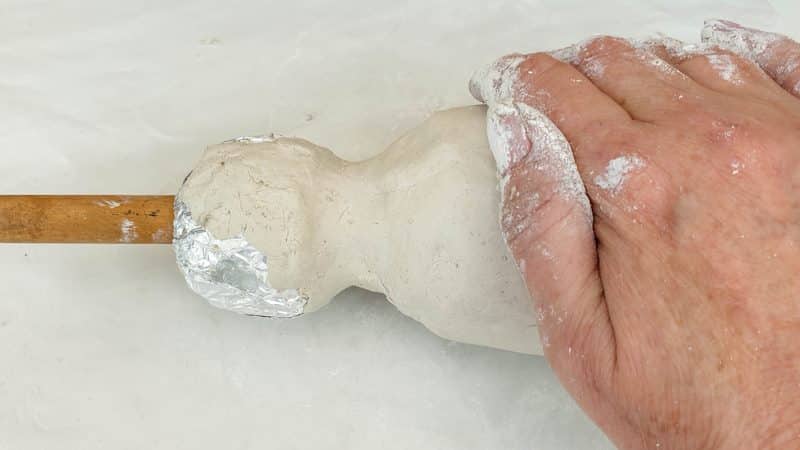
Cover the entire vase with clay. You should end up with something like this.

Leave the clay to air dry. To speed things up, you can bake air-dry clay in a convection oven. But go low and slow and turn the fan on. Low means 25 degrees Celsius max (about 80 degrees Fahrenheit). And start with a cold oven. Oh, and remove the dowel before baking.

If you bake the bunny vase in the oven, there will probably be a few cracks. You can fill them after the vase has cooled down with a paste of clay mixed with water. Or if you’re adding the faux concrete texture, they should disappear after the next step.

Adding a faux concrete texture
This part is optional. Did I already say that? Mmmmm, anyways. To give the vase a faux concrete look and feel, I used texture paste mixed with charcoal ash.

You can use store-bought texture paste or mix your own using this recipe. Apply the paste with your finger or a spatula.

Leave to cure fully before popping two fern leaves inside. I added a Fluffy Ruffles Boston fern in mine. Calathea, aglaonema, or aspidistra leaves would also look lovely. And if you don’t have plants with long strap-like leaves in your garden, you can use feathers instead. Or you can make some mossy bunny ears using this tutorial.

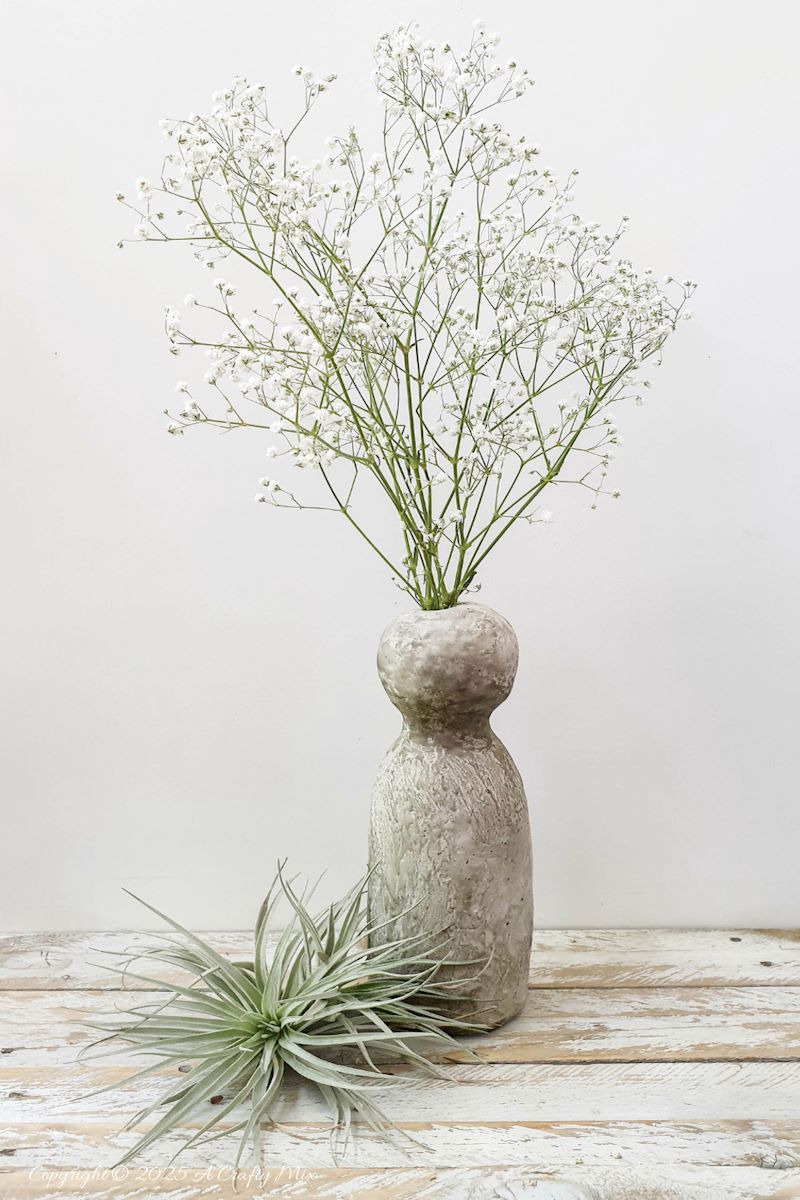
The concrete bunny vase isn’t just for Easter, though. Her shape plays off well against a delicate bunch of Gypsophila
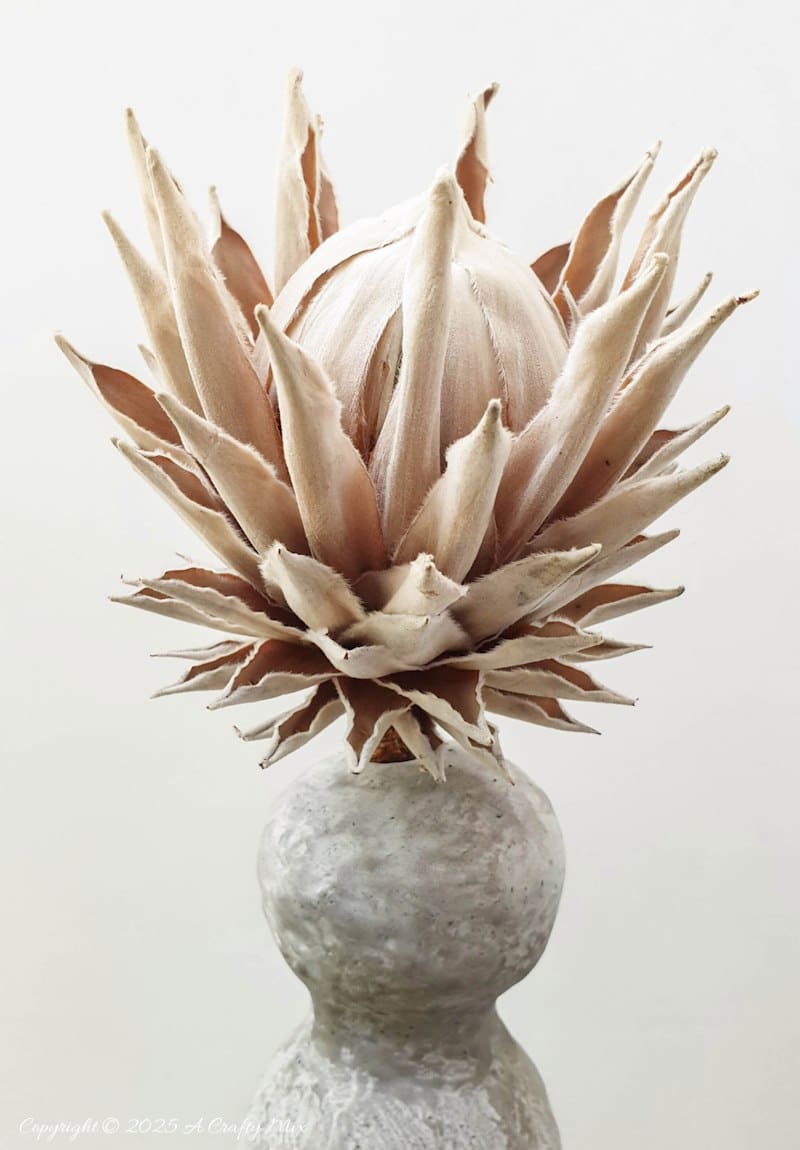
Or a single striking flower like the protea.
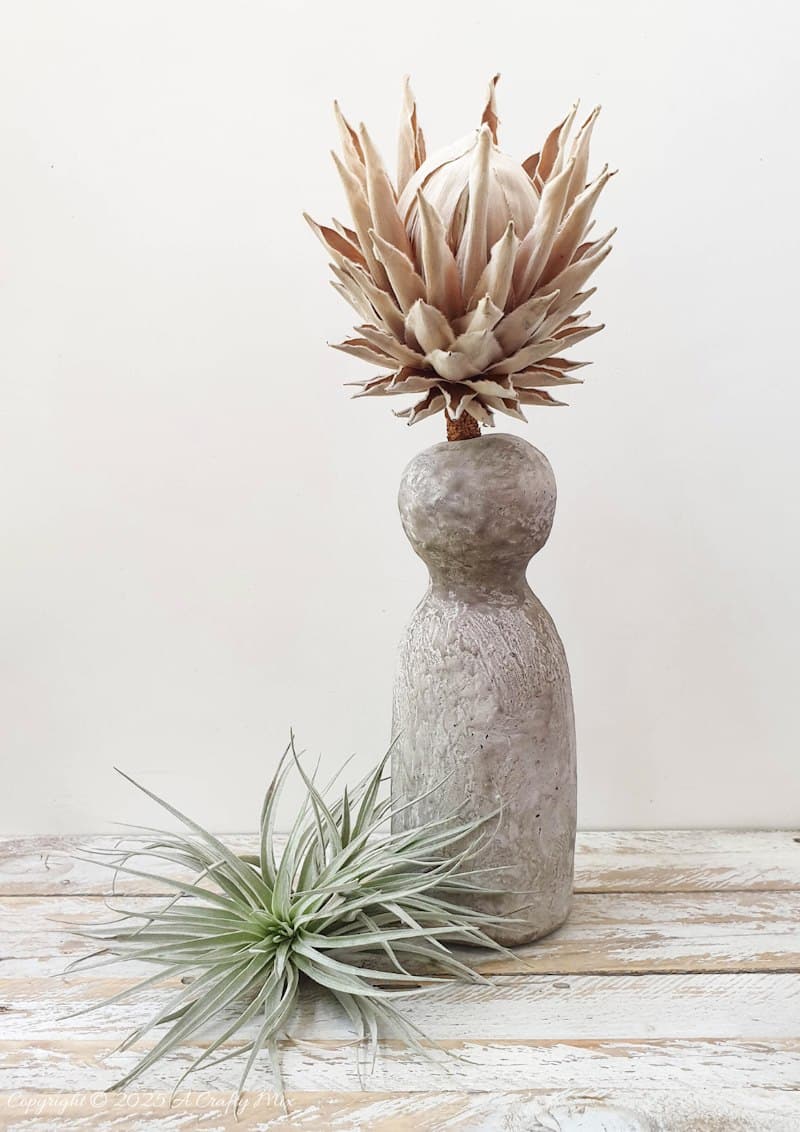
Sadly, our hydrangeas aren’t in bloom right now. I had this picture in my head of the vase filled with a puffy cloud of colorful flowers. Like a curvaceous woman with a mop of curly hair. Instead, she’s wearing a spiky Protea headdress .
Either way, this vase is easy to make and even easier to dress up.

What would you put inside?
If you like the idea of making a faux concrete bunny vase, don’t forget to pin the tutorial for later.

Sharing is caring.

Oh, and if you’re looking for some of the things we used, we’ve got you covered. Disclosure: Clicking on the links below, means we may receive a commission from Amazon. But don’t worry it won’t come out of your pocket, and it helps us make more amazing crafts to share with you 😉


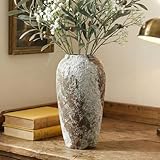
And if you prefer to buy rather than DIY, perhaps these beauties will appeal.


Last update on 2026-06-03 / Source Amazon Affiliates