
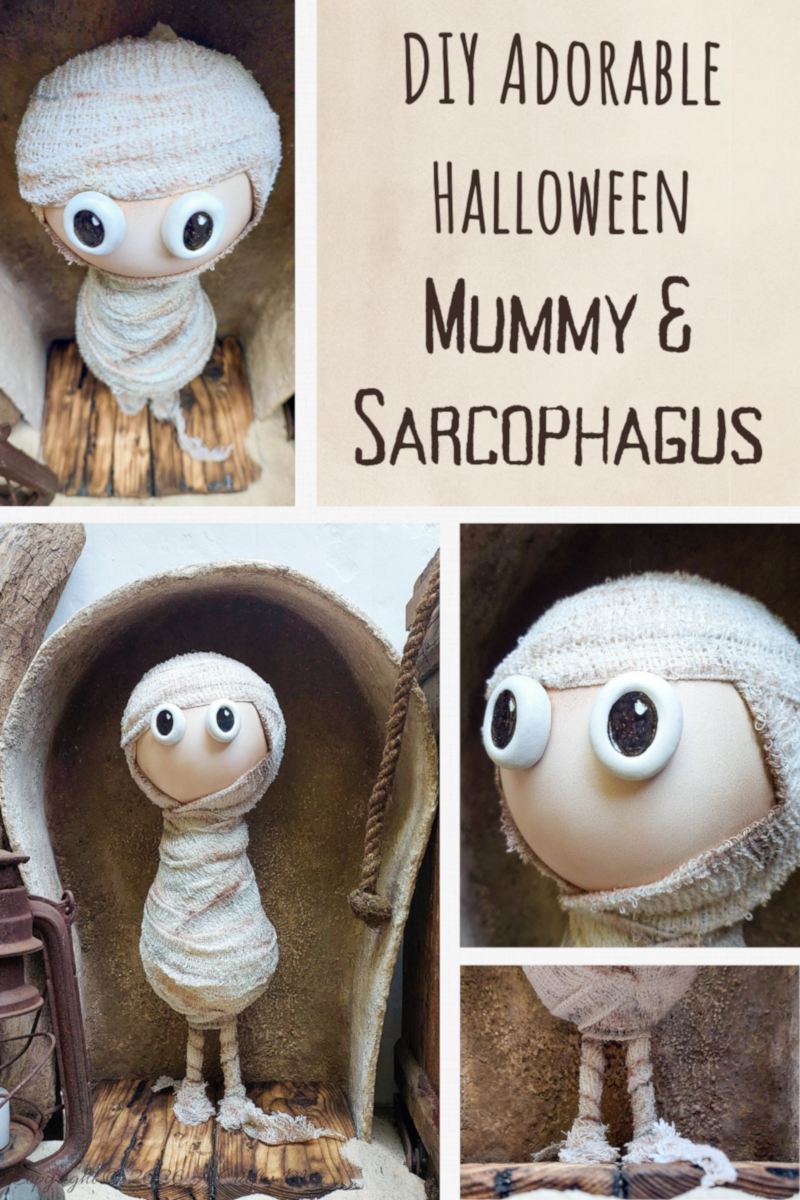
Save those empty plastic bottles, because today we’re turning trash into a tiny tomb guardian. Wrapped up like a sweet little mummy and tucked inside a weathered DIY cardboard Sarcophagus, this quirky Halloween project is more adorably curious than creepy.
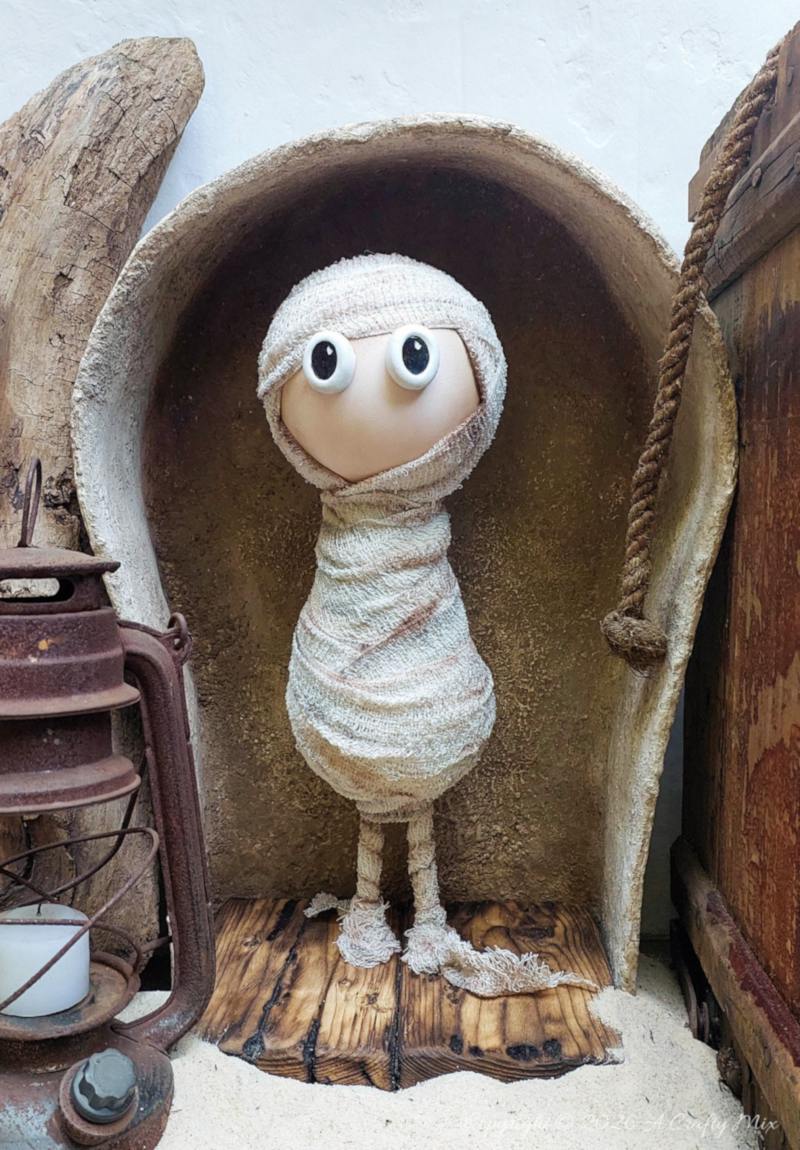
Standing guard in his small stone “home,” he looks like he’s been waiting centuries for someone to wake him up. You can almost hear his raspy little voice saying, “Who dares summon me?” quickly followed by, “Wait, it’s been HOW MANY YEARS?!”
If you love not‑so‑spooky, DIY décor that tells a story, then this little bandaged guy with spindly legs is the perfect way to get into the spirit of Halloween.
And it doesn’t matter where you put the plastic bottle mummy and his sarcophagus, this upcycled tomb scene is sure to steal the spotlight.
In this tutorial, I’ll show you, step by step, how to make the mummy and build a crusty, stony sarcophagus. But before we get to the tutorial, follow us on Facebook, Twitter, Pinterest, or Instagram. And don’t forget to subscribe so you’ll never miss a post!
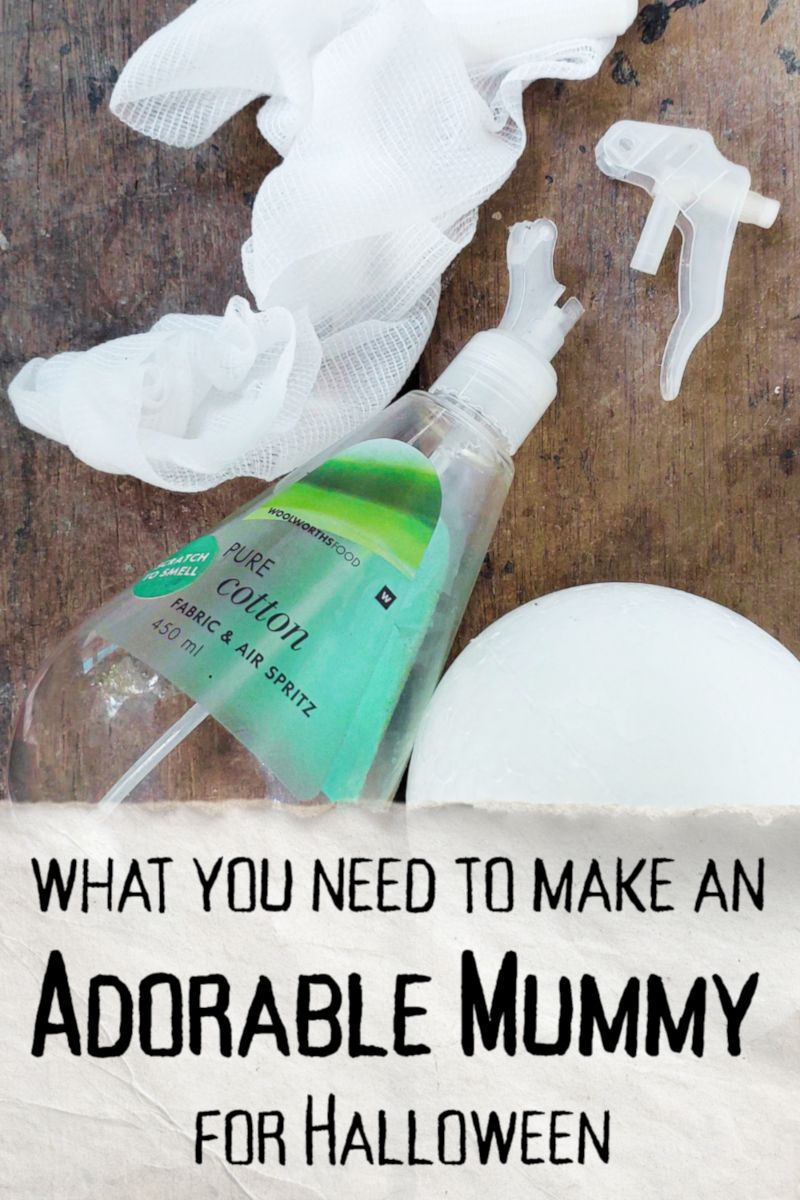
What you need
For the mummy
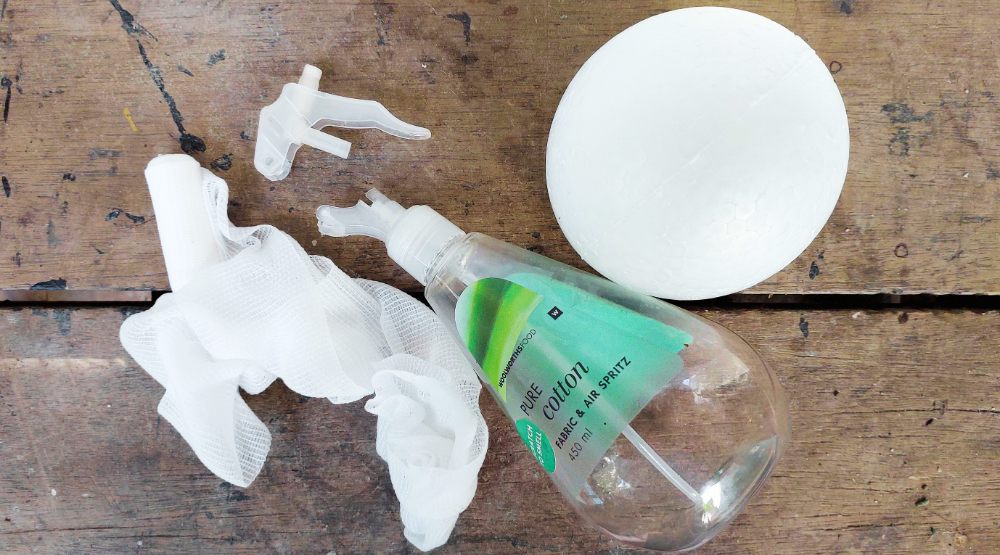
- Plastic bottle
- Polystyrene/Styrofoam ball
- Wire hanger
- Plastic tubing
- Bandages
- Craft clay
- Paint
- Hot glue gun and glue
- Scrap wood
- Resin (optional)
- Fence staples (optional)
For the Sarcophagus
- Large cardboard box
- Paper kitchen towel
- Mod podge
- Plaster of Paris
- Paint and paint brush
- Garden soil and water (aka mud)
Making the trash to treasure mummy
The body of the tiny tomb guardian is made from a plastic bottle and a polystyrene ball. If you’ve seen our gothic witch tutorial you’ll have a general idea how it’s done.
Prepping the bottle and the ball
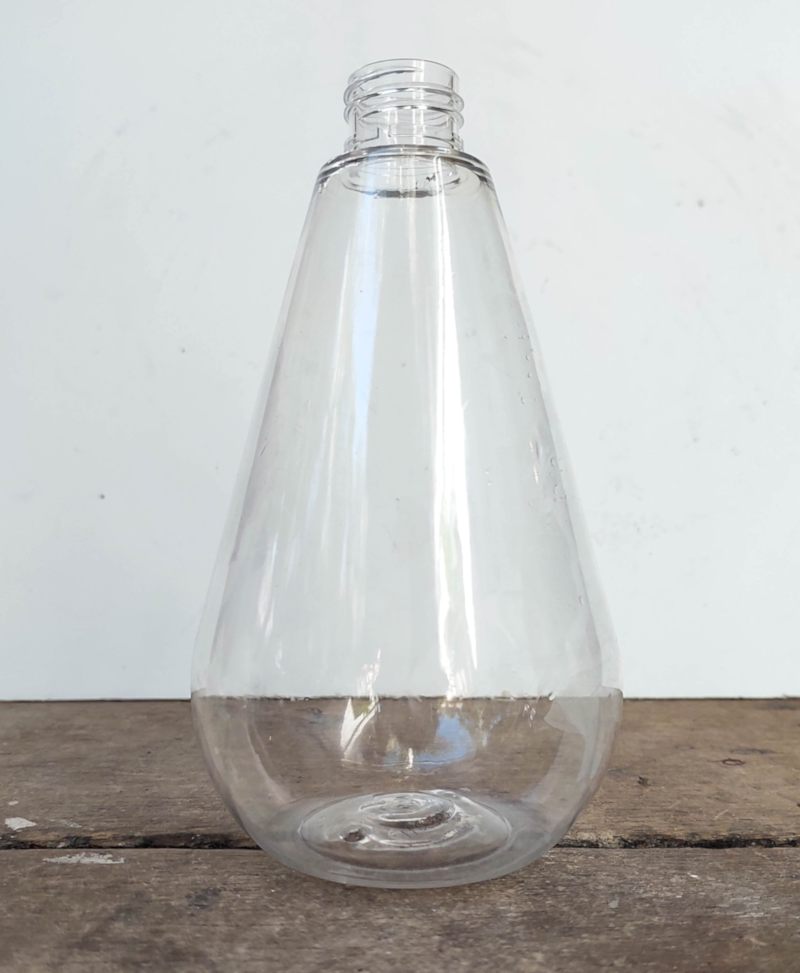
Start by removing the bottle top and any labels. Rinse in warm, soapy water and leave to dry.
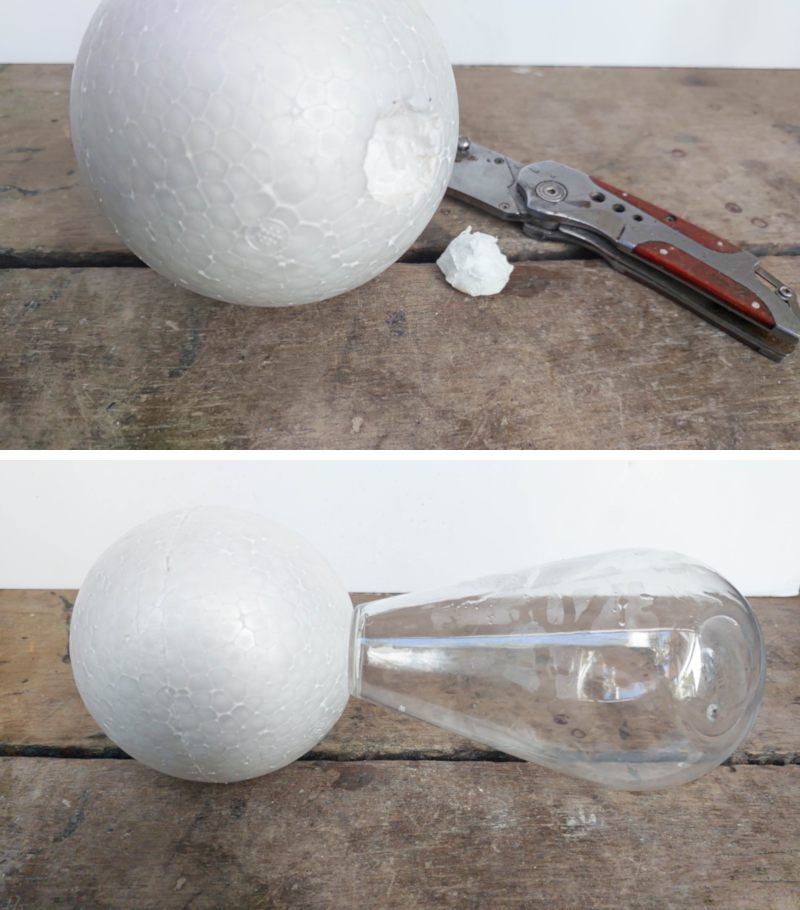
Use a sharp craft knife to cut a hole in the polystyrene ball. It needs to be just big enough for the neck of the bottle to slip inside.
Polystyrene is made up of tiny beads fused together to form a shape. If you look closely, the surface is pebbly and uneven, and if you paint it, those gaps show up as little pits.
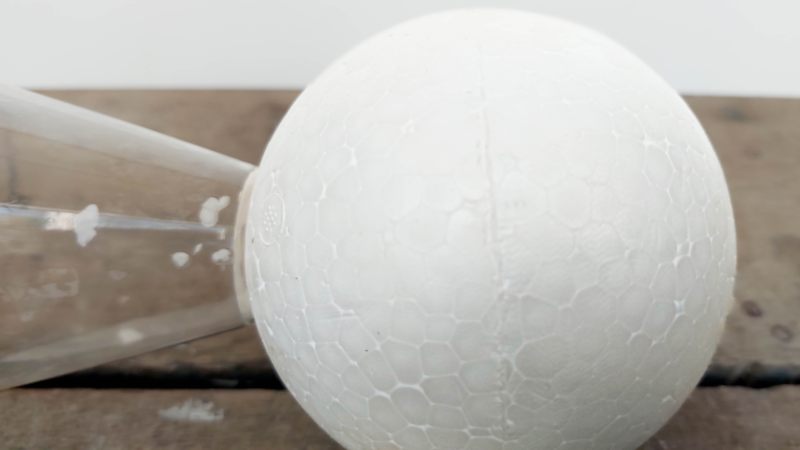
Not the look I wanted for my mummy. This little guy needed a smooth, baby face to go with those big eyes. There are two ways to get rid of the pock marks. You can either add many layers of paint or apply some texture paste. Do what’s easier for you.
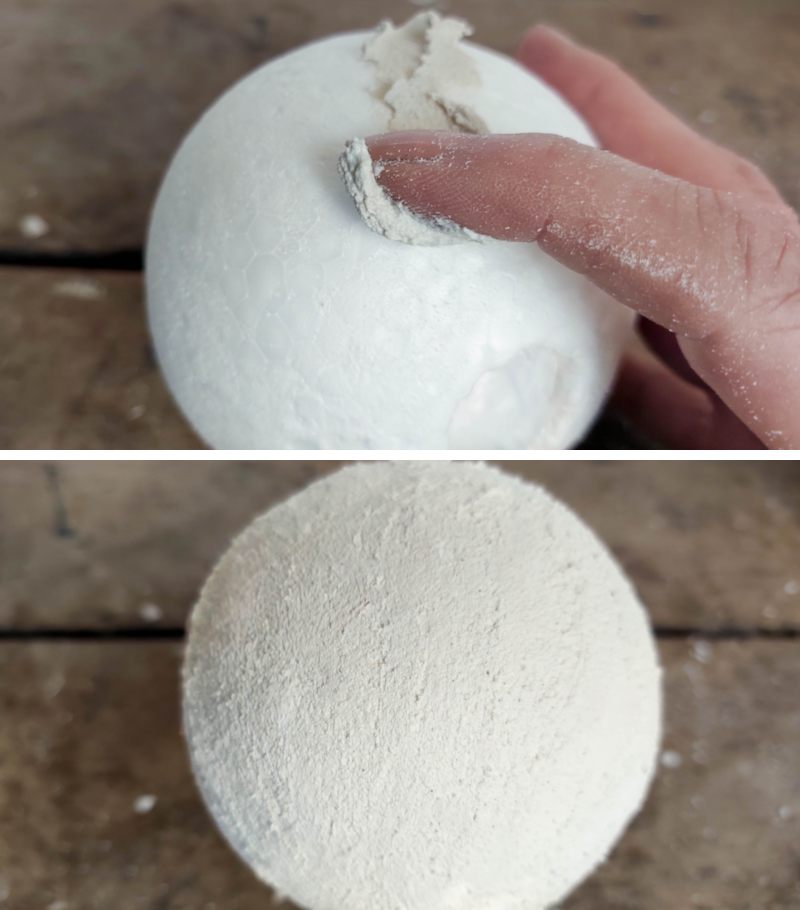
Leave the paste (or paint) to dry completely and sand smooth.
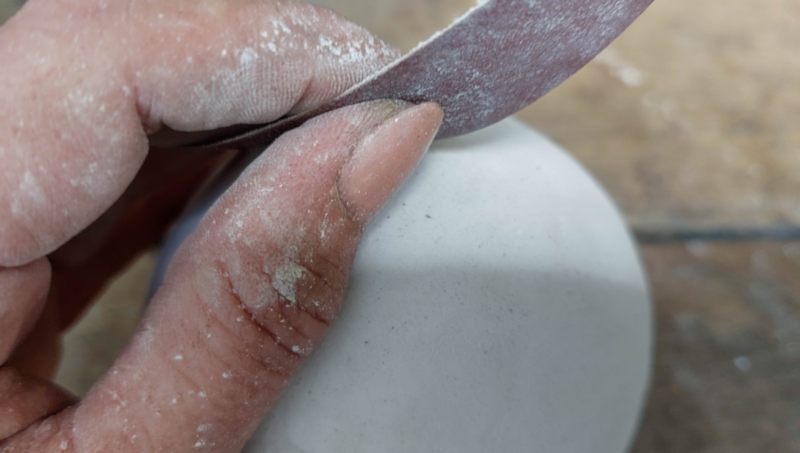
Painting the bottle and ball
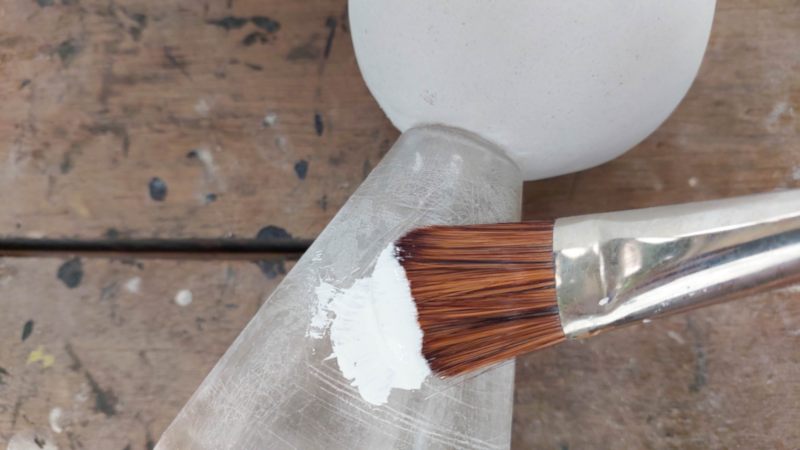
This step is probably not necessary, but it does help to hide the platickiness (I don’t think that’s a word, but you get what I mean). If you are painting your bottle, sand it first, so the paint has something to grip onto.
For the mummy’s head, I used makeup foundation to “paint” the face. Hey, if it’s good enough for my face, it’s good enough for this little guy, and it’s already the perfect skin tone.
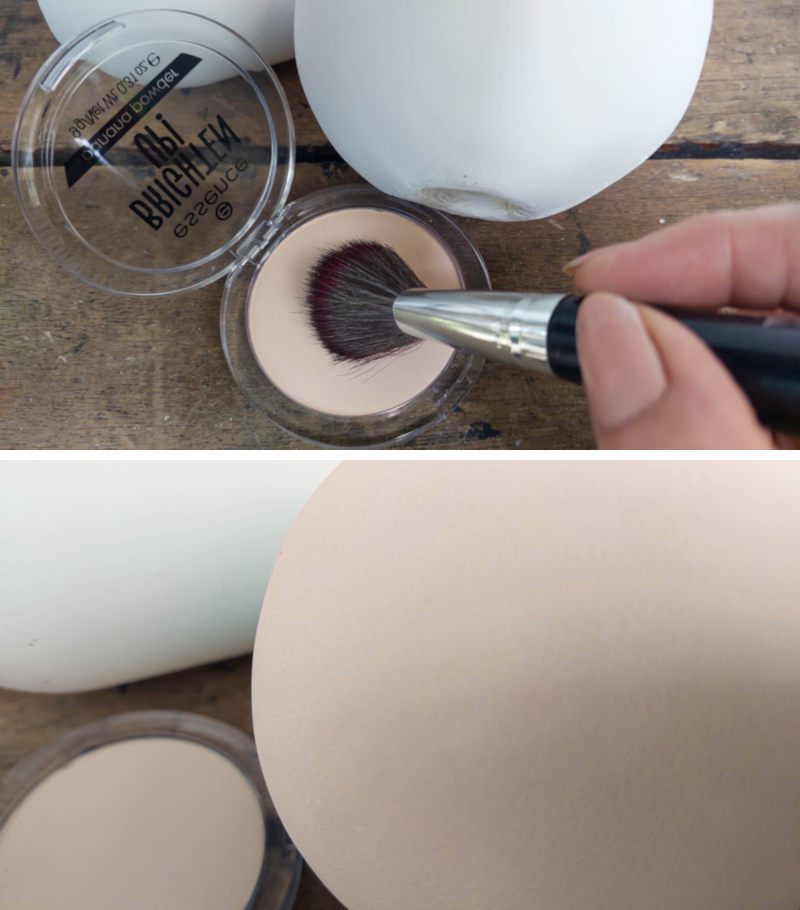
This is what my mummy looked like after painting and applying his makeup.
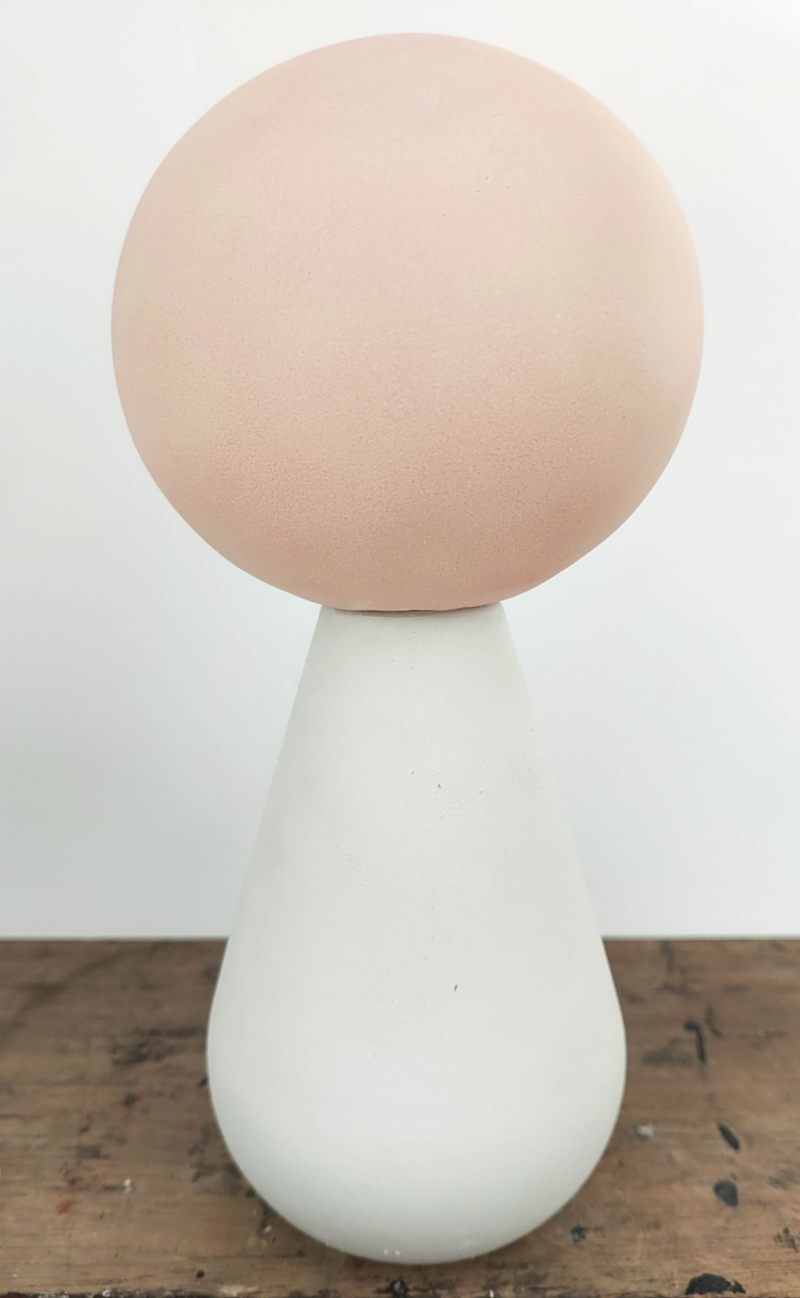
Now for the legs.
Making the legs
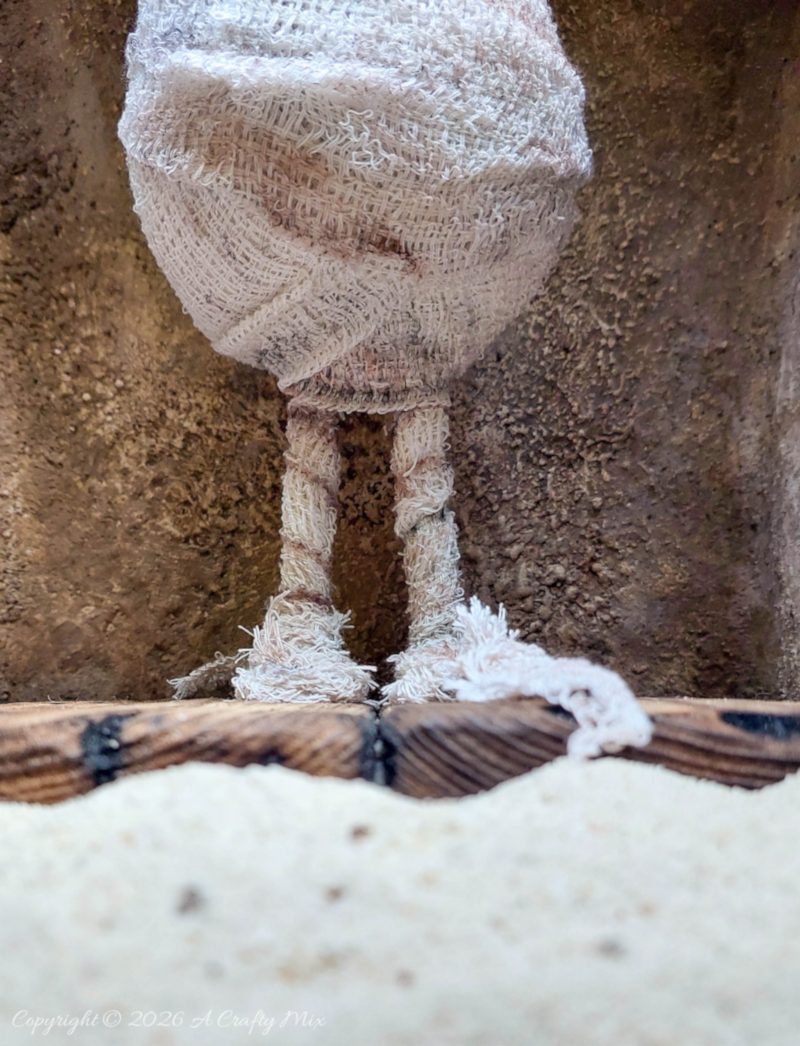
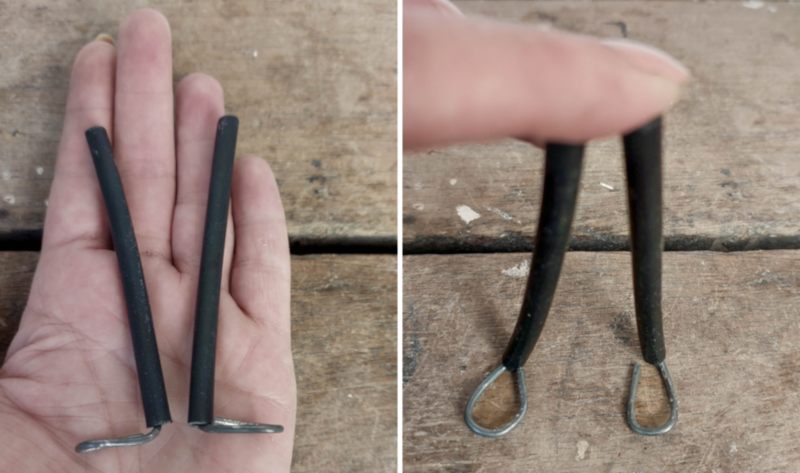
There are two ways to give the mummy legs, and it all depends on whether you want him standing upright or sitting down. I’ll show you how I got him to stand and then share how to adjust the steps for a seated version. Both involve plastic tubing and wire. I used a hanger and leftover irrigation pipes. If you don’t have any irrigation pipes, you can just use wire and add extra bandages later.
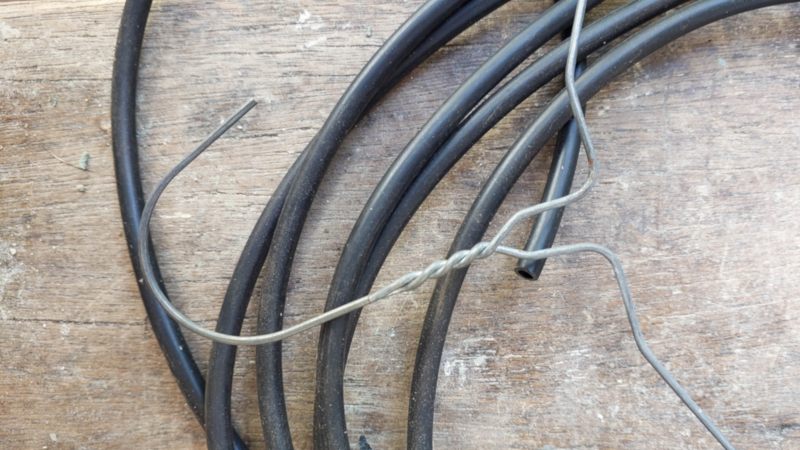
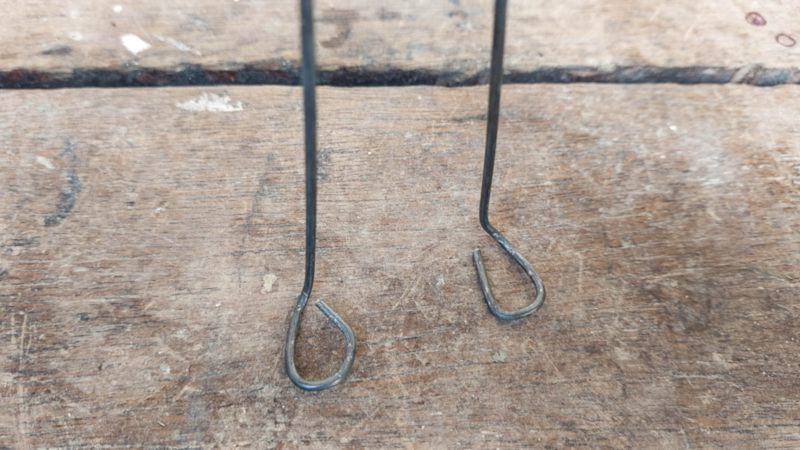
Cut two equal lengths of wire. Bend one end of the wire as shown in the piccy below to make feet
Slip the plastic tubing over the legs and trim away any excess.
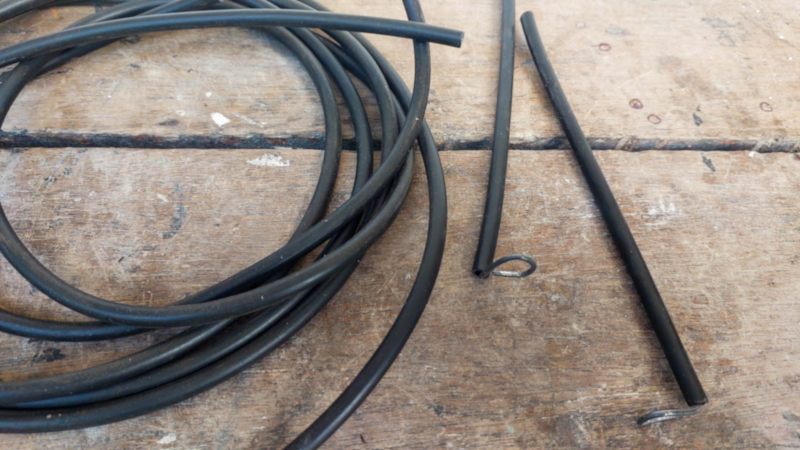
You should end up with something like this.
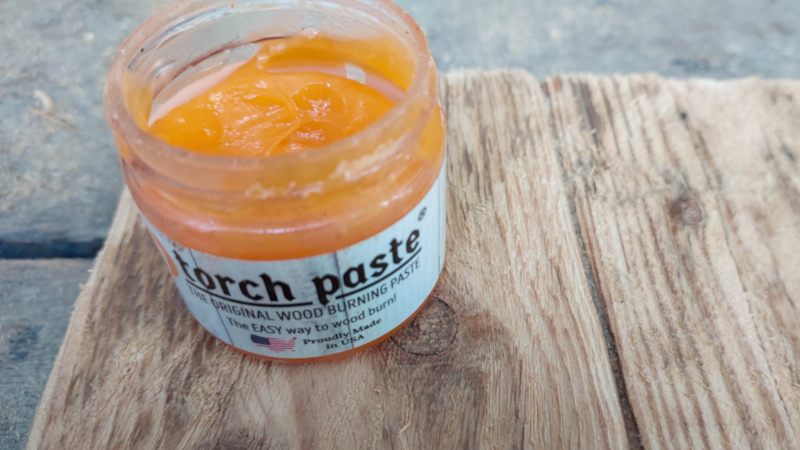
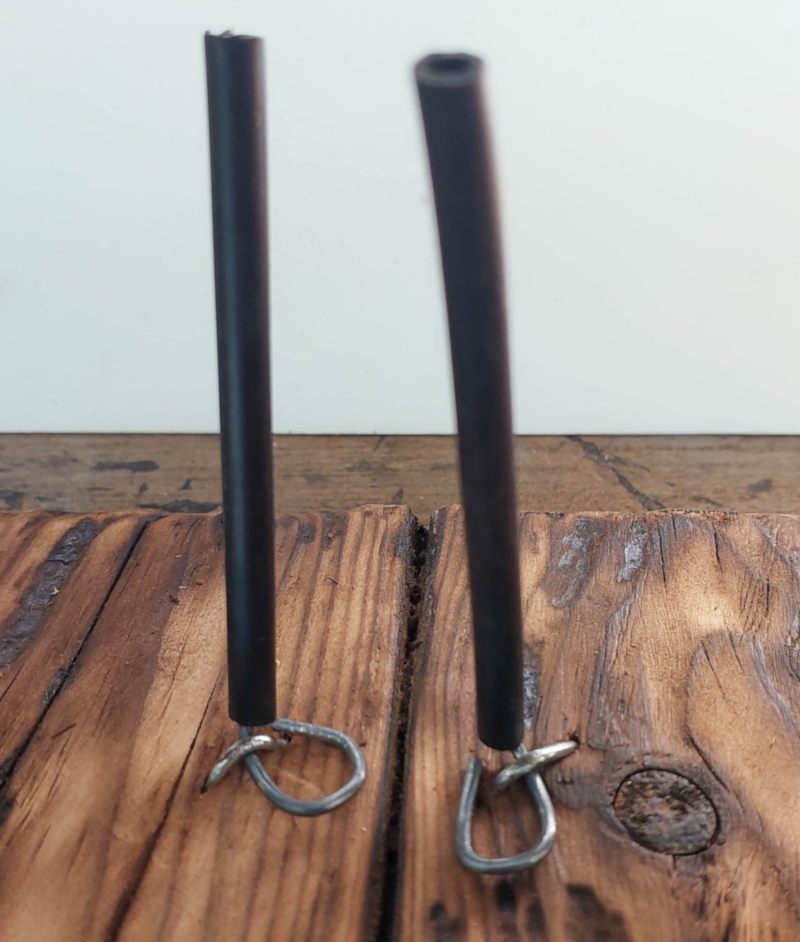
To keep the legs from falling over I mounted them on a piece of scrap wood that I aged with wood burning paste first.
The legs can be glued down or hammered in place with fence post staples.
To attach the legs to the body, I used copious amounts of glue. Flip the bottle upside down, add hot glue and then push the legs inside the gluey puddle. Ooooo, and I painted the black tubing white, so the it didn’t show through the bandages.
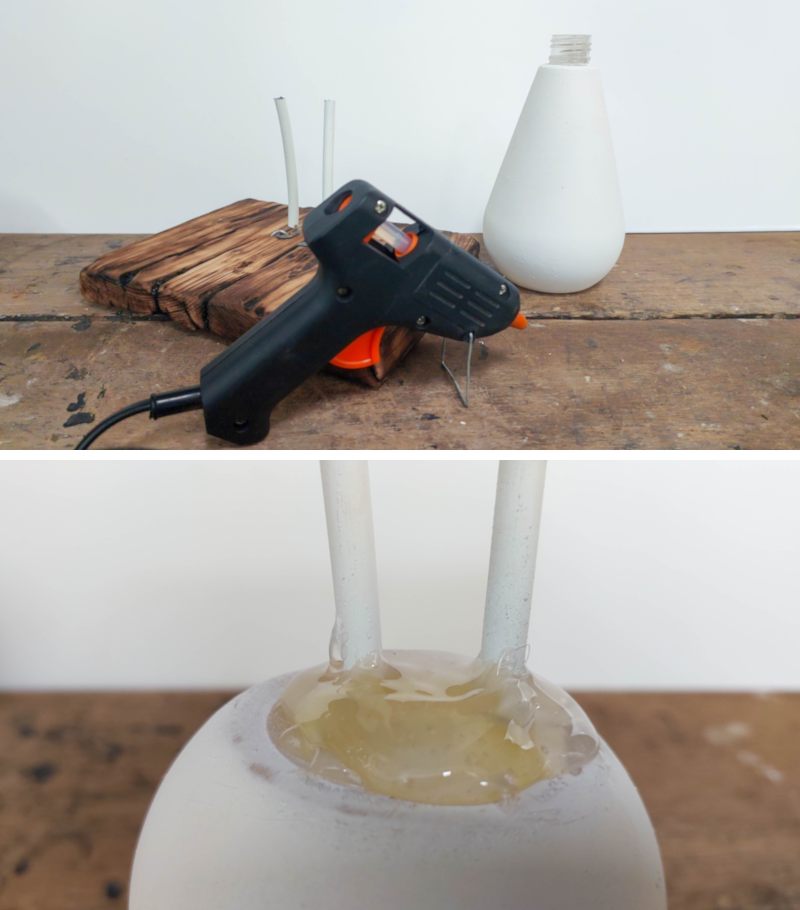
Once the glue dries, check to see if your mummy stands on his own. You may need to adjust the legs by bending his knees a little.
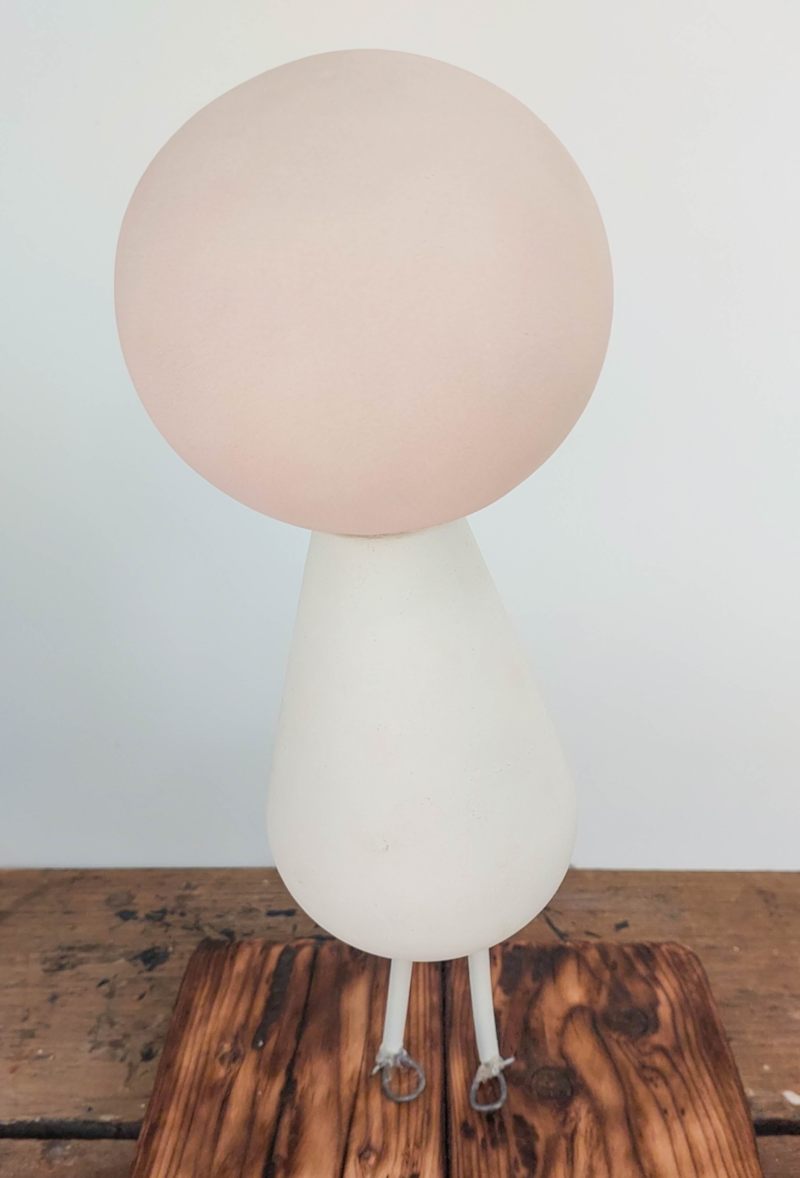
If he’s a bit wobbly, don’t stress too much. The sarcophagus will help keep him upright. Or you can make a seated mummy. Just glue his legs to the front of the bottle instead of underneath. Okay, time to wrap things up.
Mummifying the mummy
A mummy isn’t officially a mummy until he’s swaddled in old bandages.
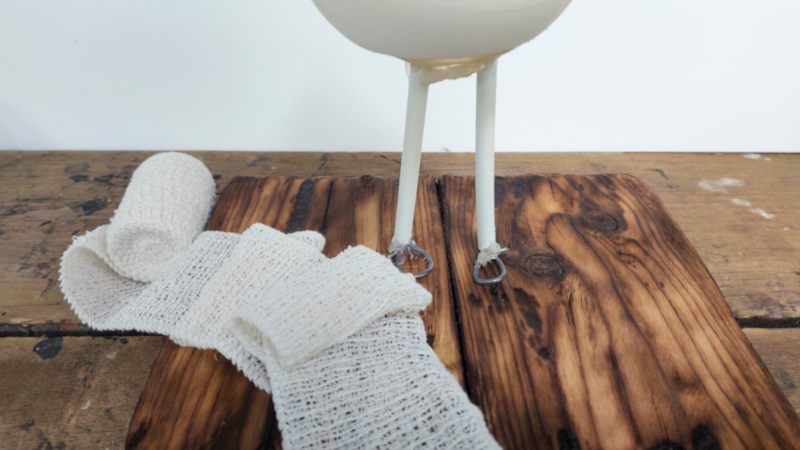
My bandages were, um, a tad too clean for someone who’s been ‘unalive’ for few centuries. Easy enough to solve with some pastels. You can also rub the bandages in dirt if you prefer.
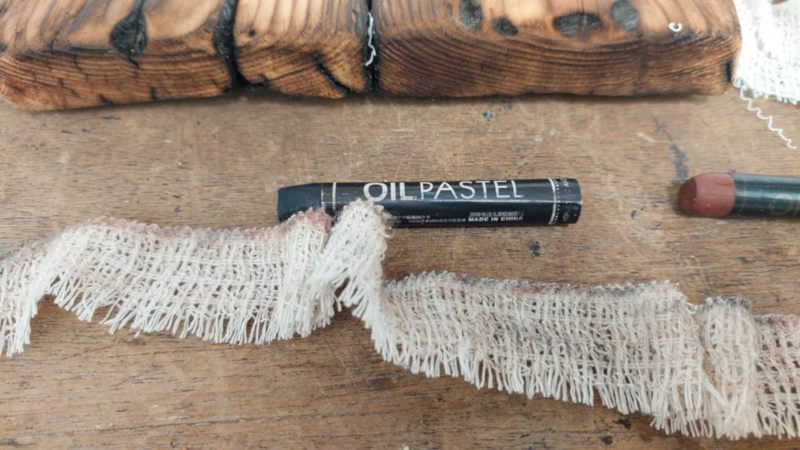
Starting at the top of the legs, wrap the bandages around and down towards the mummy’s feet. Secure the ends with a small dollop of hot glue.
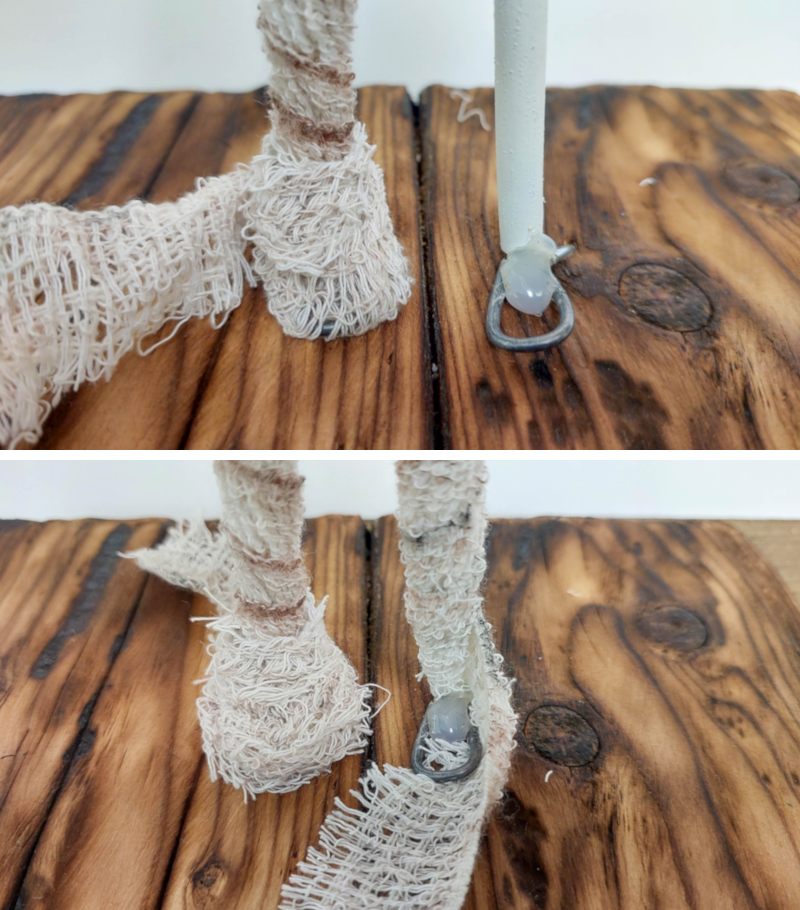
Do the same around the mummy’s body and head. Keep his face uncovered.
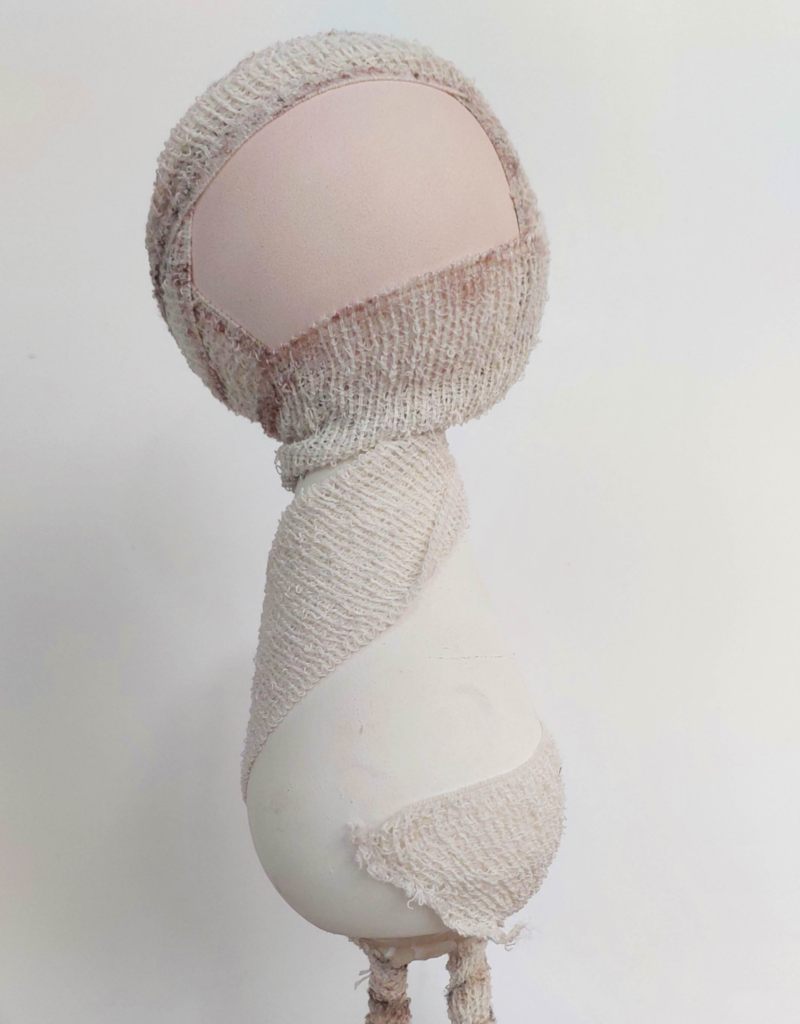
Once my bandages were on, I realized my tiny tomb dweller needed a bit more contouring around his face. So, I dipped a small brush into a neutral makeup palette and gently shaded around his head to give this freshly resurrected cutie a little more dimension.
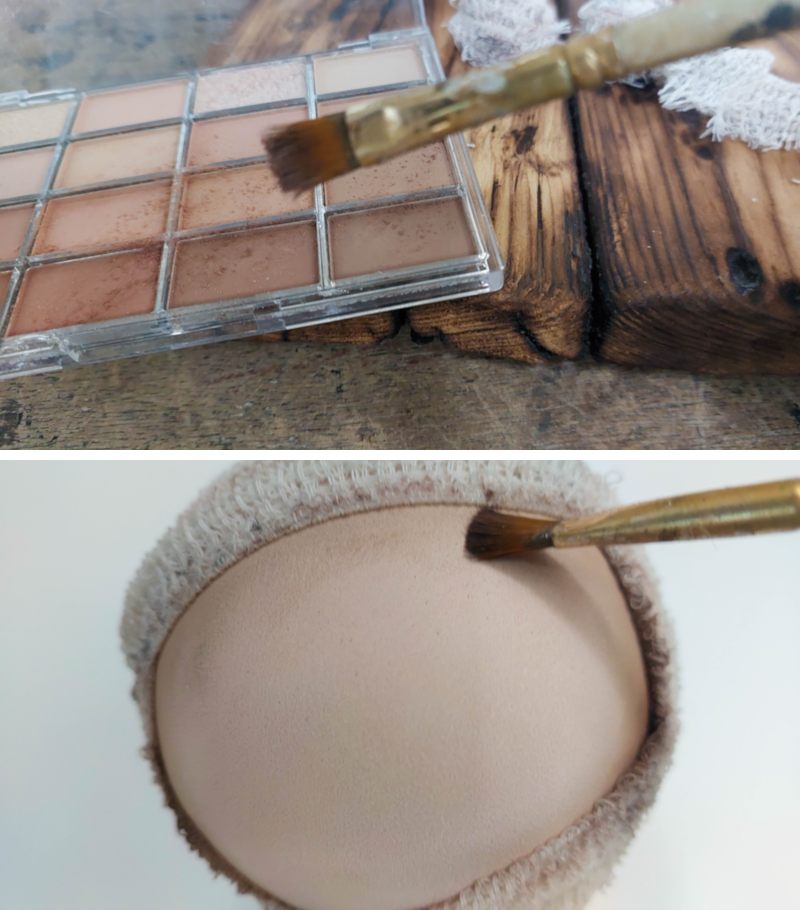
That’s better.
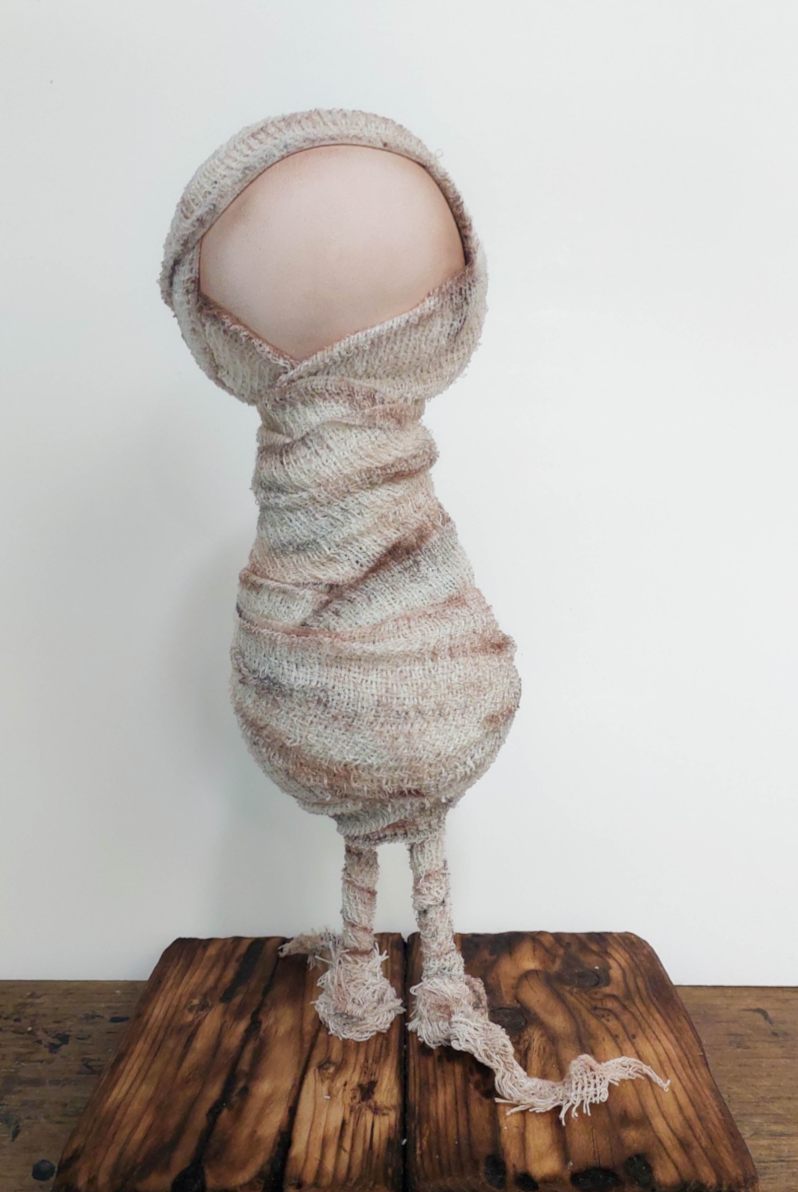
Now all I need to do is add the eyes.
Making clay eyes
There are few ways to give this little guy eyes:
- Paint the eyes on (step-by-step tutorial here)
- Use a permanent marker to draw eyes
- Glue on some googly eyes
- Make realistic eyeballs using small polystyrene balls
- Or make your own using clay
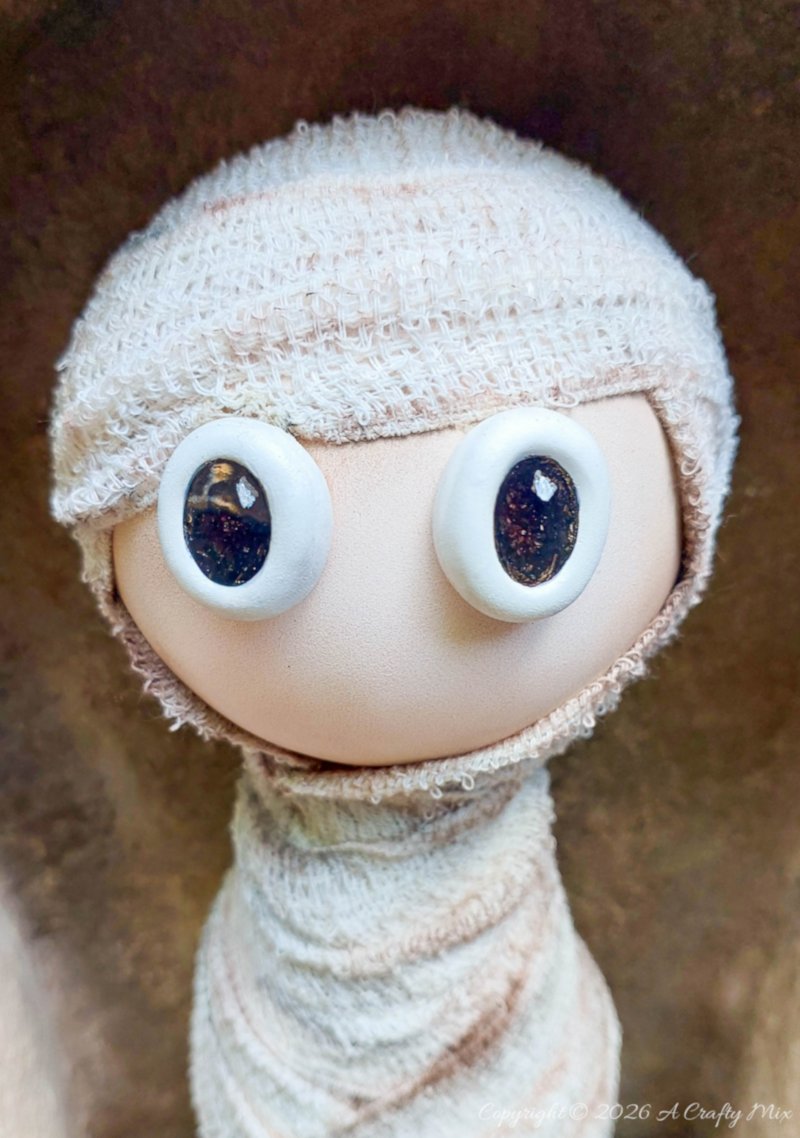
I went for option 5. Grab a hunk of clay and roll it out so it’s about ½” (1cm) thick. Use a small plastic lid to “cut out” two circles.
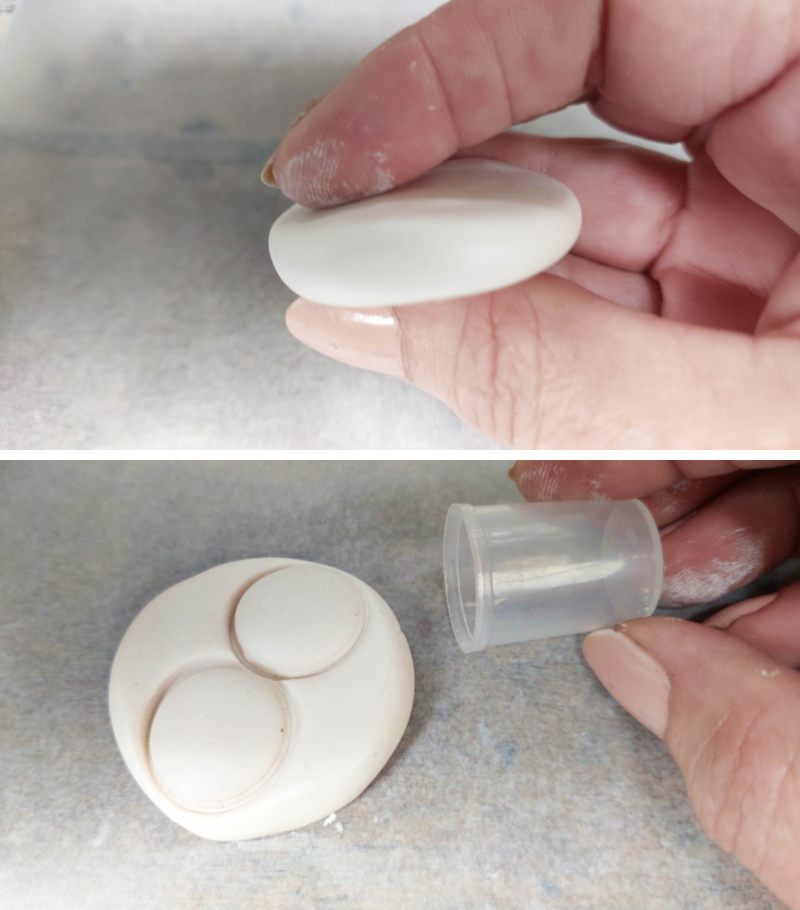
Use the back of a paint brush to make an indent in the middle of the circle.
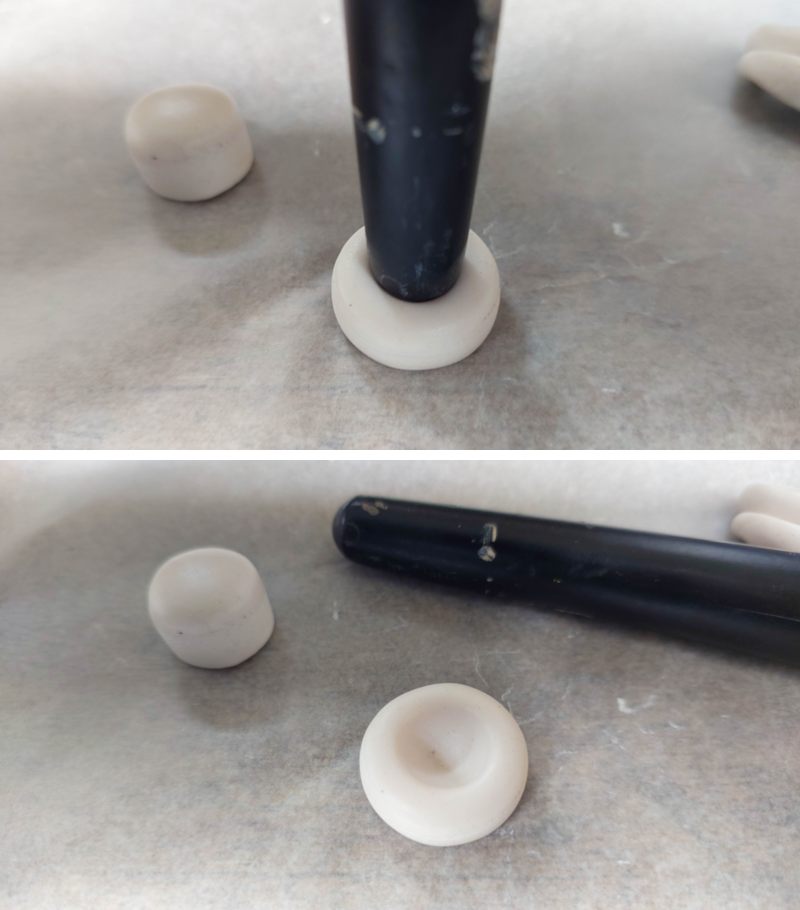
Bake or cure the clay according to the manufacturer’s instructions. Leave them to cool down and paint the indents dark brown or black.
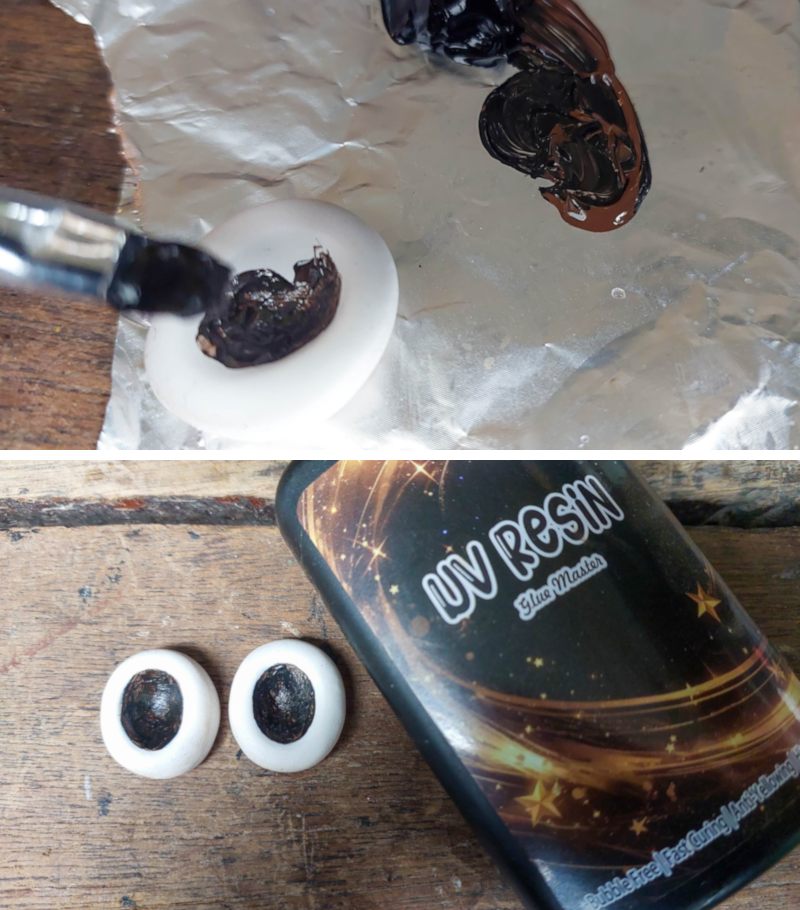
For a glossy eye, fill the indents with resin and cure under a UV light.
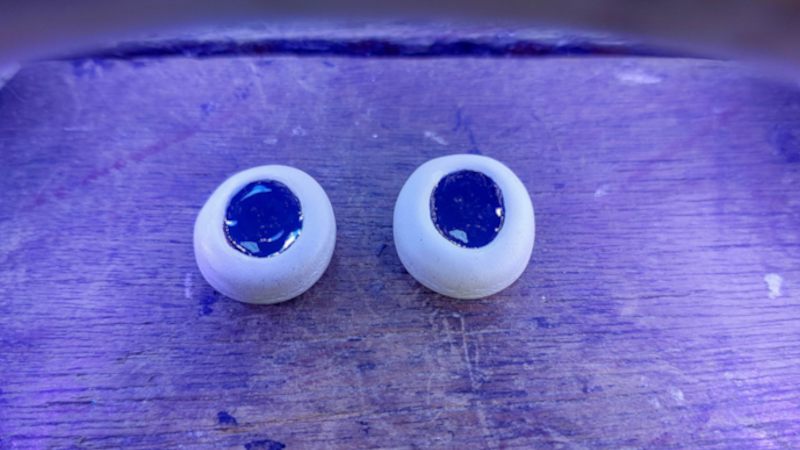
It gives his eyes that shiny, slightly alarmed, finish that brings this tiny tomb guardian to life. Once you’re happy, glue the eyes on.
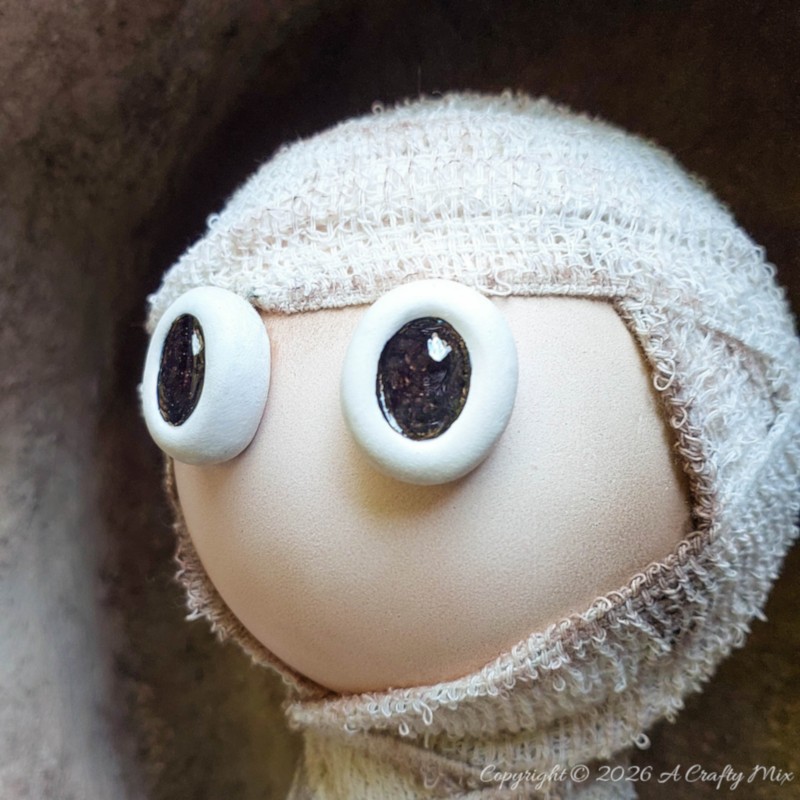
And that’s it for the little mummy. He’s ready to stand guard on your front porch keep a watchful eye on every trick‑or‑treater that walks past. Or you can take it a step further and make him a small, crusty stone sarcophagus out of cardboard.
How to Make the Mini Sarcophagus
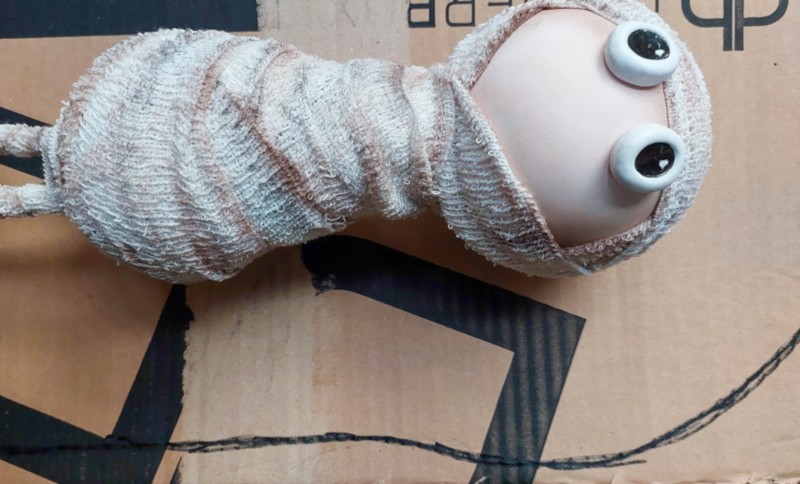
Use the little mummy as a guide to draw a sarcophagus shape on to cardboard.
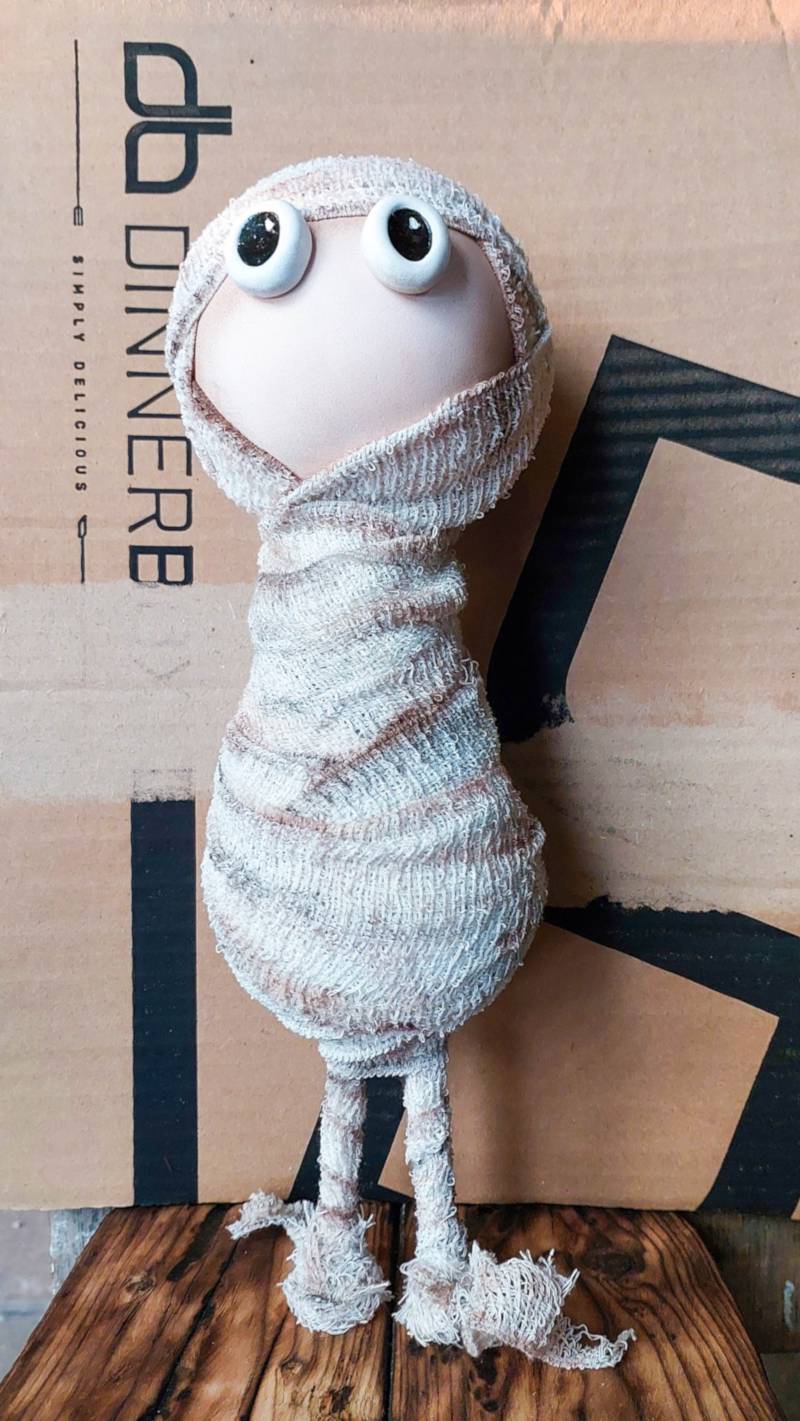
It needs to be a few inches wider than his body all the way around.
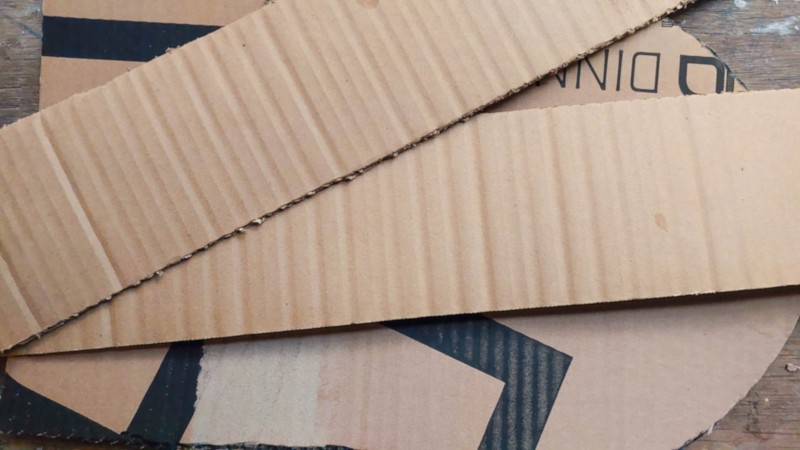
Cut the sarcophagus shape out with a sharp craft knife. You also need to cut strips of cardboard that are about 10 cm (4”) wide. Make sure to cut across the grain.
Bend and glue the cardboard strips around the sarcophagus shape.
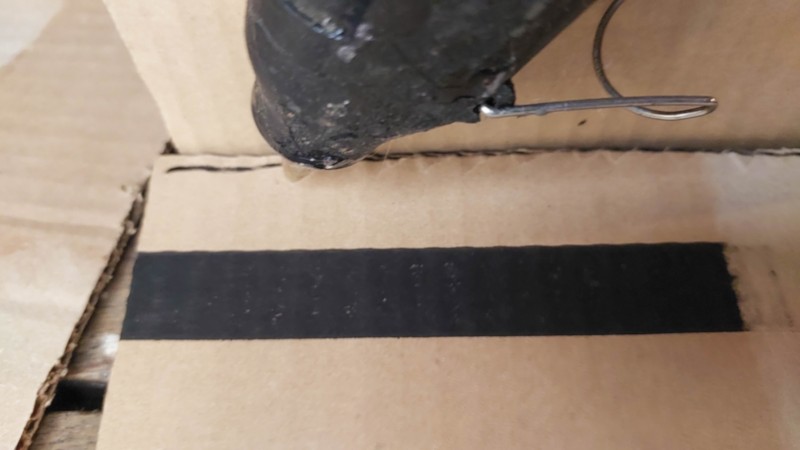
If you need to join two strips, use a lap (or seam) joint to create a smooth, neat finish without bulky edges. Simply peel away the top layer and the corrugated middle part of one cardboard strip, then glue the thin flap over the other strip.
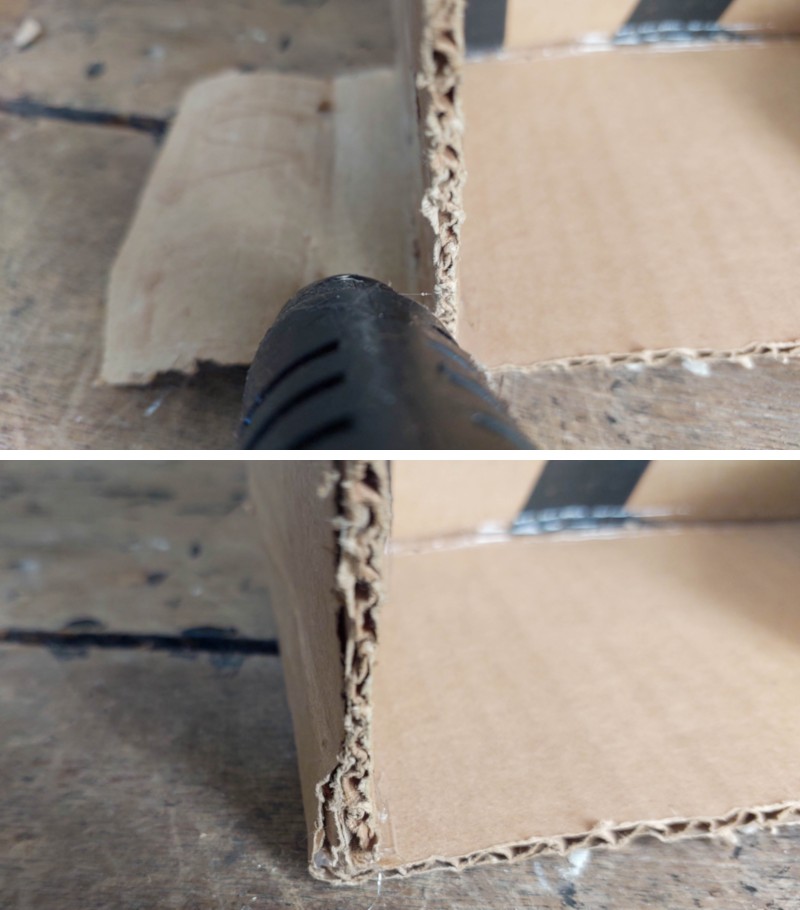
You should end up with something like this.
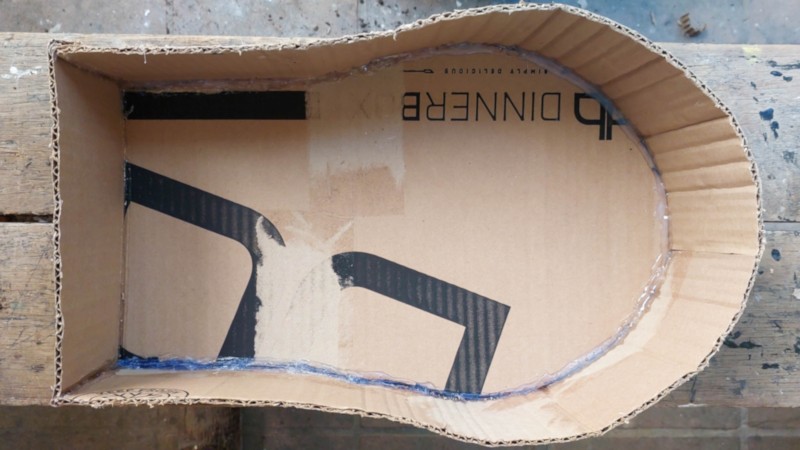
To strengthen the cardboard sarcophagus and make it water soggy resistant, I mod podged kitchen towelling over the whole thing.
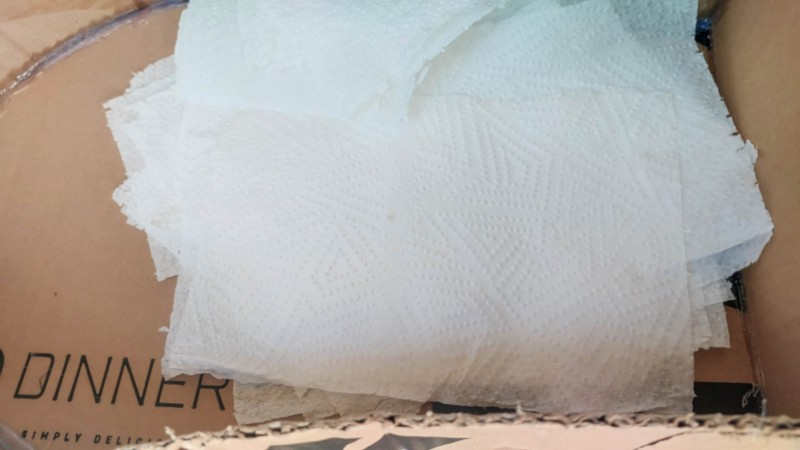
It also helps to hide the wavy insides. Nothing screams “I’m made from cardboard” like those wiggly waggly bits.
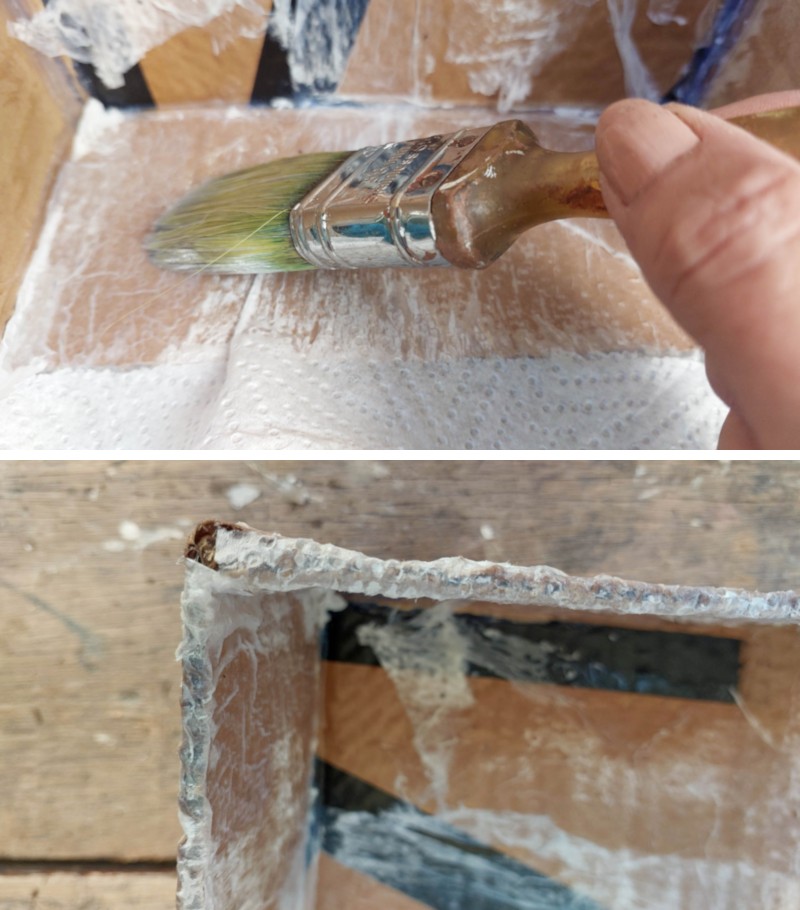
Leave the kitchen-towelled sarcophagus to dry.
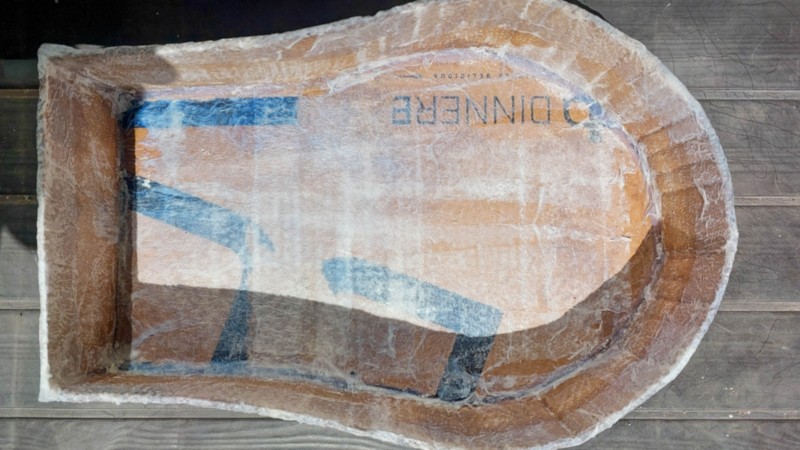
Creating a crusty, stone texture
To get that wonderfully crusty, weathered stone look I used plaster of Paris. You can also use texture paste. (homemade recipe here).
Mix up a batch of Plaster of Paris. You want it to be a balance between goopy and pourable.
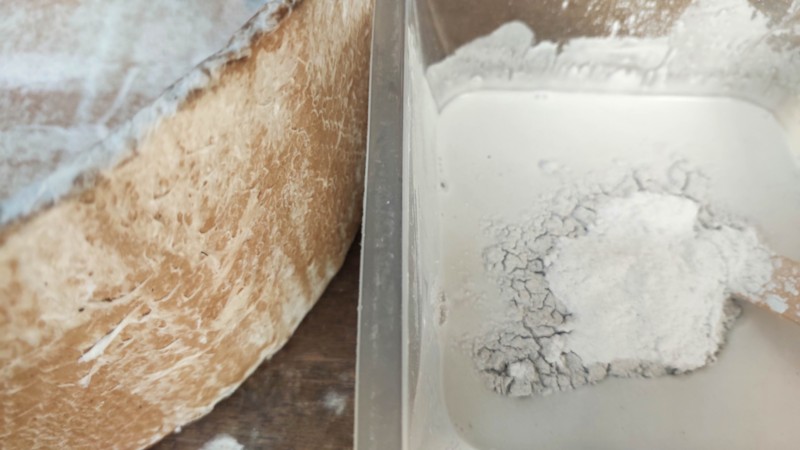
Pour the mixture inside the sarcophagus and tilt and turn the shape so the mixture can flow across the back and inner sides.
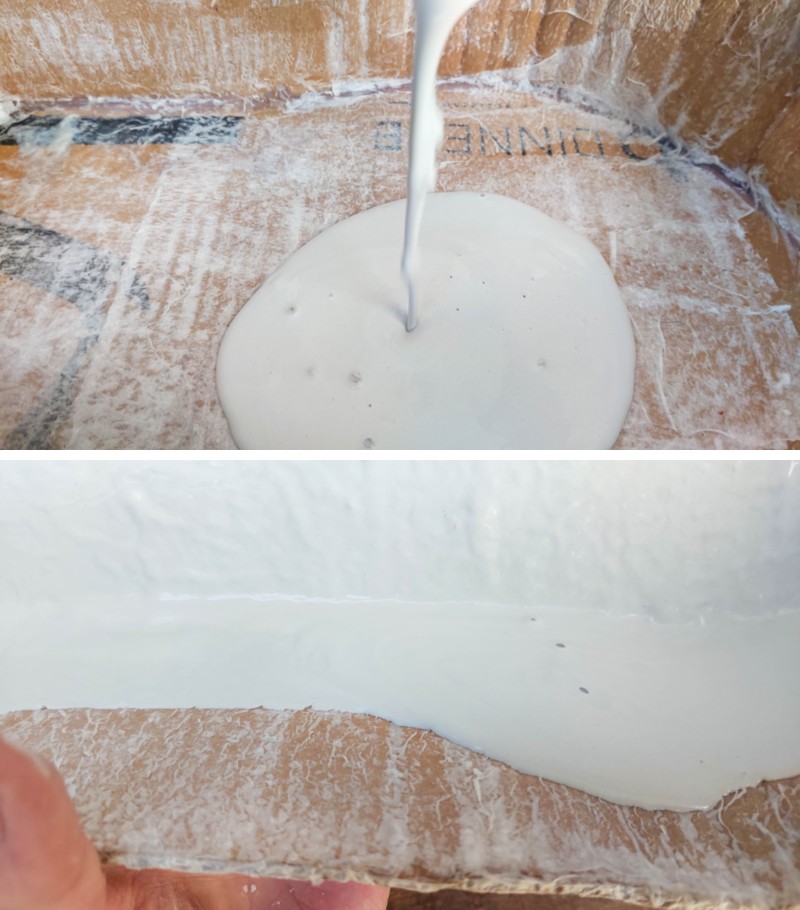
Make sure to cover the whole inside. If you’re using texture paste you can just paint or smear it on.
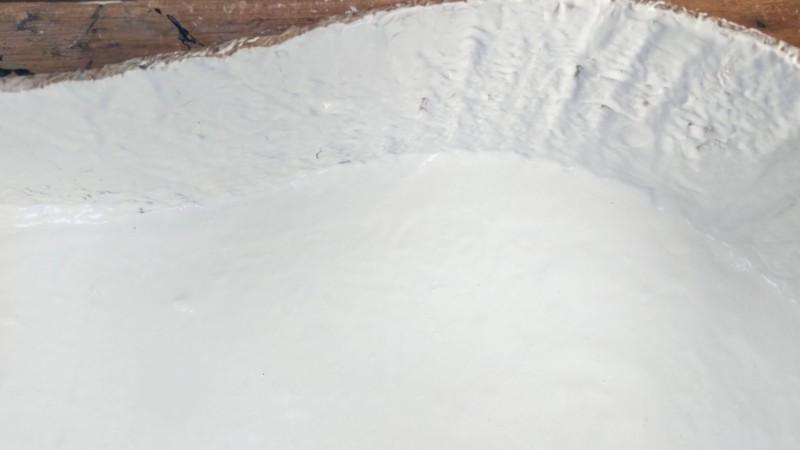
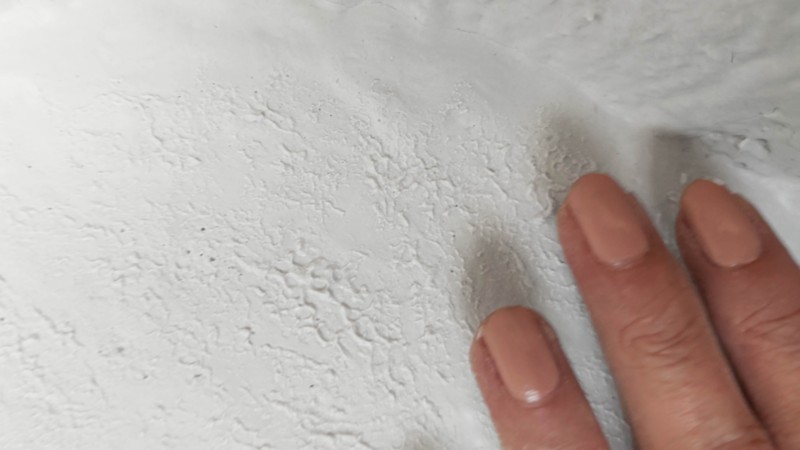
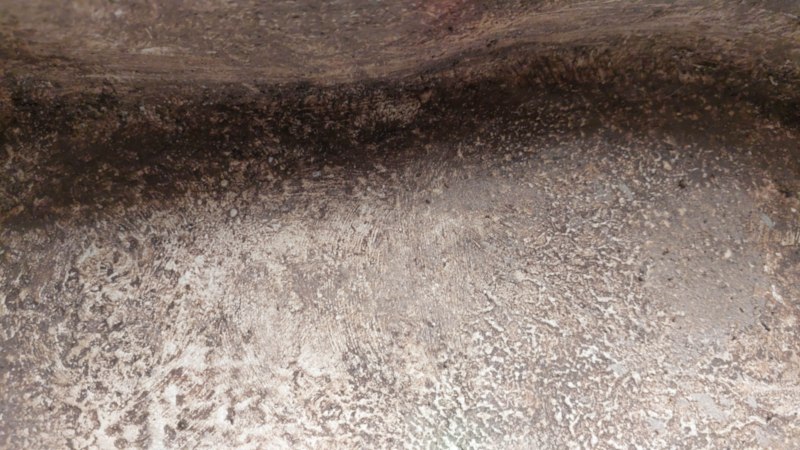
While the plaster of Paris is still slightly wet, tap it lightly with your fingers. That’s what gives the sarcophagus its rough, slightly pitted surface making it look like sun‑baked limestone that’s been worn down over centuries.
Leave to dry. Apply plaster of Paris to the outside of the sarcophagus in the same way. Just a heads up. It’s a messy business, so it’s probably a good idea to lay a sheet down or something. Apply as many coats as you need to.
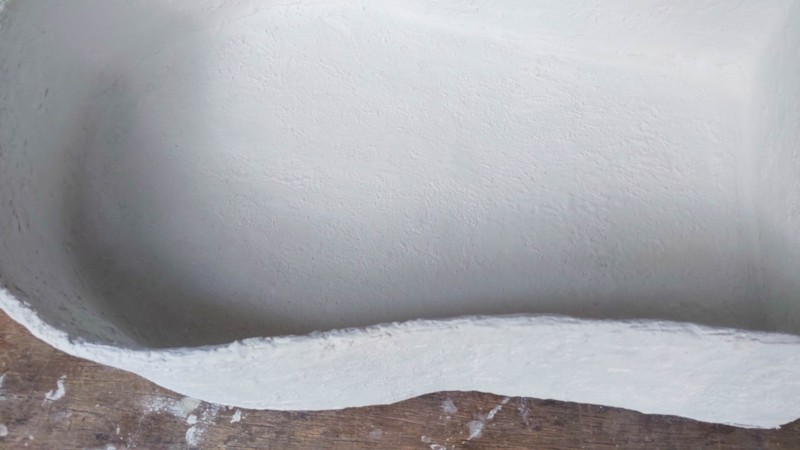
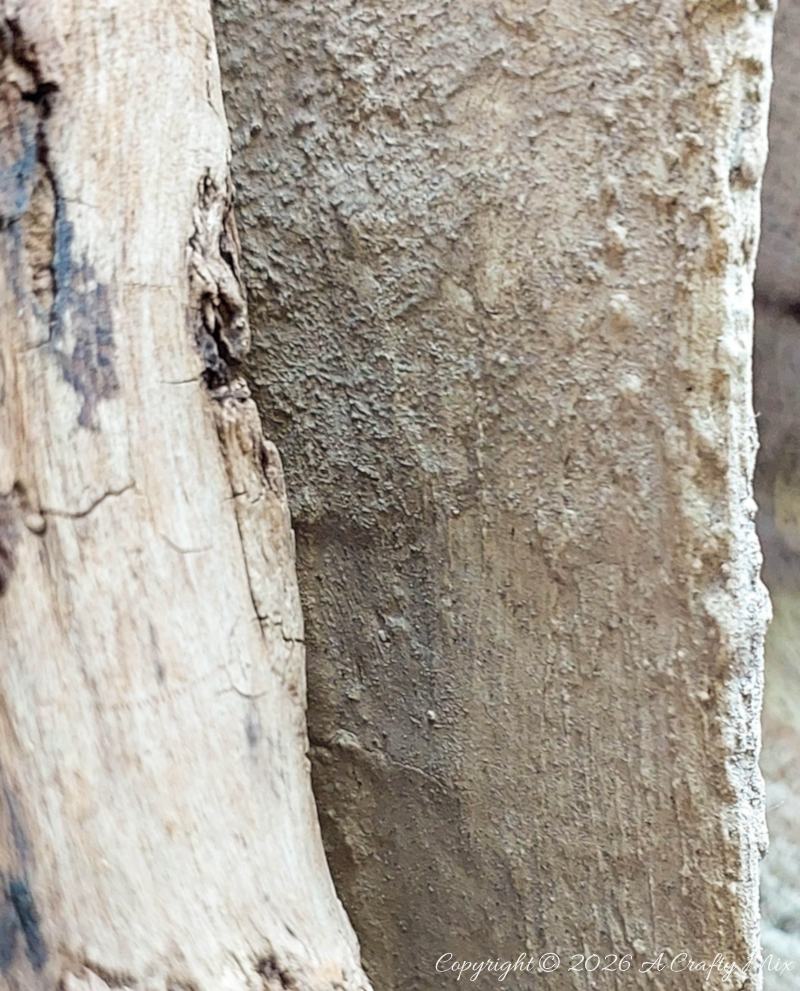
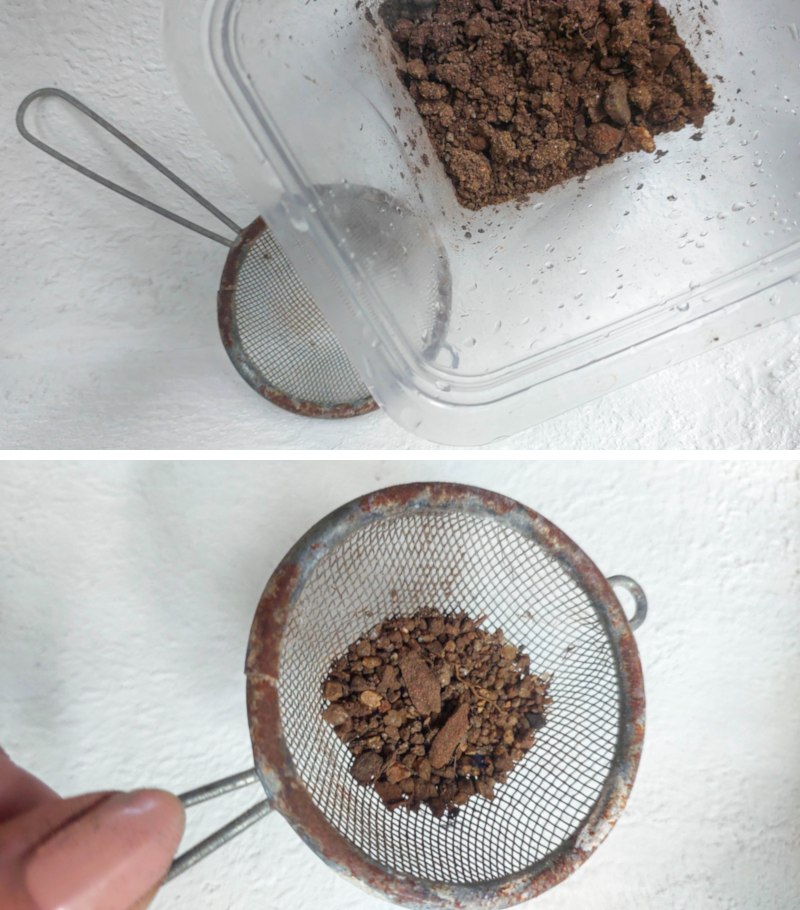
To paint the sarcophagus, I used a dirty hack I’ve tried many times. If you’ve seen our wicker woven oil basket tutorial, you’ll know what I’m talking about. Garden soil always makes something look old and grungy once it dries.
You can use craft paint or food coloring too. If you go the soil route, put it through an old tea strainer to remove any stones and grit.
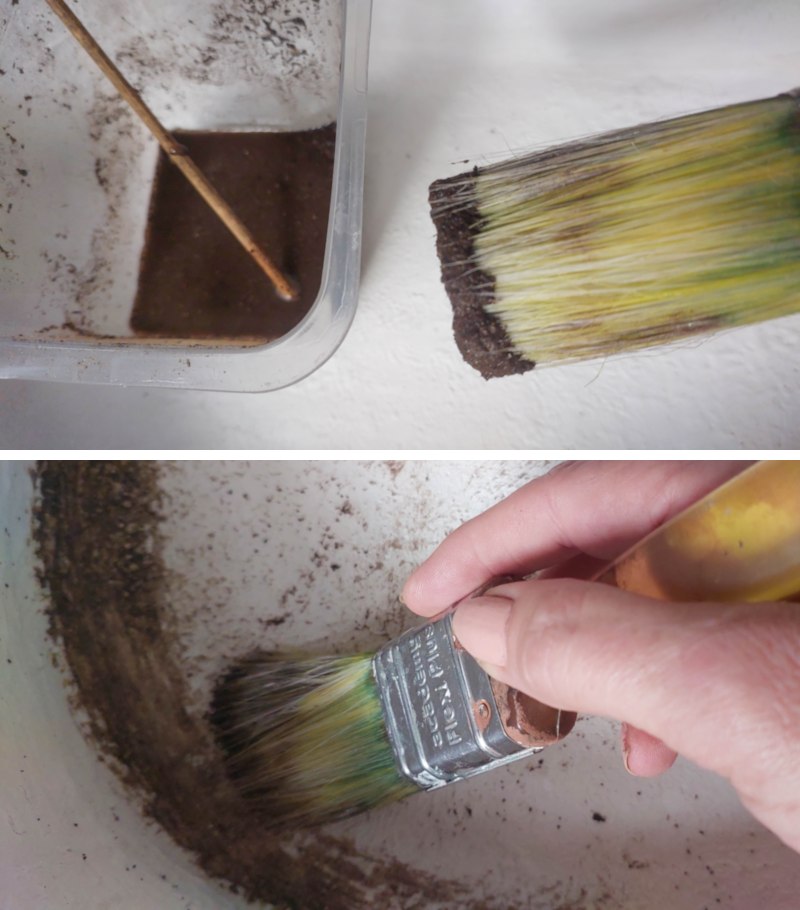
Add a little water to the soil and paint it on with an old paint brush.
Leave the sarcophagus to dry before popping the mummy inside.
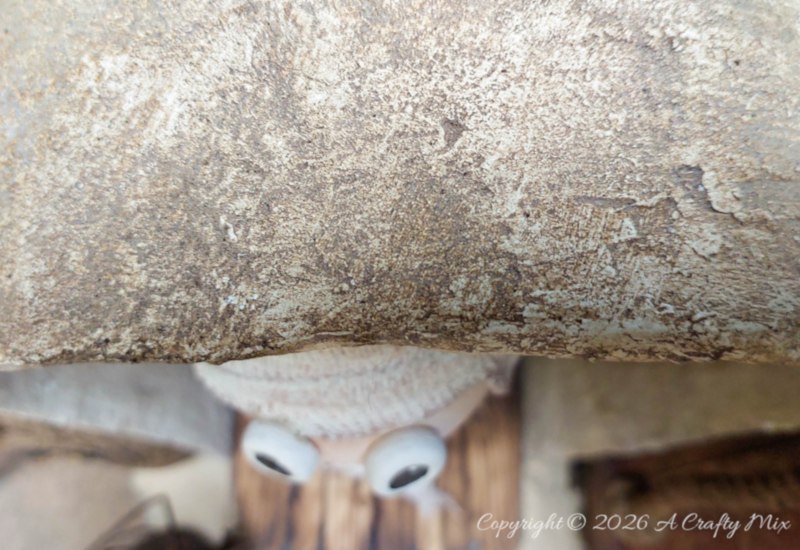
Add a few suitably worn pieces, and your Tiny Tomb Guardian tells a whole new story.
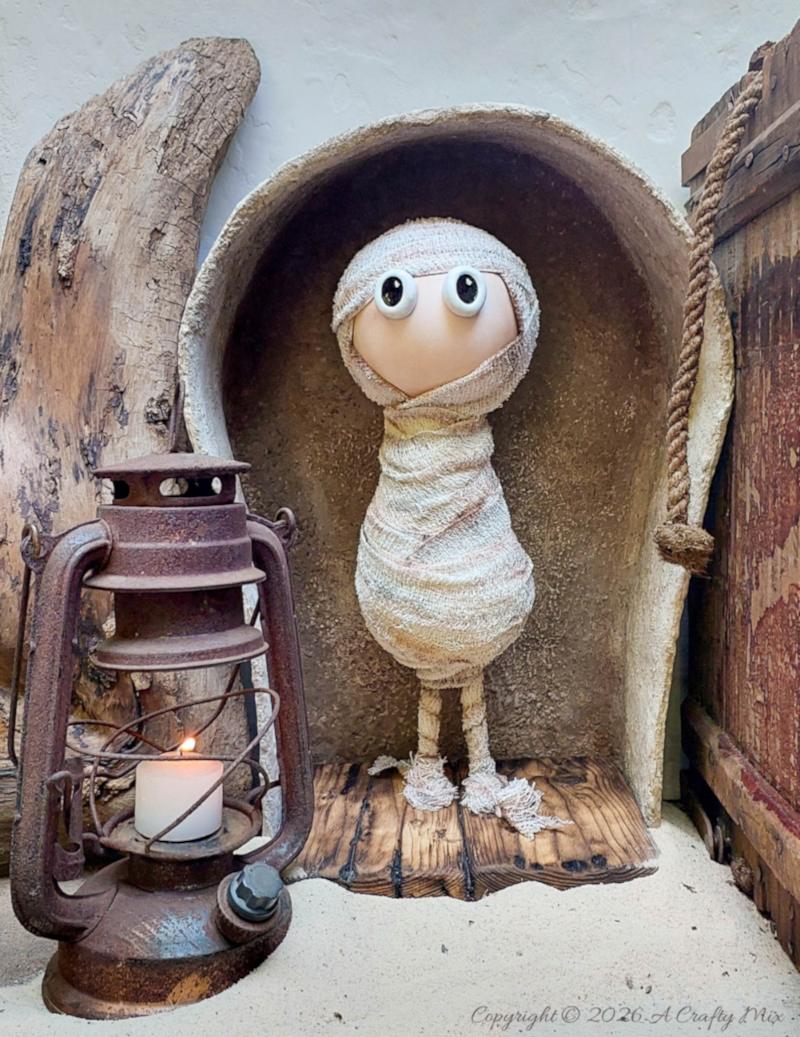
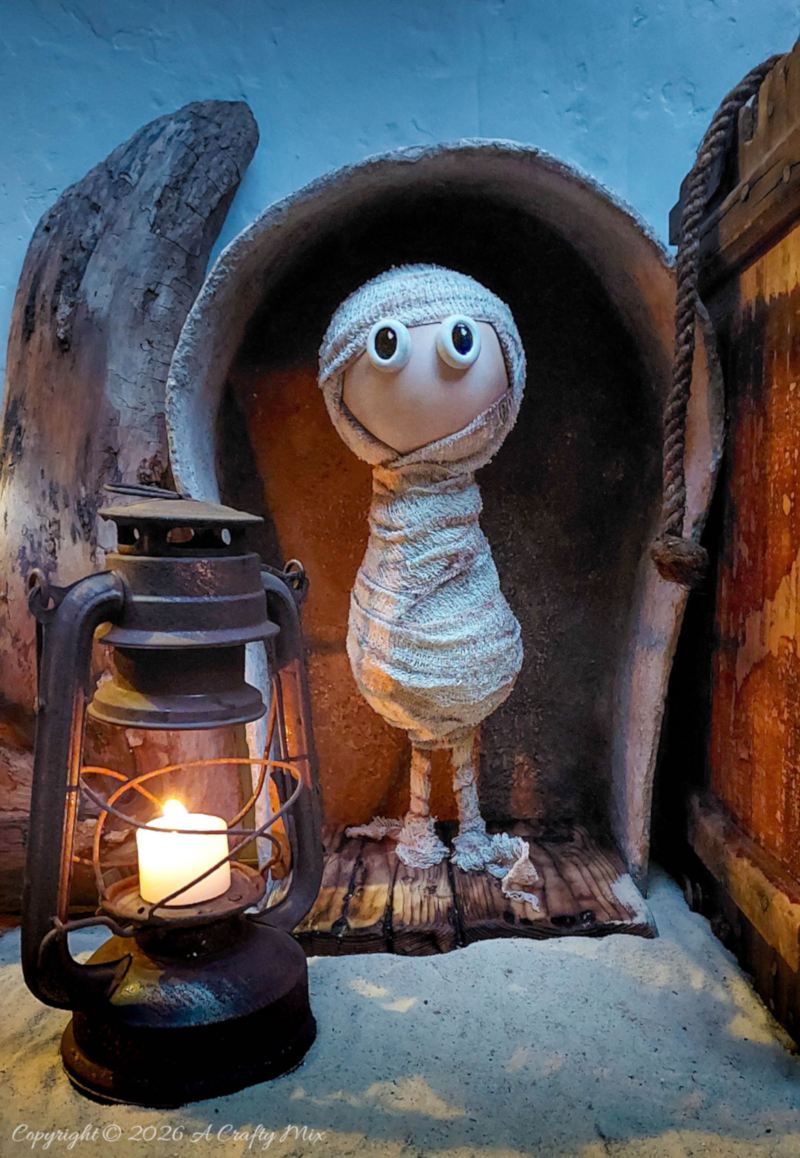
Driftwood, play sand, and an old rusty lantern help set the scene.
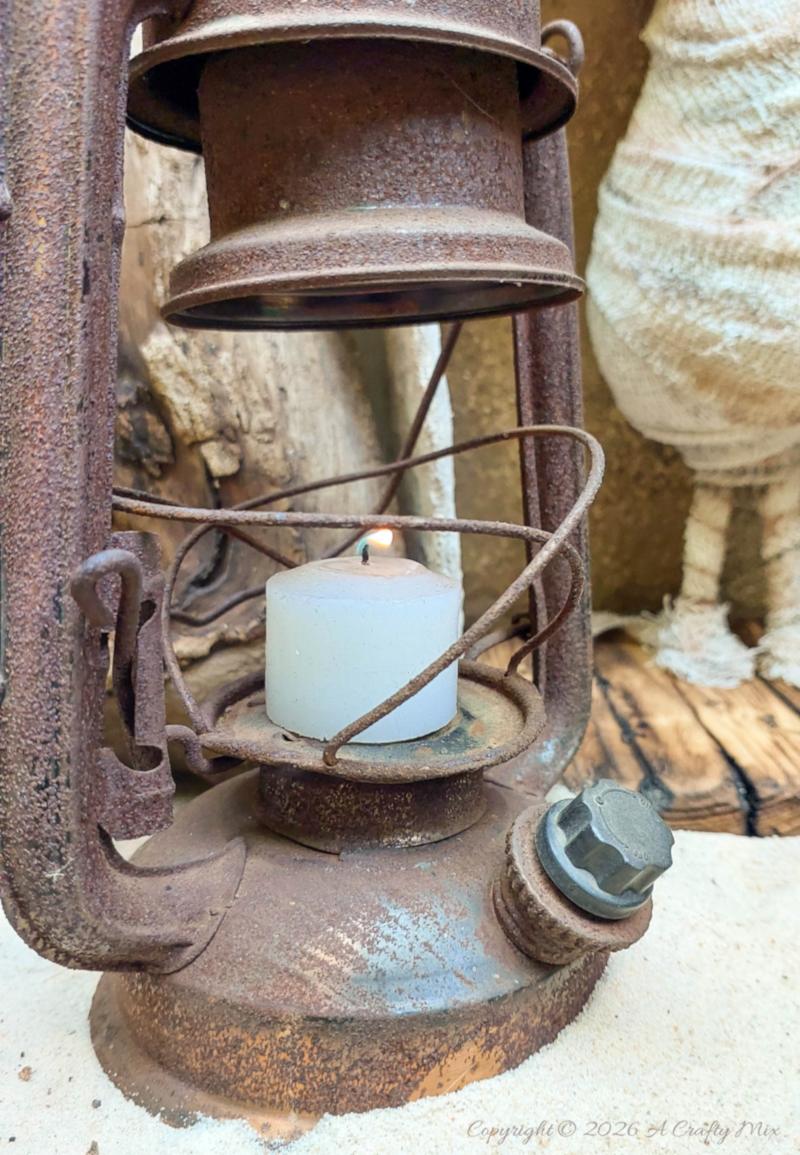
Together they create a soft, archaeological-dig-meets‑Halloween vibe that proves upcycling can be cute and fun.
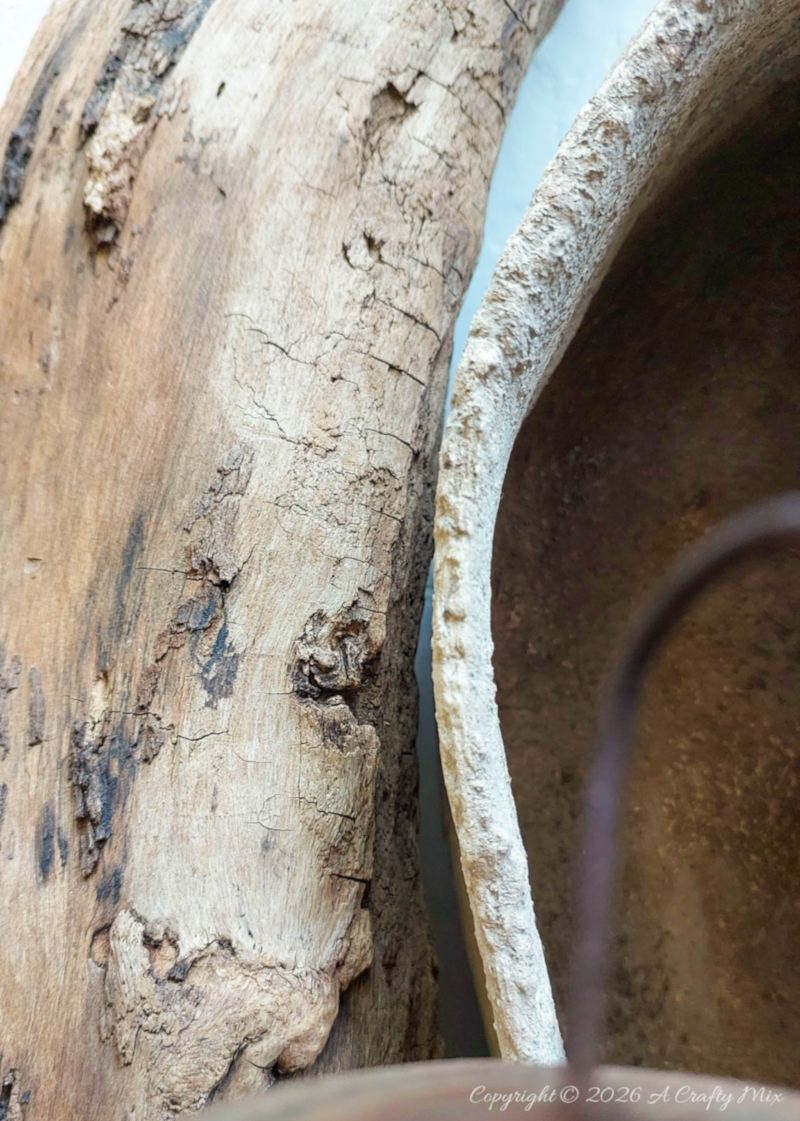
And in the glow of a flickering candle, all the props provide the perfect backdrop for this adorably bewildered mummy.
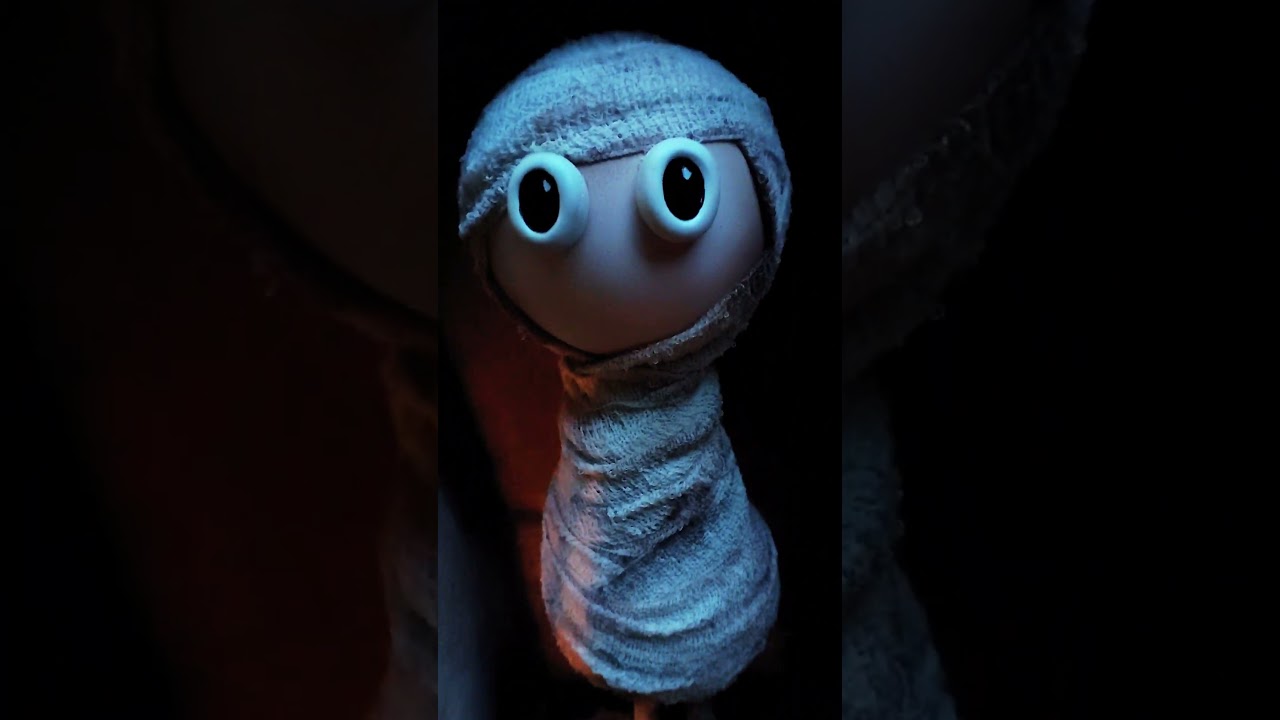
Where would you put your mummy?
If you like the idea of making a bottle mummy and sarcophagus, don’t forget to pin it for later.
Sharing is caring
Oh, and if you’re looking for some of the things we used, we’ve got you covered. Disclosure: Clicking on the links below, means we may receive a commission from Amazon. But don’t worry it won’t come out of your pocket, and it helps us make more amazing crafts to share with you.


And if you prefer to buy rather than DIY, perhaps these beauties will appeal.


And as always, wishing you a wonderful, crafty week filled with lots of love and laughter. Thank you for popping in for a visit.

Last update on 2026-08-16 / Source Amazon Affiliates