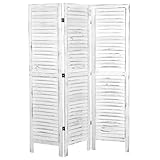
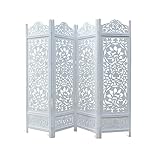
When I saw this gorgeous room divider at a second-hand shop in Pretoria I just knew we would be able to re-purpose it into something special. Look at the beautiful scrollwork and it was going for an absolute bargain.
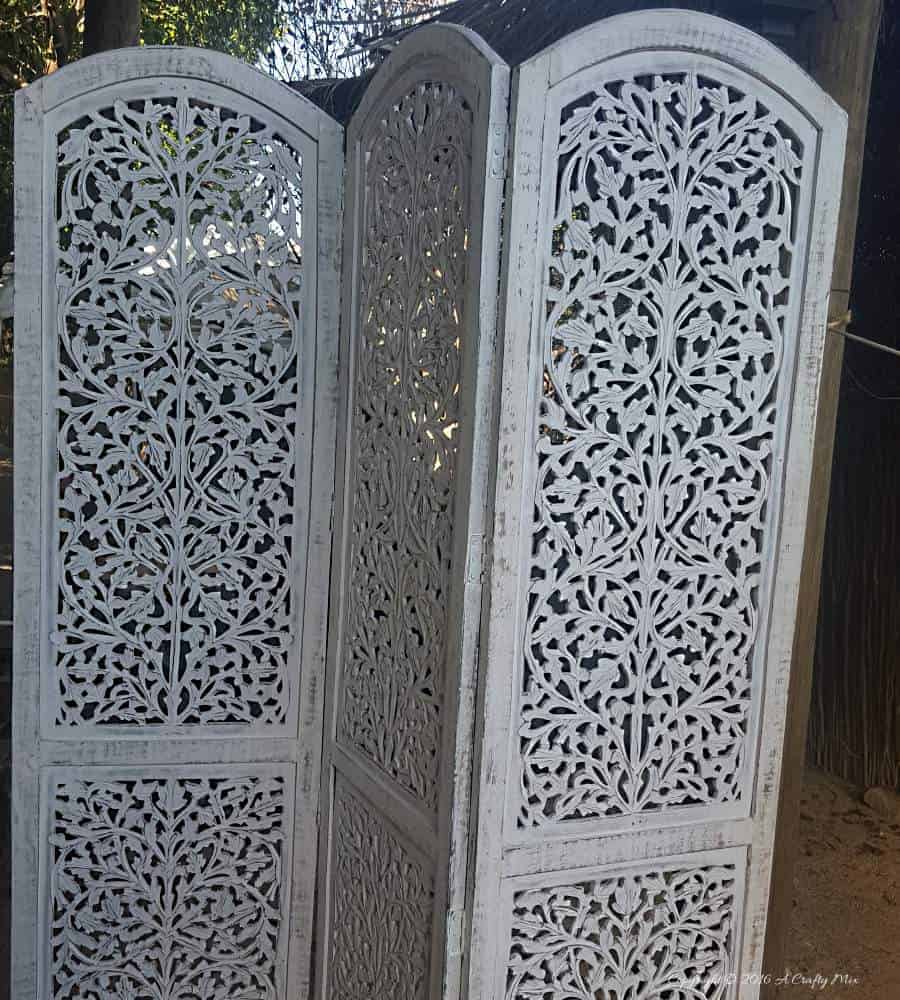
Lovely old room divider
I initially thought I’d use it as a headboard for our little house by the sea, but changed my mind when I saw these copper candle holders on sale. The beautiful cutouts on the candle holders seemed to echo the scroll work on the room dividers.

Copper candle holders
My two random finds seemed destined to be together.
Turning Candle Holders Into Electric Lights
We started off by converting the candle holders into lights. The only light fitting I could find were white and clashed horribly with the copper.

Spraying the light fittings
So we stuffed some tissue paper inside to protect the working bits and sprayed them to match.

Waiting for the paint to dry
We removed the very sticky labels with some thinners and then used this awesome step drill bit to make a hole in the bottom of the candle holder.
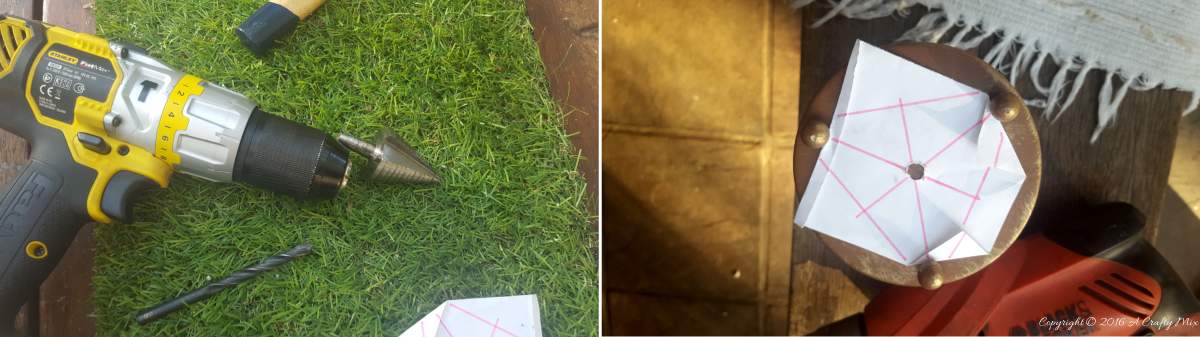
Mark and drill the holes
Hubby had to file away some of the rough edges before he attached the light fitting. Snug as a bug 🙂

Attaching the light fitting
Once the light was done, we tackled the room divider.
A Room Divider Gets a Makeover
We removed all the hinges and cut the legs off. Taking the hinges off was the most difficult part of the whole project.

Unscrew the hinges and cut off the legs
The room divider had been painted with white chalk painted and sealed with clear wax, but I wanted them to look a little more antiquey so I added some dark wax over the original paint job. The panel on the right has been stained and you can see the slight difference in color, it’s a little more toned down.
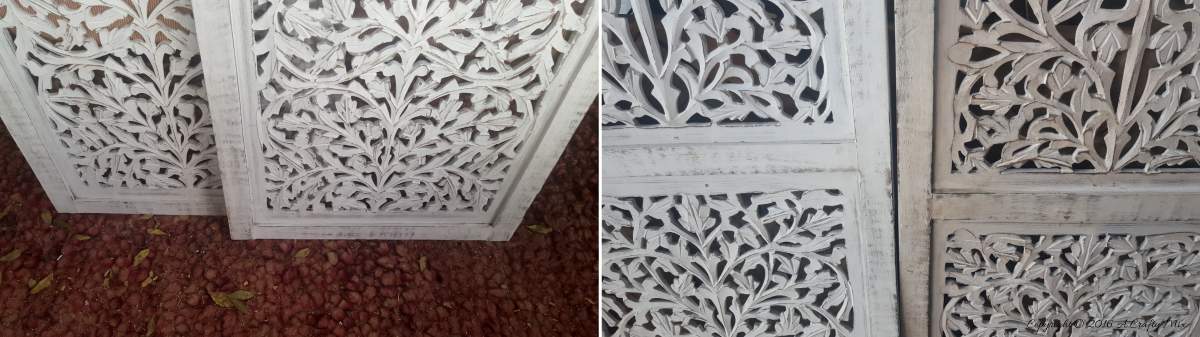
Staining the panels
I found some plain white, wooden brackets which I sanded a little to distress and then applied dark wax in places to match the room dividers. We drilled a hole at the top of the bracket and another one in the room divider to fit the wire for the copper lamps..
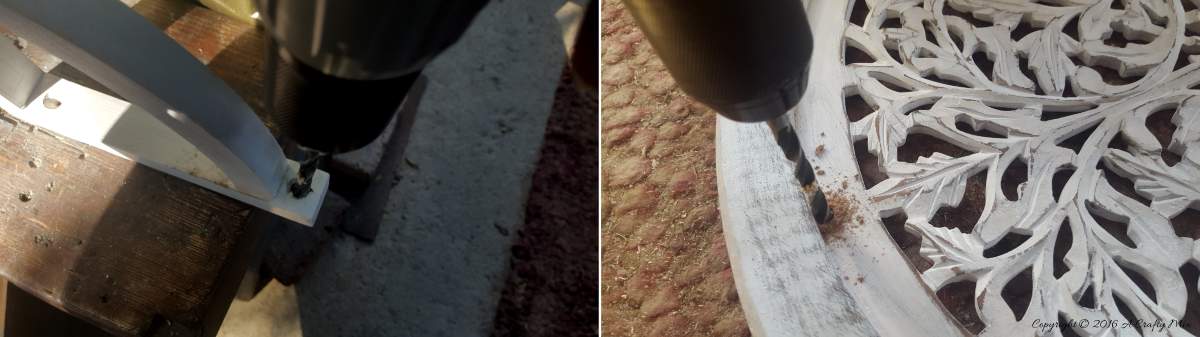
Drilling holes for the light
We used wax paper and a Sharpie to mark where the holes should go for the brackets and drilled two screws into the divider to hang them.

Figuring out where to make the holes
We pushed the electrical cord through the hole in the divider and the bracket and stuck the wire down using our glue gun.

Wire her up and glue her down
This is where I started doing a happy dance, she’s sooooooooo pretty!!!!!
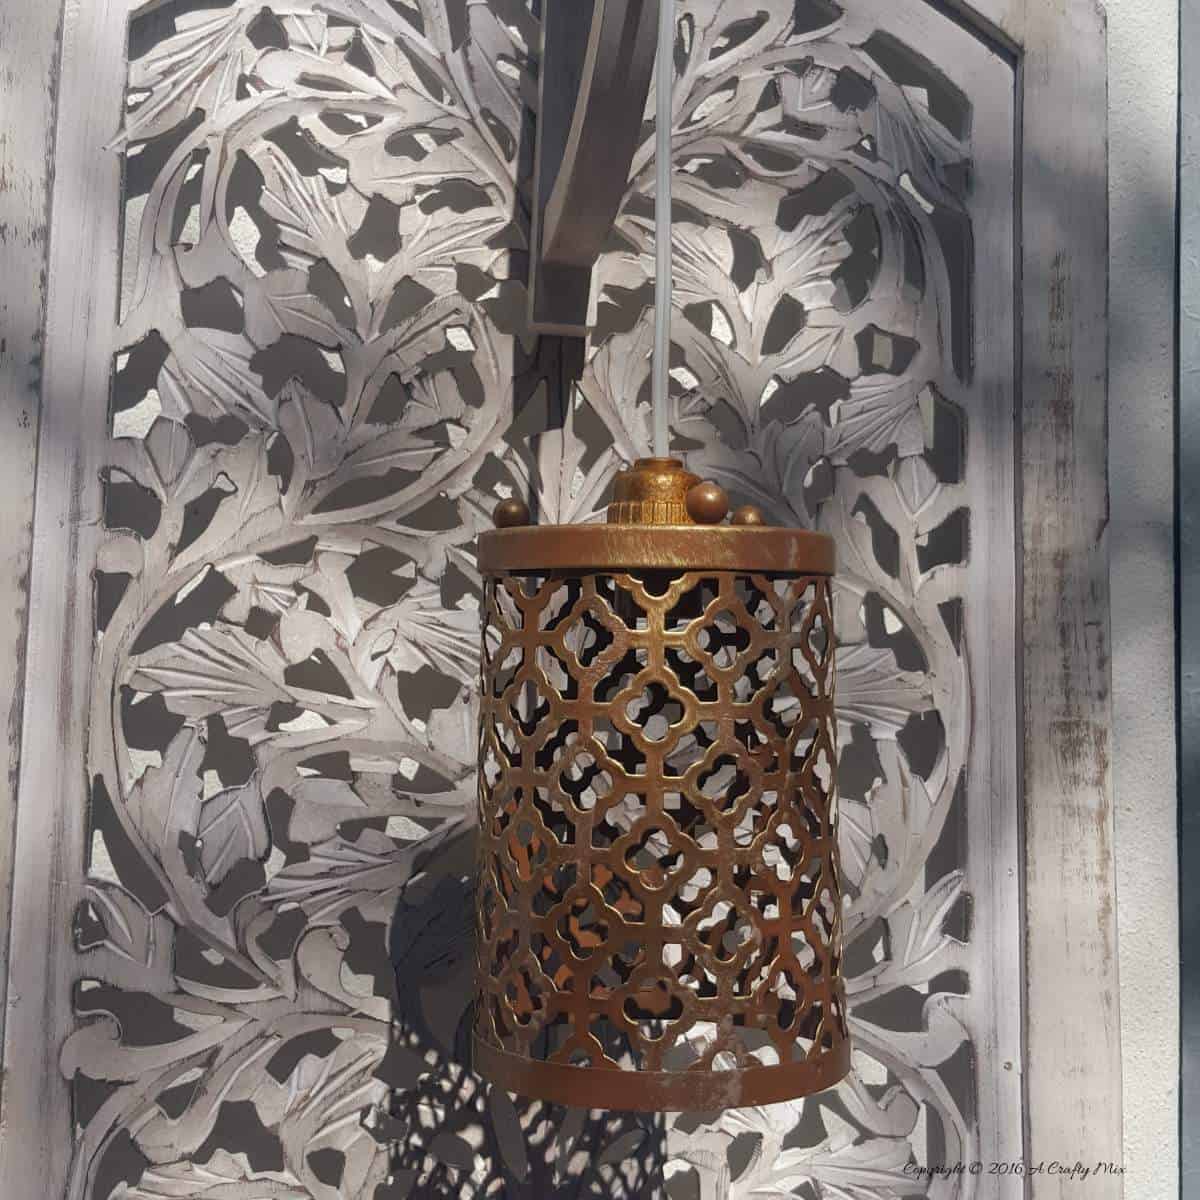
The lights are up
We propped the room dividers behind our bedside tables and plugged those beautiful lights in.

I love how they turned out and yes, I keep all my old teddies 😎
My bed is a magical place where I suddenly remember all I was supposed to do
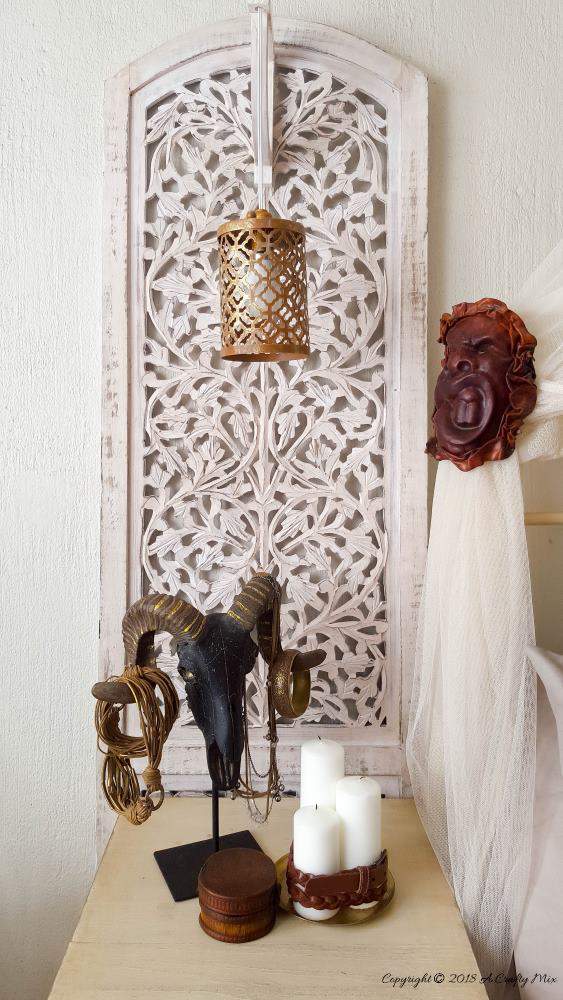
What do you think of the wooden skull? My mom says it’s creepy, but I think it’s awesome.

And our beautiful Cleo seems to approve.
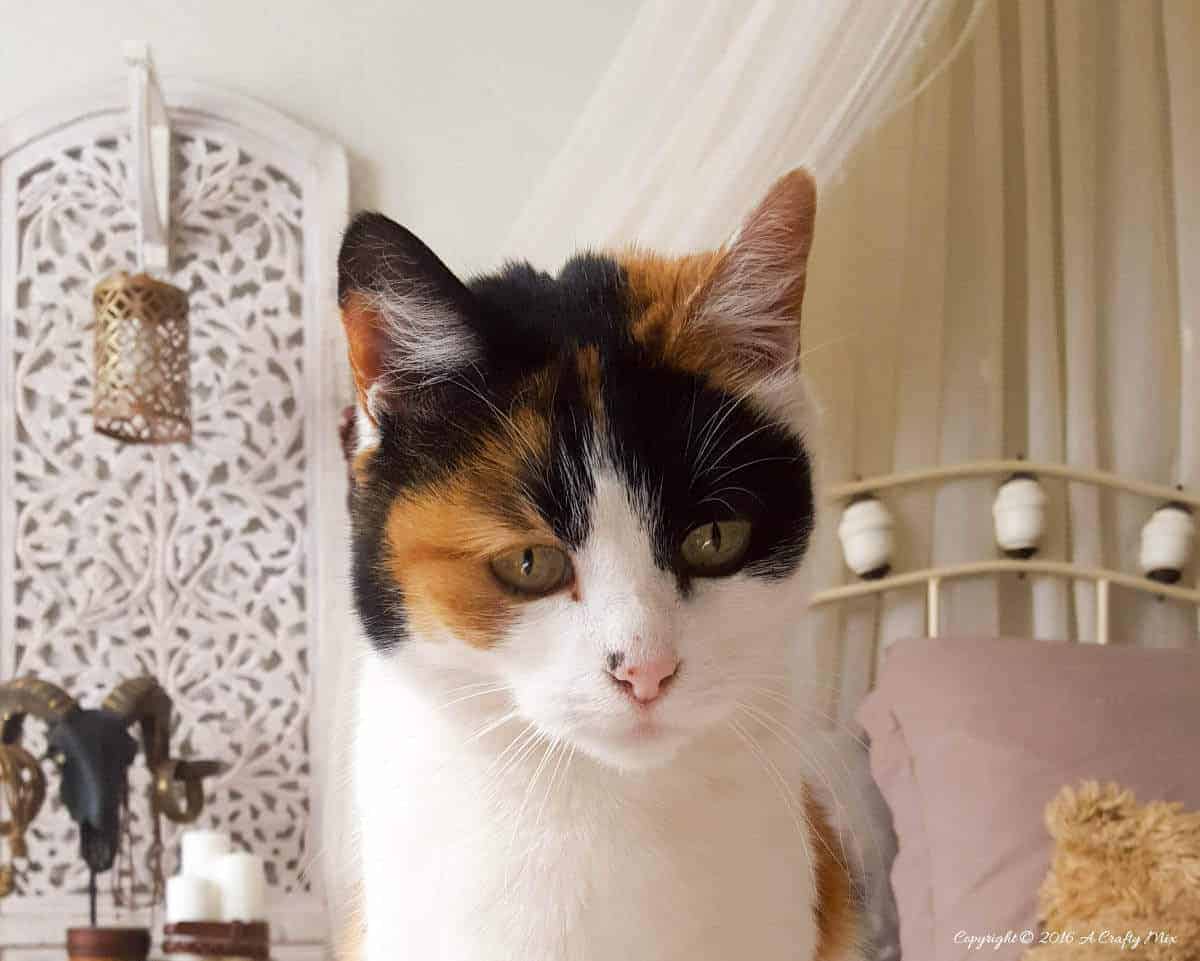
Our beautiful purr baby Cleo
I’d love to hear what you think. Does it work for you? I still have one piece of the room divider left. I’m thinking it will make an awesome cupboard door or something like that? How would you re-purpose it?
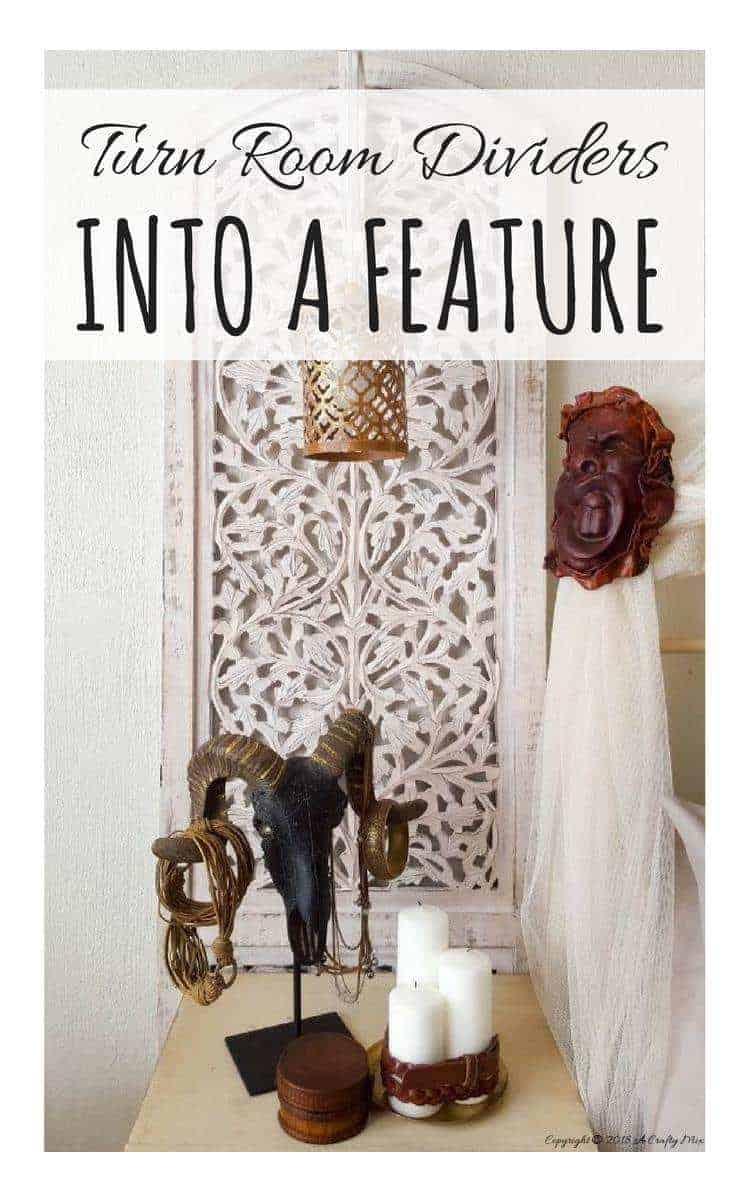
Oh and don’t forget to Pin for later.
If you’d like to make one and don’t want to go to all that trouble of finding the materials, I’ve got you covered 😉 Disclosure: If you click on the links below, we may receive a commission from Amazon. But don’t worry it won’t come out of your pocket, and it helps us feed our beautiful fur babies


Just a quick update. I finally got round to doing something with that other piece of the room divider. It’s now part of an awesome pallet headboard 😉
Last update on 2026-06-03 / Source Amazon Affiliates