
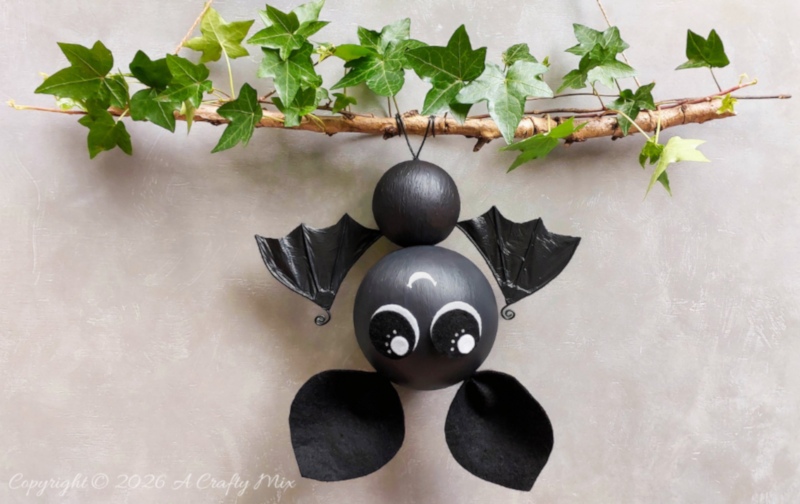
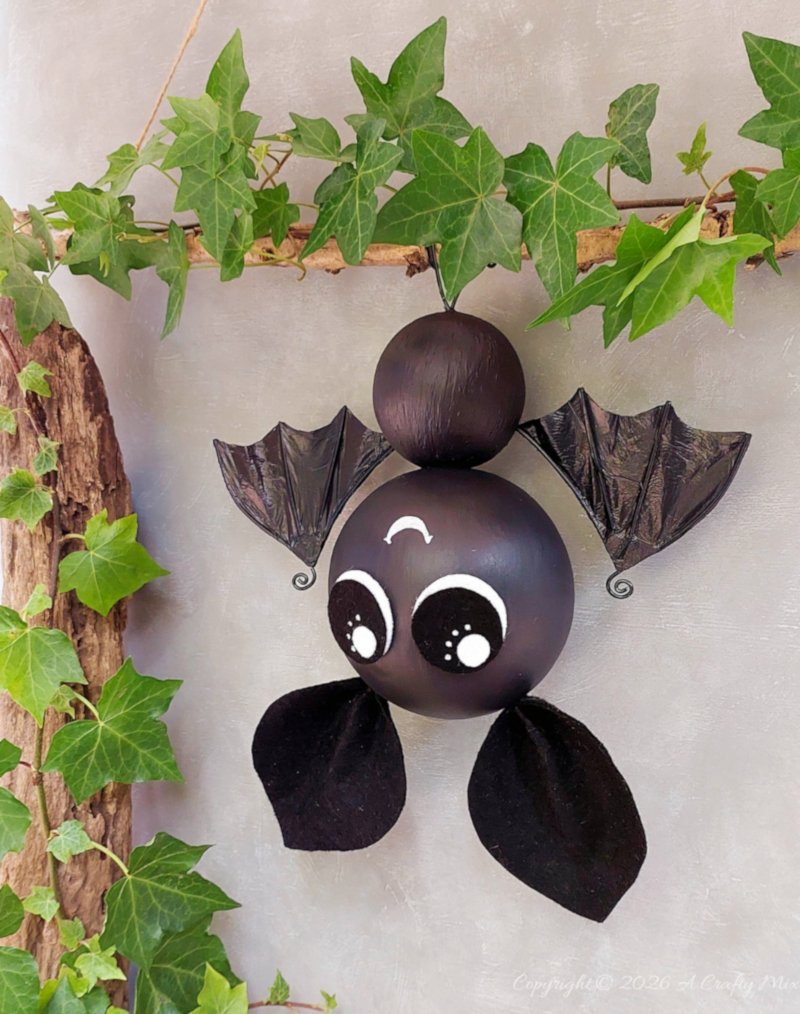
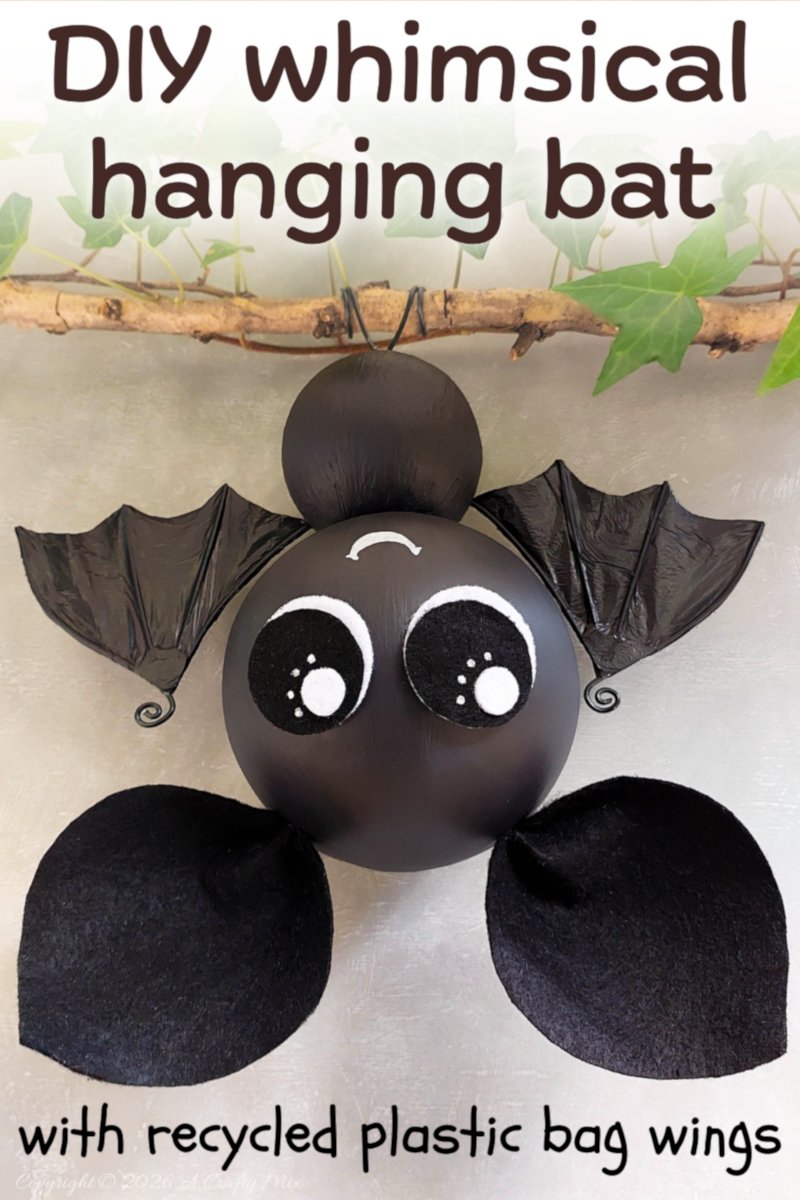
Halloween doesn’t have to be all ghosts and ghouls; sometimes it’s a whimsical hanging bat happily swinging from a branch.
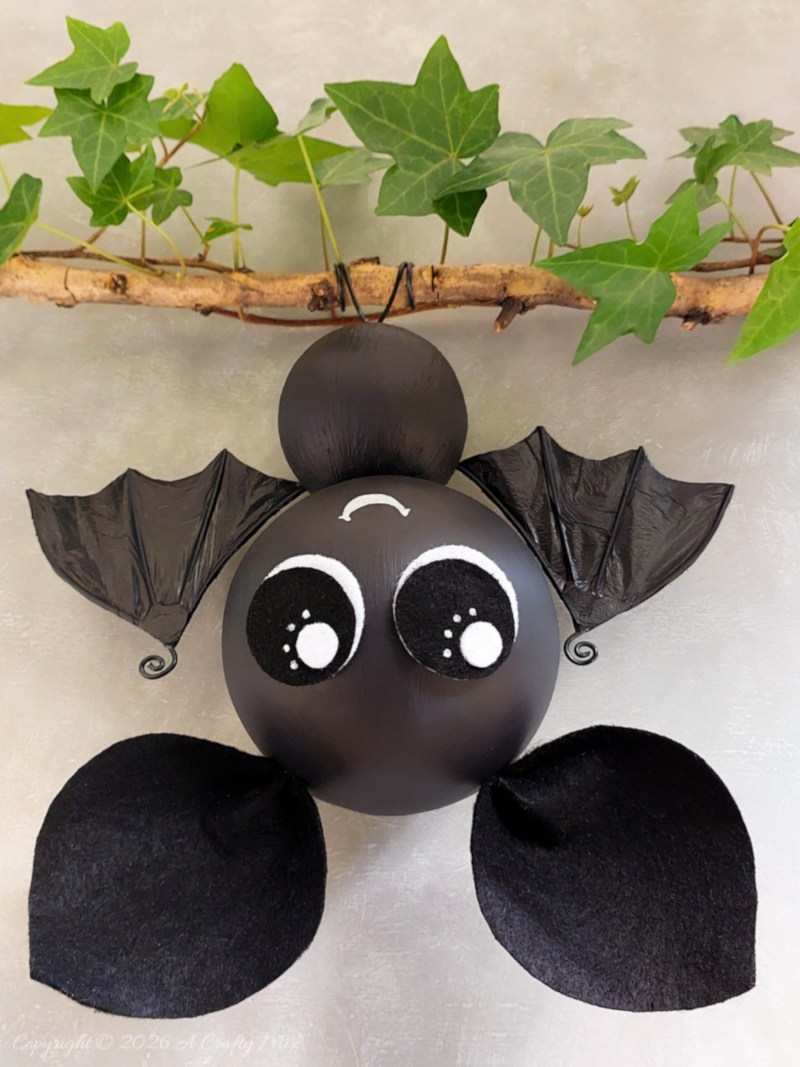
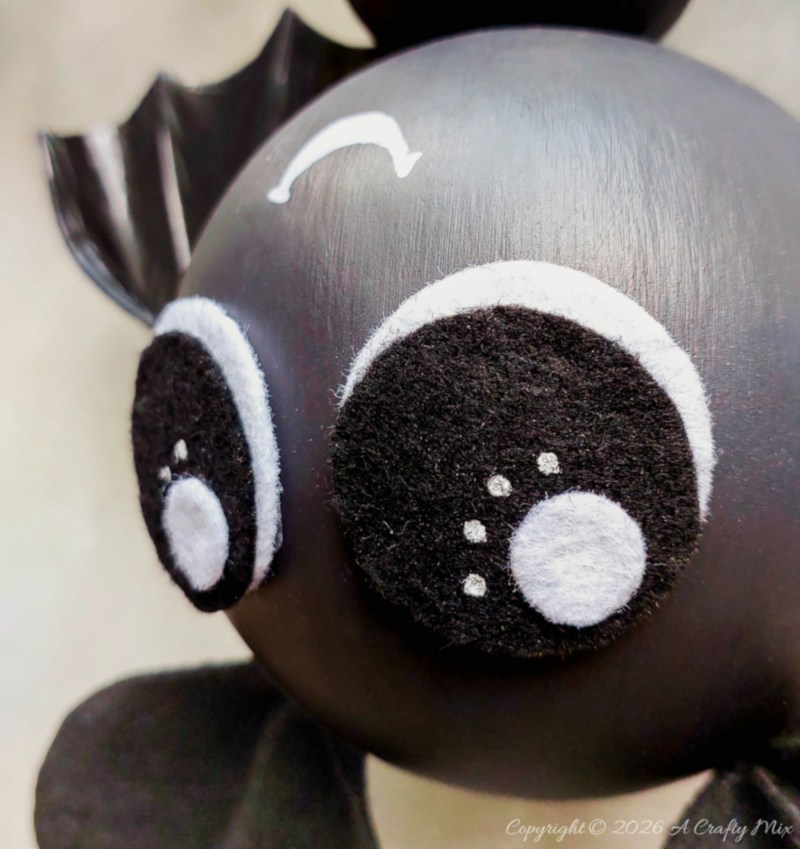
Isn’t she the cutest little bat EVER? I think it’s those big, soft eyes.
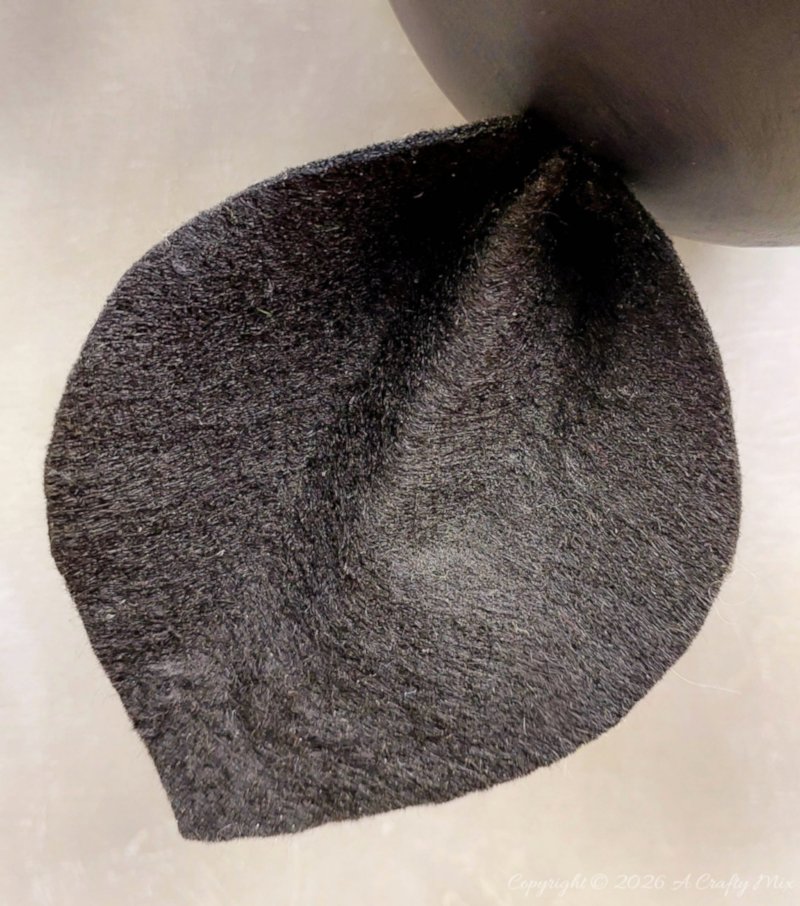
And those floppy ears help too.
Pop her on a branch or a wreath for a wonderfully unique take on the spooky season.
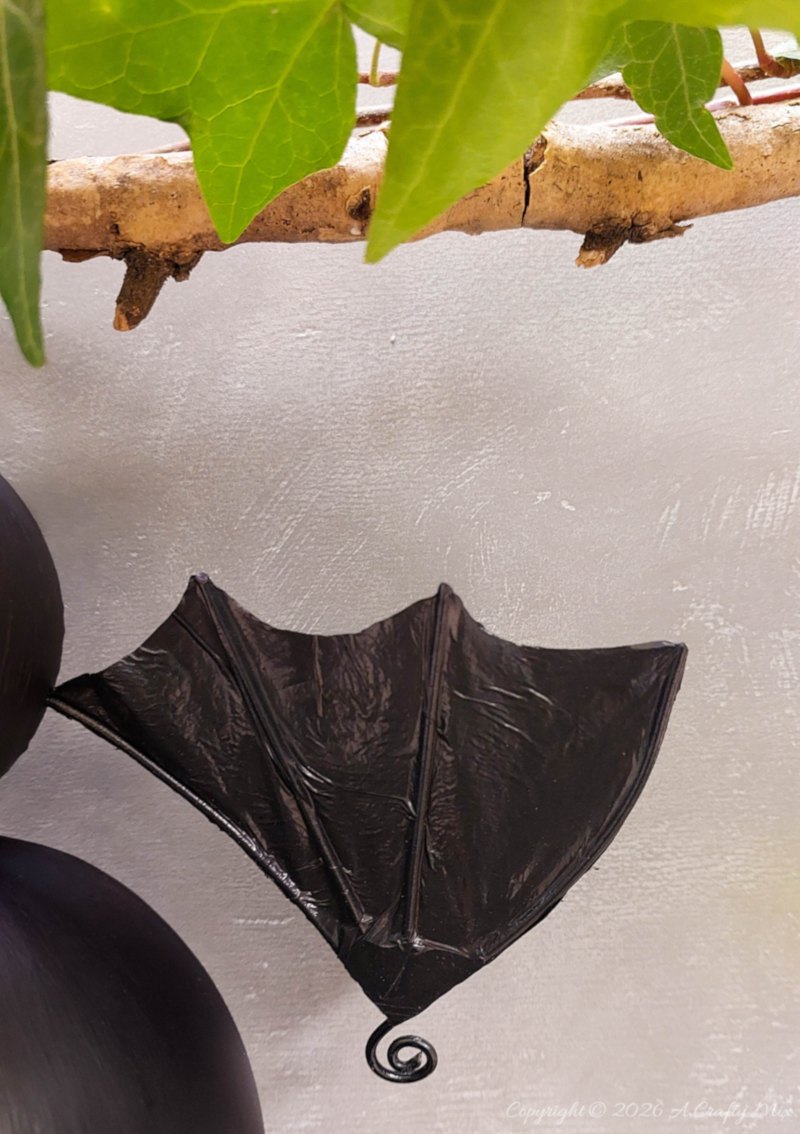
In this easy Halloween DIY craft tutorial, I’ll show you how to make this whimsical hanging bat and recycle plastic bags into crinkly wings so you can make your own trick-or-treat buddy. I’ve also included a free downloadable pattern for the wings, big bat ears and those soft, rounded eyes.
The project is simple, budget‑friendly, and a great way to turn waste into whimsy. But before we get there, follow us on Facebook, Twitter, Pinterest, or Instagram. And don’t forget to subscribe so you’ll never miss a post!
What you need
For the bat’s body
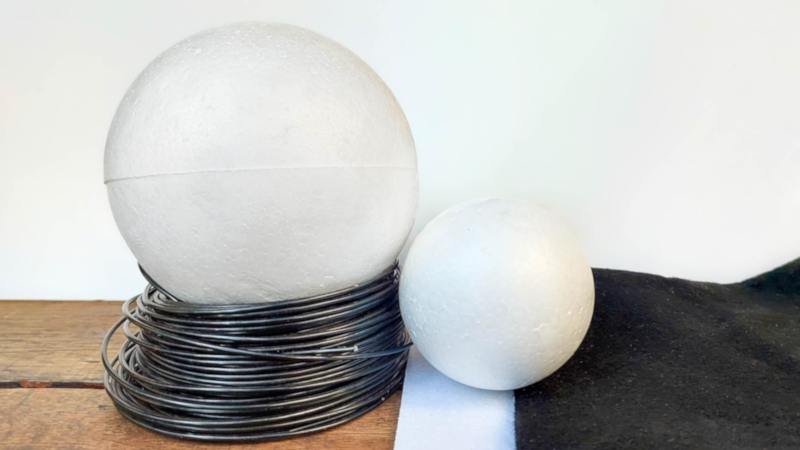
- 2 polystyrene (Styrofoam) balls
- 1 x large
- 1 x medium
- Wooden skewers
- Polystyrene glue or PVA glue (wood glue)
- 180 grit sandpaper
- Black and white felt
- White pen or paint
- Grey/Black craft paint
- Texture paste (optional)
To make plastic bag wings
- Black plastic bag
- Craft wire (9-gauge)
- Lighter or something that will make a flame
- UV resin and light
- Spray adhesive
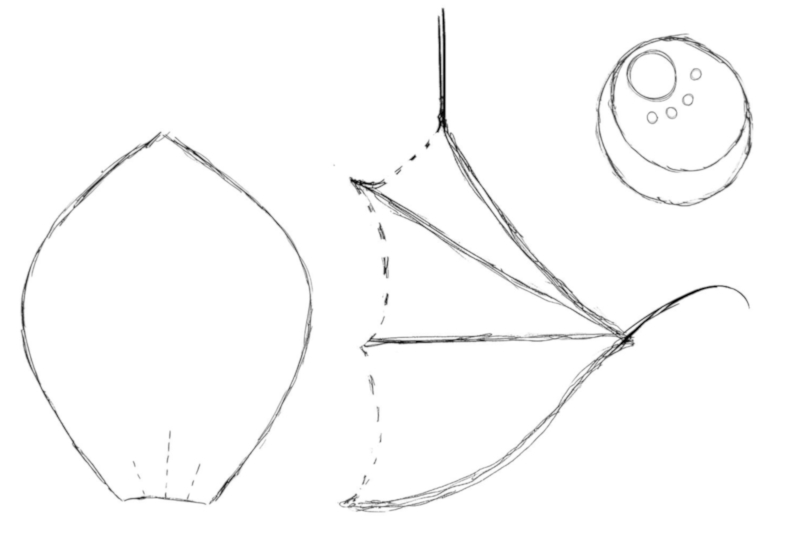
You’re welcome to use this free downloadable pattern as a guide to make wings, ears and eyes.
How to make a whimsical hanging bat
I’ve split the tutorial into four parts:
- Making the body of the hanging bat
- Adding big eyes and ears
- Recycling a black plastic bag to make wings
- Hanging the little bat
Let’s start with the body.
Making a bat body
The little bat is made from two polystyrene balls. I used a big 15 cm (5.9”) ball for the head and a smaller 8cm (3.1”) one for the body. Polystyrene balls are great for Halloween crafts like adorable gothic witches and tiny tomb guardians. There’s a downside though; you need to use a little sandpaper to get rid of the dimples in the surface first.
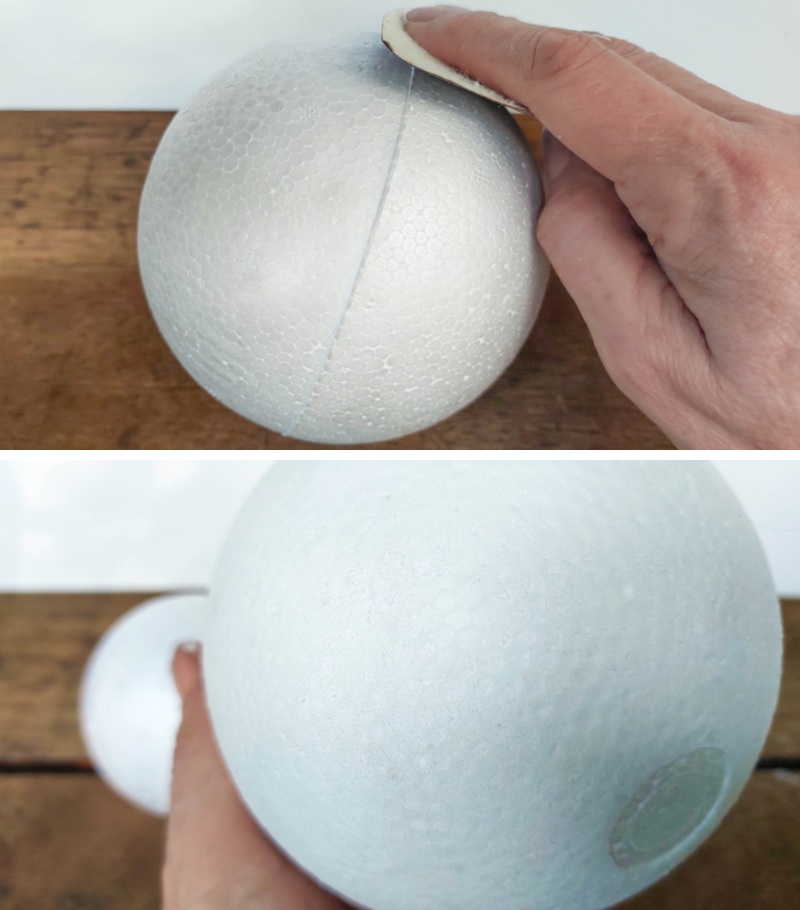
They also have a tendency to roll around when you work with them. Easy enough to solve if stick a skewer into one end first. The skewer will come in handy later when we glue the head and body together.
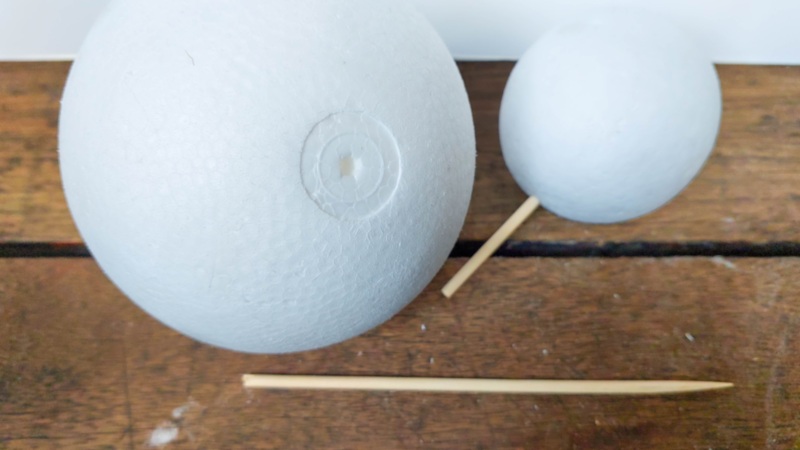
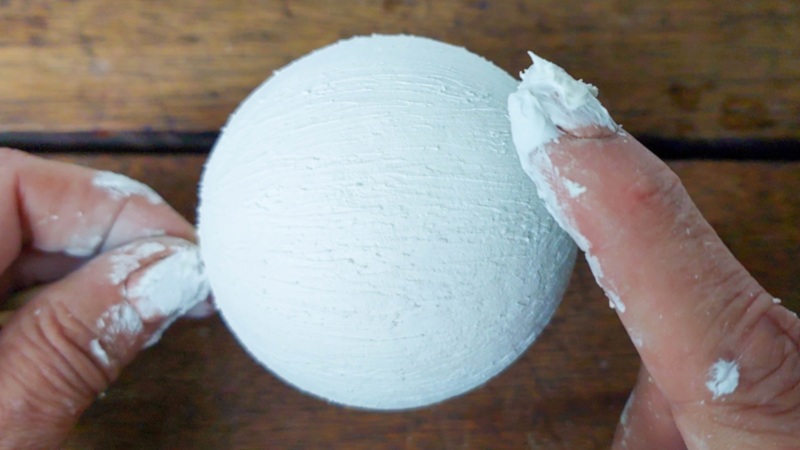
I did use a little texture paste (homemade recipe here) to make the head extra smooth and create some feather-like grooves on the body. That entirely up to you.
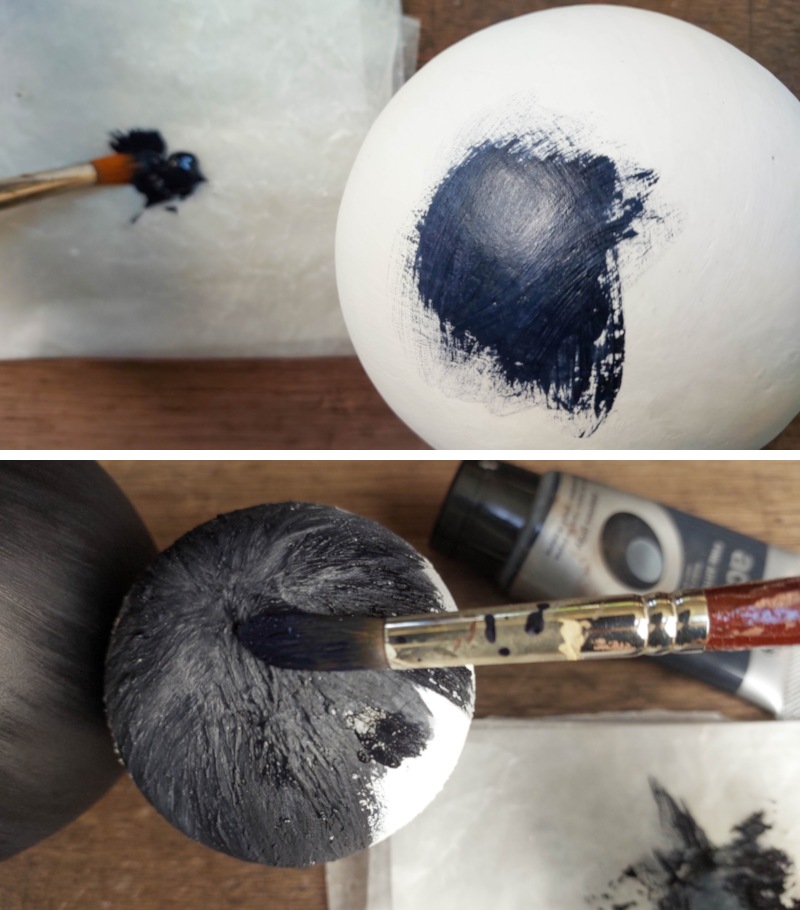
Paint the balls a greyish black. Make sure to use water-based paint so it doesn’t chew into the balls.
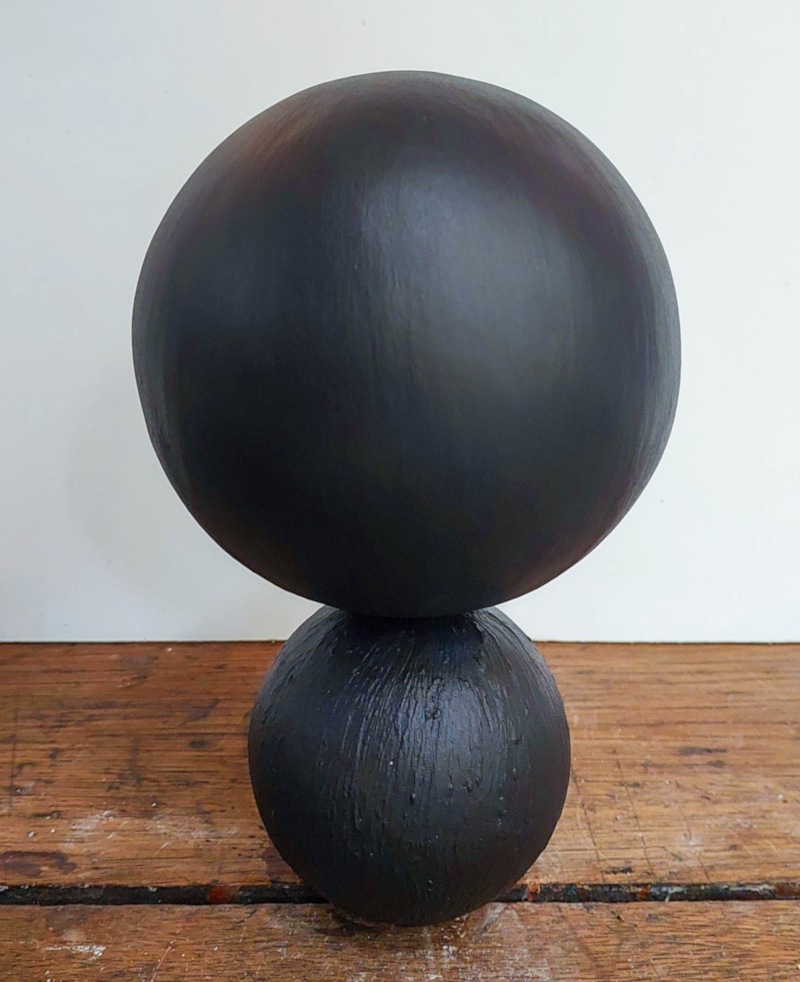
Once the paint dries, glue the head to the body. Make sure the glue is polystyrene (Styrofoam) safe. Any water-based PVA glue should work. For an extra strong bond use a skewer to join the head and body before adding the glue.
Next up, adding those big bat ears and soft, rounded eyes.
Cutting eyes and ears
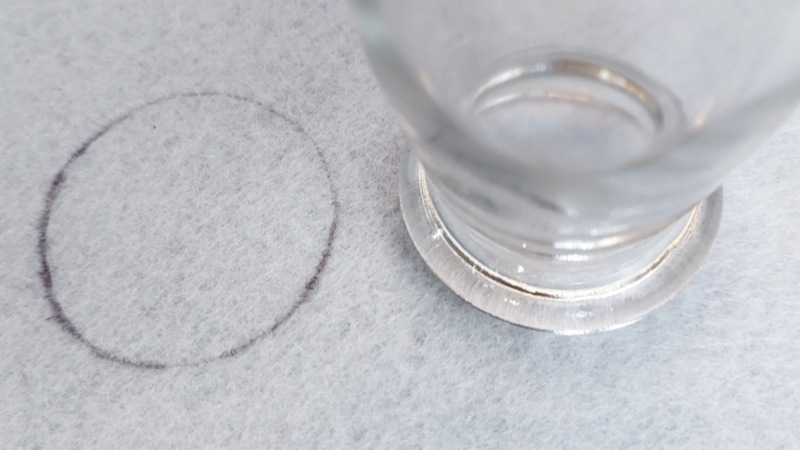
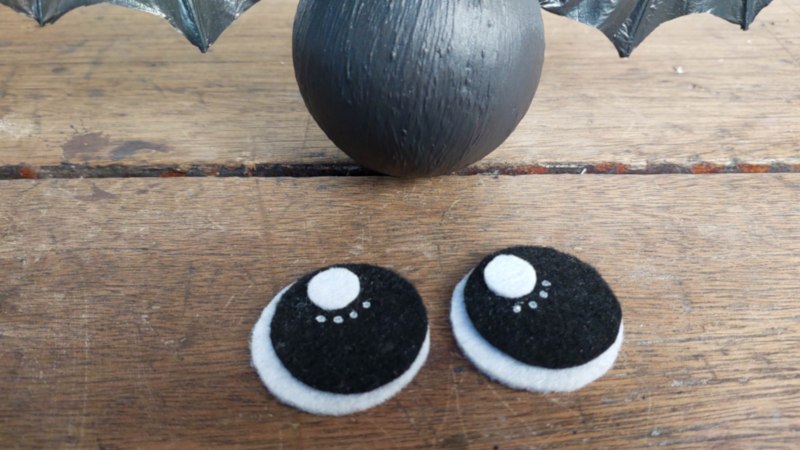
To make the eyes, I traced around a small bottle to make two white felt circles.
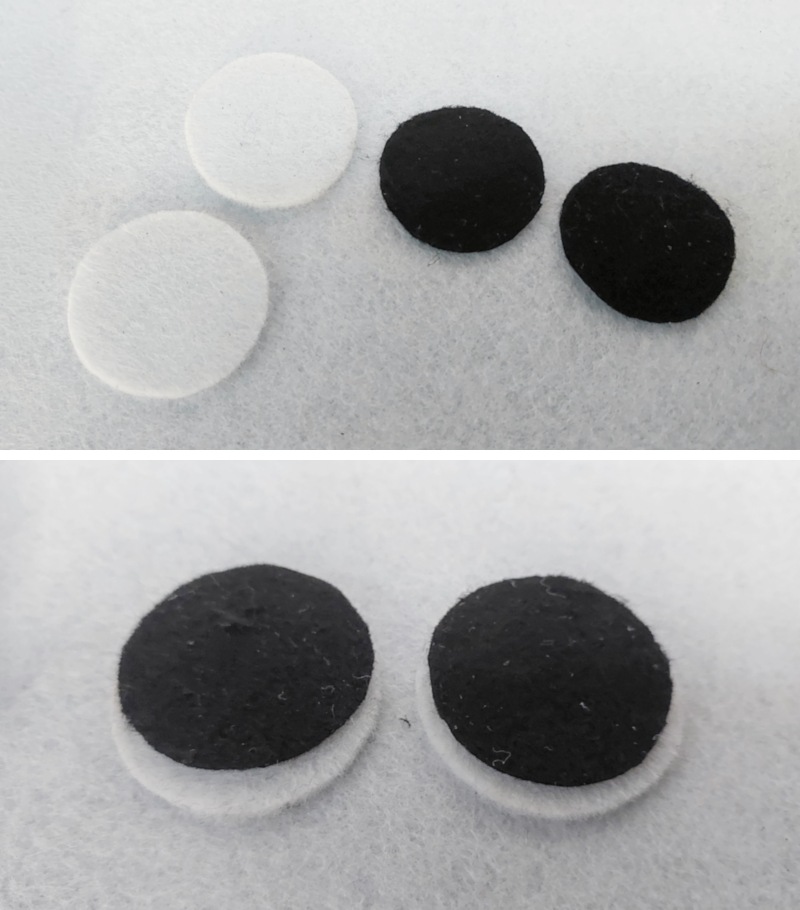
Using the white circles as a guide, I cut two smaller black felt circles to make the pupils.
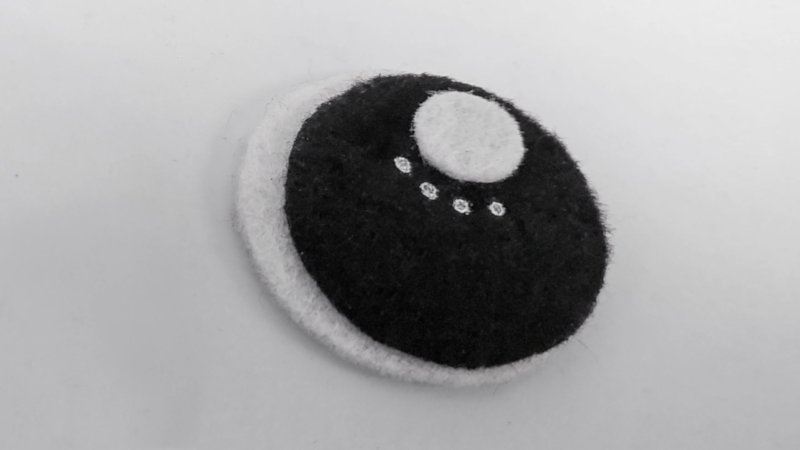
And finally, I added tiny white paint dots and a little white felt circle to make the eyes look shiny and alive.
For the ears, I drew a rounded teardrop shape with the bottom chopped off. Feel free to use the downloadable template to make yours.
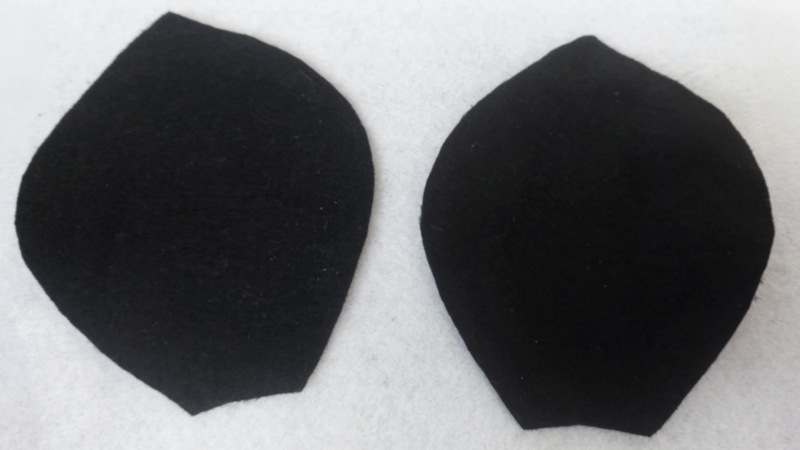
Fold the ears along the dotted lines and add some glue to give it an inward curved shape.
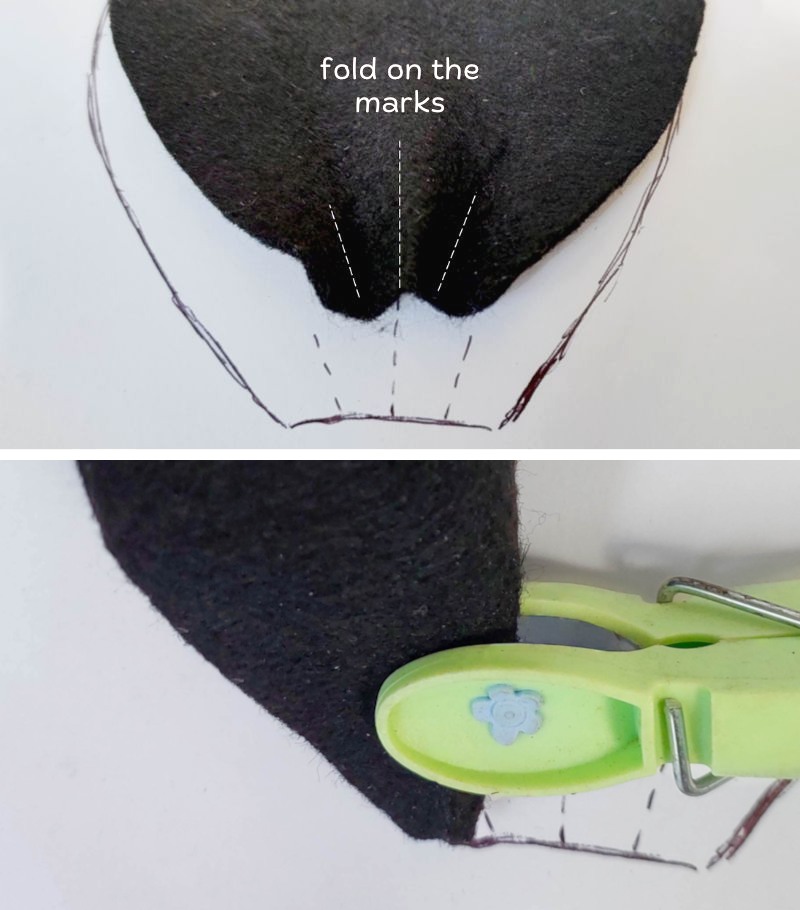
Now for the fun bit. Recycling a black plastic bag to make some wings for the hanging bat.
Plastic bag bat wings
Because this whimsical bat hangs upside down I couldn’t use my easy vampire wings trick. I needed something firmer and stronger. A plastic bag was the perfect choice. It’s free and I get to recycle something that would normally end up in the bin. Before putting the wings together, I did a rough sketch, just to get the proportions right.
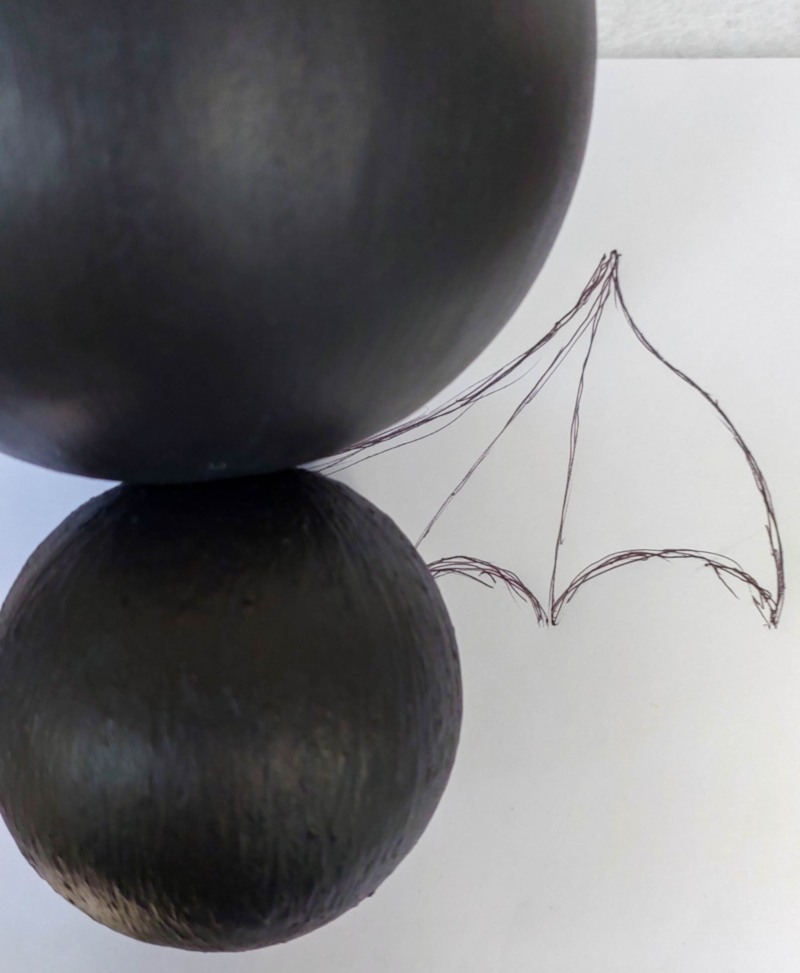
Place some wax paper over the sketch to protect it and cut 4 pieces of craft wire. Bend and shape the wire, using the sketch as a guide. you can get my top tips for working with craft wire here.
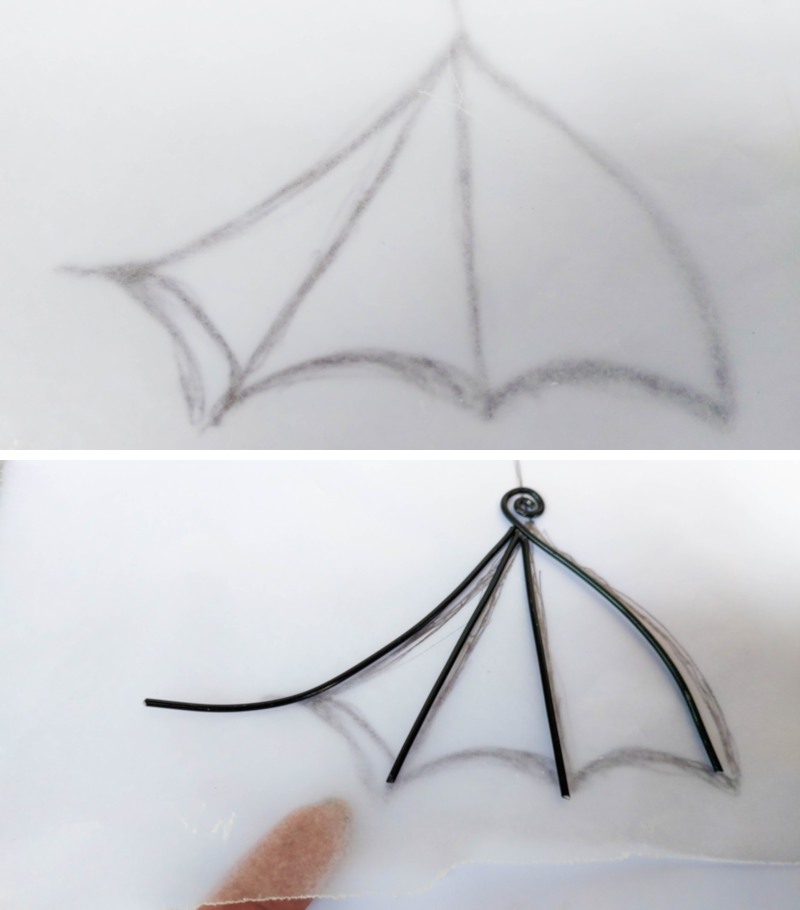
Once you’re happy with the wire frame, put a few drops of UV resin where the wires join up.
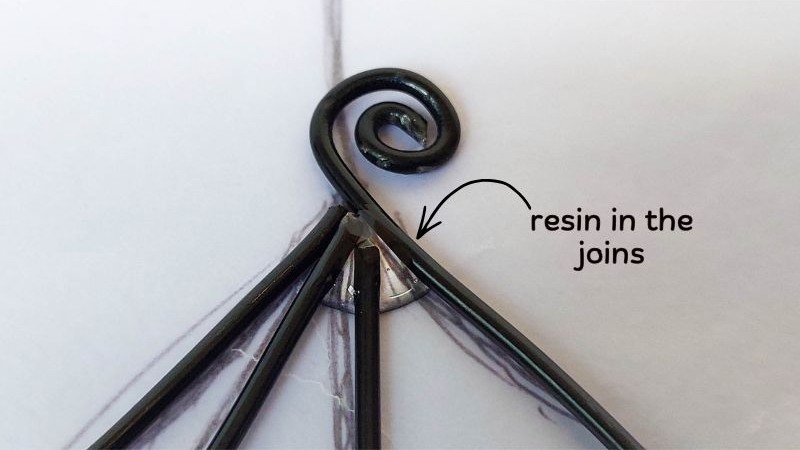
Cure the resin under a UV light.
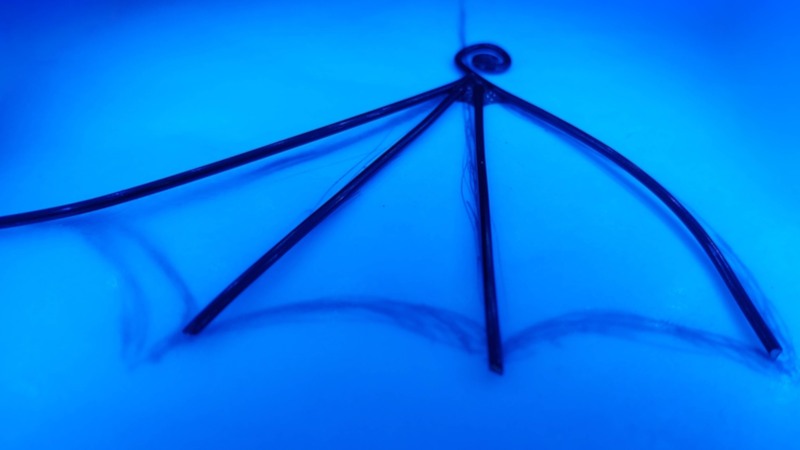
The wing frame should be strong enough to hold it shape without falling apart.
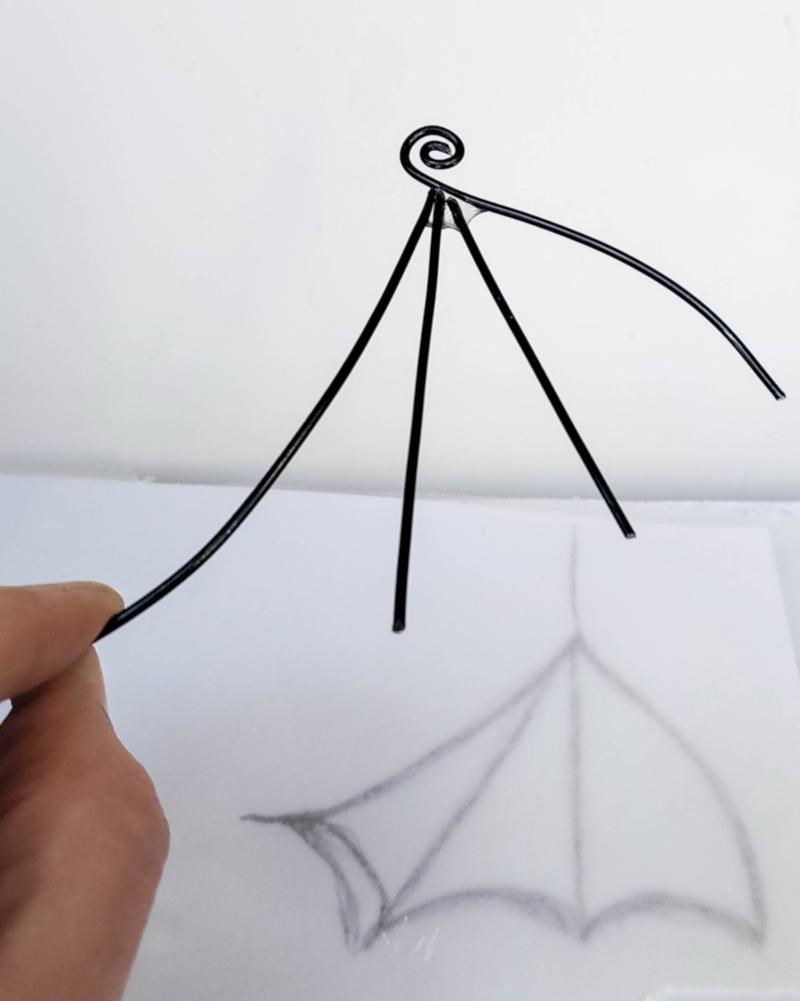
If it collapses or feels a little wonky, add a few more drops of resin and cure again.
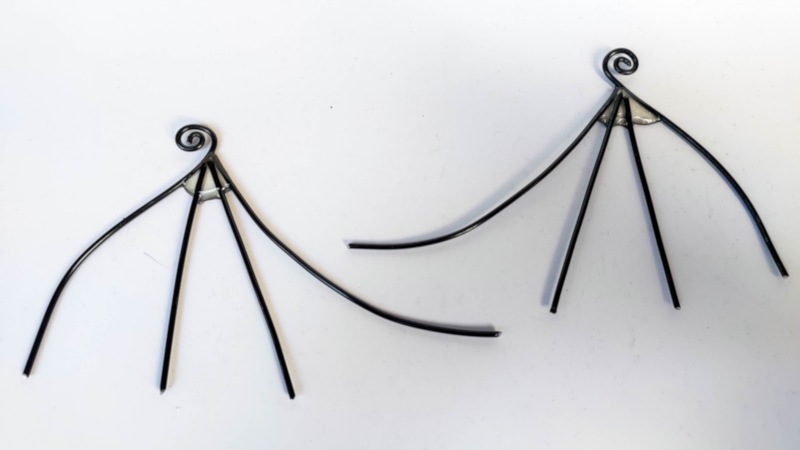
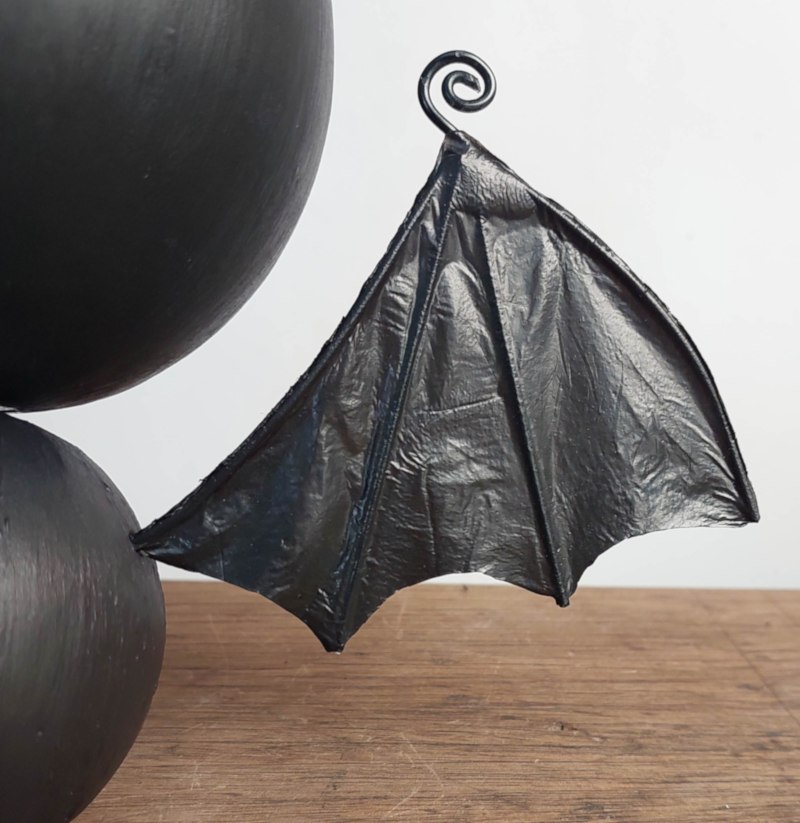
Cut the black plastic bag so it’s roughly the same height as the wings. Spray the bag with spray adhesive. If you don’t have any spray adhesive you can paint mod podge all over the bag. Place the wing frame on the bag. Don’t cover the curly tip.
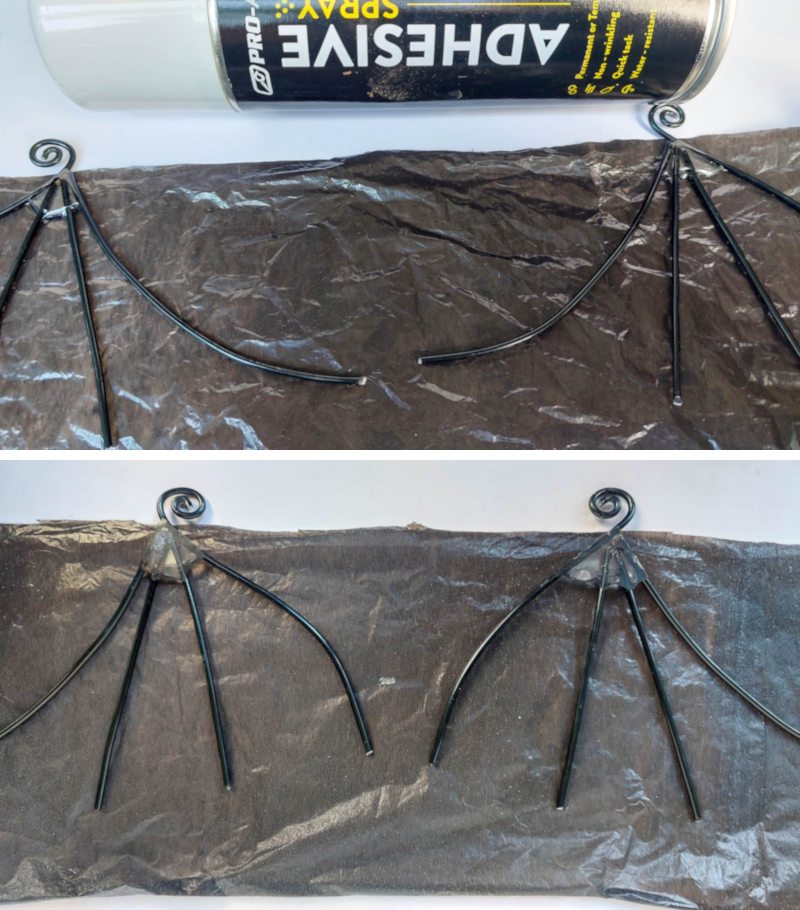
Wait a few minutes for the adhesive to get tacky and then place another strip of plastic over the top. Gently smoosh the plastic bag around the frame.
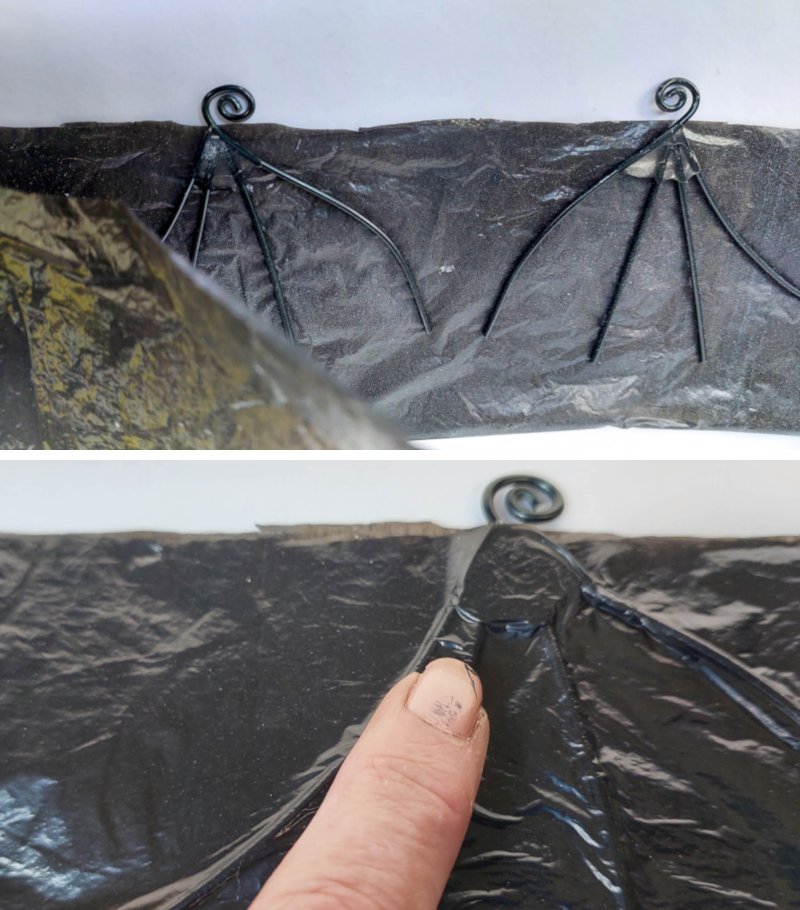
Cut the bottom wing arches with nail scissors and use a lighter (or a flame thrower of choice) to melt the excess plastic around the wire frame. Please do this bit outside or in a well-ventilated area. Burning plastic smells yucky and I don’t think it’s good for your lungs.
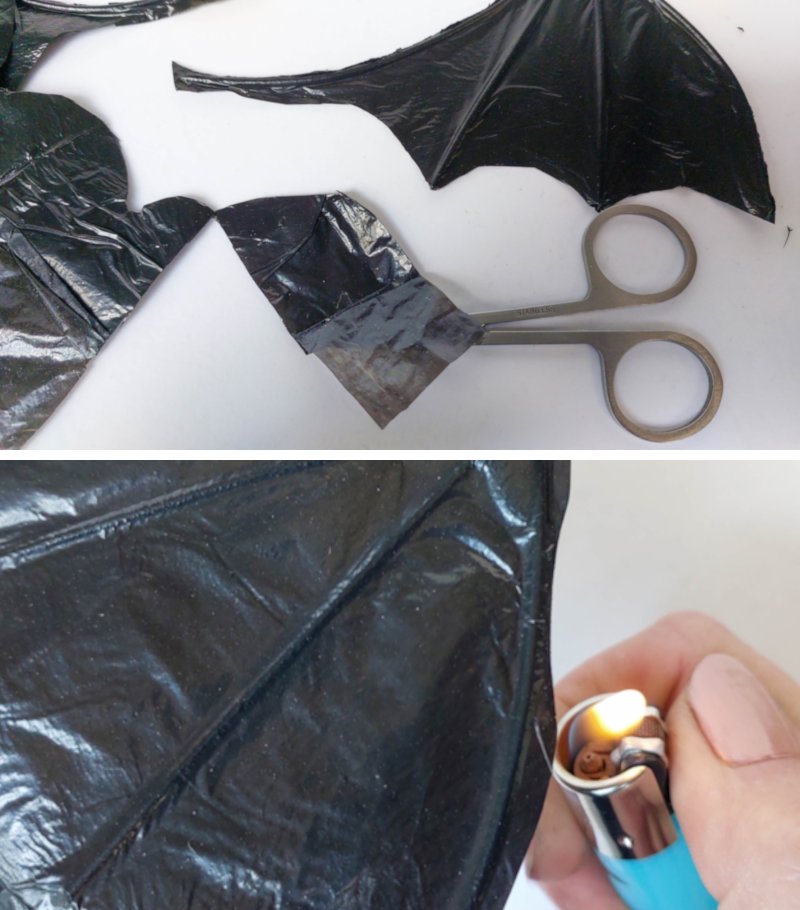
Right, so that’s all the bits and pieces done. Time to put this little bat together and hang her up.
Joining and hanging the batty bits
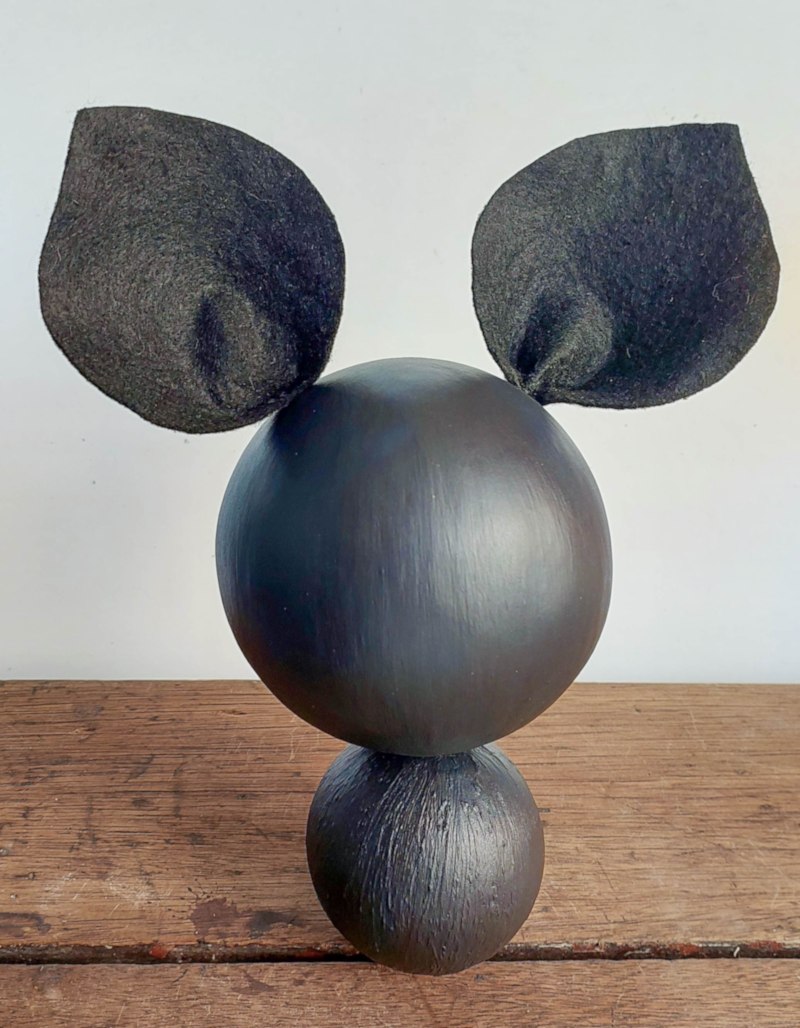
Make two holes at the top of the bat’s head and squish in the ears.
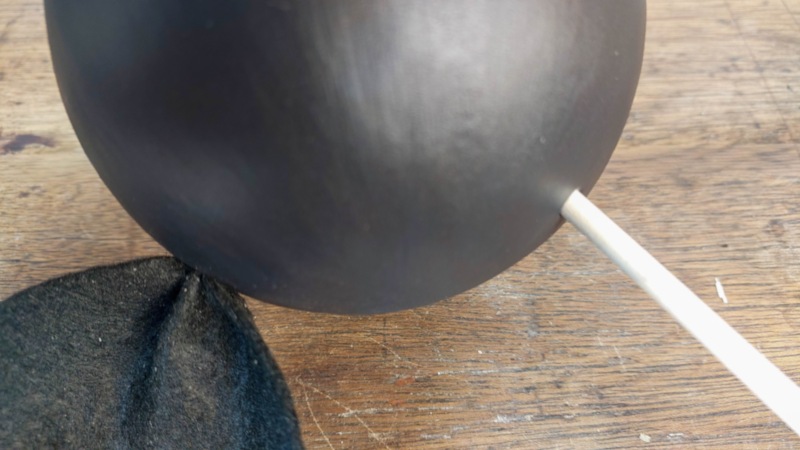
She should look something like this.
Make a hole on either side of her body and push the bat wings in.
Whoooo, hooo, she starting to look batty 😀
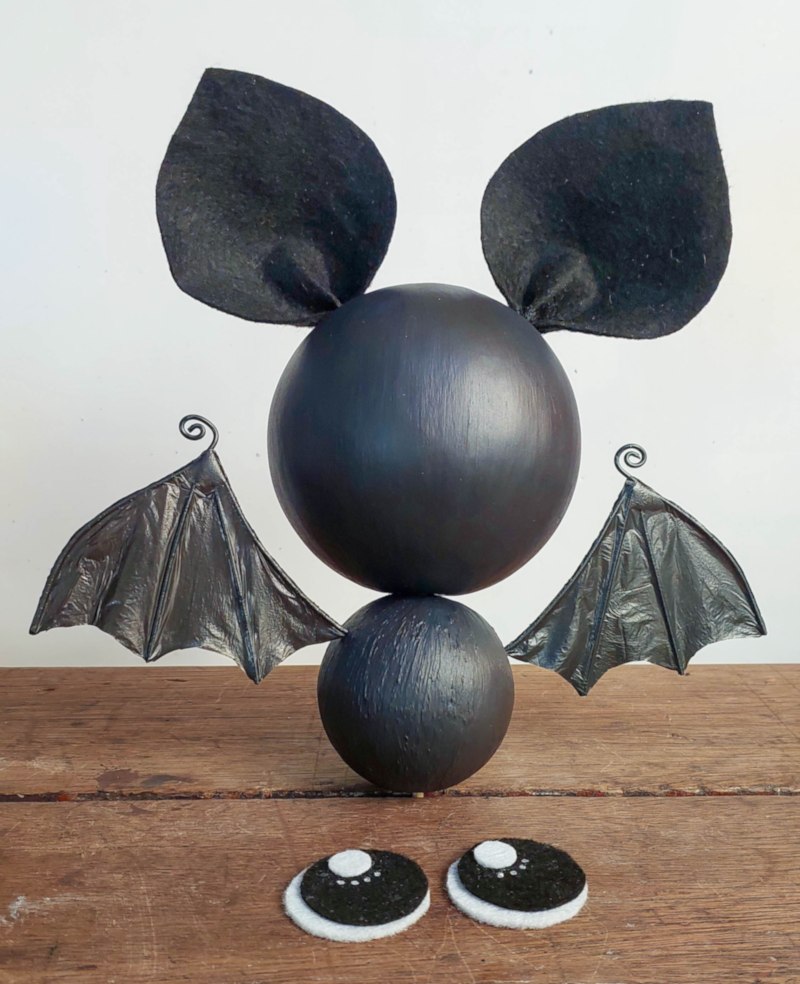
Glue the eyes on.
Wrap two pieces of wire around a twig and twist the loose ends together. Add some polystyrene/foam glue on the twisted end and stick that into the bottom of her little body.
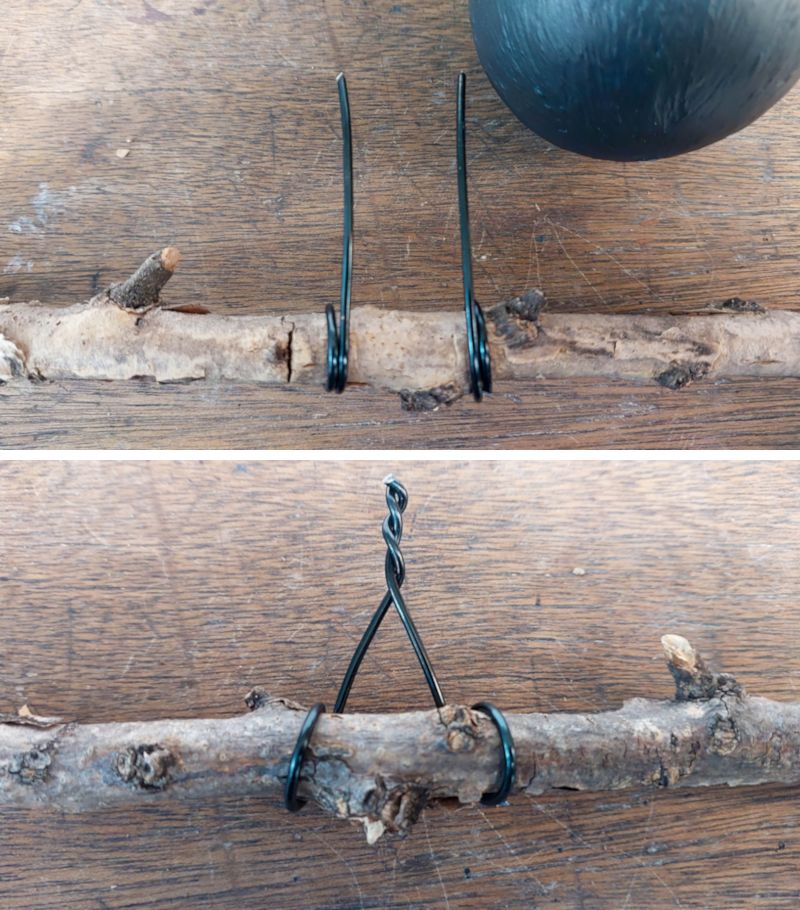
If it feels like the body is going to fall off, put a little more glue around the legs before adding the body.
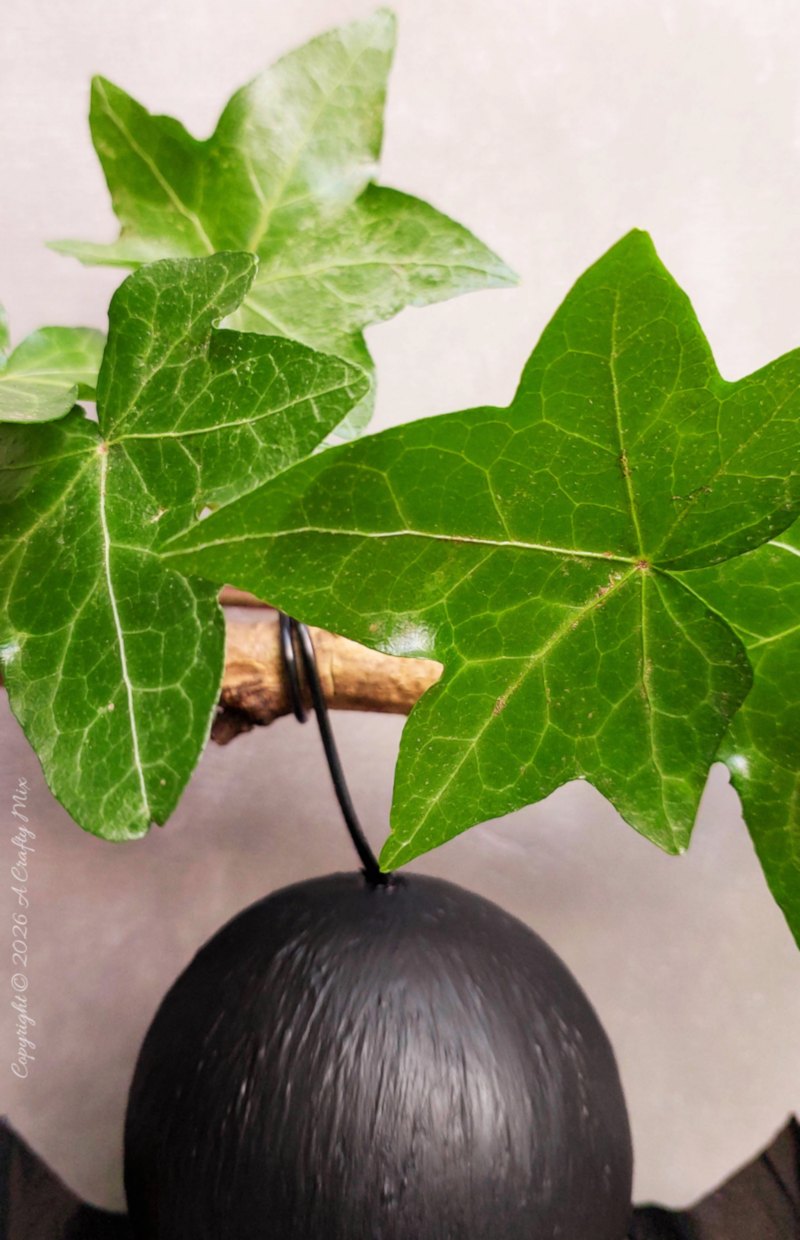
Paint or draw a shy, little smile and she’s all done.
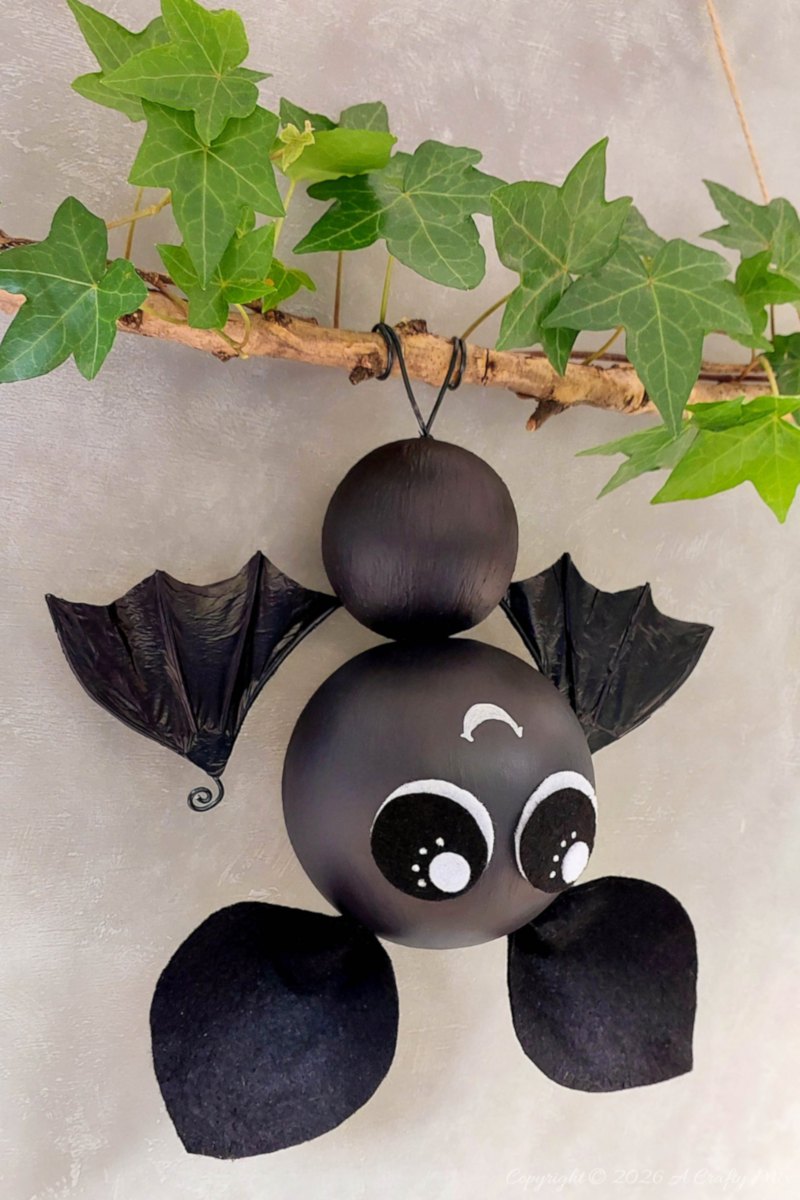
She’s such a cutie that I honestly didn’t have to go all out with props to make her shine. Just some ivy and a weathered wooden stump was all she needed.
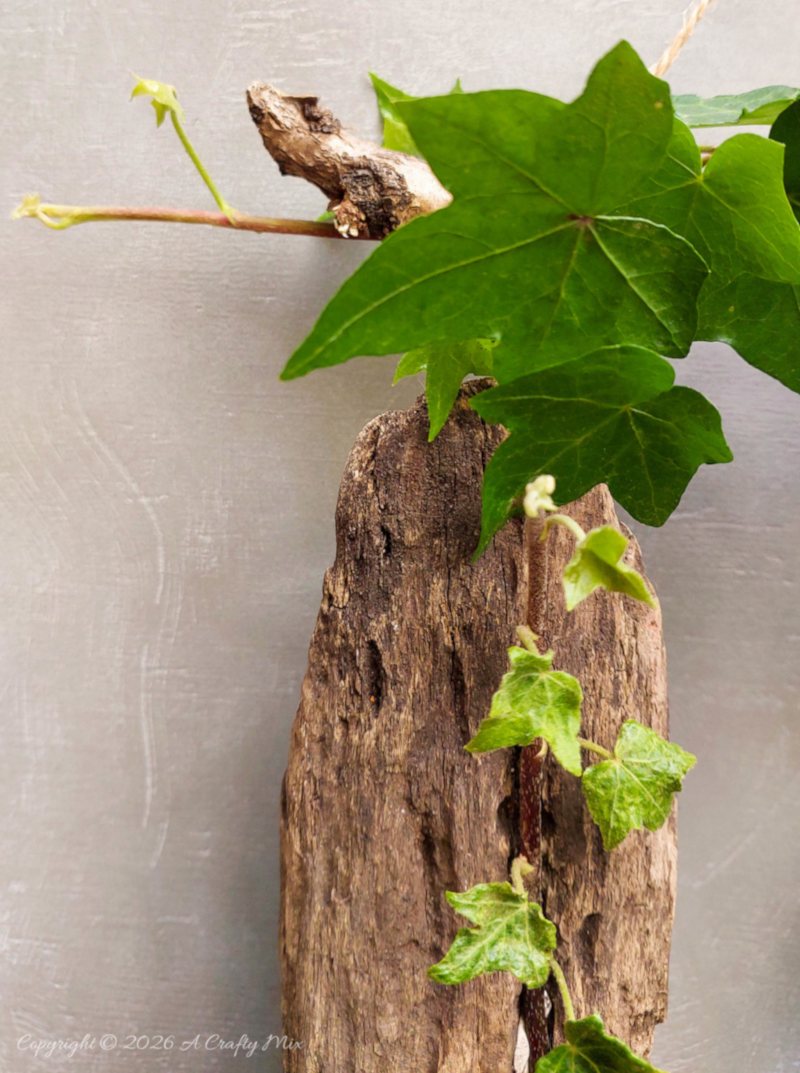
But she would look just as good hanging from a wreath or the patio roof. As long as you can see her plastic bag bat wings and ….
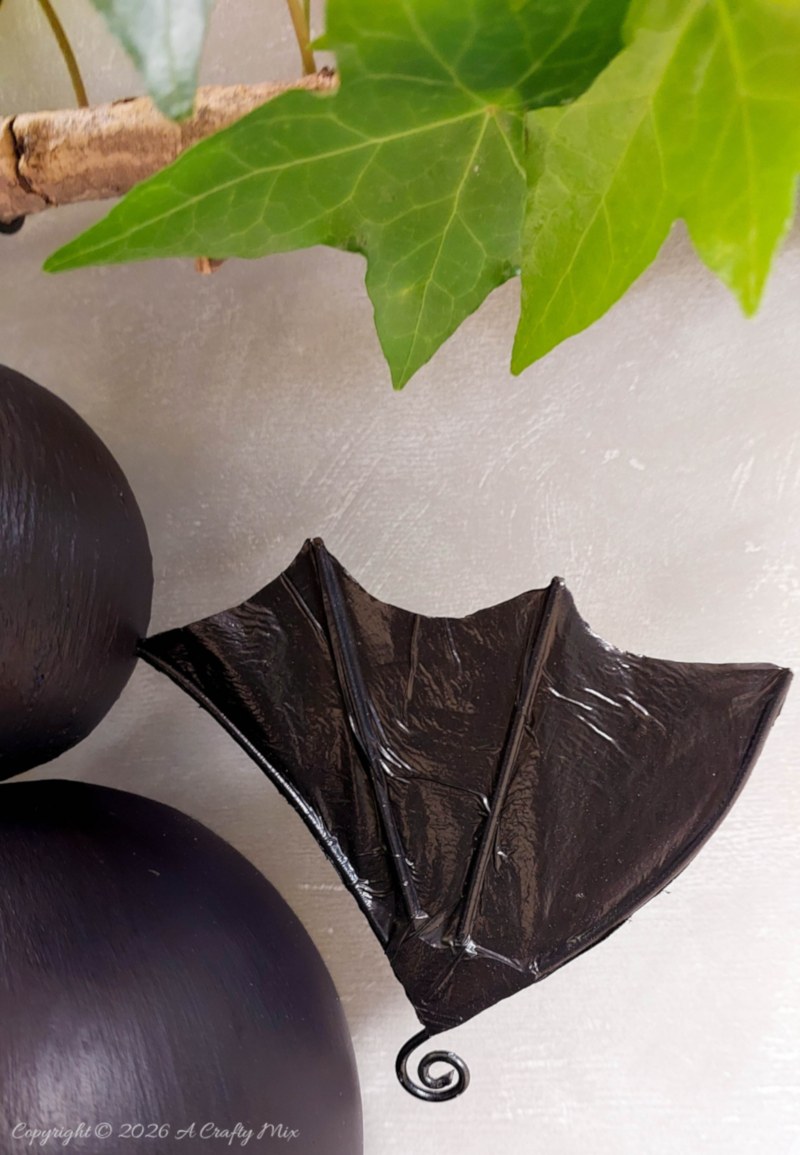
…..those big eyes, she’ll add a perfectly whimsical, not‑so‑spooky, touch to your Halloween décor.
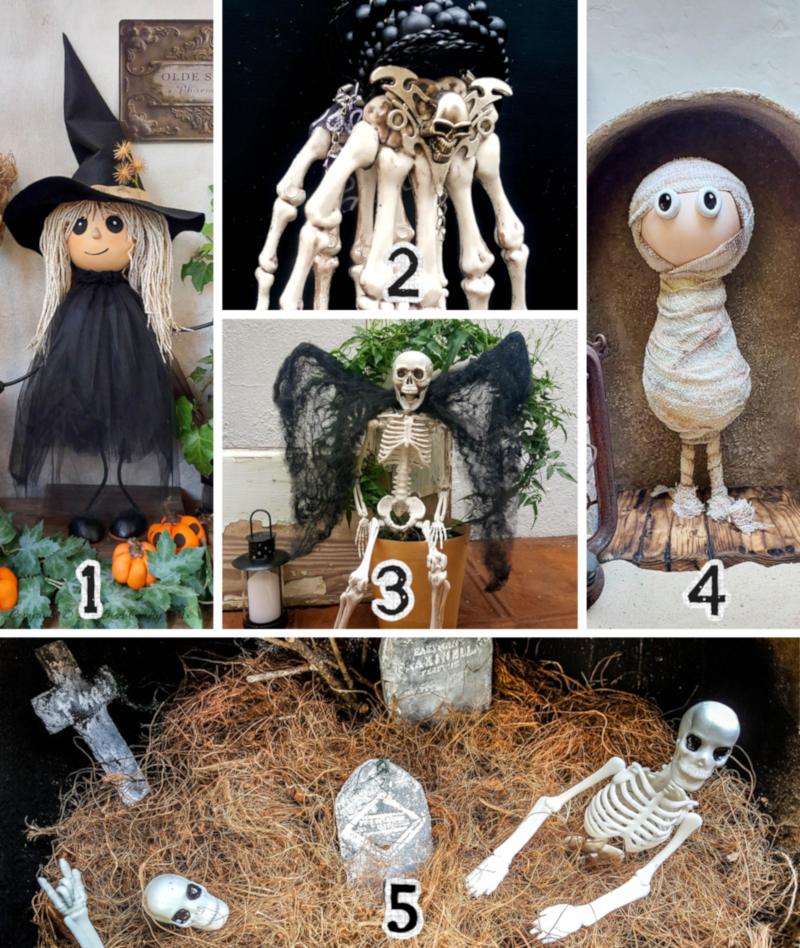
For more not-so-spooky décor ideas check out some of our other Halloween tutorials.
- The most adorable little gothic witch made from a plastic bottle
- A humerus take on ice tongs that will make your guests smile
- Sargent Skullie with easy to make vampire wings
- A tiny tomb guardian keeping a watchful eye from his cardboard sarcophagus
- And a super easy fairy graveyard
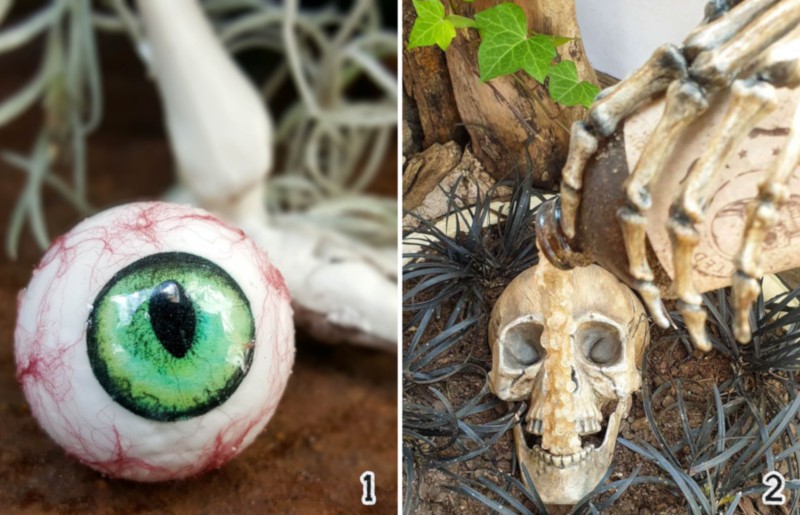
Maybe a little spooky
- Realistic eyeballs using polystyrene balls
- A viral and gravity defying skull and floating bottle planter
If you love this adorable hanging bat with her plastic bag wings, don’t forget to pin the tutorial for later.
Sharing is caring.
Oh, and if you’re looking for some of the things we used, we’ve got you covered. Disclosure: Clicking on the links below means we may receive a commission from Amazon. But don’t worry, it won’t come out of your pocket, and it helps us make more amazing crafts to share with you.


![GUSTO 12 Inch Bamboo Skewers [100 Count] Wooden Shish Kabob, Smores Stick](https://m.media-amazon.com/images/I/41-tZtiWrqL._SL160_.jpg)


Or if you prefer to buy rather than DIY, then here you go.


And as always, wishing you a wonderful, crafty week filled with lots of love and laughter. Thank you for popping in for a visit.

Last update on 2026-08-16 / Source Amazon Affiliates