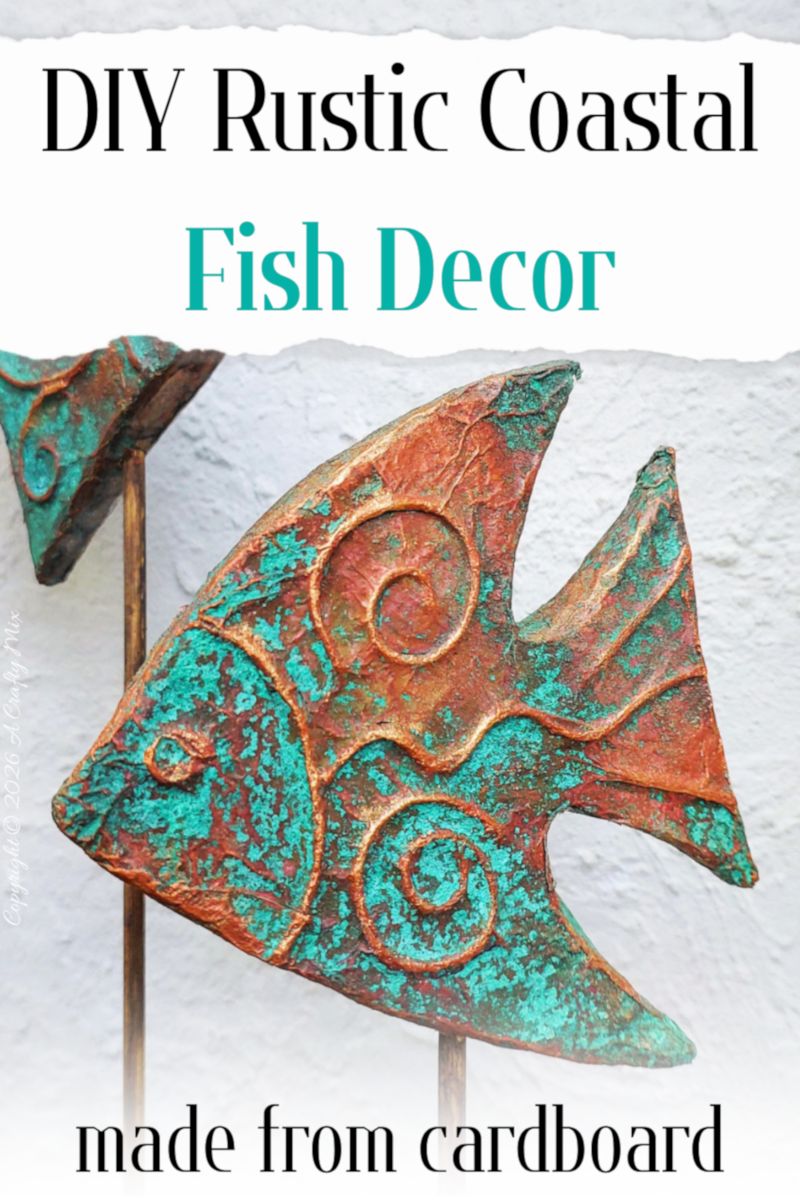
Upcycling cardboard into DIY coastal fish decor might sound like a stretch, but it’s exactly the kind of budget‑friendly project our little rondavel by the sea loves.
Whenever we pack the car for a trip down, I somehow end up sneaking in a cardboard box (or three). Just in case the weather turns dreary and I find a few minutes to turn those boxes into something special for our holiday home.
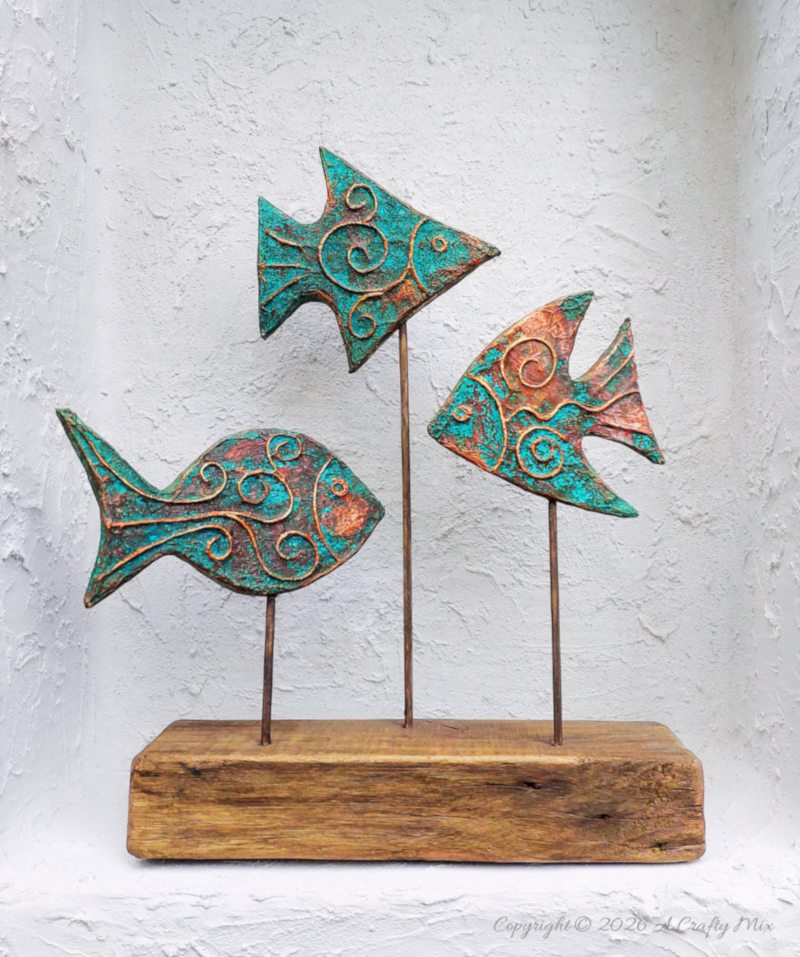
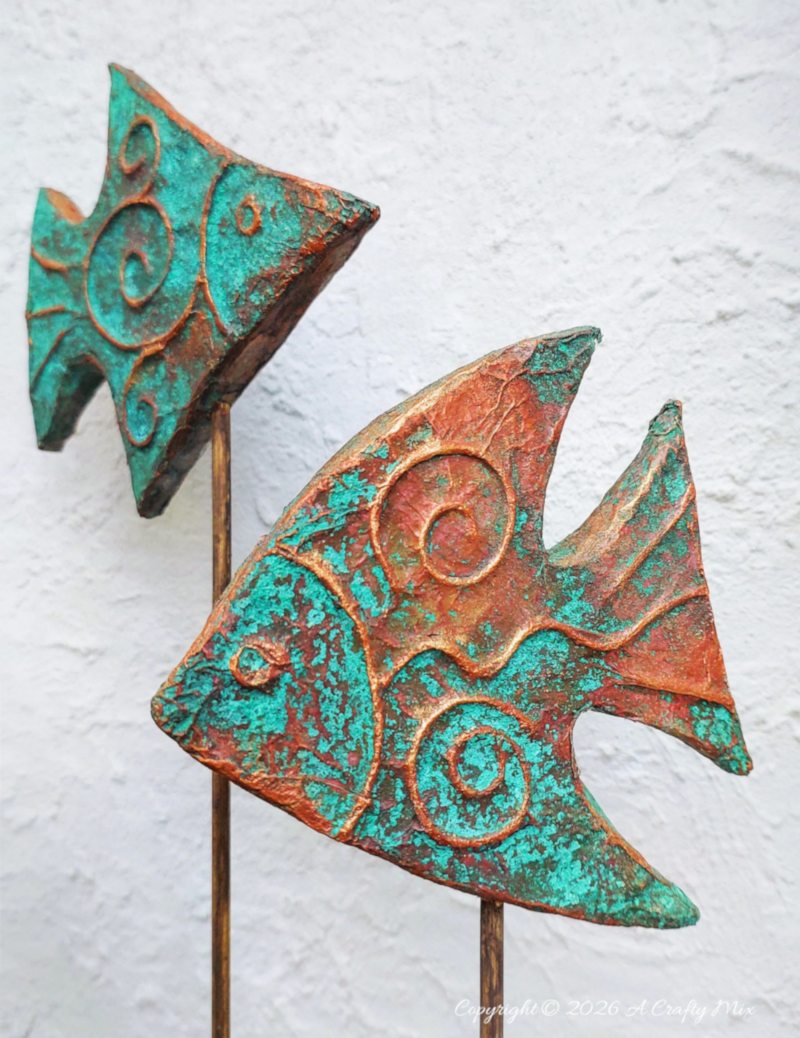
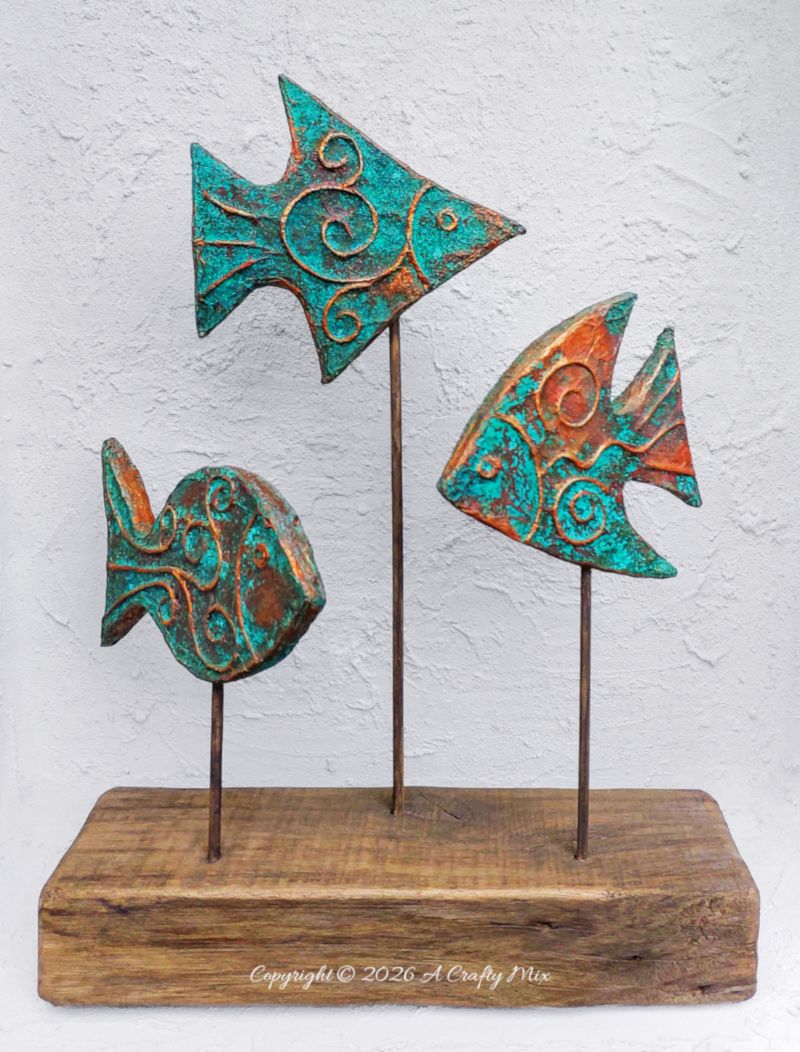
These simple patinaed fish grew out of one of those lazy, sea‑breezy days when the sky was threatening, the waves were loud, and the coffee was strong.
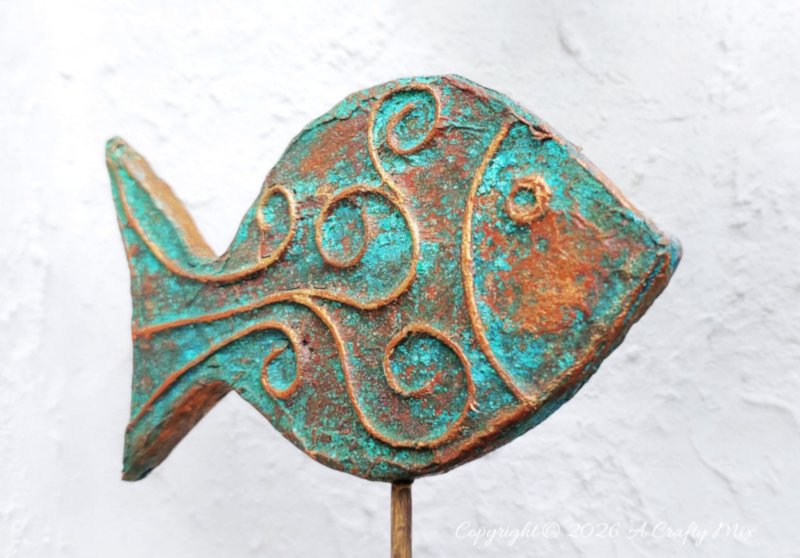
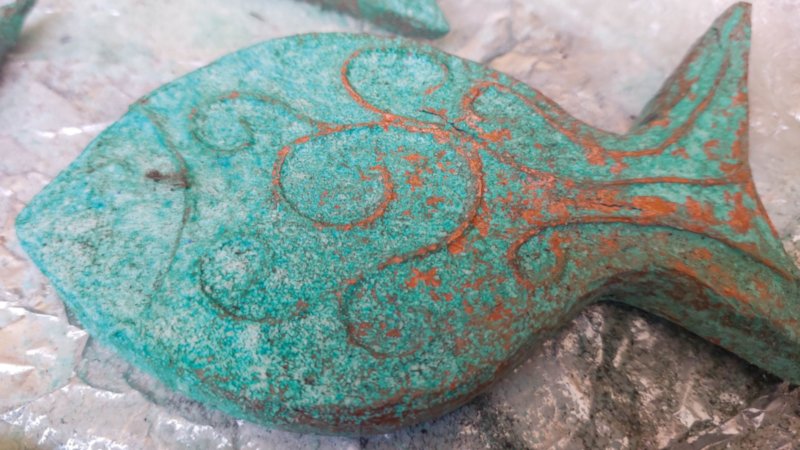
Isn’t that patina gorgeous?
If you’ve ever wanted to bring a hint of coastal magic into your home without buying another mass‑produced piece, this is a budget‑friendly way to make something from almost nothing at all.
But before we get to the tutorial, do me a favor and follow us on Facebook, Pinterest, or Instagram. And don’t forget to subscribe so you’ll never miss a post!
What you need to make DIY coastal fish decor
- Cardboard box
- Glue
- Bicarb or fine sand
- Craft knife
- Scissors
- 2mm Cotton Cord or twine
- Copper foil tape
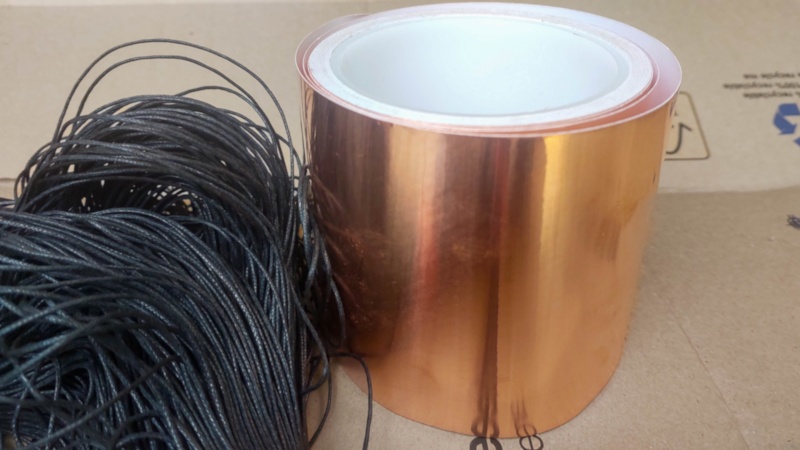
Now you might be asking yourself, “Who on earth has copper foil tape in a holiday home?” As it turns out, it’s more useful than it sounds. Copper tape can be wrapped around cables or line a simple Faraday cage I use it to deter snails and slugs around planters. Those sneaky critters will chomp through my pansies and veggies in a heartbeat if I let them. And because it’s thin, sticky and wonderfully shiny, it also happens to be perfect for creative projects like this one.
To add a rich patina, you’ll need:
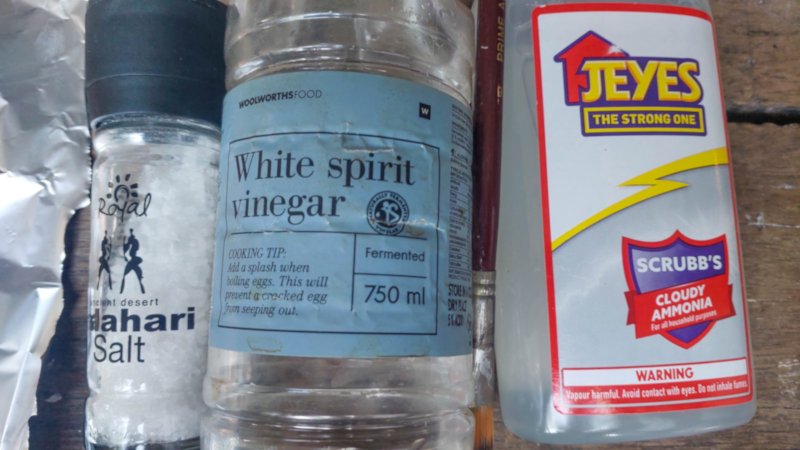
- Coarse salt
- Ammonia
- Vinegar
- Small spray bottles or a paintbrush
- Cling film
- Clear satin or gloss spray paint sealer.
Optional to mount
- Block of wood
- Skewers
- Drill
How to Upcycle Cardboard into Coastal Fish Décor
There are 3 parts to this tutorial:
- Upcycling cardboard into copper fish with decorative twirls and swirls
- Adding that gorgeous patina (stinky but worth it)
- Displaying the cardboard fish in a block of scrap wood. You do need a drill for this bit, but I’ll share some no-drill options towards the end of the tutorial.
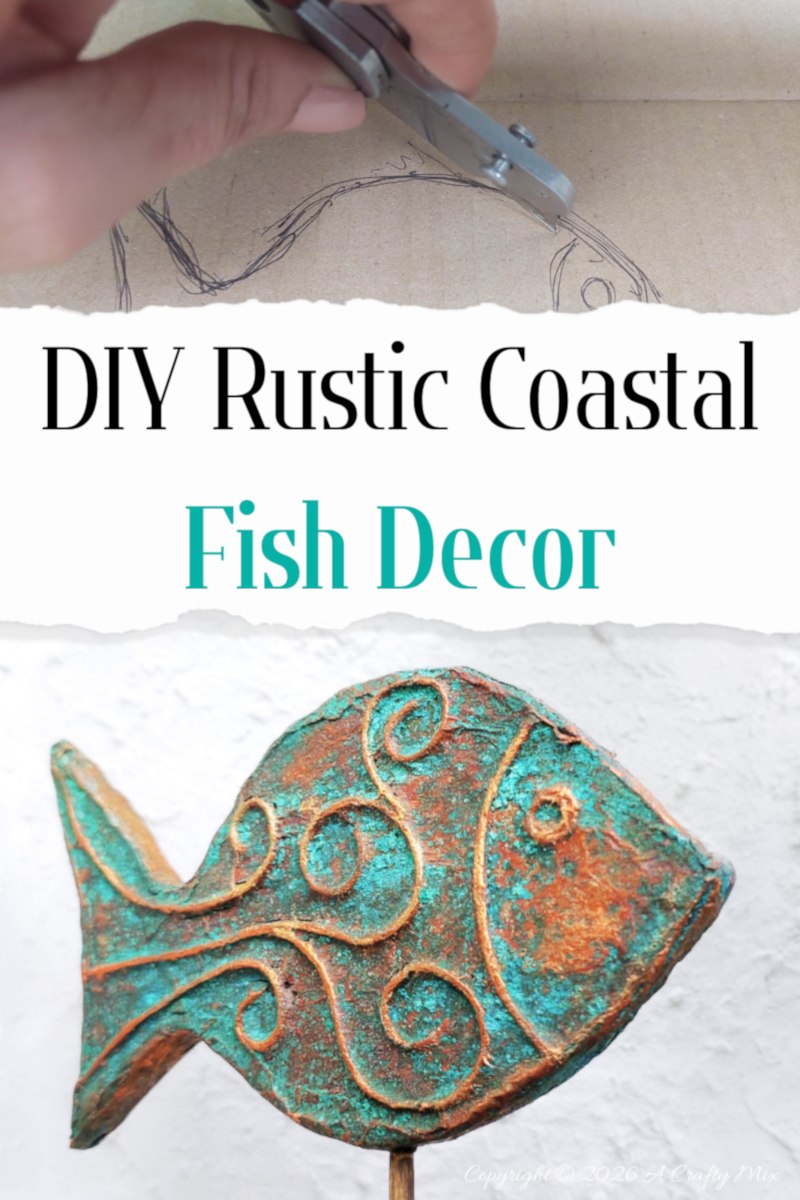
Making cardboard fish
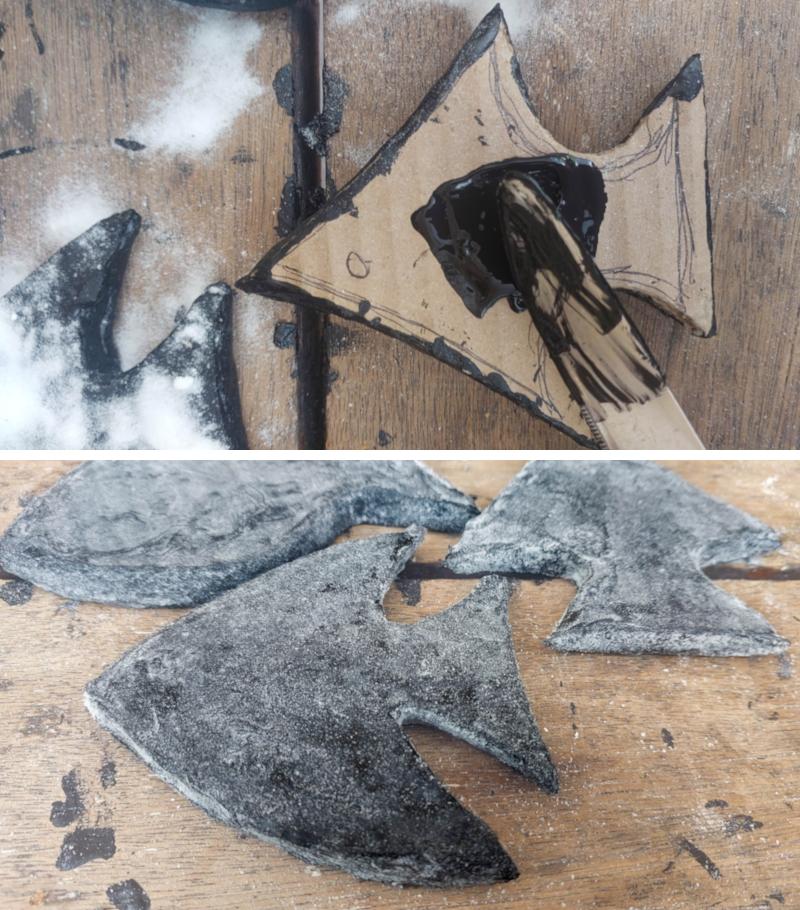
Sketch basic fish shapes onto a piece of cardboard. Use a sharp craft knife to cut them out.
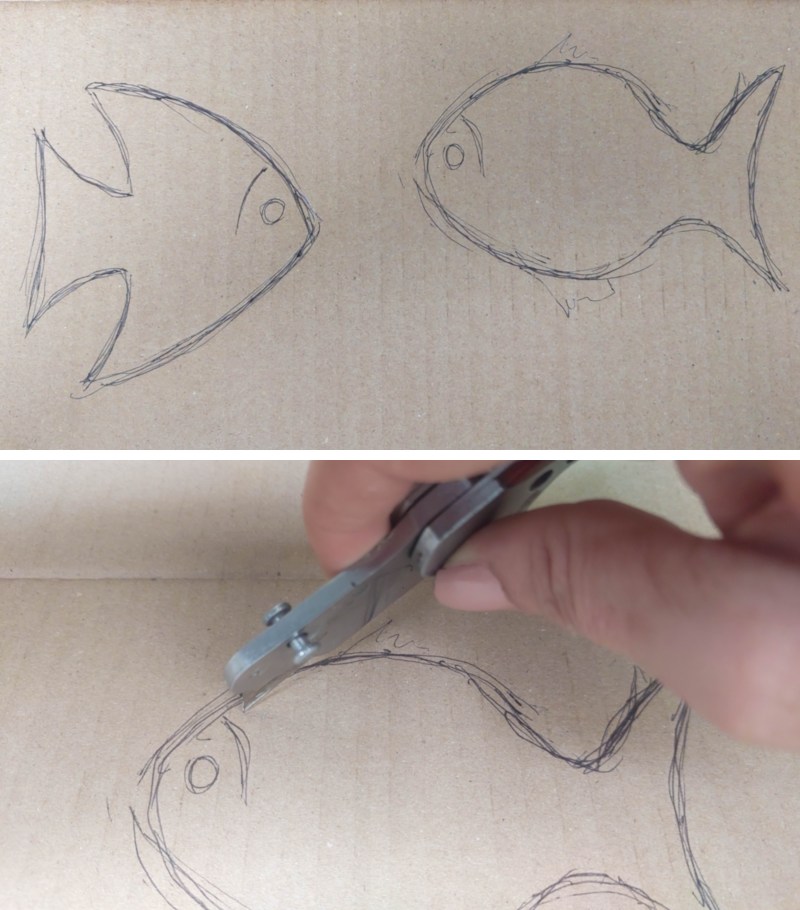
I made three different shapes, but you do you. As long as the fish are simple.
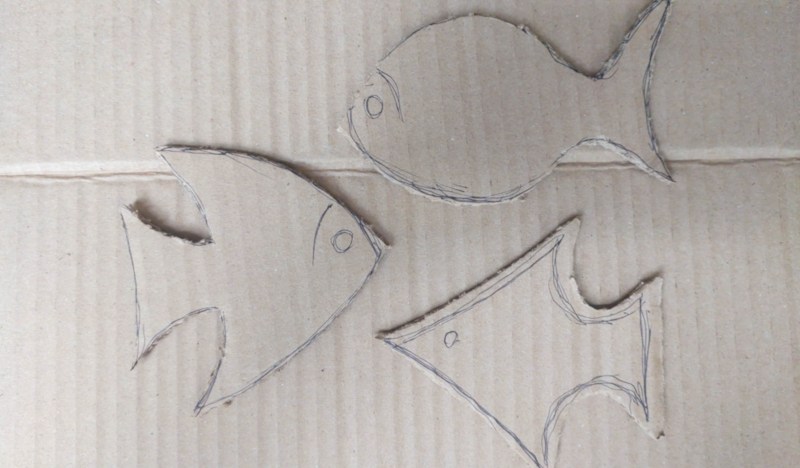
To give the fish some weigh and bulk them out a little, trace around each shape to make a few duplicates. I cut four of each.
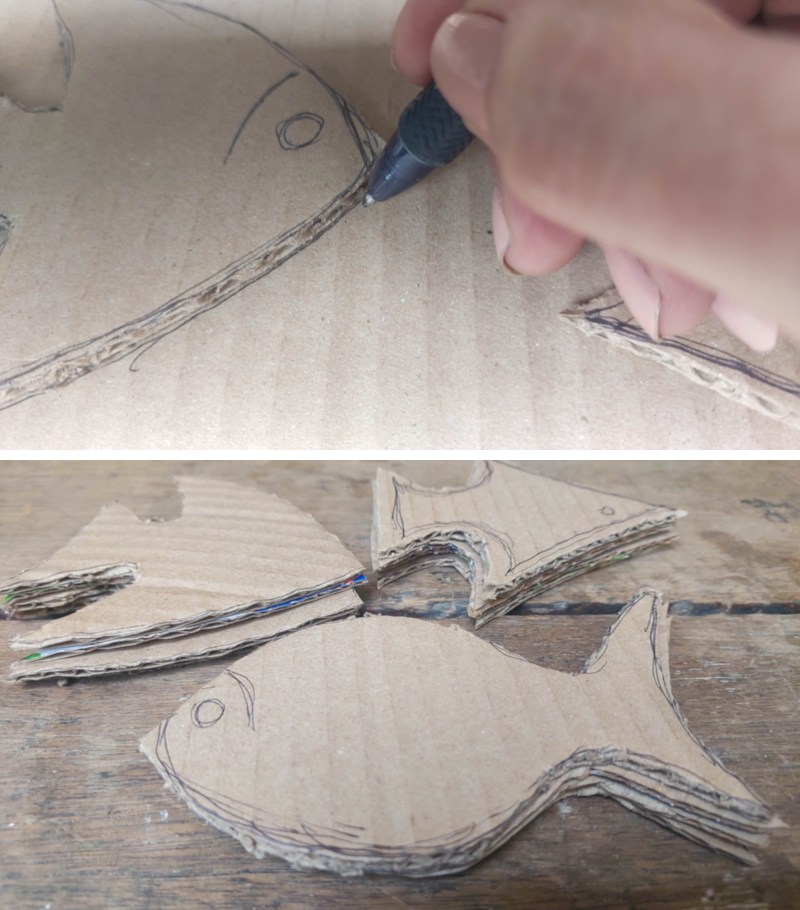
Glue the duplicate shapes together.
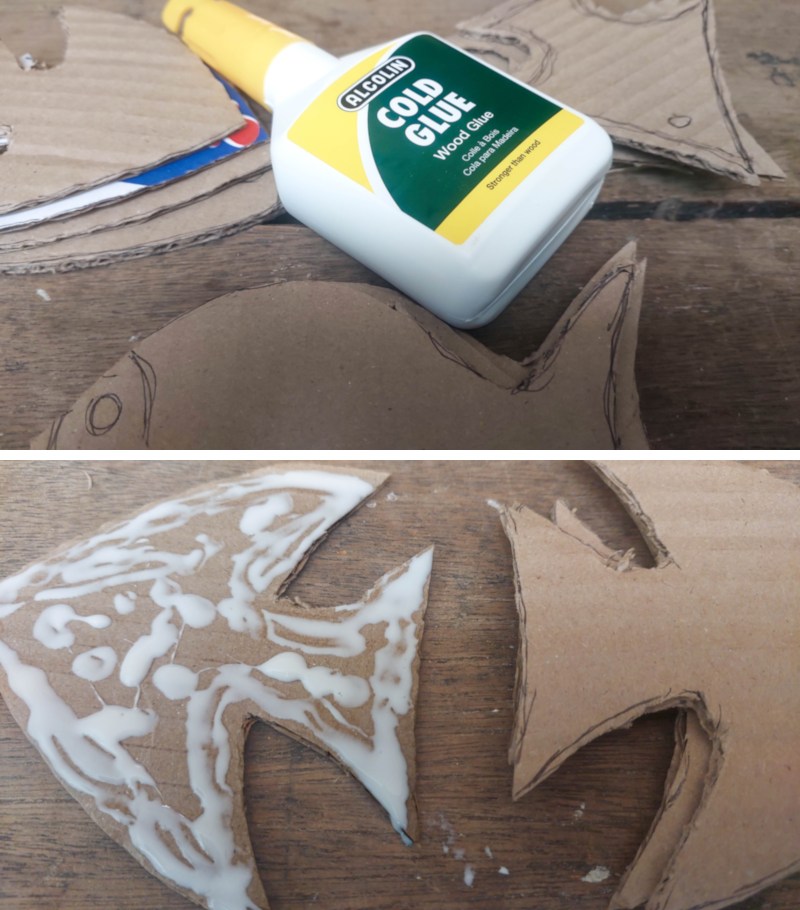
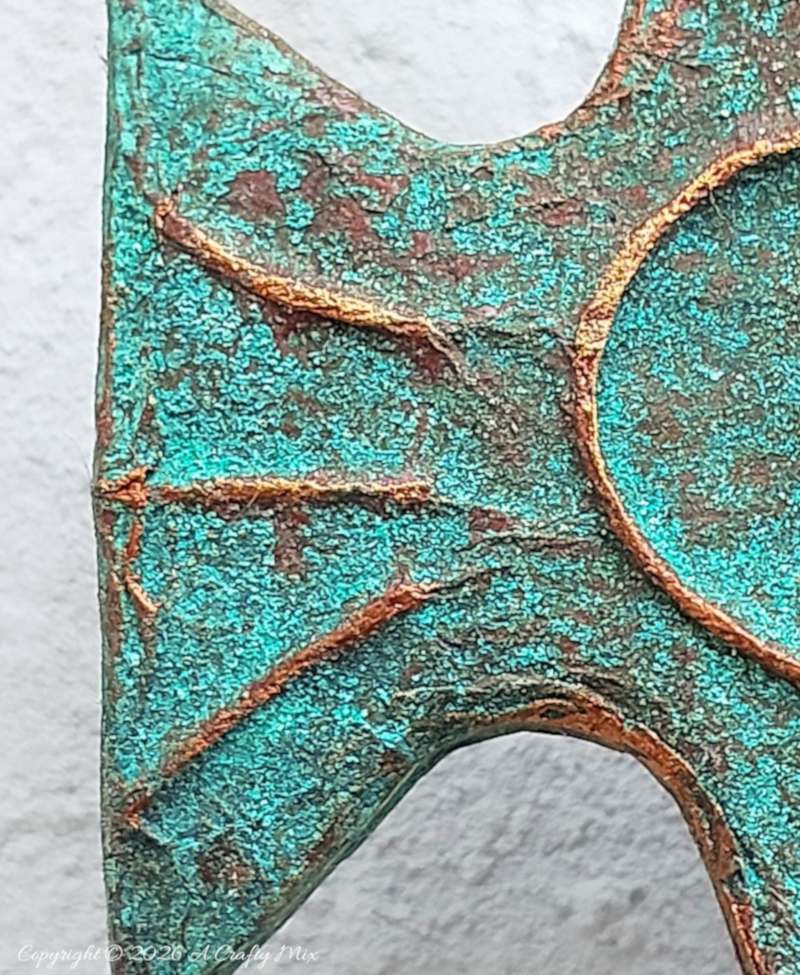
Paint each fish black, and while the paint is still wet, sprinkle on a little bicarb or fine beach sand. It helps create some underlying texture
Draw random patterns on the fish by gluing the cord or twine down.
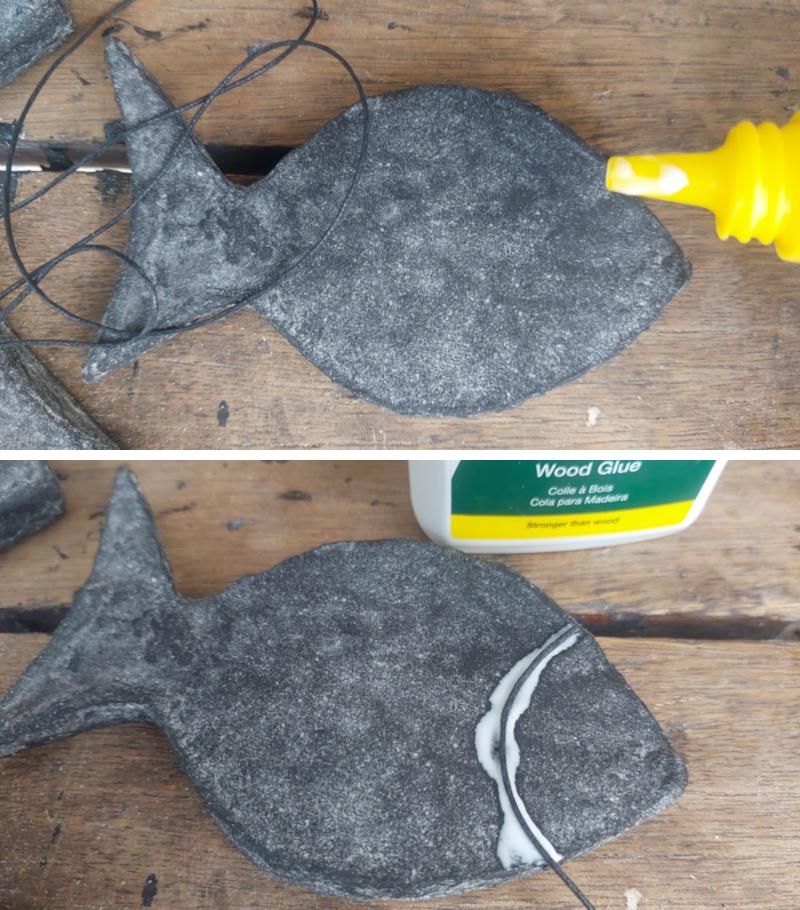
Play around and if you’re not happy, remove the cord and start again.
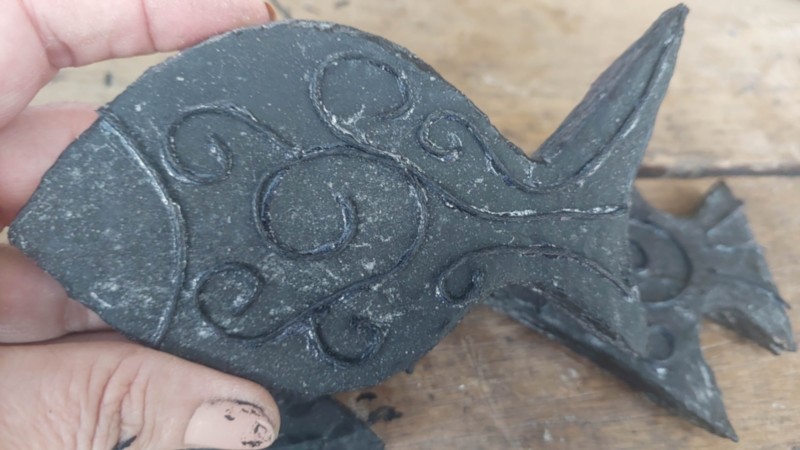
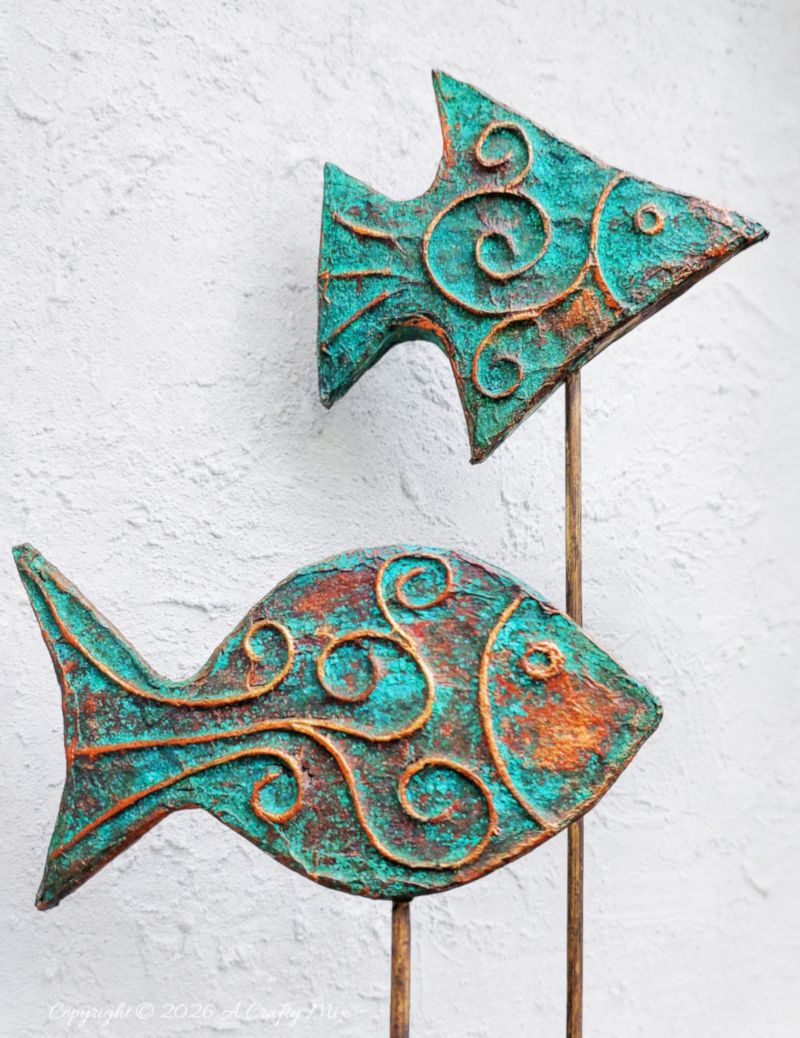
I “drew” curly wurlies on the body, straight lines on the tail, and a curve for the gills.
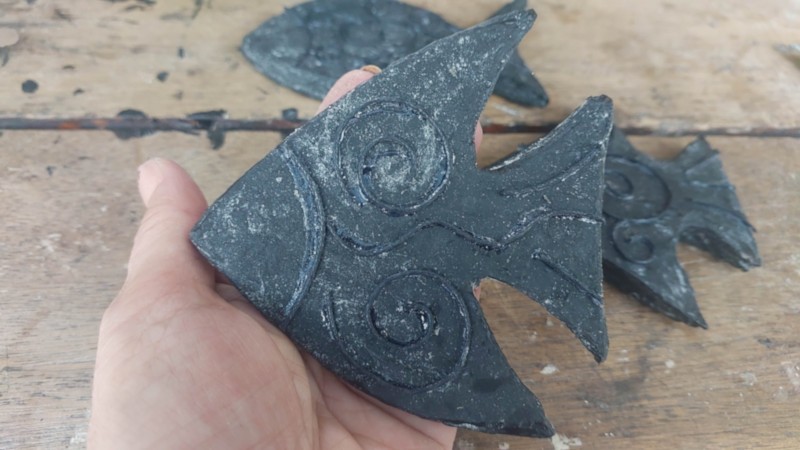
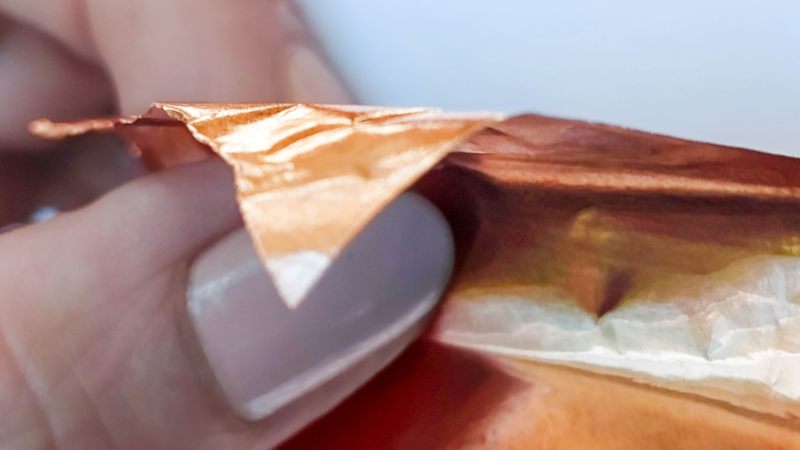
Draw an eye by making a small cord circle. Wait for the glue to dry and then cover the fish with copper tape. Smoosh the tape around the cord lines using an ear bud or your finger to . Don’t stress if the tape tears, it adds to the look.
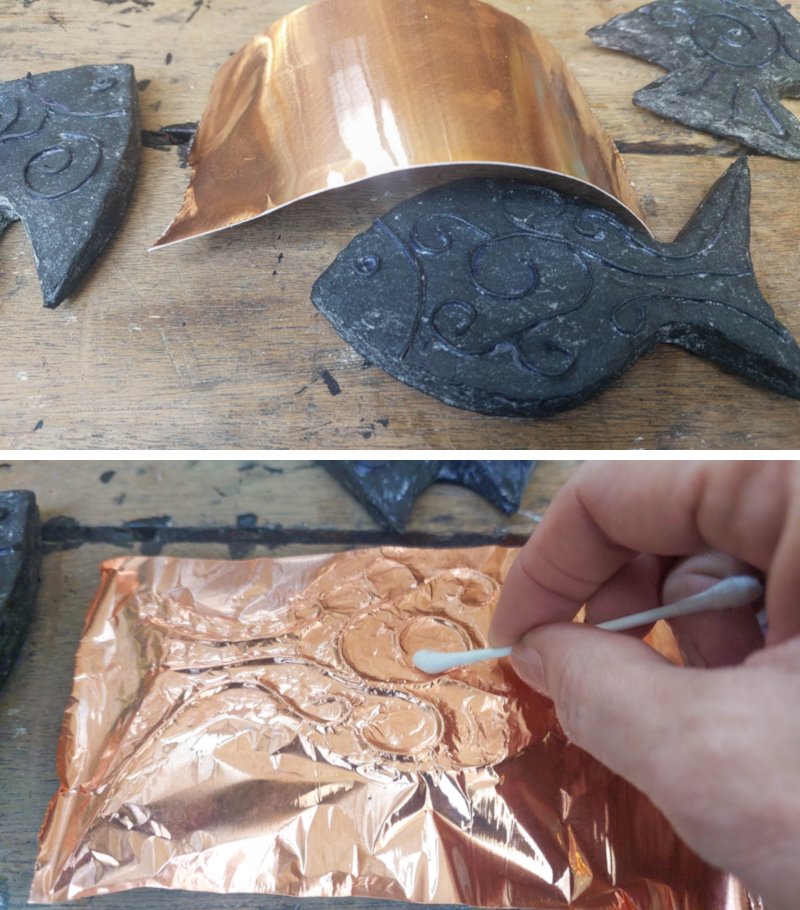
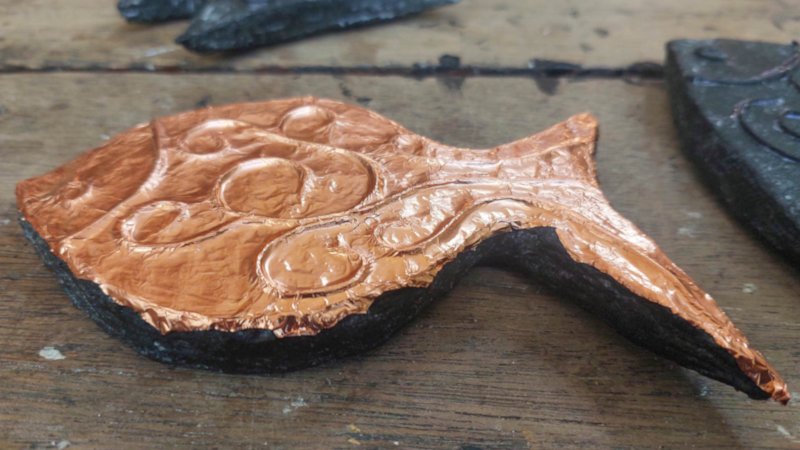
Cover the whole fish in copper tape. They don’t look like much yet, but this will be the base for your coastal fish decor DIY.
Now for the stinky bit – giving our cardboard fish a gorgeous, aged patina. If smelly chemicals aren’t your thing, then have a look at this faux verdigris patina tutorial to mimic the look.
Adding the patina
Many moons ago I made this copper and leather trivet using a similar technique. I was keen to see if the copper tape would react in the same way. It did, but much quicker. So, keep an eye on the fish while the reaction takes place. I kinda forgot because the weather cleared up and an ice-cold beer was calling my name. I would have loved more copper to shine though.
Anyhoos, to add the patina, you’ll be combining ammonia, salt, and vinegar. How much of each depends on what look you’re going for.

You can download a printable copy of the cheat sheet here.
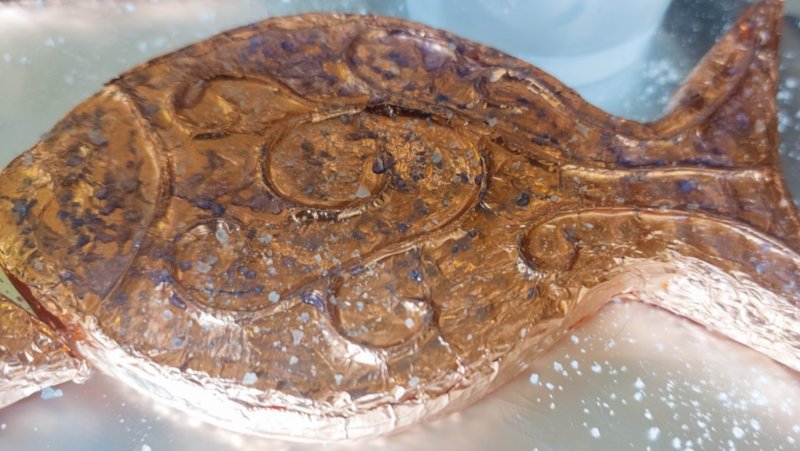
If you’re unsure, test different mixes on a piece of copper tape, and make notes so you can repeat the ones you love. I put some ammonia and vinegar into small spray bottles, so I can spitz them on to the copper fish. You can use an old paintbrush to paint them on too. I just found the spritz bottle easier and less stinky. Protect your work surface and do it outside if you can. Ammonia is pungent stuff. While the fish are still wet, sprinkle on some salt.
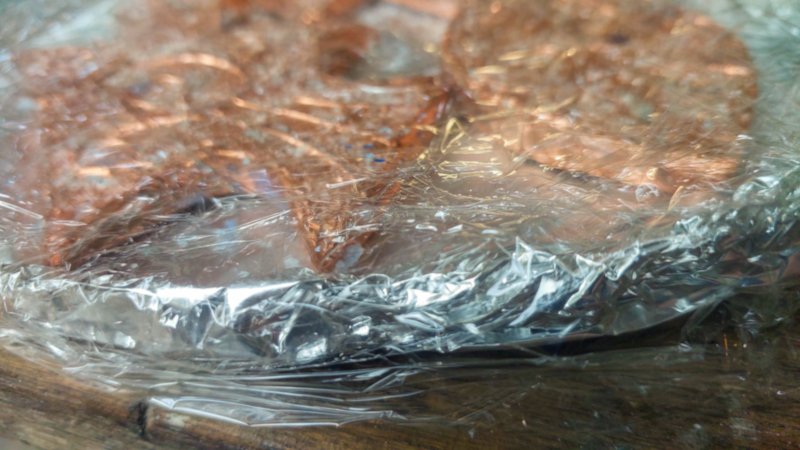
Wrap the fish in cling film (Saran wrap) so the patina can develop.
When you’re happy with the color (or remember that the fish are baking in a patina solution), remove the cling film.
Brush off any loose, flaky bits and undissolved salt with a dry paintbrush.
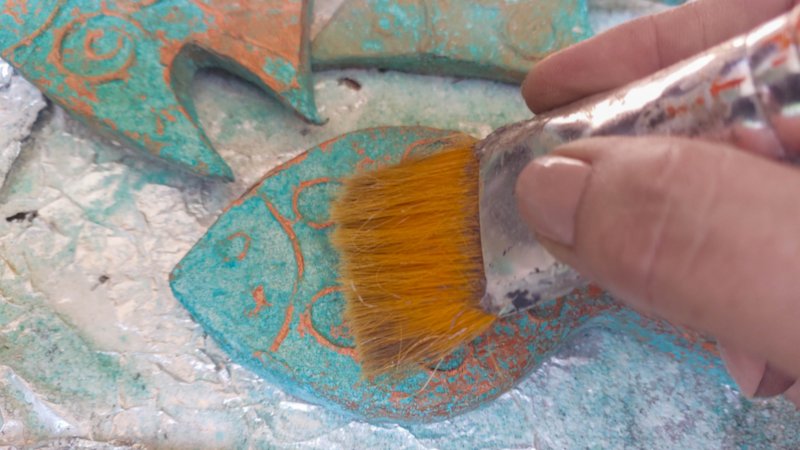
Use a clear spray paint to seal in that gorgeous color.
Ideas for displaying the cardboard coastal fish
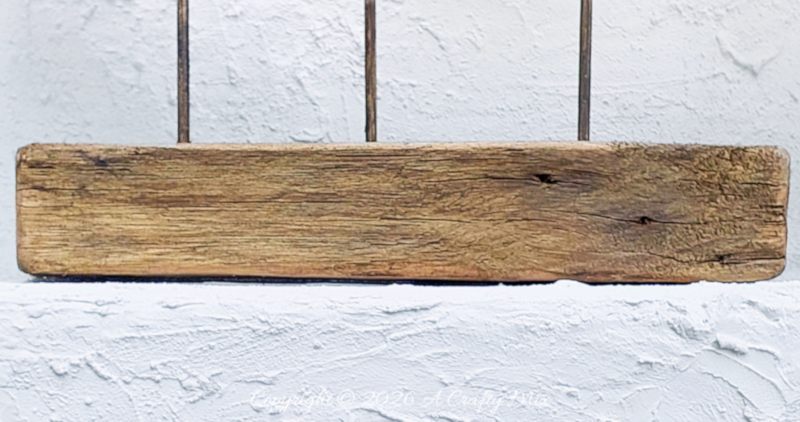
I mounted my fish by sticking one end of a skewer into the fish and the other end into a piece of scrap wood.
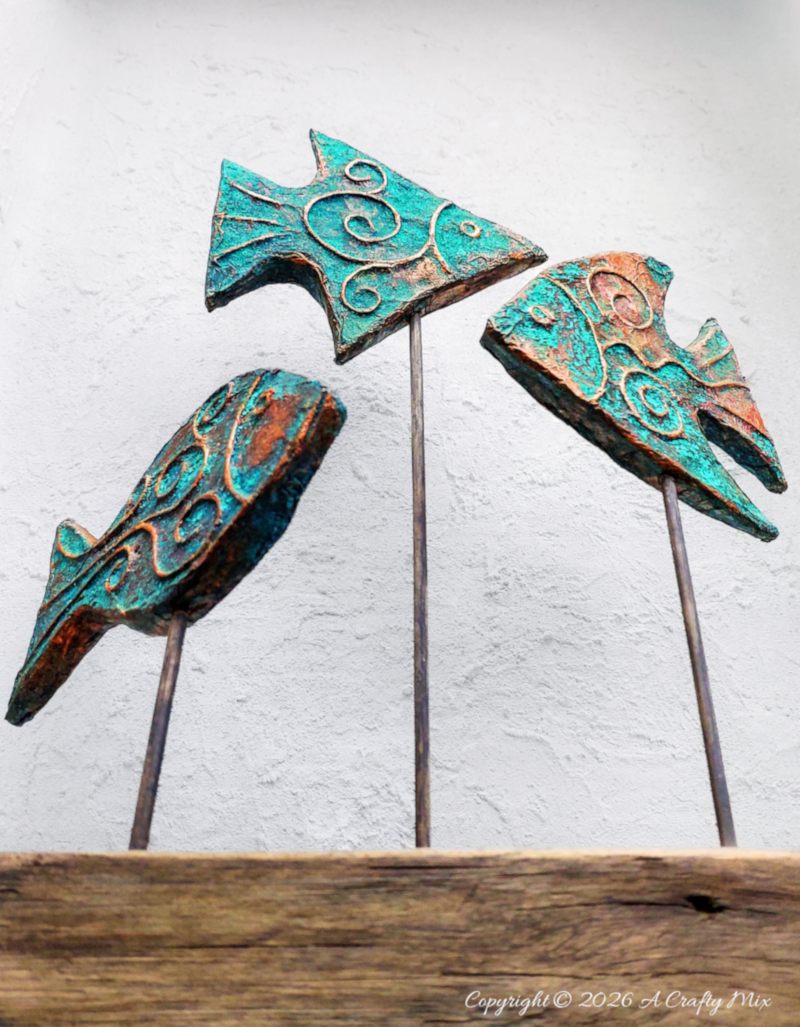
You’ve got lots of lovely options beyond the scrap wood base. You can “plant” the skewered fish in a small pot filled with soil or plaster of Paris.
Or tie them to a piece of driftwood for a rustic wall‑mounted display. They’d also look great suspended on a mobile in front of a window. That way the light can bounce off the lovely patina.
However you display them, they’re an easy way to add something unique to your coastal decor without spending a fortune. As long as you have fun and enjoy yourself.
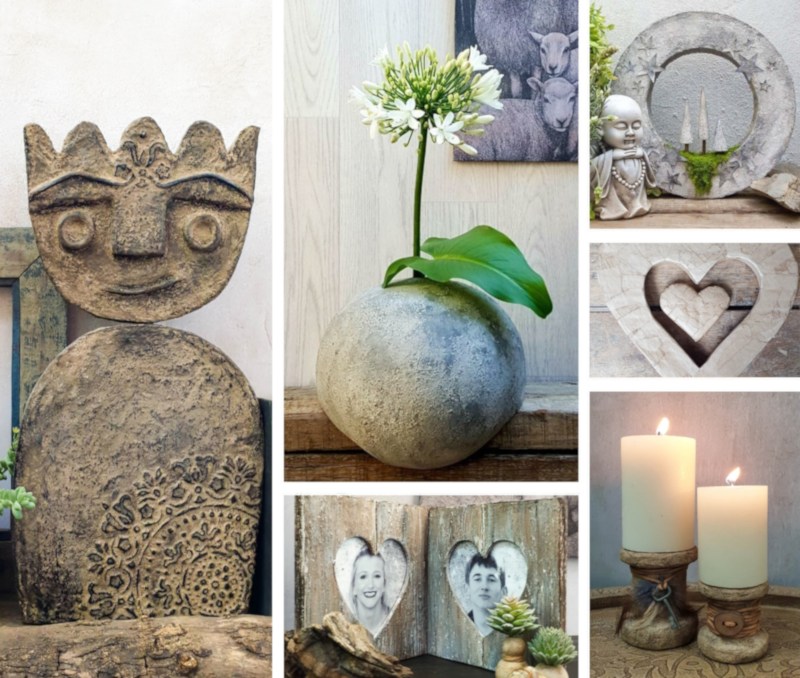
Are you a fan of upcycled cardboard decor and turning trash into treasure? Then you don’t want to miss these tutorials:
- Turn a box into a primitive stone statue that looks like it’s been weathered by centuries in the garden.
- Create an unusual charcoal-ash, textured vase that proves cardboard crafts can hold their own next to “real” ceramics.
- Repurpose a cardboard box into a concrete light ring for moody, sculptural lighting that pairs beautifully with DIY coastal decor.
- Make an easy cardboard heart wind spinner that dances in the breeze and adds a soft, whimsical touch to your porch.
- Build a heart frame with clothespin hinges for displaying holiday pics.
- Add a warm glow with simple rustic upcycled candleholders that are perfect for dressing up a cosy holiday home.
If you like the idea of upcycling cardboard and making coastal decor, don’t forget to pin the tutorial for later.
Sharing is caring.
Oh, and if you’re looking for some of the things we used, we’ve got you covered. Disclosure: Clicking on the links below means we may receive a commission from Amazon. But don’t worry, it won’t come out of your pocket, and it helps us make more amazing crafts to share with you.

To create a copper patina


Until next time, keep creating, keep upcycling, and may a sprinkle of crafty magic follow you wherever you go. Thank you for popping in for a visit.

Last update on 2026-06-03 / Source Amazon Affiliates